Inhalt: [-]
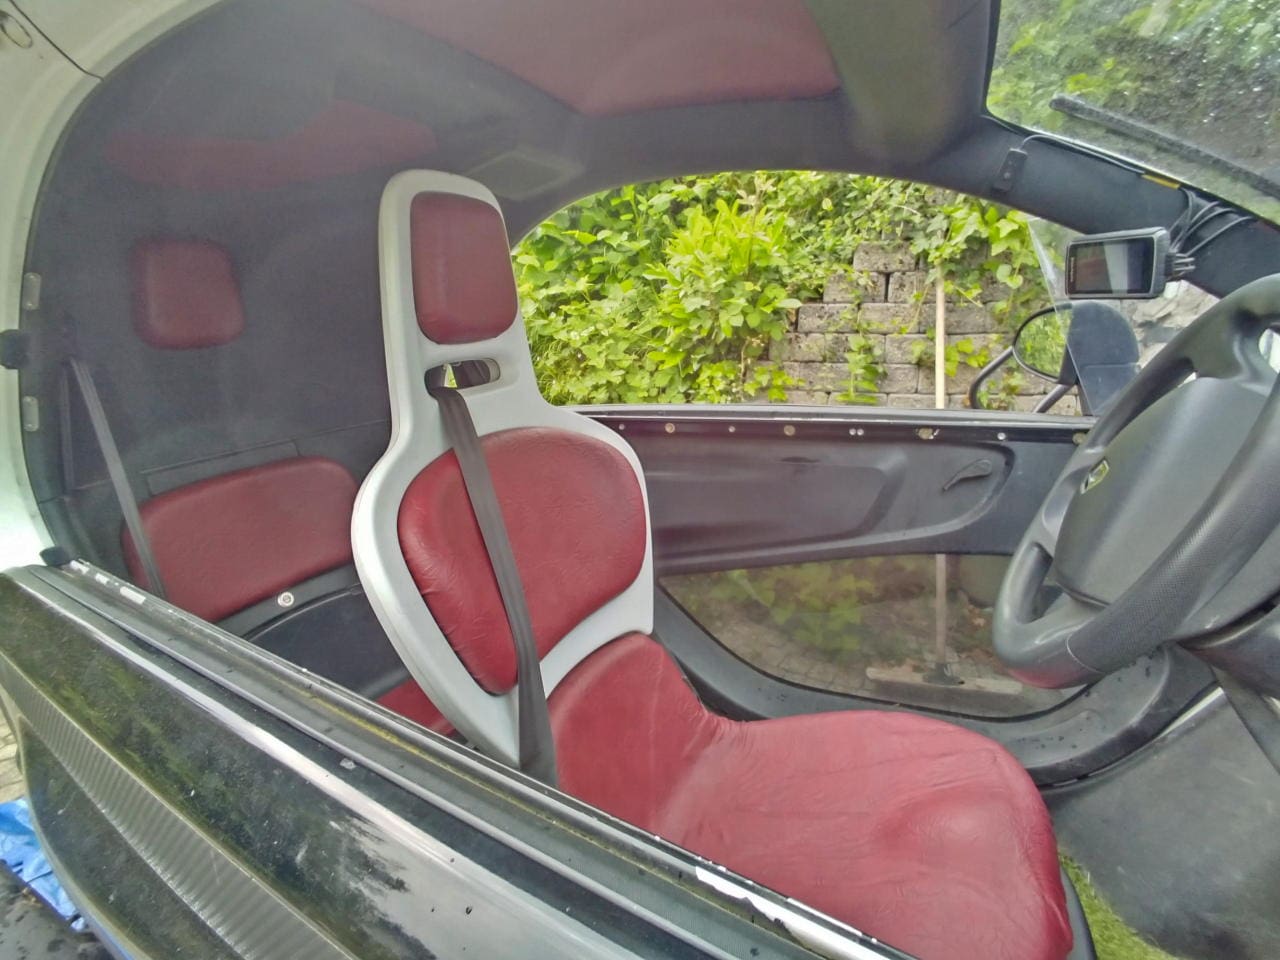
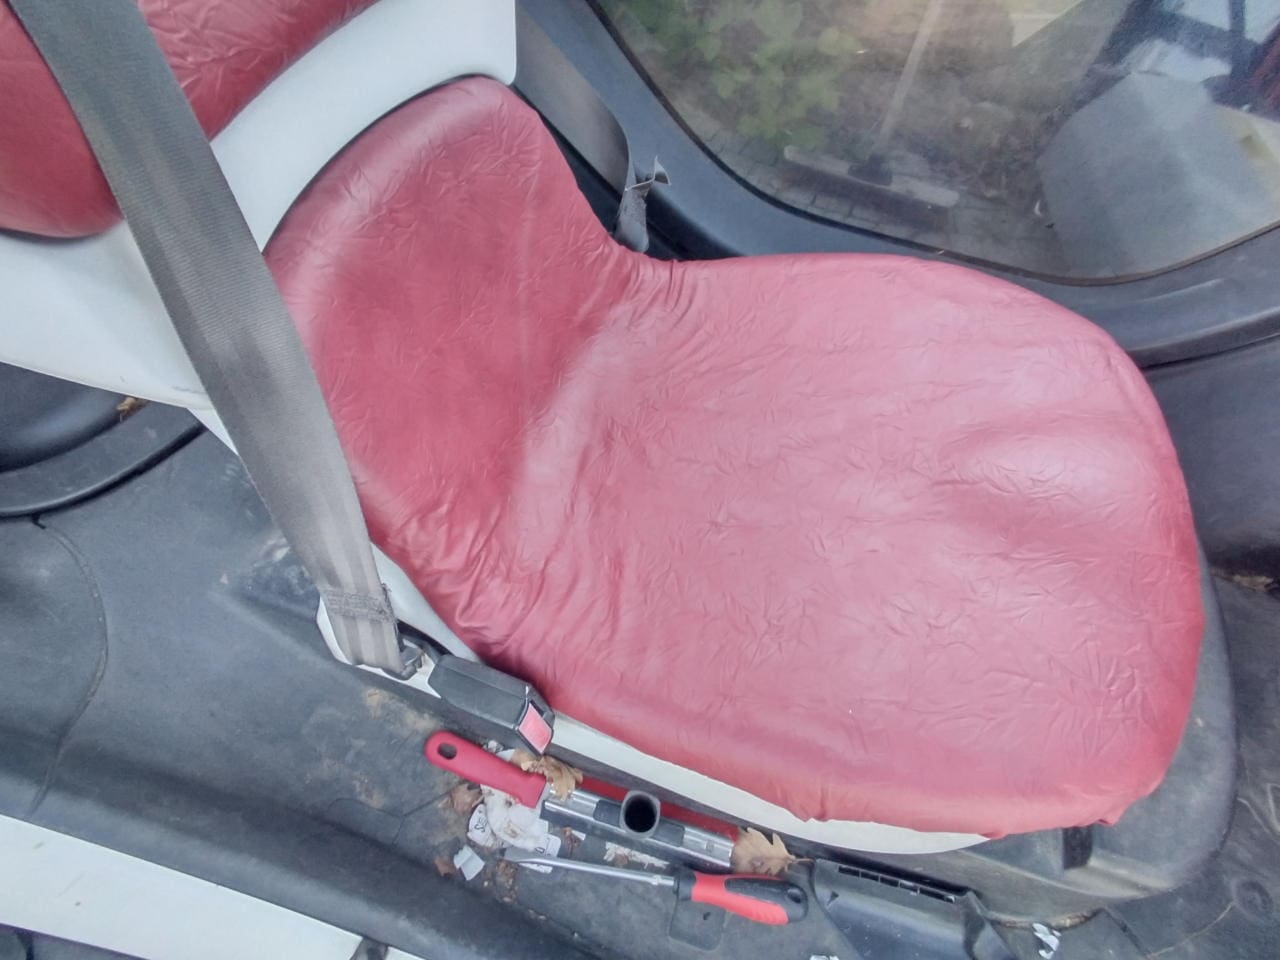
Ever since I’ve owned the Twizy, I’ve been bothered by the worn seat shell of the driver’s seat. It doesn’t look good and when it rained, I still had a wet arse days later.
Previous history
I posted an article in a Twizy group on Facebook:

I was then rudely attacked:

Okay, stocktaking:
- Upholstery has deep tears
- Imitation leather cannot be saved
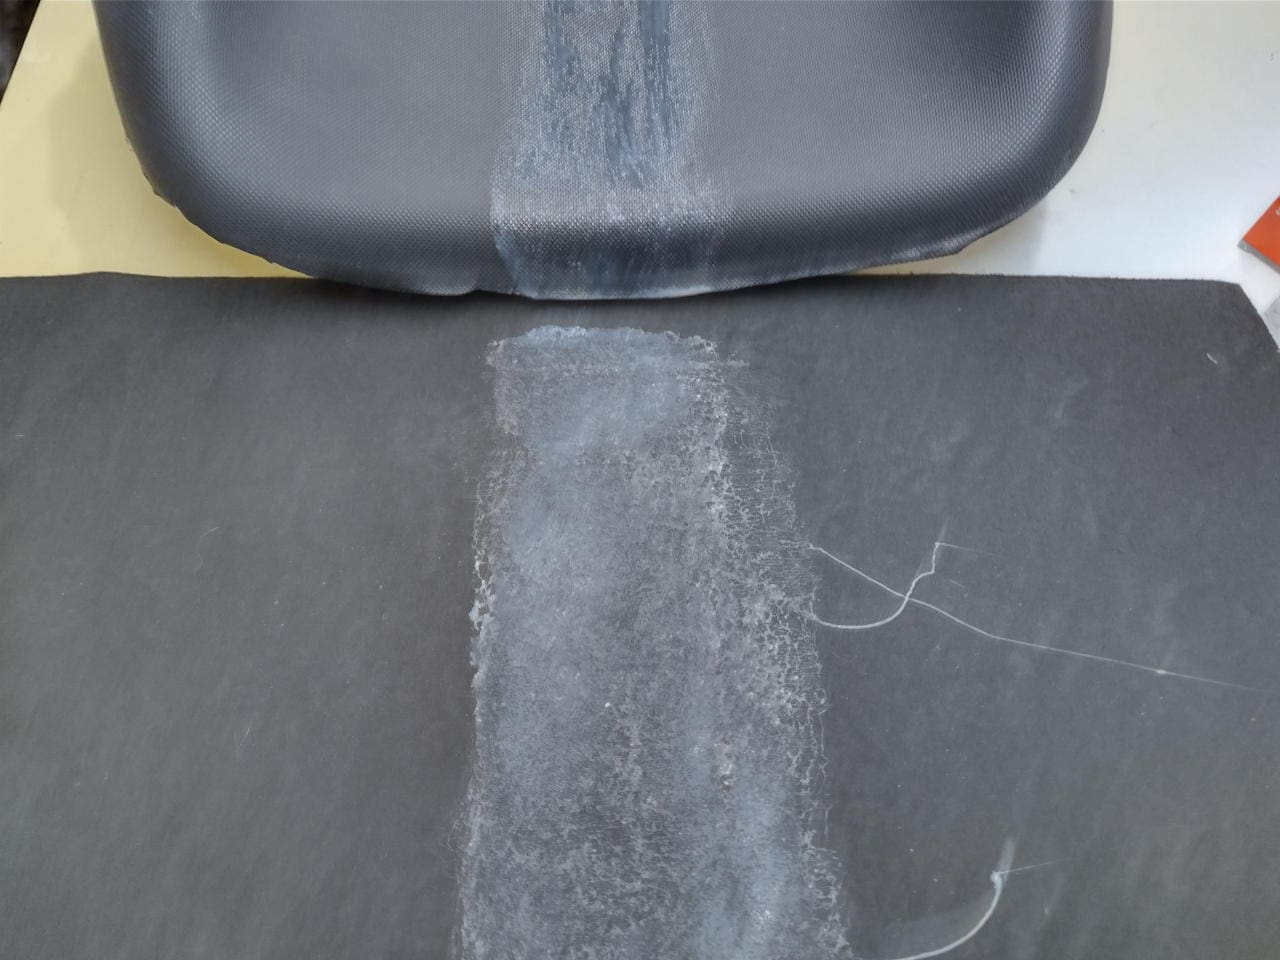
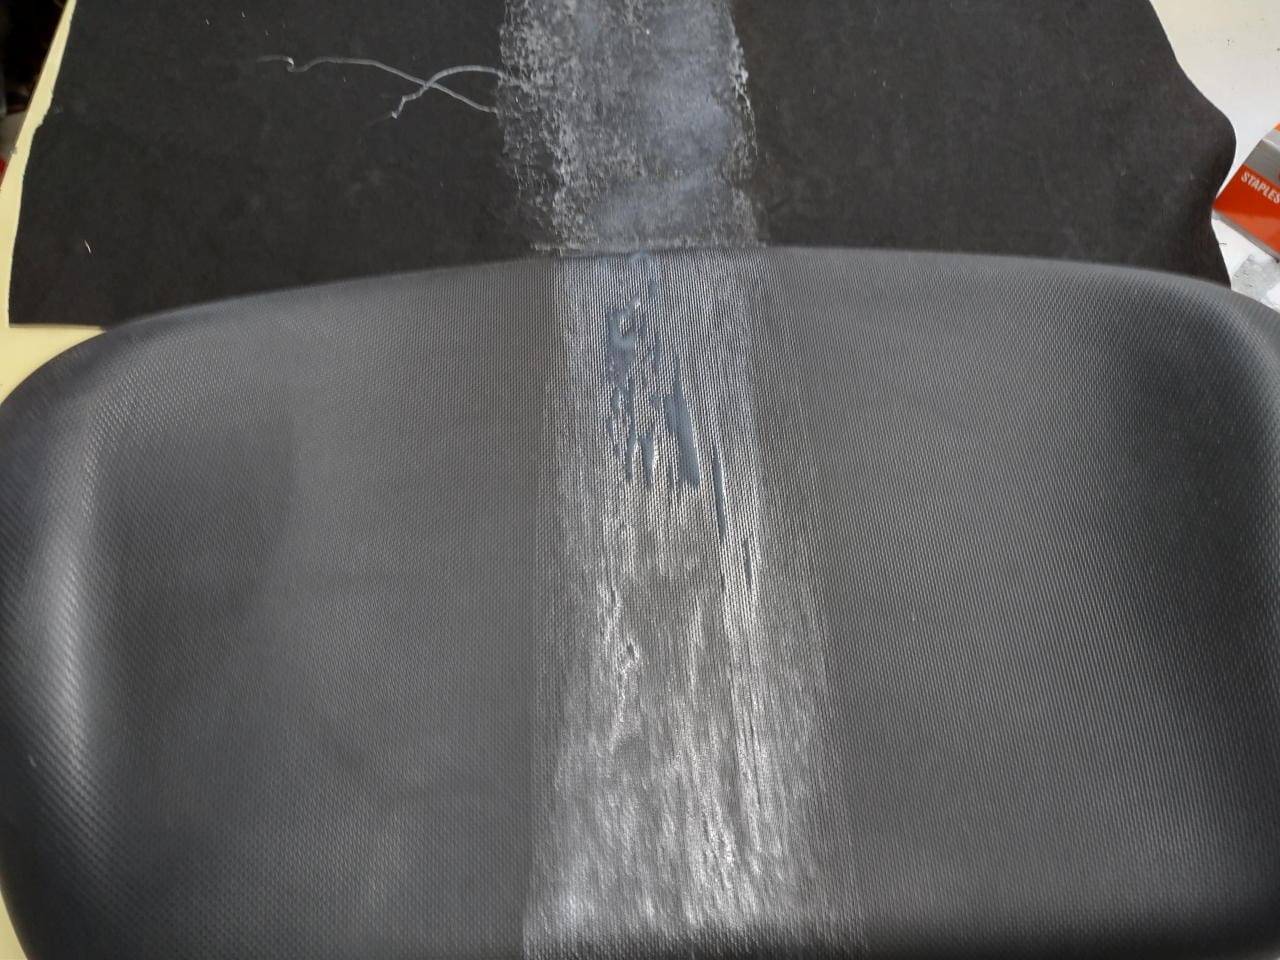
- Unknown substances (sealant? paint? glue) on and in the seat.
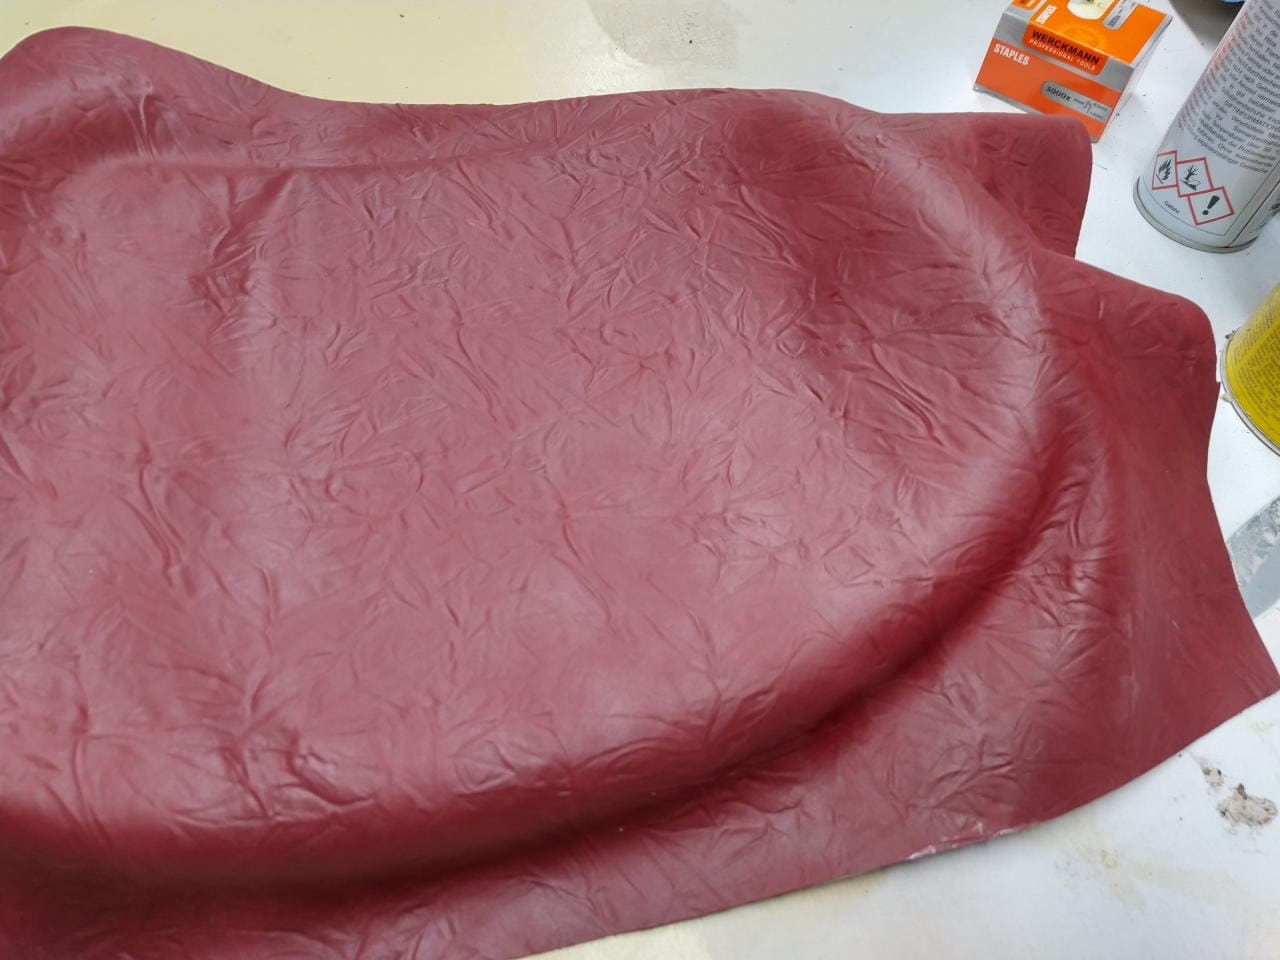
Buy artificial leather
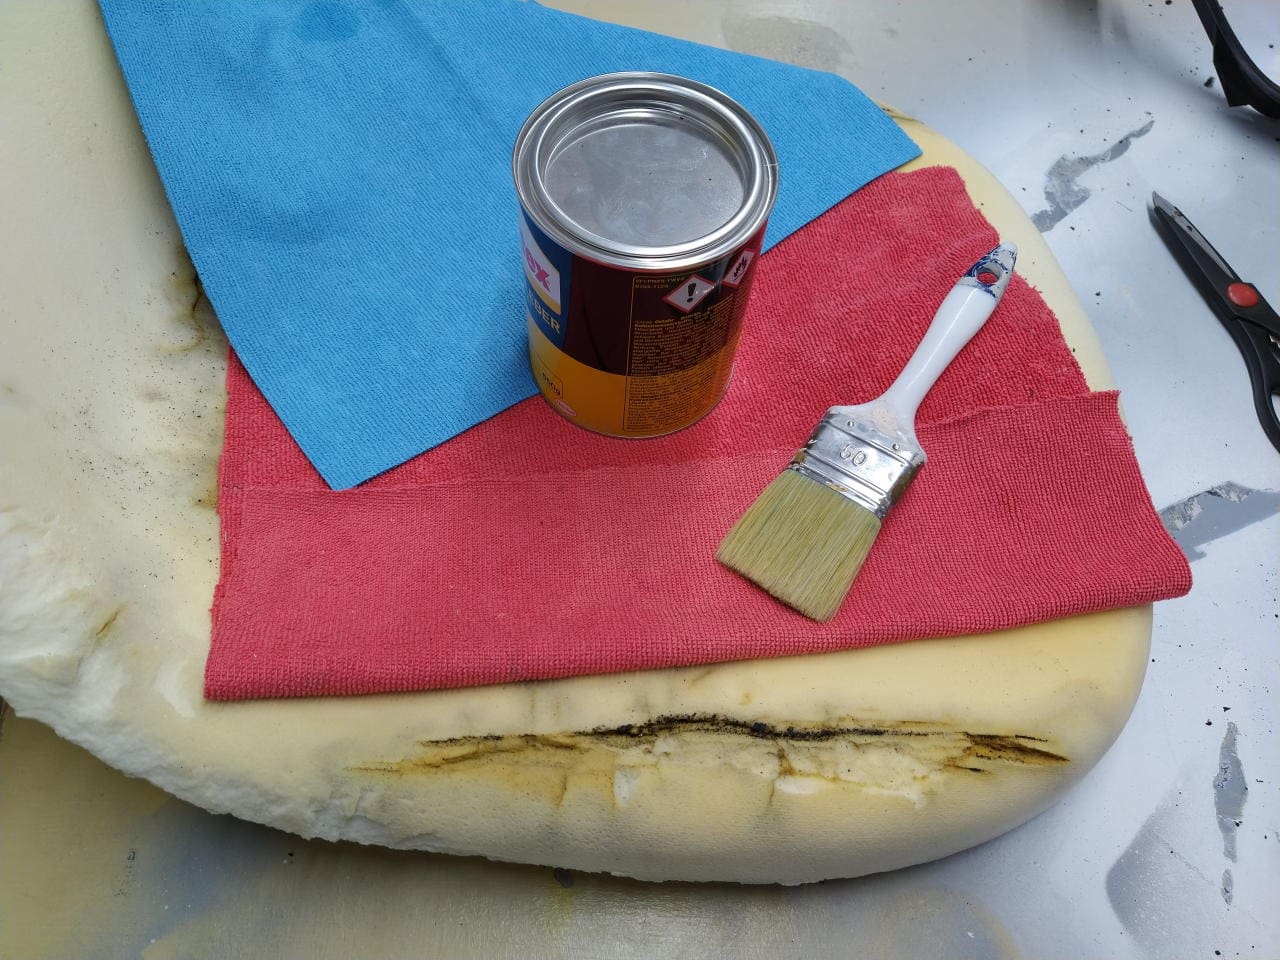
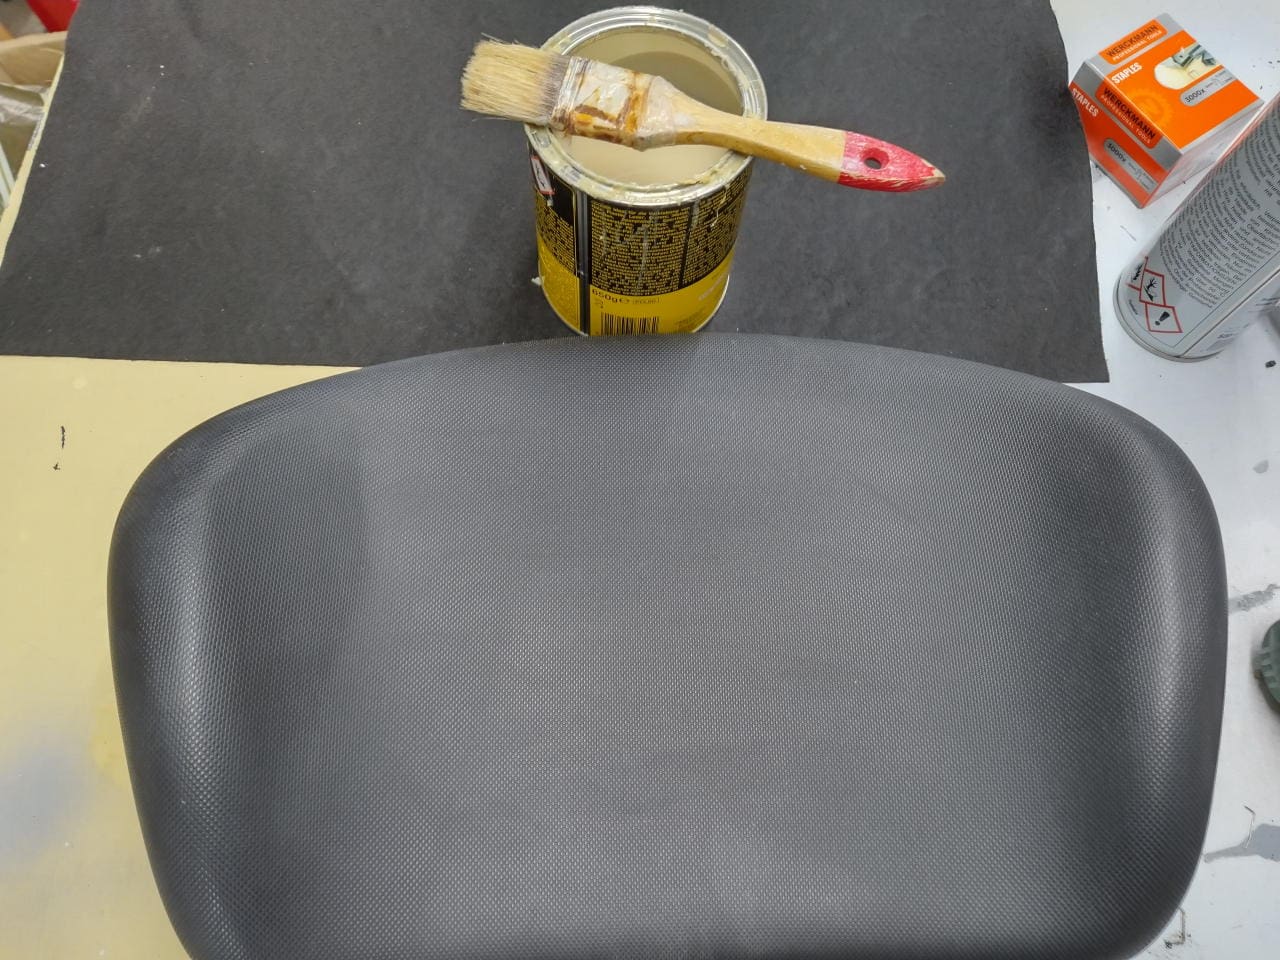
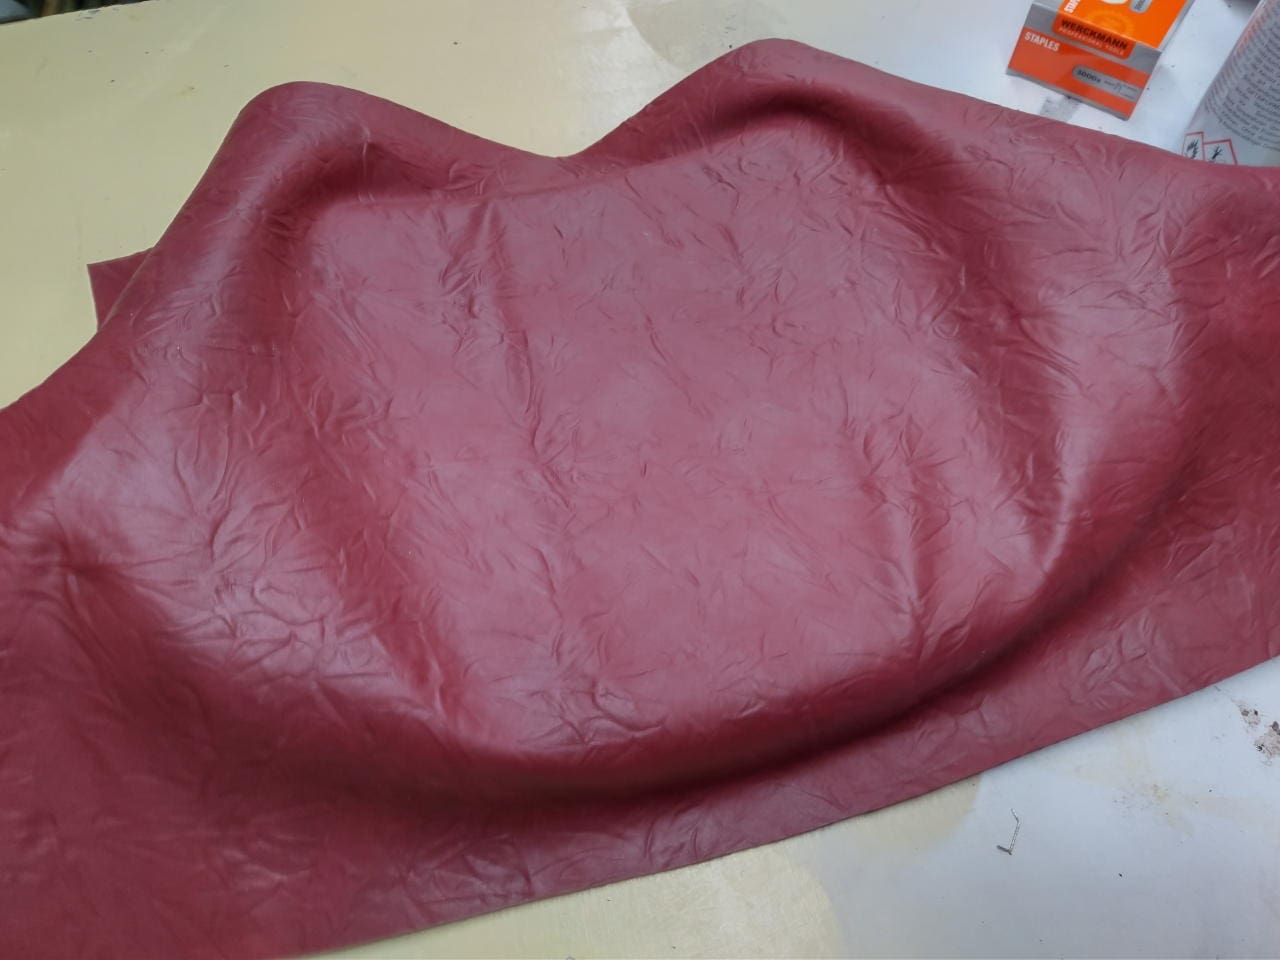
At Helga’s Wichtelwelt in the neighbouring town, which is actually an online shop, I bought 1.5 m² of artificial leather for EUR 15 and a pot of Pattex at Toom for the same price.
She also has a Facebook page. You can also order online from Helga. *wink* *wink* :-) She is nice and deserves support.
This faux leather design (on sale) is also available in silver, gold and copper. Copper is cool, but it was too bright for me and therefore perhaps too delicate. I’m thinking about covering the headlining with this leatherette. It only looks half good. It has stains. I don’t know what the previous owner did to it.
Don’t ask me what the stuff on the seat and in the cracks is. The previous owner works in the industry. Air conditioning technology?
Remove upholstery
What am I supposed to write here for a long time when TwizyChrisy has already made a video about it?
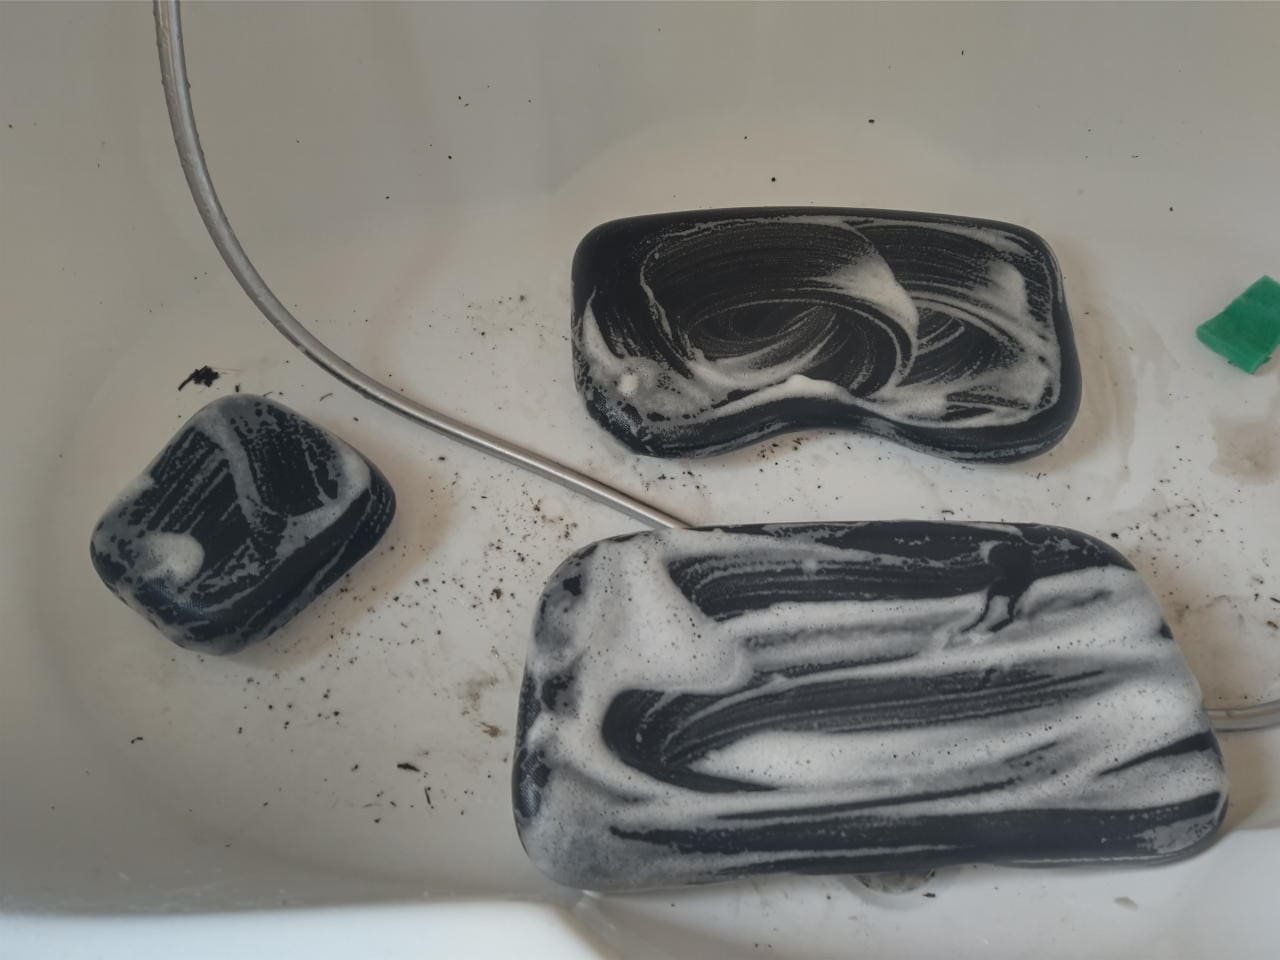
Clean, clean, clean!
The upholstery is off. I had to do an incredible amount of cleaning. Five passes from cold cleaning to the bathtub. Again and again, more grey street dirt came out of the seat and turned the water dark.
Now the cushions have to dry overnight.
First attempt
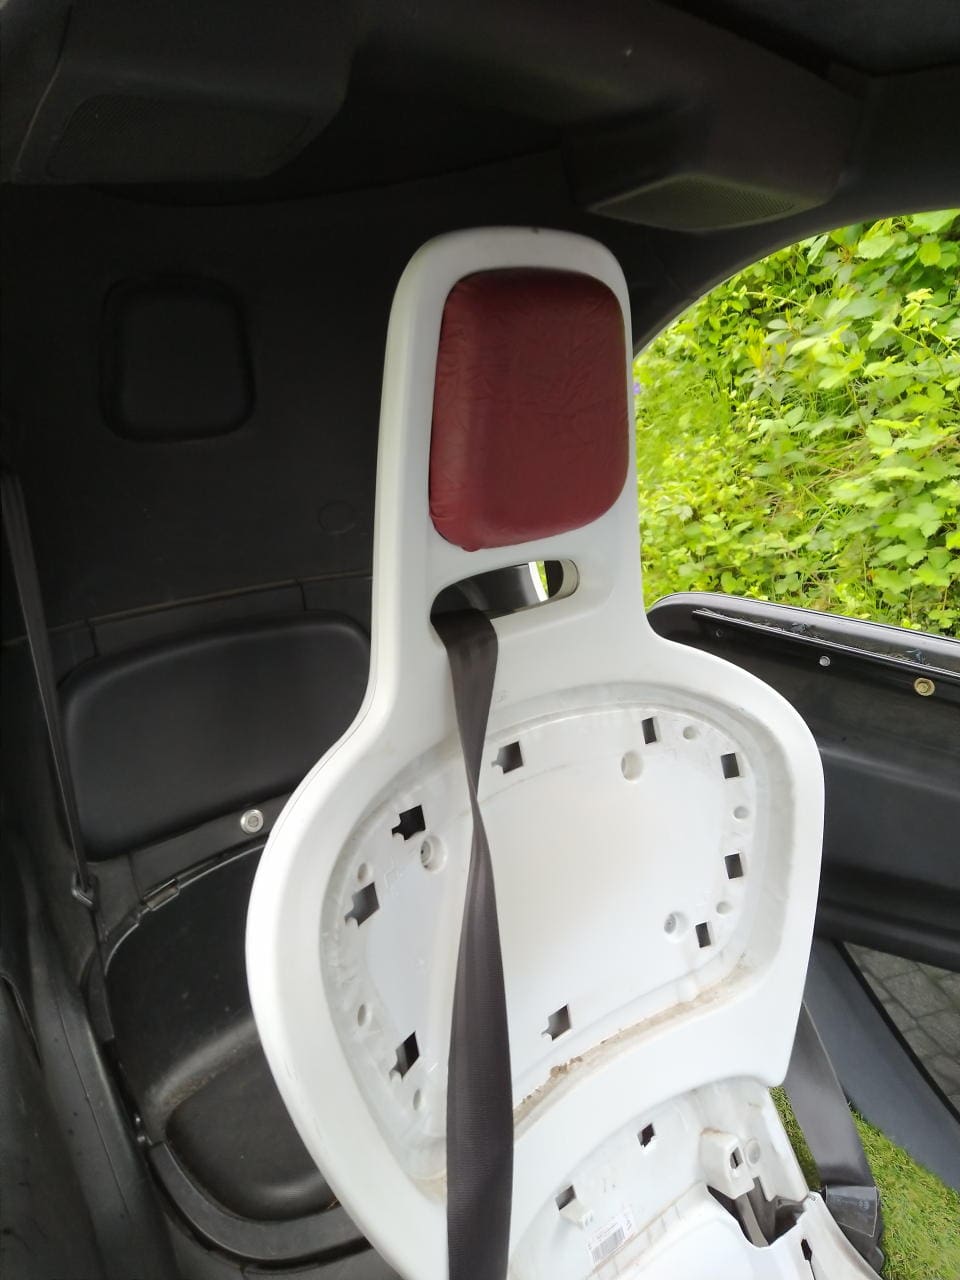
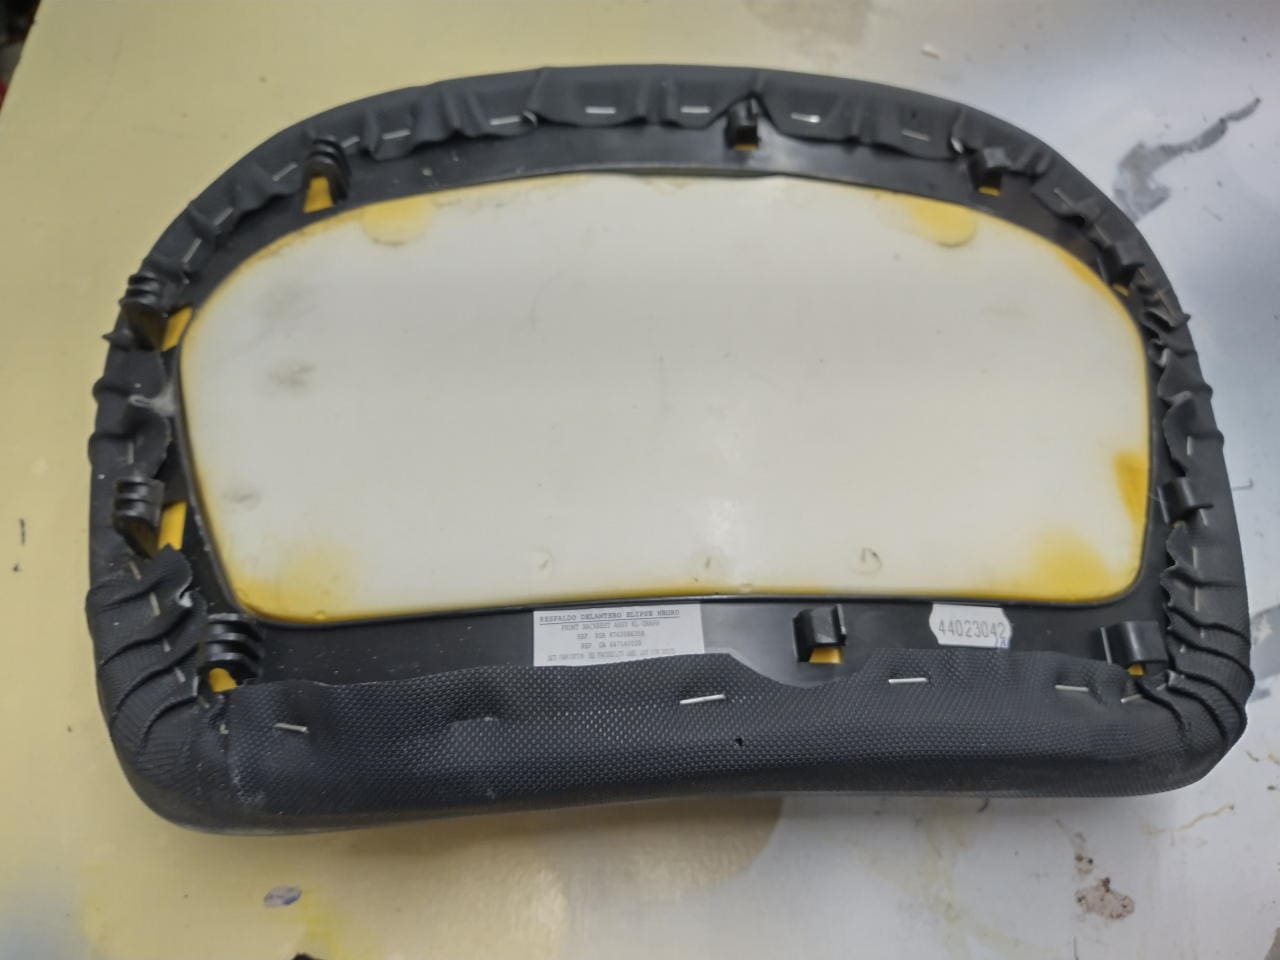
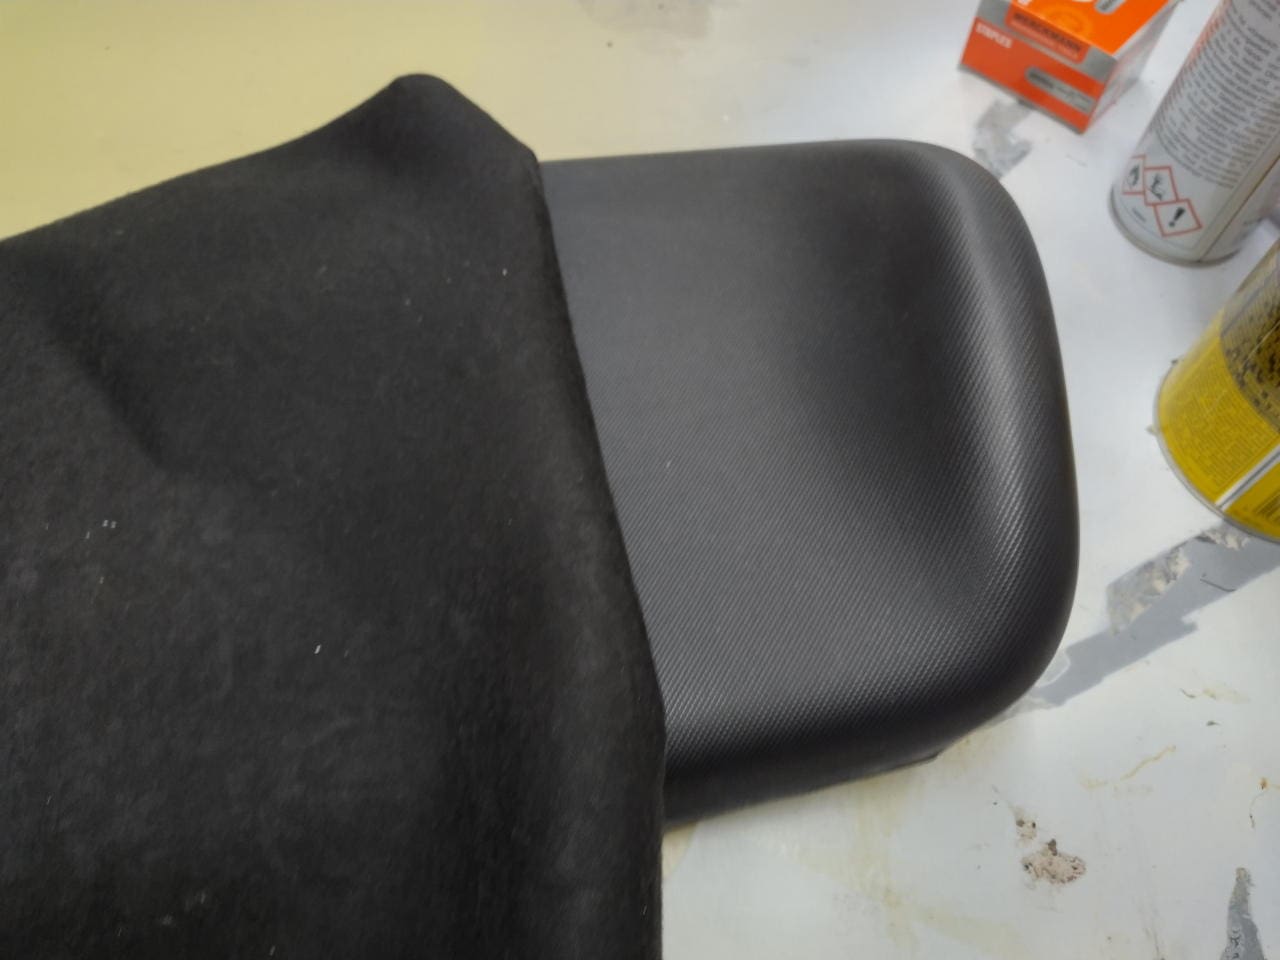
I started with the headrest.
You can find the procedure in this article: Replacing the headlining in your car. There I have shown exactly how to glue a fabric to a headliner support in such a way that it does not come loose even after ten years and holds better than factory installed.
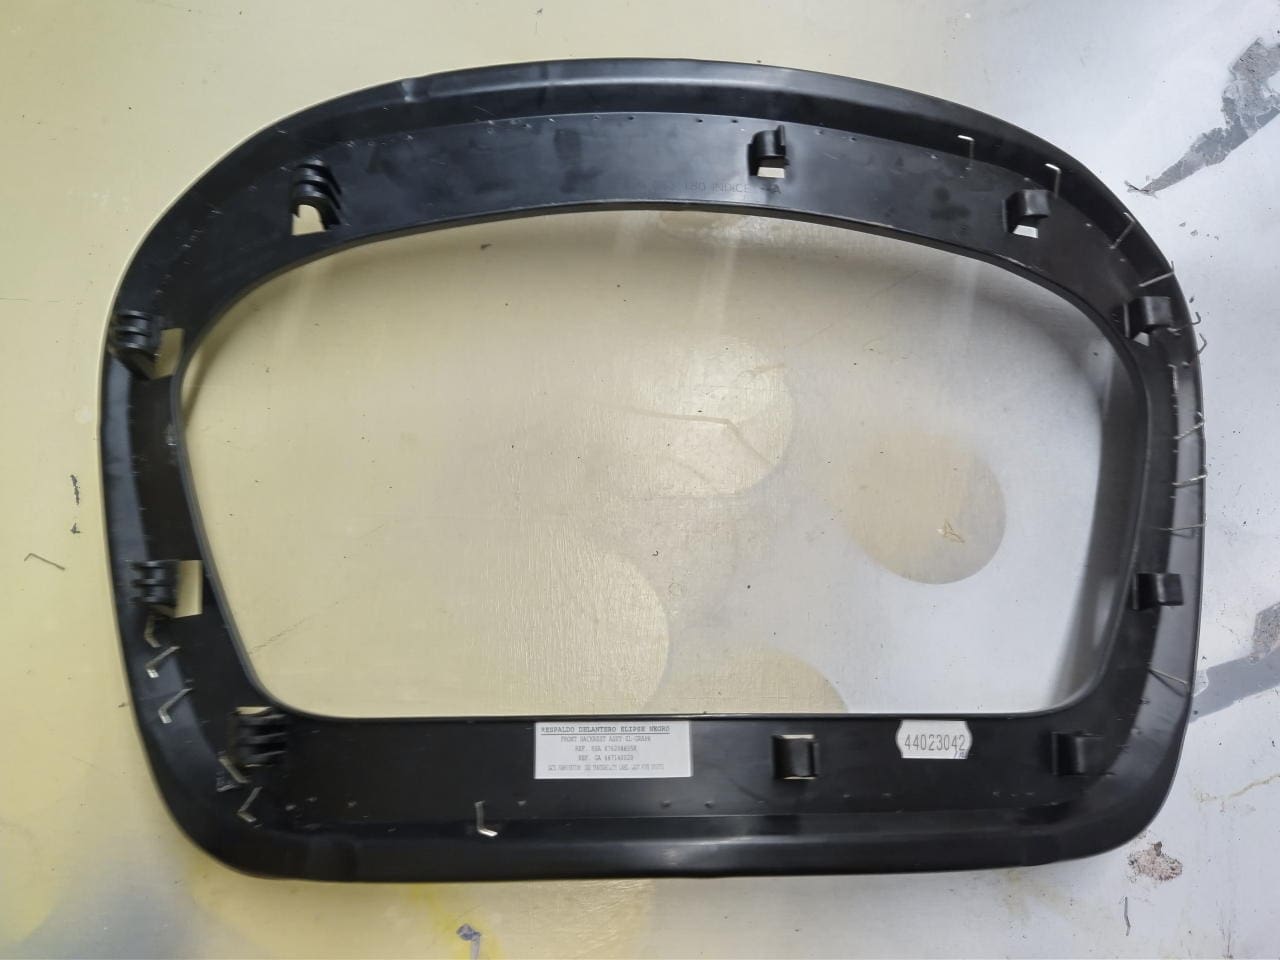
I also cleaned the headrest thoroughly. I then had to loosen the staples, which went well with the corner of a putty knife if you couldn’t pull the staples out of the plastic carrier together with the fabric.
Then I cut off the protruding edge with the staples all round with a cutter knife, because you can’t pull the cover off. This seems to be pressed and glued to the edge of the foam using heat, so that the upholsterers only have to staple the finished upholstered element to the support.
I placed the headrest on the artificial leather and tested how much overhang I needed. I then roughly cut out the shape.
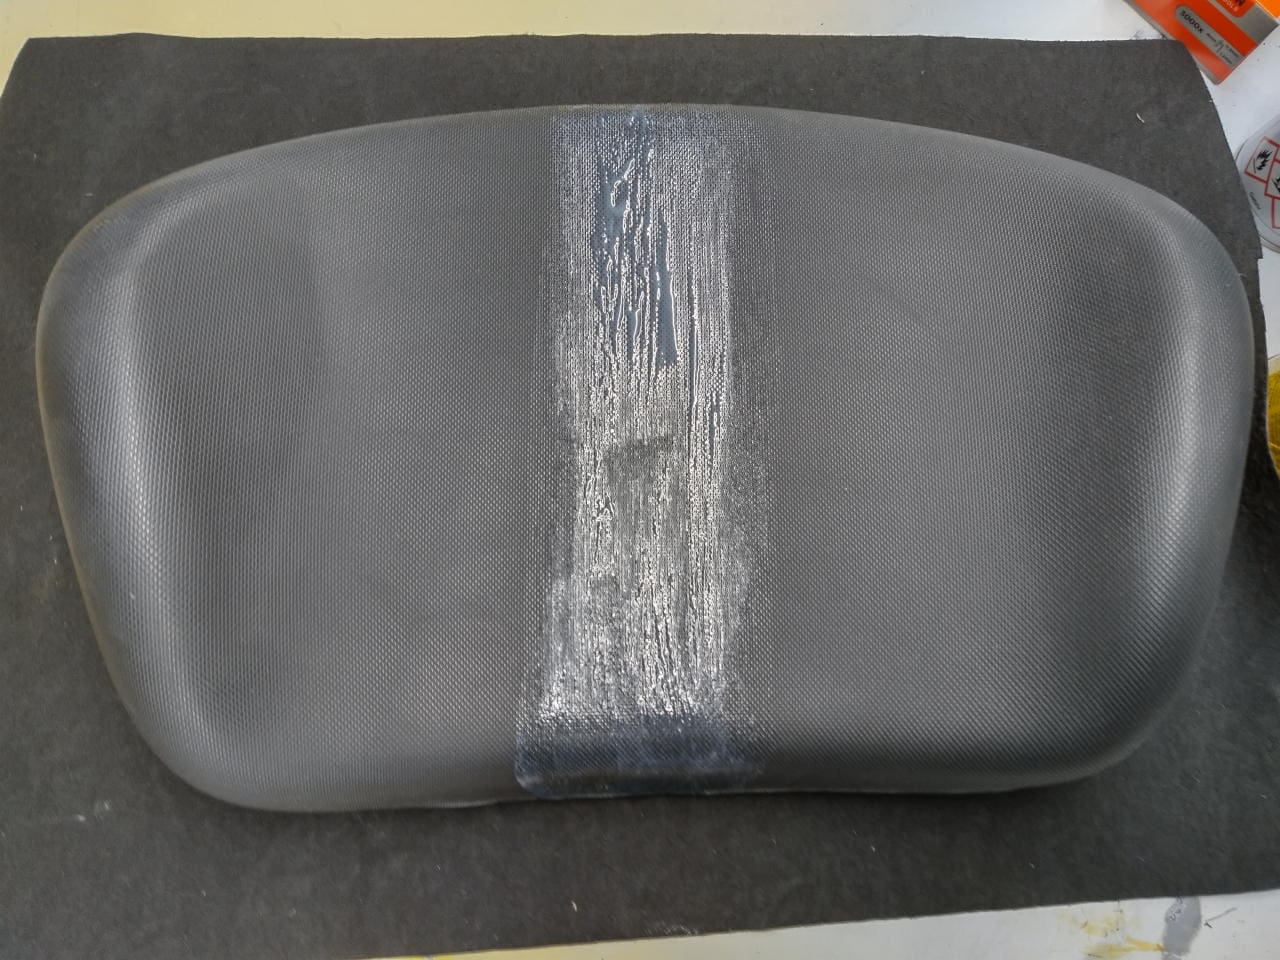
I applied Pattex to the headrest and the back of the faux leather with a brush. Allow to dry briefly and then press both parts firmly together.
I stapled the leatherette and plastic together on the straight edges. I cut into the faux leather at the corners to be able to fold it over as crease-free as possible. I helped a little with a hairdryer to make the leather more supple.
The headrest seemed the easiest to cover at first. But of course any mistake is immediately noticeable as it sits in a prominent position and tends to crease due to the tight radii. Well, I’m not a trained upholsterer. It’s not an apprenticeship for nothing, is it? You definitely need experience and skill here. I lack both.
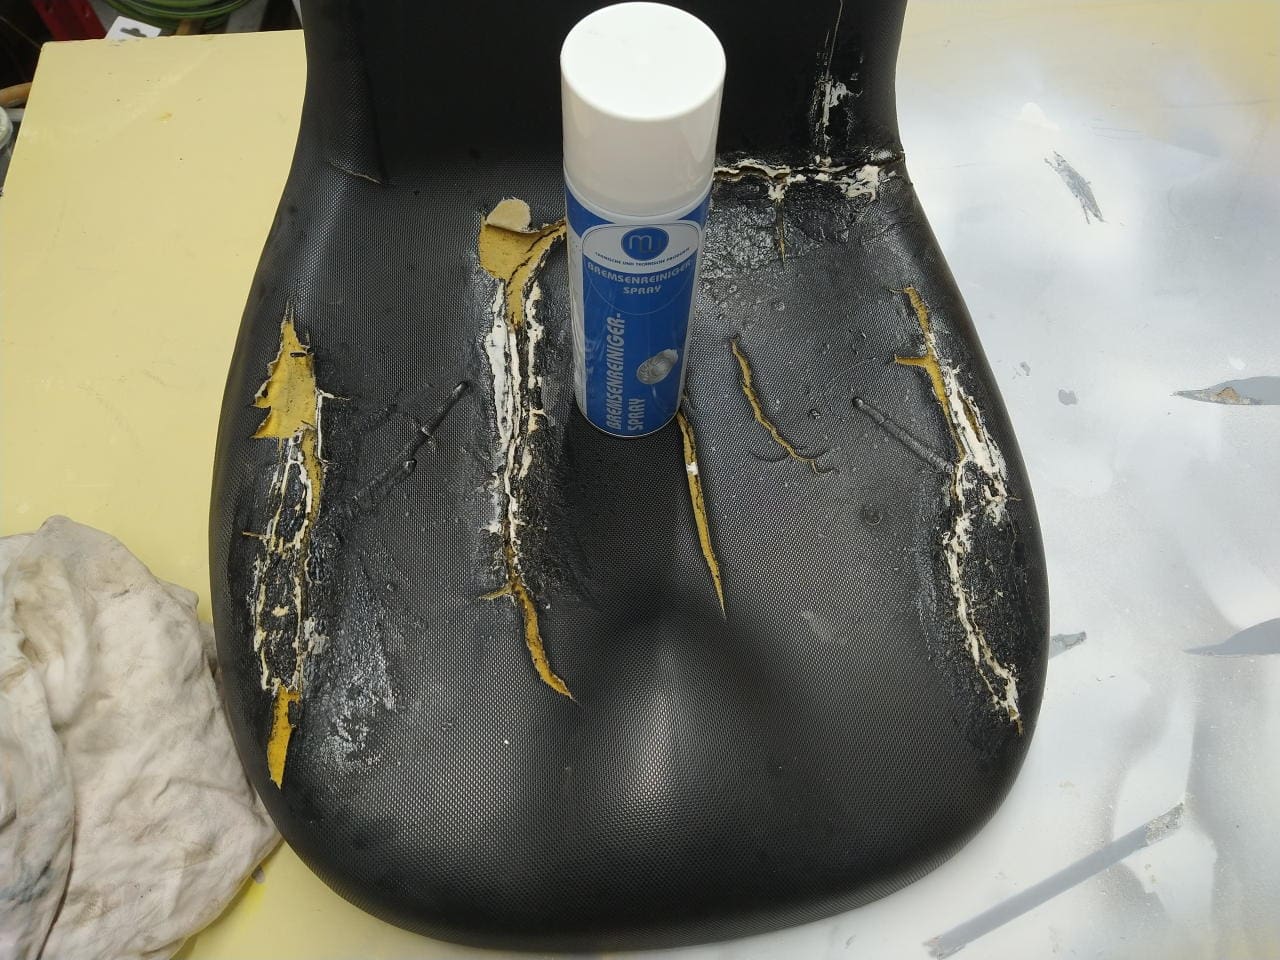
Repairing foam
The seat was finished. fully finished.

I’ll come straight out and say it: that was a rubbish idea! Of course, the foam is now really stable again, but in the end you can still see my patches and the old tears through the artificial leather.
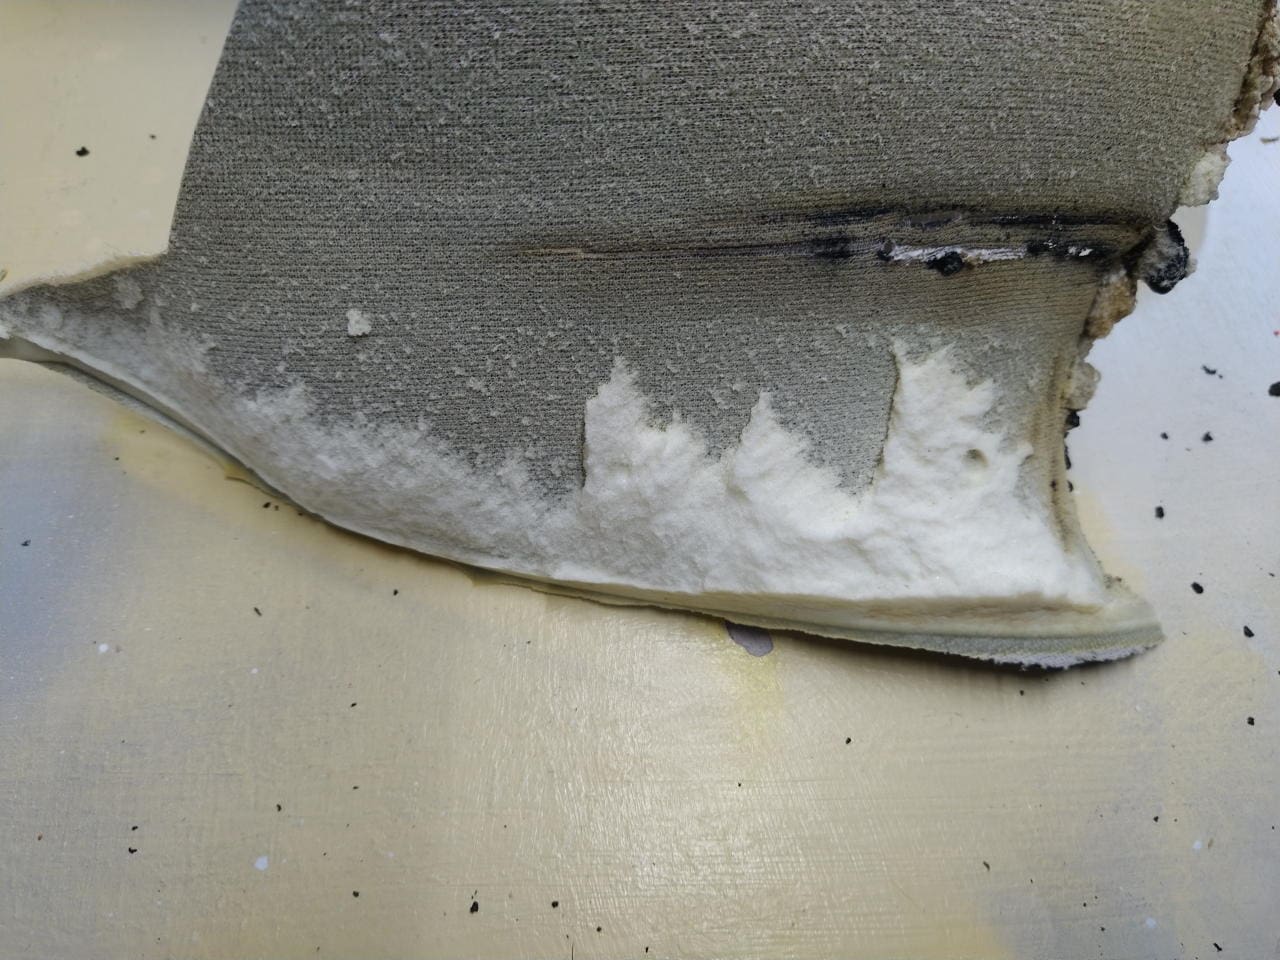
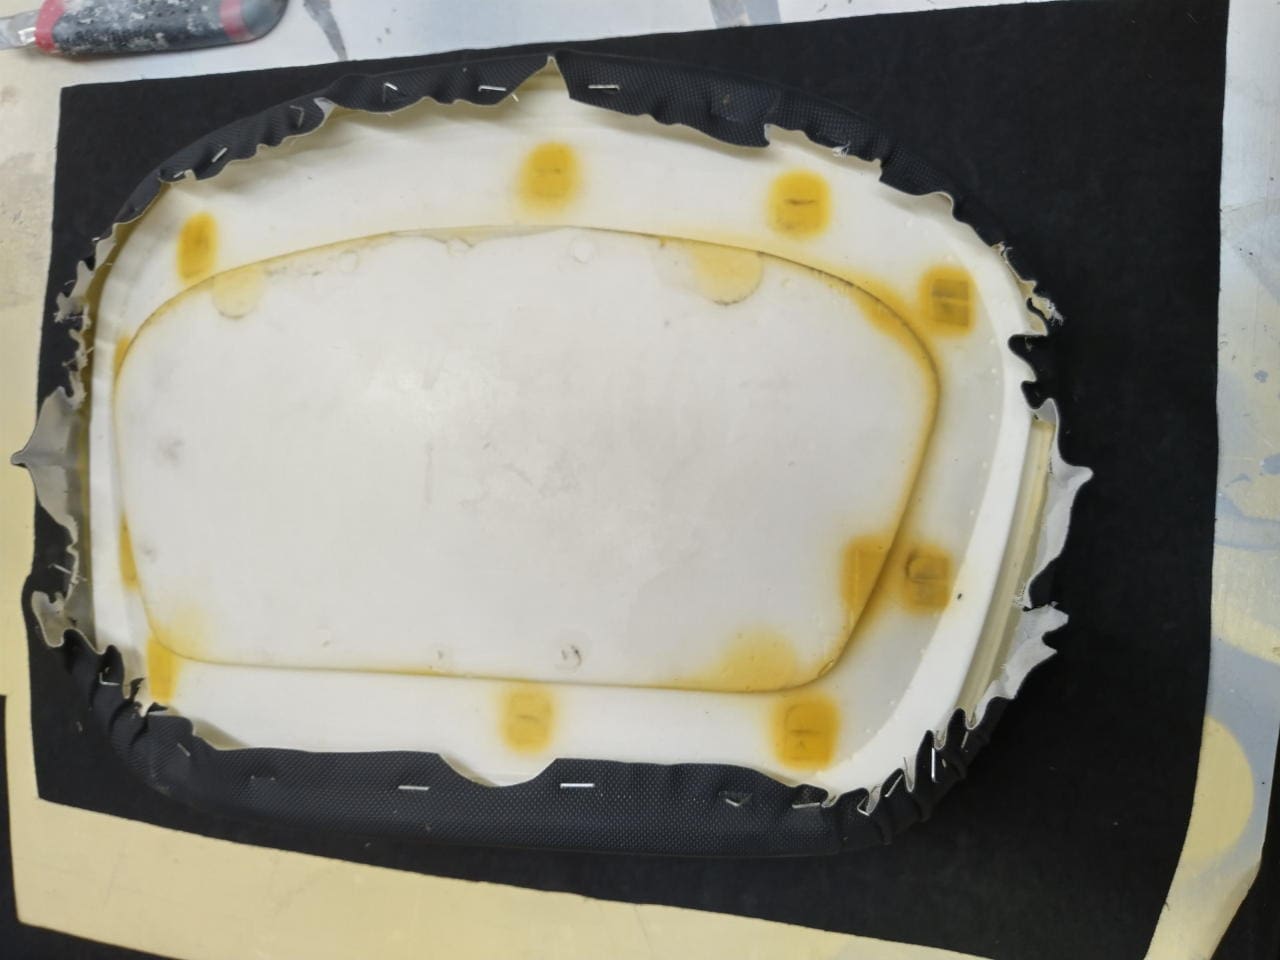
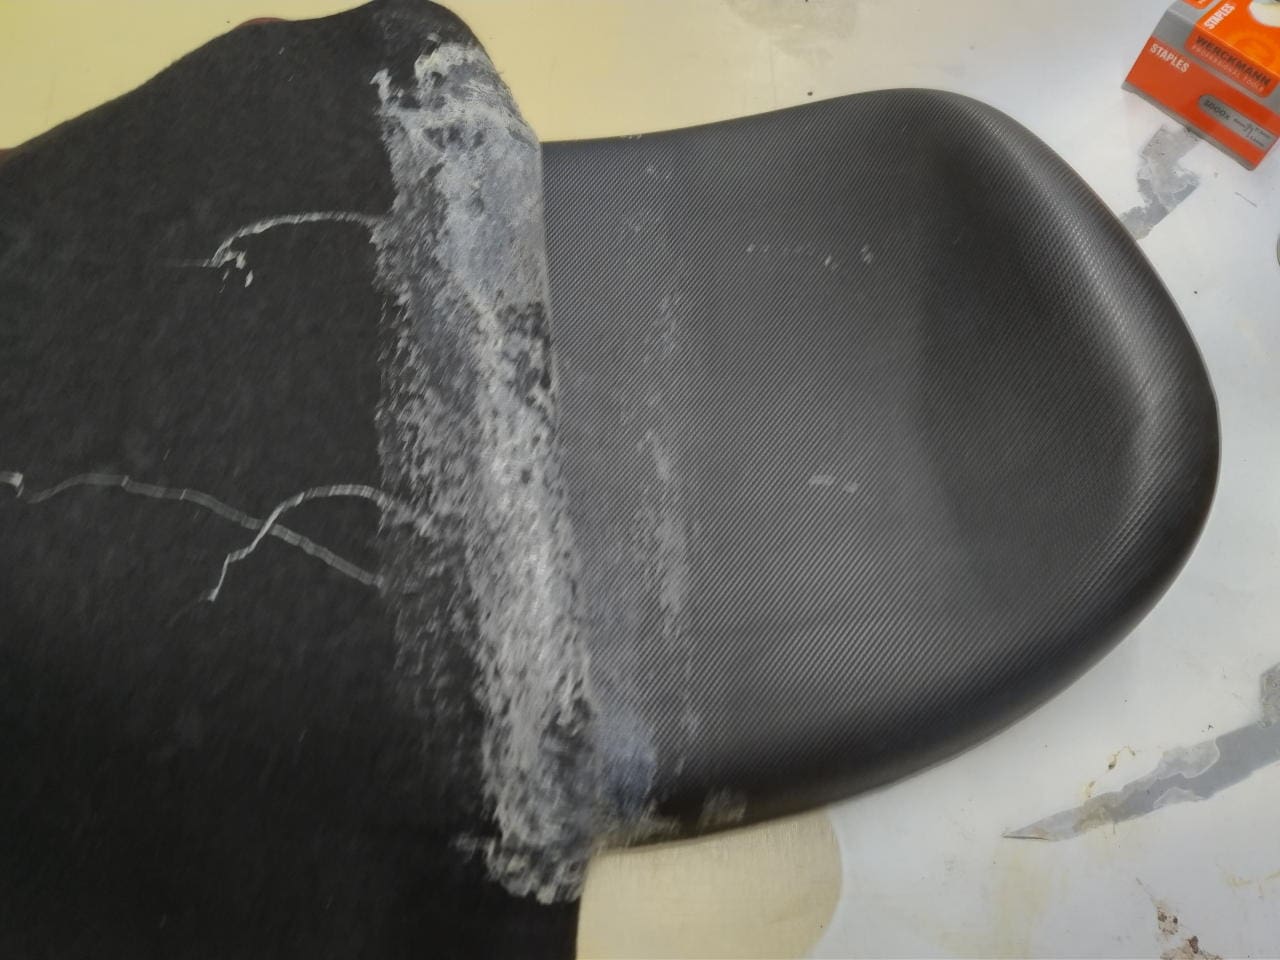
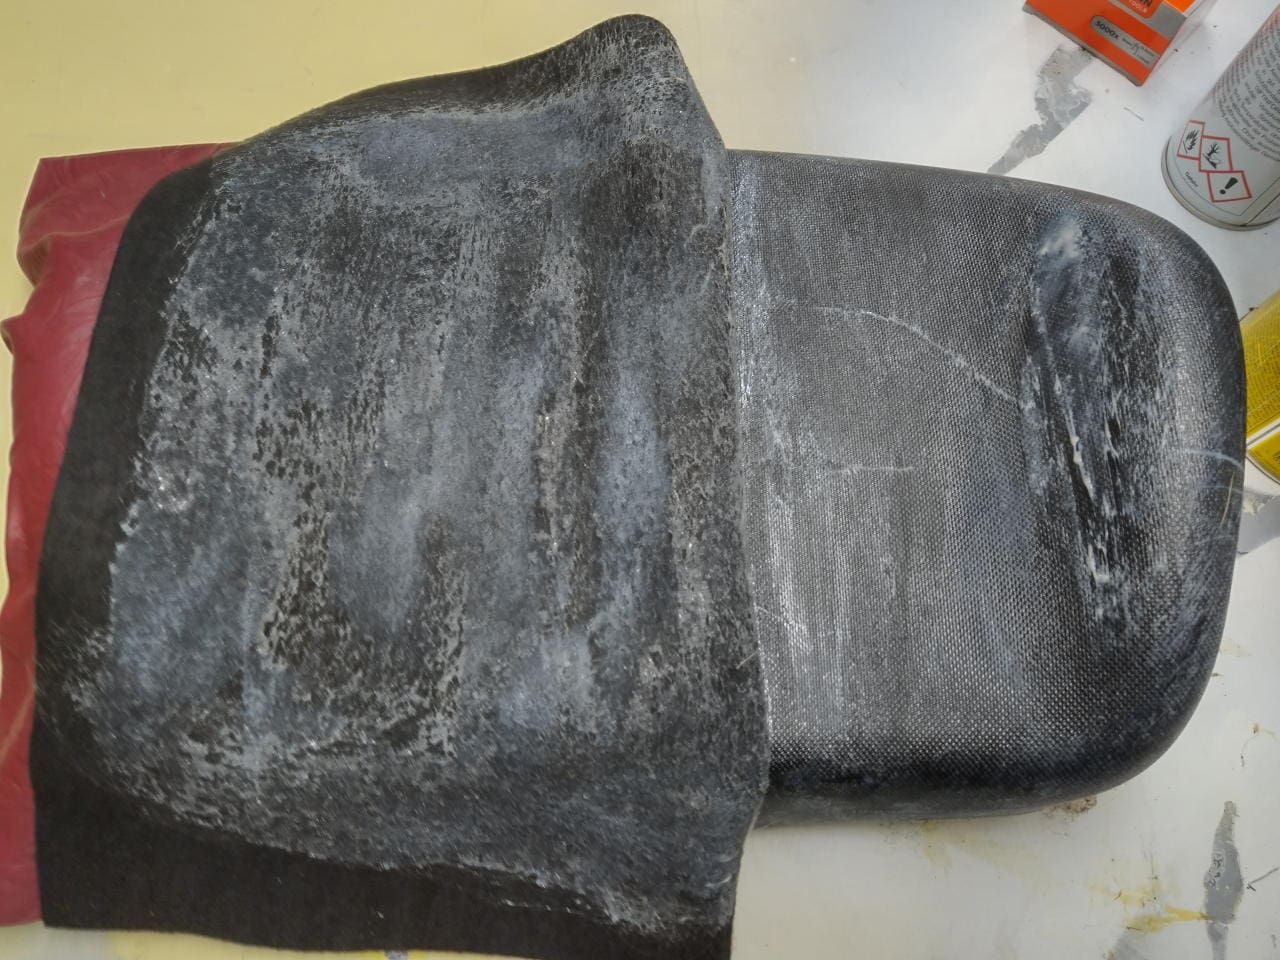
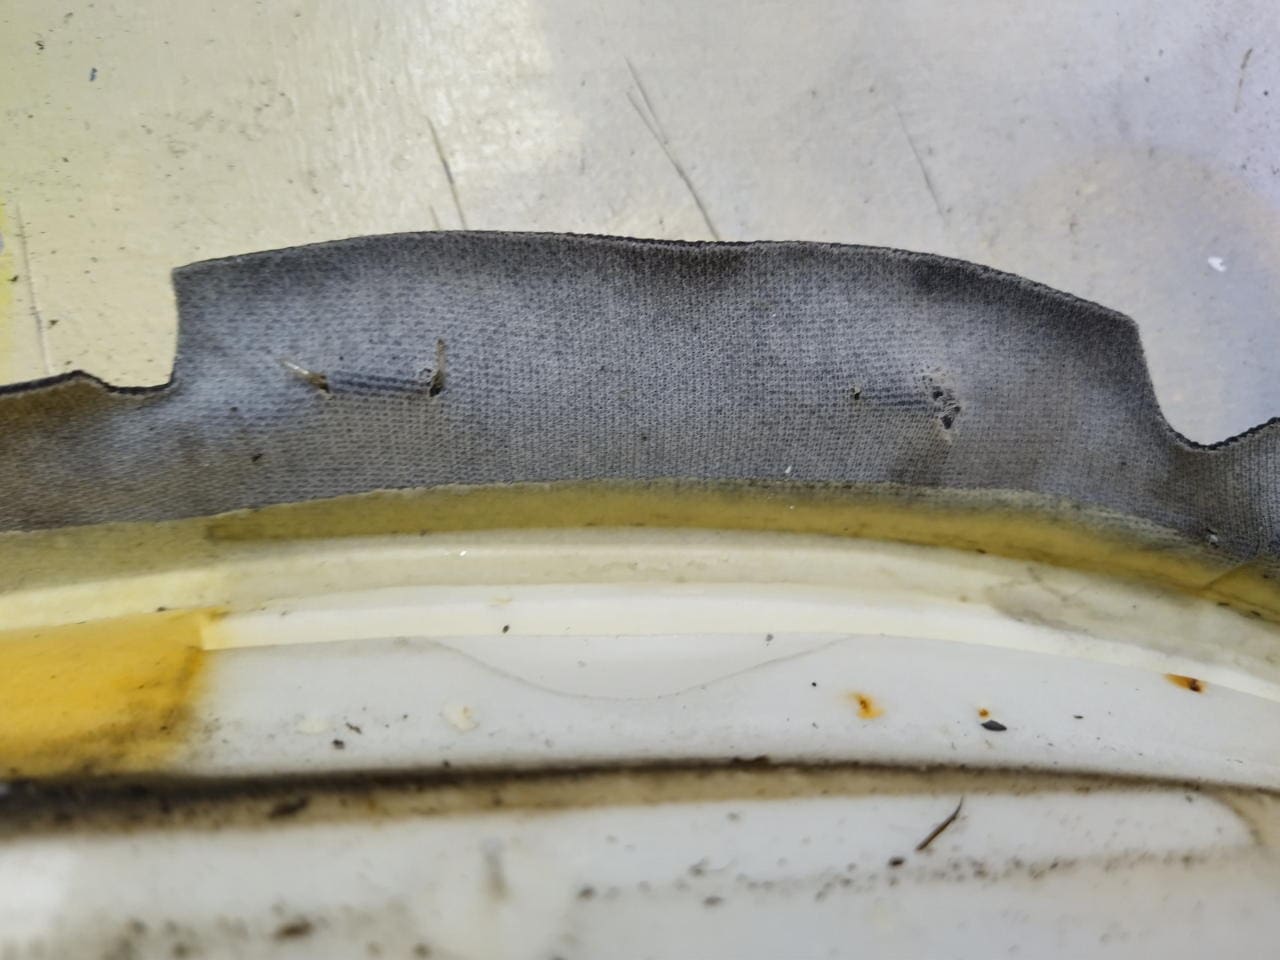
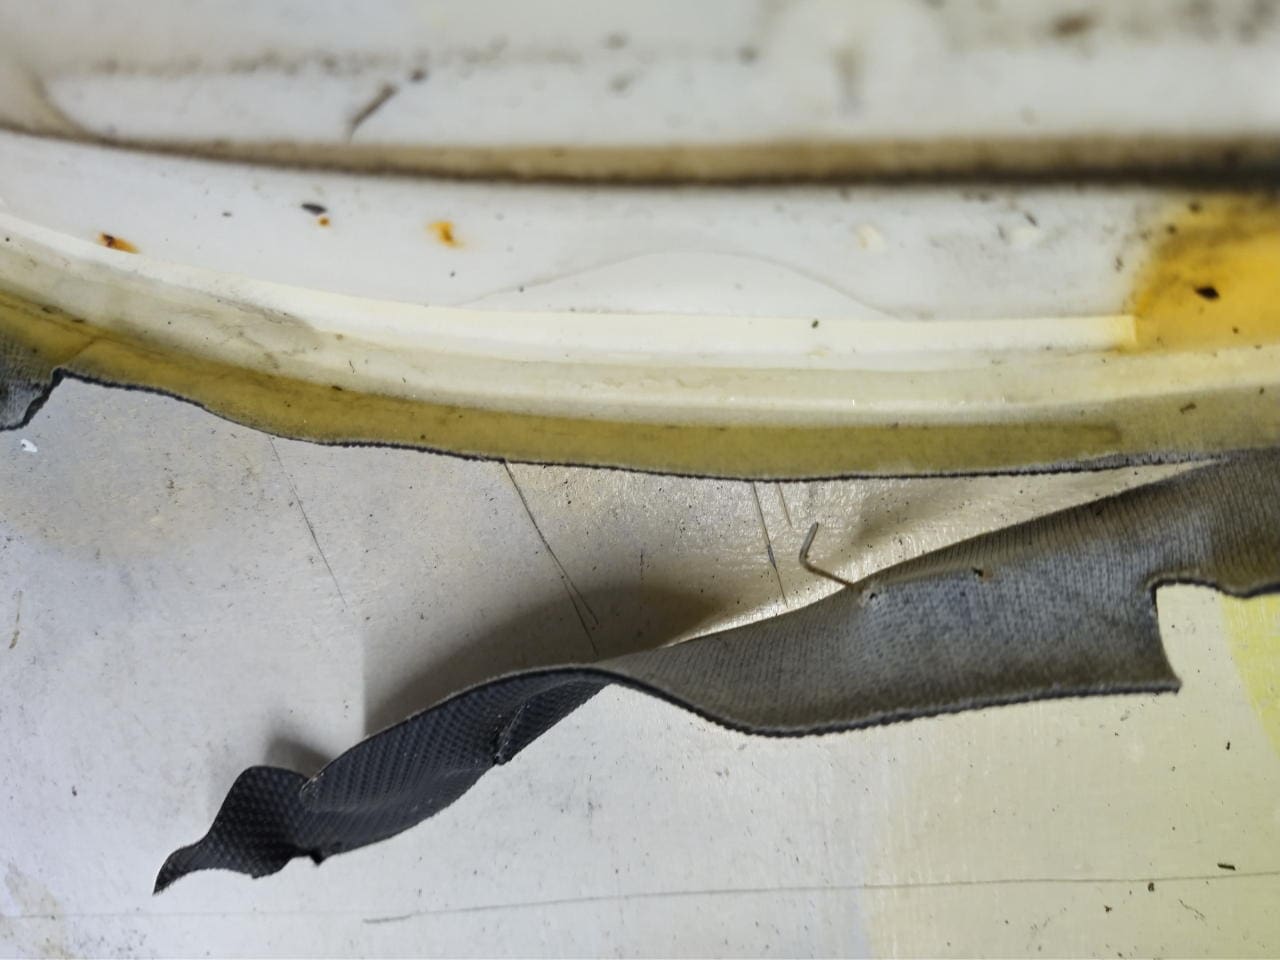
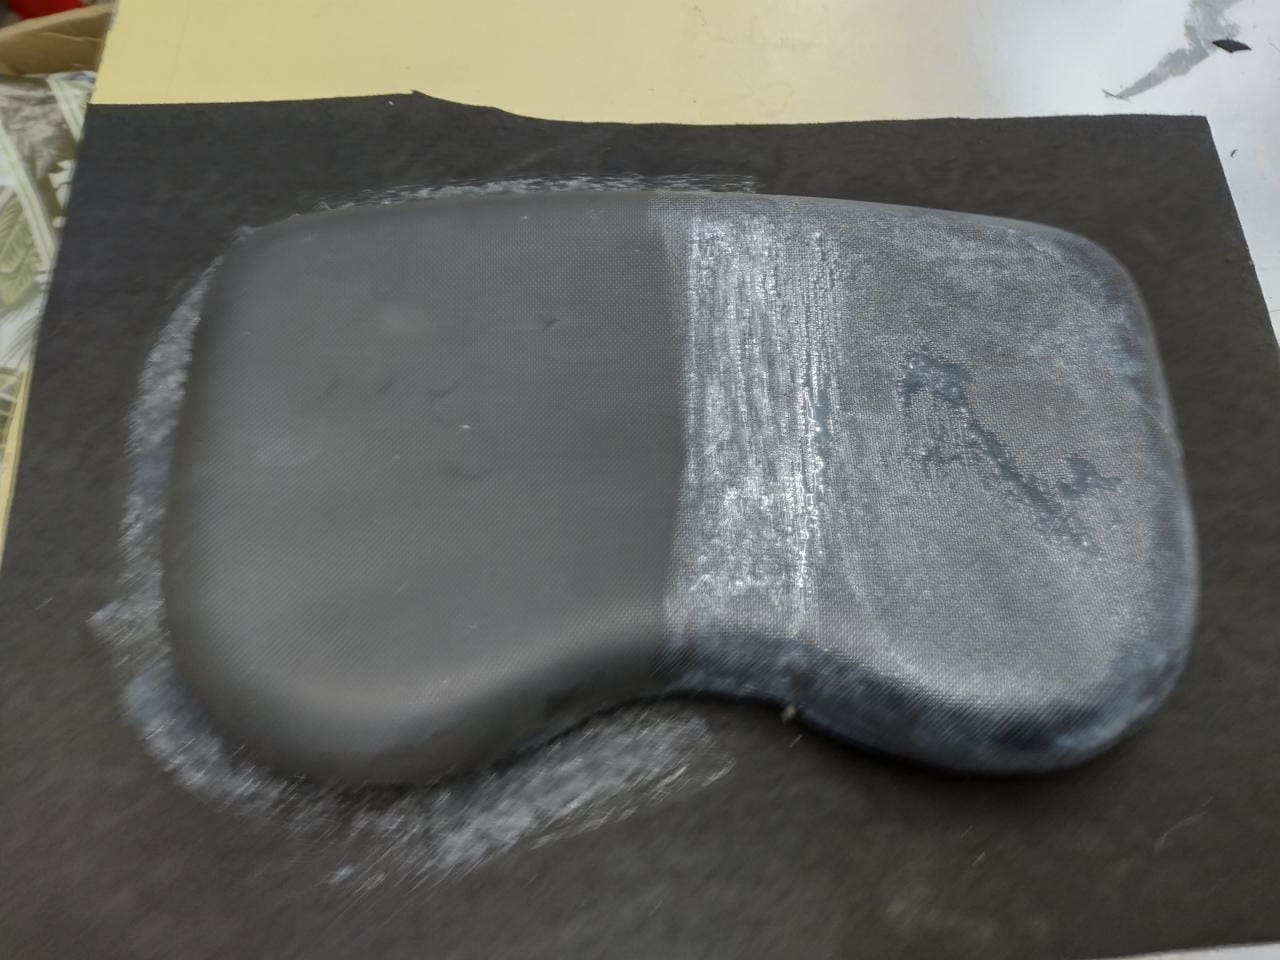
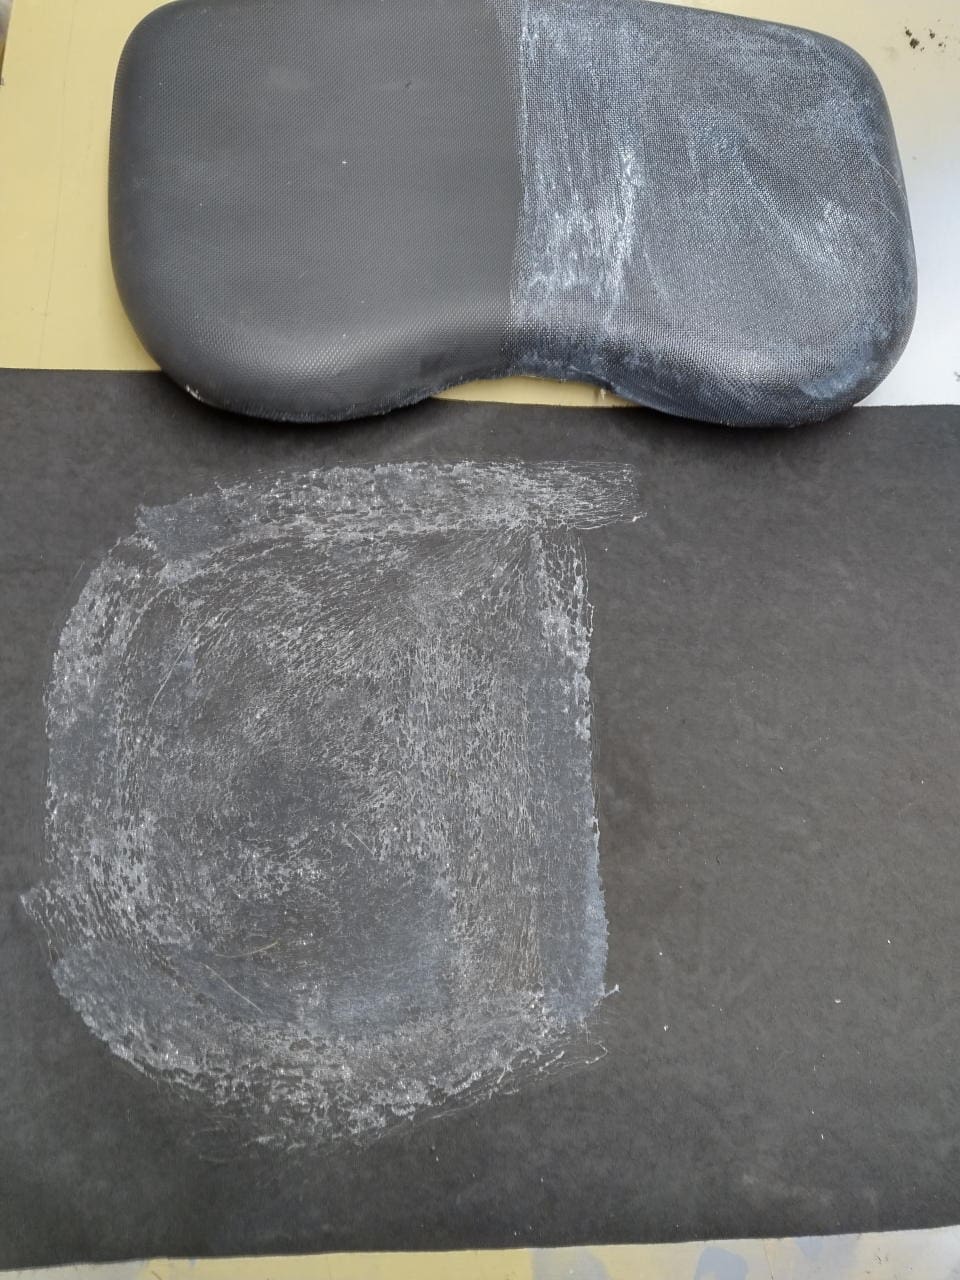
On the seat, which had been exposed to the sun, wind and weather for twelve years, the faux leather had already become porous and brittle. On all vertical surfaces, however, it was still in perfect condition.
Apparently, the bonding between the foam and the cover was also suffering, so I was able to peel it off in strips at most corners without any problems. Only the edges themselves were sticky as hell.
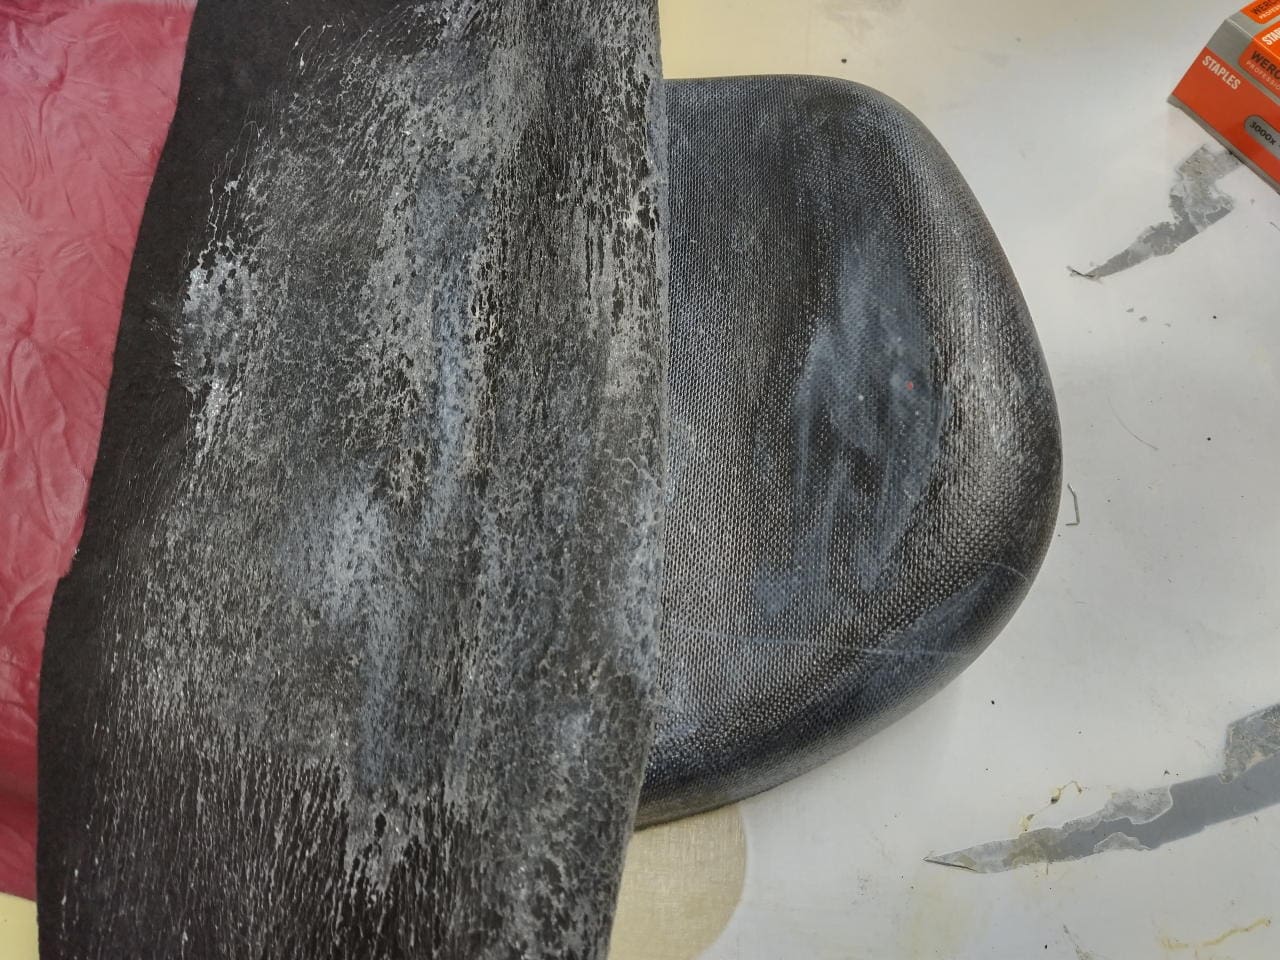
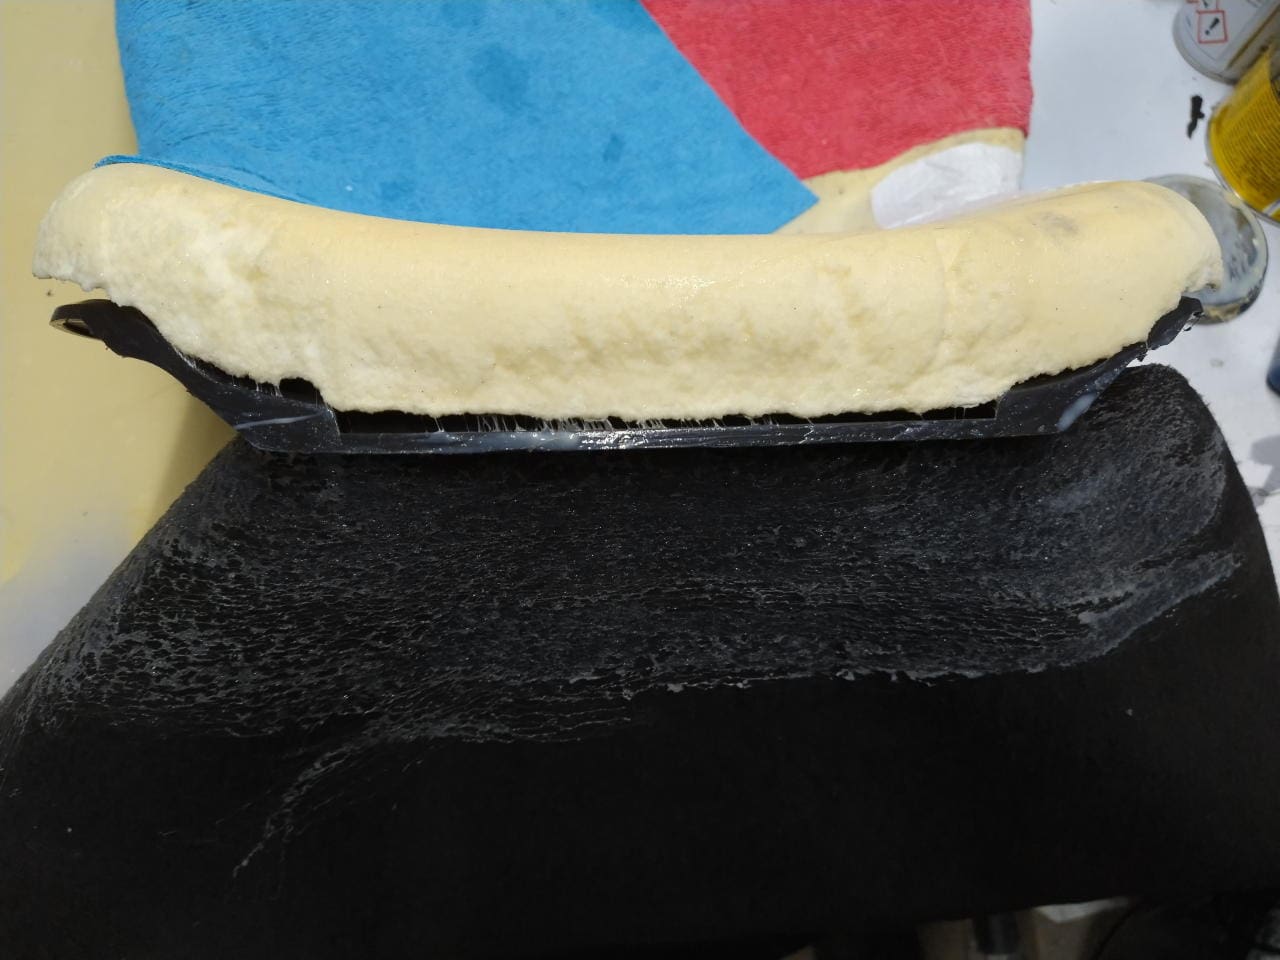
I glued the tears with Pattex and wanted to protect the area from which foam pieces were already missing with cloths to prevent new tears. Old bed sheets? Oh, cotton fabric is too delicate for me, so I resorted to using existing and older (but clean!) microfibre cleaning cloths, which I cut off the chained edge.
Unfortunately, I didn’t have a cloth big enough for the entire seat. So I cut it into pieces. A bad mistake, as it turned out.
Second attempt
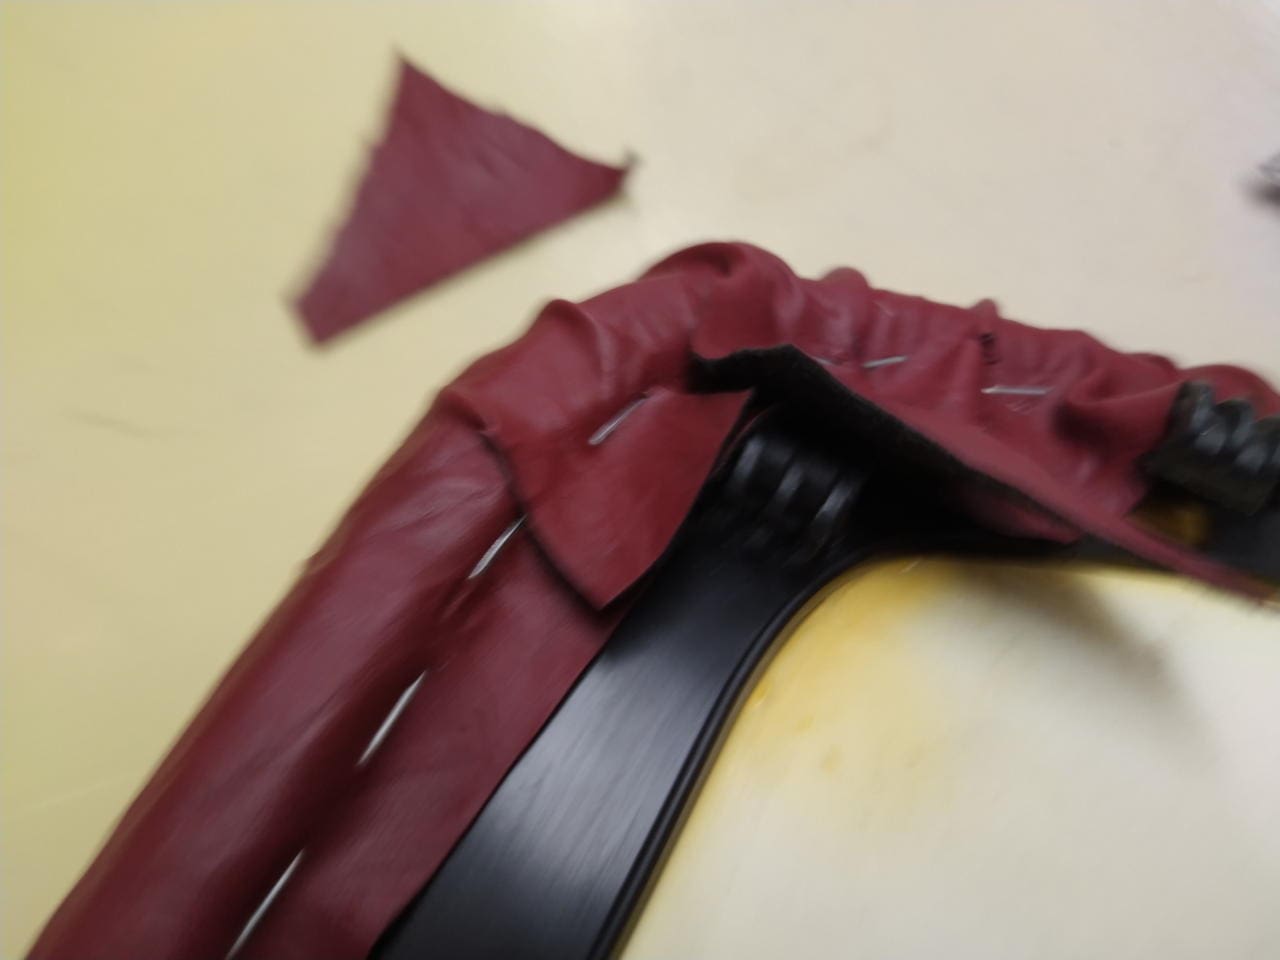
The backrest came next, until the seat was completely dry. This is also the hardest part to cover, so I wanted to gain more experience beforehand. I refined my technique on the backrest.
By my standards, I was quite happy with the result. I put the backrest aside and took care of the seat.
Third attempt
From top to bottom, headrest and backrest, I was through. My nemesis, the seat, was waiting. I could hear her giggling softly in the dark as I walked into the garage in the basement. She wasn’t going to make it easy for me, and she wasn’t going to.
With all the stress, I didn’t get round to taking any pictures. It was a real drama and I was fiddling with glue, scissors, a cutter knife and a hairdryer.
The result
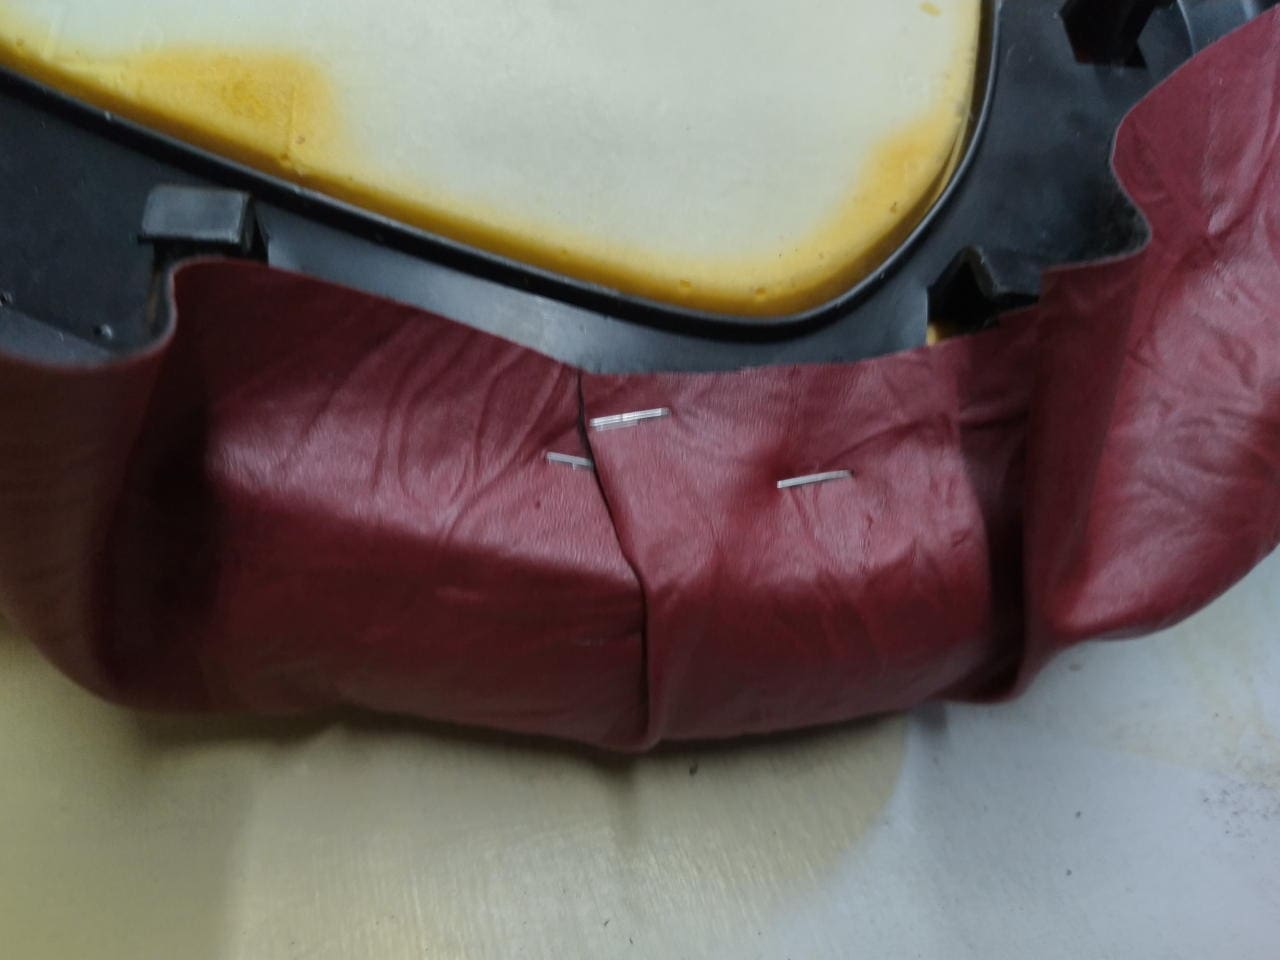
I am not a saddler. Full stop. Maybe I’ll get that faux leather again, apply a thin layer of foam to the seat and then reupholster. My current work would stay underneath, because I’ll never get that stuff off again.
I would divide the cover into two parts, one for the horizontal surface and one for the vertical. Then pin it to the seat, pin the two parts and sew them together with the machine. This should prevent the worst creases.
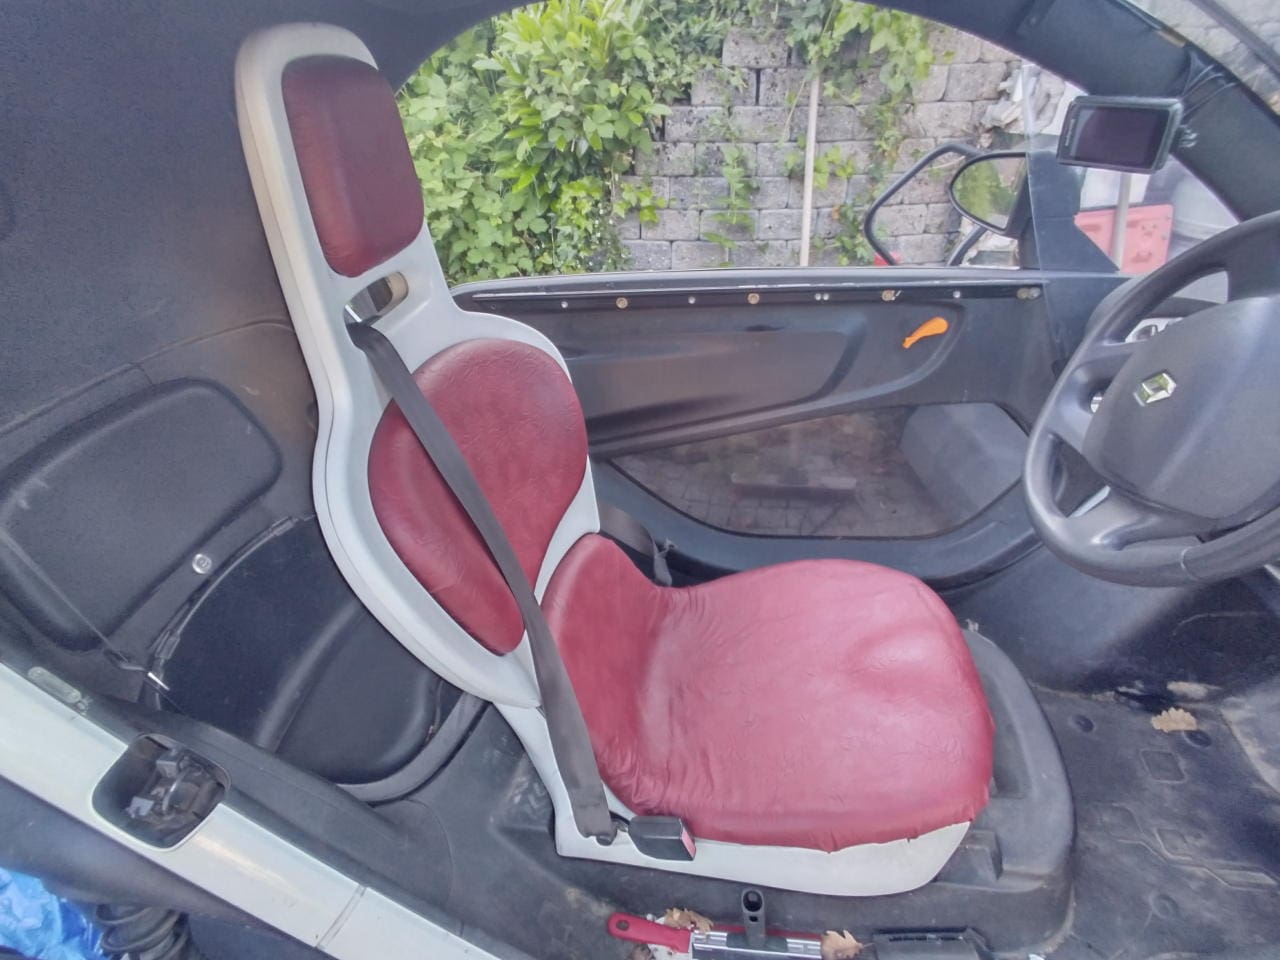
Yes, well, now I have a five metre seat. Please? Yes, that means it looks good from five metres away.
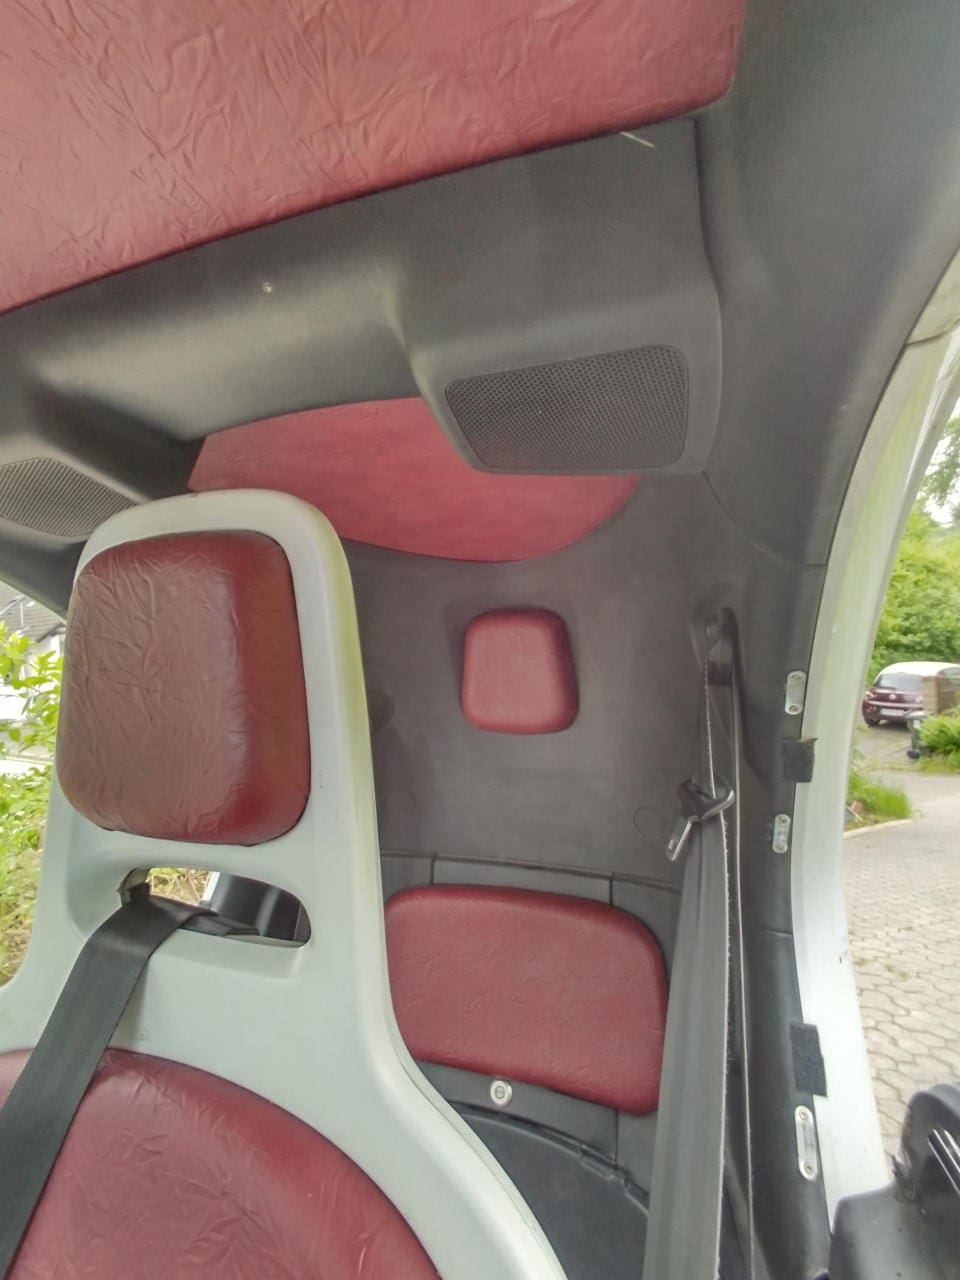
Rear seat
Actually, I was completely fed up. I didn’t want to cover the rear seat again. But the next day, after a test drive, during which I realised that the seat was much more comfortable and offered much more lateral support, I finally got the hang of it.
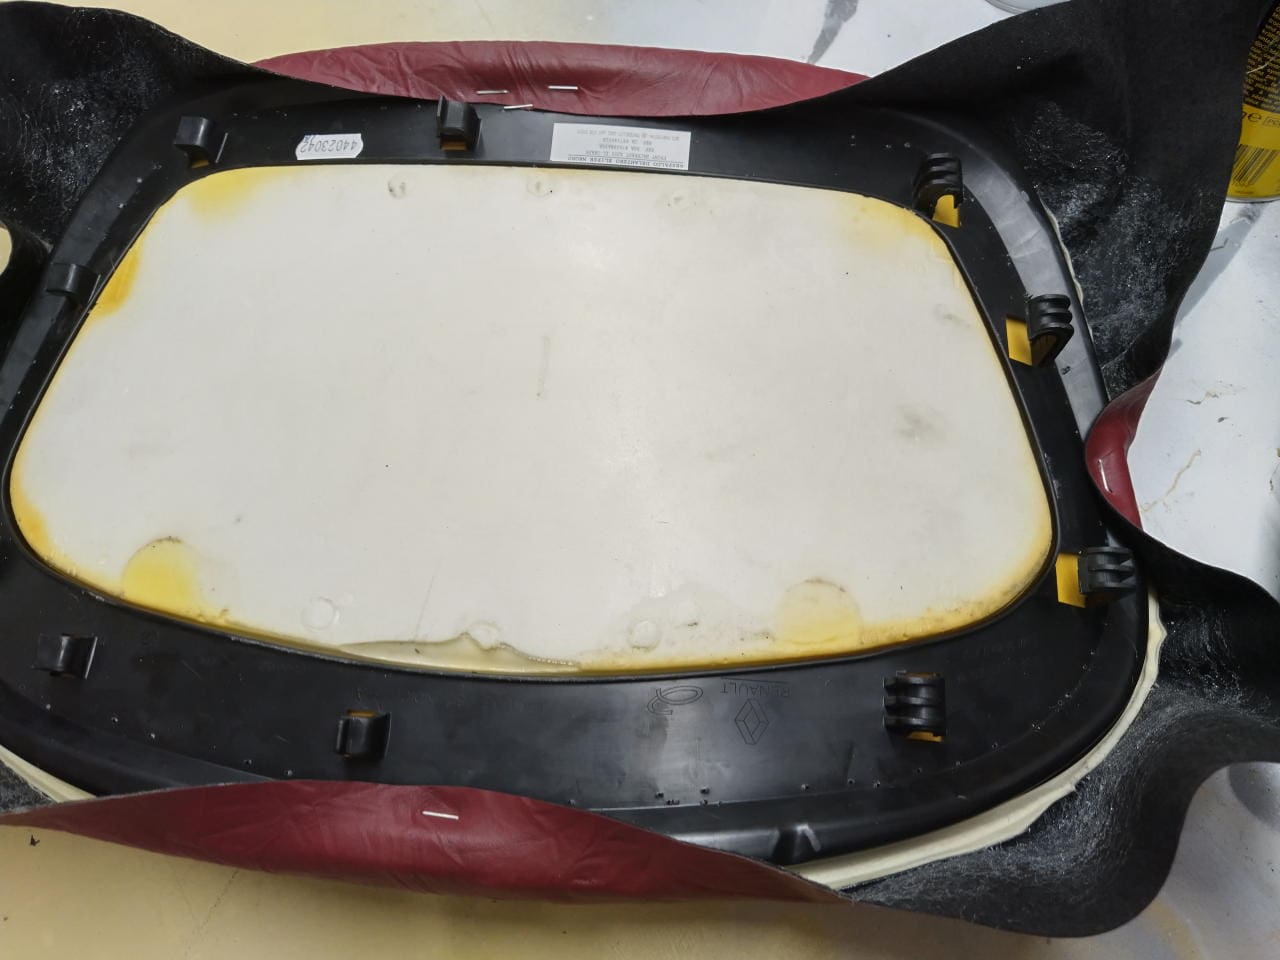
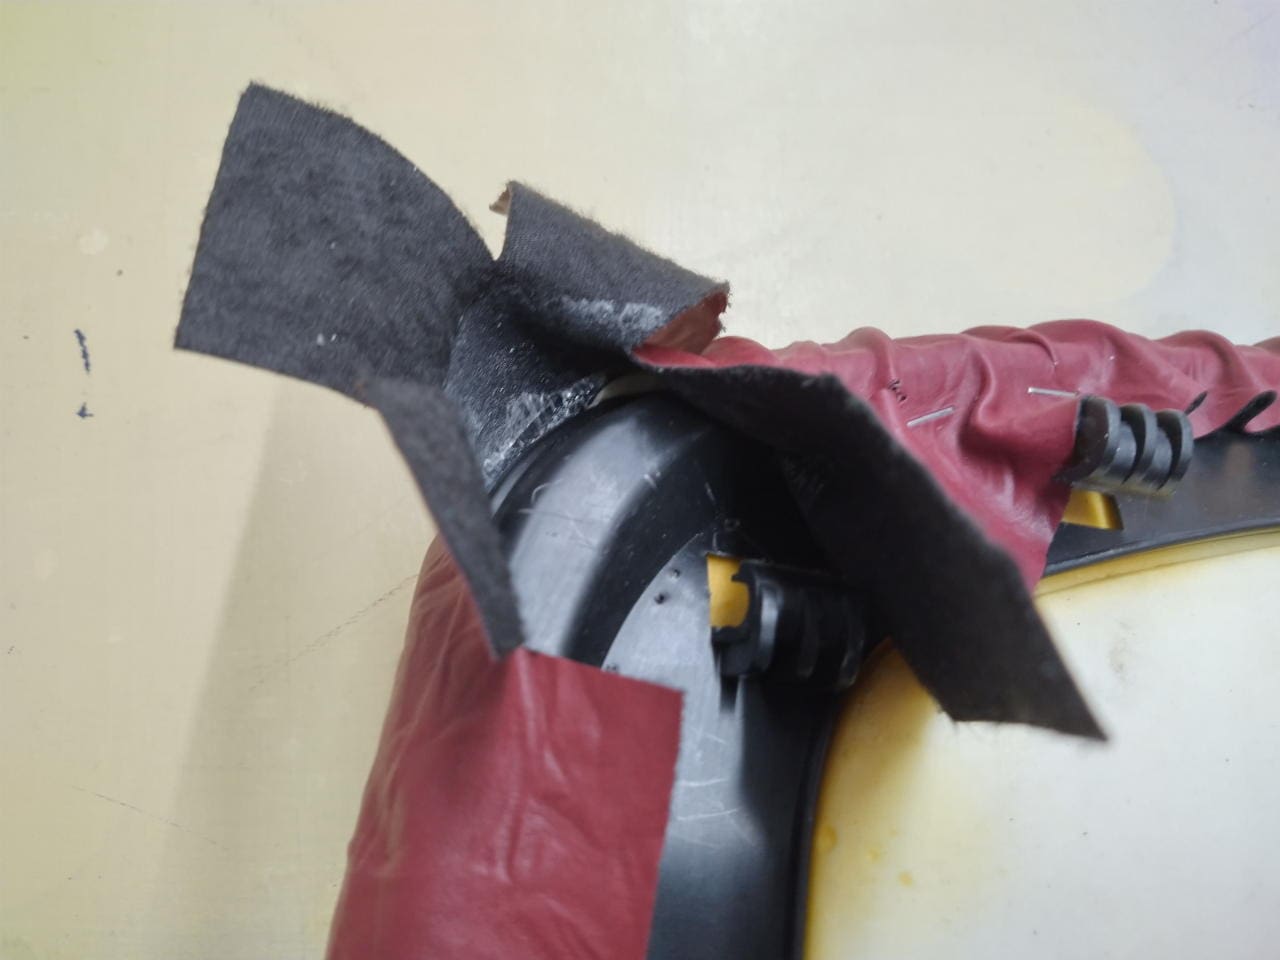
Clean, clean and clean! This is the only way the adhesive will stick to the old artificial leather. I noticed that the foam edge had the function of an edge protector when I covered the front seat. There is a risk that the artificial leather could tear at the edges of the frame over time.
I started with the most difficult part, the seat. I was angry and wanted to know. If I also wasted my energy on the headrest and backrest, I wouldn’t have any left for the seat.
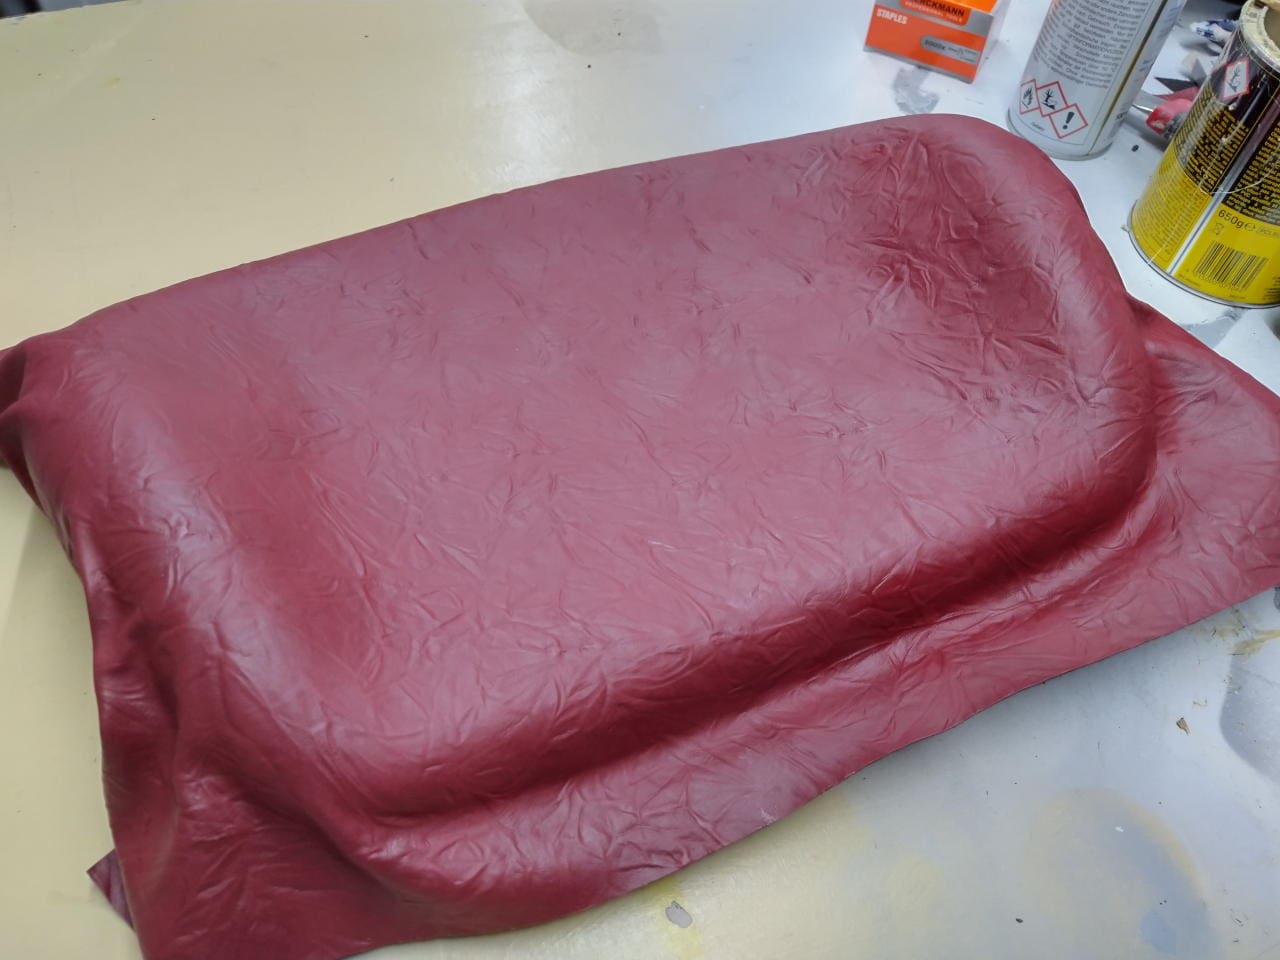
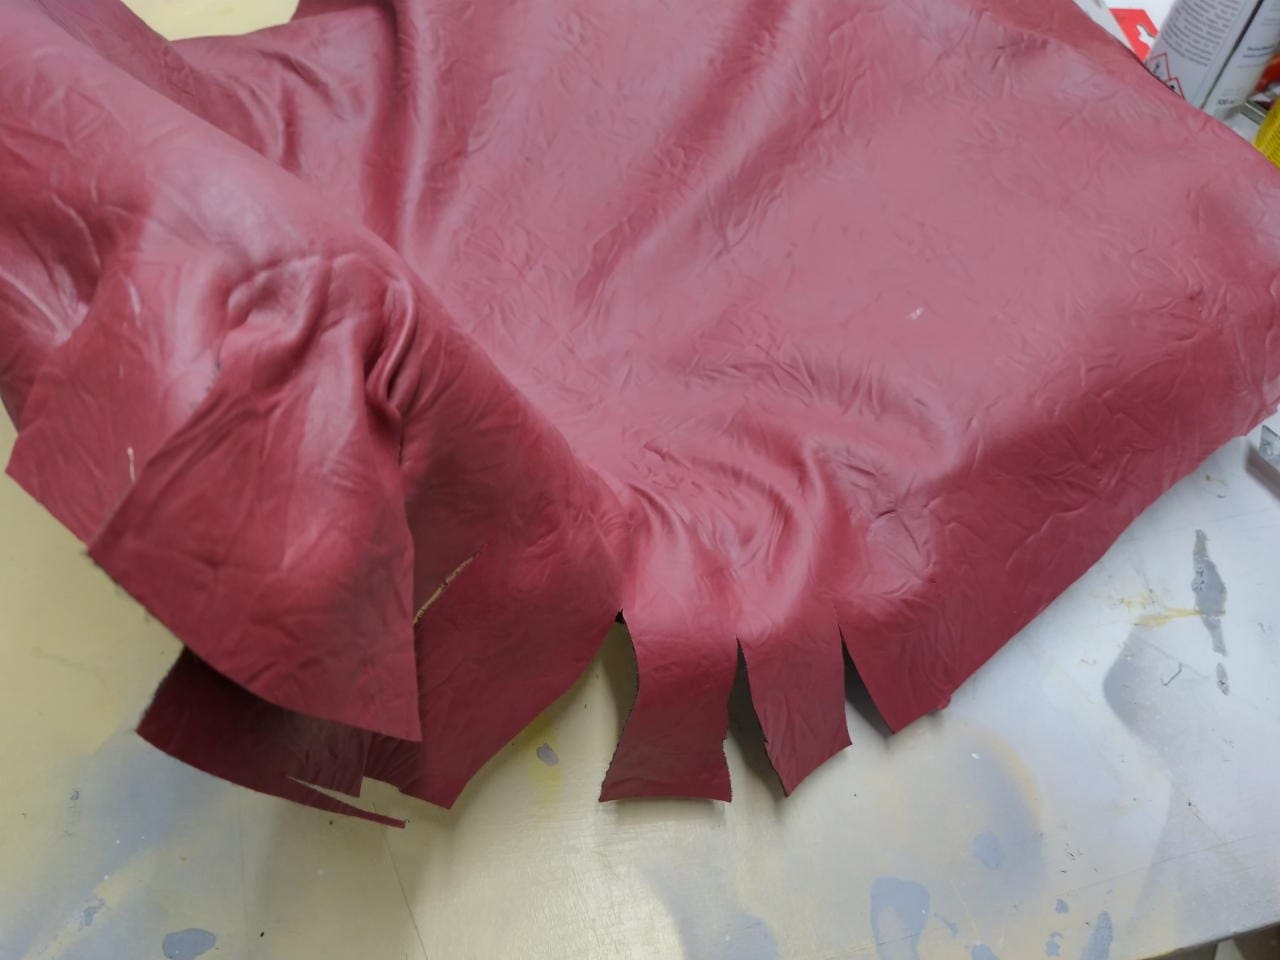
I laid the seat on the fabric, covered one side with glue and marked the outline of the other side with glue as well. Then I filled in the area. This meant that the two glued surfaces fitted directly onto each other when the cushion was turned round. Surprisingly, the rear seat was much easier to cover than the front seat.
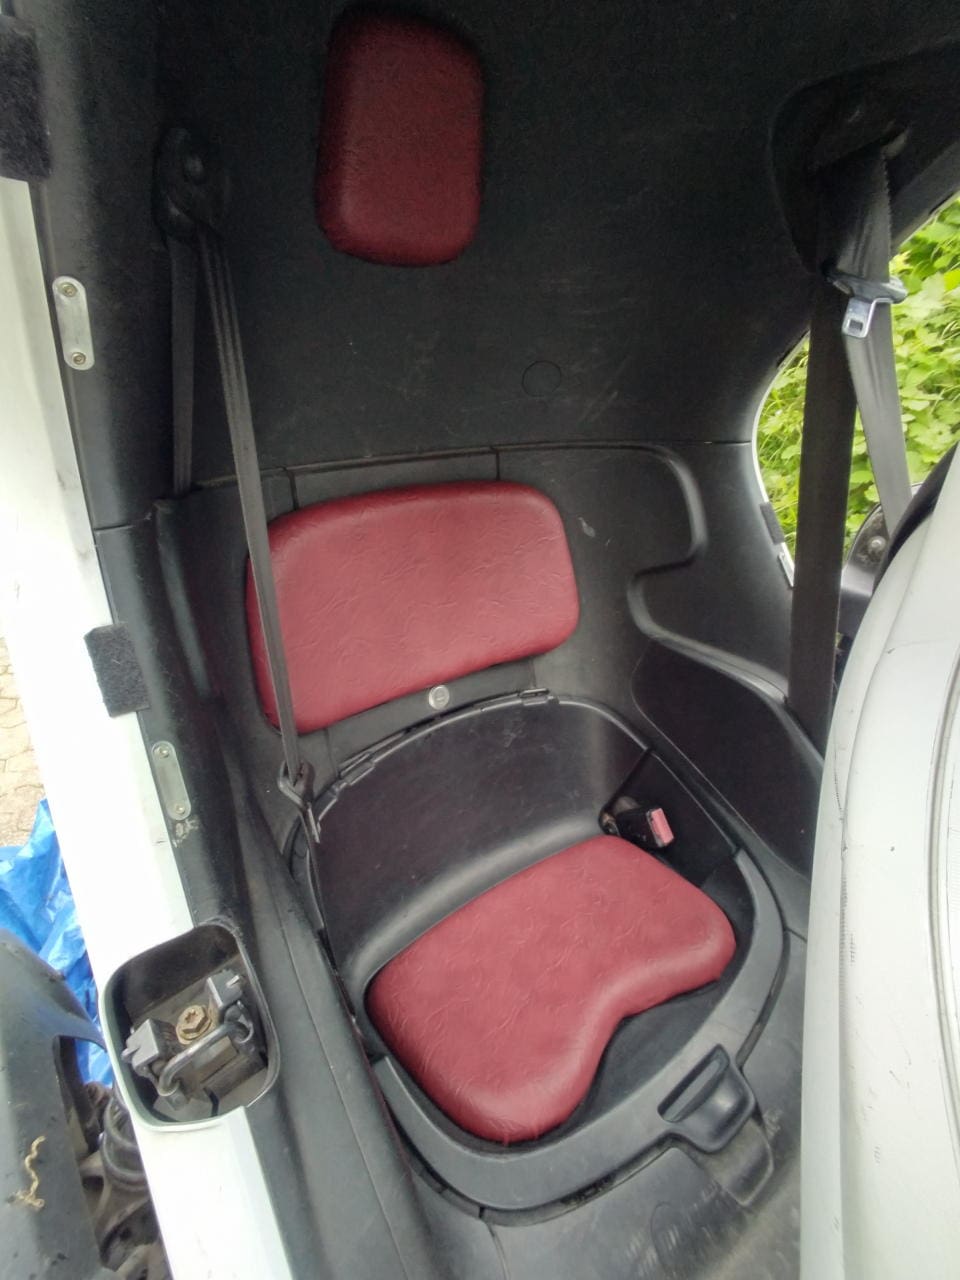
I can live with the result, it’s „okay“. My wife’s son was even pleased, it looks much more inviting now. Yes, a black pillion cave is not nice.
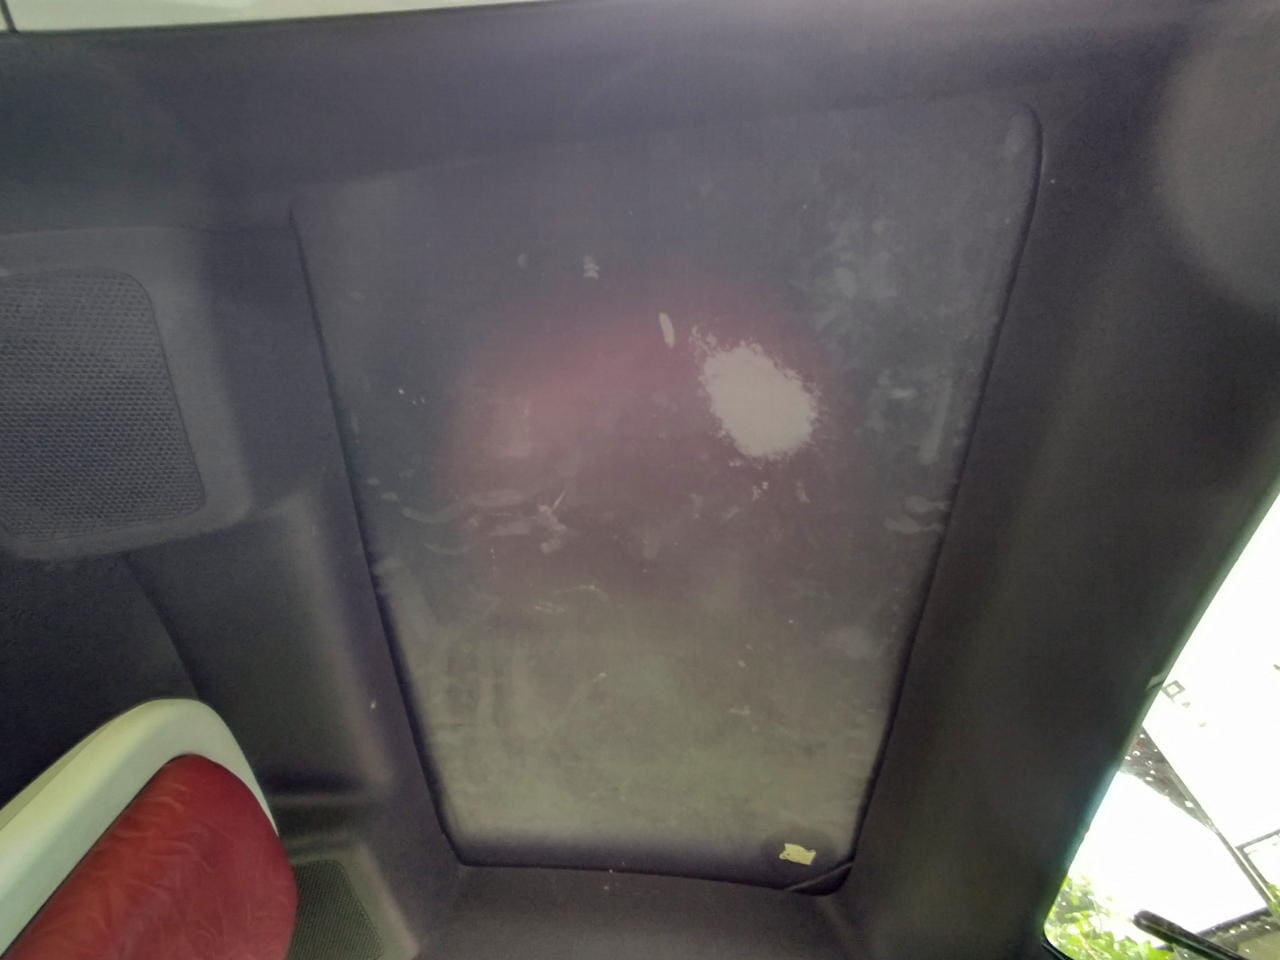
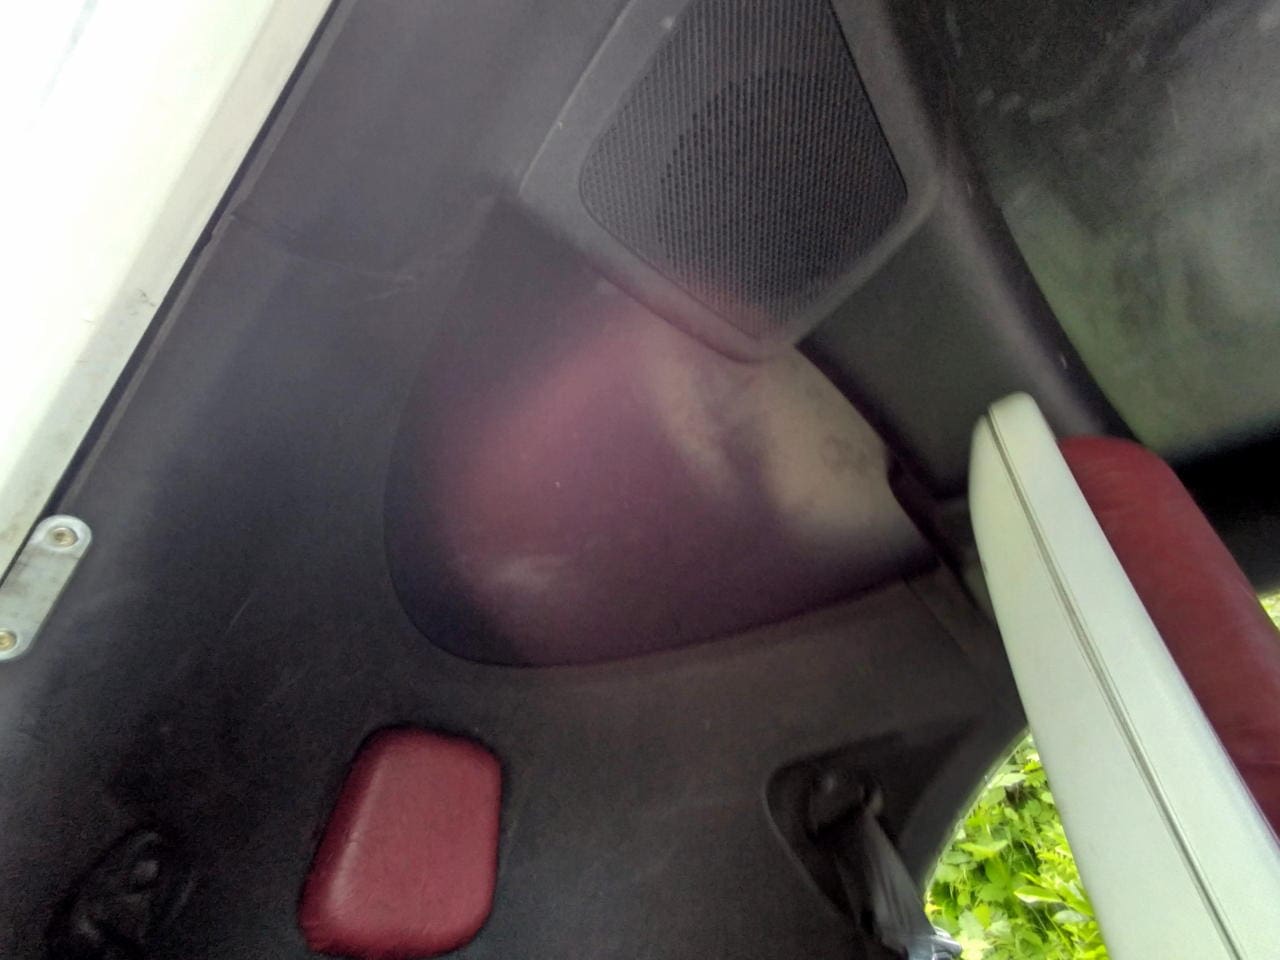
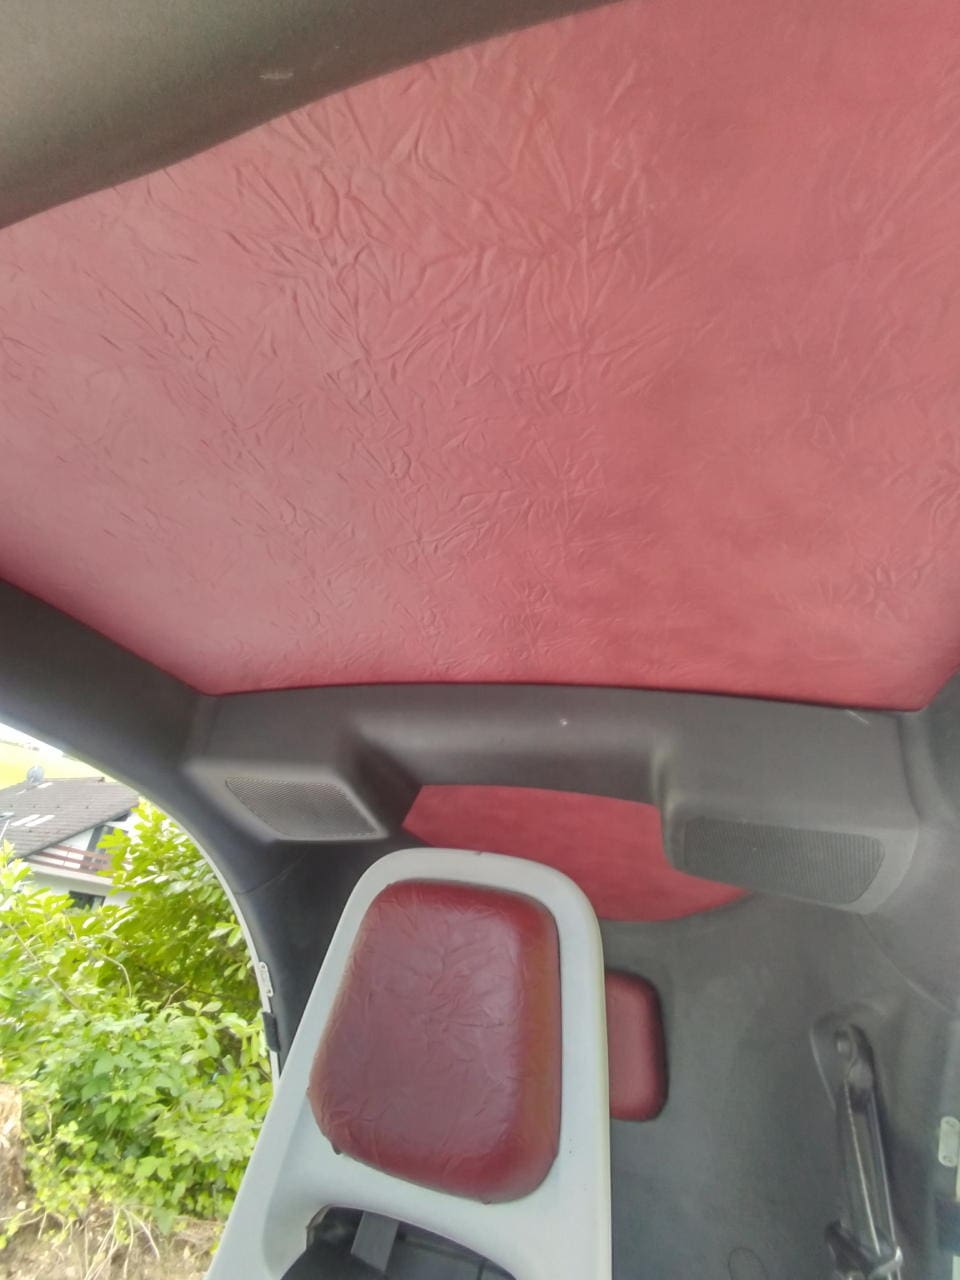
The roof liner
I still had enough fabric left as I wanted to cover the headliner from the outset. This also had traces of adhesive that could not be removed. Please don’t ask me what the previous owner had attached there. He was always up for creative solutions. I still remember the cable fire incident very well.
I removed both roof moulds with a piece of cardboard and generously cut out the two headliners from the artificial leather.
I applied a thick line of glue to the centre of the roof and a cut-out piece of leatherette. I also applied a thick coat of Pattex to the front edge of each over the entire width. It’s a real fiddly job until it fits.
Best solution: Fold the headlining in half and then start at the front left corner. Press on there, unfold the fabric and pull it up to the right-hand corner. Does the fabric fit correctly on the left and right? Does it protrude far enough at the front so that it can be pushed under the panelling? Good. Now press on from right to left.
Now press in the centre. To do this, pull the fabric all the way back and press it on from front to back with the other hand.
Now we can take our time to glue the fabric from the inside to the outside. Always apply one layer of glue to the fabric and one to the canopy. Use an old credit card to stick the ends under the panelling. If it is too tight, lever it off a little with a sturdy spatula.
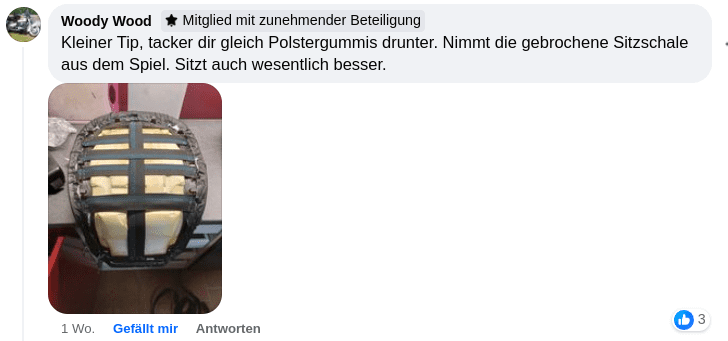
Driver’s seat improved
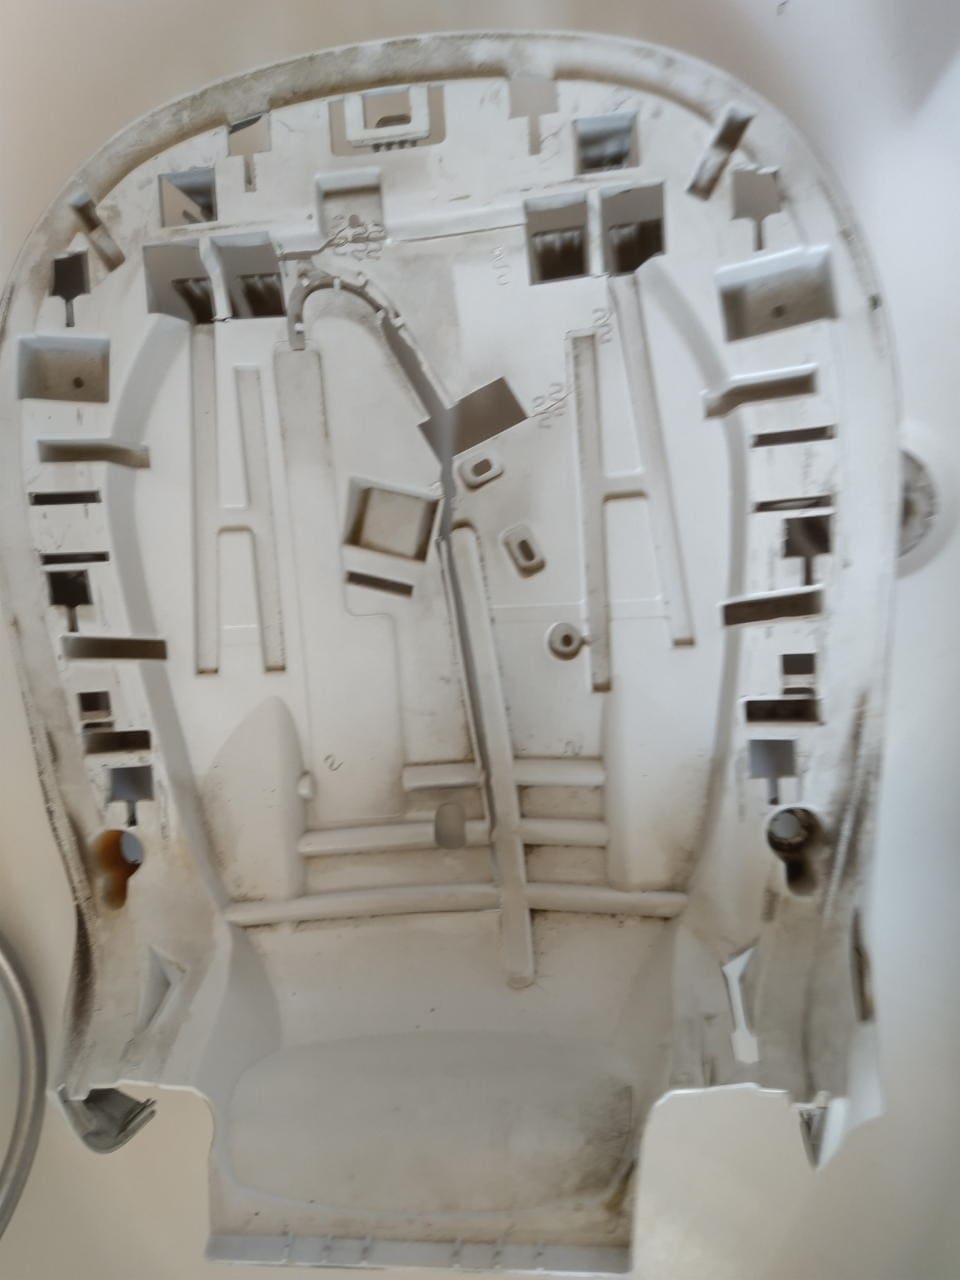
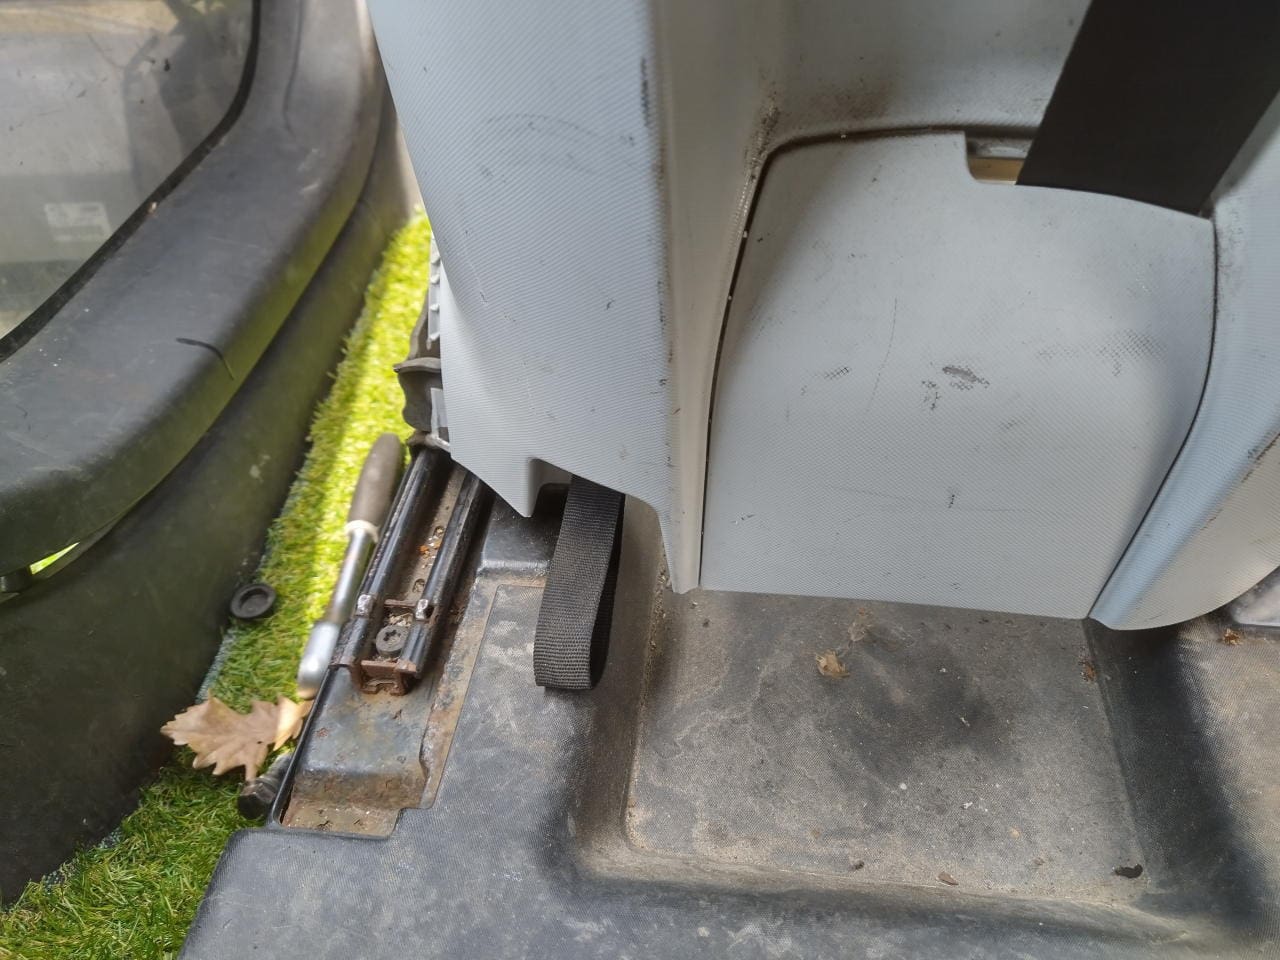
I have since received feedback that the driver’s seat can be improved using upholstery straps so that it no longer rests on the seat shell. This is because it is usually broken, as in my case.
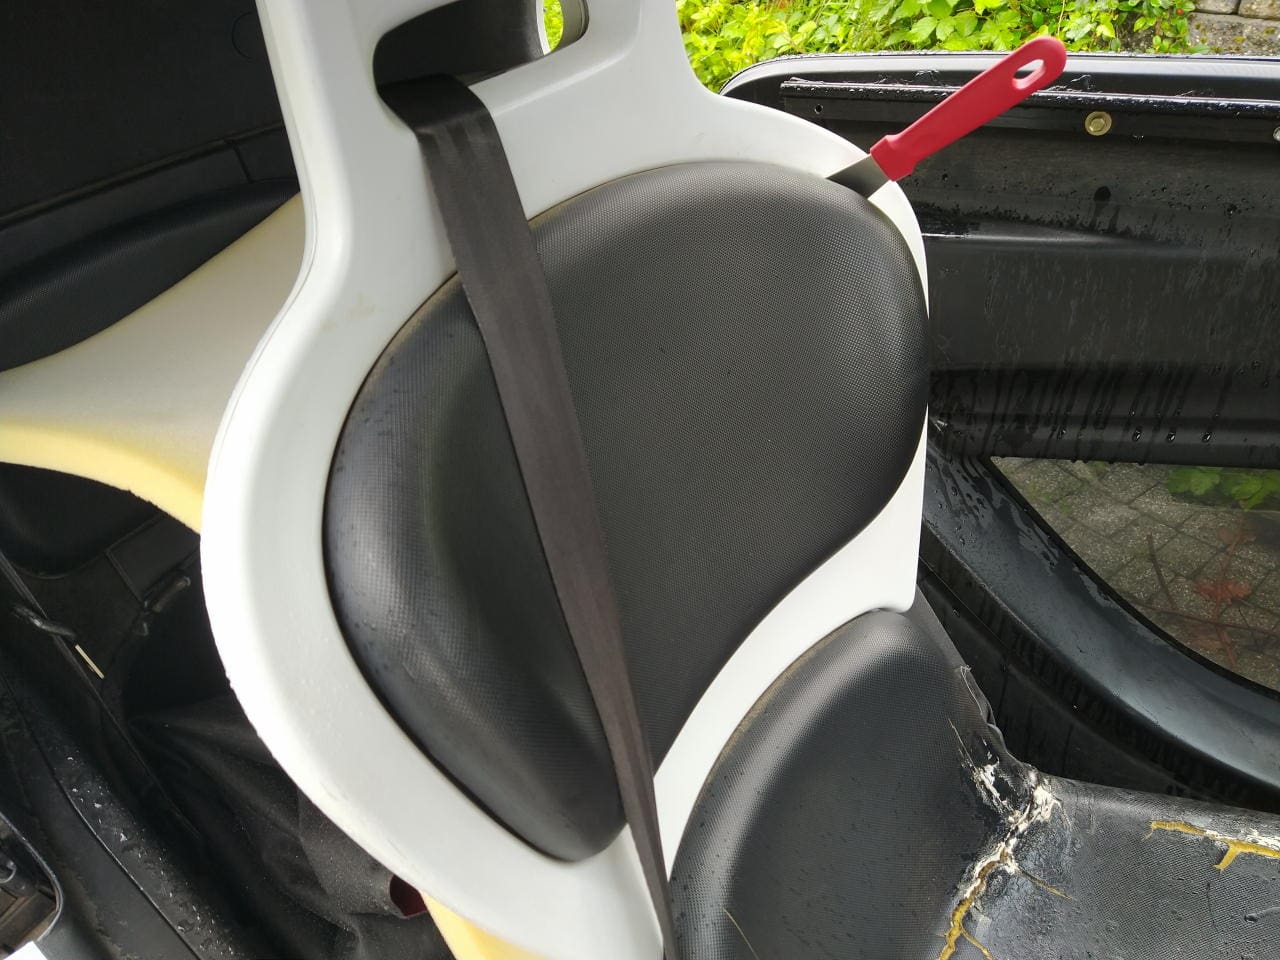
I tried to save the seat shell with these metal clips that you can weld in, but you can’t do that. It won’t last a metre. The only solution would be to save the shell with fibreglass mats and epoxy.
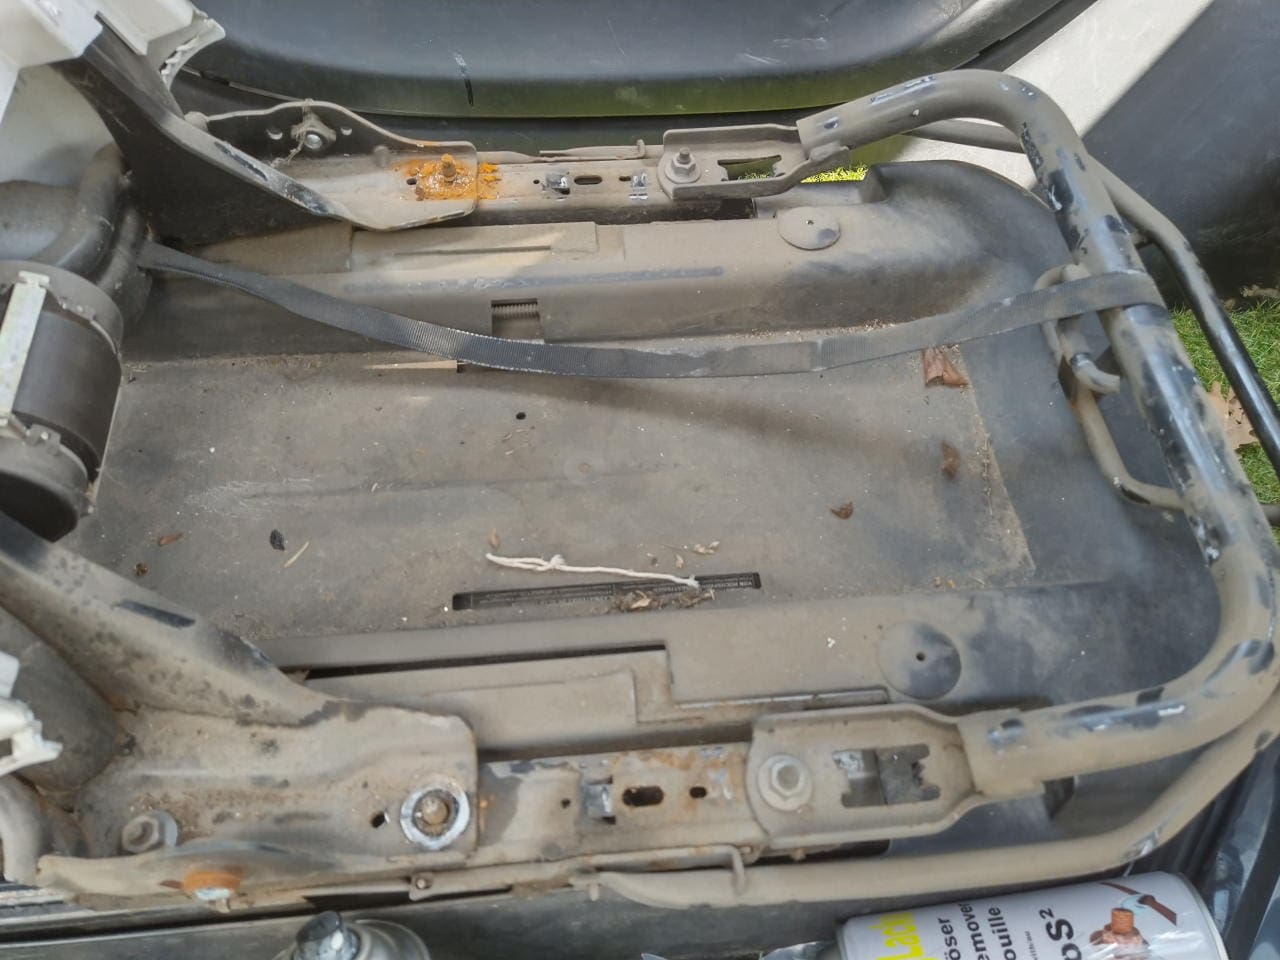
But I reinforced the seat with the upholstery tape.
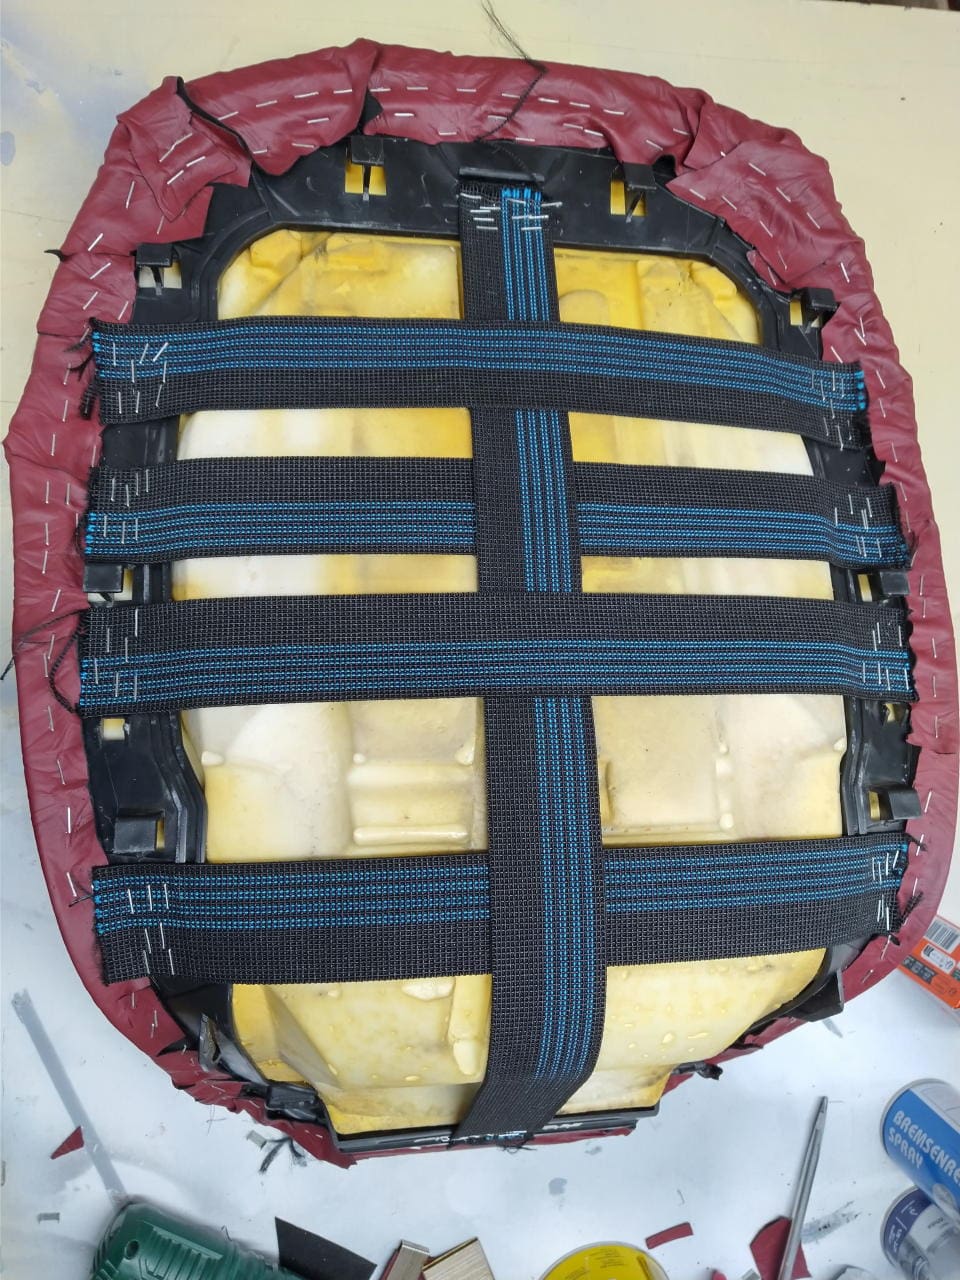
The result is quite convincing in terms of seating comfort.
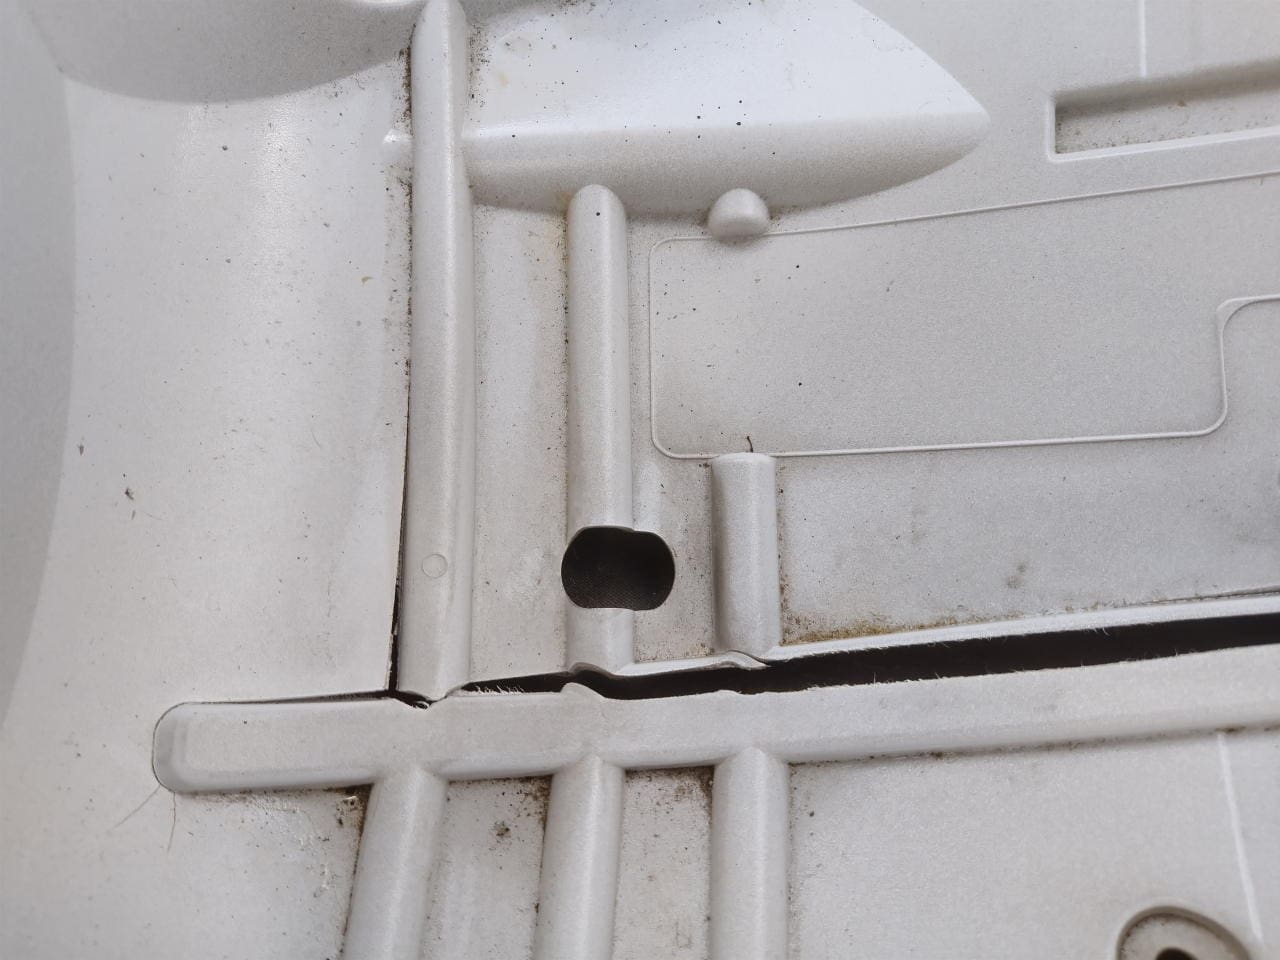
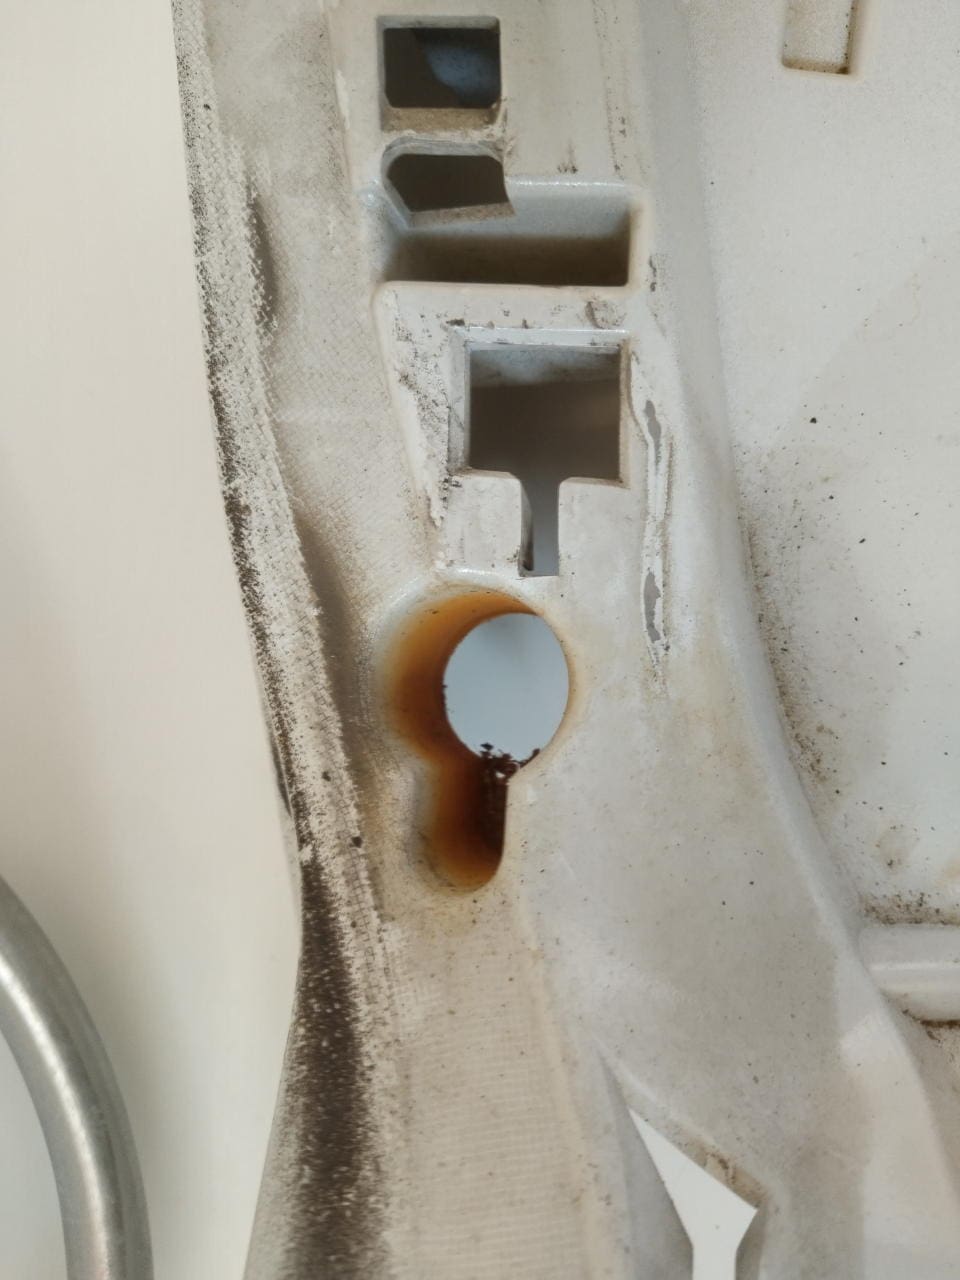
I also took the opportunity to clean and grease the seat rails and realised for the first time that there is a rear seat release that had only fallen through the hole in the seat. I had already wondered why there shouldn’t be such a thing.
While I was at it, I used silicone spray to make all the belts work again. I also flooded the windscreen wiper lever (with the windscreen heater) with contact spray. Now the windscreen wiper, which the TÜV inspector ruined the other day by forcing it into a horizontal end position, is working again.
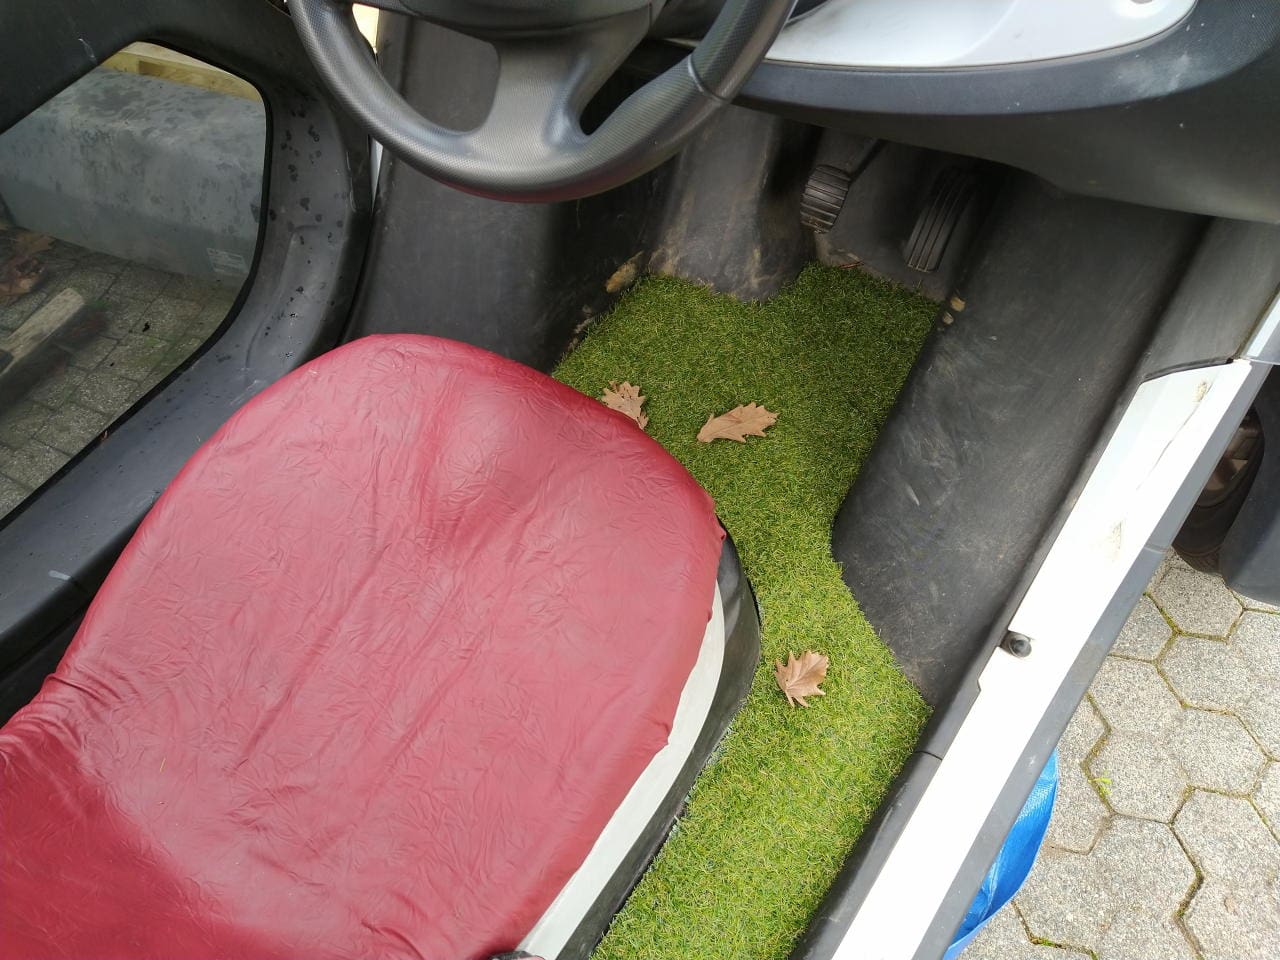
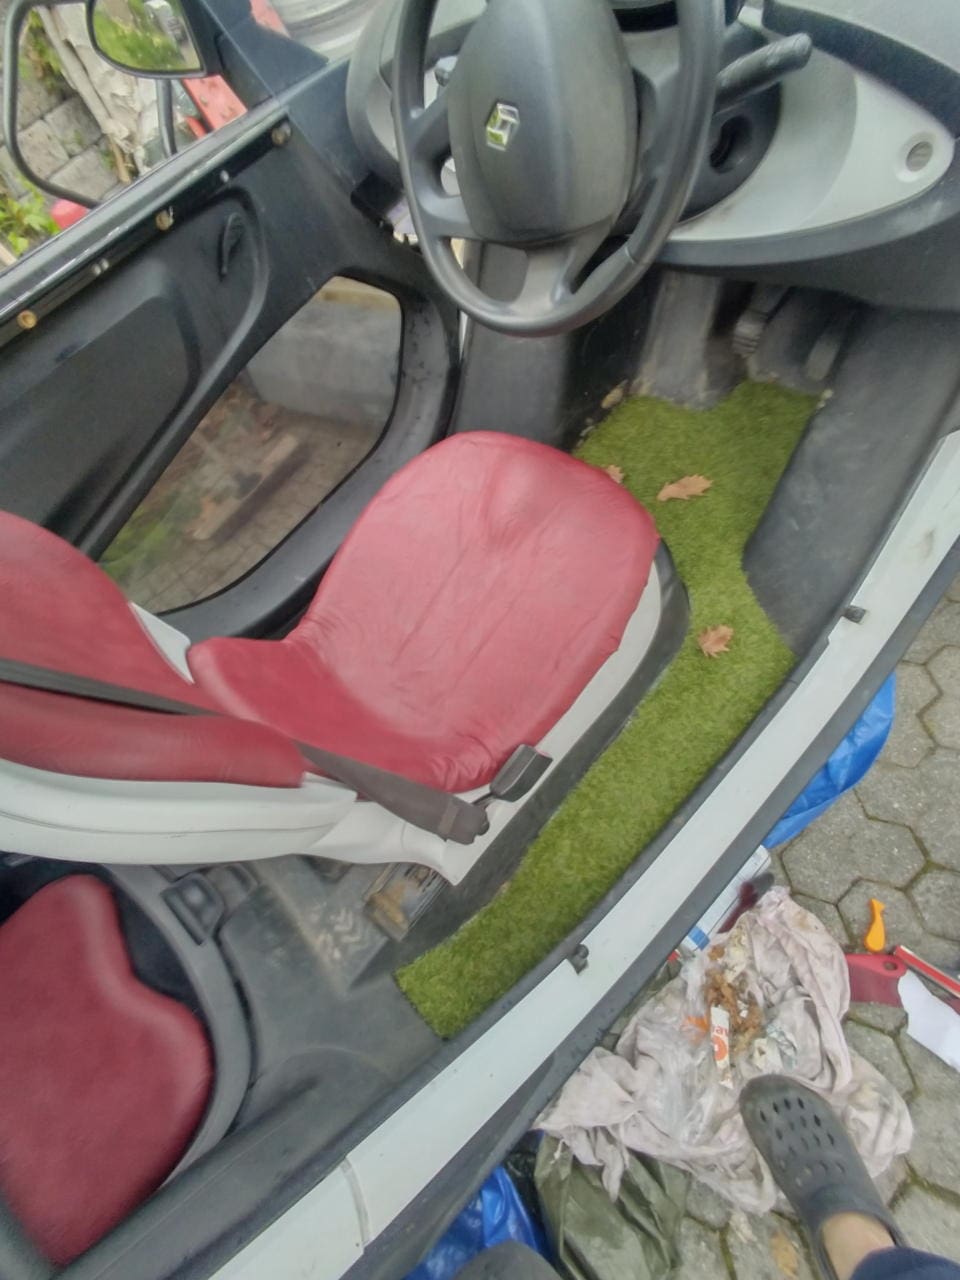
The new carpet
I got myself some „real“ artificial turf and cut it to size using the original carpet as a template.
The leaves are just decoration. I was praised for the idea of this artificial grass by a complete stranger outside Lidl. She laughed a lot. Twizys just make people happy.
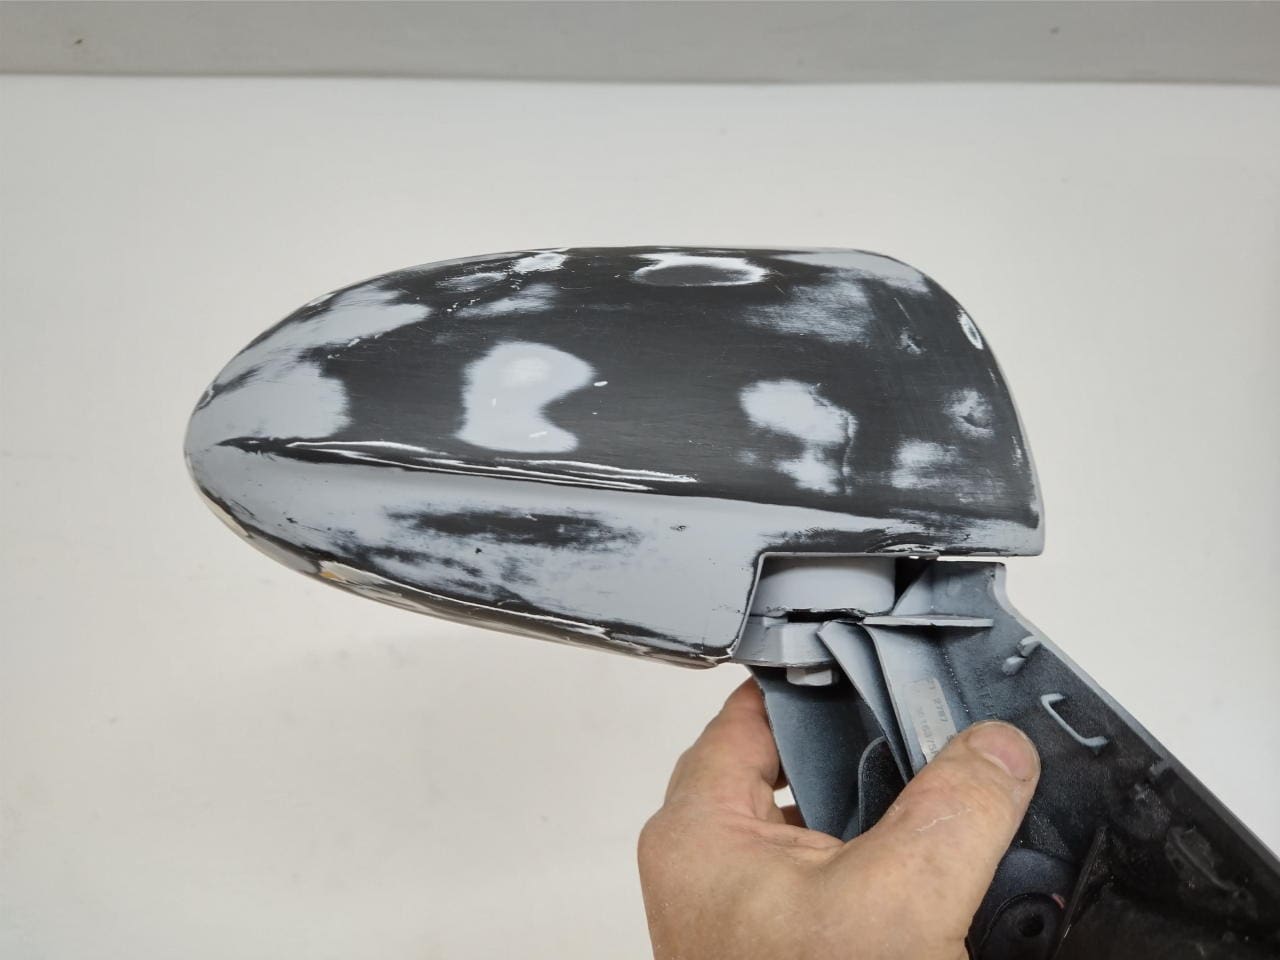
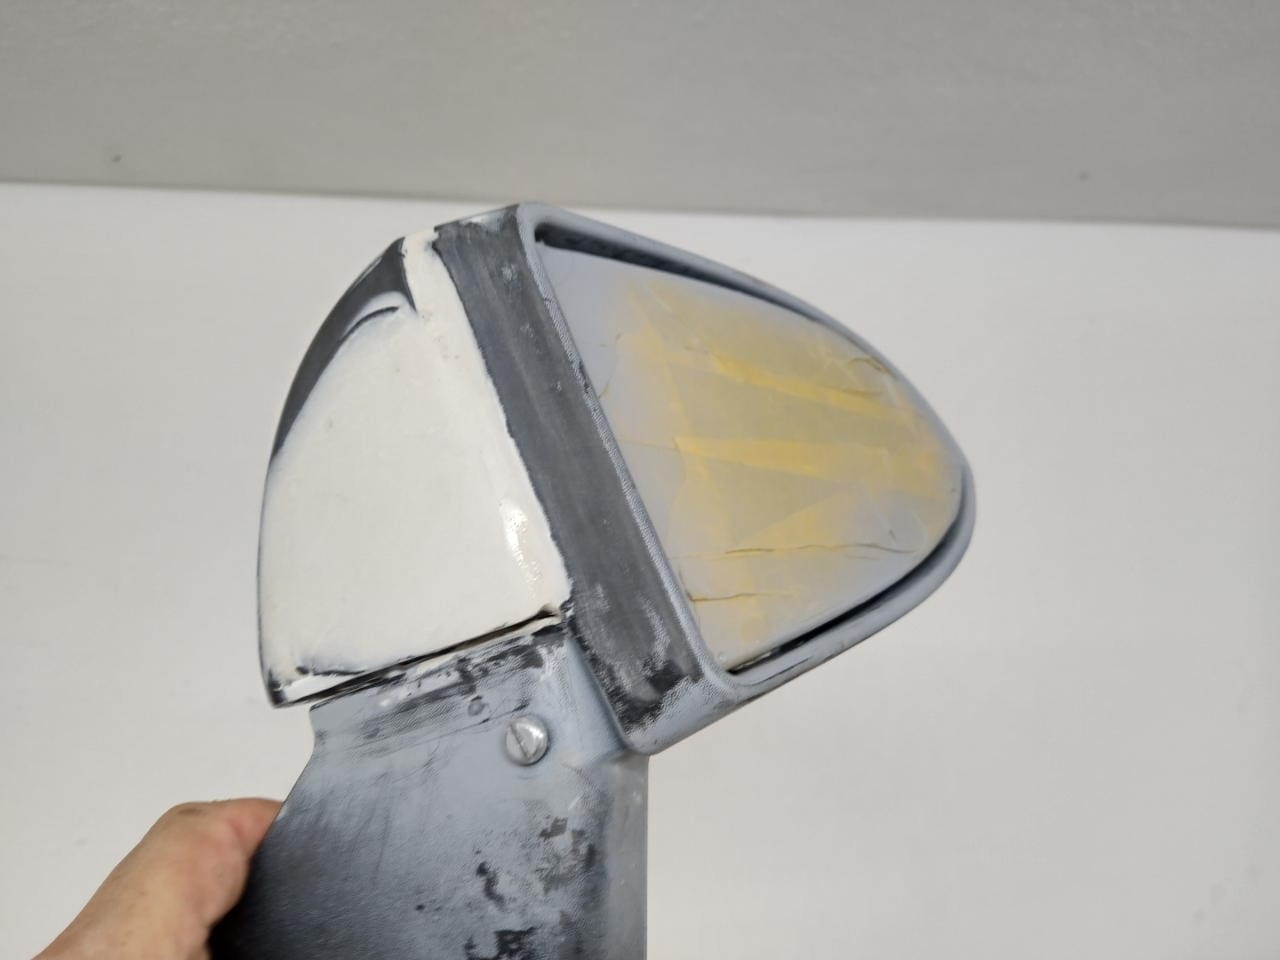
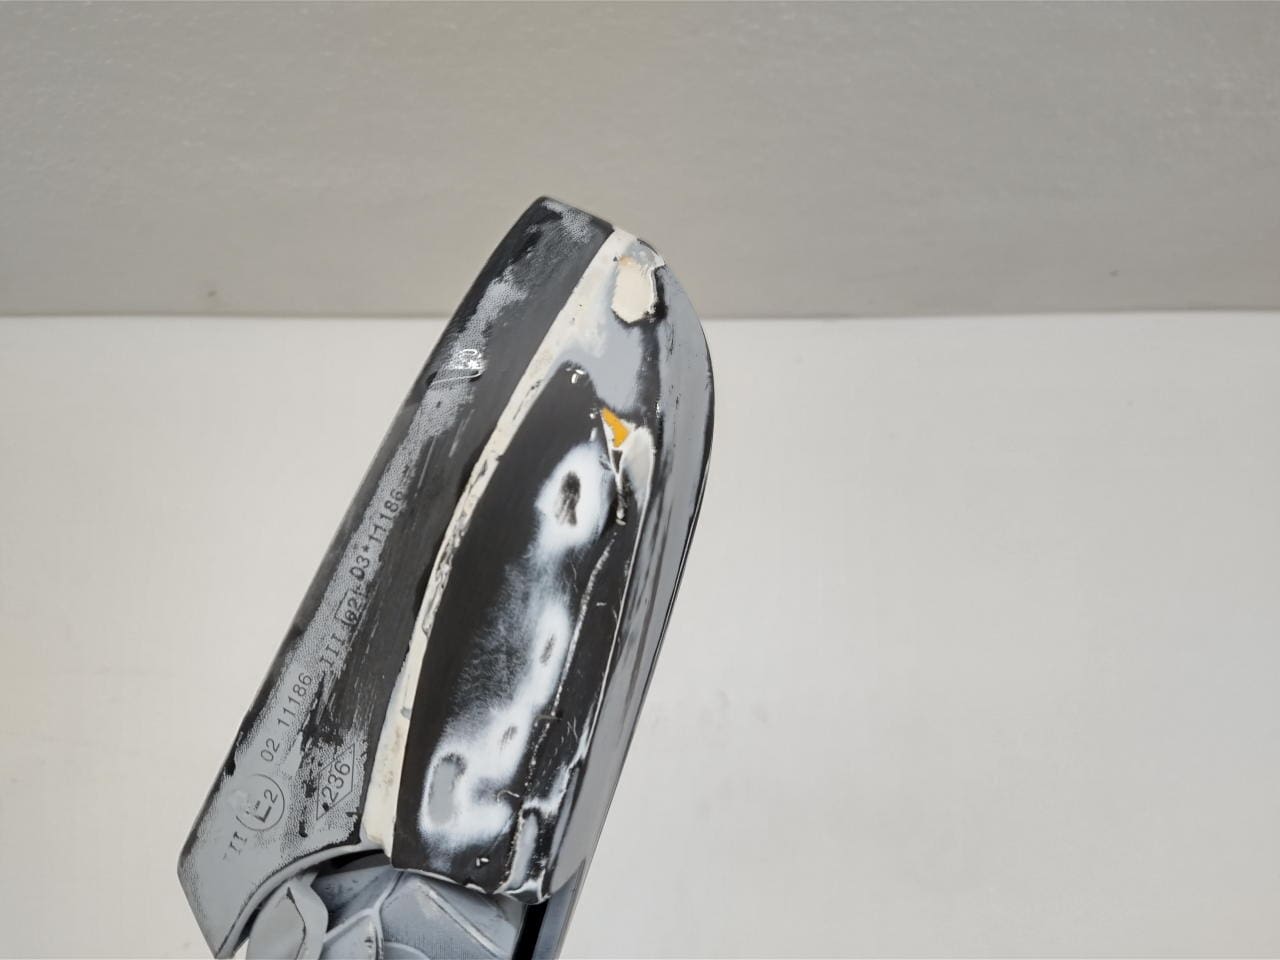
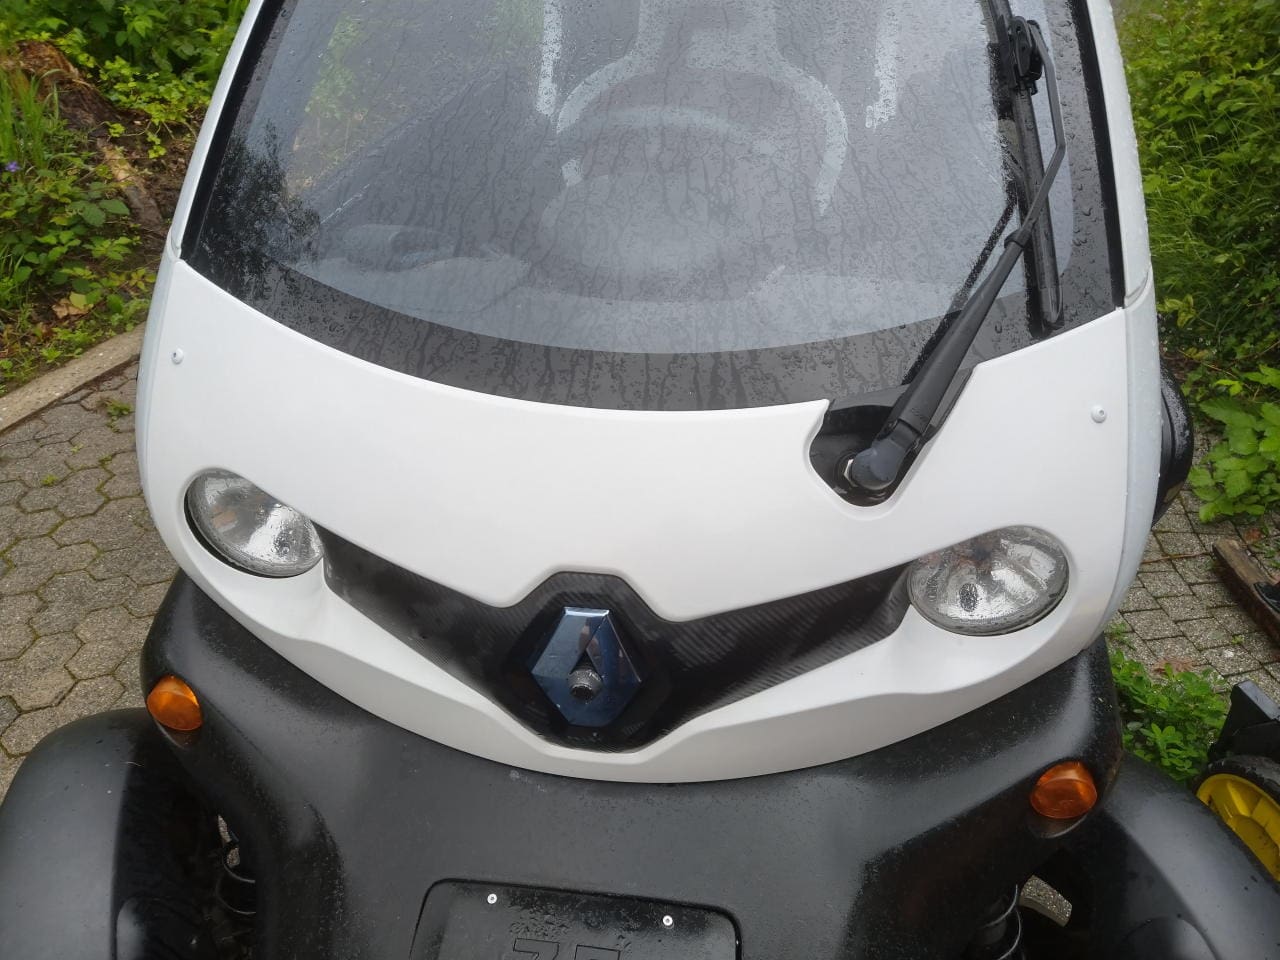
The wing mirrors
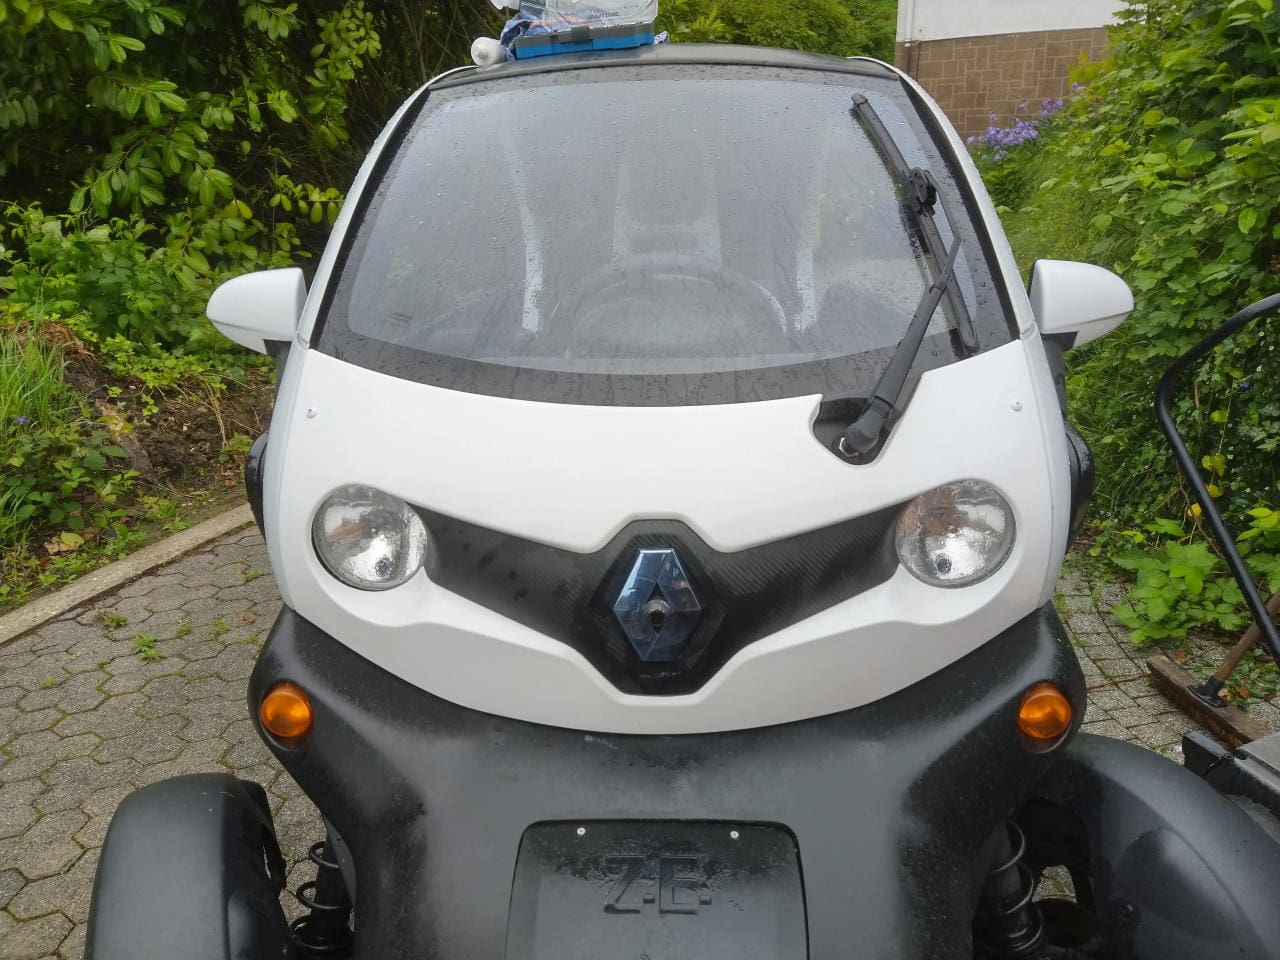
Some time ago, I had the black front panel painted white because SUV drivers (mostly BMWs) looked me straight in the eye at roundabouts and simply took my right of way. The white front panel reduced the number of incidents to exactly zero.
I decided to paint the mirrors white to make the Twizy look wider and improve its signalling effect. I once read that white is the most conspicuous colour in terms of traffic psychology.
Another reason is that the old wing mirror was completely broken, I had already repaired it but was not satisfied with the gap dimensions. To test the newly designed repair kit, I had to dismantle and disassemble it again anyway.
I bought the paint from Action Markt. Actually, the white spray paint was really, really crap in the past. But really! However, for some time now there was supposed to be an improved formula with increased opacity. I wanted to try it out. And indeed! It was enough for both mirrors AND the front panel! I wanted to repaint them anyway, as I had dropped them on the floor when changing the brake fluid.
Yes, the new colour does not match the original white. But it’s really ugly anyway. Probably traffic white? On the other hand, I really like the colour from the Action.
But I want to gradually paint the Twizy anyway. The black isn’t attractive. One can costs 2.99 EUR in the Action, a very affordable project.
BTW: In the cockpit on the left is the motorbike dashcam with the rear-view mirror function and on the top right is the tyre pressure monitoring system.