
The Artillery Sidewinder X2 has a reputation like thunder, its successor, the Sidewinder X3 Plus brought some long-awaited and useful upgrades, but is a rather basic, old-fashioned 3D printer. Is Artillery’s new Sidewinder X4 Plus the printer we’ve all been waiting for?
Diesen Artikel gibt es auch auf Deutsch. ![]()
The Sidewinder X4 Plus was provided to me by Artillery for this review.
Inhalt:
Key data
The new Sidewinder X4 Plus from Artillery is a “helmet class” printer, i.e. with an installation space of 30 × 30 × 40 centimetres, helmets could also be printed. Artillery promises a real usable average speed of 300 mm/s on average. This is very fast, especially for such a large printer. The maximum printing speed is specified as 500 mm/s, the maximum acceleration as 10,000 mm/s². These are really up-to-date key data, especially for such a large Cartesian printer.
| Type | cartesian |
| Class | “Helmet class” |
| Build space | 300 × 300 × 400 mm |
| a | 10,000 mm/s² |
| Vmax | 500 mm/s |
| Vtype | 300 mm/s |
| OS | Linux/Klipper |
| WiFi | 2.4 GHz |
| Display | 4.3 inch, touchscreen, colour display |
| Extruder type | Direct, Dual |
| Print bed material | PEI |
| Maximum extruder temperature | 300 °C |
| Maximum bed temperature | 100 °C |
| Bearing X-axis | Linear |
| Bearing Y-axis | Linear |
| Bearing Z-axis | POM |
| Price at market launch | 428 EUR |
The X4 Plus has a full metal print head with ceramic hot end and a direct-drive dual extruder with metal conveyor wheels.
The X and Y axes are guided on linear rails. I noticed that the print head is effortless to move by hand. Amazing!
The large print bed heats up from 21 to 60 degrees Celsius in just three minutes, an excellent value in my eyes.
The key data are impressive, but as we all know, paper is patient. Can the new 3D printer also print quickly and well? I’m getting ahead of myself: Yes, it can! 🙂
Unboxing
The packaging is as good as usual and the contents are almost identical to those of the X3 Plus, except that the mSD card has been replaced by a USB-A stick. When unpacking, you think that Artillery has sent the X3 Plus by mistake, the X4 Plus is so similar to its cheaper brother.


The struts of the Z-axis are also old acquaintances from the X3 Plus.

The portal is that of the X3 Plus, it is only three centimetres higher, as the new cable on the print head would otherwise hit the cross strut.

The design of the print head is reminiscent of Creality, only in grey.

The basic housing of the X4 Plus is also almost identical to that of the X3 Plus. The only noticeable feature on the first sight is the new cabling, which is firmly connected to the housing. The X4 Plus is the first Sidewinder to dispense with the stylish but also vulnerable ribbon cable. Artillery has opted for a plastic fabric-sheathed cable harness, as many other manufacturers do.

Contents
In addition to the portal and case base, the box contains the following items:
Accessories
The box contains mounting parts, screws, spare parts and cable ties. The screws are packed in labelled individual bags so that nothing can be mixed up during assembly.
- USB stick
- WLAN antenna
- connection cable
- Filament pliers
- Spare PTFE hose
- Spare nozzle
- Scraper
- a few metres of white high-speed PLA
- Filament sensor
- Z-axis struts in carbon look
- 4.3” full colour display
- Display holder (magnetic)
- Filament spool holder
- Tube with lubricant
- Labelled bags with screws
- Instructions
- 2x levelling paper
Tool kit
The tools supplied are of basic quality, but sufficient to assemble and maintain the printer. It is not necessary to use your tools, but they do no harm either. The Allen keys do not have a round head, which makes it possible to insert them at an angle into the screw head and hold the screw by the Allen key, but this is not necessary as you can easily reach every screw on the printer.
Time to first print
I estimate that it usually takes about 60 to 90 minutes before you can print for the first time. This includes assembly, initial set-up and precise adjustment of the print bed.
Assembly
What can you expect when assembling the printer? If you don’t have the famous two left hands, it’s all quick and easy.
Wedding
Assembly is simple. You place the pre-assembled X-Z frame (“portal”) on the lower part of the housing and connect the two with the four long screws. Two on each side.

To connect the portal to the base, we place the printer slightly over the edge of the table.

At the portal, we cut the two cable ties that were used to fix the Z-axis and turn the Z-axis a little further upwards on the upper toothed belt so that it does not collide with the print bed.


We attach the portal to the base. Now the two parts are already holding together reasonably well, we push the screws through from below and tighten them hand-tight. Use a carpenter’s square to check the correct angle between the base and the portal.

If the angle is correct, tighten the screws. Repeat the process on the other side.

Now attach the struts first to the housing of the 3D printer and then to the portal at the top.

The length of the spindle is set using the screws. It must fit exactly; otherwise the strut will push or pull the portal out of the right angle.

Once we have done this on both sides, we can tighten the four lock nuts.

Meanwhile, we screw the filament holder onto the cross strut of the gantry and attach the filament core sensor to the holder. Attach the spool axis to the holder. My spool holder points to the right, which I find more practical.
Connecting the cables
Remove the adhesive tape that held the cables to the housing and plug them into the sockets provided. You can hardly do anything wrong here if you are not a gross motorist with too much force, but also pay attention to the reverse polarity protection of the plugs and sockets.


From the sheathed cable harness that comes out of the side of the printer, we plug one cable into the X-axis motor and the other into the print head.

The plug goes into the print head and is locked in place.

We push the cable into the holder at the point reinforced with fabric tape.

We screw the cable to the Z-axis using the clip.

The cable should not hang down!

The filament sensor must also be connected.

On the right-hand side of the printer, we screw on the WLAN antenna and plug the spiral cable of the touchscreen into the sockets. The display holder is attached to the printer with two screws. It holds the screen magnetically.

Design
Artillery has unmistakably modelled the design of the X4 Plus on the legendary stereo systems from Braun.
The first impression is of a high-quality, elegant design with brushed aluminium surfaces and carbon look struts that give the printer a high-quality appearance. The entire construction makes a very robust impression, even if it looks rather delicate for such a large printer.

I really like the drawer. This means that spare nozzles, filament pliers and all other accessories can’t get lost.
Space requirement
The Artillery Sidewinder X4 Plus requires a sturdy, heavy desk, as it moves more weight than a small printer.
Depth
The Sidewinder X4 Plus takes up approx. 71.5 cm in total depth with the maximum bed movements. However, the desk only needs to be 60 cm deep if the housing is flush with the edge of the desk. In this case, the bed extends slightly beyond the desk.
Width
The printer requires a width of approx. 53 cm including the display.
Height
The height is 71 cm without the roll holder fitted, 86 cm with the roll holder and approx. 93 cm with the roll in place
Power consumption
Measured with a Gosund WLAN smart plug at a room temperature of 21 degrees. Approximate values are average values.
- Idle mode: 10.0 watts
- Heating phase: max. 390 watts
- 60 degree heating bed, 210 degree nozzle, 100 mm/s, PLA = 155 watts
- 60 degree heating bed, 210 degree nozzle, 200 mm/s, PLA = approx. 165 watts
- 60 degree heating bed, 210 degree nozzle, 300 mm/s, PLA = approx. 175 watts
- 80 degree heating bed, 240 degree nozzle, 100 mm/s, PETG = approx. 250 watts
165 watts on average for normal PLA and 175 watts for HS-PLA are really good values. Even smaller printers can hardly undercut these values at these speeds.
In view of the consumption values, it is certainly not necessary to buy a smaller printer to save energy. The lion’s share of the printing costs is accounted for by the filament used anyway.
At 30 cents per kilowatt hour, an hour of printing with PLA, which most users will use, costs around 4.5 to 5 cents according to Adam Riese.
Connectivity
The X4 Plus has a USB-A port for a USB stick and a USB-C port on the front. Unfortunately, I was unable to connect anything via the USB-C port. This does not carry any voltage and therefore only seems to serve as an external power supply for the mainboard.

The WLAN connection is provided by a small antenna with an SMA connector on the right-hand side of the housing, directly behind the display. In difficult reception situations, for example in the basement, a more powerful antenna can be connected here.
The 4.3” touchscreen is connected via a spiral cable with an RJ plug. There are no further connection options on the display itself.
Volume
In idle mode there is finally absolute silence! No power supply fan disturbs your concentration when creating new 3D designs. Wonderful!
When printing, however, the silence is over. I measured 60 dB(A) at a distance of one metre from the print bed. However, I don’t find the noise, or more precisely the cacophony of noises that you normally have to endure with a 3D printer, as annoying as with the X3 Plus. It is a rather even noise, similar to other fast printers.
Inner workings
I removed the base plate, which was pleasingly quick and easy, and took a look inside the machine. As you would expect, the X4 Plus impresses above all with its space. 🙂 It has a clean design and doesn’t present any obstacles for melters who want to install extensions.
Power supply
Similar to the X3 Plus, the power supply unit protrudes from the cover of the new Artillery. It has a regulated fan that is switched off in standby mode. Otherwise, it appears to be comparable to the X3 Plus in terms of performance and design: 350 watts at 36 volts and 100 at 24 volts.


The power supply delivers 350 watts for the 36 volt heating bed and 100 watts for the mainboard and thus also for the motors, which run on 24 volts. The maximum power consumptionshould therefore not exceed 450 watts according to the rating plate. I was able to measure a maximum of 390 watts.
The PE conductor (“earthing”) is connected correctly and can be rung through to all metal parts of the printer.
Mainboard
Finally, the large Sidewinder is also available with Klipper and WLAN. Artillery has opted for an in-house development (KL V1.01) with a 1.5 GHz Rockchip RK3328. The four Cortex-A53 cores provide more than enough power for good printing. The EMMC is socketed and 8 GB in size; it will probably be possible to replace the module with a larger one at a later date, as is the case with other manufacturers.

The four quiet drivers for the axes and the extruder are not socketed.
WLAN
The external WLAN antenna offers absolutely outstanding reception performance compared to other printers. However, the AMPAK AP6212 chipset “only” operates in the 2.4 GHz band, which is common and more than fast enough for 3D printers and other smart home devices. The range and power consumption are significantly better than with Wi-Fi 5.

In addition to the two USB-A and USB-C ports, the mainboard also offers an internal USB port as a post socket. Additional sockets labelled SWD, ADX1 and ADX2 are available for extensions.
SWD presumably stands for Serial Wire Debug, i.e. a diagnostic interface and is used, among other things, to flash the firmware externally if the board has been bricked and no longer boots.
ADX could stand for Analogue-Digital-Converter. I can only speculate wildly, but I think that you can connect the sensors for the motion compensation of the input shaper to the ADX ports.
There is also an Ethernet port on the mainboard, but it is not equipped.

The initial setup
If you receive an X4 from the first delivery, it is advisable to carry out an update. You can find the latest update directly from Artillery. Copy it to the USB stick, skip the setup wizard offered by the printer at the first start and start the installation in the “About” menu item. The printer copies it to its internal memory, restarts and installs it. This may take a few minutes.

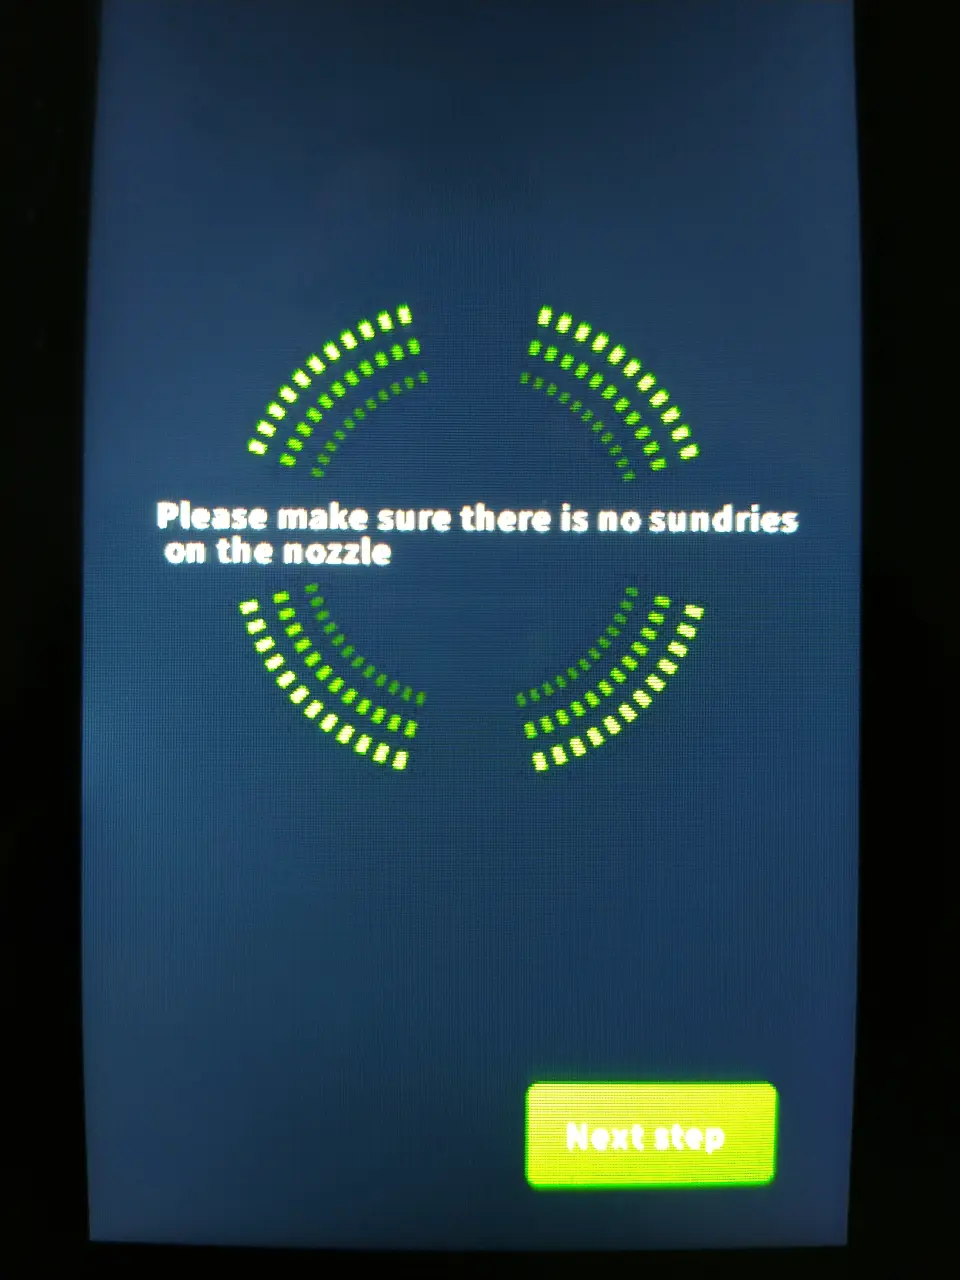
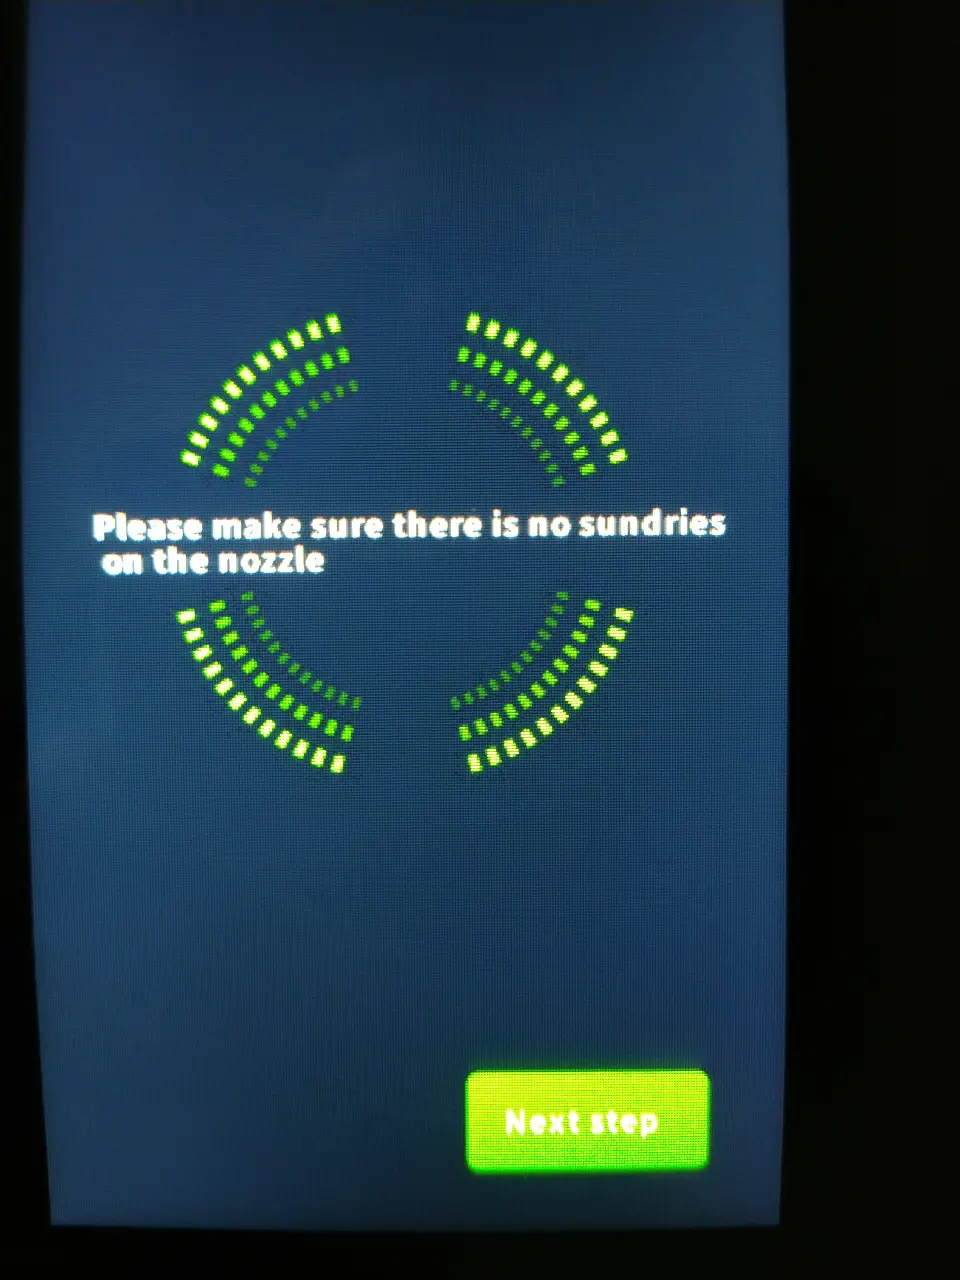
Important!
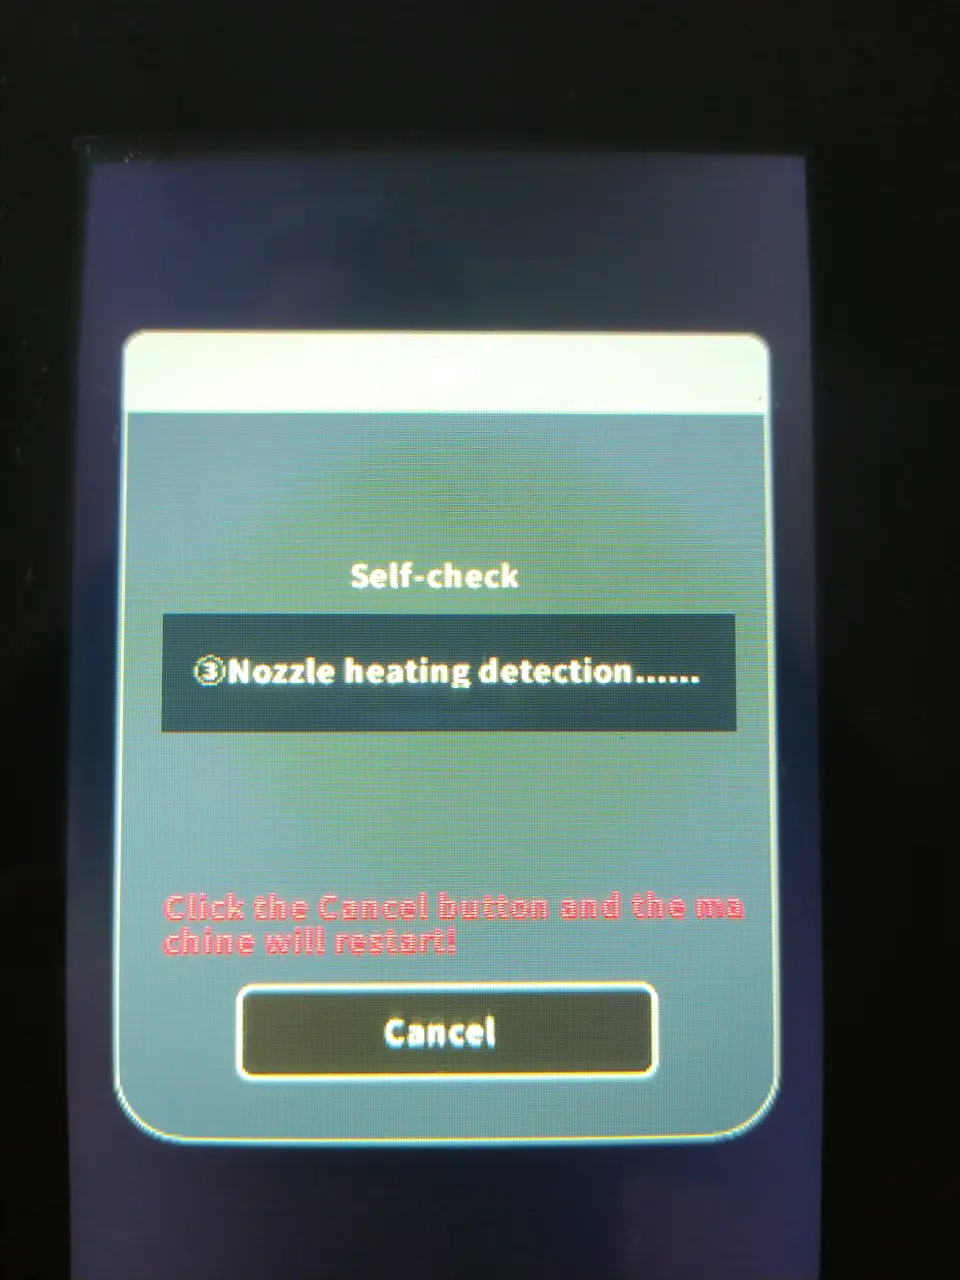
My pre-production model had a problem in the configuration that caused the print head to drive into the print bed!
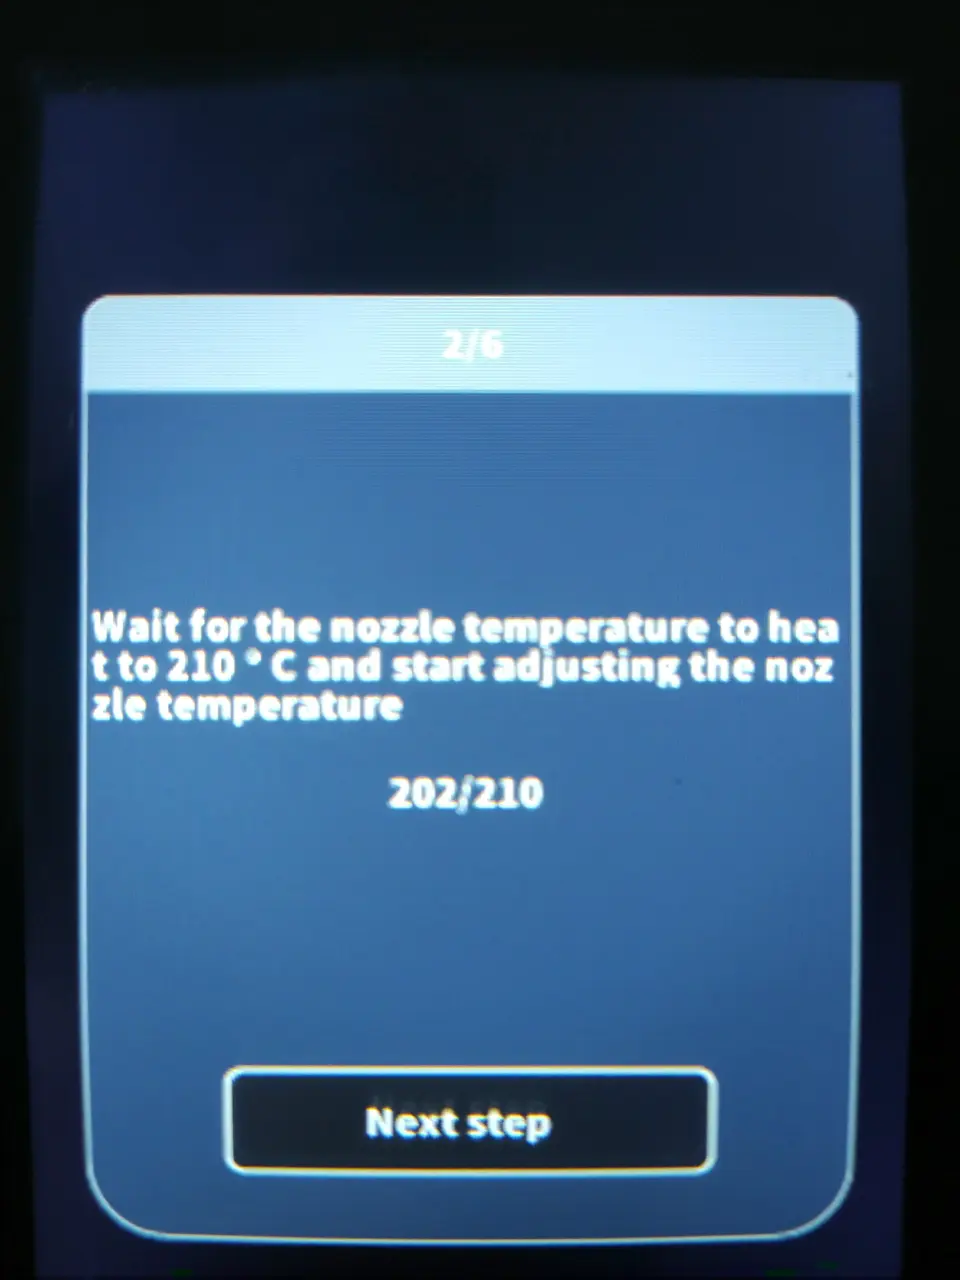
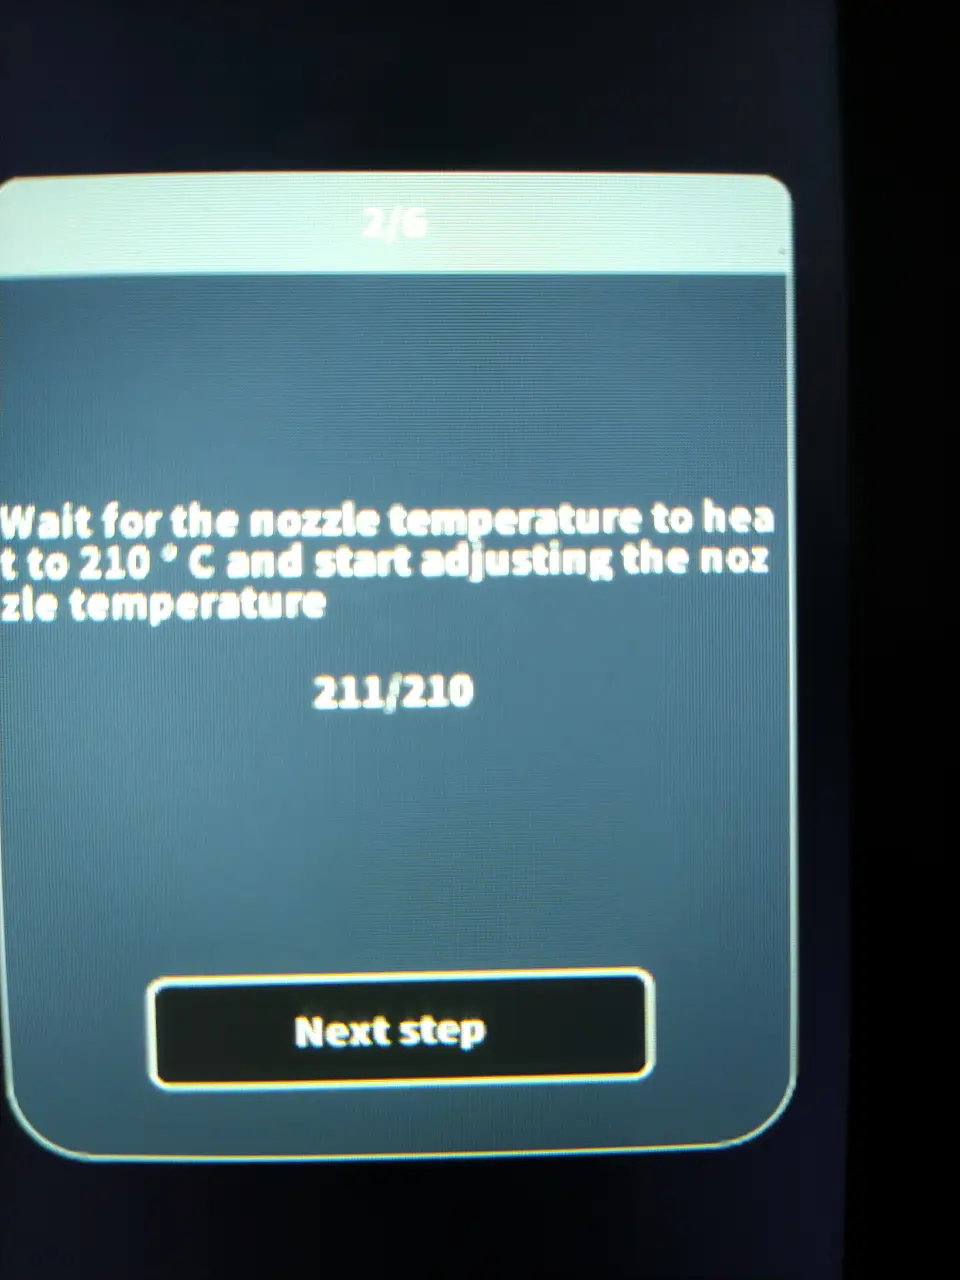
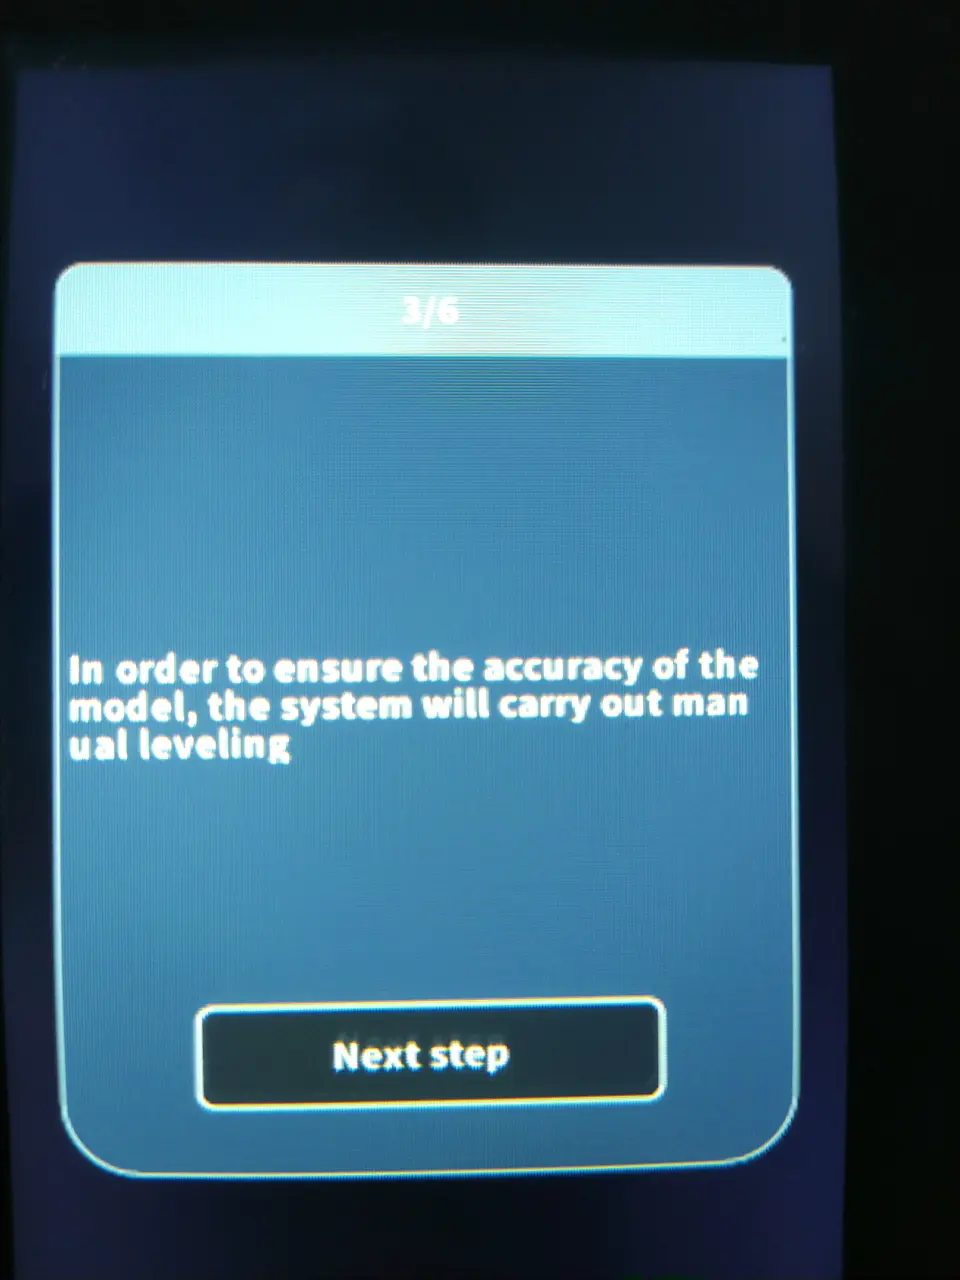
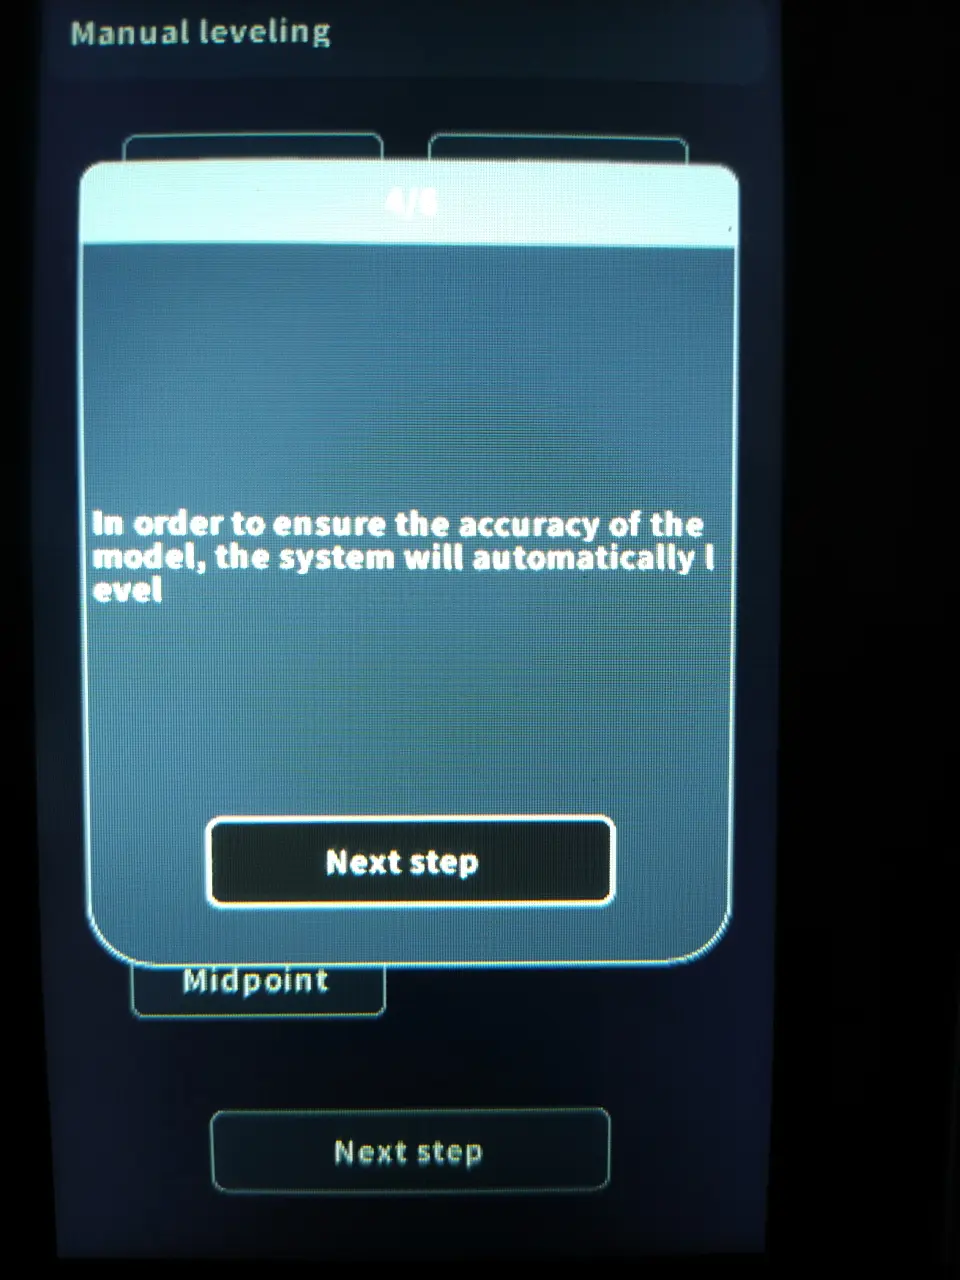
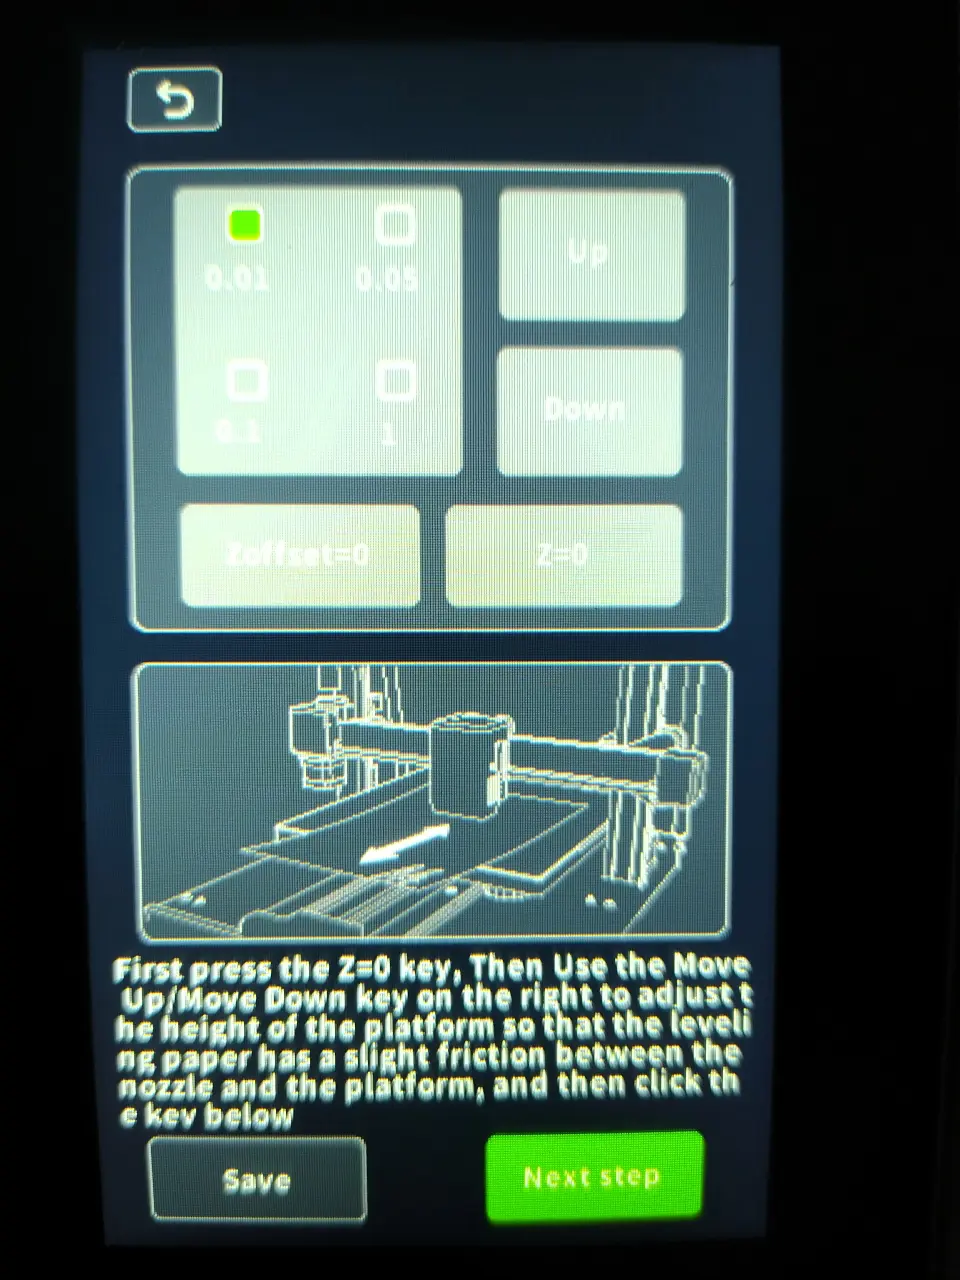
When you switch on the printer for the first time, you must skip the manual leveling!
During manual leveling, Artillery seems to have forgotten to query the sensor when lowering the nozzle! Then the print head will slam you into the bed!
Keep tapping “Down” until the nozzle touches the paper. It must still be possible to pull the paper forwards with slight resistance, but it must no longer be possible to push it backwards!
Ready?
Tap SAVE!
Now we are on the safe side!
Setup WiFi
Now we enter the name and password of our WLAN.

Cloud?
Nope! 🙂 Call me old-fashioned, but why would I put a printer in the cloud? Unforeseen expected things can happen. 🙂 Artillery doesn’t have a hip app or a fancy cloud. Fortunately! You don’t have to put everything in the cloud!
fluidd
The assigned IP address is shown on the display. We enter this in our browser and have access to fluidd:

Here I have all the information I need. Other manufacturers such as Creal*cough*ity offer a much more slimmed-down version.
SSH access
Thanks to Artillery, we also have root access to the Linux system, which in this case is an Armbian Buster. The SSH access is open:
User: root
Pw: makerbase
However, I strongly advise against experimenting, as it is not yet clear to what extent the installed Armbian 22.05.0 (Buster) has been modified by Artillery. Under no circumstances should you initiate updates on the console, otherwise you will soon have a non-functional printer on your desk. Please do not install Mainsail on your own!
As there is no cloud obligation and no app for the Sidewinder X4 Plus yet, there is no need to install “security” on a printer that does not access the internet anyway.
I don’t understand where some people’s compulsion to update comes from anyway. Just leave it alone if a device works. It won’t be able to peel your potatoes after an update, nor will you be able to play Fortnite on it 😉
Connect webcam
Any webcam that runs under Klipper can be connected to the Sidewinder X4 Plus: How to attach and install a webcam to the X4 Plus.
Level up?
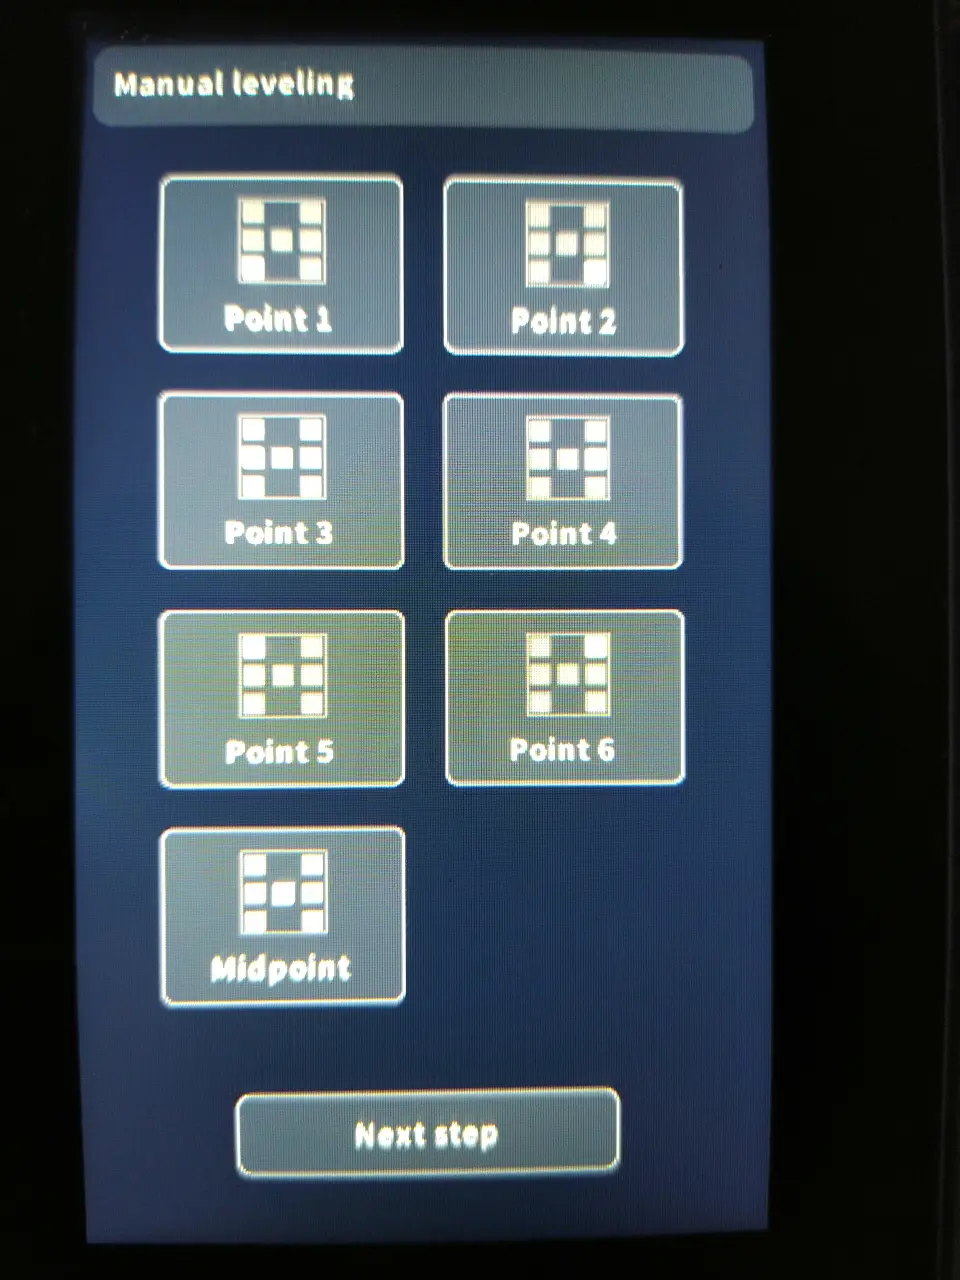
I hate manual levelling! Even with only four wheels, it gives me a rash!
While I was still wondering why the 3D printer had six levelling wheels under the bed of the X3 Plus, I was naturally less than pleased to see the same number of wheels under the bed of the X4 Plus. However, the wheels on the X4 Plus are positioned much further apart, which makes levelling easier.
Older pressure beds were not only levelled by four screws, but also adjusted in height. The difference with the X4 Plus is that its bed is firmly connected to the print carriage in the centre and the height is therefore fixed for the time being. You don’t necessarily have to level manually and could also rely on the auto-levelling function.
Is auto-levelling enough?
Printers such as the Creality Ender-3 V3 KE no longer have levelling wheels to compensate for the factory-made distortion of the print bed. On its small 220 × 200 mm print bed, I had a height difference of almost one millimetre.
Autolevelling only ensures that the print object adheres well to the print bed by guiding the print head over all the peaks and valleys of the surface. If you were to print your own large cube, it would possibly tilt and wobble on a straight table top. If you wanted to glue two large cubes together with the bases, you would have large gaps between them. But even with smaller print objects that need to fit together precisely, a difference of just a few tenths of a millimetre is really annoying.
Do levelling wheels still make sense today?
Yes, especially with larger printers! No print bed is completely level, no matter what the manufacturers want to tell you.
Levelling the X4 Plus
Such a large print bed needs to be levelled several times. Simply adjusting each screw individually is useless, because every change has an effect on the next screw. I say: three or four crosswise adjustments should be enough. As I said, I actually hate levelling, but with the X4 it was almost fun.
Even with a maximum height difference of 0.88 mm, the result is better than with the smaller Creality. But it can be even better!

Level up better
It’s easier if you use the function built into Klipper to adjust the bed level screws. Thankfully, “Molodus“ has published a macro for the screws_tilt_adjust function on GitHub for the X4 Plus, which can be found in fluidd under Macros after inserting it into the printer-cfg.

This function is a really great thing that I came into contact with for the first time on my i3 Mega. For each screw under the print bed, you get an indication of how many minutes it needs to be turned clockwise (CW) or anti-clockwise (CCW). So you don’t have to rely on your feeling with a piece of paper, but follow simple instructions 🙂

I carried out the adjustment procedure five times in succession until every screw was set to the nearest minute. And the result? Better!

The difference in height is now only 0.48 mm. But this is only due to the front 5 cm of the print bed. In the rest of the printing surface, the height difference is only 0.2 mm. I can live with that.
Adhesion of the first layer
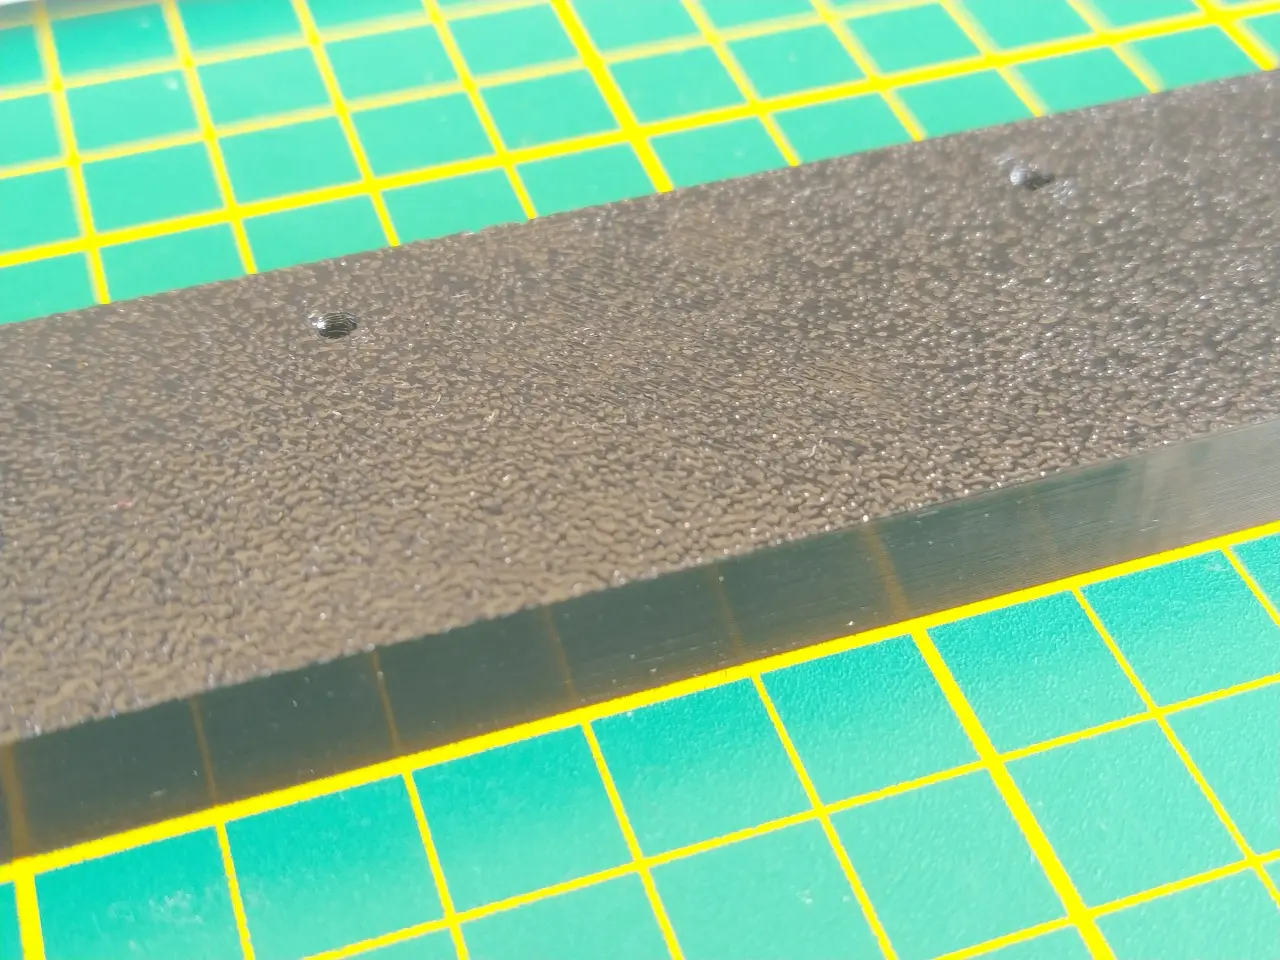
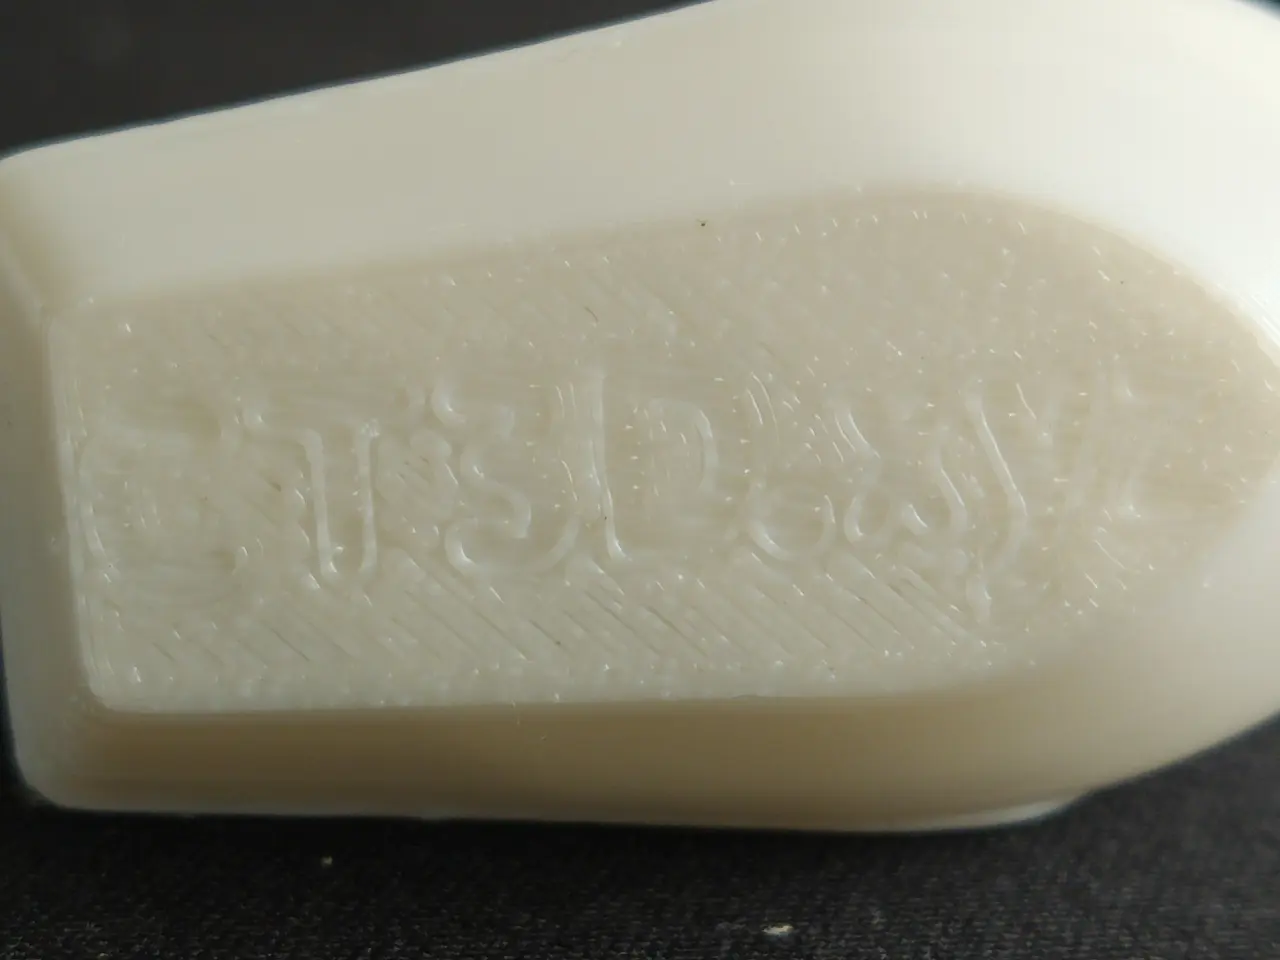
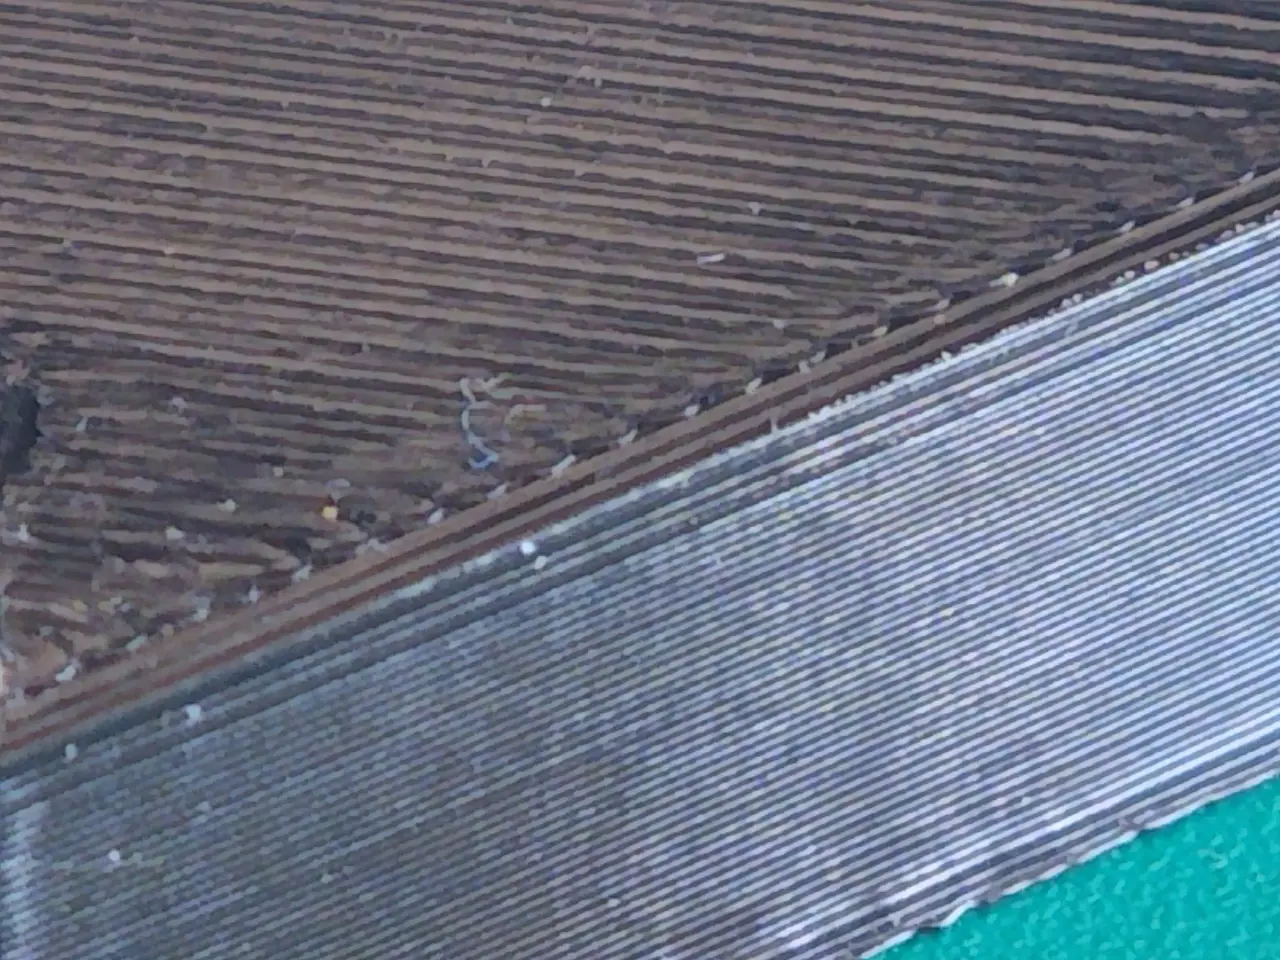
The X4 Plus has the best print bed adhesion of all the printers I have used so far. It really is extremely good. This is certainly also due to the much rougher surface compared to the X3 Plus. Unfortunately, if you need smooth undersides on your printer, you can ‚t simply turn the PEI plate around because, as with many 3D printers, it is identical on both sides.
The solution is PEI plates from third-party manufacturers. They are available smooth, but also with different structures such as carbon patterns. Nice.
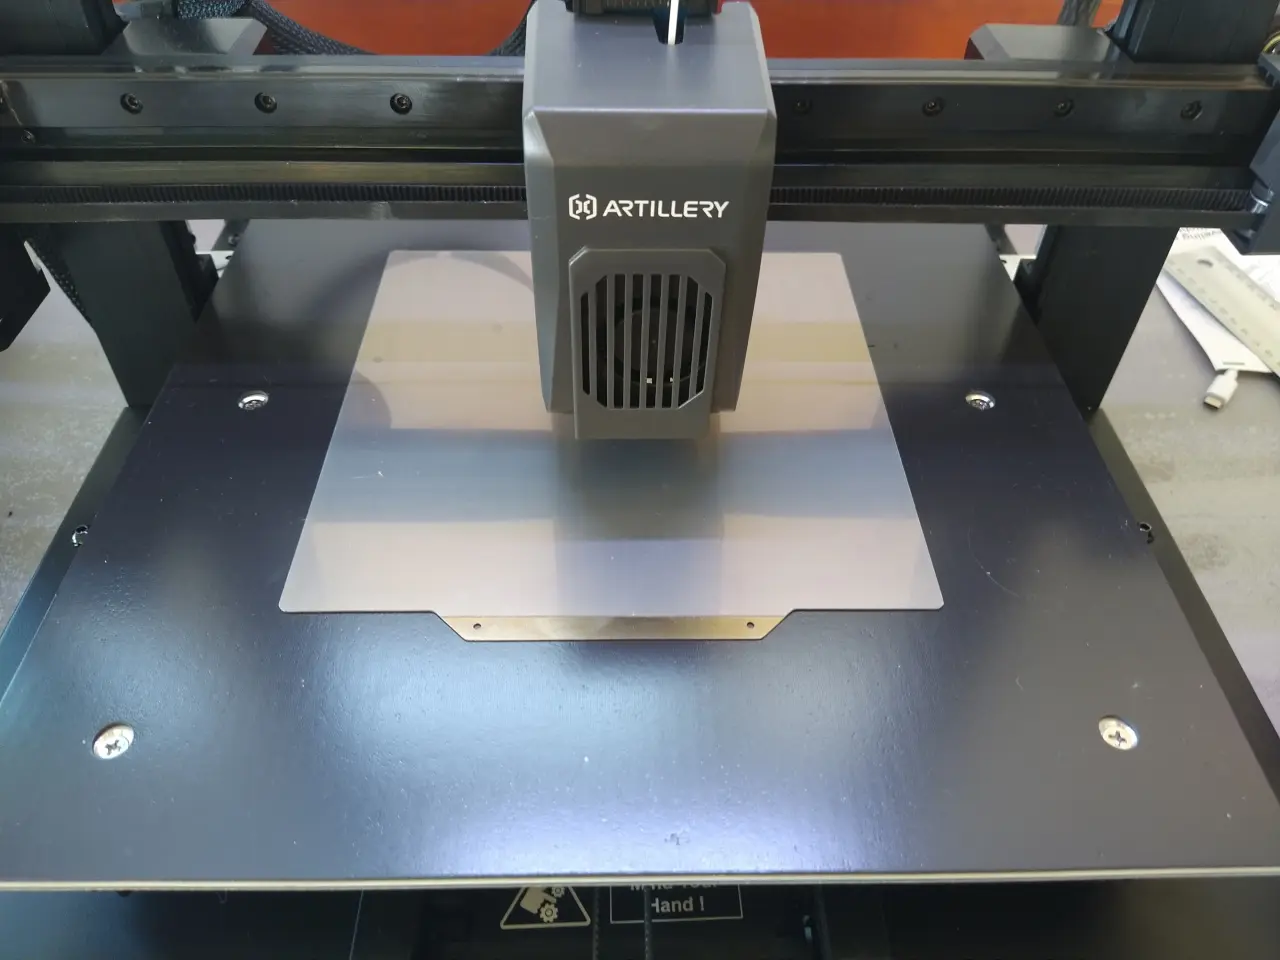
Even nicer is that Artillery has realised the two rear supports with only two screws. If you unscrew them (and put them in the drawer), you can put each plate fully on the printer. Thank you Artillery for not making my life unnecessarily difficult when it comes to buying a new PEI plate. Top!
Yes, the print area doesn’t matter because it’s smaller than the plate itself, but a PEI overlay that is always positioned the same way guarantees the same Z offset every time.
The plate of the X3 Plus is smaller and if one recess fits into the guide screw, the other does not and the plate lies at an angle on the print bed. All in all, the removable positioning aid offers more freedom when purchasing a different PEI support.
Slicer
I am now an enthusiastic Orca Slicer user. All my printers run with it and so of course does the X4 Plus, so why not? Print jobs can be sent normally via the WLAN and I have all the information I need in the device tab via fluidd.
Print results
Fine tuning?
E-Steps and PID tuning? I haven’t done any. The printer holds the temperatures perfectly and the e-steps are set quite appropriately at the factory. But that won’t stop me from checking and adjusting everything again. 🙂
So I printed without fine adjustment. The printer should show whether even beginners can produce acceptable prints with it or whether it will drive them mad. So I gave the X4 Plus different filaments for different prints.
Rüdiger
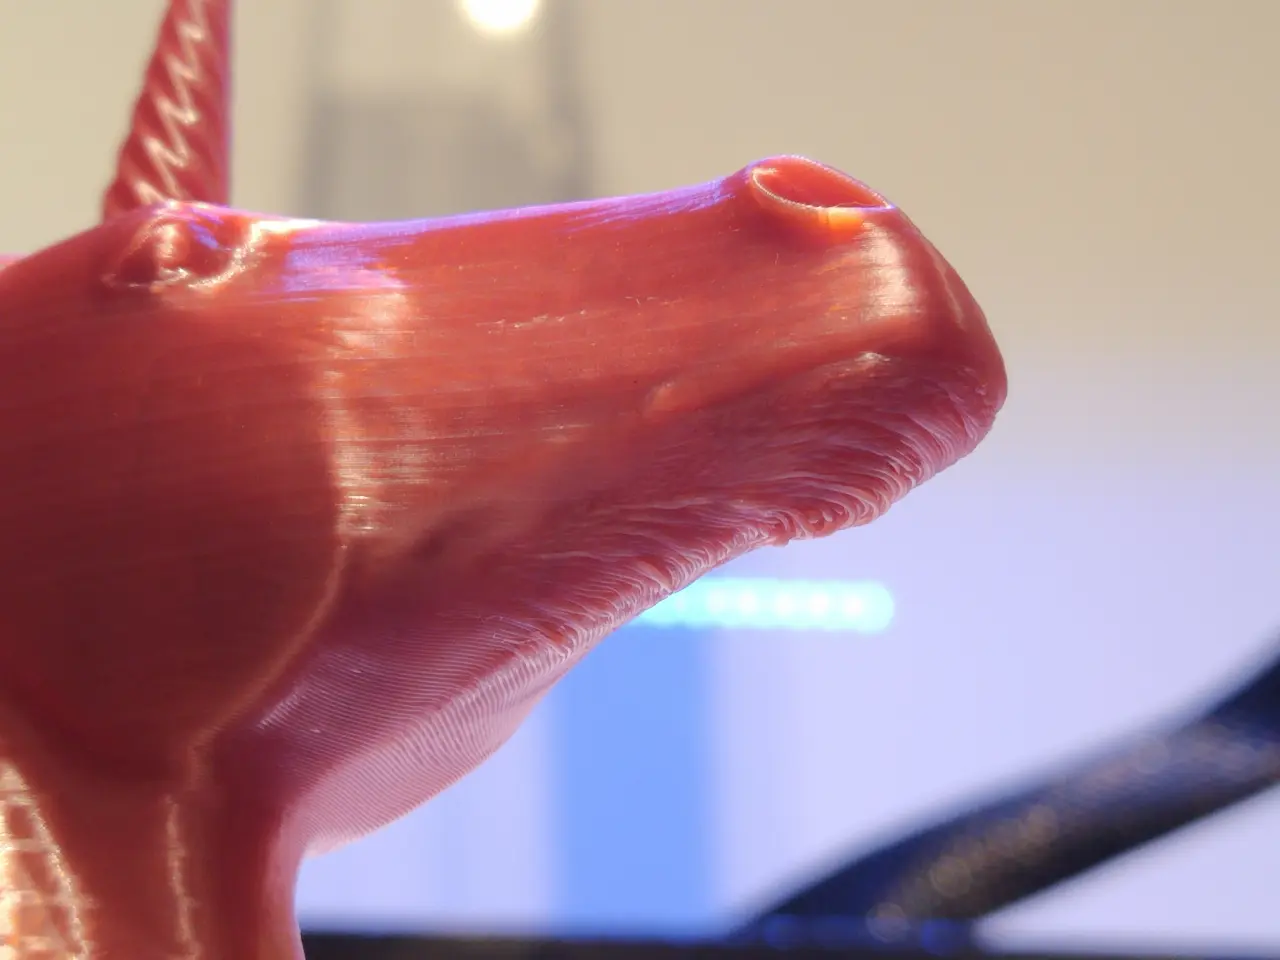
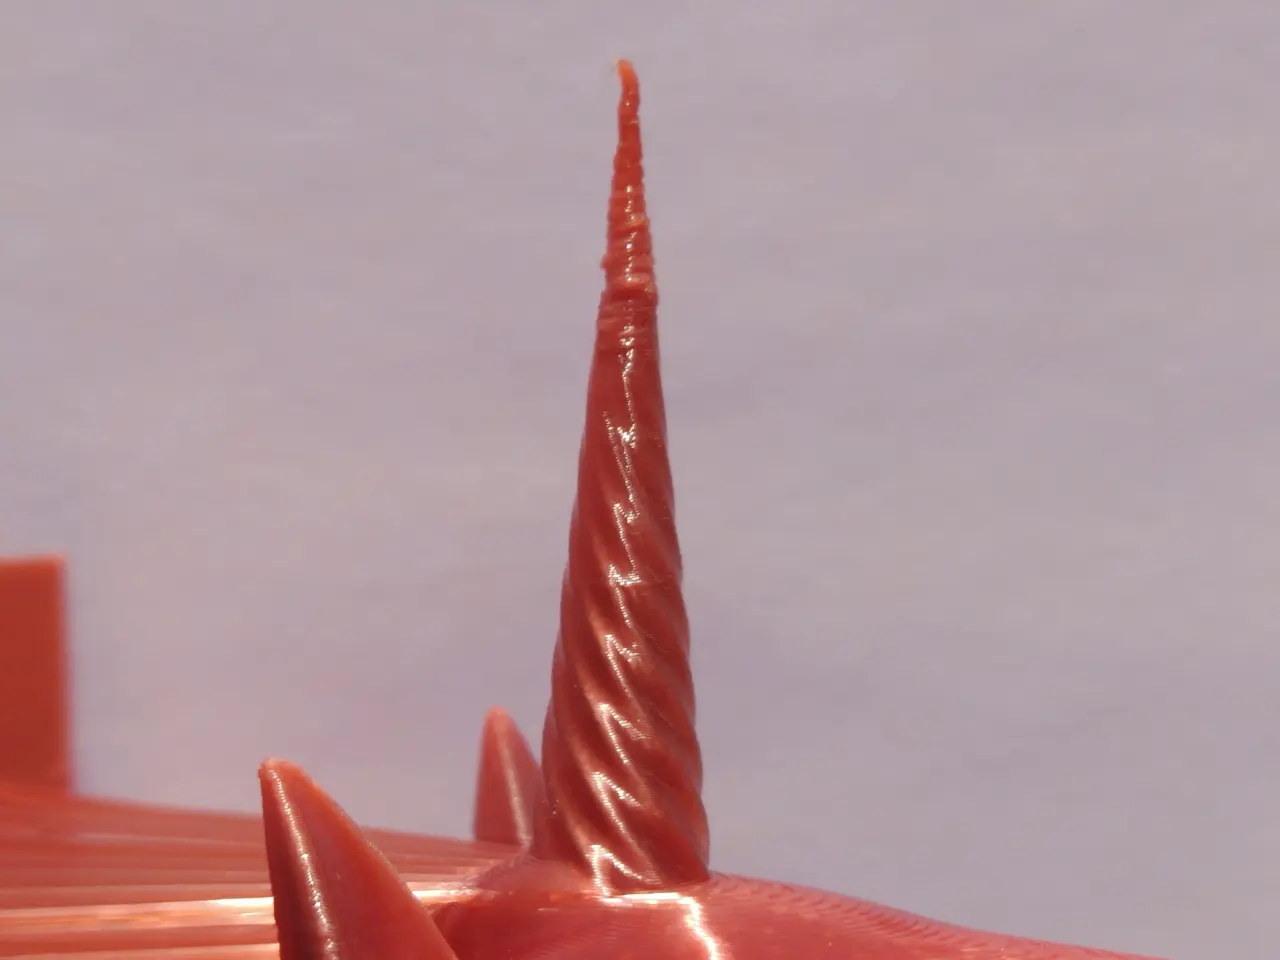
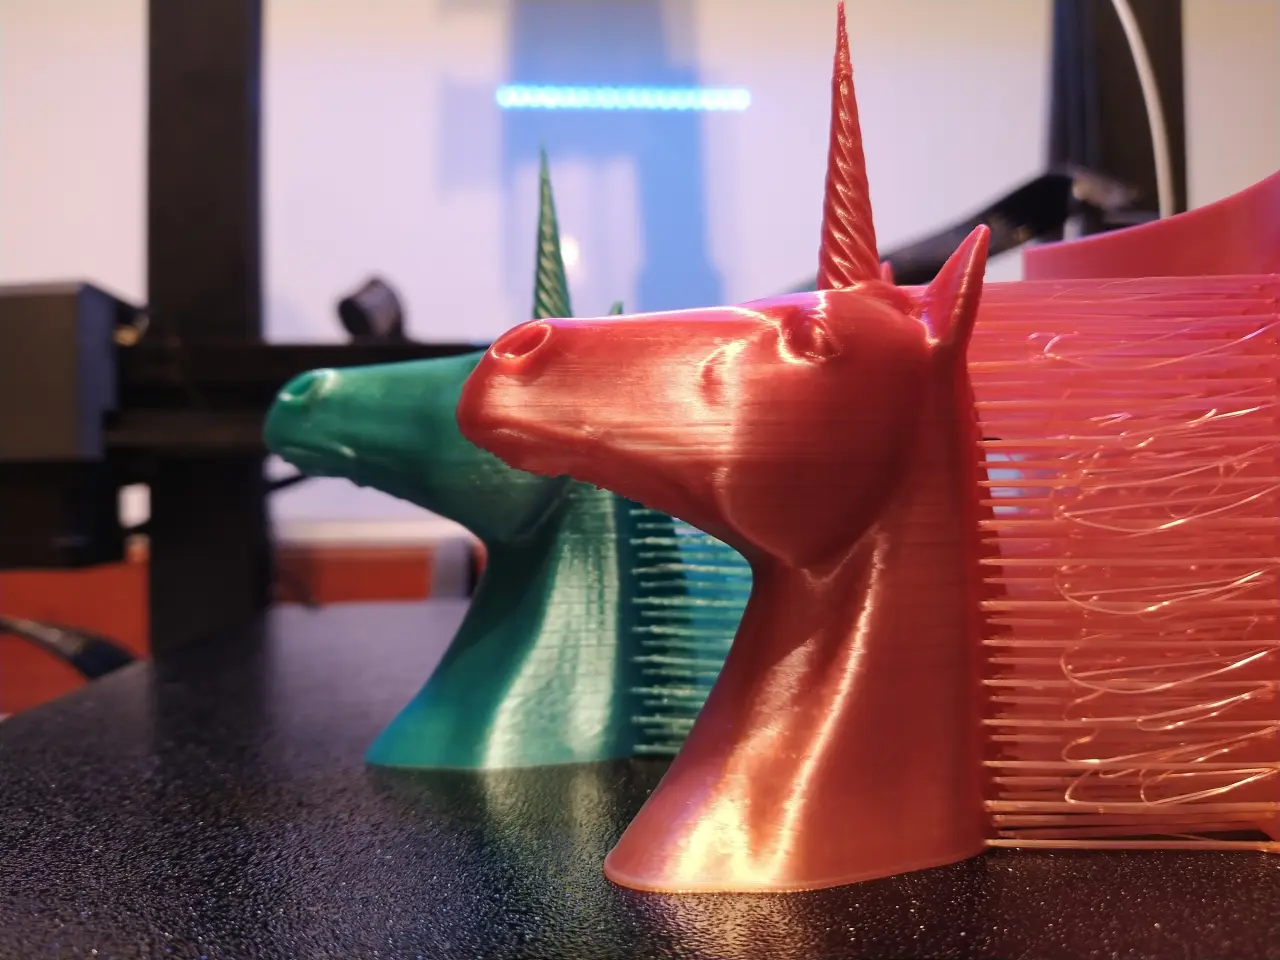
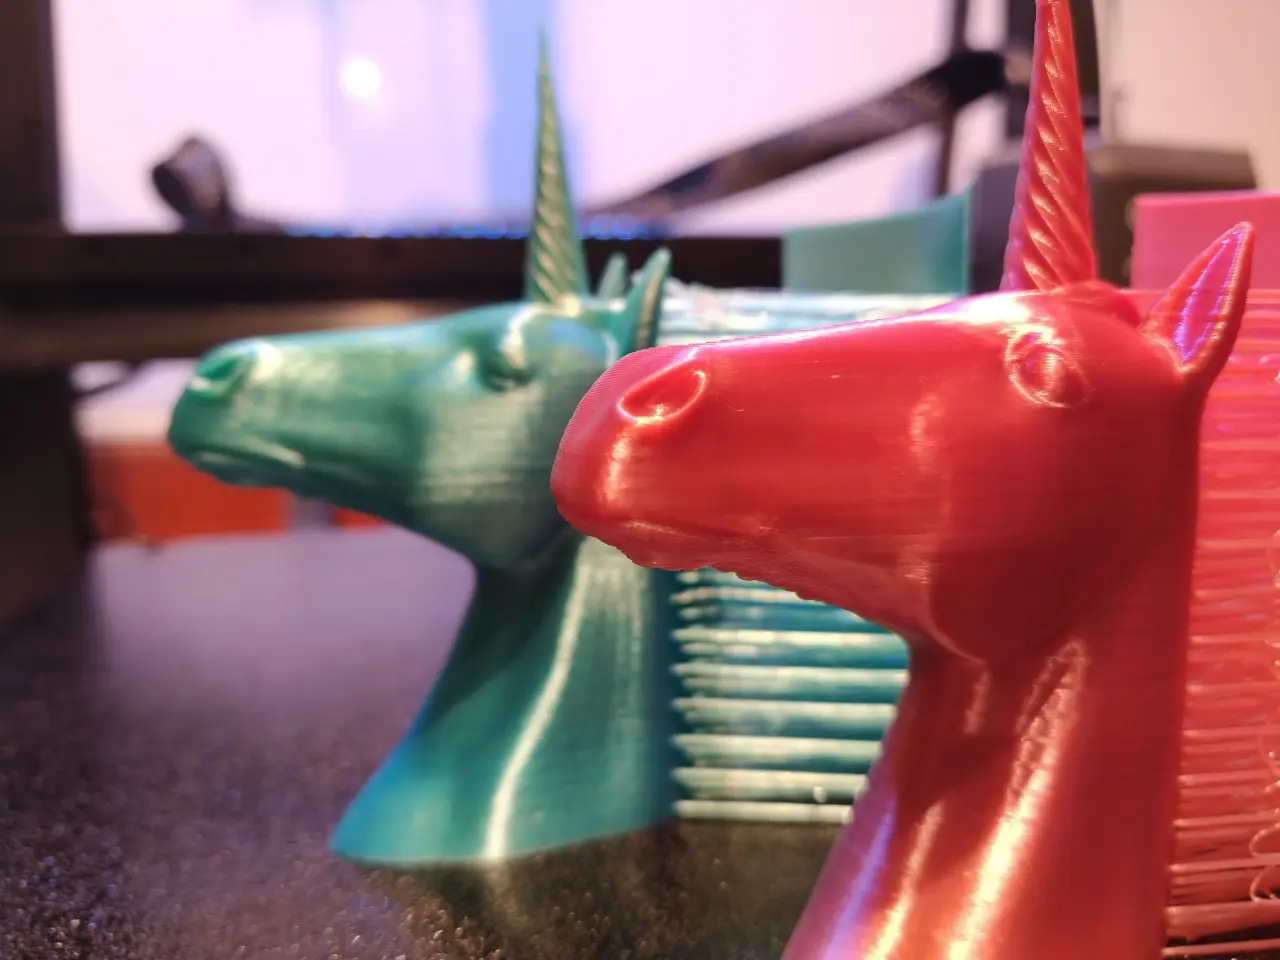
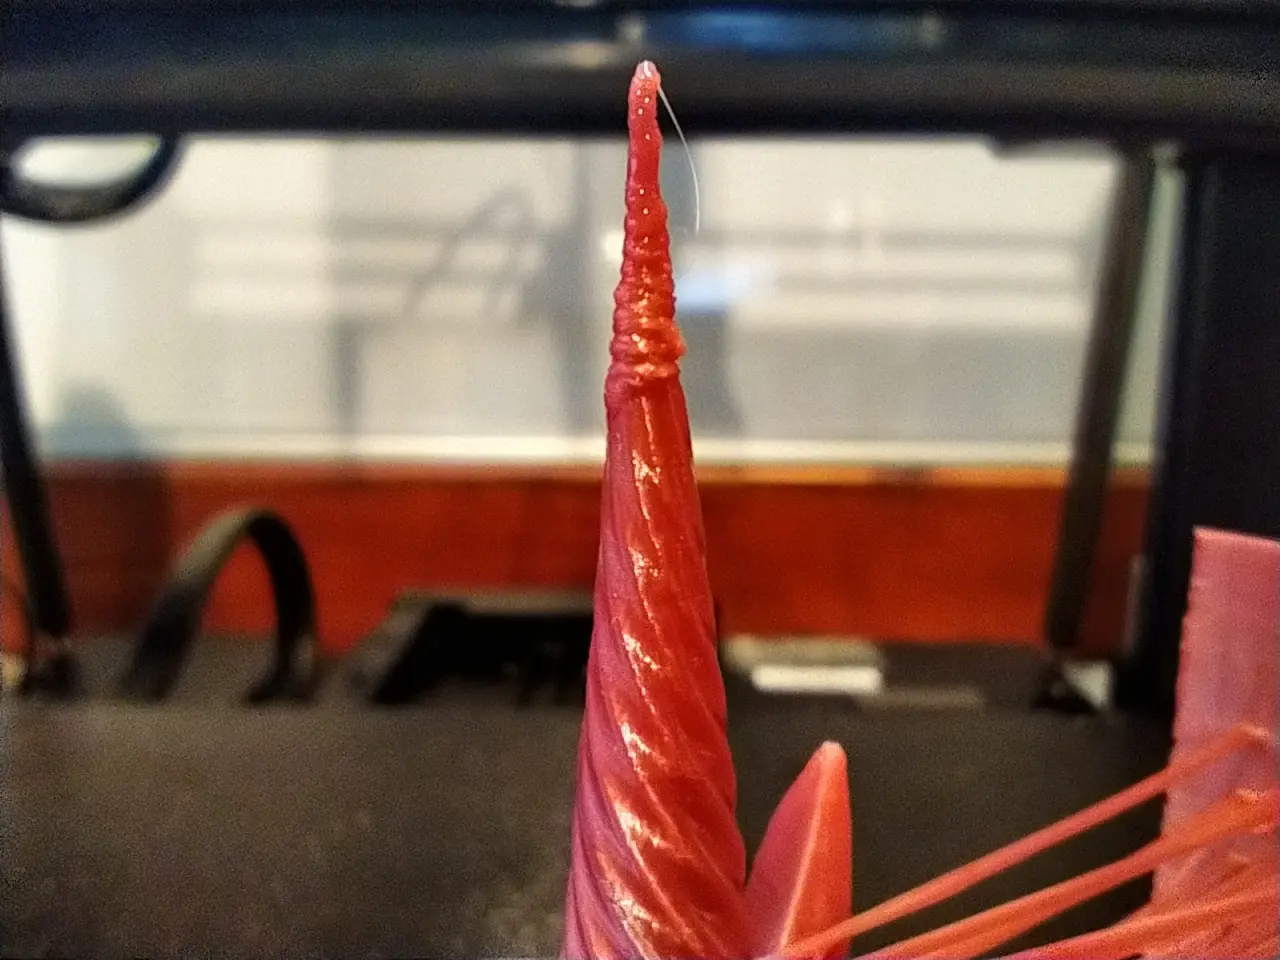
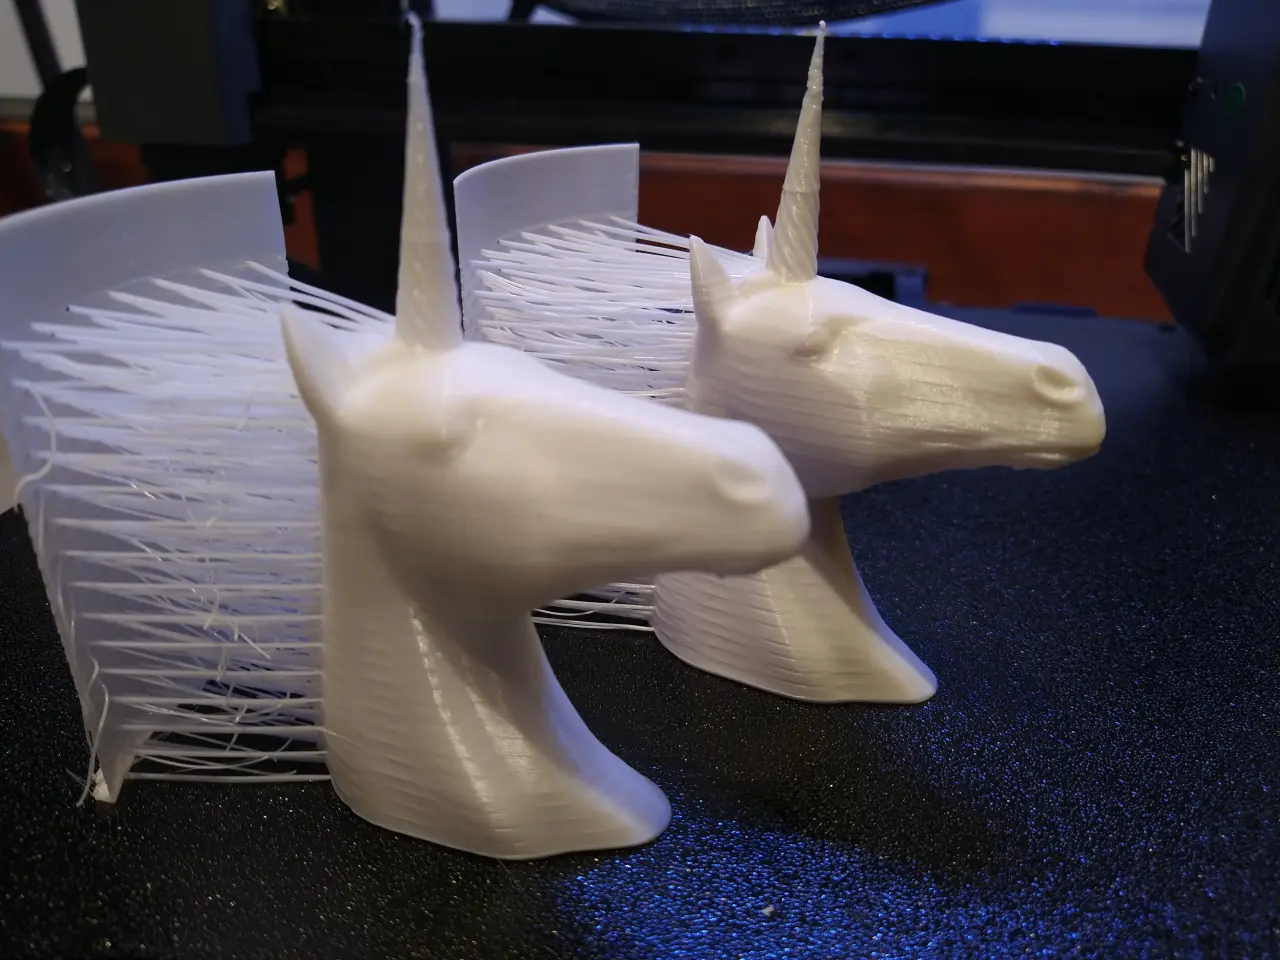
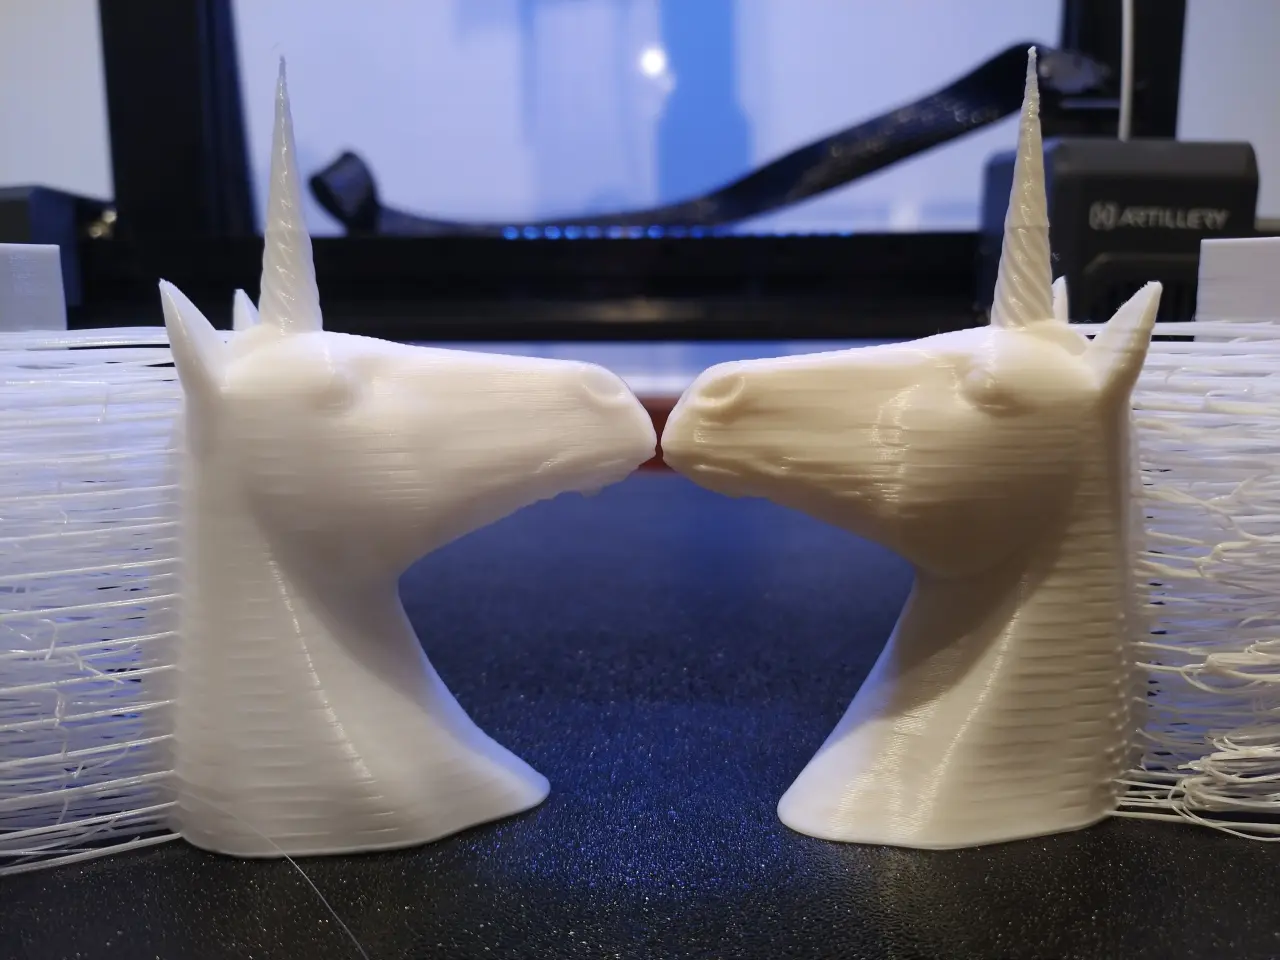
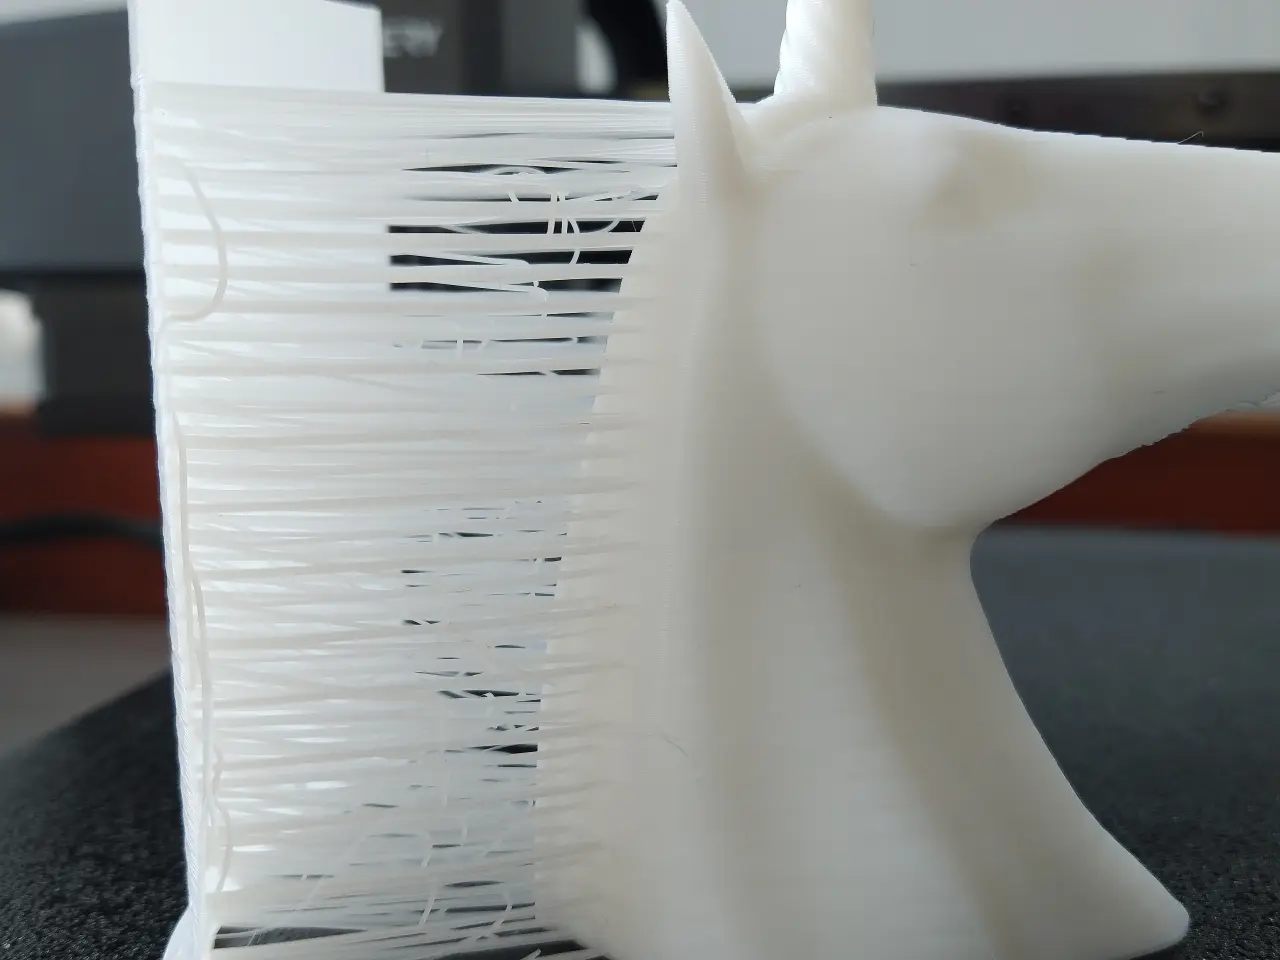
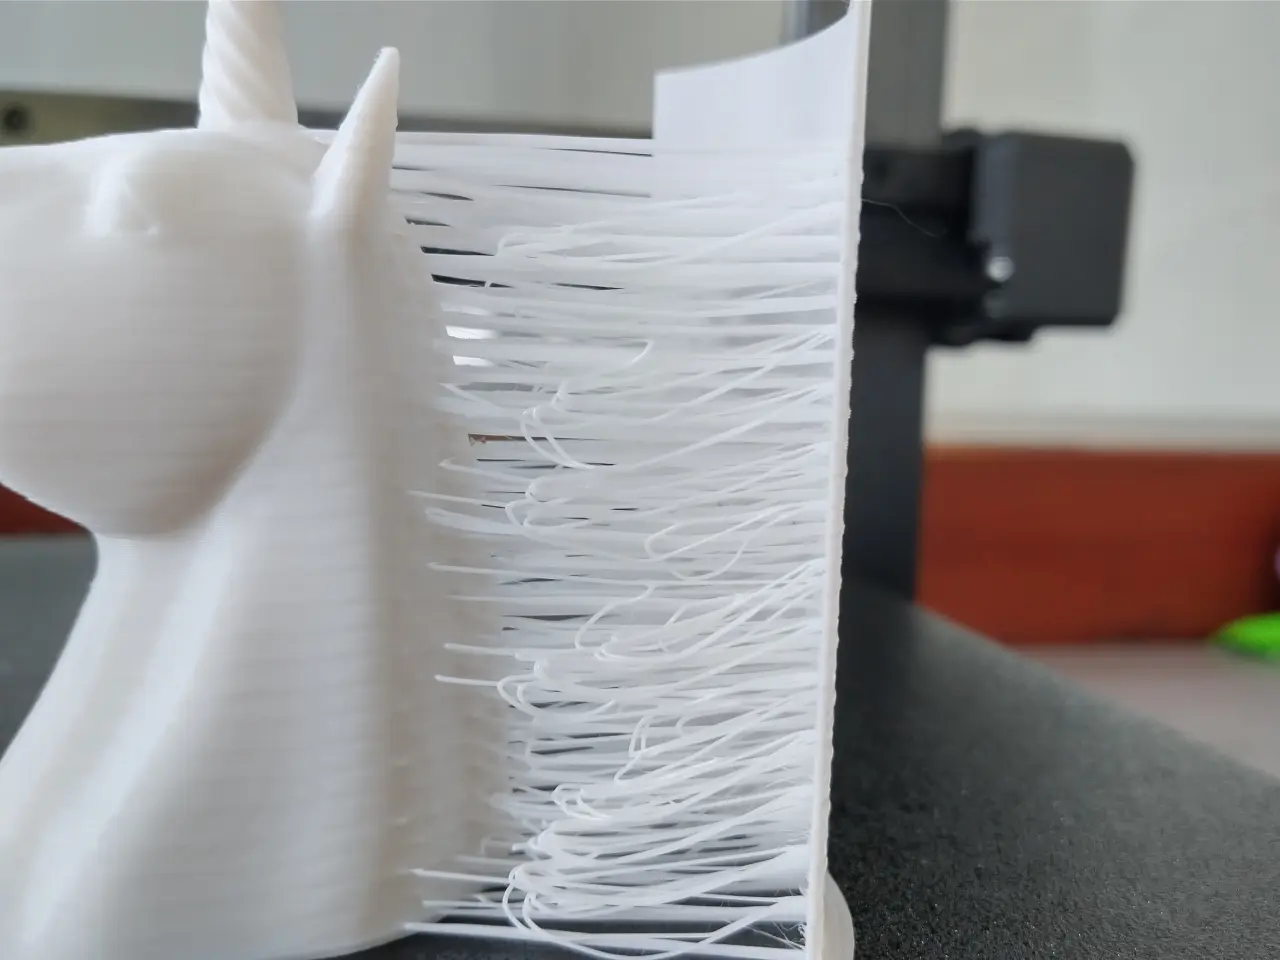
I like to use Rüdiger as my personal benchmark. Rüdiger is actually called „Hairy Unicorn“ and was designed by Geoffro. I call him Rüdiger because it’s a really quirky name for a unicorn.
With Rüdiger, I have a lot of things that are important to me: smooth surfaces and normal and very long overhangs. I always print Rüdiger with the basic settings of the supplied slicer for the respective filament type. If this fails completely, I adjust the print speed.
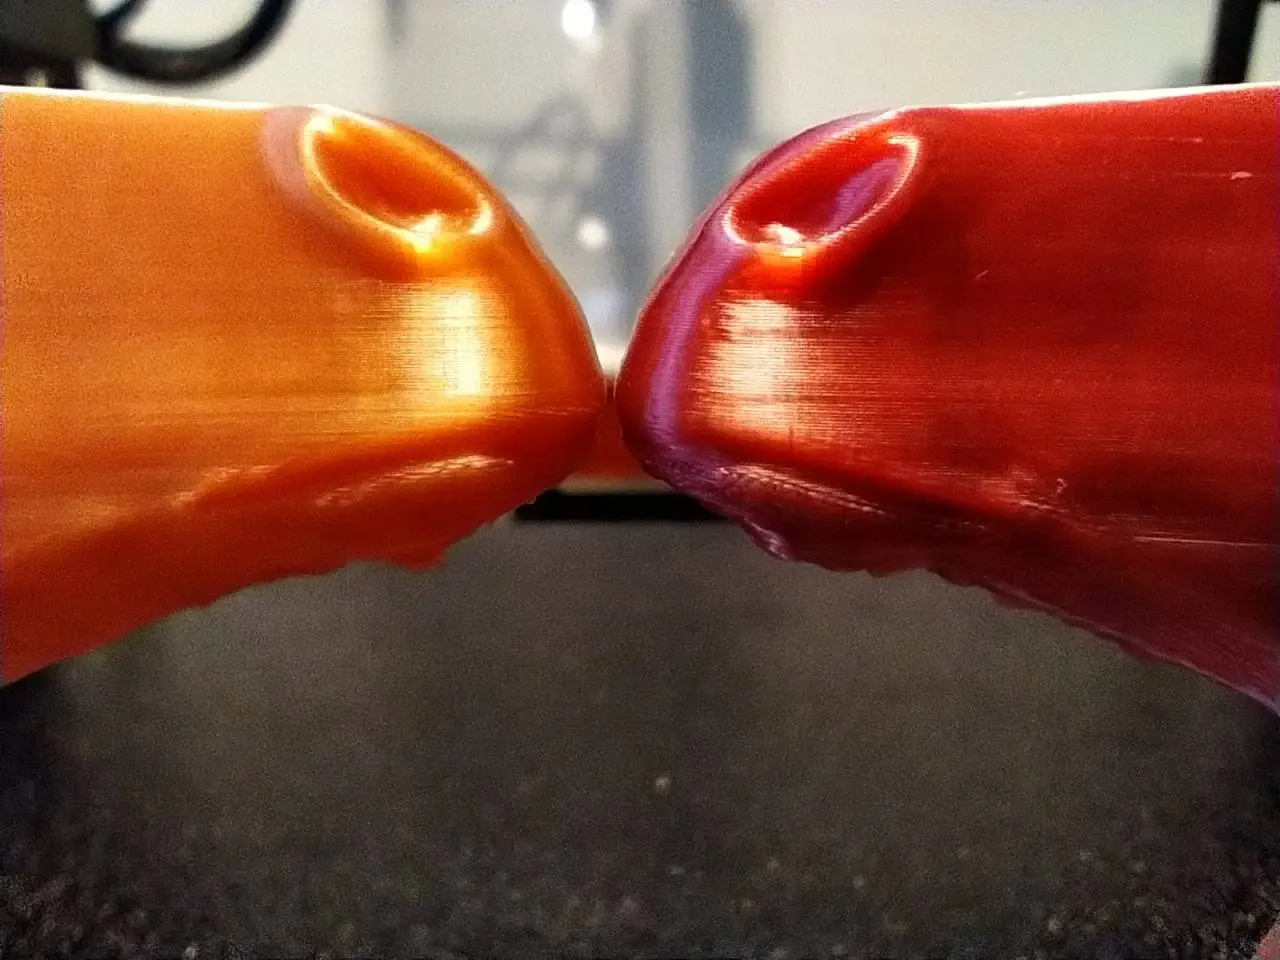
The Sidewinder X4 Plus took just under 2:15 hours to printRüdiger in 0.1 mm quality. That’s around 45 minutes faster than the X3 Plus managed. The Creality Ender-3 V3 KE, also a 500 mm/s printer, also needed three hours with the Geetech Silk Raibow-PLA. The filament actually limits the printer’s capabilities here, but the X4 Plus managed Rüdiger in less time than the KE and in better quality than the X3 Plus!
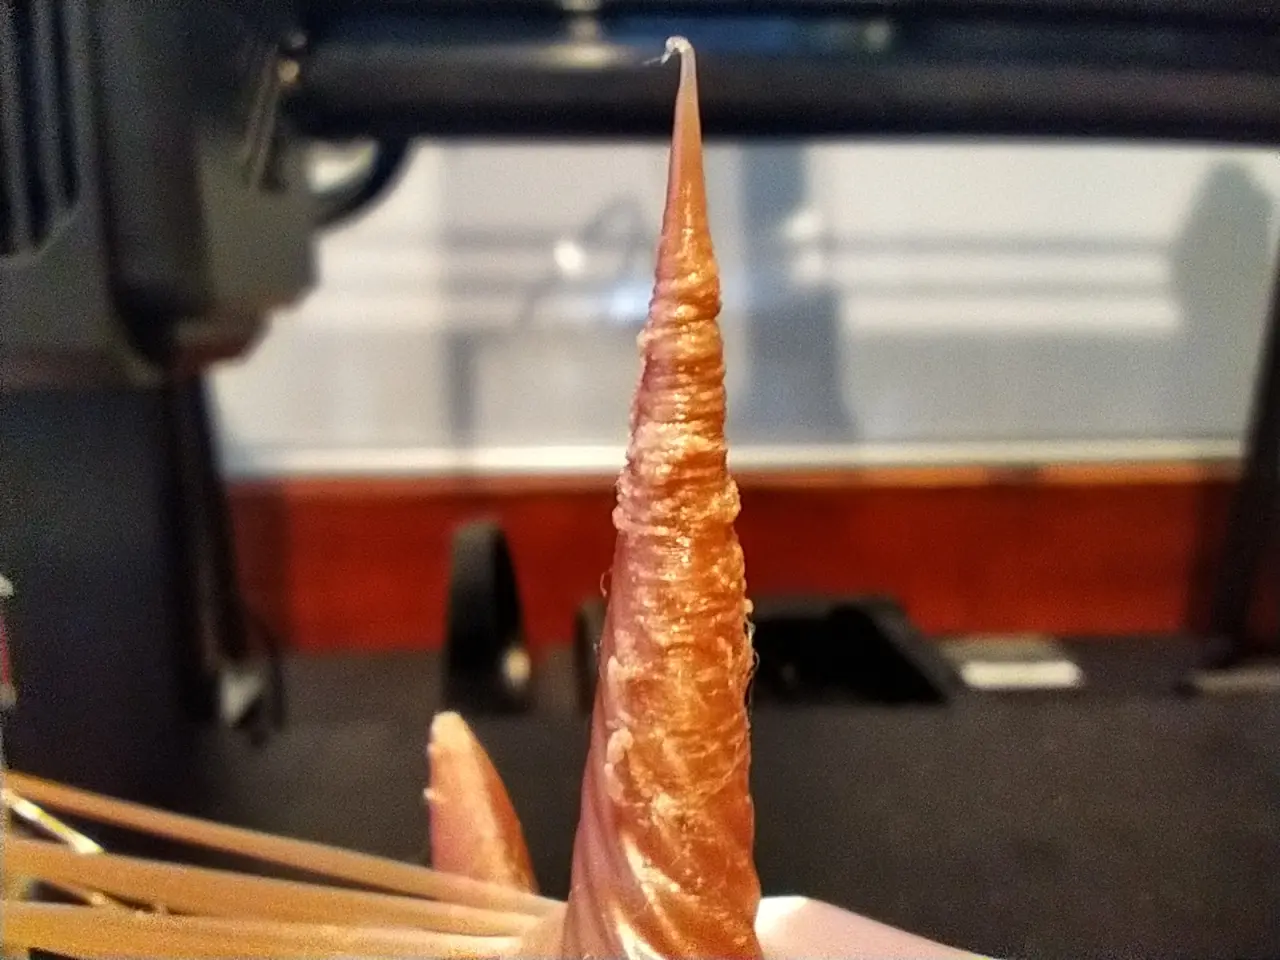
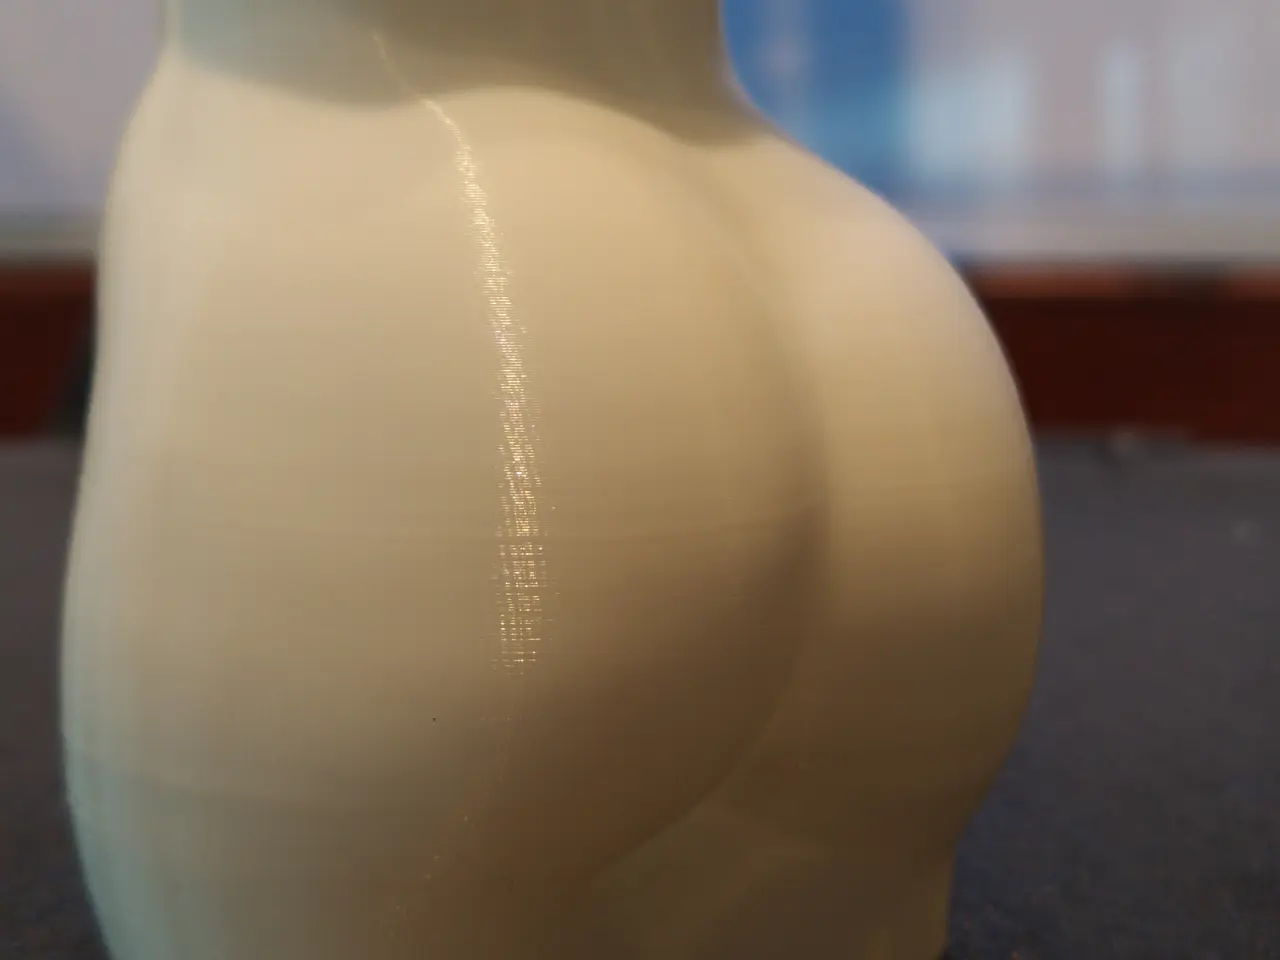
I printed Rüdiger in a speedy 1:20 h with the inexpensive PLA from Kingroon and in 1:15 h with the HS-PLA from Creality. Ghosting is clearly recognisable here and I’m considering whether I should invest ten euros in a motion sensor so that I can use input shaping.
PLA
The „MM_PLA_HS“ demo that came with the stick didn’t completely convince me. Although the overhangs were all printed perfectly, the surface was quite rough.
I used the PLA-HS from Creality. The test prints with the filament from Artillery were apparently better at first, but the fun didn’t last long because a thick lump in the filament prevented the filament from being pulled through the filament sensor. I’ve never experienced that even with OWL!
My Kingroon PLA also didn’t quite achieve the results I was used to from my X-Smart 3 at the same speed. But I should mention that I printed the PLA twice as fast as recommended by the manufacturer. So that’s not a real benchmark.
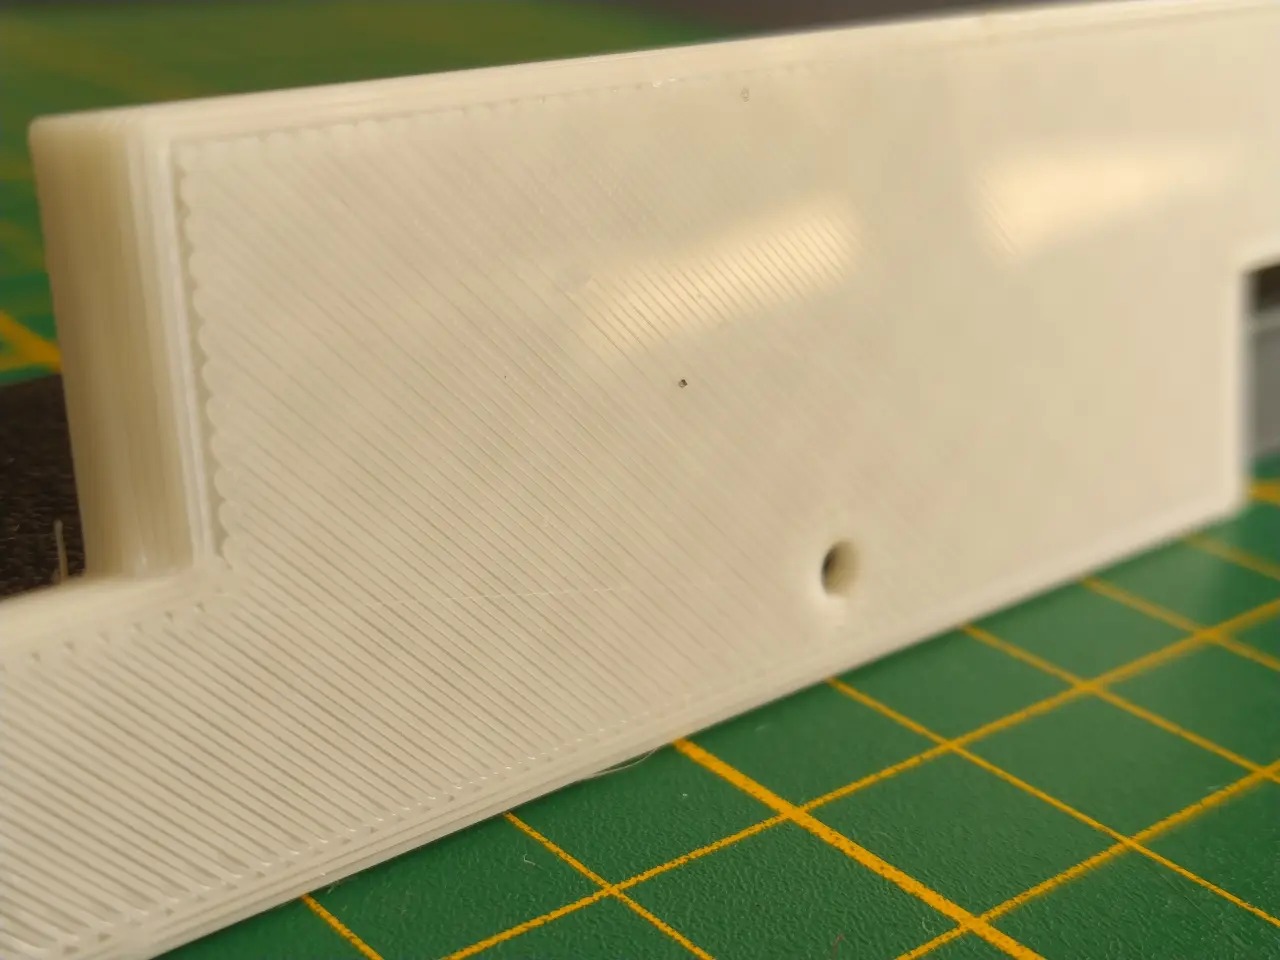
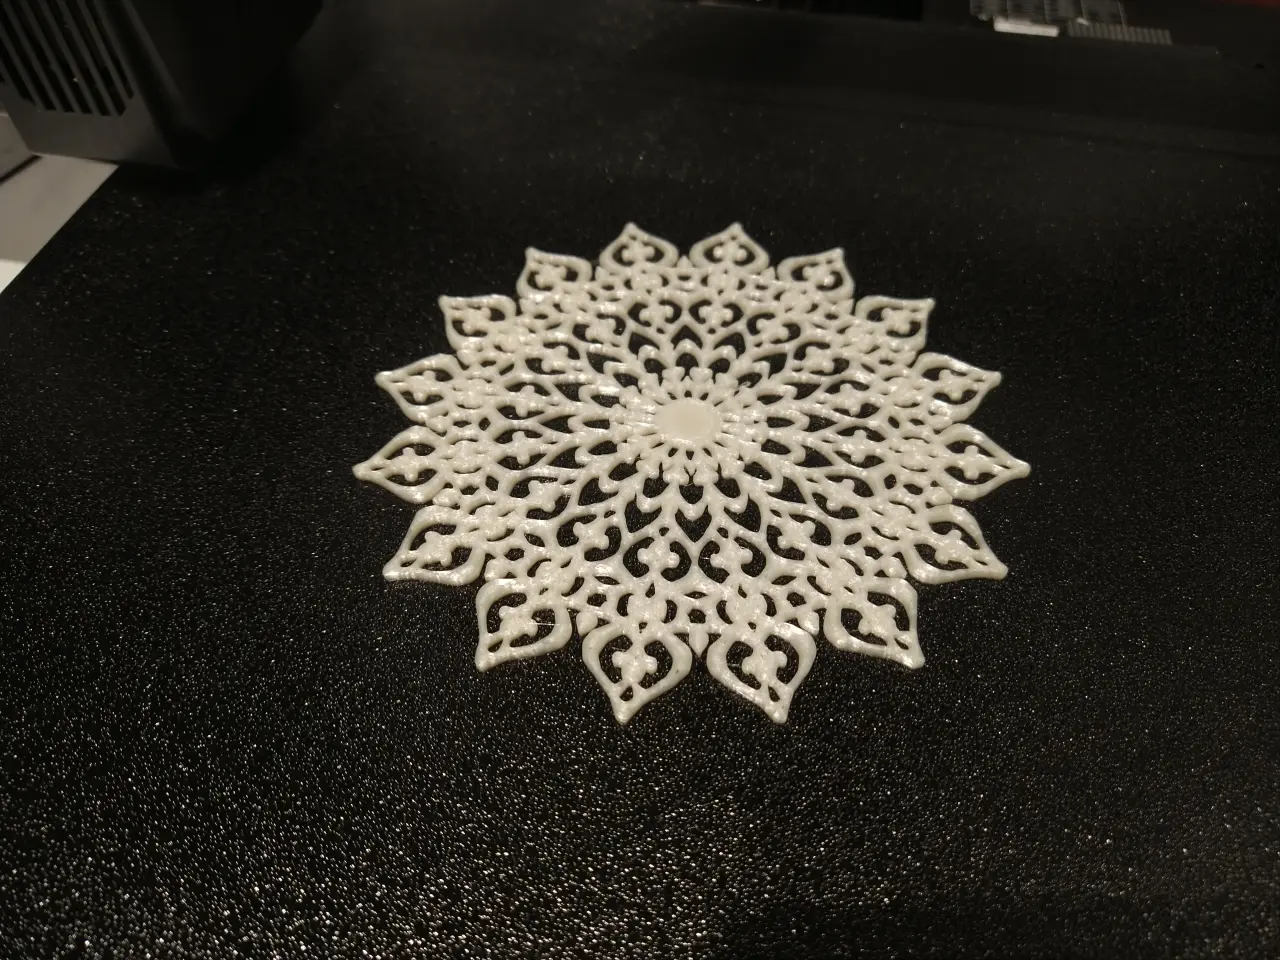
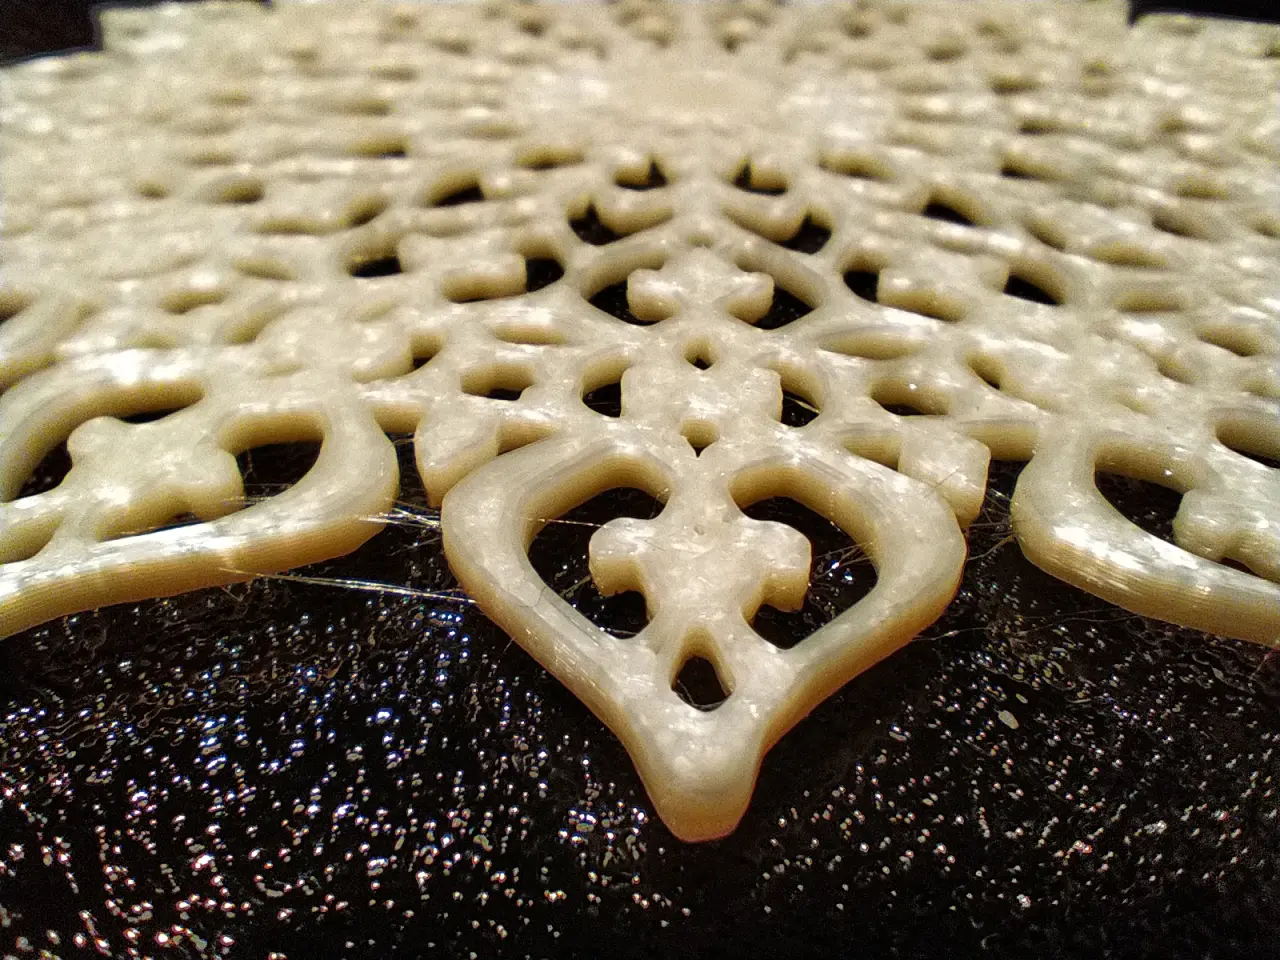
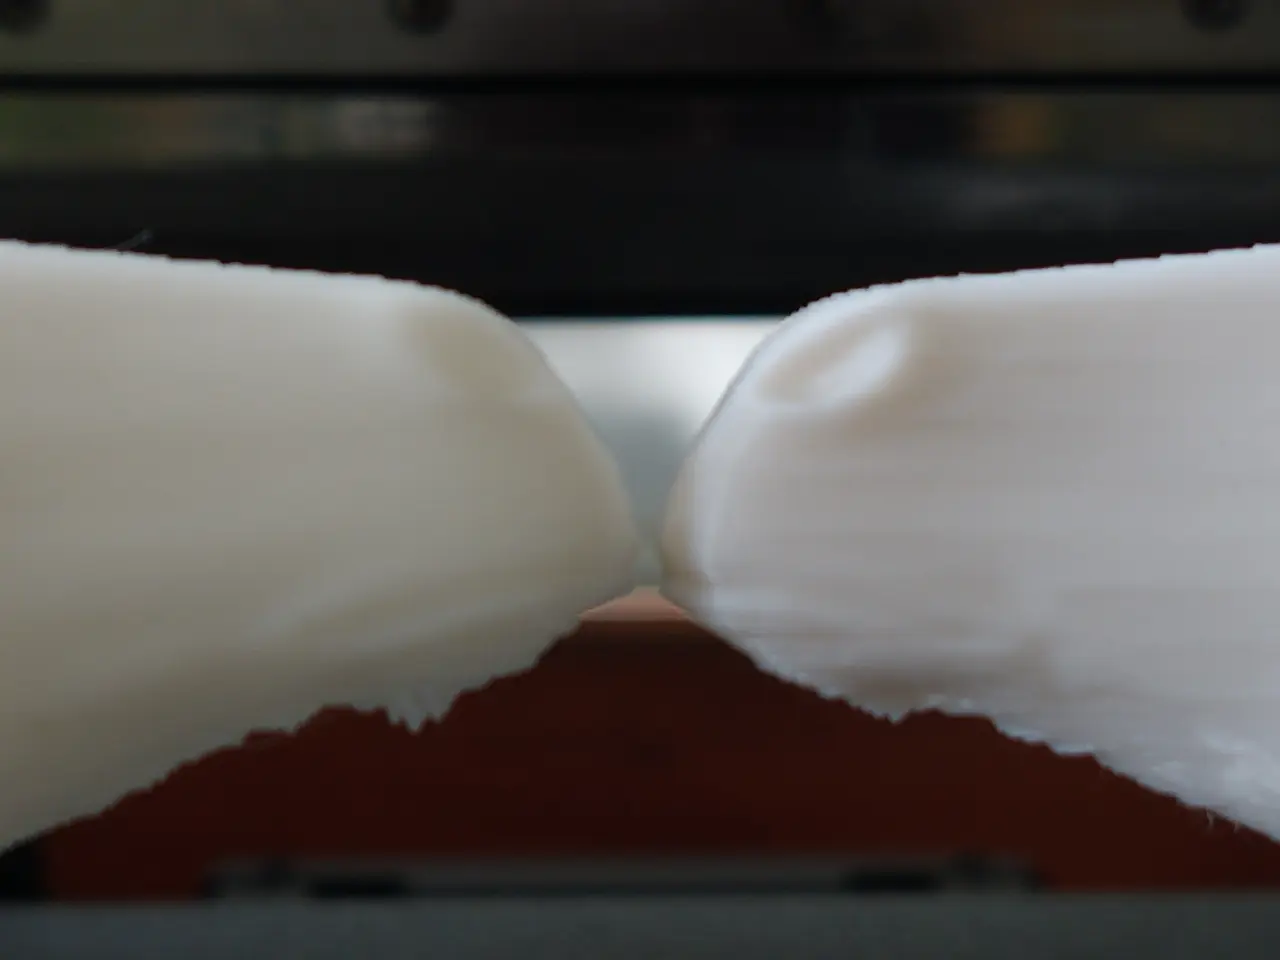
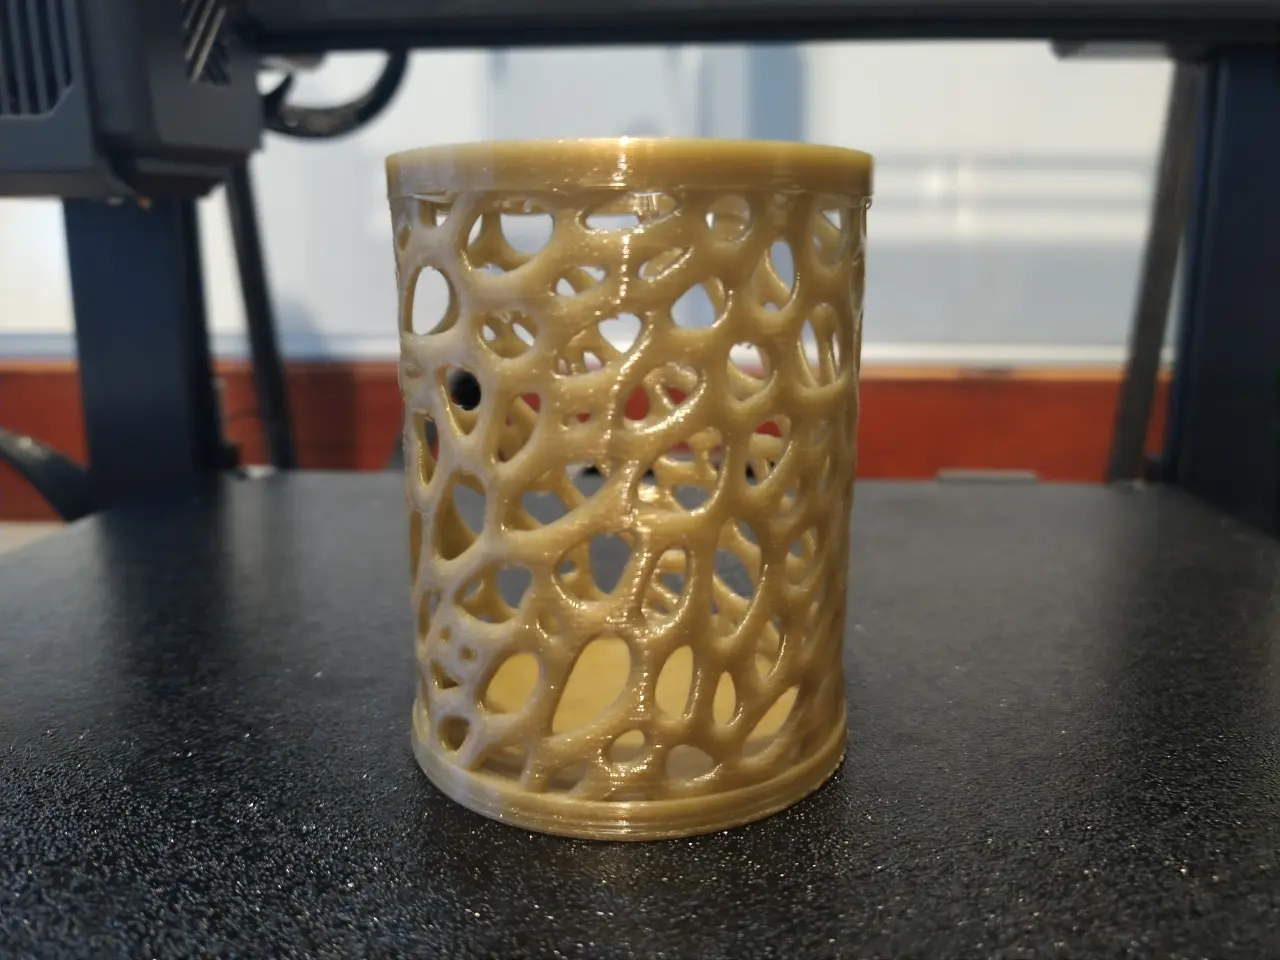
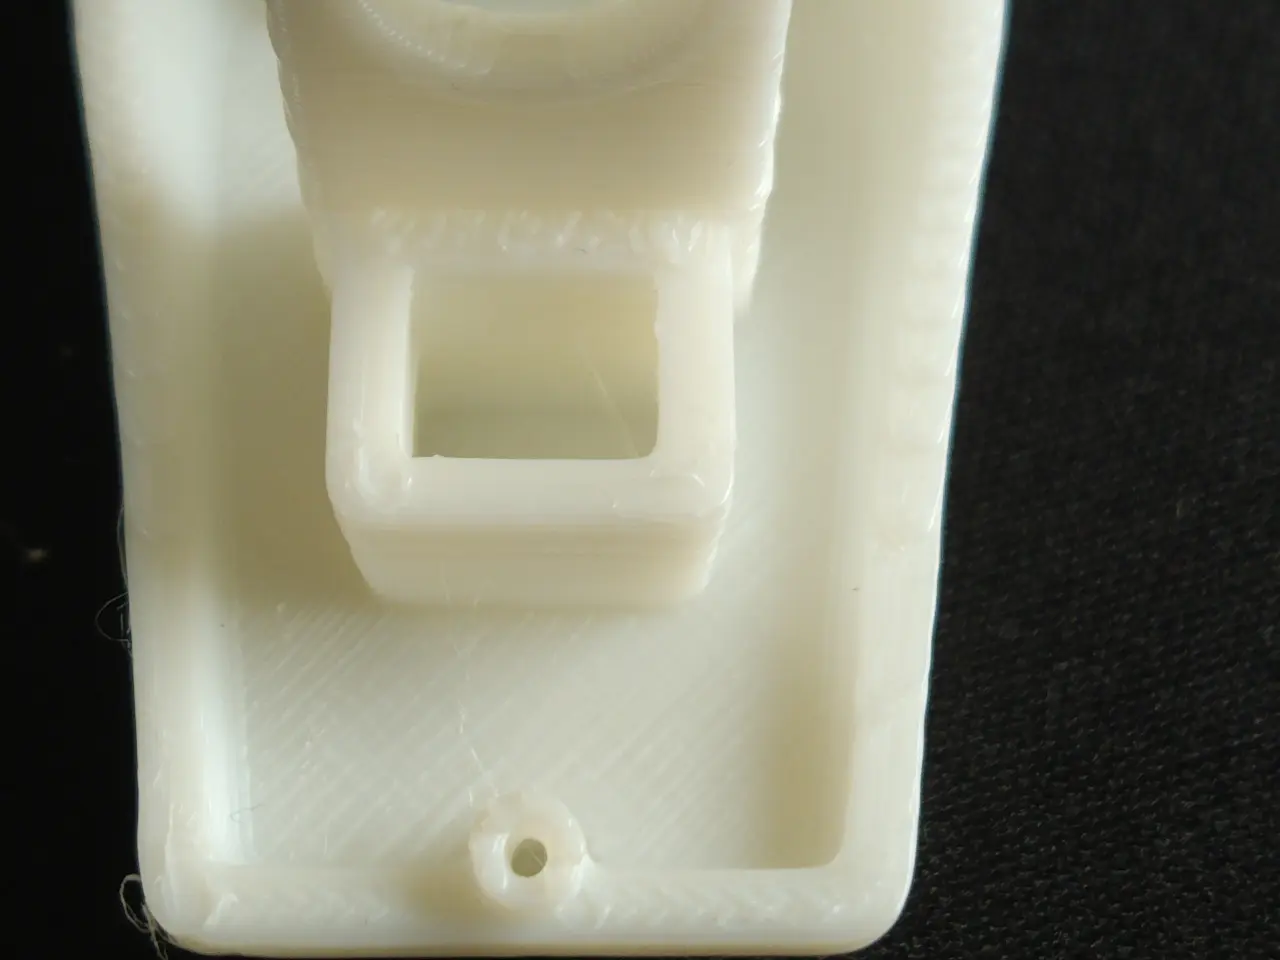
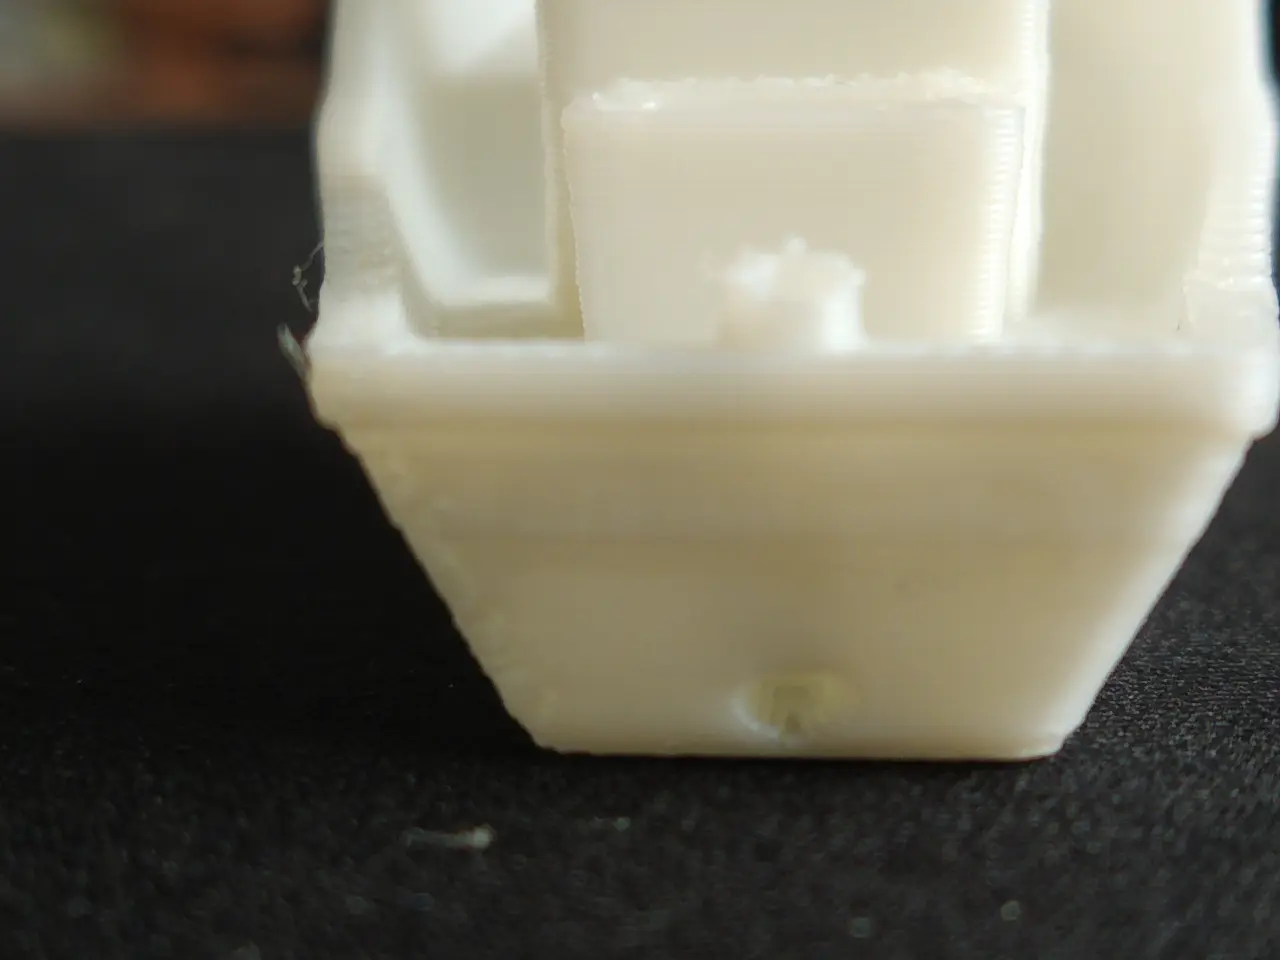
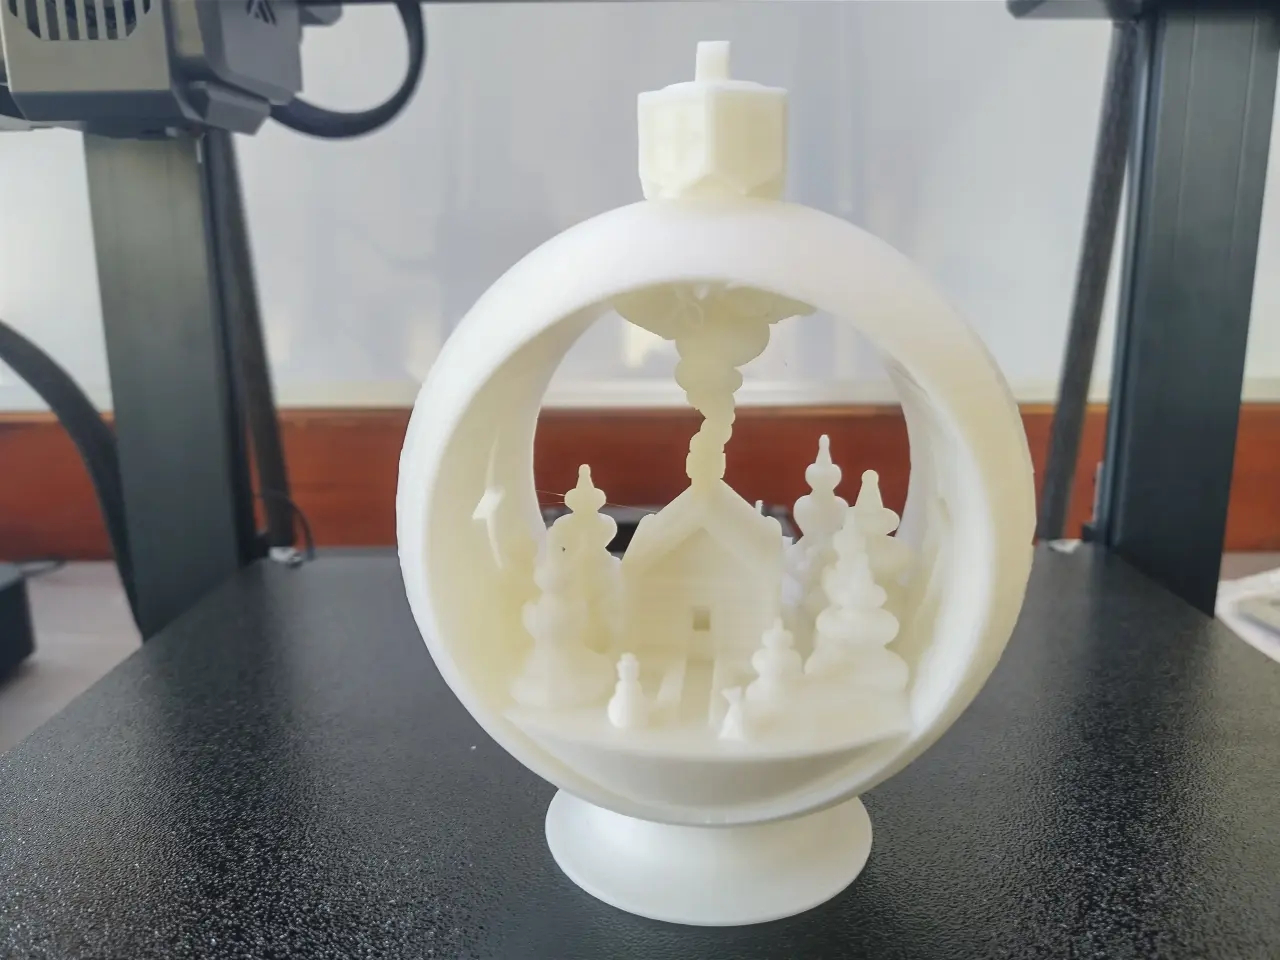
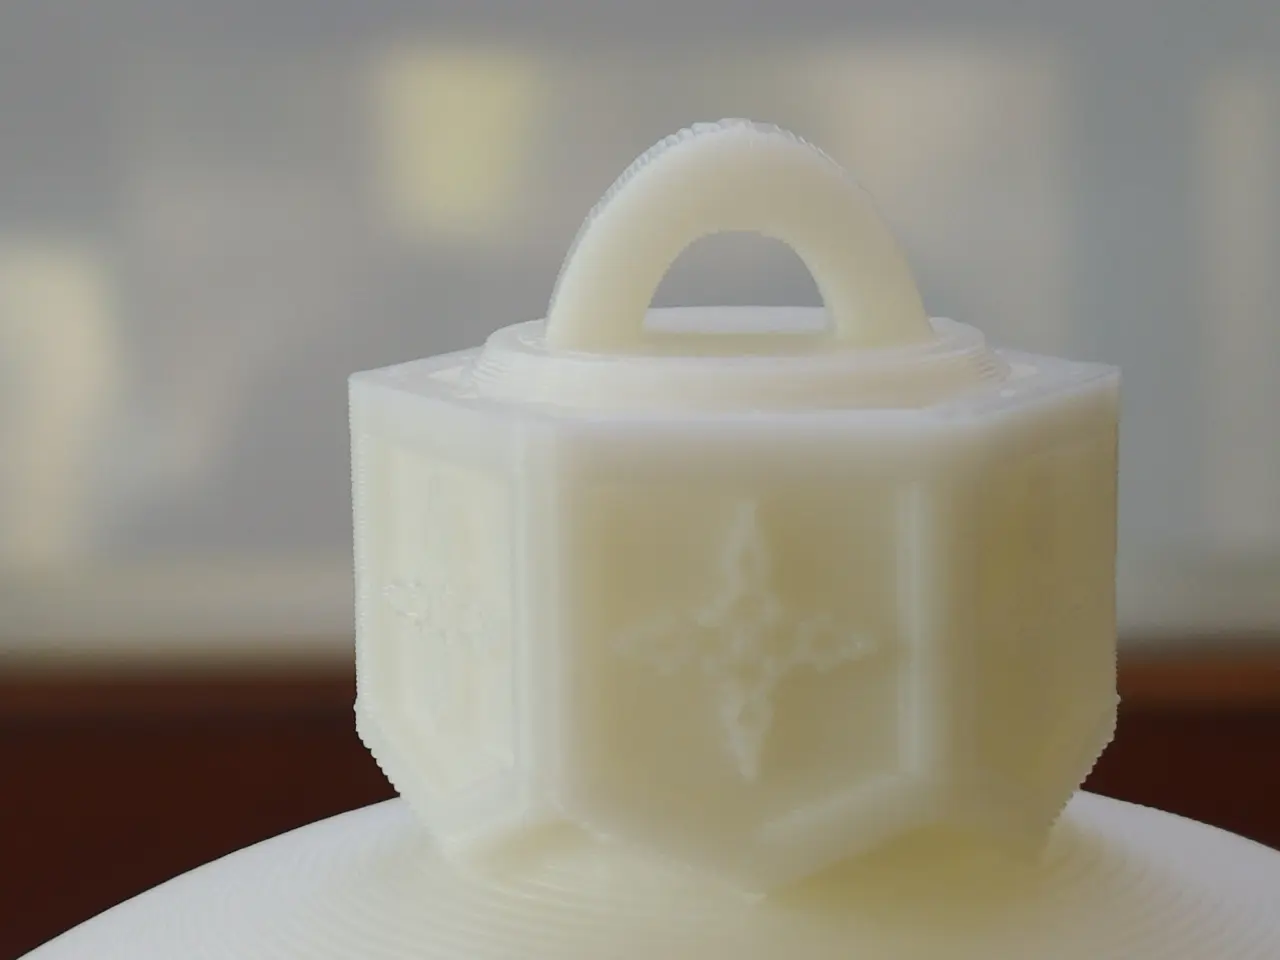
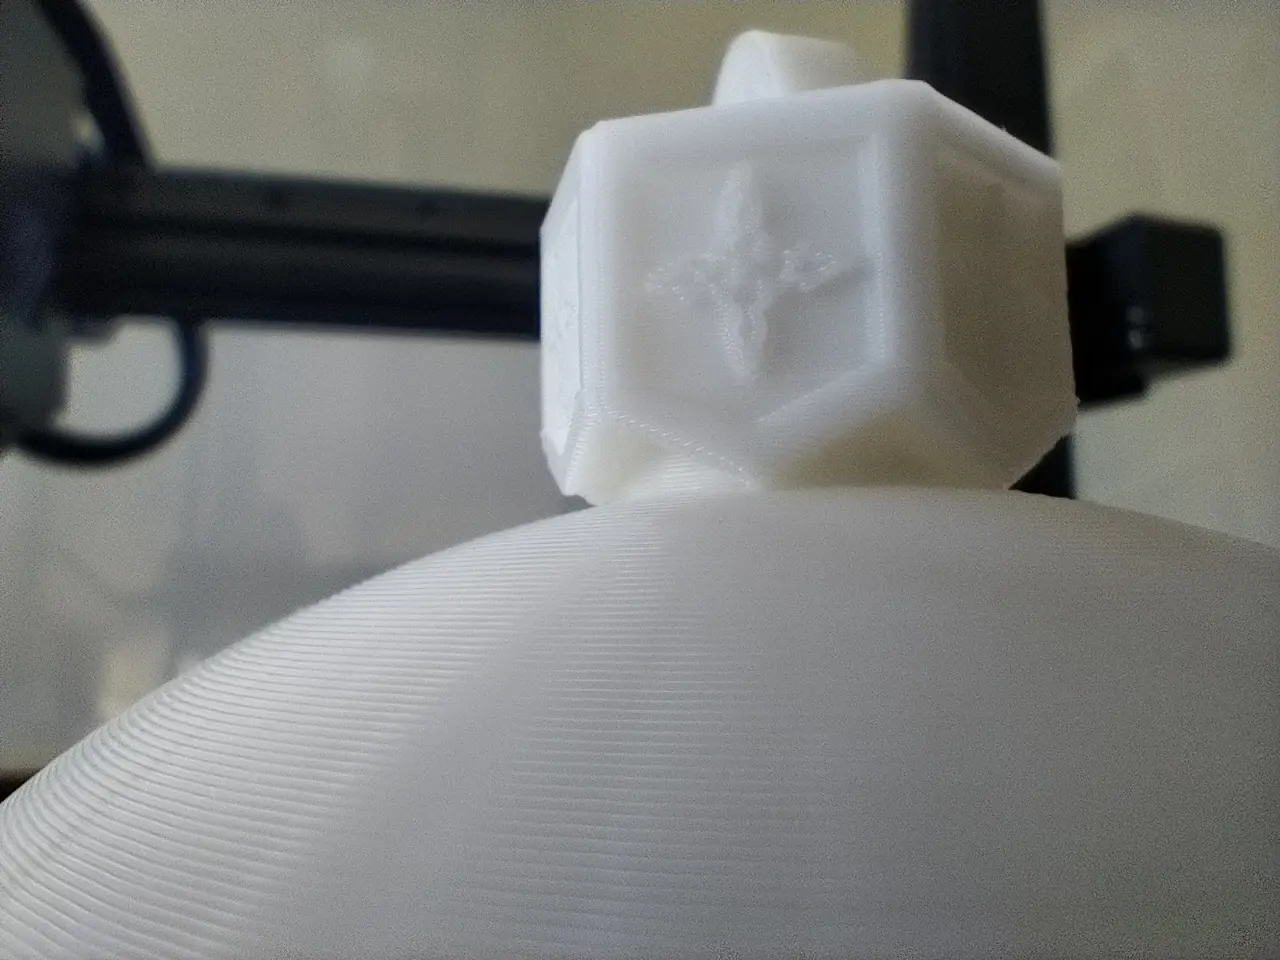
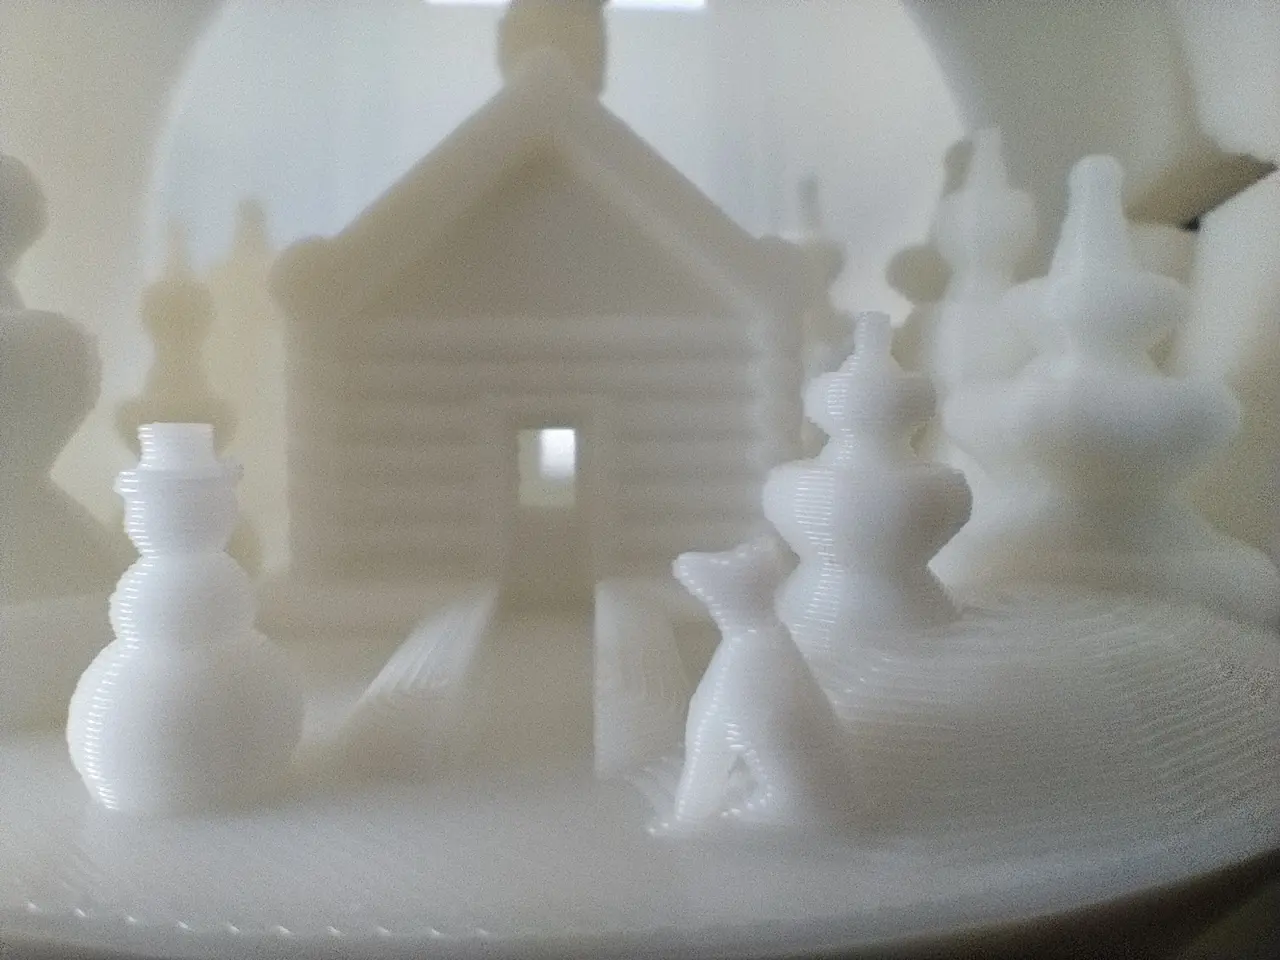
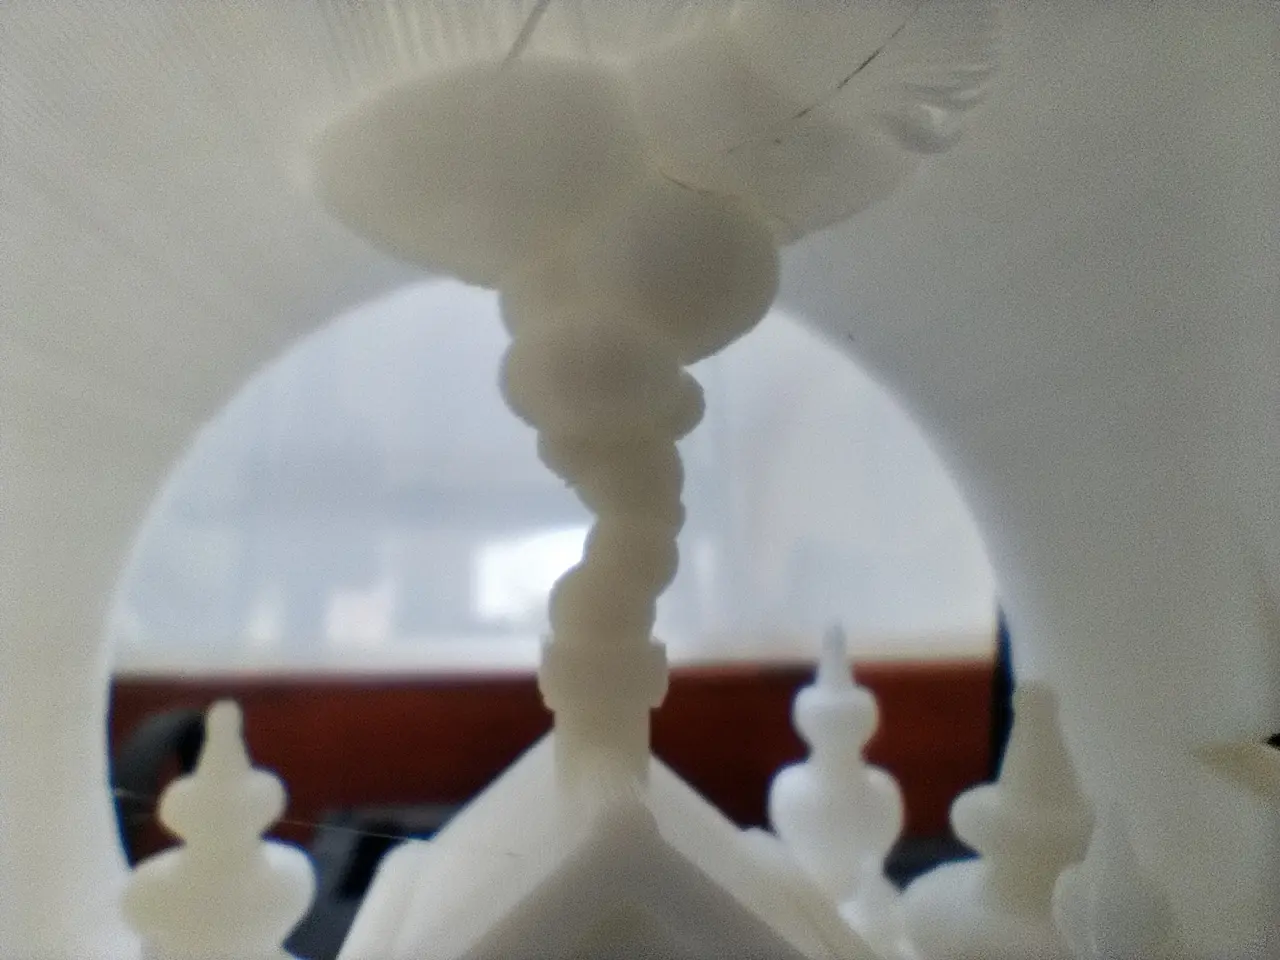
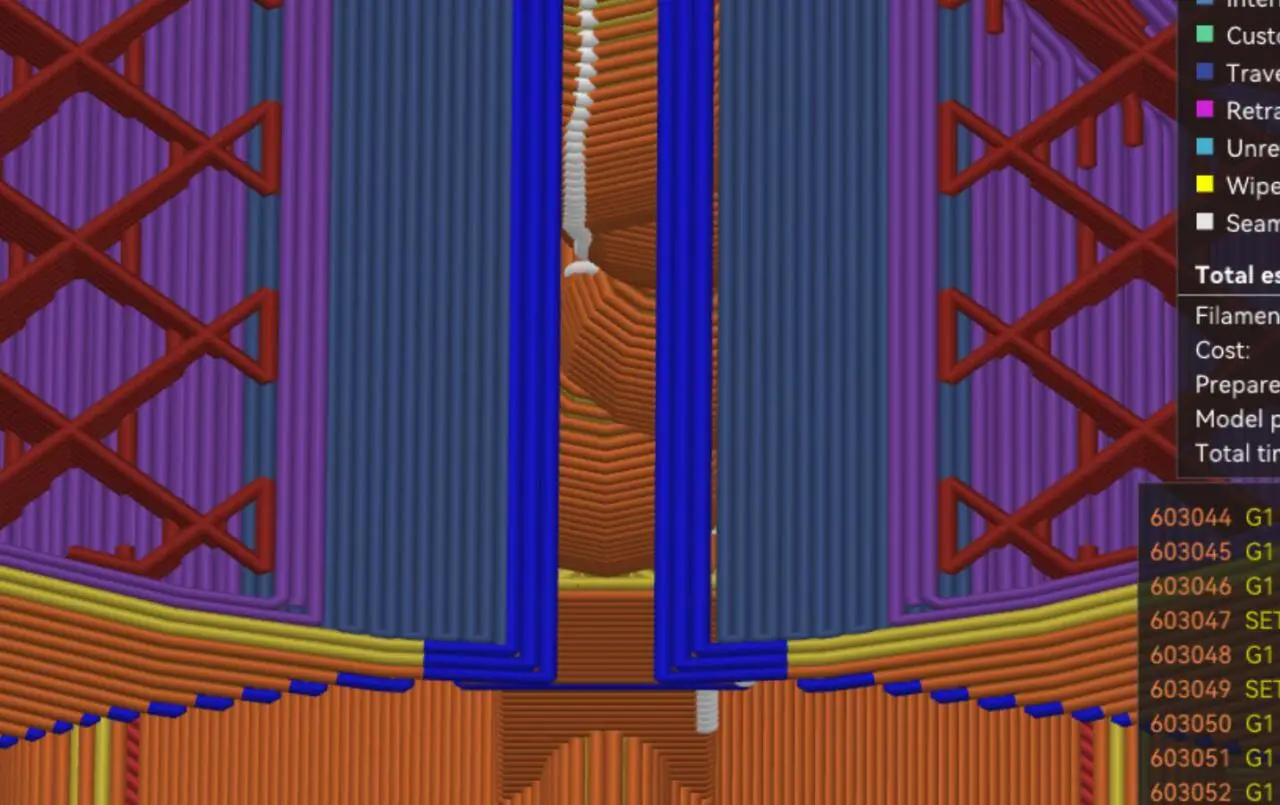
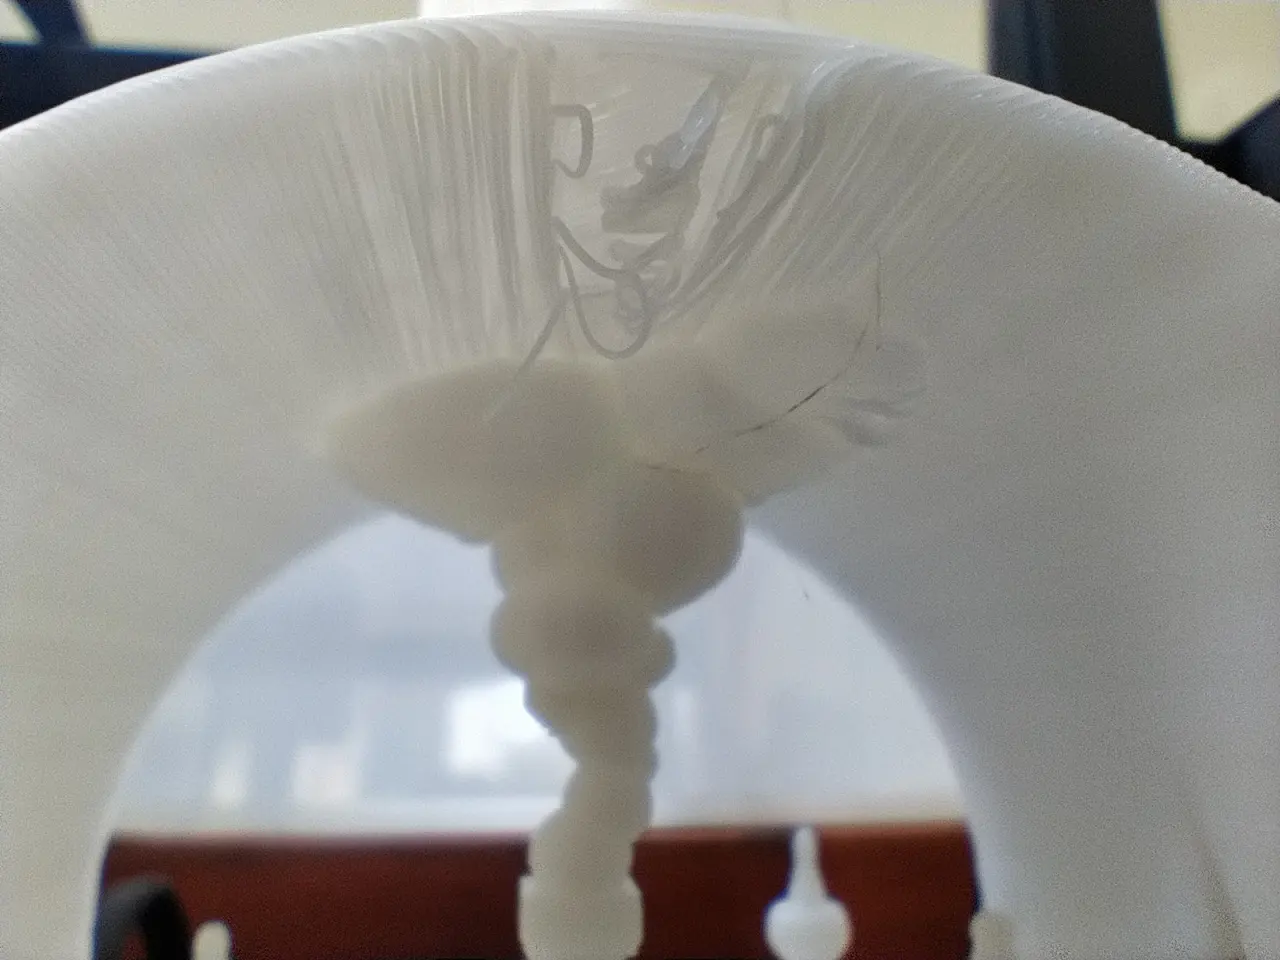
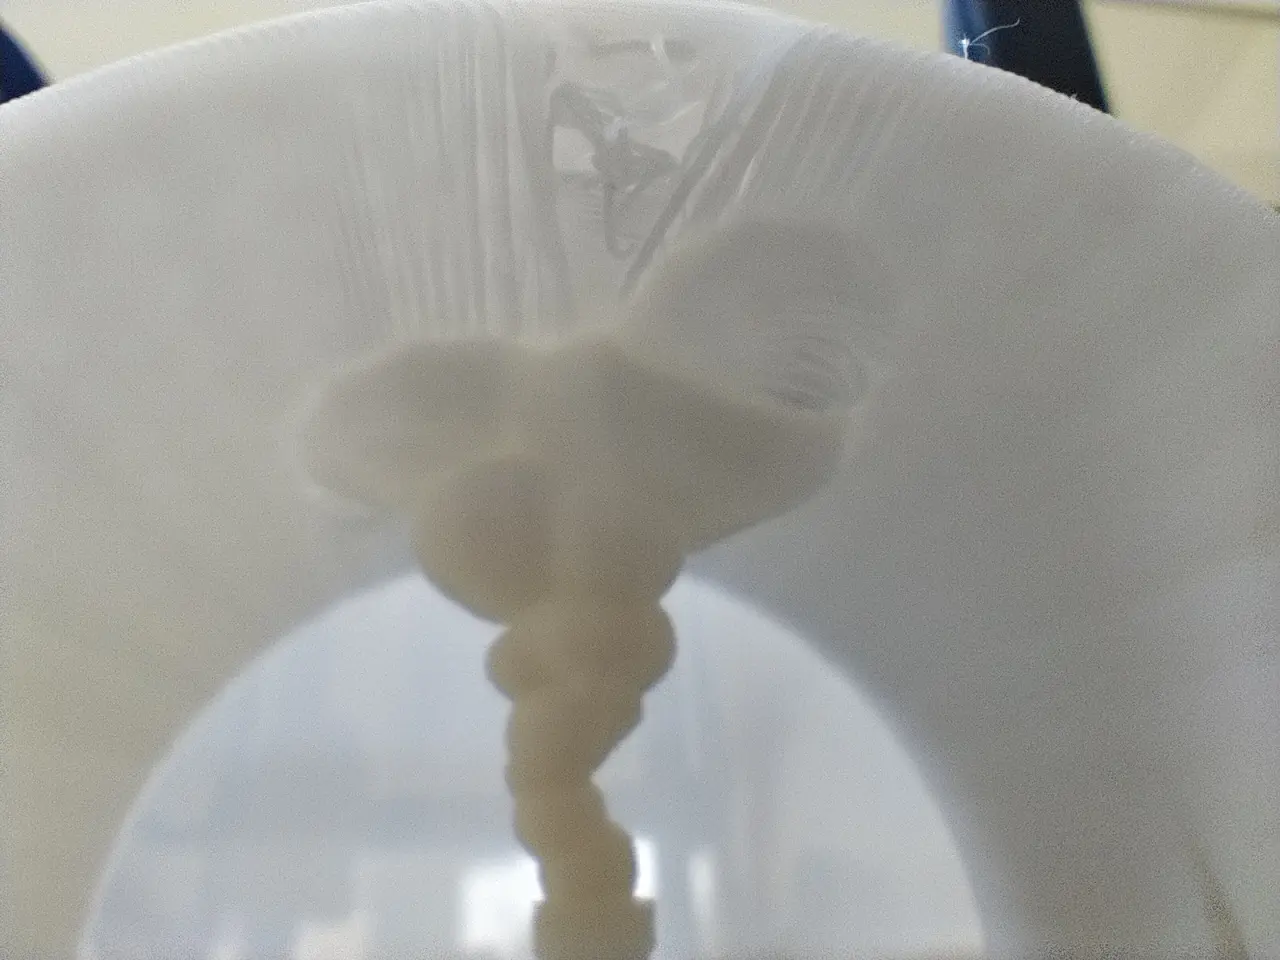
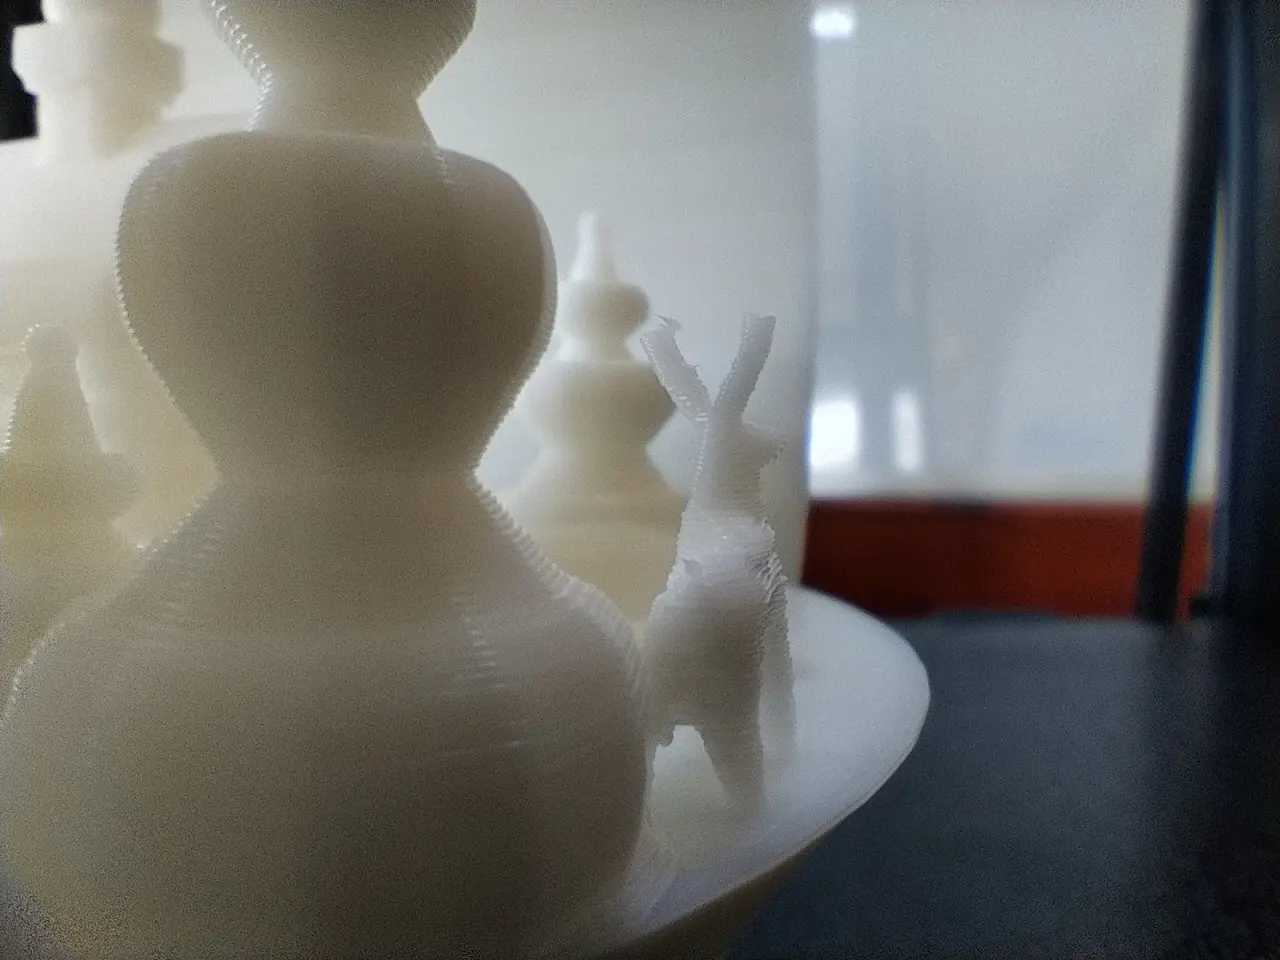
Every passionate melter knows the ever-popular Christmas tree bauble. I am very happy with the result at 100 mm/s outer wall speed. Absolutely no stinging! Zero! Not even in the antlers of the deer! We are not talking about a calibrated printer here, but about a printer as it was delivered. Chapeau, Artillery!
I have actually printed many of these Christmas baubles and all of them could not print the last piece of the blanket correctly without support, because the free print in the air at the end goes round the corner at a 95 degree angle and thus pulls the previously printed web to one side.
Fussy?
The higher the quality of the filament, the better the (fast) prints. But even with the OWL-Sat filament that I still had in the grab box, the prints were still usable even with the prefabricated high-speed demos.
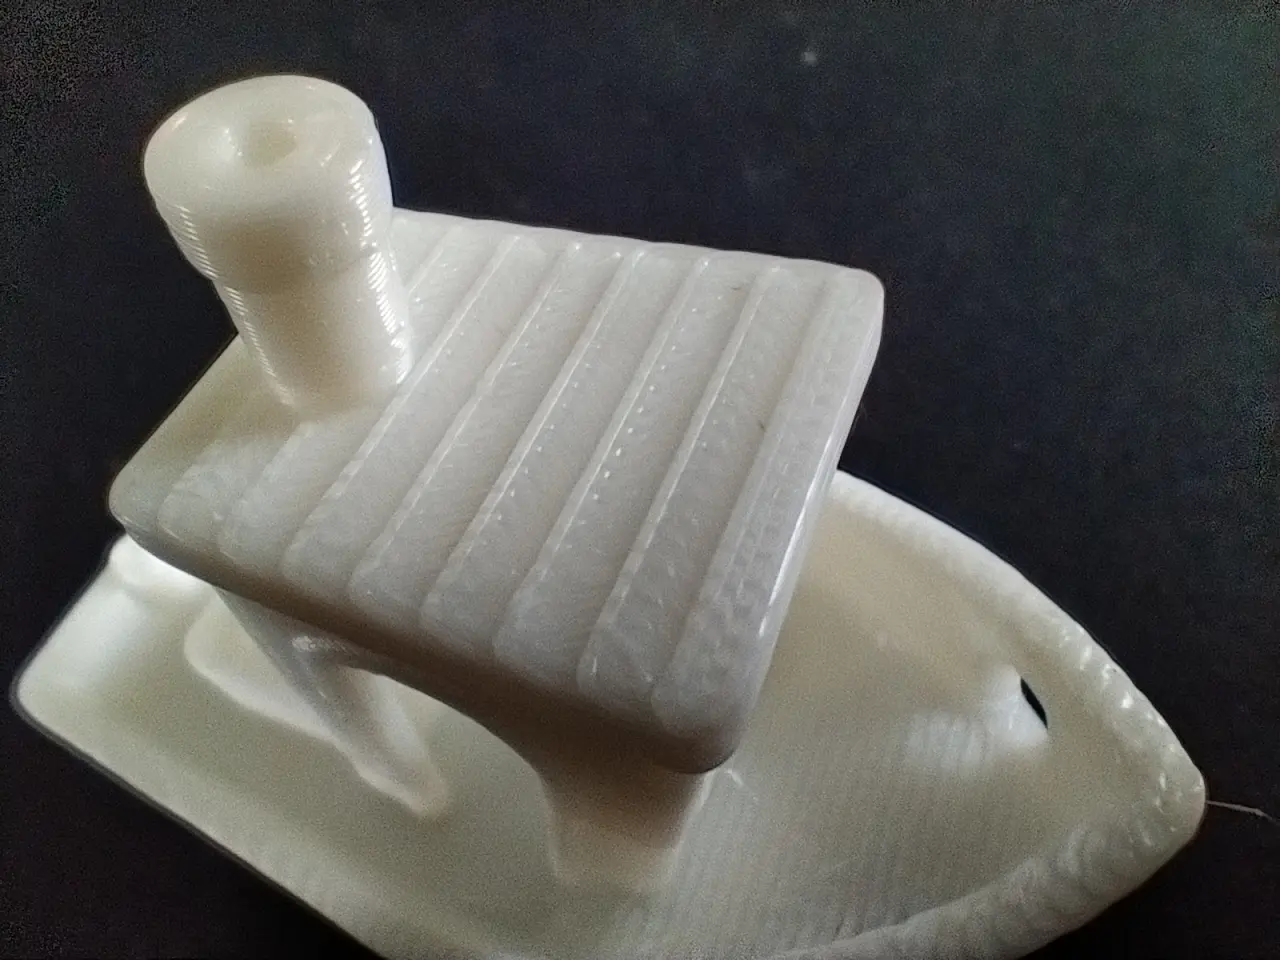
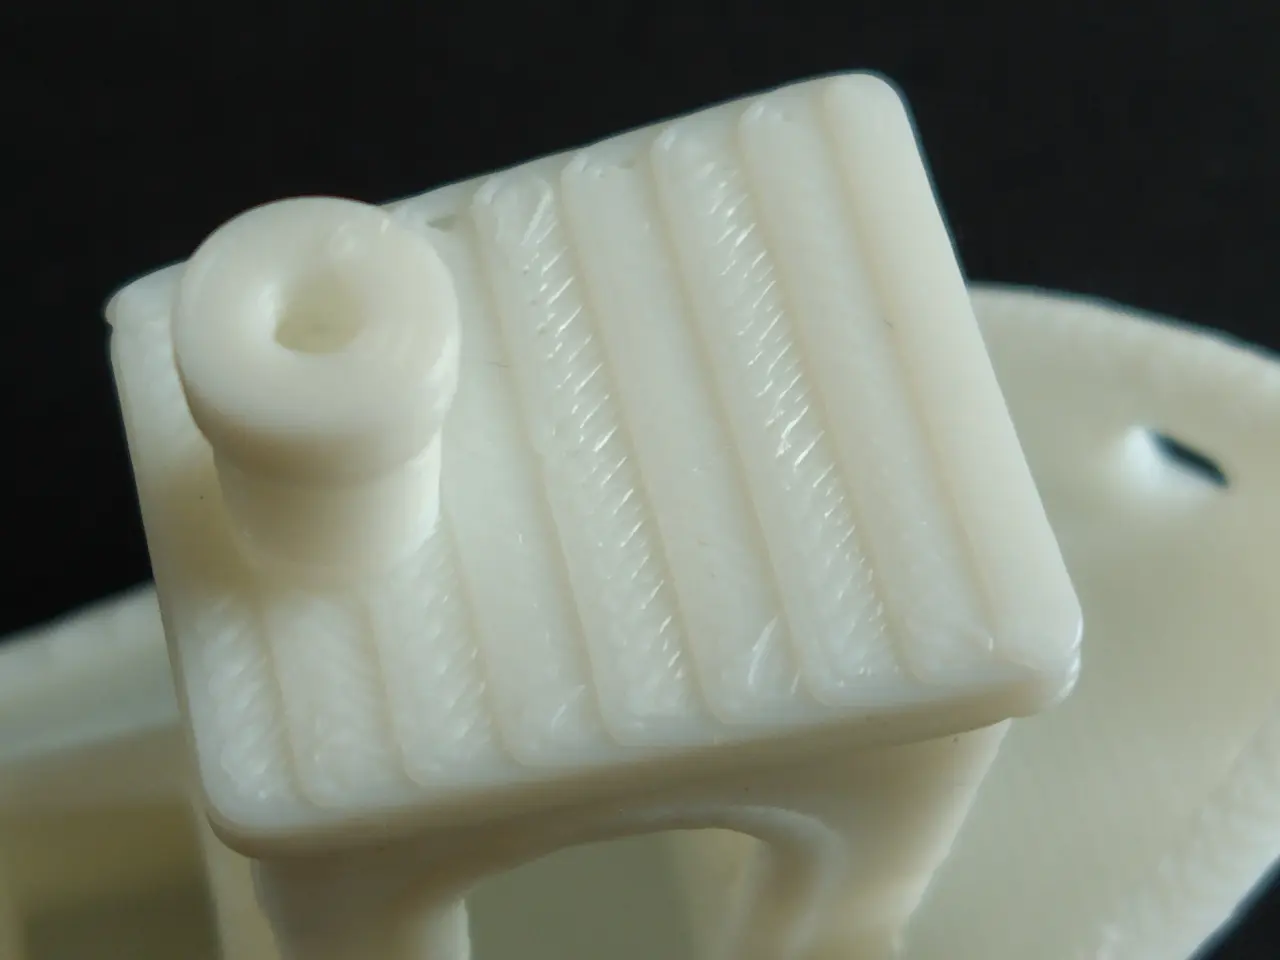
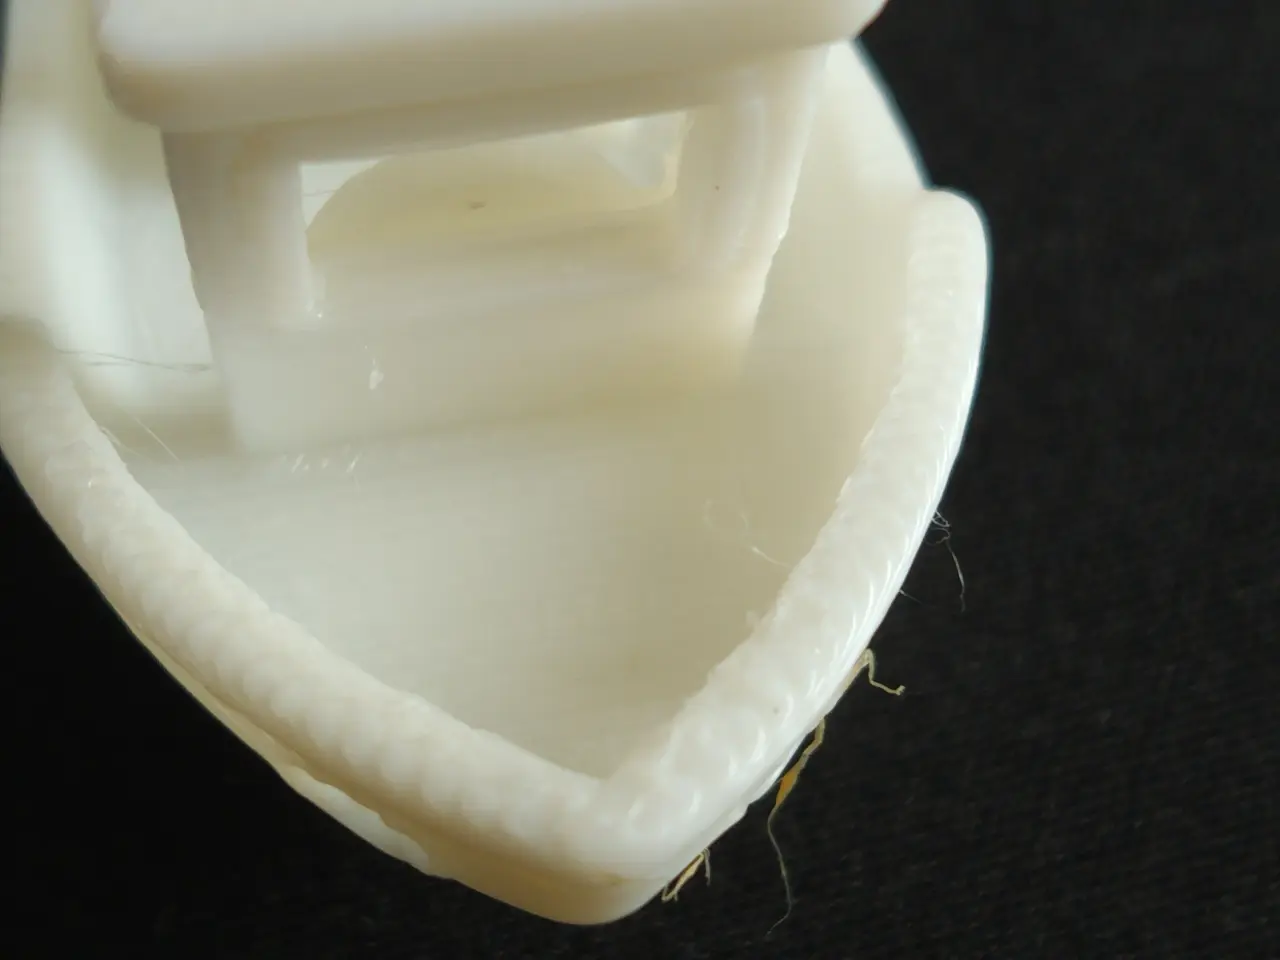
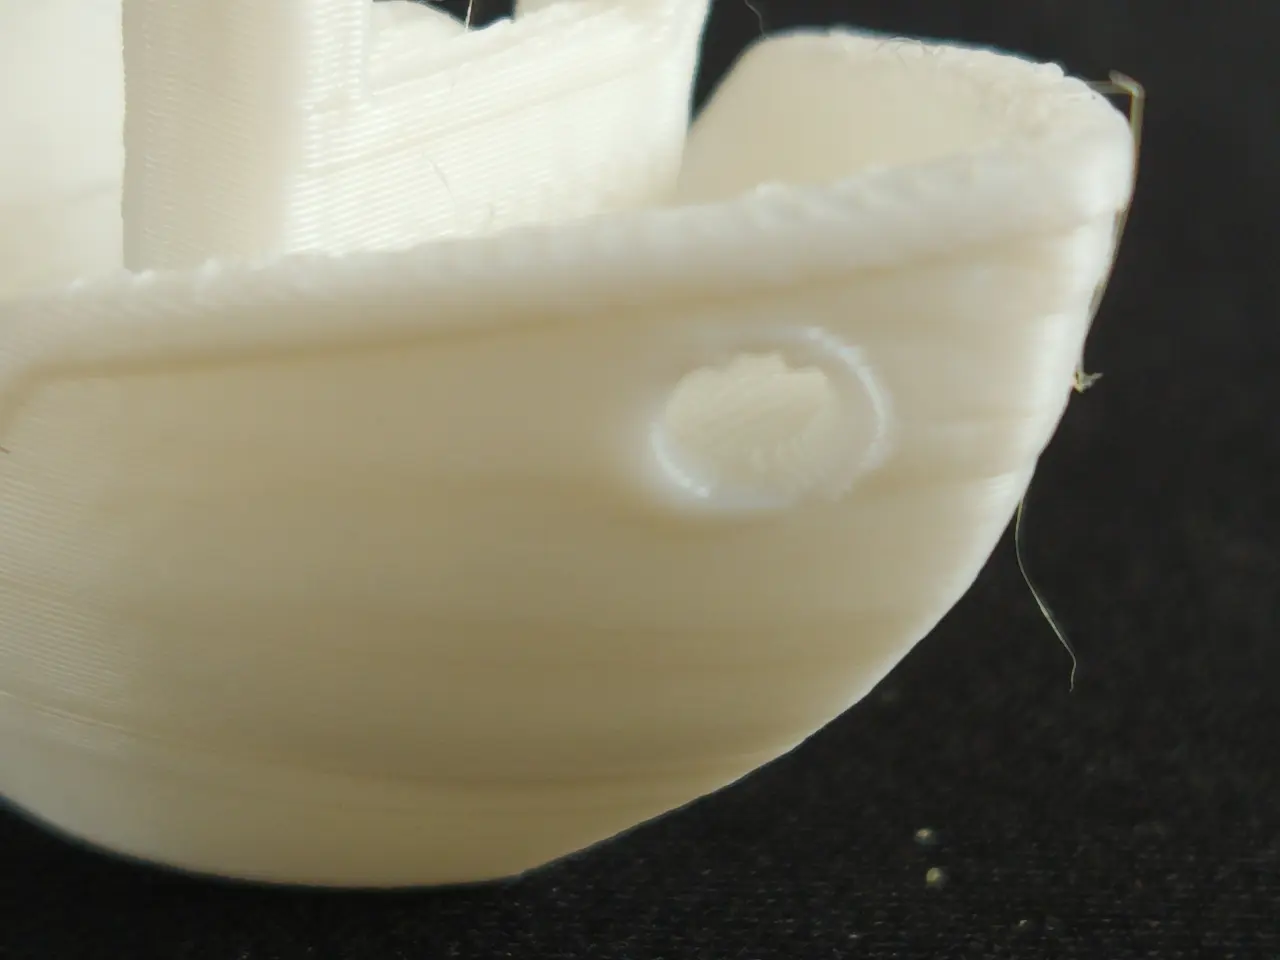
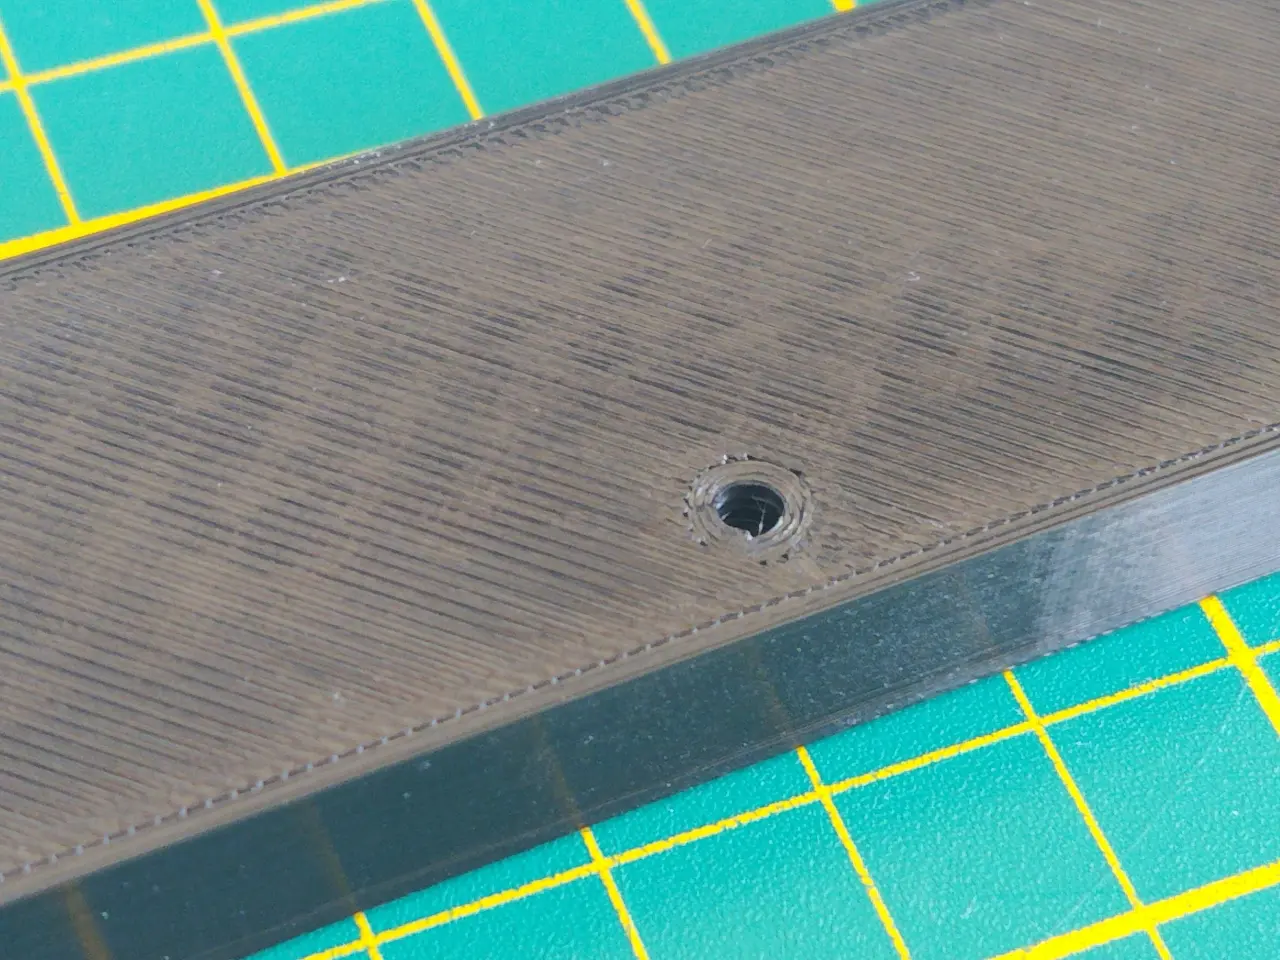
This difficult-to-print hollow box, which was saved as sample Gcode on the USB stick, has no stringing, but the overhangs at the upper edge did not work as expected. Cheap filament reaches its limits here, as you could already see with Rüdiger’s hair.
TPU
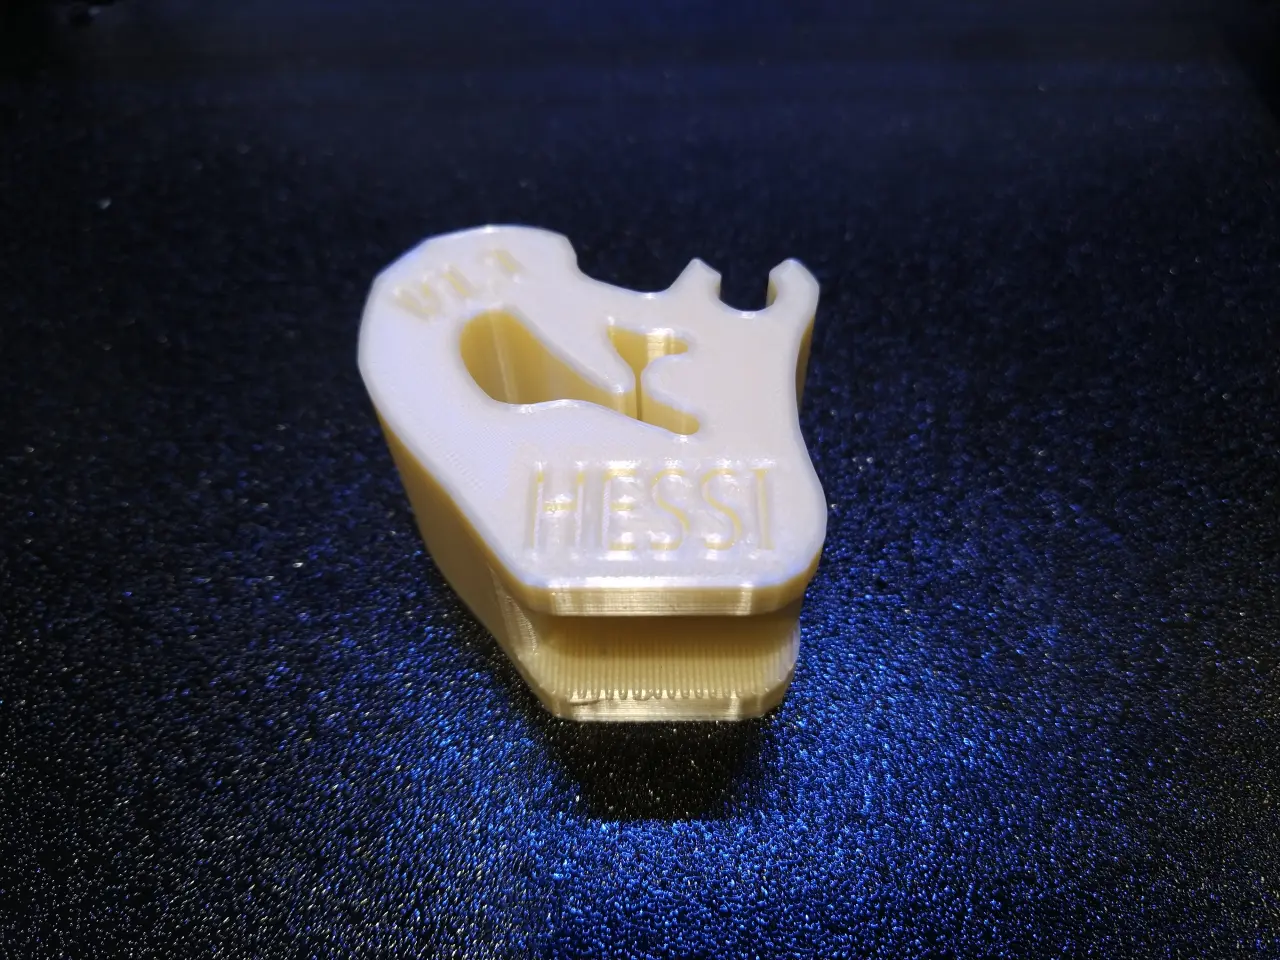
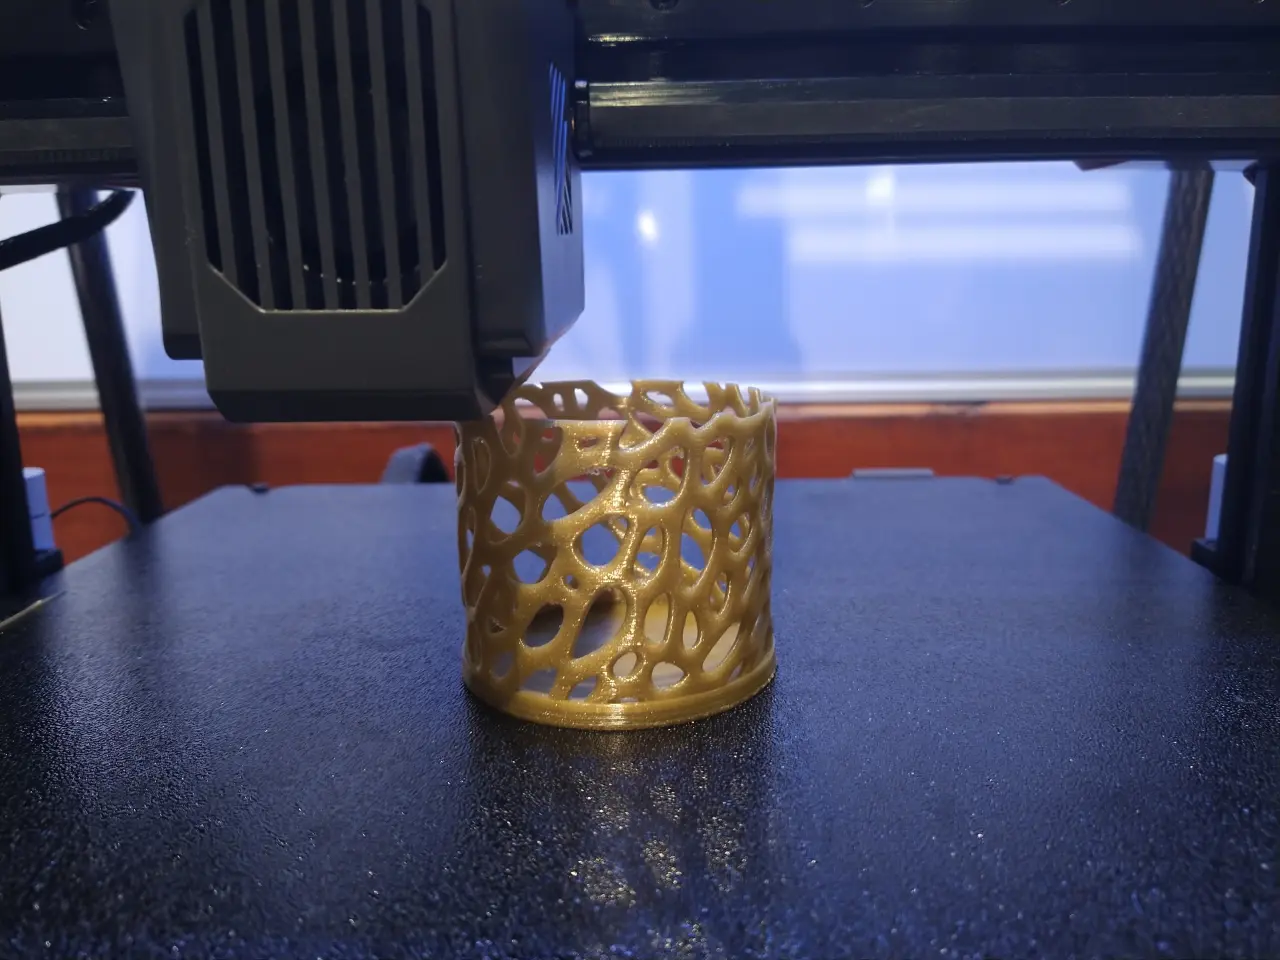
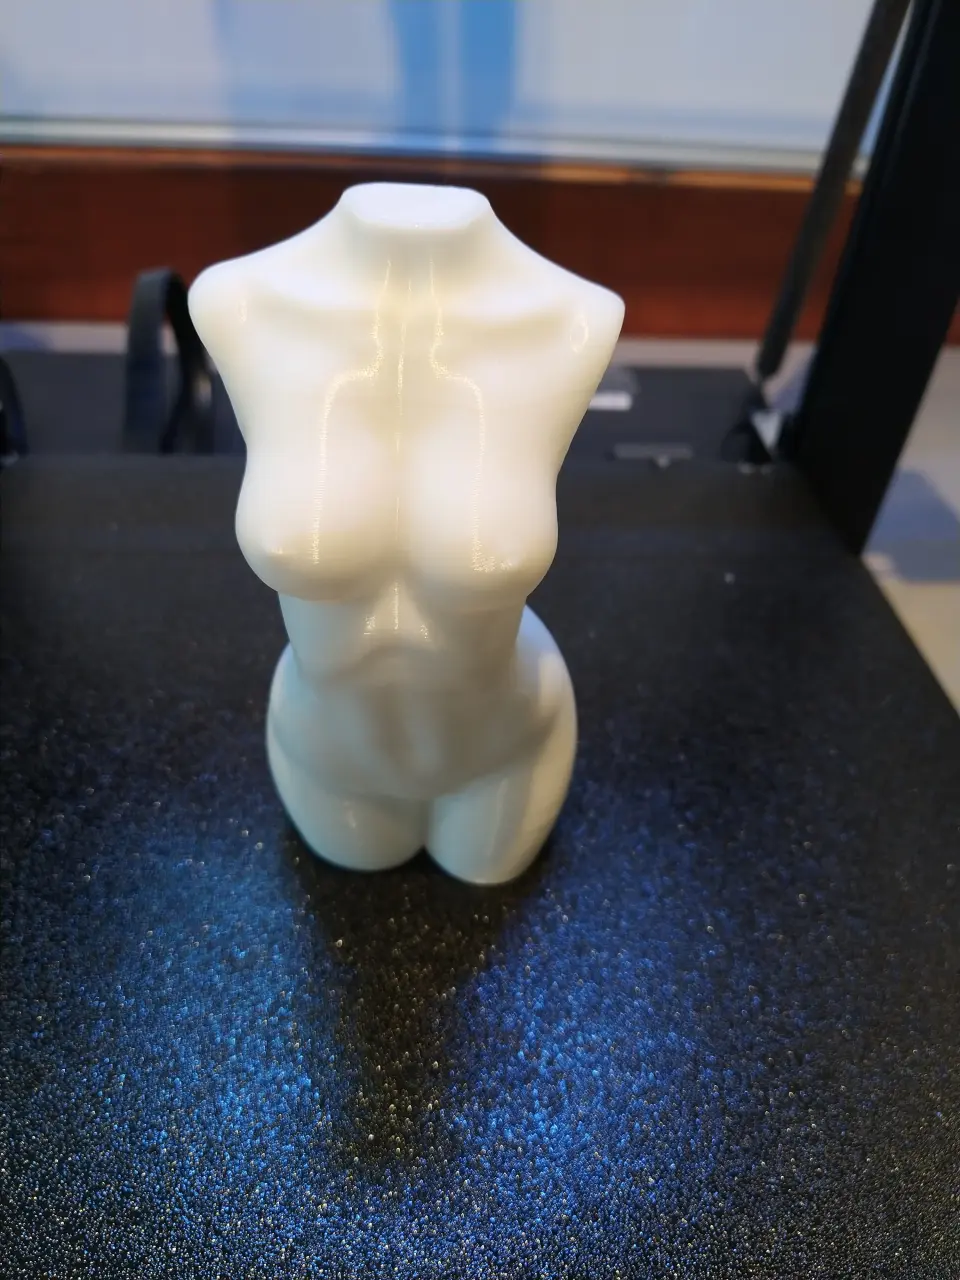
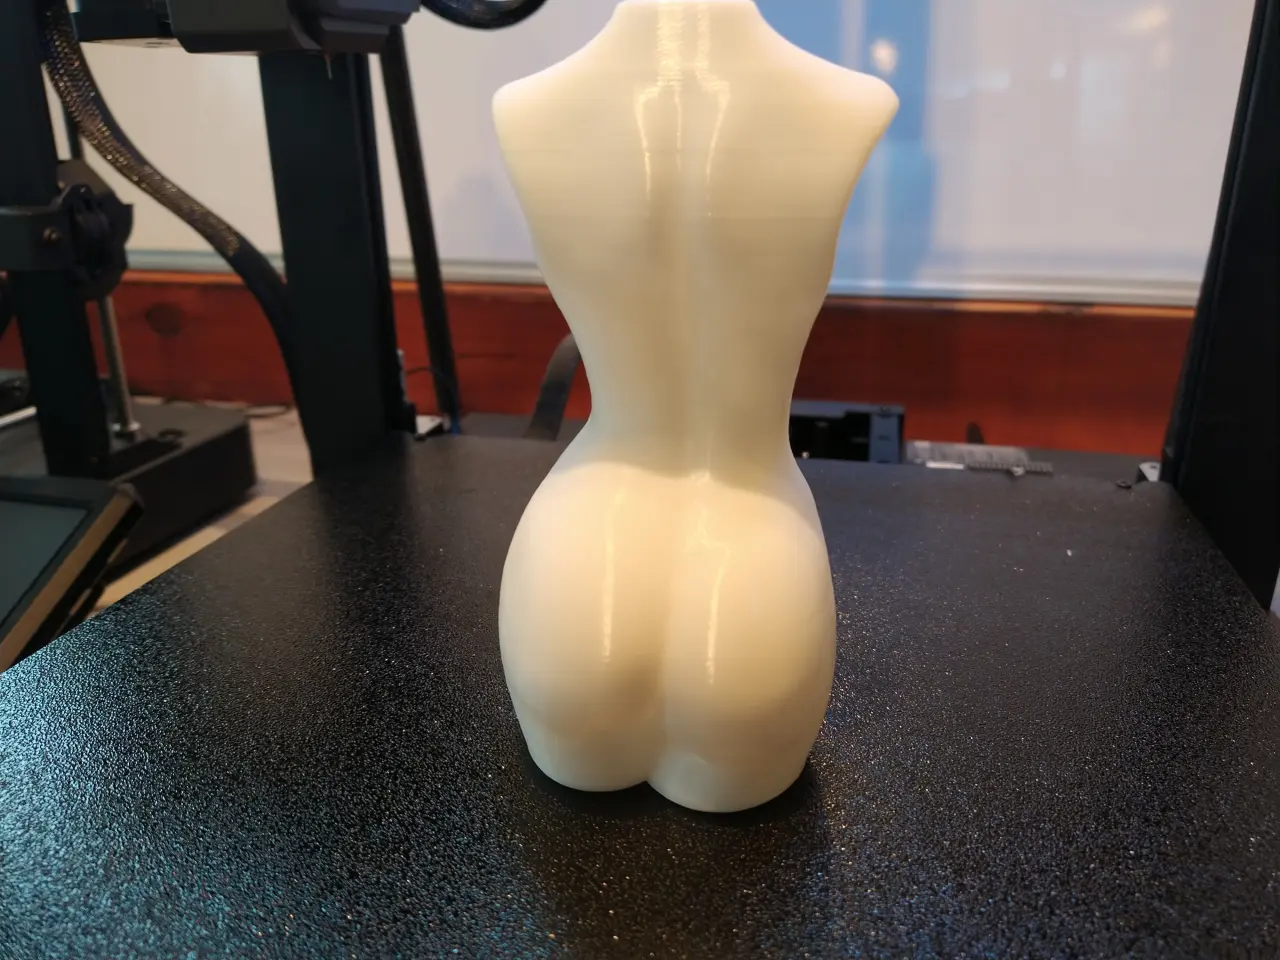
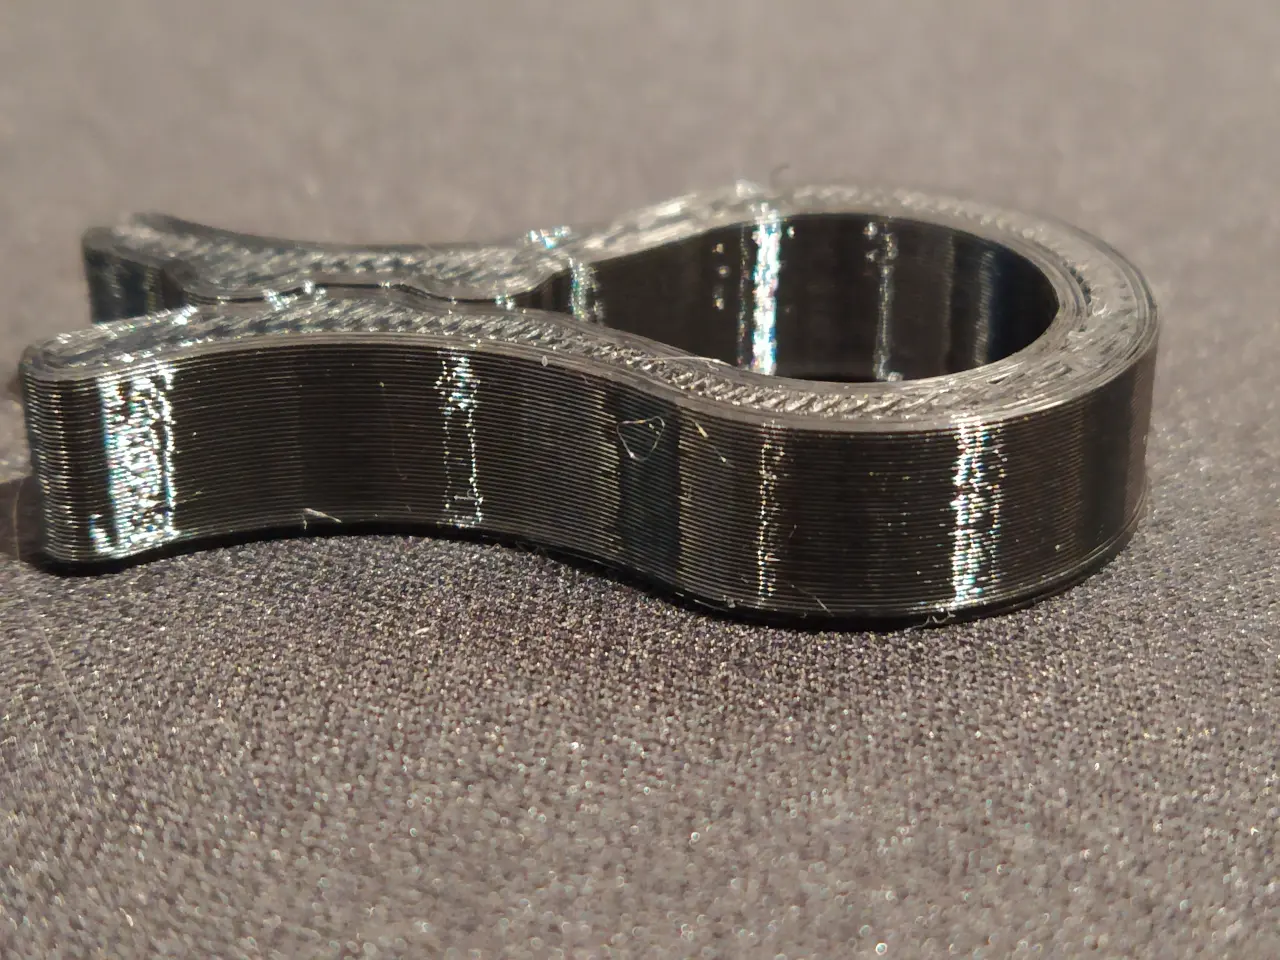
I printed a rubber doorstop for my Twizy and a coaster from TPU. I was satisfied with the results. For a print straight from the box, there is nothing to criticise. I was impressed by the dimensional accuracy, as the support structures were easy to cut out like something out of a picture book and a print-in-place print I designed myself turned out perfectly. Now that’s what I call frustration-free printing.
PETG
I tested the PETG from Geeetech, which must be printed at 50 – 100 mm/s. Outer walls 100 mm/s and the rest mostly at 200 mm/s. Travel 500, accelerations at 8,000 mm/s². Absolutely no strining, although I placed the parts very close together. The X4 Plus also masters PETG!
Dimensional accuracy
Several print-in-place prints worked perfectly with PLA and PETG. This is not a matter of course.
The print results are really great. I am very satisfied.
Comparison with the X3 Plus
Let’s compare the X4 Plus with the cheaper X3 Plus.

Improvements
The X4 Plus can do a lot of things much better than the X3 Plus:
- almost twice as fast: real, usable 300 mm/s
- Linear rails on the X and Y axes
- therefore even better printing results
- Heating bed carriage made of thicker material
- Klipper
- WLAN
- better print bed
- better filament wiper
- USB stick instead of microSD card
- more non-slip due to large rubber feet
- absolute silence in idle mode
- Less annoying noise during printing
- more logical menu navigation on the touchscreen
Deteriorations
Actually … nothing. The X4 is superior to the X3 in every respect. If I want to be really picky, then I only noticed insignificant little things.
- smaller controls on the touchscreen
- eight centimetres higher than the X3 Plus
- No longer has a reset button (but this is not advisable for Klipper anyway)
The display is now more colourful, but some controls and especially the keypad have become smaller. But with Klipper, the display is much less important than on the X3.
Including the filament roll, the X4 Plus is a good eight centimetres taller than the X3 Plus. This results in a total height of a proud 93 centimetres.
The alignment aids on the PEI plate are smaller than on the X3 Plus. Strictly speaking, they are screws. I have turned them out a little further, but if I’m not careful, I sometimes push the PEI plate over the screw at the back right.
But there is one advantage: because you can remove the screws, you don’t have to make sure that the cut-outs are in the right places when you buy another PEI plate.
Purely subjective observation: I liked the filament roll holder on the X3 Plus better, which is at a right angle to the front. Now the axle is parallel to the portal. I placed the axle on the other side than Artillery intended because, as a right-handed person, this makes it much easier for me to thread the filament into the filament sensor. The roll is then no longer in the way.
Equipment in comparison
| X2 | X3 Plus | X4 Plus | |
| Type | cartesian | cartesian | cartesian |
| Installation space (mm) | 300 × 300 × 400 | 300 × 300 × 400 | 300 × 300 × 400 |
| Weight | 12.9 kg | 16.8 kg | 15.5 kg |
| Dimensions | 55 × 40,5 × 64 cm | 51 × 49 x 65 cm | 51 × 49 × 68 cm |
| Z-axis strut | no | yes | yes |
| Z-Axis Bearing | POM wheels | POM wheels | POM wheels |
| Print speed | 60 – 150 mm/s | 150 – 200 mm/s | 300 mm/s |
| Typical | 80 mm/s | 150 – 200 mm/s | 300 mm/s |
| Max. Speed | 200 mm/s | 300 mm/s | 500 mm/s |
| Acceleration | 800 mm/s² | 3.000 mm/s² | 10.000 mm/s² |
| Display | 2,8″ | 4,3″ | 4,3″ |
| Display-Type | Colour display | Colour display | Colour display |
| Operation | Touch | Touch | Touch |
| Removable? | built-in | detachable | detachable |
| Auto-levelling | yes | yes | yes |
| Sensor | mechanical | Hall sensor | Hall sensor |
| Levelpoints | 25 points | 49 points | 121 points |
| Filament sensor | yes | yes | yes |
| Heating bed | Glass | magn. PEI | magn. PEI |
| Voltage | 220 volt | 36 Volt | 36 Volt |
| Wattage | 500 watts | 300 watts | 300 watts |
| Temperature | Max. 130 degrees | Max. 100 degrees | Max. 100 degrees (110 possible) |
| Levelling wheels | 4 | 6 | 6 |
| Mainboard | „Ruby“, 32-bit | „STM“ 32-bit | „KL V1.01“ |
| SoC | STM32F102 | STM32F402 | RK3328 |
| Speed | 1 × 36 MHz | 1 × 180 MHz | 4 × 1.5 GHz |
| OS | Marlin, 1.2 | Marlin 2.1.2 | Klipper, fluidd |
| Power supply unit | 200 watts | 460 watts | 450 watts |
| Silent PSU? | yes, fanless | non, Fan | Fan, temperature controlled |
| Output Voltage | 36 V | 9,7 A | 9,7 A |
| Output Voltage | 24 V | 4,2 A | 4,2 A |
| Power consumption | max. 700 W | max. 400 watts | max. 450 watts |
| Noise level | very quiet | loud | loud |
| Extruder | Direct, single | Direct, dual | Direct, dual |
| filament supply | manual | automatic | automatic |
| Nozzle, max. temp | 240 | 300 | 300 |
| PC connection | USB-B | USB-C | not applicable |
| Card reader | microSD | microSD | no |
| USB stick | USB-A | not possible | USB-A |
| Self-cleaning nozzle | no | yes | yes |
| Print bed lighting | no | yes | yes |
| Nozzle illumination | in the print head | in the print head | no |
| WiFi | no | no | yes |
Conclusion
The Sidewinder X4 Plus is a robust, easy-to-maintain printer that sticks to the essentials and dispenses with gimmicks that are as trendy as they are overrated, such as lidar or AMS. The print bed adhesion is unrivalled, there are no cloud constraints and Klipper is comparatively complete.
This is my third Sidewinder after the X2 and the X3 Plus. I have realised that I suddenly enjoy designing and printing larger objects. Things are printed quickly, even if they are larger. It’s really fun and I found myself thinking that the printer could be a bit bigger. 🙂
The X4 Plus was busy printing when I wanted to print something on the 220 x 220 printer next to it and when I saw it I thought: „What is that? Did I pull that out of a gumball machine?“ 🙂 It’s unbelievable how quickly you get used to the large installation space.
You also quickly get used to the large mass of the printer and think to yourself, what kind of plastic bombers are my other printers? Nothing wobbles or vibrates on the X4 Plus. Yes, the front panel of the X4 Plus is also made of plastic, but the rest is not.
The new large printer is a big step forward! The bottom line is that Artillery has not made any relevant mistakes here. Artillery strikes back! Better late than never!
Contra
What bothers me compared to my other printers?
- Loudness (unfortunately typical for such fast printers)
- Controls on the display unnecessarily small
You don’t need the display if you send the print jobs directly from the slicer to the printer. I only use the touchscreen to change the filament.
Neutral
The print bed should be levelled manually to achieve even better prints. If you don’t do this, it still prints perfect first layers. It’s great that the X4 Plus makes it possible to optimise the print bed.
Pro
What can it do better than my other fast printers?
- no cloud compulsion
- excellent WLAN reception
- large print volume
- easy handling of the filament
- perfect print bed adhesion
- fast printing
- great printing results
- no restrictions for third-party PEI plates due to removable support aids
Rating
People love reviews, so I’ll give one:
4,8 / 5,0
0.2 points deducted for the lack of an automatic Z-offset and a motion sensor. I only gave the X3 Plus 3.8 points. Artillery is capable of learning! 🙂
Target groups?
There are no cheap “entry-level printers”, that must be clear to everyone. A cheap printer is mainly a tinker printer and/or it has deficits in speed, quality or handling. Hobbyists can have a great time with a cheap printer, beginners struggle with various printing errors that can drive them crazy. This doesn’t happen with the new Sidewinder. That’s why the X4 Plus is a good printer for beginners.
Why should you settle for a small printer? Why are these mini printers always advertised as “printers for children”? A smaller printer is neither beginner nor child-friendly per se.
Beginner
Are you a complete beginner and have no idea what you’re dealing with?
- You don’t want to tinker and “optimise”?
- Are you looking for a printer for the hobby of “3D printing” and not for the hobby of “3D printers”?
The X4 Plus is a large, easy-to-use 3D printer at an affordable price that won’t cause any problems even for beginners.
Beginners
Do you already have experience and are looking for a modern, large printer at an affordable price?
- Are you looking for a larger printer?
- Are you looking for a faster printer?
- Are you looking for a more convenient, modern printer?
- You still have a Sidewinder X2 and are wondering whether you should switch to the X4 Plus?
The Artillery Sidewinder X4 Plus could make you happy, I’m sure of it.
Enthusiasts
Are you an experienced smelter or a hobbyist?
- Are you looking for a workhorse that simply works and can also print larger items in a short space of time?
- Are you looking for a rock-solid base that you can expand inexpensively?
The X4 Plus will not disappoint you.
Buy now
You can (pre-)order the Artillery Sidewinder X4 Plus from various retailers for approx. 432 EUR:
Offer with voucher!
Banggood has given me a voucher for you: 324,57 EUR with shipping from the Czech Republic:
Voucher code: -> BG47d05c < –
Does this also apply to the X4 Pro?
Yes, it should because the X4 Plus is just the big brother of the X4 Pro. From my perspective, both are more than just similar in design.
The power consumption of the Pro could be (even!) lower because the heating bed is smaller. The Plus consumes as little as a small printer.