It’s not just my printer that has a crooked print head, as I was able to see from pictures in forums. Artillery does not currently have this problem on its screen, because the instructions or the assembly at the factory have not yet been adjusted accordingly. But this really isn’t a problem. It can be fixed quickly and easily.

The two upper rollers on the print head can be loosened and then reassembled within the tolerances so that the print head is straight. You can only work with a sense of proportion here, because the usual angles don’t fit here so that you can align the carriage with the guide rail. But I have designed a template for this.
Inhalt:
Print template
Print out this template or the small angle. You can’t use normal measuring angles here.
Align the print head straight
- Switch off the printer !
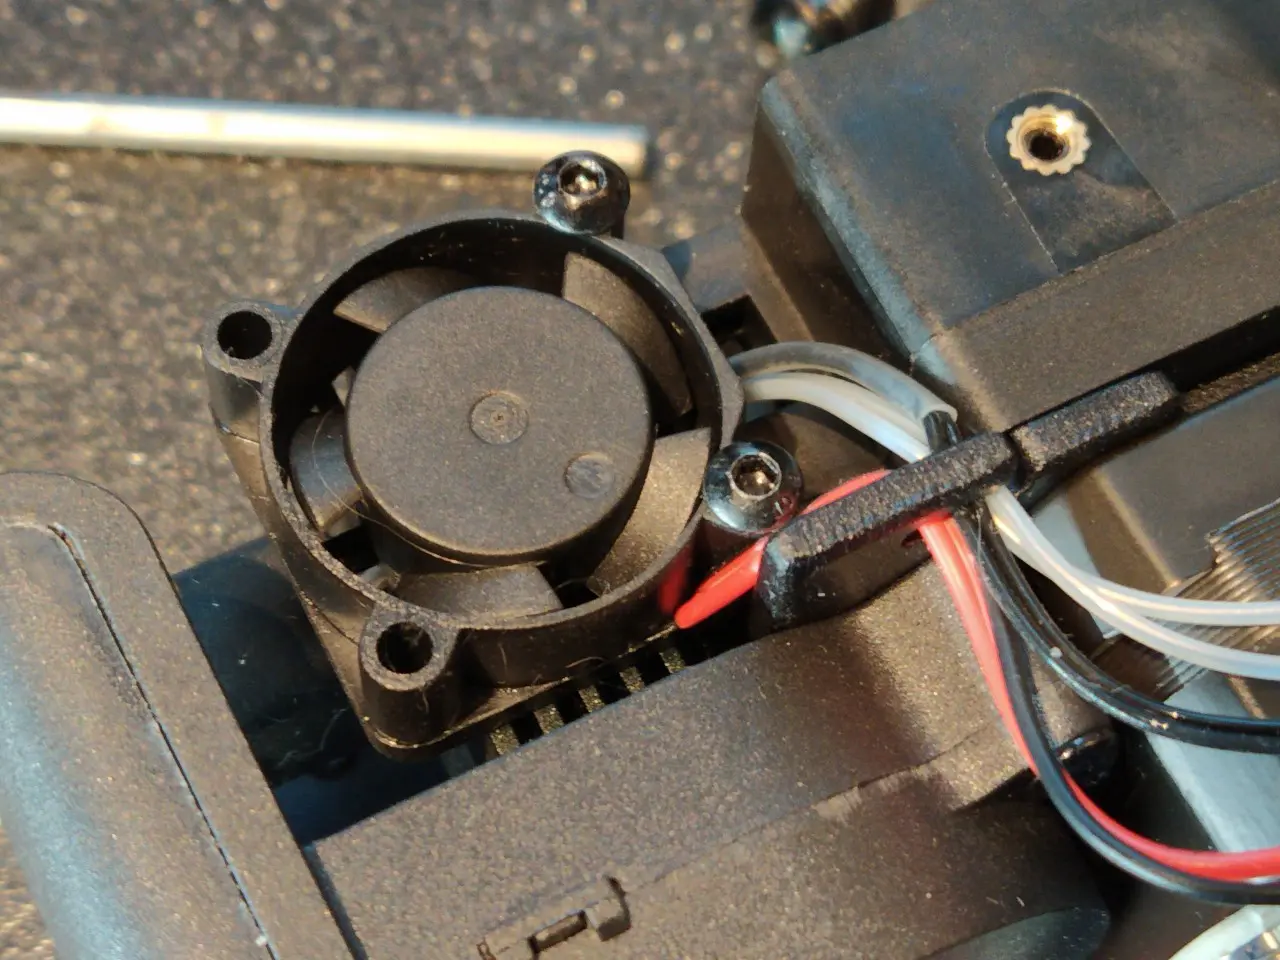
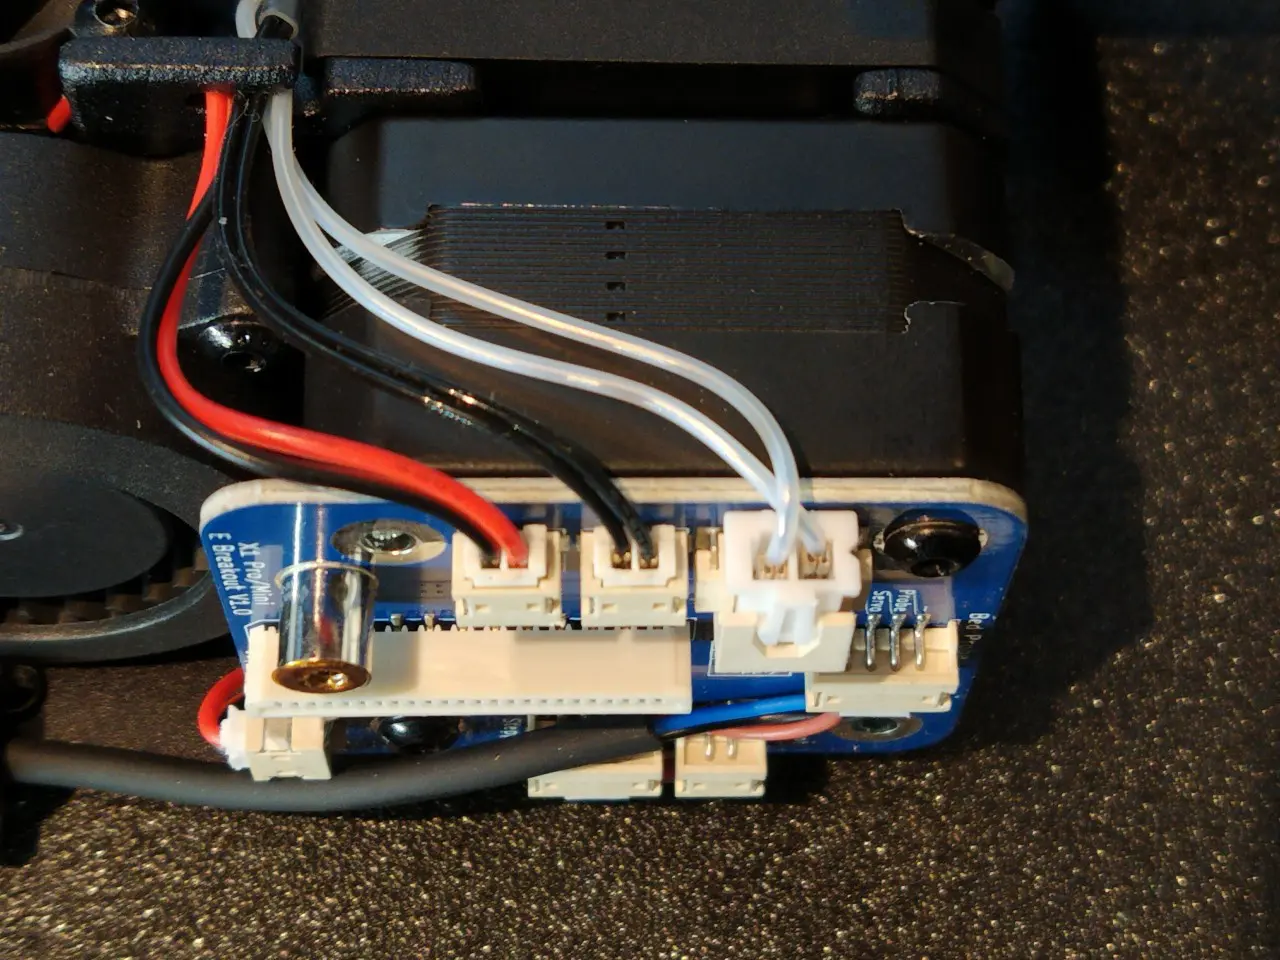
- Pull off the ribbon cable clip
- Pull out the ribbon cable
- Loosen three screwsat the back, holding the print head firmly!
- Put the print head to one side
- Loosen the three screws at the front of the rollers
- Align the holder horizontally to the Y-axis rail
- Tighten the two upper screws.
- Use the spanner to adjust the play on the lower eccentric shaft.
The play should not be too loose or too tight. It is very easy to adjust.
- We only turn the eccentric shaft until the play disappears.
- now we turn the two upper rollers: can I move the trolley with them, or do they spin?
- Turn through: Tighten the eccentric shaft slightly further until the rollers can turn the trolley without slippage.
- Done!
The trolley has now been optimally adjusted. We can screw the head back on and plug in the ribbon cable and secure it with the clamp.
<a href=“https://www.geekbuying.com/dynamic-ads/link.html?id=4778″ target=“_blank“><img style=“border:0px“ src=“https://www.geekbuying.com/dynamic-ads/banner1200x628.jpg“ width=“1200″ height=“628″ alt=“banner“></a>
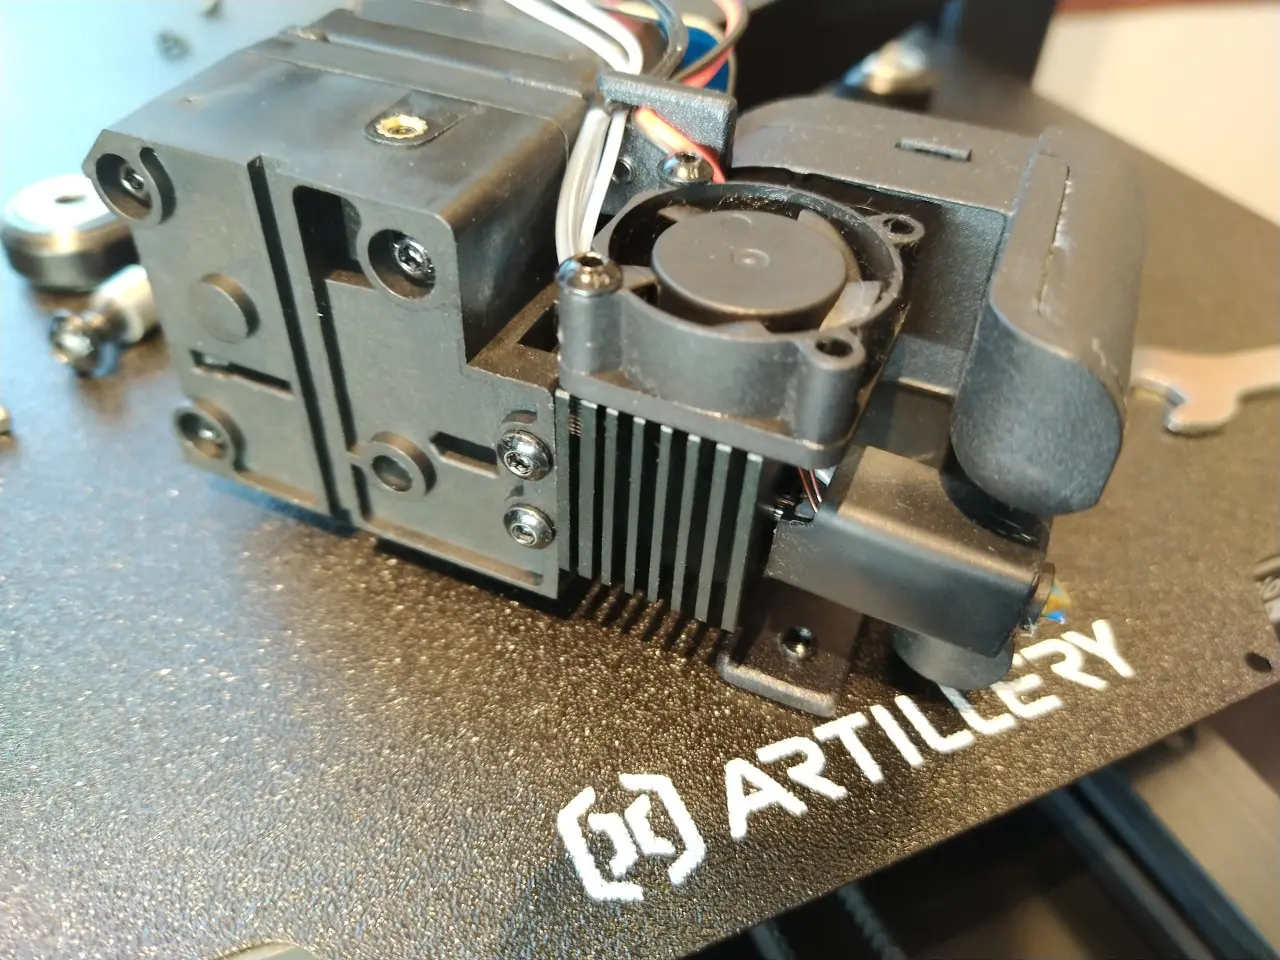
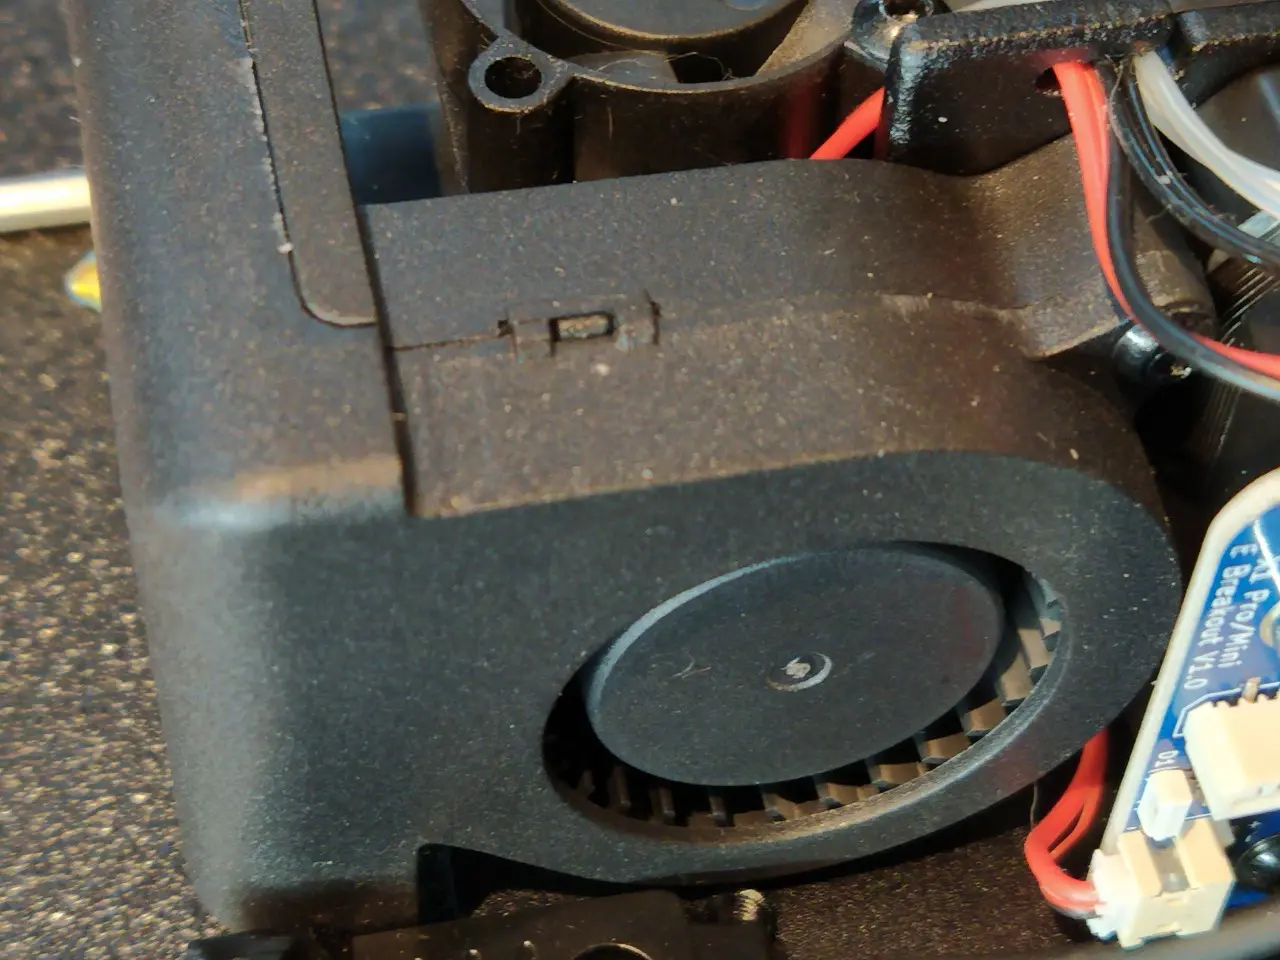
Pictures


Print head in detail
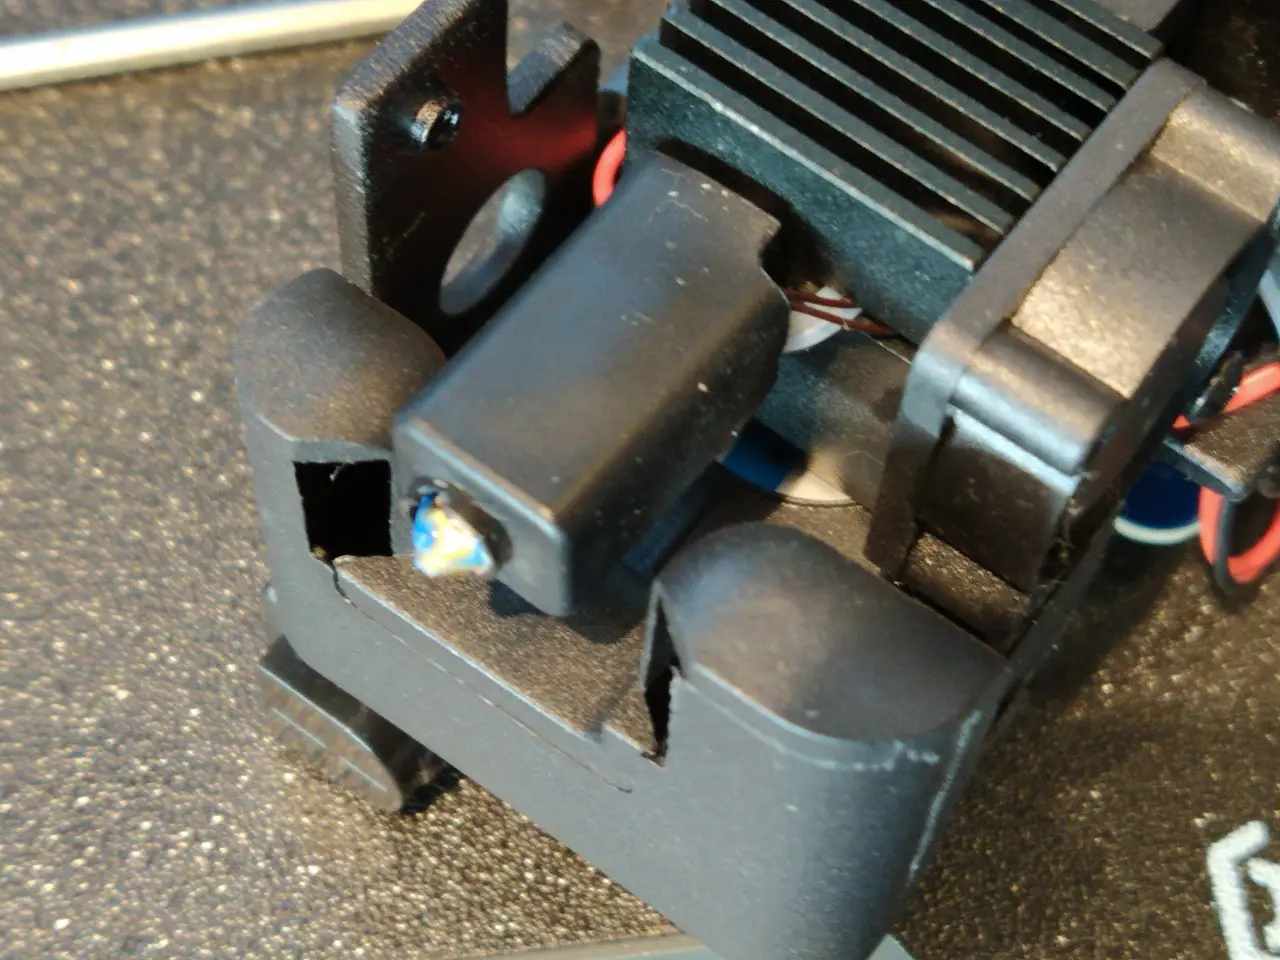
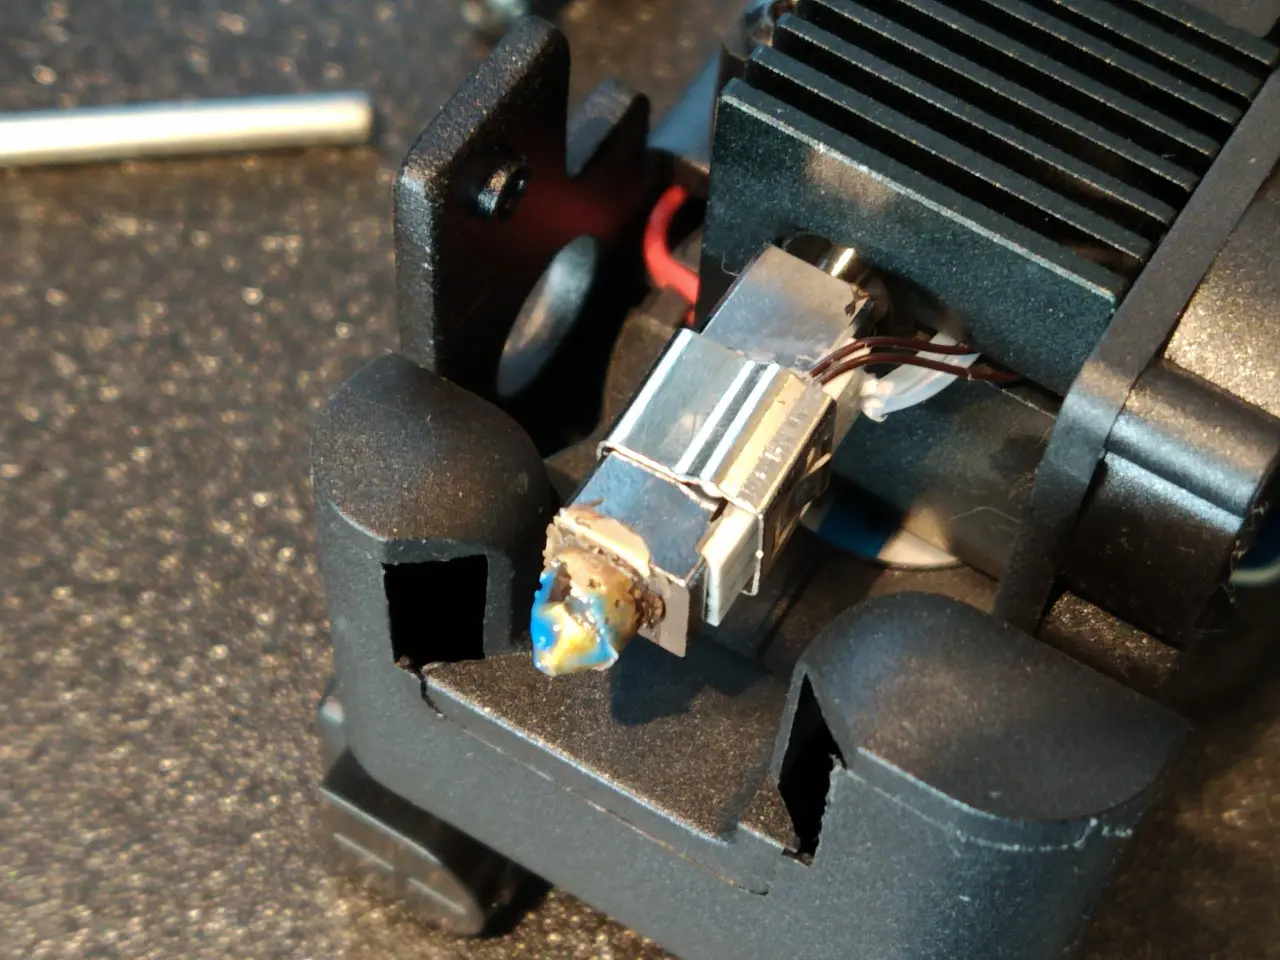
Now you have the entire print head in your hand and can work on it comfortably. The hotend is fixed in place with two screws and can be removed quickly and easily. I’ve never had a printer where it was so quick and easy to do this.