In the world of 3D printers, the Ender-3 V3 KE is the latest member of the Creality Ender-3 family to enter the stage. But what characterises this printer? What advantages and disadvantages does it have? Especially for beginners, the question arises: Is it really easy to enter the world of 3D printing with this device?
The answer is clear and simple: the Ender-3 V3 KE not only impresses with its technical features, but also proves to be extremely user-friendly. This printer was developed to make it as easy as possible for beginners to enter the fascinating world of 3D printing. Let’s take a look at why the Ender-3 V3 KE is not only technically impressive, but also impresses with its user-friendliness.
Did I exaggerate with the introduction? No question! But now you want to know more, don’t you? 🙂
Inhalt
- 1 How do I test?
- 2 Creality Ender-3 V3 KE
- 3 Unboxing
- 4 Structure
- 5 Set up
- 6 Creality Print
- 7 Other slicers?
- 8 Slimmed-down Klipper
- 9 Installing Mainsail and Fluidd
- 10 Hardware
- 11 Processing quality
- 12 Design
- 13 Space requirement
- 14 Power consumption
- 15 Speed!
- 16 Print quality
- 17 Printing costs
- 18 Volume
- 19 Printing with the cloud
- 20 Handling
- 21 Conclusion
- 22 Rating
How do I test?
I am a normal end user, just like you. I test exactly for our target group. For normal people, beginners and advanced users. I don’t test for people who have a printer as a hobby, but for people who have printing as a hobby. A 3D printer simply has to work. I have tested for you whether the Creality Ender-3 simply works. Step by step, starting with unpacking.
Hand on heart: If someone had asked me a few days ago whether I would recommend a printer from Creality, I wouldn’t have done it. My preconceptions about these “craft boxes”, which I had picked up from social networks and comment columns, were too deep-seated. When I was offered this printer by Geekbuying, I was delighted, as I normally like to make my own judgement.
The article is aimed at beginners, so I explain quite a lot. I know from your feedback that this is what you want. If that’s too much for you, you can skip straight to the conclusion.
Unfortunately, the captions of the images are in German, as they have to be saved directly in the images for technical reasons. I ask for your understanding.
Creality Ender-3 V3 KE
Even though the whole world is singing the praises of i3 printers and CoreXY is the future, fast Cartesian printers like the Bambu A1 continue to appear. However, Creality has not rested on its CoreXY laurels either, but has continued to develop its most successful printer series, the Ender series.
The result is the Ender-3 V3 KE.
All the features that struck me as very positive are marked in red.
| Creality | Ender-3 V3 KE |
| Tree shape | cartesian |
| Installation space (mm) | 220 × 220 × 240 mm |
| Weight | 7.8 kg |
| Dimensions (mm) | 433 × 366 × 490/670 mm |
| Dual Z-axis | yes |
| Bearing | X: Linear rails |
| Y: Linear bearings on rods | |
| Z: POM wheels | |
| Speed: 500 mm/s | 500 mm/s |
| Recommended speed | 300 mm/s |
| Acceleration | 8.000 mm/s |
| Display | 4.3” colour display |
| Resistive | |
| 272 × 480 px | |
| not removable | |
| Connectors | 2x USB-A |
| 1x USB-C | |
| 1x Micro-USB, internal | |
| Auto levelling | yes |
| Auto-Z-Offset | yes |
| Filament sensor | yes |
| Heating bed | PEI, magnetic |
| Aluminium | |
| Insulated | |
| max. 100° C | |
| 270 watts | |
| approx. 2:30 min to 60° C | |
| Levelling wheels | no |
| Level sensors | Mechanical pin sensor |
| Sensor in the nozzle | |
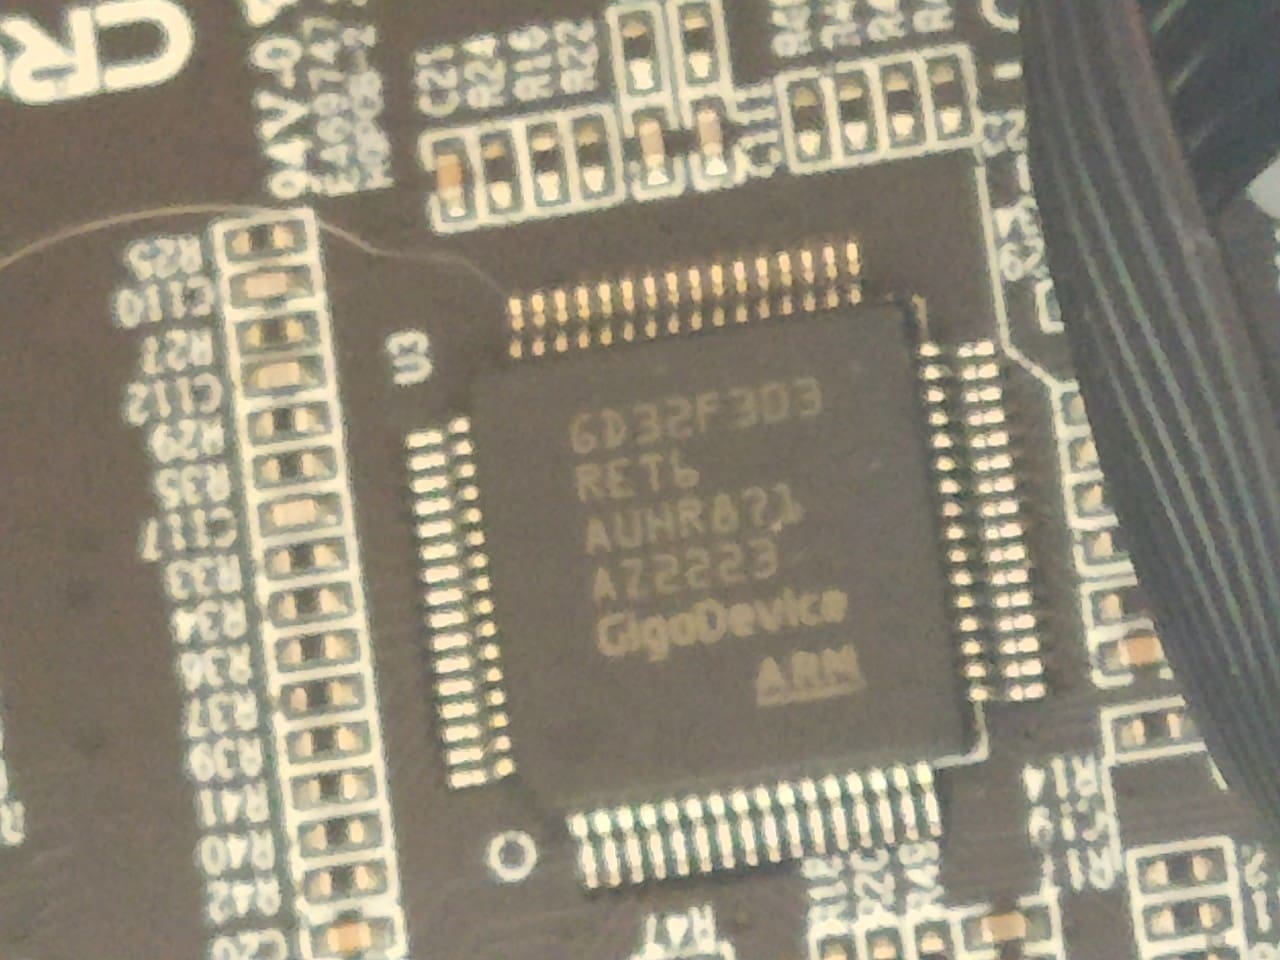
| Mainboard printer | ARM 32-bit, silent, 120 MHz, CR4NS200 |
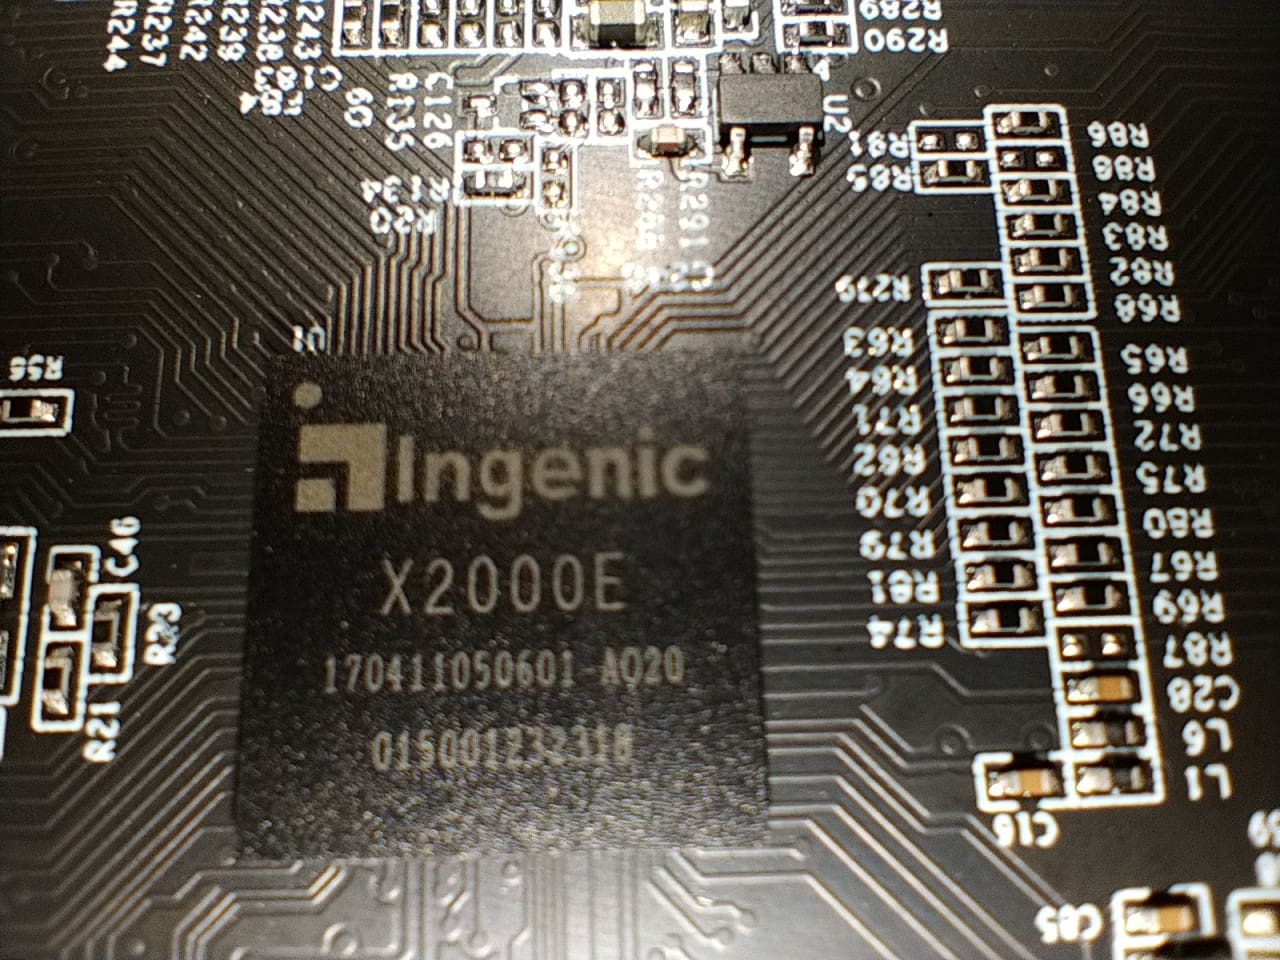
| Klipper board | Ingenic X2000/E |
| MIPS32 R5 architecture | |
| 1.2 GHz dual core | |
| 8 GB eMMC, Sandisk | |
| 24 seconds boot time | |
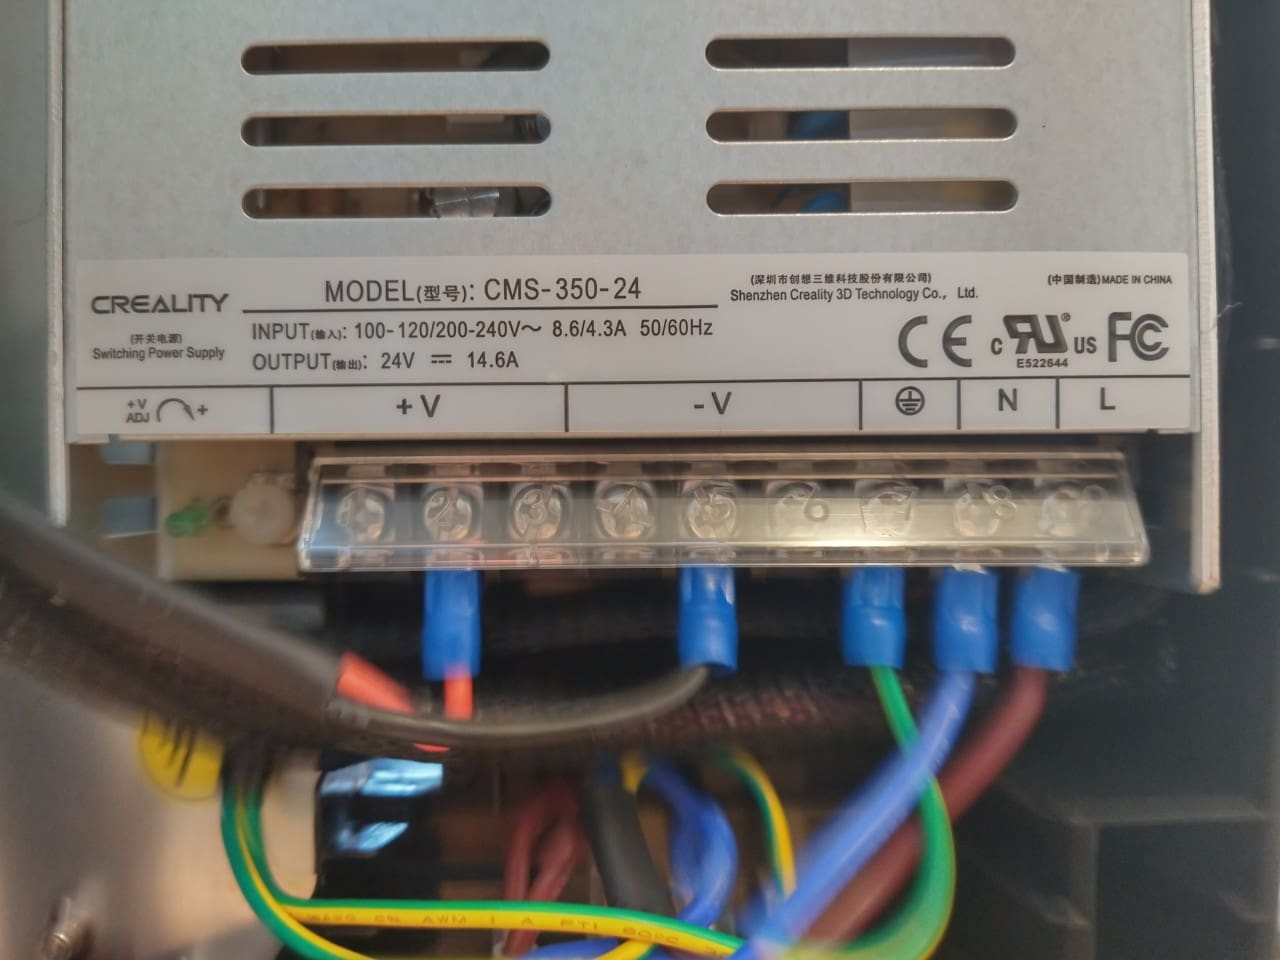
| Power supply | 350 watts |
| 24 V output voltage | |
| Noise level | perceived as moderate |
| 32 dbA, 1 m distance | |
| Extruder | Dual-Drive, direct |
| Hotend | Ceramic & bi-metal |
| 60 watts | |
| Dual fan | |
| max. 300 °C | |
| Data transmission | WLAN |
| USB stick | |
| Creality cloud | |
| Self-cleaning nozzle | no |
| Print bed lighting | optional |
| Nozzle illumination | no |
| WLAN | yes, 2.4 GHz |
| Input shape sensor | optional |
| AI camera | optional |
Key data
- Very fast Cartesian printer.
- Perfect for beginners.
- Simple, quick assembly.
- Mainboard with Klipper
- 500 mm/s maximum print speed
- Intelligent self-adjustment for Z-offset, automatic levelling.
- 4.3” colour display with real-time model preview and display of print parameters.
- Input Shaping dampens printer vibrations to minimise ghosting.
- Motion Advance optimises the filament flow and prevents under- or over-extrusion.
- WLAN with local and/or cloud printing. Manage multiple printers efficiently online as a print farm.
- Precise linear guidance of the X-axis with ball-bearing carriage for precise, stable and friction-free movements (friction coefficient 0.04).
- 60 W ceramic hotend for uniform melting of filaments for high-speed printing.
- Processes PLA, PETG, ABS, TPU(95A) and ASA filaments.
- Optionally available: camera (with AI functions), LED lighting, input shaping sensor and much more!
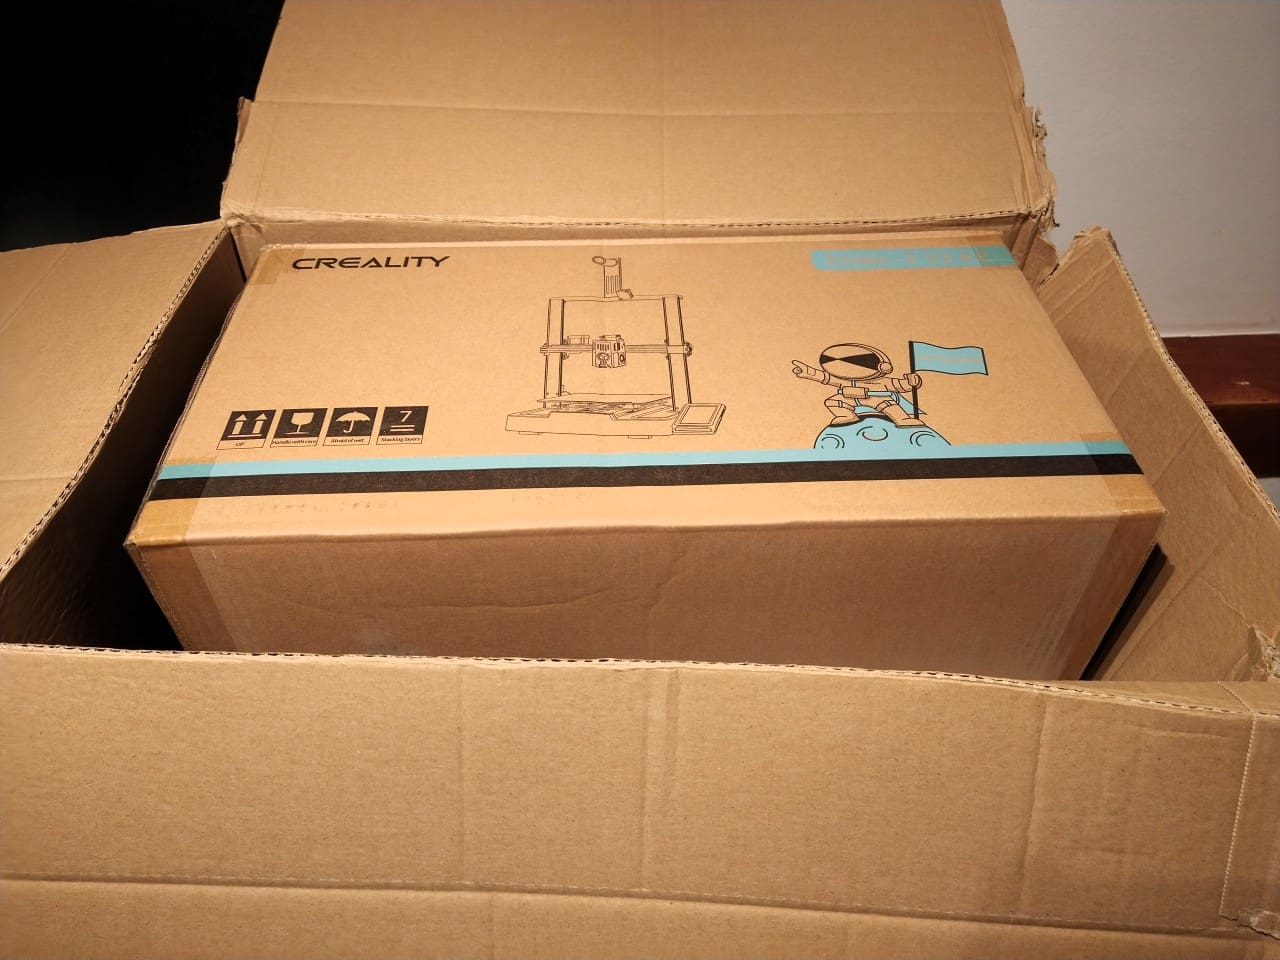
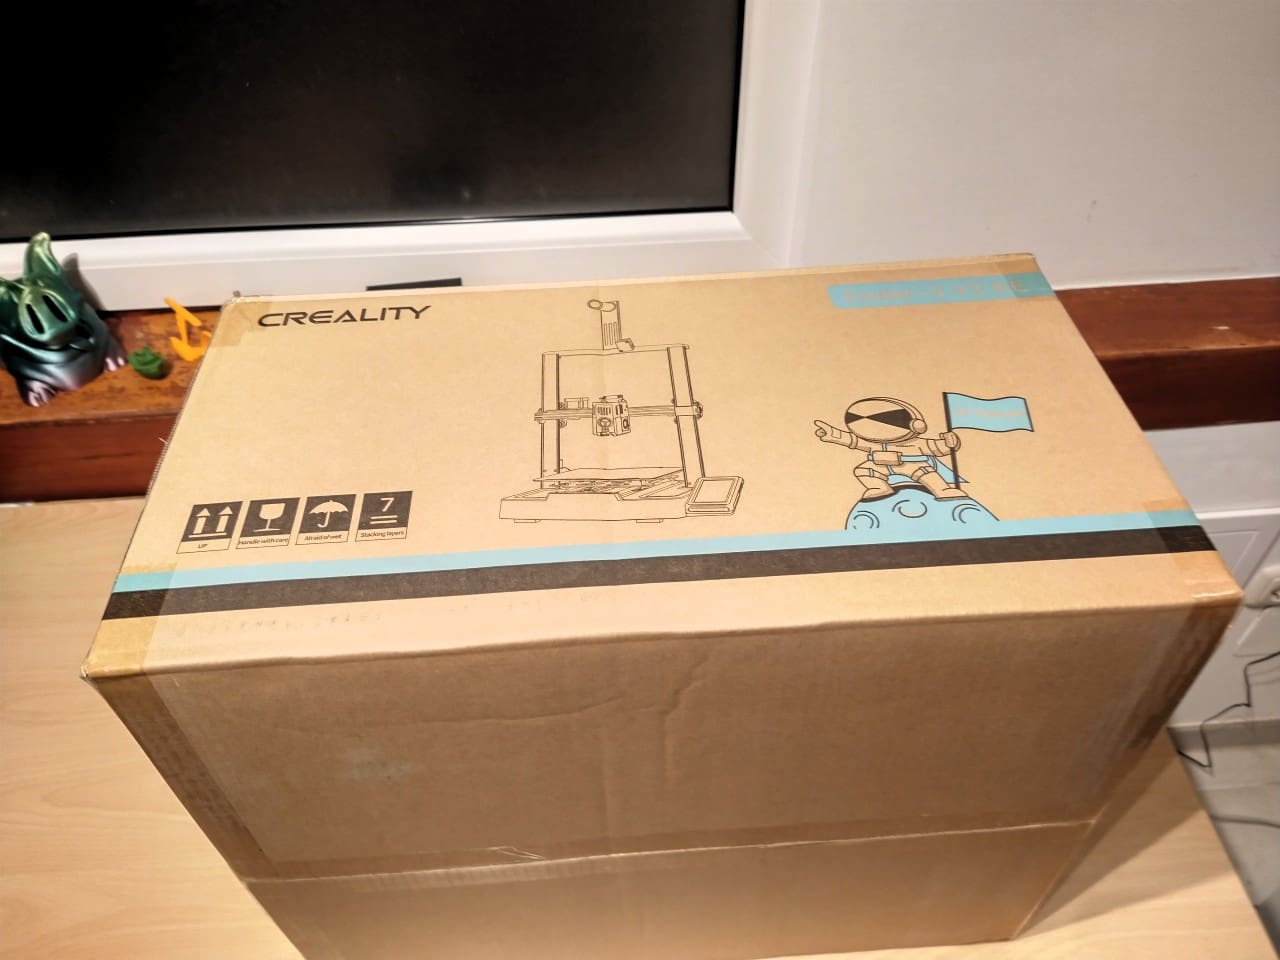
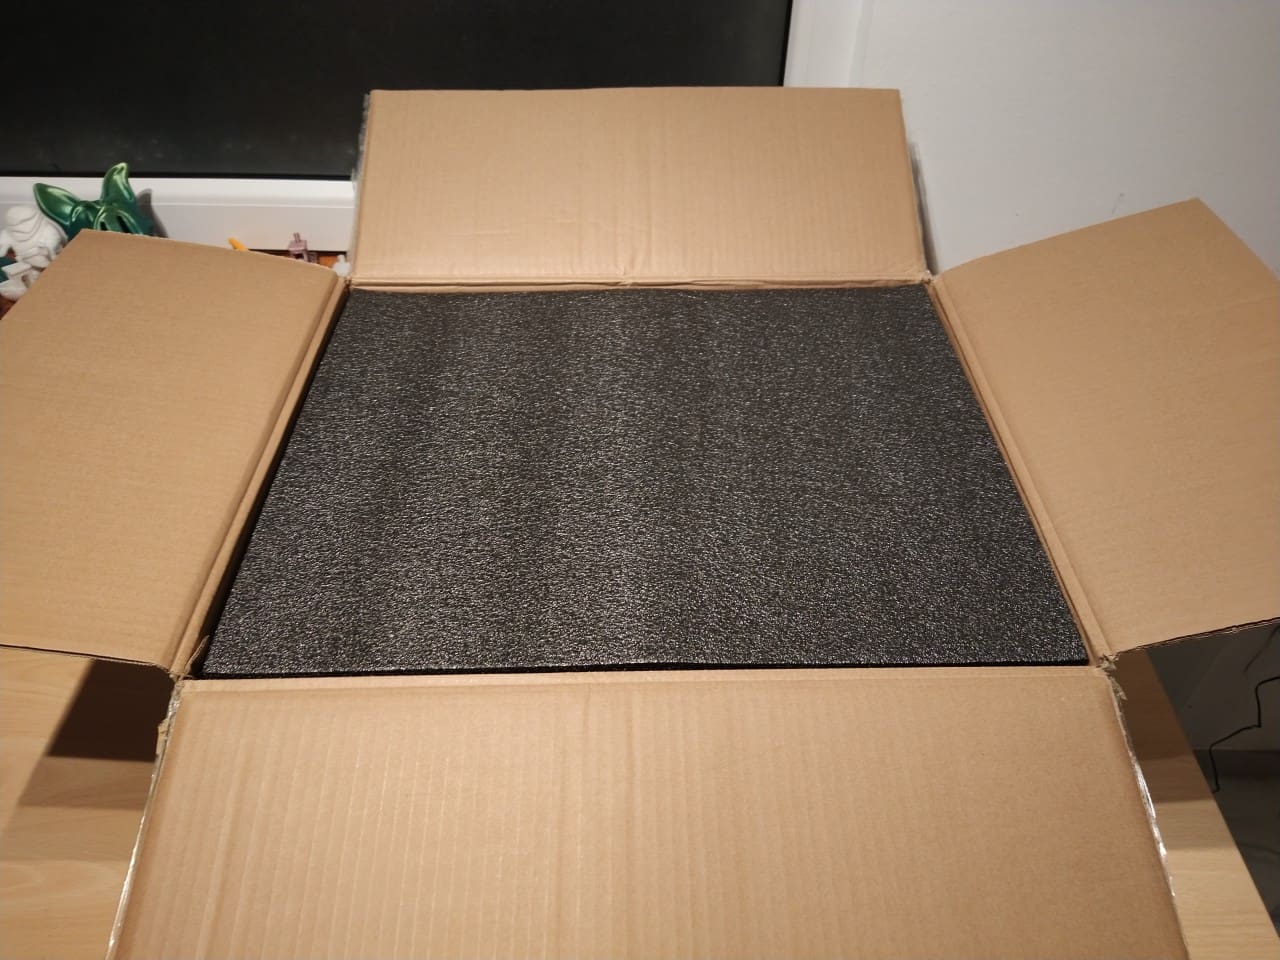
Unboxing
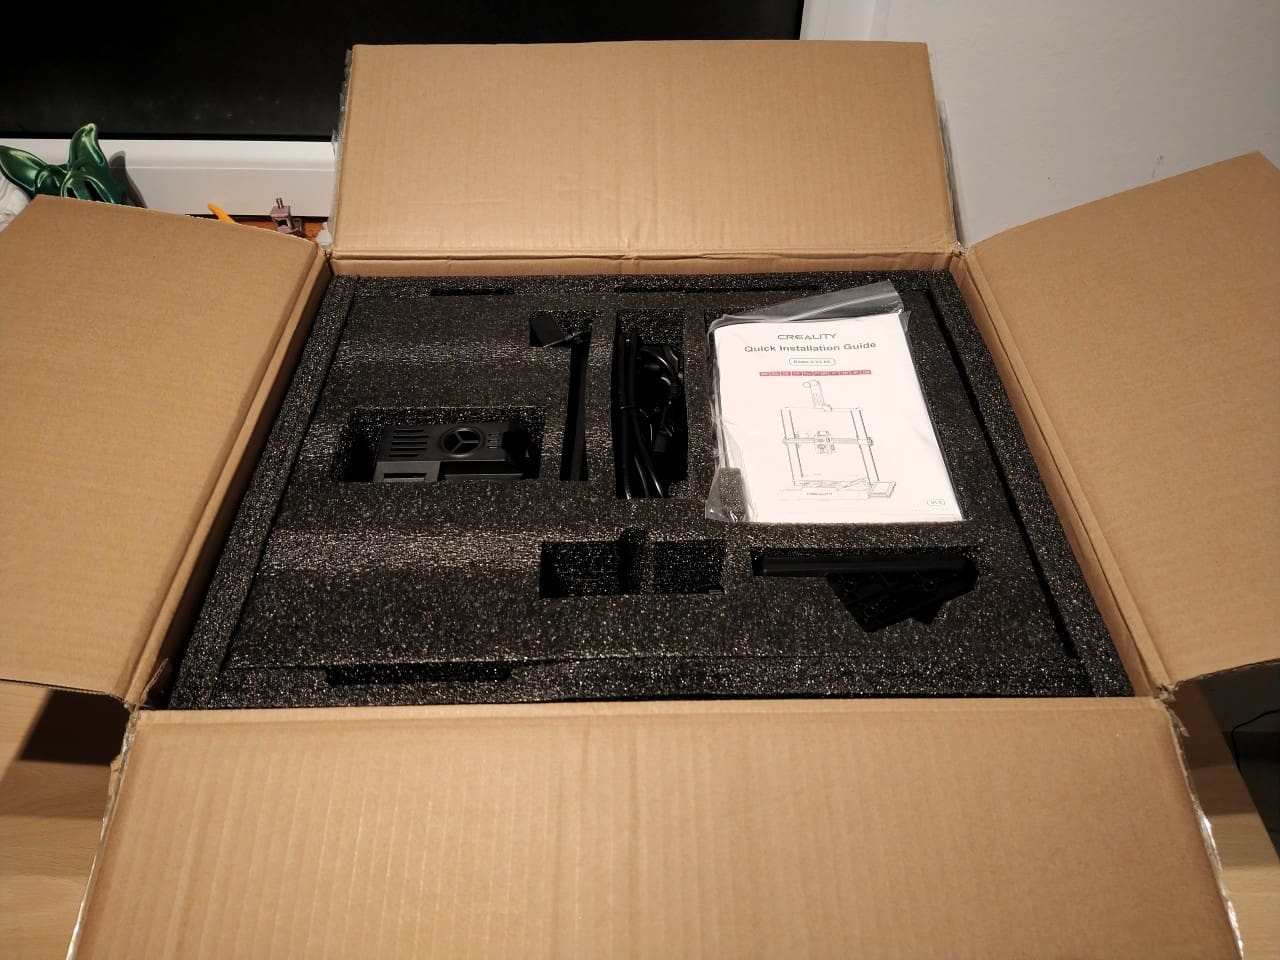
Creality ships the 3D printer securely packed in form-fit PU foam blocks. Unpacking is easy, nothing can be left behind in the packaging.
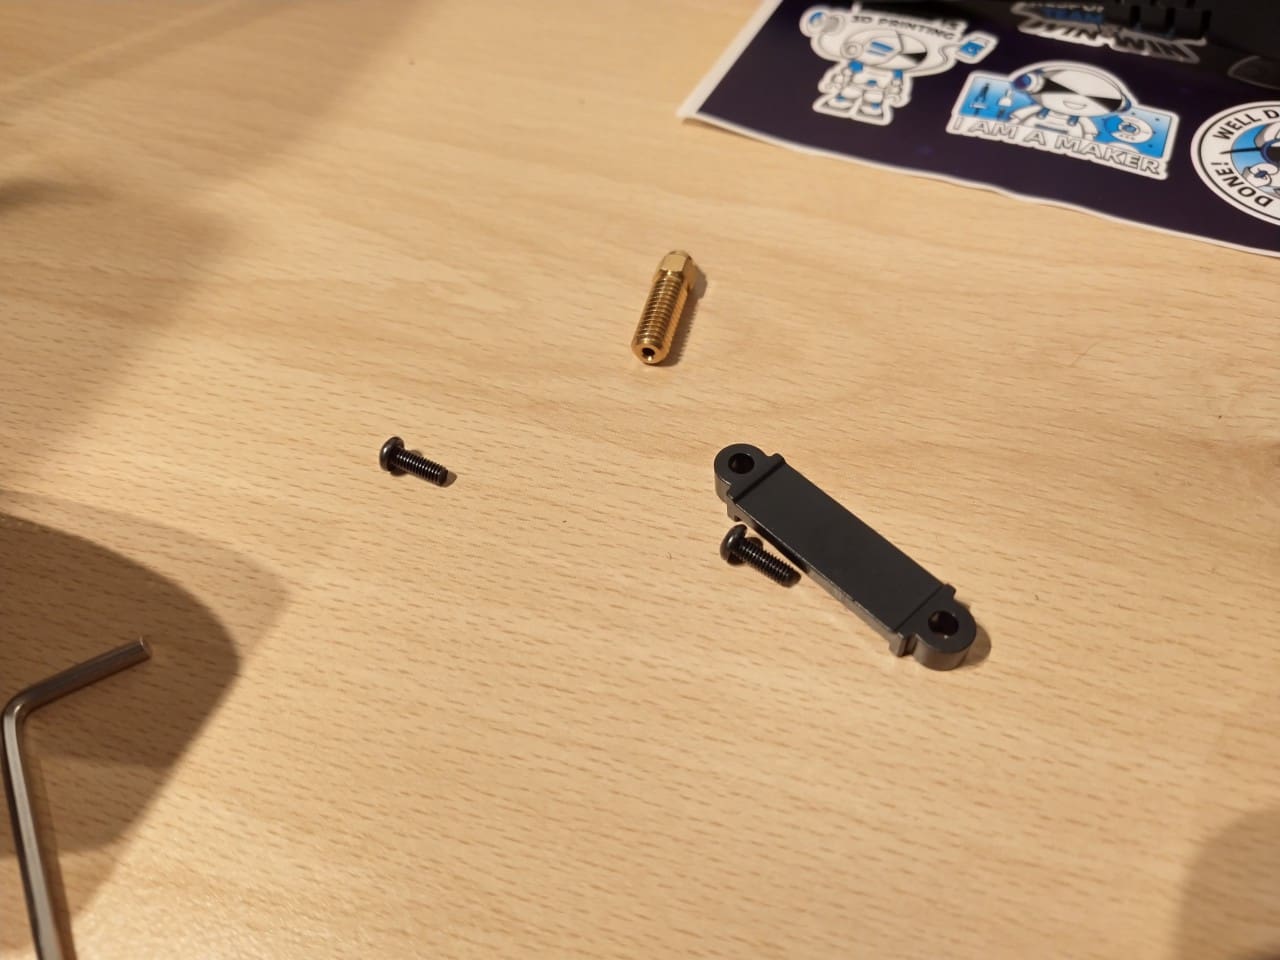
The scope of delivery includes
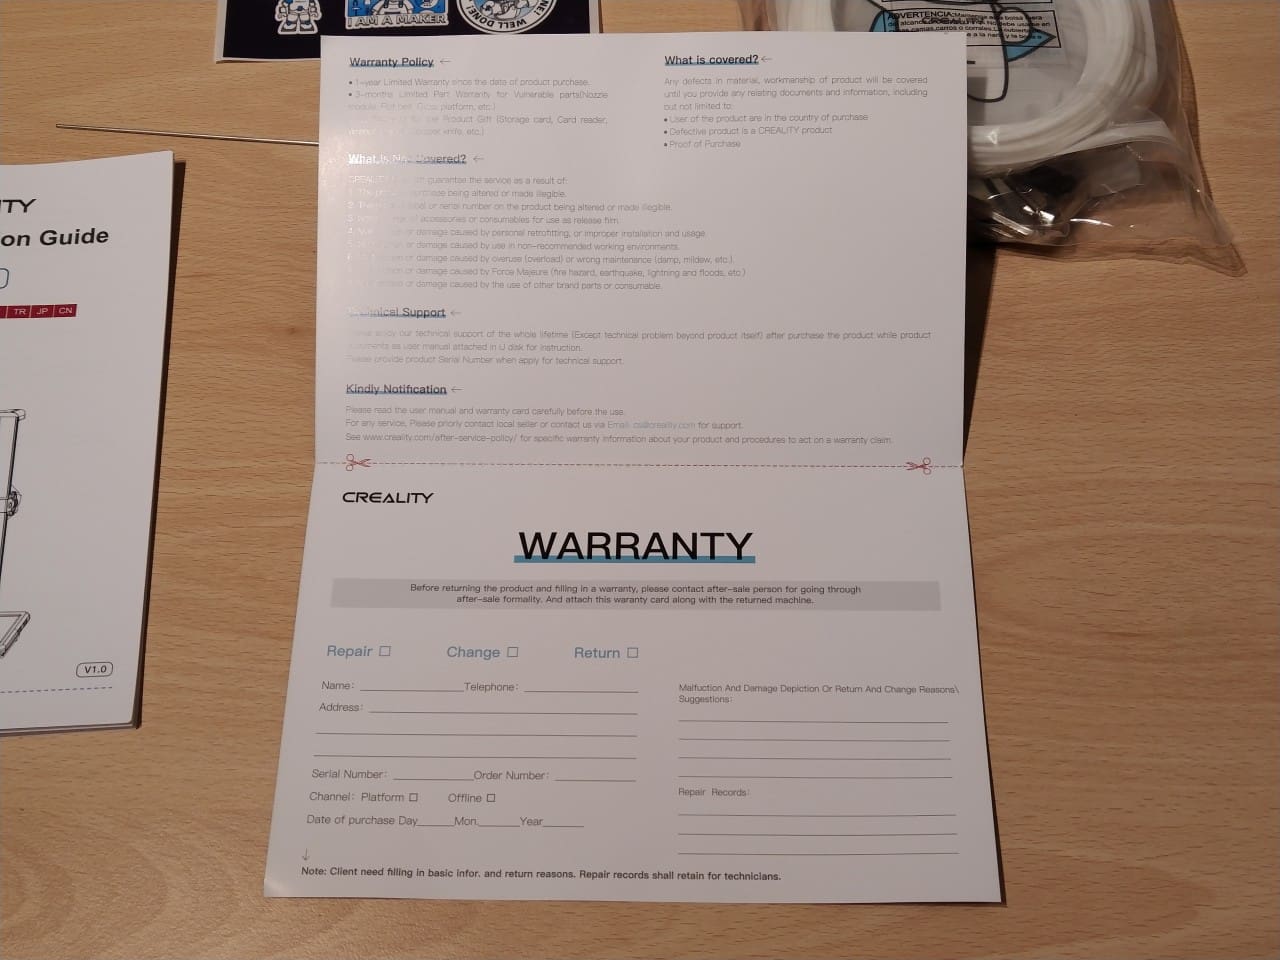
- Instructions
- Warranty card
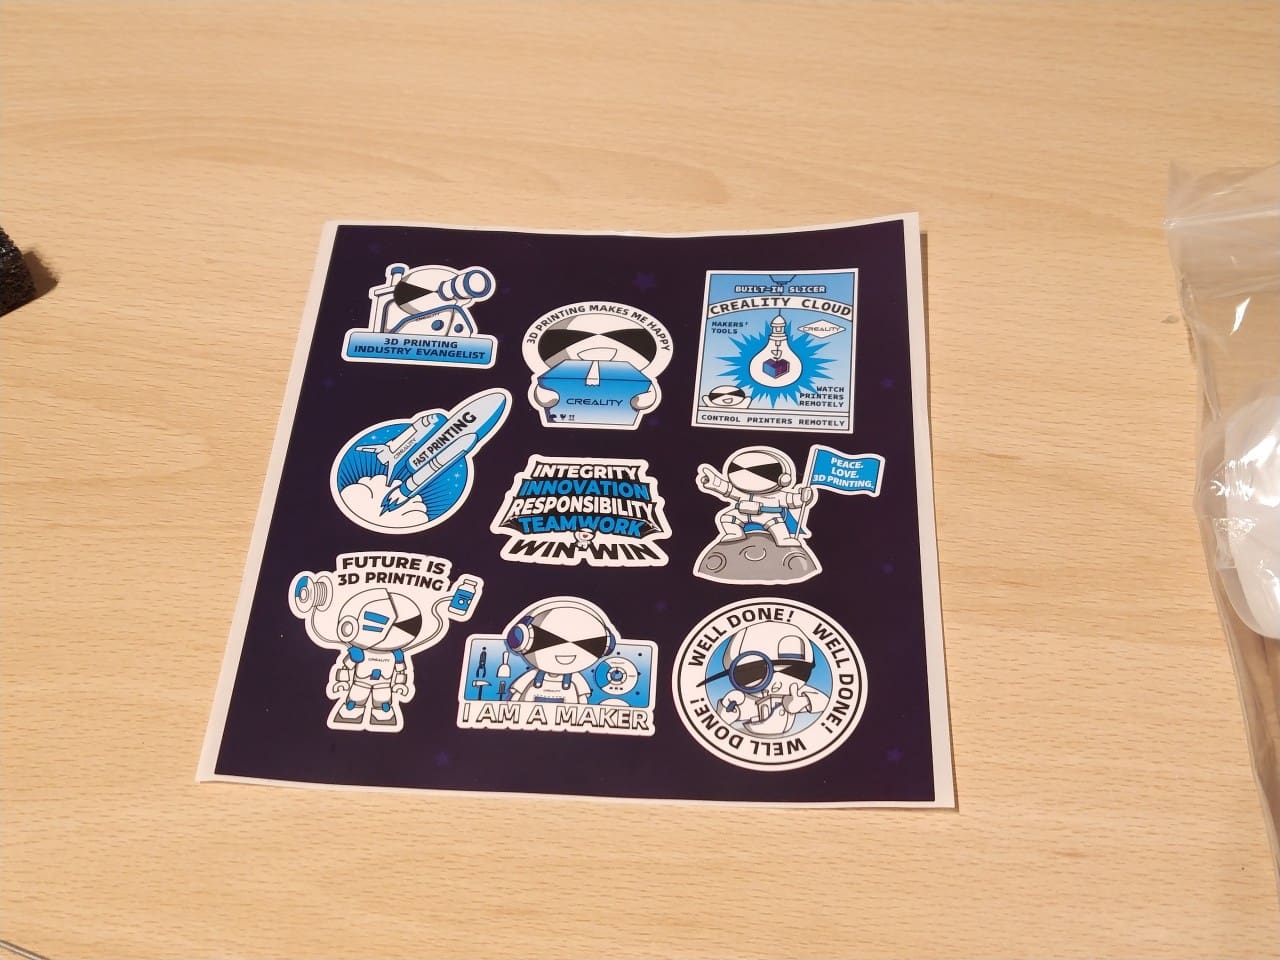
- Set with stickers
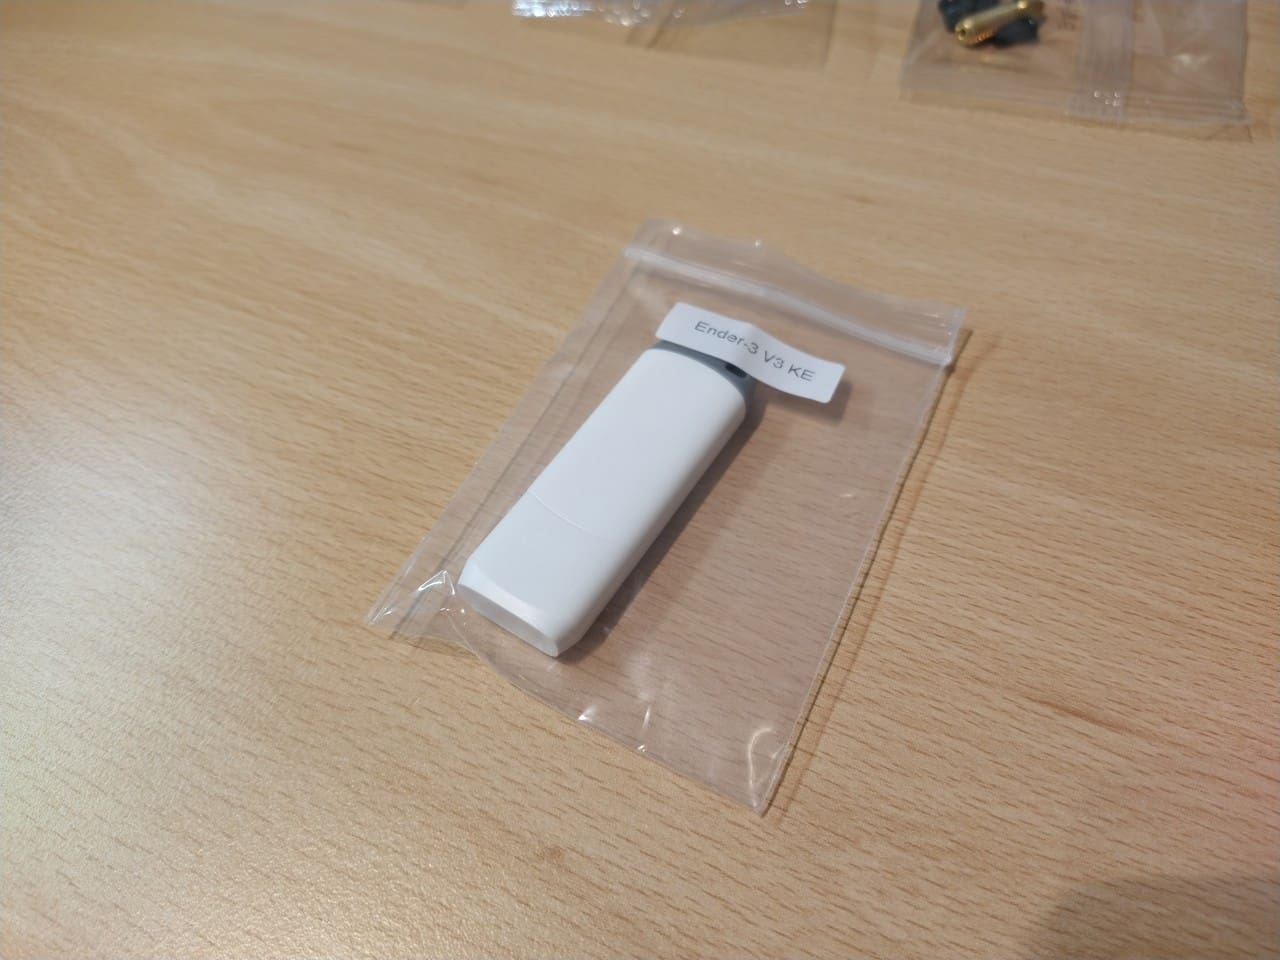
- 16 GB USB stick (USB 2.0)
- 5 Allen keys
- 2 open-end spanners
- Screwdriver
- Tube of grease
- Filament pliers
- Screws
- Spare nozzle
All screw bags are labelled and correspond to the information in the instructions. The tools are of simple but sufficient quality. The printer can be completely disassembled and reassembled with these tools.
The instructions are multilingual. The text plays a subordinate role here, the pictures are more important.
The box contains a few metres of white Hyper-PLA and a set of stickers. A nice bonus.
The 16 GB USB stick, which contains a test benchmark for the first test and a ZIP file with instructions, assembly videos and the „Creality Print” software for preparing 3D files for the printer, is also a welcome addition.
Creality points out in the manual that these files should not be unpacked on the USB stick, but on the computer.
Structure
Creality has created an excellent video about the assembly and the first setup. It shows everything very well.
Anyone who has ever assembled an Ikea shelf can also assemble the Ender-3 V3 KE using the left-hand side.
Set up
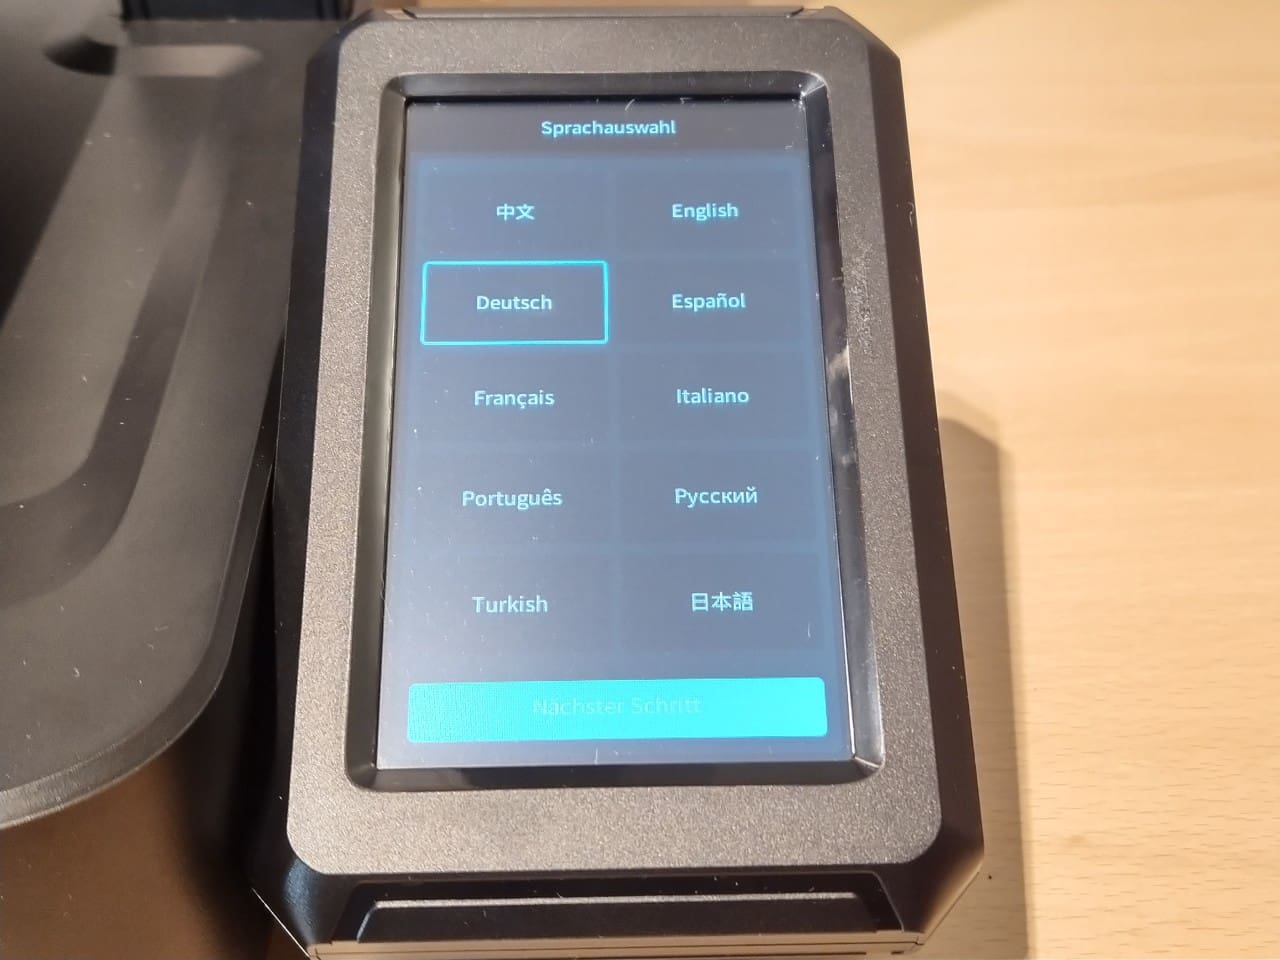
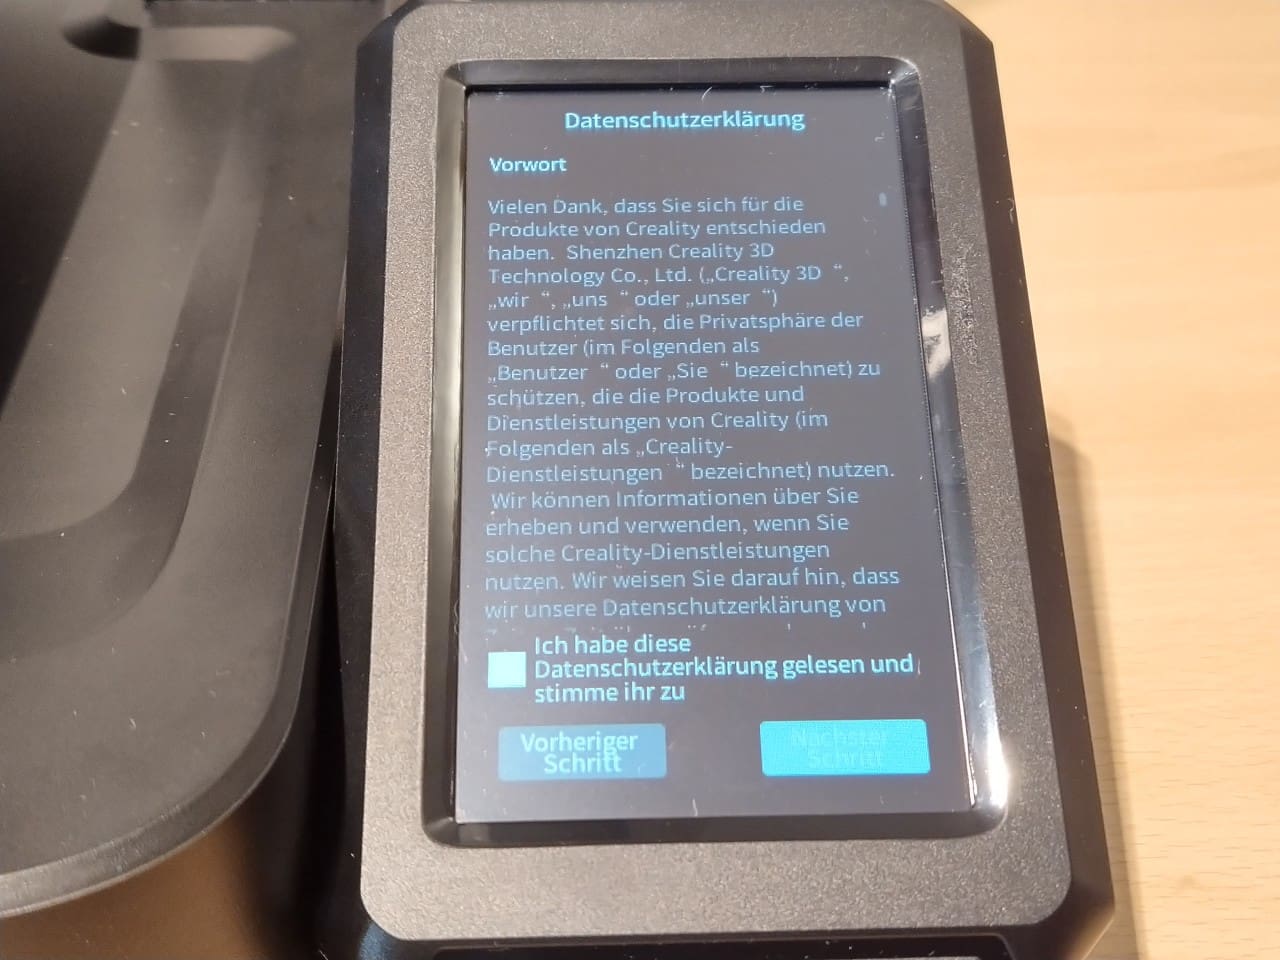
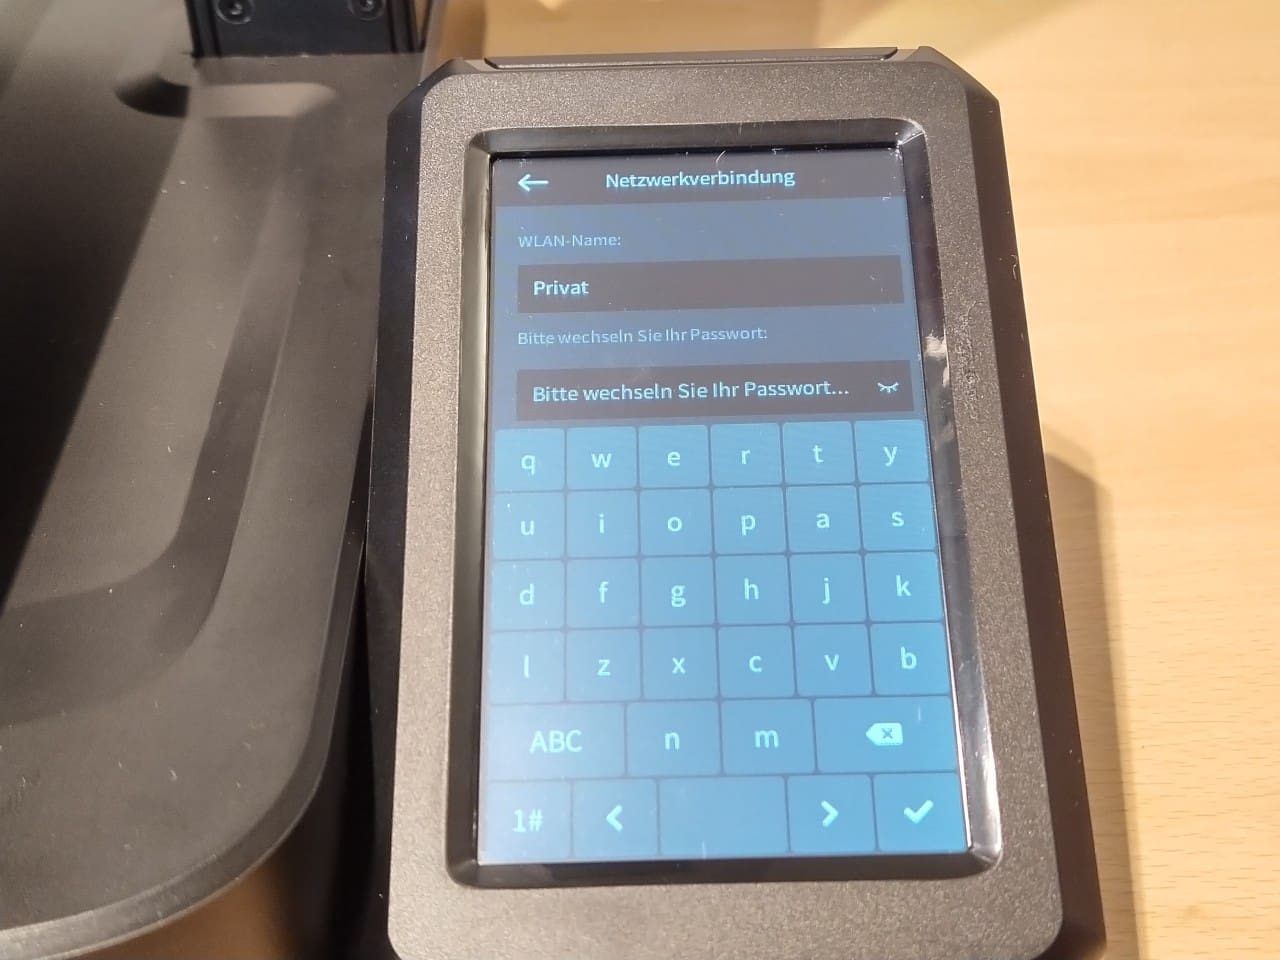
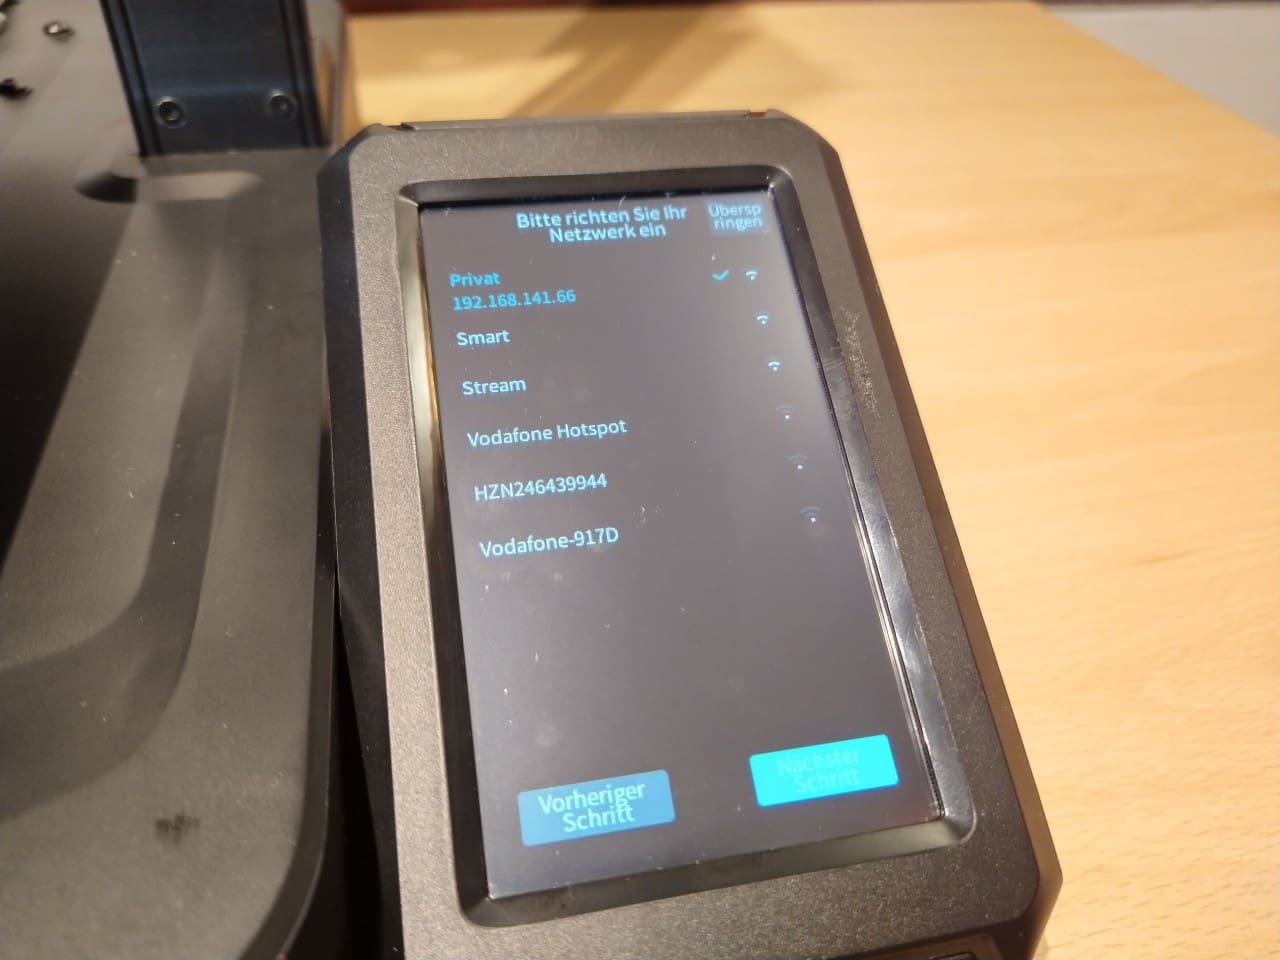
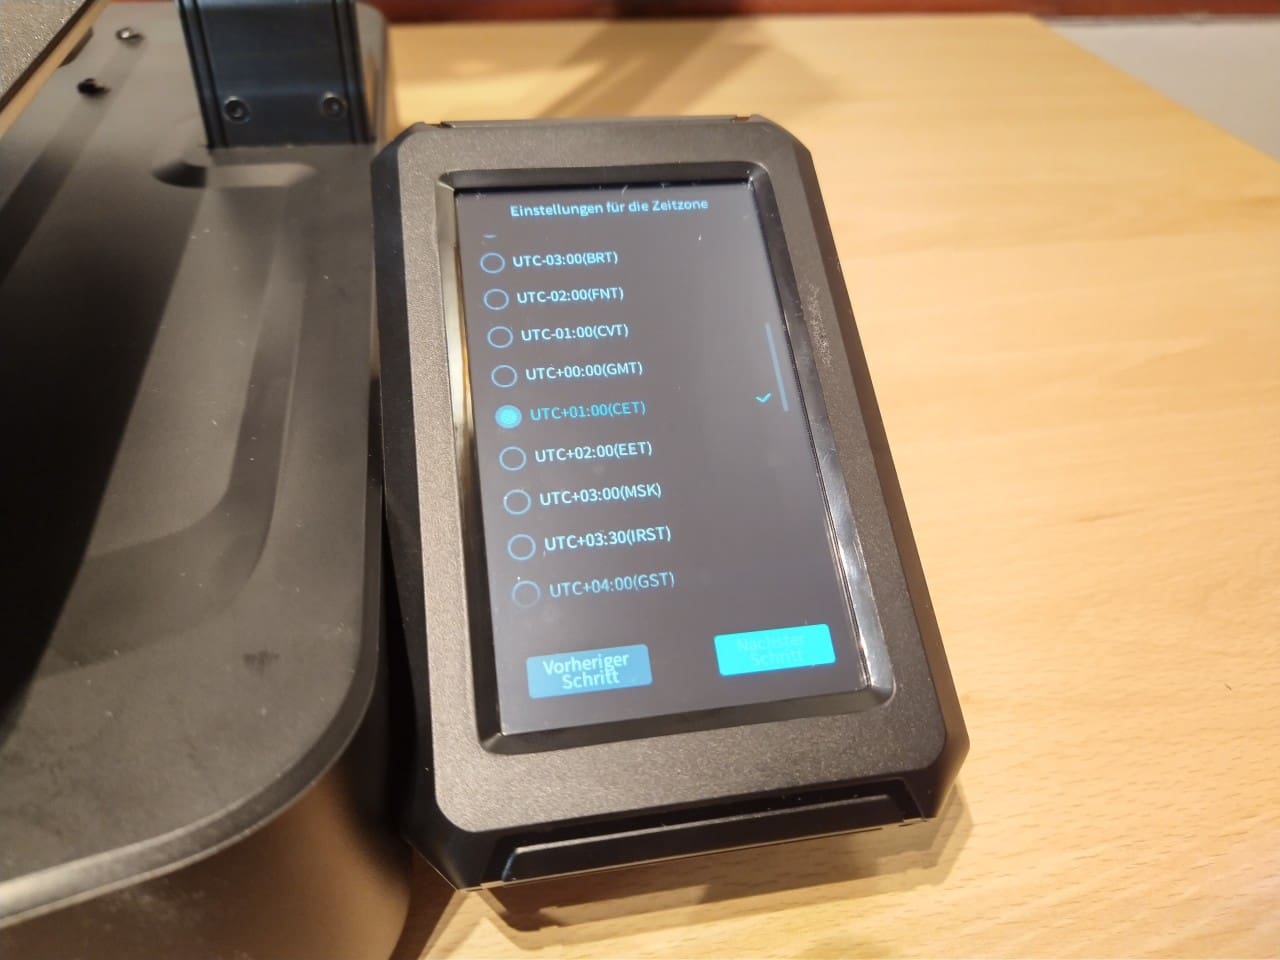
After switching on, the Ender takes the user by the hand and guides him step by step through the printer setup.
Creality Print
In order to print 3D files (.stl), they must be sliced, i.e. cut into slices that can be printed one on top of the other. The parameters of the printer, such as its speed, are considered. So if you were to give the Creality Ender-3 V3 KE a file from your old printer, it would print it out more slowly and probably at a much lower quality.
The slicer generates the appropriate “Gcode” for the printer, i.e. the instructions for printing. This is why a slicer with the profile for your printer is so important.
Creality Print is available for macOS, Linux and Windows. The software is a derivative of Cura. So far, so good because Cura is the classic slicer programme.
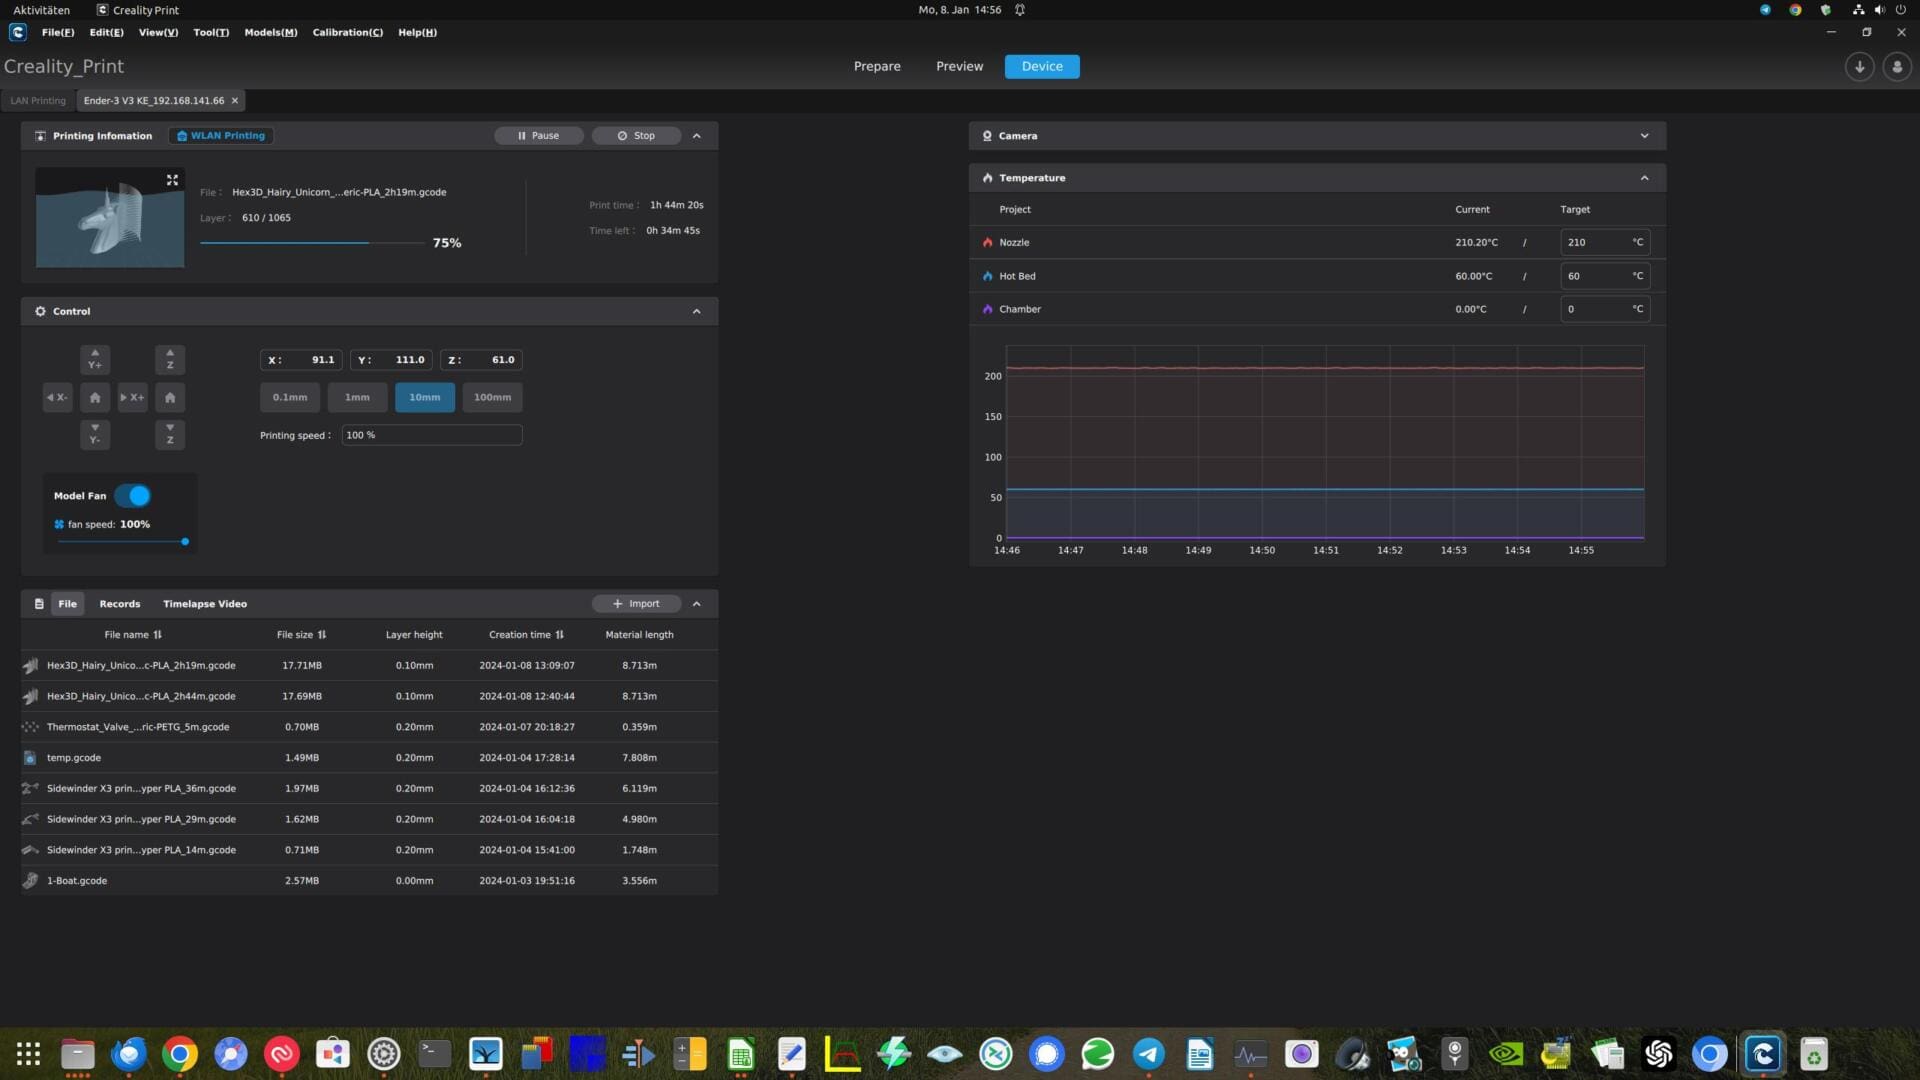
However, Creality has made Cura much clearer and more accessible. The look has been modelled on the Prusa slicer forks, a good decision. If you have several Creality printers in your network, you will be pleased with the overview of your “printer farm” when sending the print job.
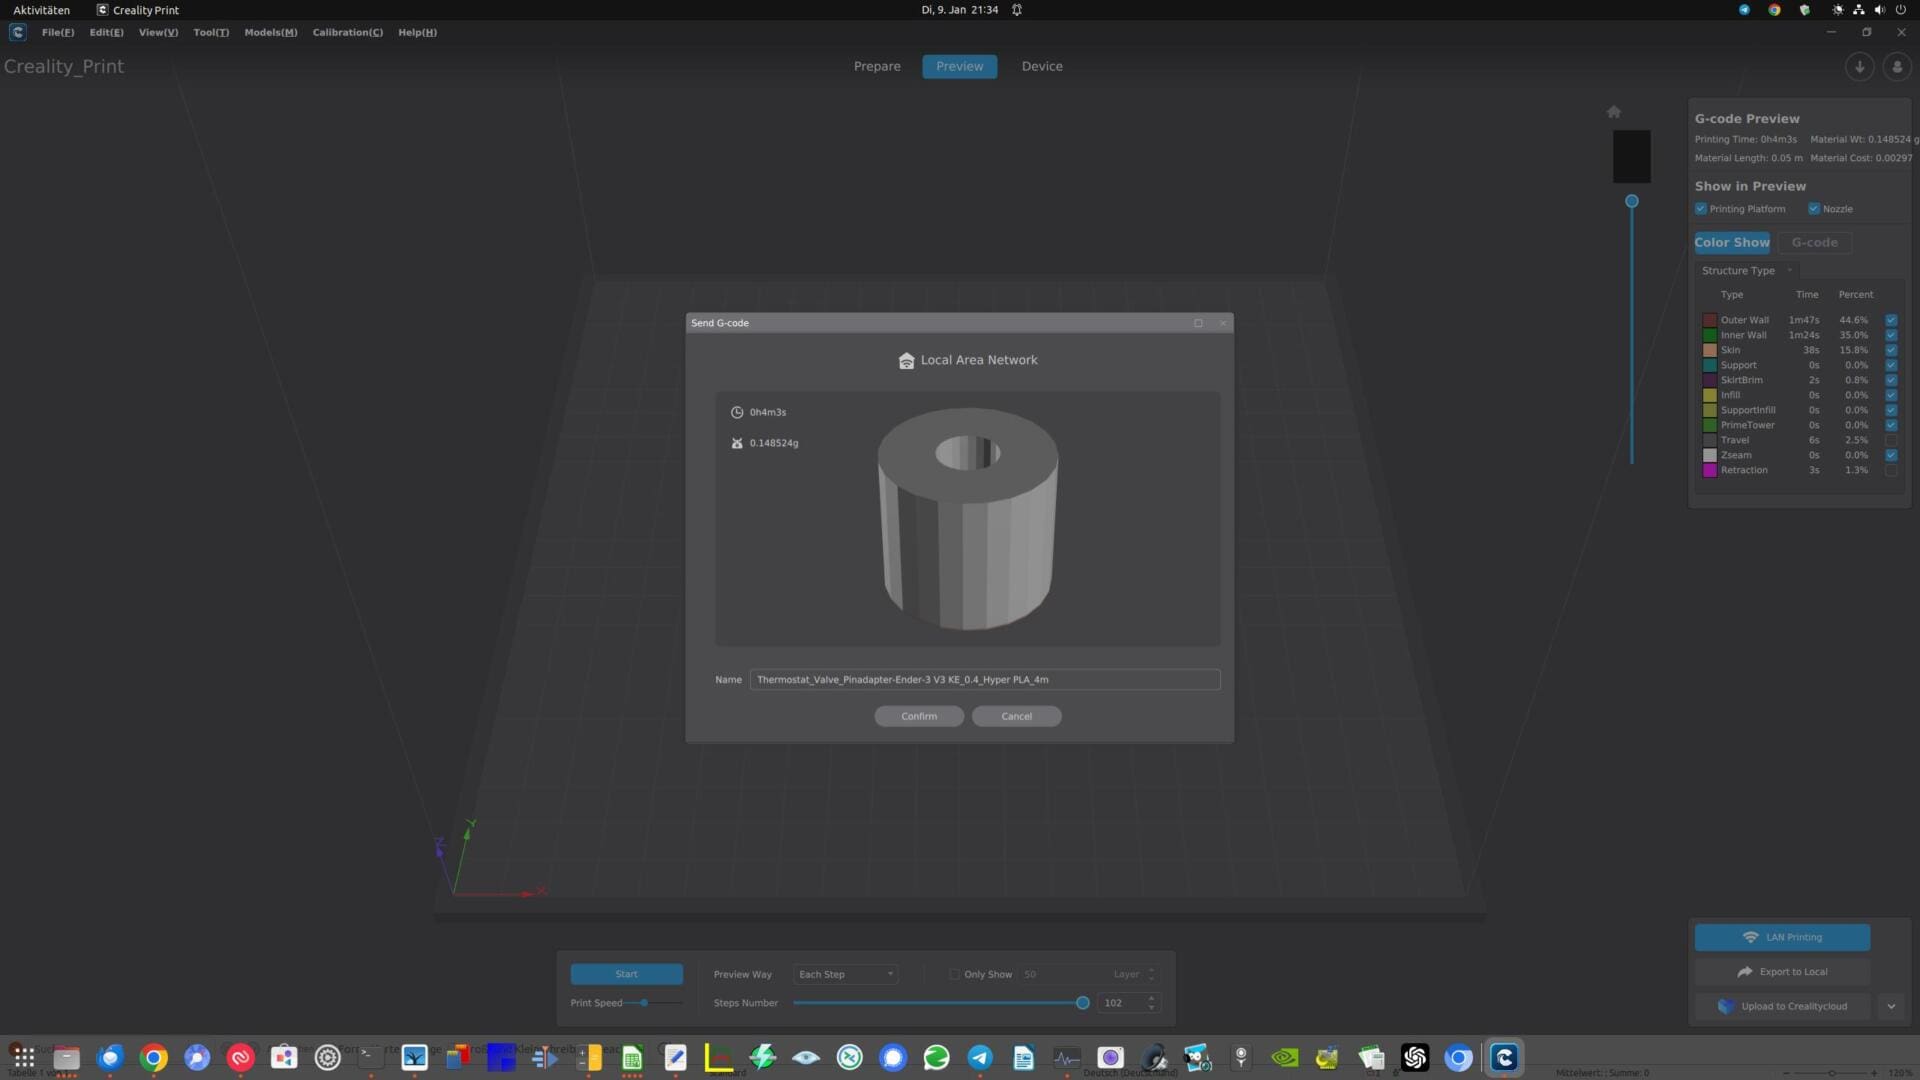
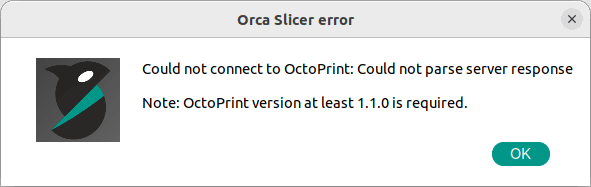
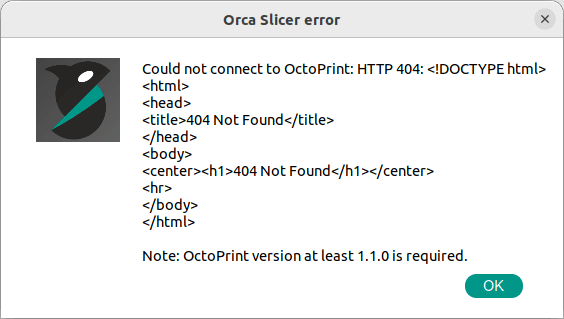
It is irritating that you cannot access the printer via WLAN with OrcaSlicer or Cura, for example. In fact, you can currently only print with Creality Print via Wi-Fi (or the Creality Cloud). Not everyone will like this, but it is not a problem for beginners, as this combination ensures that everything works together smoothly.
Update: There is an update that makes this criticism redundant, but it is not suitable for beginners.
I was also irritated by the fact that all filaments are set to 300 mm/s by default. Even with TPU! Unfortunately, you see many slicers with similar default settings. In general, you should set the speeds and temperatures specified by the filament manufacturer before printing.
Creality specifies the following values for the V3 KE with its own filaments:
| Ender-3 V3 KE material parameters | |||||||||
| Material parameters | Print with Housing | Dry box | Retraction | Retraction | Temp. Heatbed | Temp. Nozzle | Fan | Speed | Quantity Wall lines |
| Hyper-PLA | No | No | 0.8 mm | 40 mm/s | 60℃ | 210℃ | 100 % | 300 mm/s | 2 |
| CR-PLA | No | No | 0.8 mm | 40 mm/s | 60℃ | 210℃ | 100 % | 250 mm/s | 2 |
| CR-ABS | Yes | Yes | 0.5 mm | 40 mm/s | 100℃ | 250℃ | 50 % | 150 mm/s | 2 |
| CR-PETG | No | Yes | 1.2 mm | 40 mm/s | 80℃ | 230℃ | 50 % | 150 mm/s | 2 |
| HP-ASA | Yes | Yes | 0.5 mm | 40 mm/s | 100℃ | 240℃ | 50 % | 200 mm/s | 2 |
| HP-TPU | No | No | 2.0 mm | 40 mm/s | 30℃ | 215℃ | 100 % | 100 mm/s | 3 |
My recommendations for good print bed adhesion are
- PLA: 60℃
- PETG: 80℃
I exclude materials such as ABS for various reasons.
Other slicers?
Currently, it does not seem to be possible to send a print job directly from the slicer to the printer using a slicer besides Creality. Fans of other slicers can still get the data to the printer via a USB stick or load it to the printer via the web end of the printer in the browser.
Update: There is an update that makes this criticism redundant, but it is not suitable for beginners.
Slimmed-down Klipper
The Creality Ender-3 KE is the first Ender with Klipper. As a special feature, Klipper does not run on an ARM processor, but on a MIPS-based processor. Klipper was already ported to the MIPS architecture in 2022, so there would have no limitations.
Would have to? Yes, would have to! This is because Creality has limited the functional scope of the Ender-3 V3 KE a little more than an ambitious user would like. There is no access to the console in the web end and no other configuration options. You only see the most important information and setting options.
However, there is the option to calibrate the printer in the slicer menu. This is explained in more detail on the Creality website.
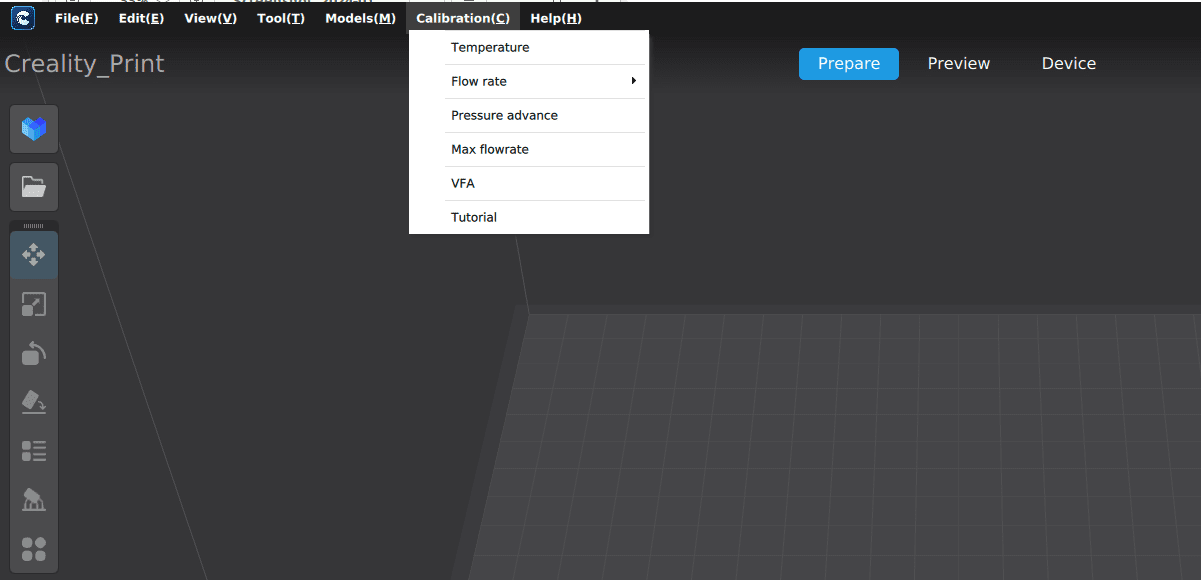
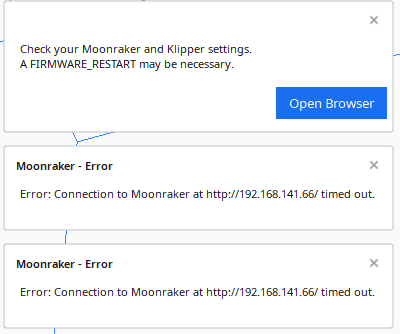
Installing Mainsail and Fluidd
If you install Mainsail or Fluidd after (instructions), you still have full access to Klipper and the full functionality with other slicers such as Cura, SuperSlicer, Prusa Slicer or OrcaSlicer.
Camera surveillance?
Anyone who thinks that they can connect a simple webcam from their collection to the Creality Ender-3 V3 KE is mistaken. The printer only works with the Creality Nebula camera, which officially costs around EUR 40. However, it is available from the usual suspects for as little as EUR 24. You pay the same price for a normal webcam.
Hardware
The Creality Ender-3 V3 KE is powered by an Ingenix X2000/E, an energy-saving 1.2 GHz dual-core SoC. The available memory for loaded print jobs is just under 6 GB. I consider this to be absolutely sufficient, as you don’t usually go back to old print files anyway — and if you do, then only the last few.
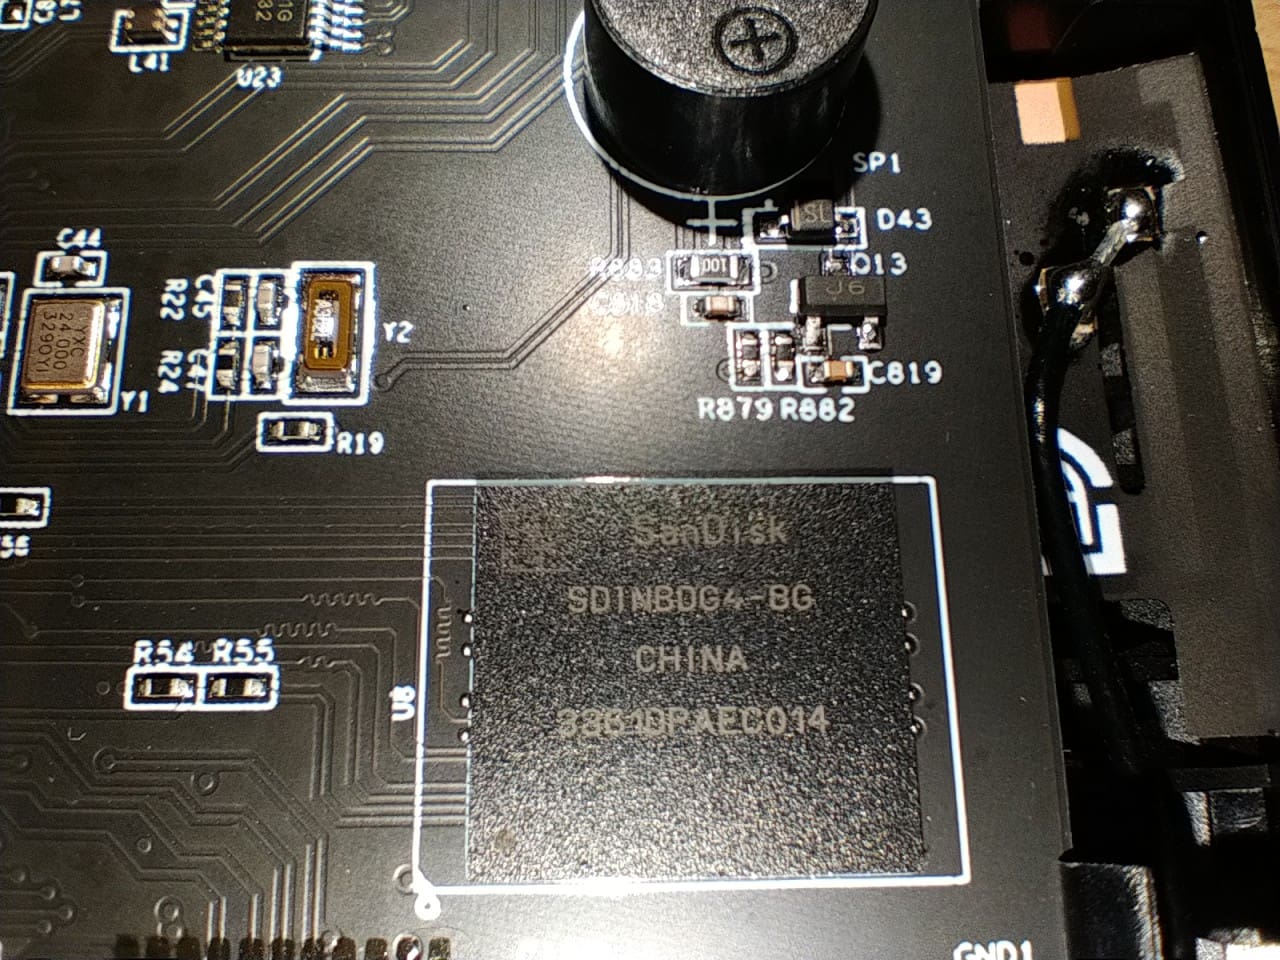
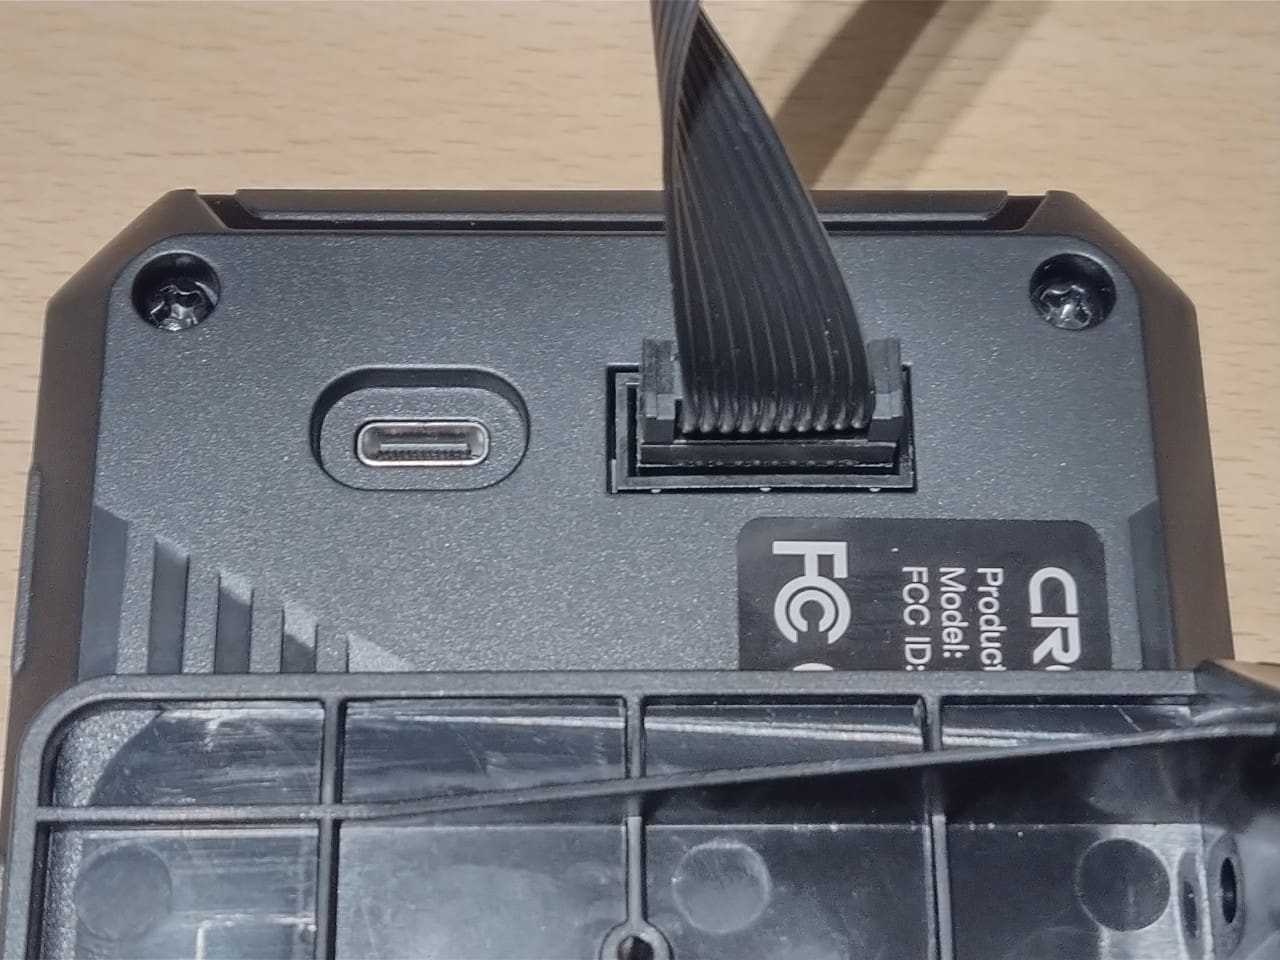
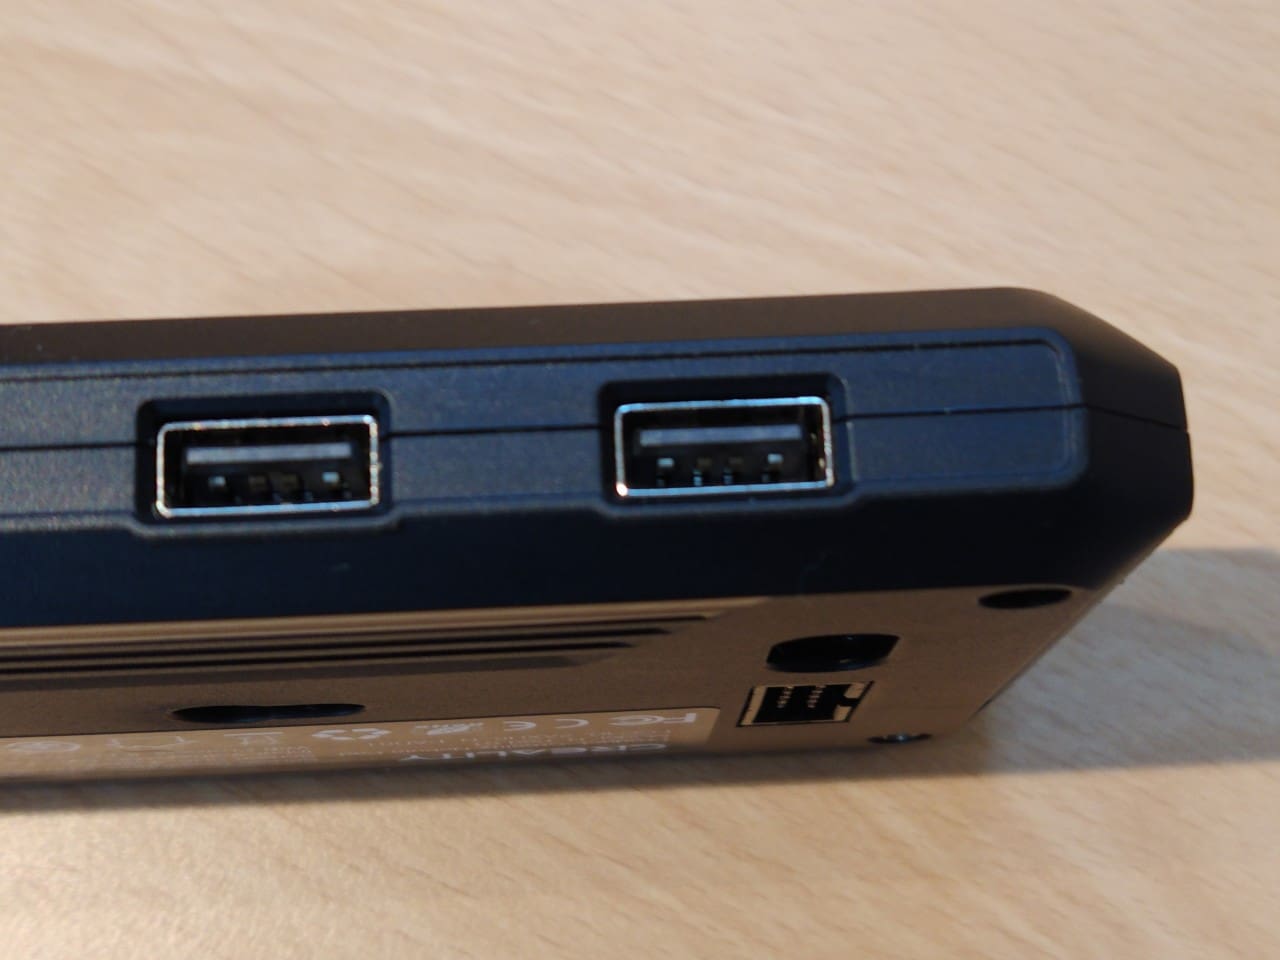
The mainboard with Klipper is located in the 4.3” colour display (Nebula pad), which is attached to the right-hand side of the printer. There are two USB-A ports in its housing, which can be used for the USB stick and the camera. There is a USB-C socket on the back of the pad for connecting … I don’t know, but USB devices cannot be connected here.
Pleasingly, the printer starts up in just 24 seconds, which is amazingly fast for a printer with a pre-installed Klipper and is certainly thanks to the — shall we say — “optimised” Klipper.

Processing quality
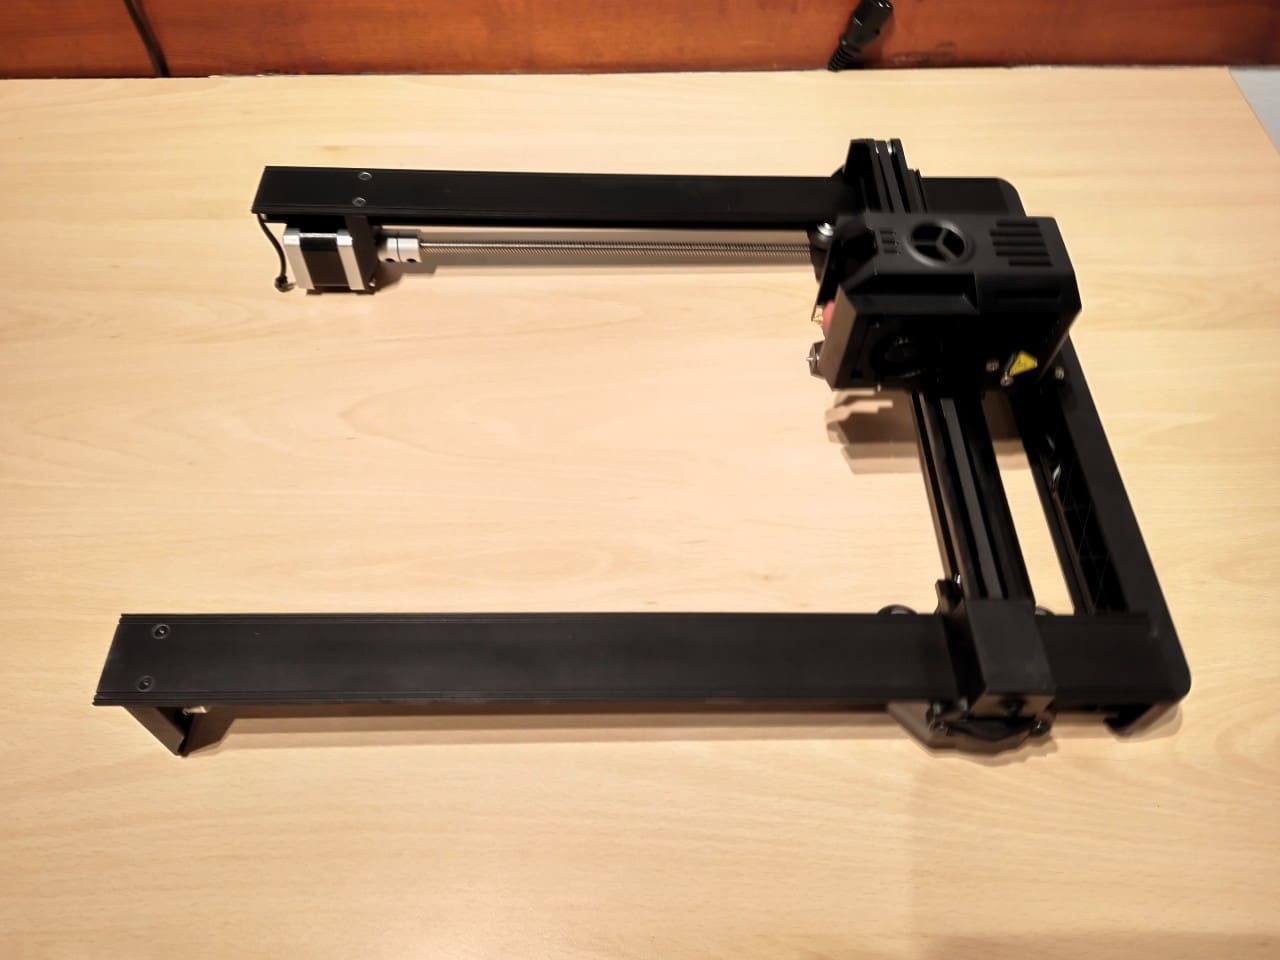
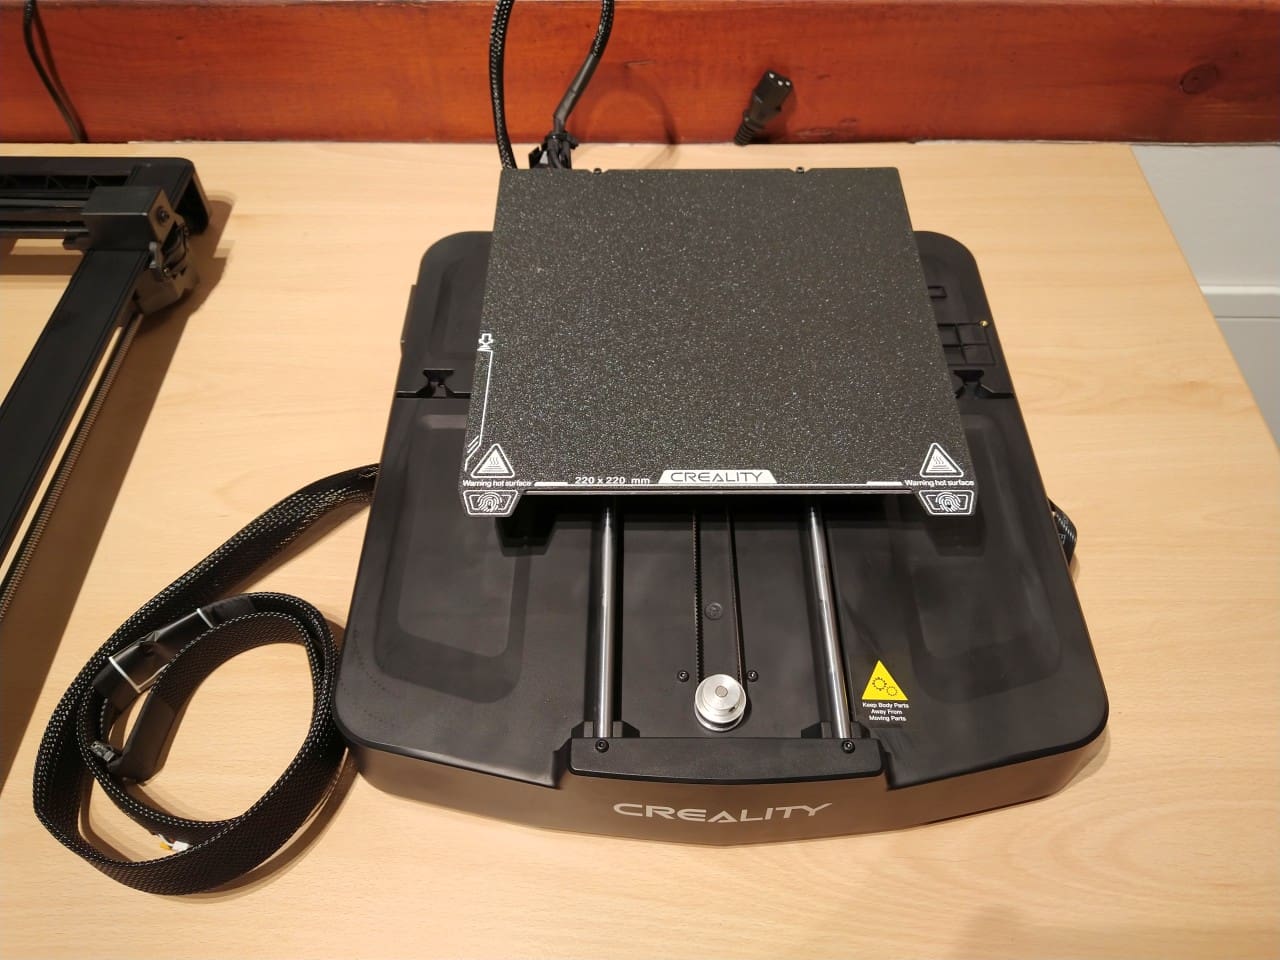
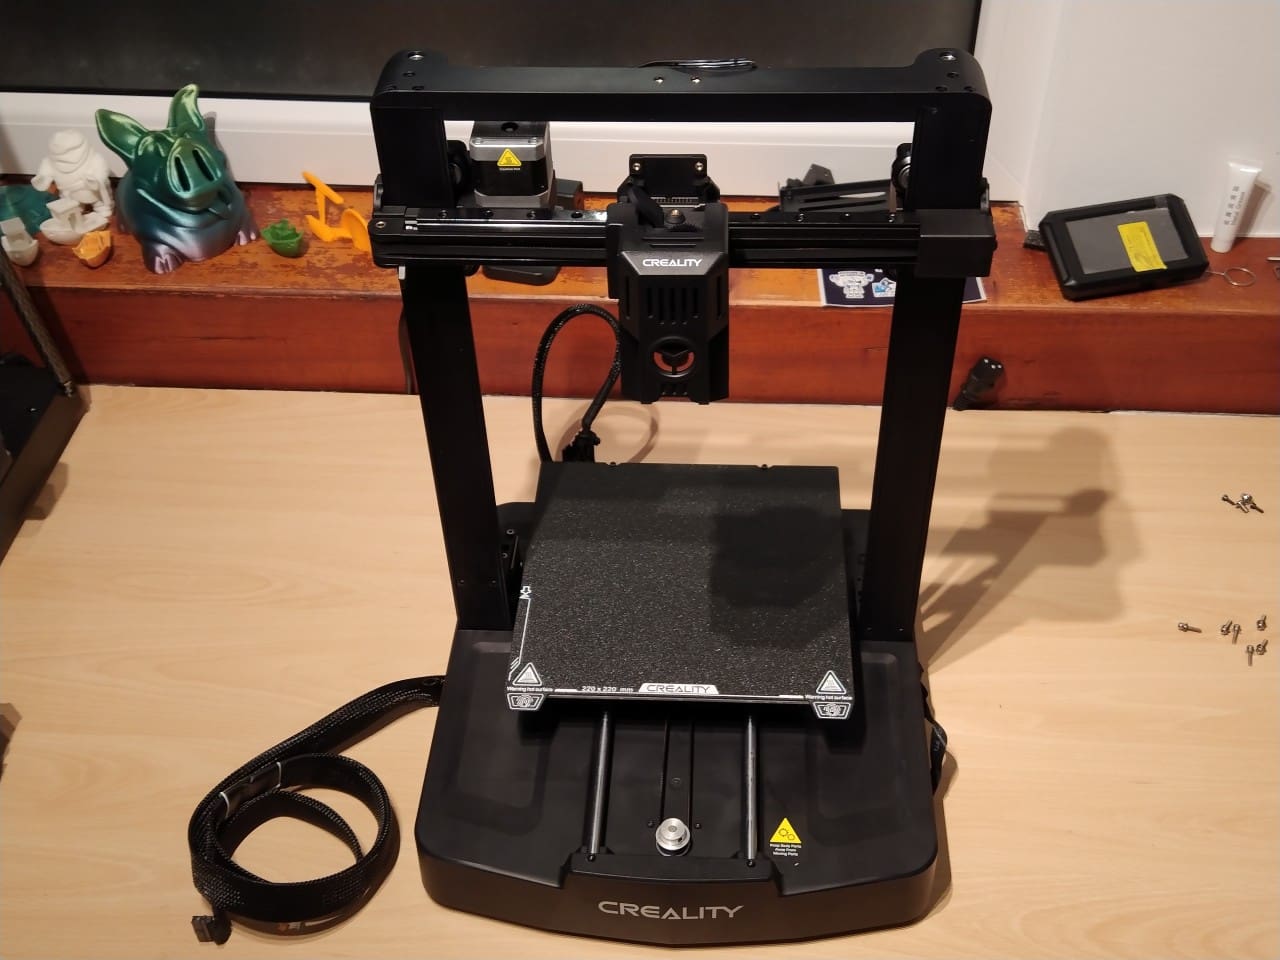
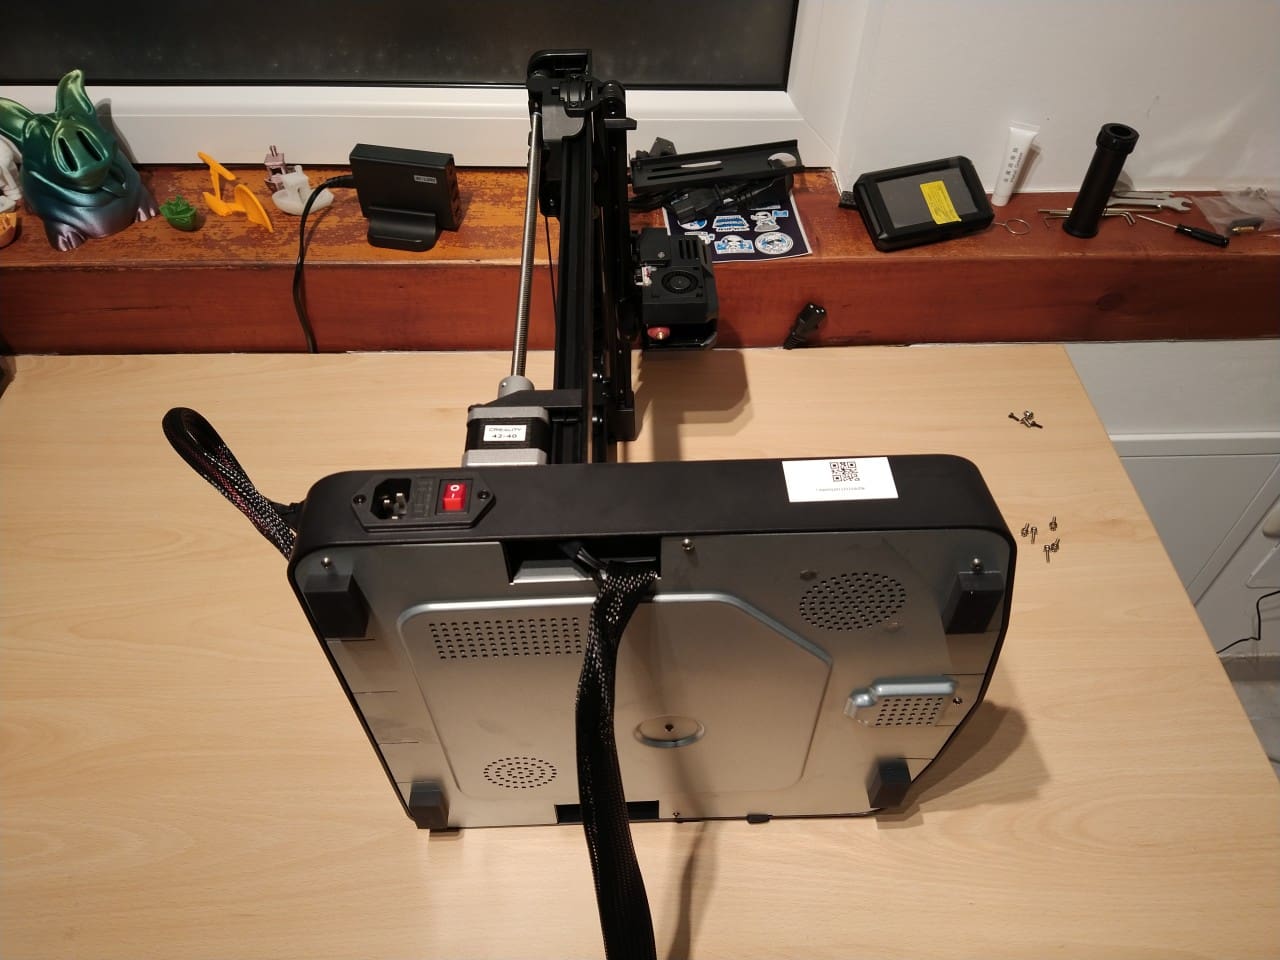
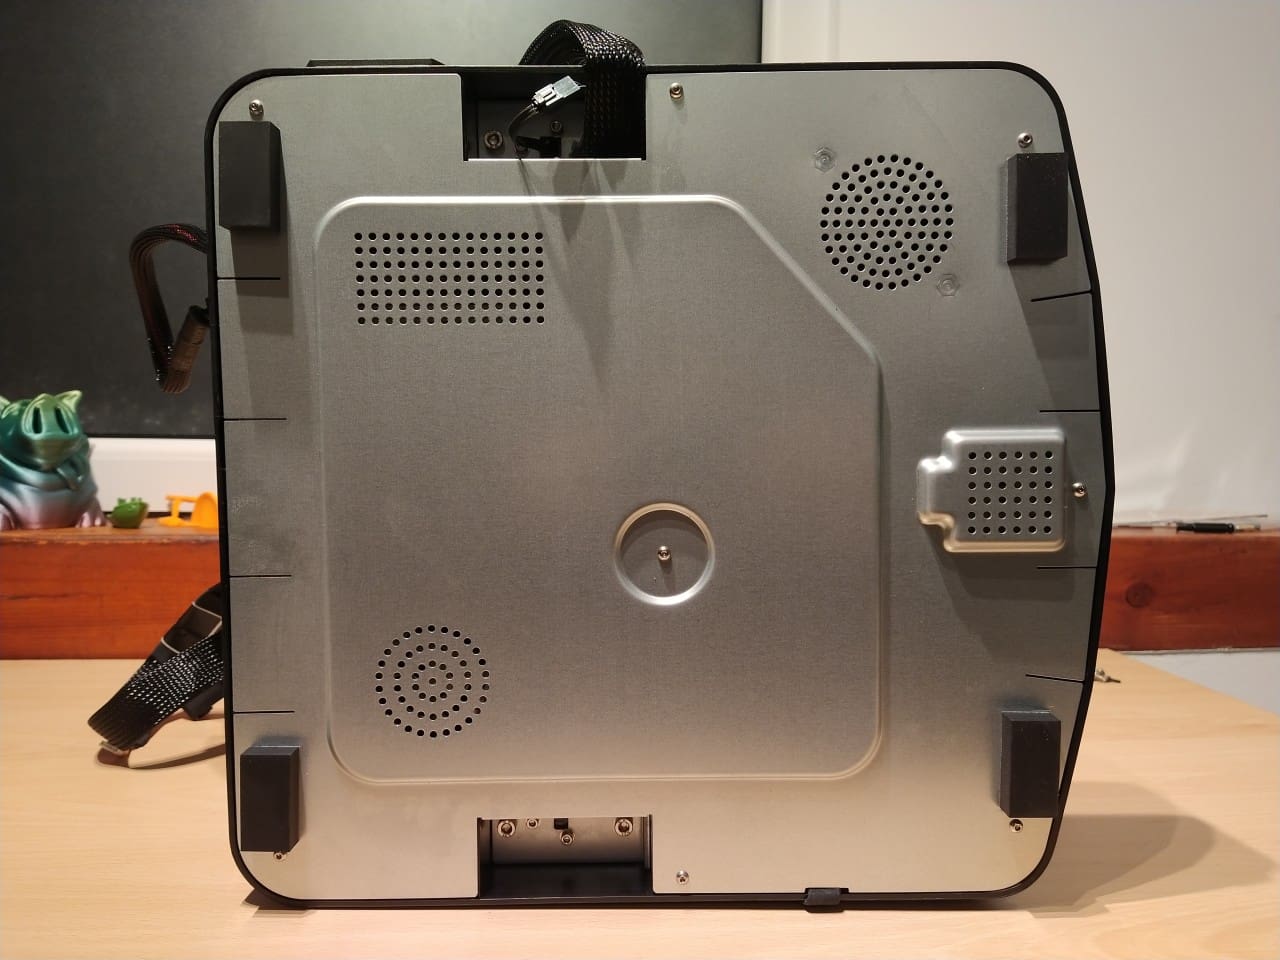
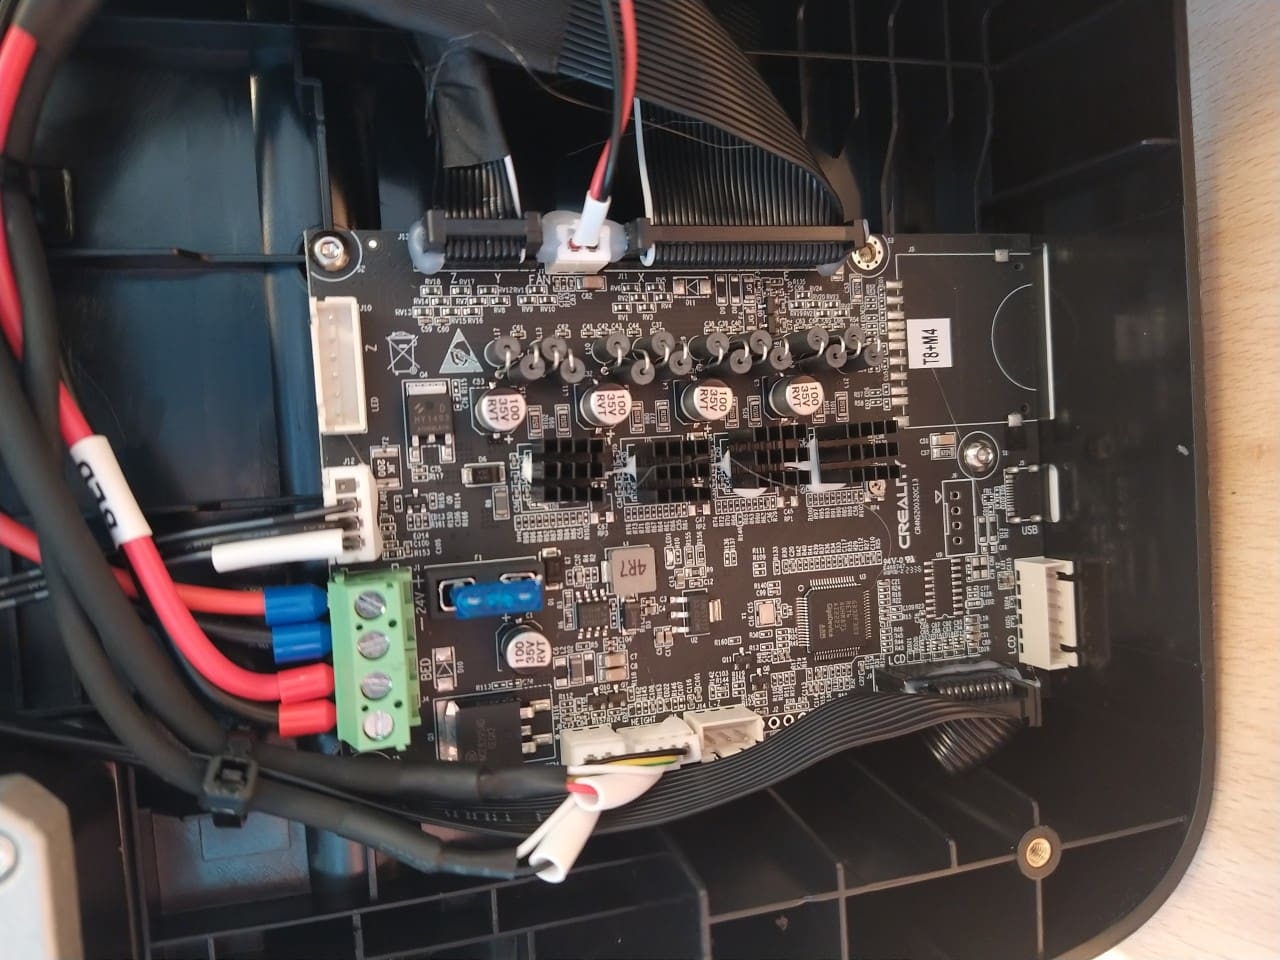
The Ender-3 V3 KE consists of two parts: the base with the main circuit board and the portal on which the print head is suspended. The base is made entirely of approx. 2.5 mm thick plastic, except for the base cover plate. This makes it very torsion-resistant. The use of plastic as a housing and even as load-bearing parts is now common for 3D printers.
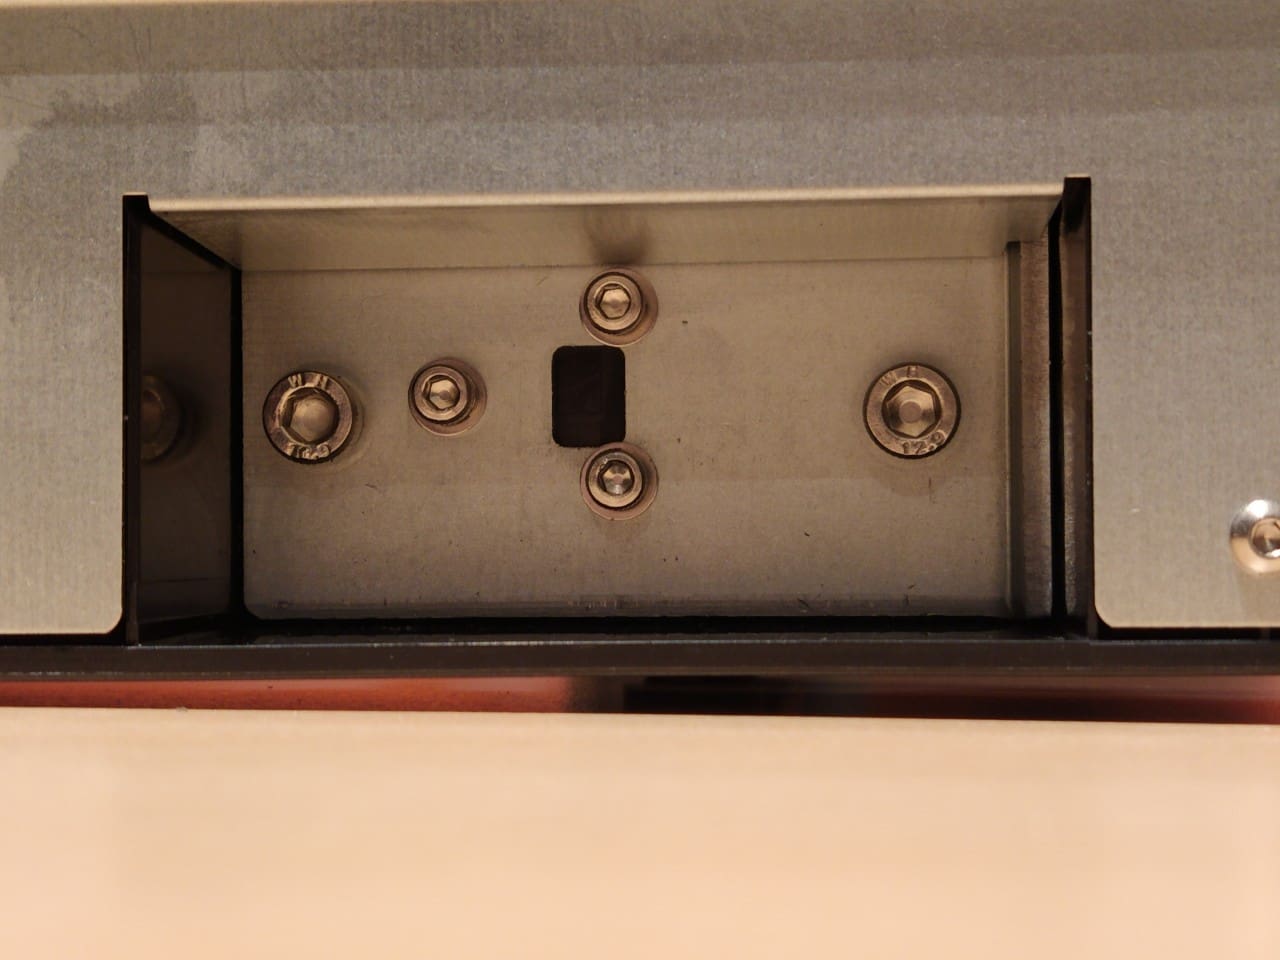
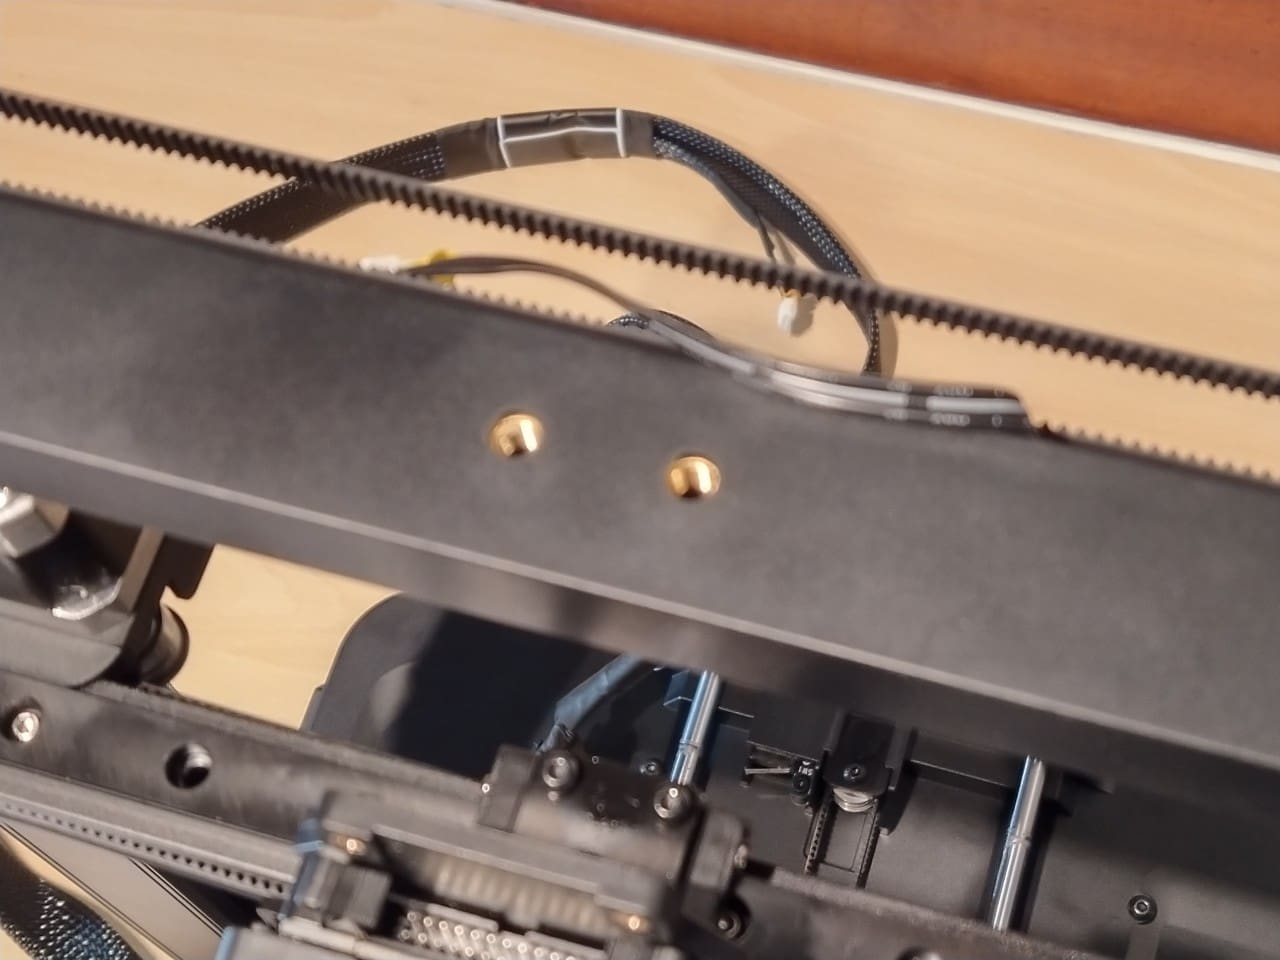
There is a metal strut in the base onto which the portal is screwed. The gantry consists of two vertical aluminium profiles, between which the Y and Z axes are located on a stable linear axis. The upper crossbeam, which holds the filament roll, is made of plastic.
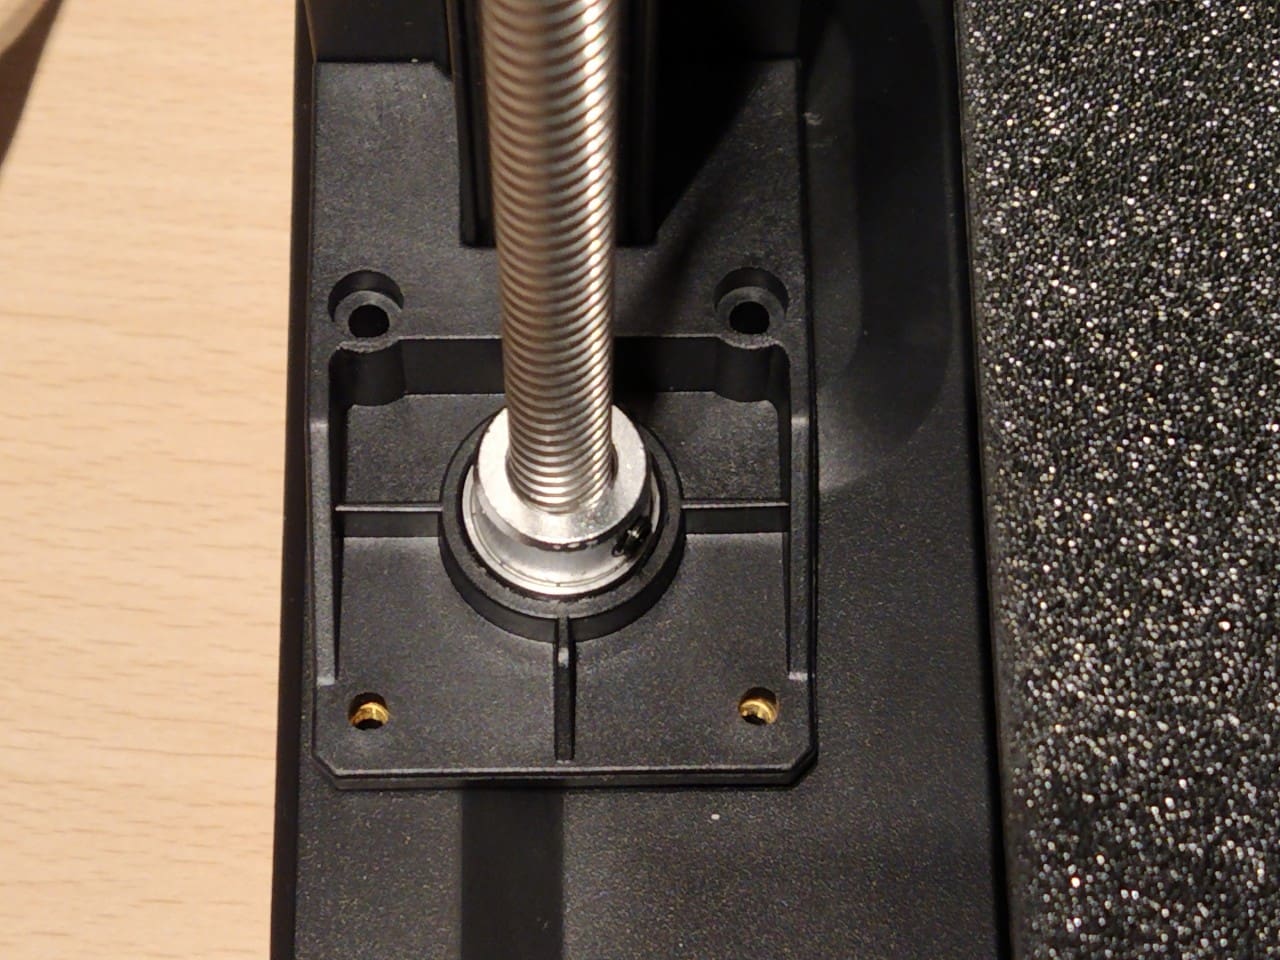
Everything makes a flawless, high-quality impression. I am very pleased that all the housing screws have metric threads and are screwed into the solid plastic housing with brass sleeves. I have experienced this much worse with much more expensive printers, where self-tapping screws were screwed directly into the plastic.
Design
Very few i3 high-speed printers in the sensitive price segment are design icons. That’s not what the Ender wants to be, that’s not its intention, and so all its design features follow a specific function. Hidden cables or cover caps in accent colours and other bells and whistles are nowhere to be found. Nevertheless, the printer has a clear design language dominated by smooth black surfaces.
Space requirement
Depth
The Creality Ender-3 V3 KE takes up approx. 57 cm in total depth with the maximum bed movements. However, the desk only needs to be 50 cm deep if the housing is flush with the edge of the desk and the cable of the heated bed is not bent too much against the wall. In this case, the bed extends slightly beyond the table.
Width
The printer requires a width of approx. 50 cm including the display, supply cable to the print head and mains cable.
Height
The height is 49 cm without the roll holder fitted, 67 cm with the roll holder and approx. 75 cm with the roll in place

Power consumption
- Idle mode: 8.4 watts
- 45 degree heating bed, 230 degree nozzle, 300 mm/s, Hyper-PLA = approx. 105 watts
- 60 degree heating bed, 210 degree nozzle, 100 mm/s, PLA Silk = approx. 150 watts
- 60 degree heating bed, 210 degree nozzle, 200 mm/s, PLA = approx. 155 watts
- 60 degree heating bed, 230 degree nozzle, 300 mm/s, Hyper-PLA = approx. 165 watts
- 80 degree bed, 250 degree nozzle, 500 mm/s, PETG = approx. 300 watts
The printing hour with PLA, which most users will use, therefore costs 4.5 cents at 30 cents per kilowatt-hour. The main consumer is, of course, the heating bed.
The faster a printer can print, the lower the electricity consumption. However, this also requires more expensive hyper filament. The Kingroon filament, which I have printed with the Ender-3 V3 KE at up to 150 mm/s without any problems, is cheaper.
Speed!
However, the time saved through fast printing is not linear, depending on the print object. Printing at 300 mm/s is not three times as fast as printing at 100 mm/s, but perhaps only 30% faster. But still! Time really is money here!
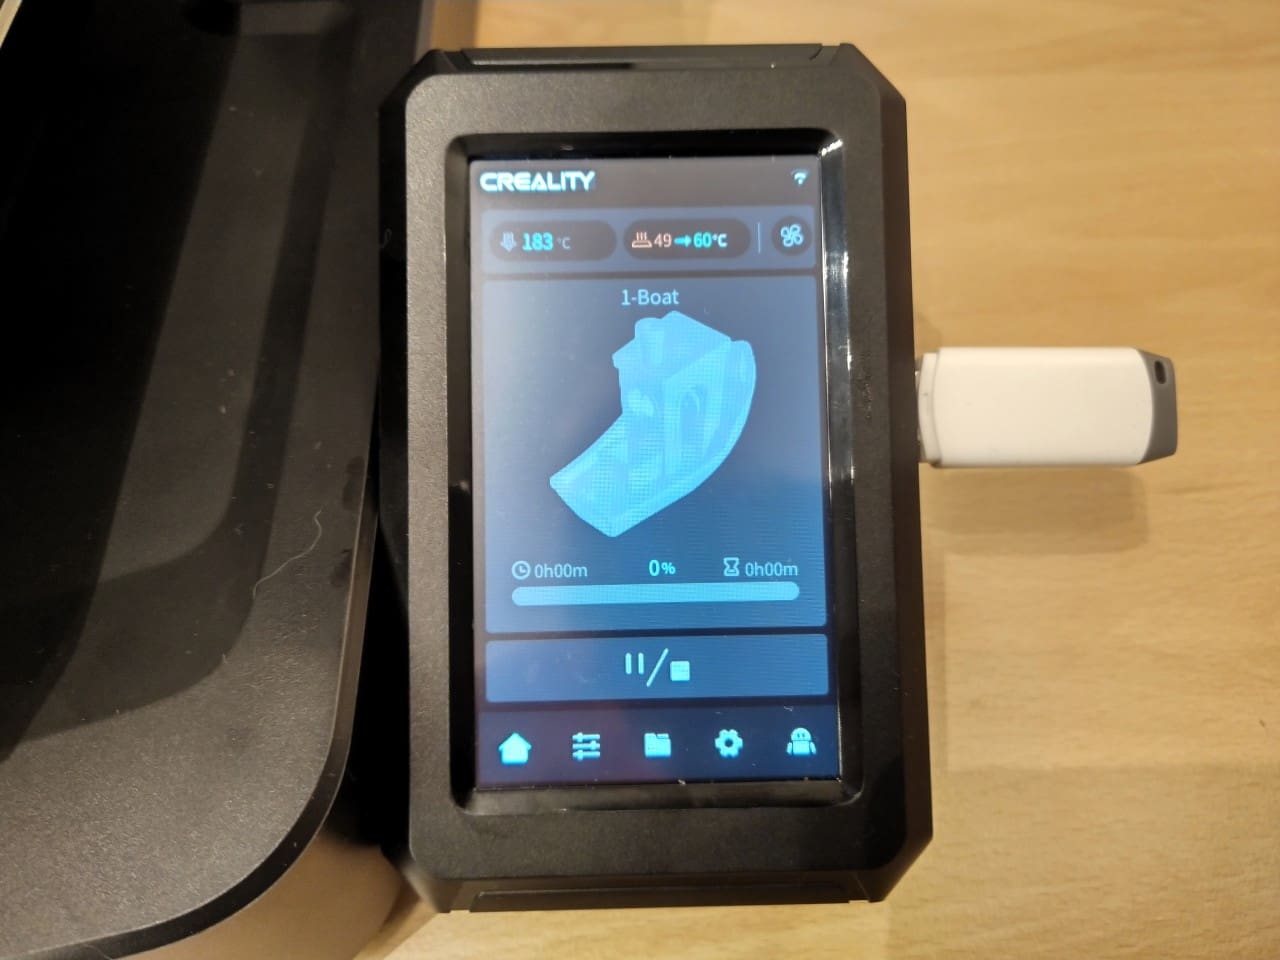
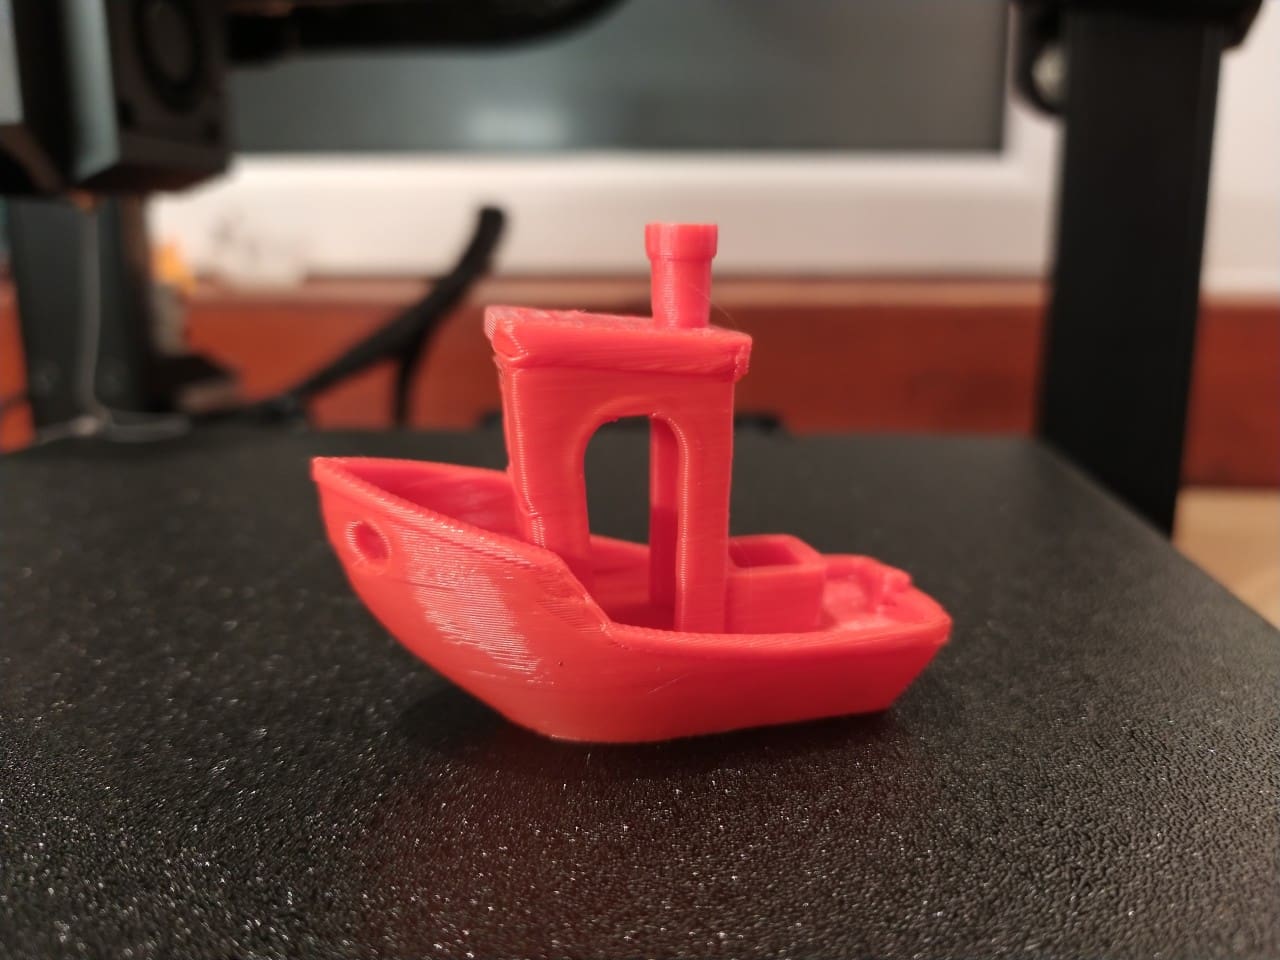
The speed depends on many more factors than the maximum printing speed. It is therefore not possible to draw conclusions about the performance of the device from the specified values for print speed and acceleration alone. There is a standardised print object that is difficult to print, the small boat Benchy.
Benchy printed in real time with the Creality Ender-3 V3 KE
Print quality
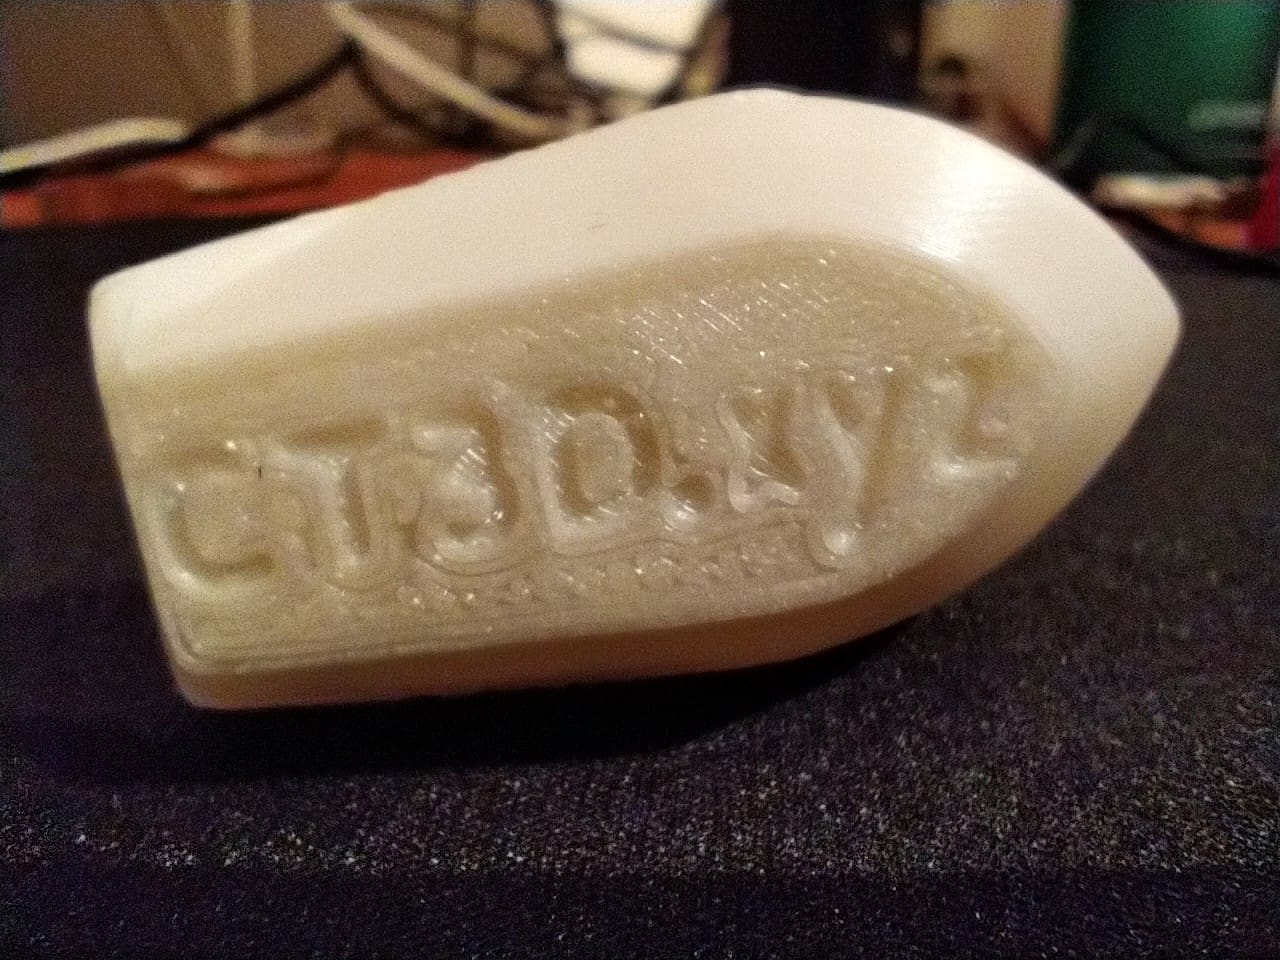
Nowadays, every manufacturer includes a high-speed benchmark on a USB stick with its fast printers for printing. These benchmarks are supposed to be comparable. However, the GCode of these files is optimised by hand so that the printer can print the benchmark as quickly as possible and in the best possible quality.
Creality states a print time of just 15:09 minutes, which is a superb value. The printer therefore prints much faster than you would expect from the key data. However, the included Benchy only managed a time of just under 19 minutes on my end. But this is normal because I have never experienced a printer that completed the benchy in the specified time.
Creality Hyper-PLA
I ran the benchmark with different filaments. As was to be expected, the quality with the original Hyper filament from Creality was absolutely superb. No benchy can be printed absolutely flawlessly, that’s the whole point. But the V3 KE comes amazingly close to flawlessness! Chapeau!
Kingroon PLA
As expected, the print quality with cheap standard filament is not as good. But even with this, the Creality Ender-3 V3 KE still manages excellently. A fast benchmark should actually look much worse with such filament.
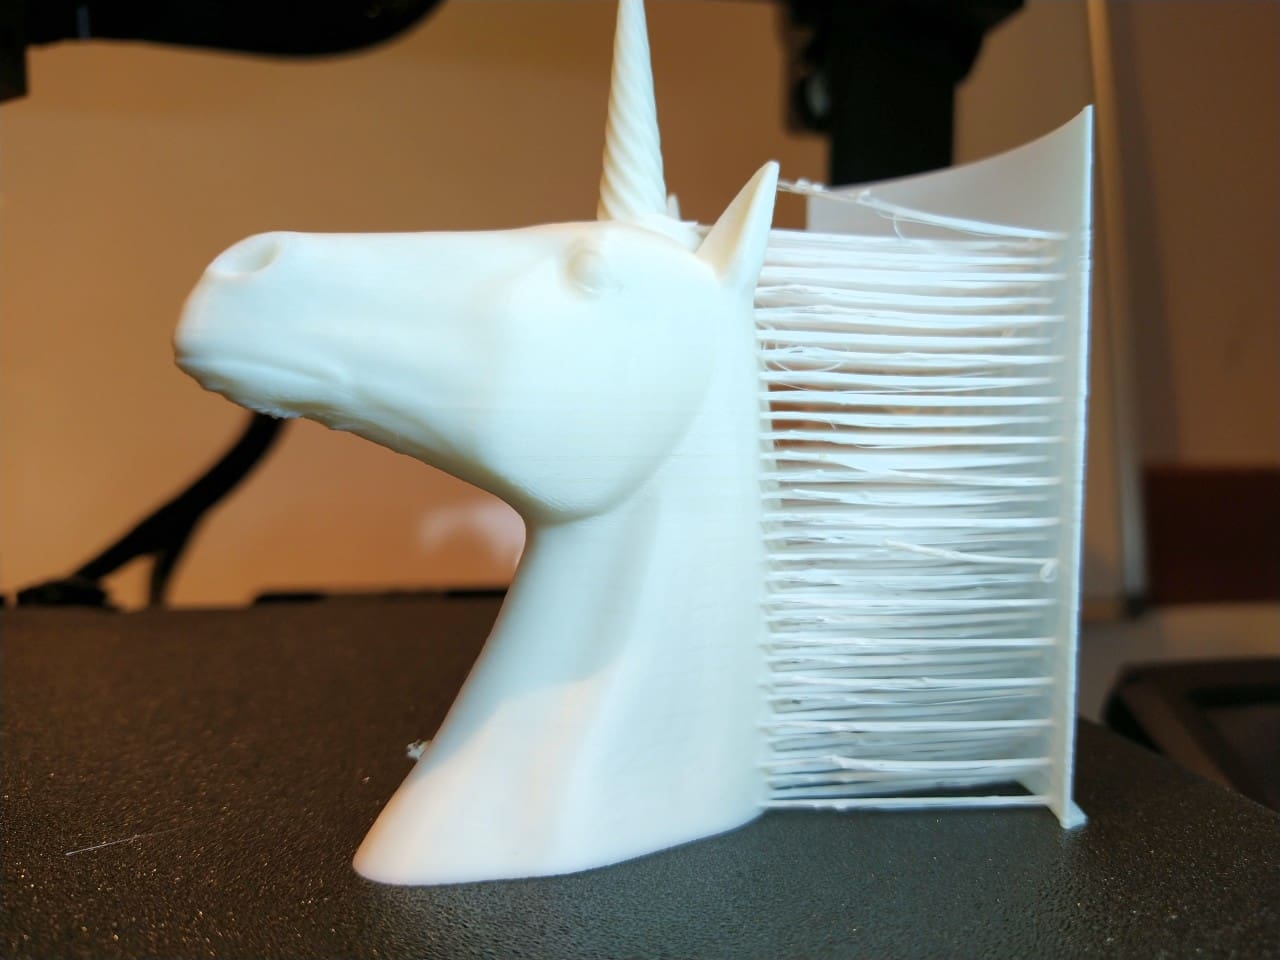
Rüdiger
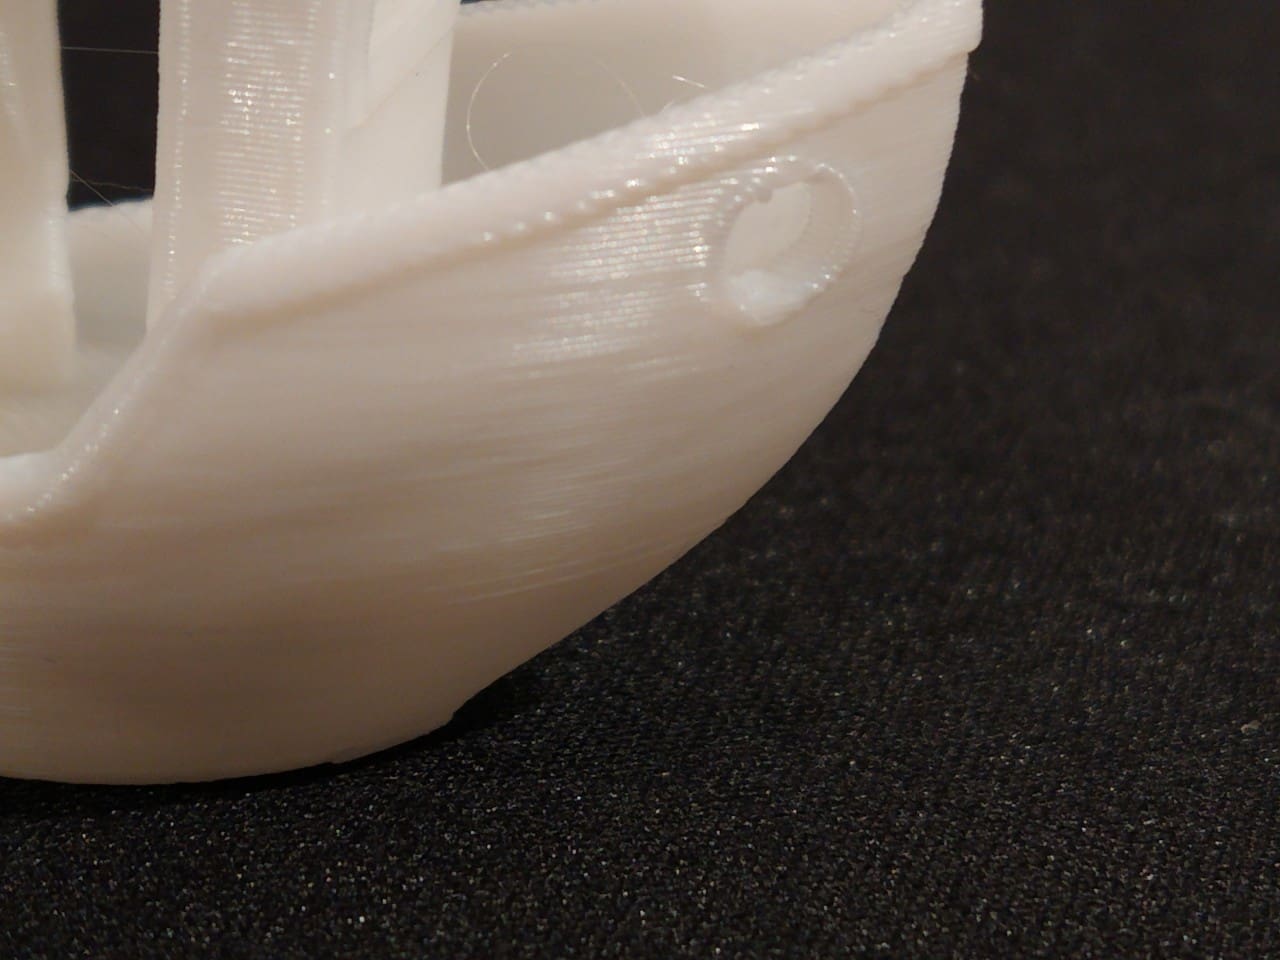
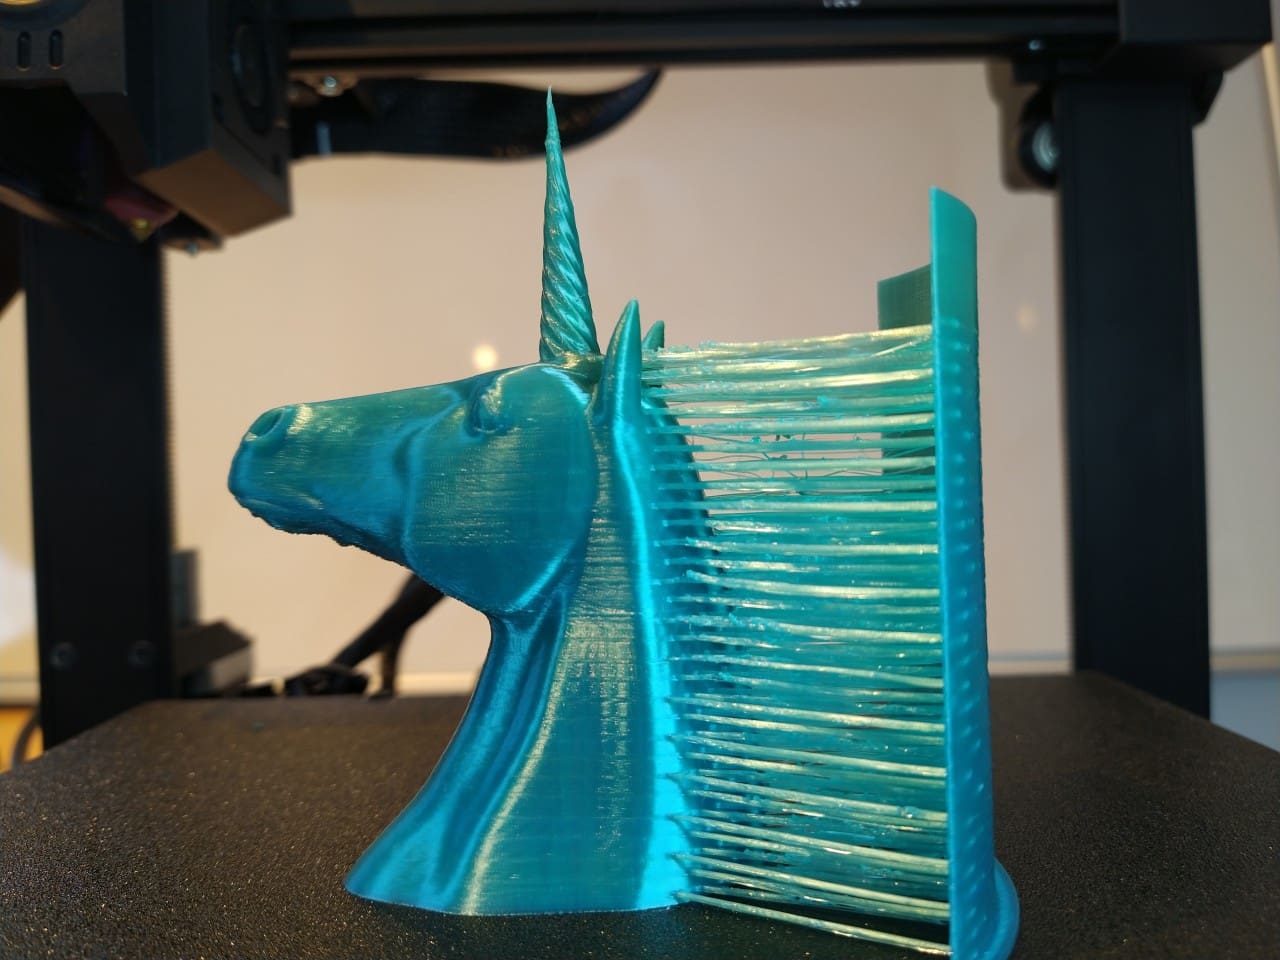
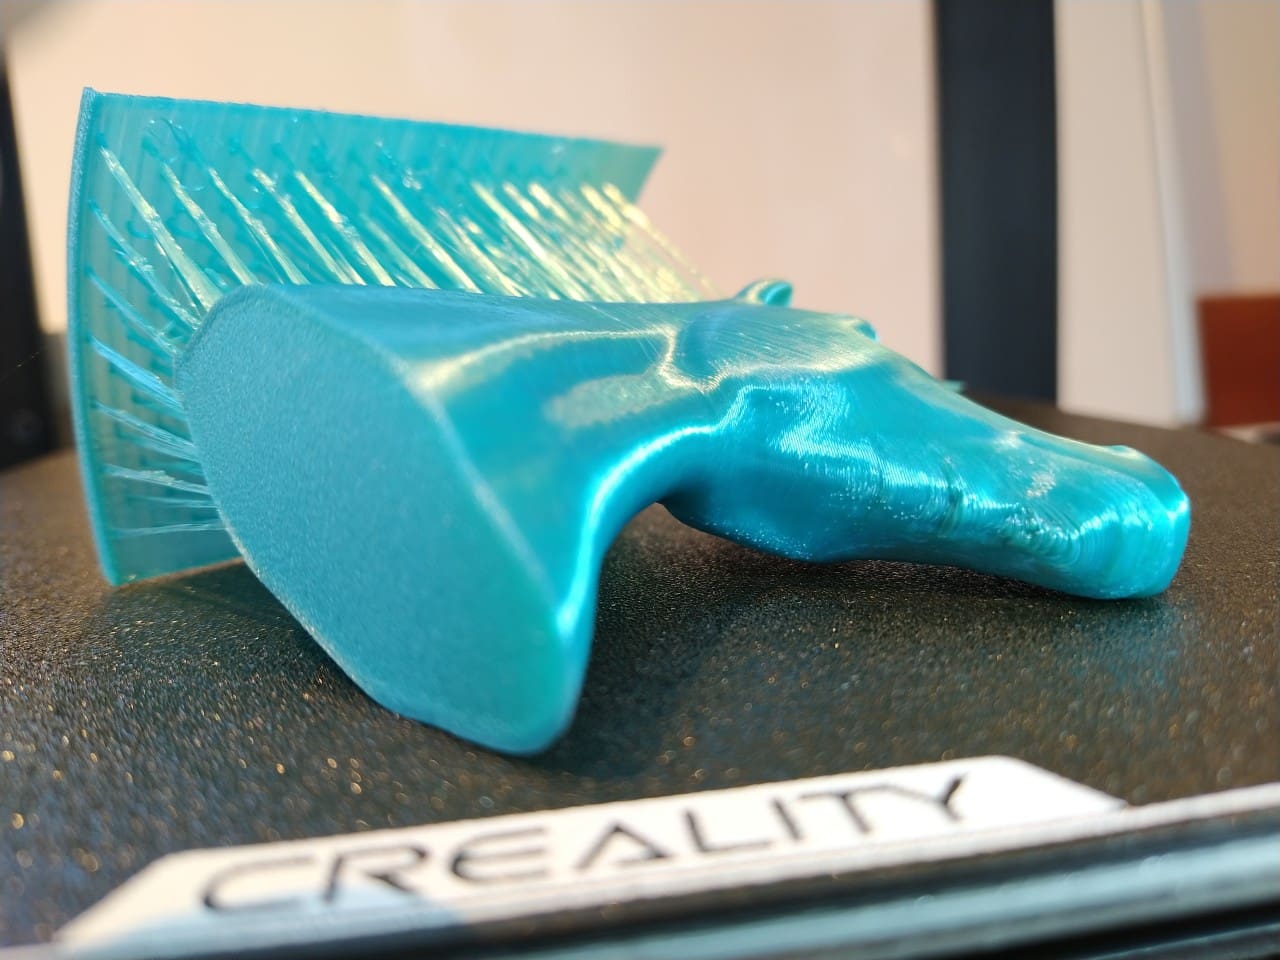
I like to use Rüdiger as my personal benchmark. Rüdiger is actually called “Hairy Unicorn” and was designed by Geoffro. Here I have many things that are important to me: smooth surfaces and normal and very long overhangs.
Geeetech Silk PLA
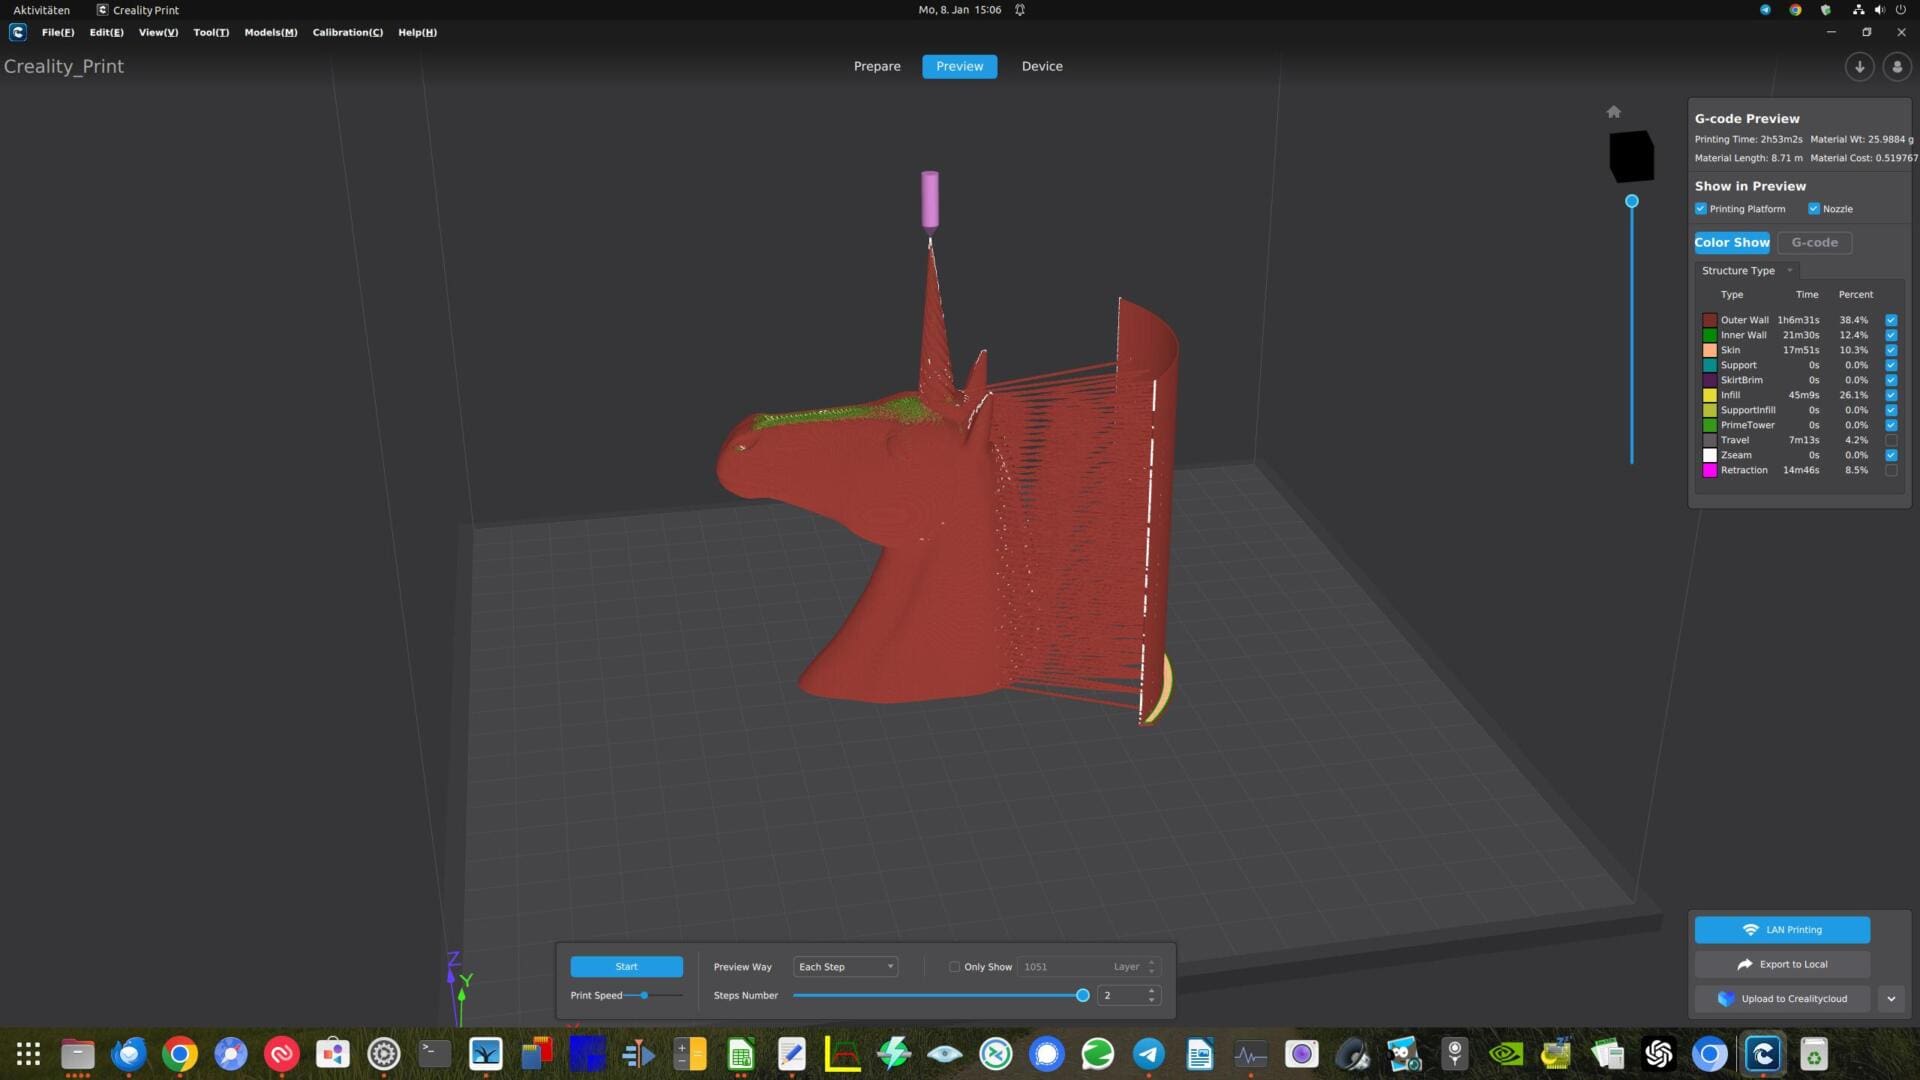
If you print Rüdiger with a layer height of 0.1 mm, i.e. fine details, with Silk PLA at 100 mm/s, the Creality needs 2:53 h for this. That’s a good time. The result is so-so. Ghosting and blobs are visible. But the material isn’t exactly grateful either. Next time I would try a lower temperature.
But that’s complaining on a high level. The print is usable for me.
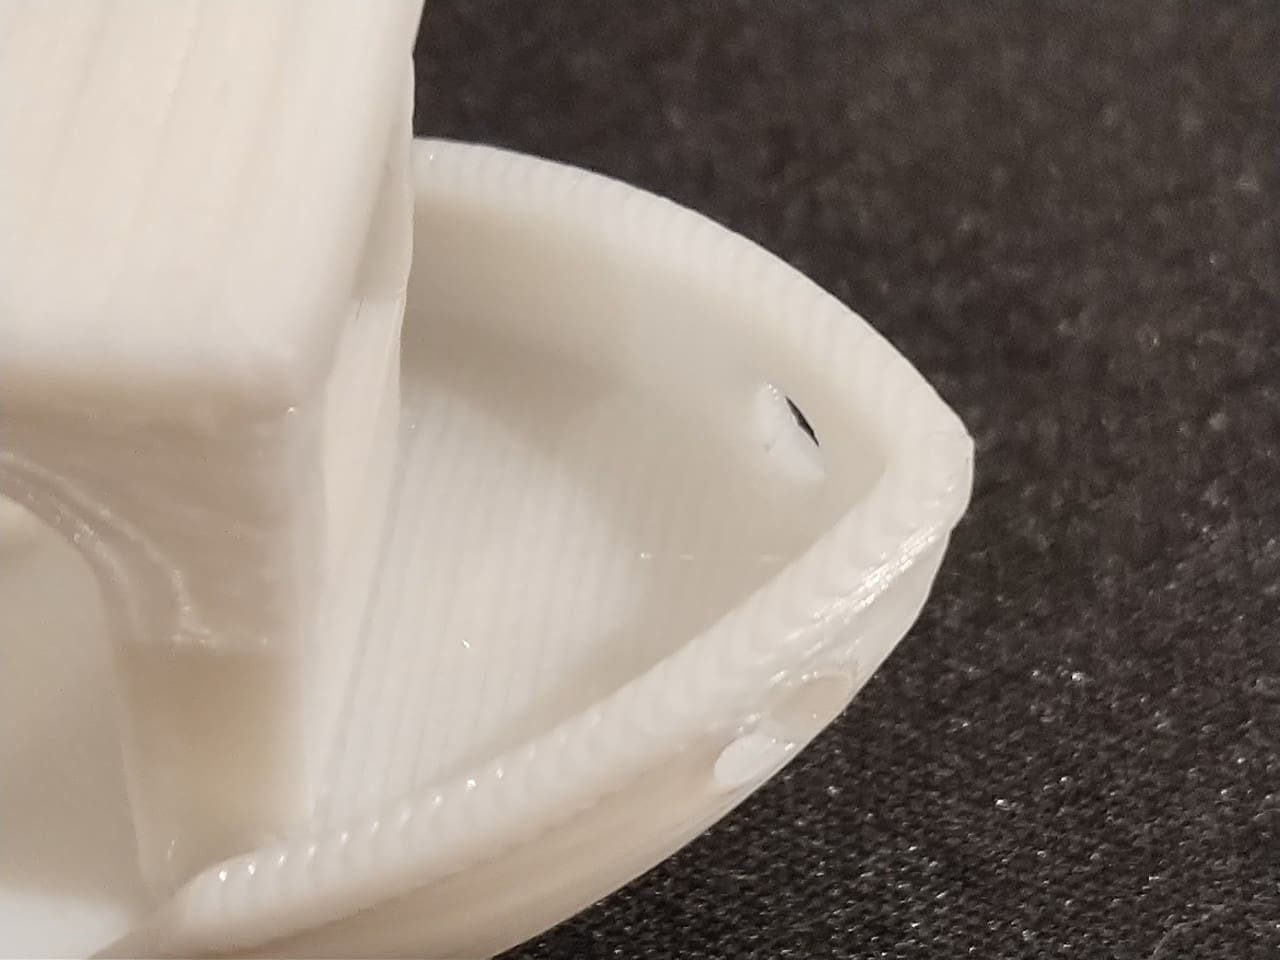
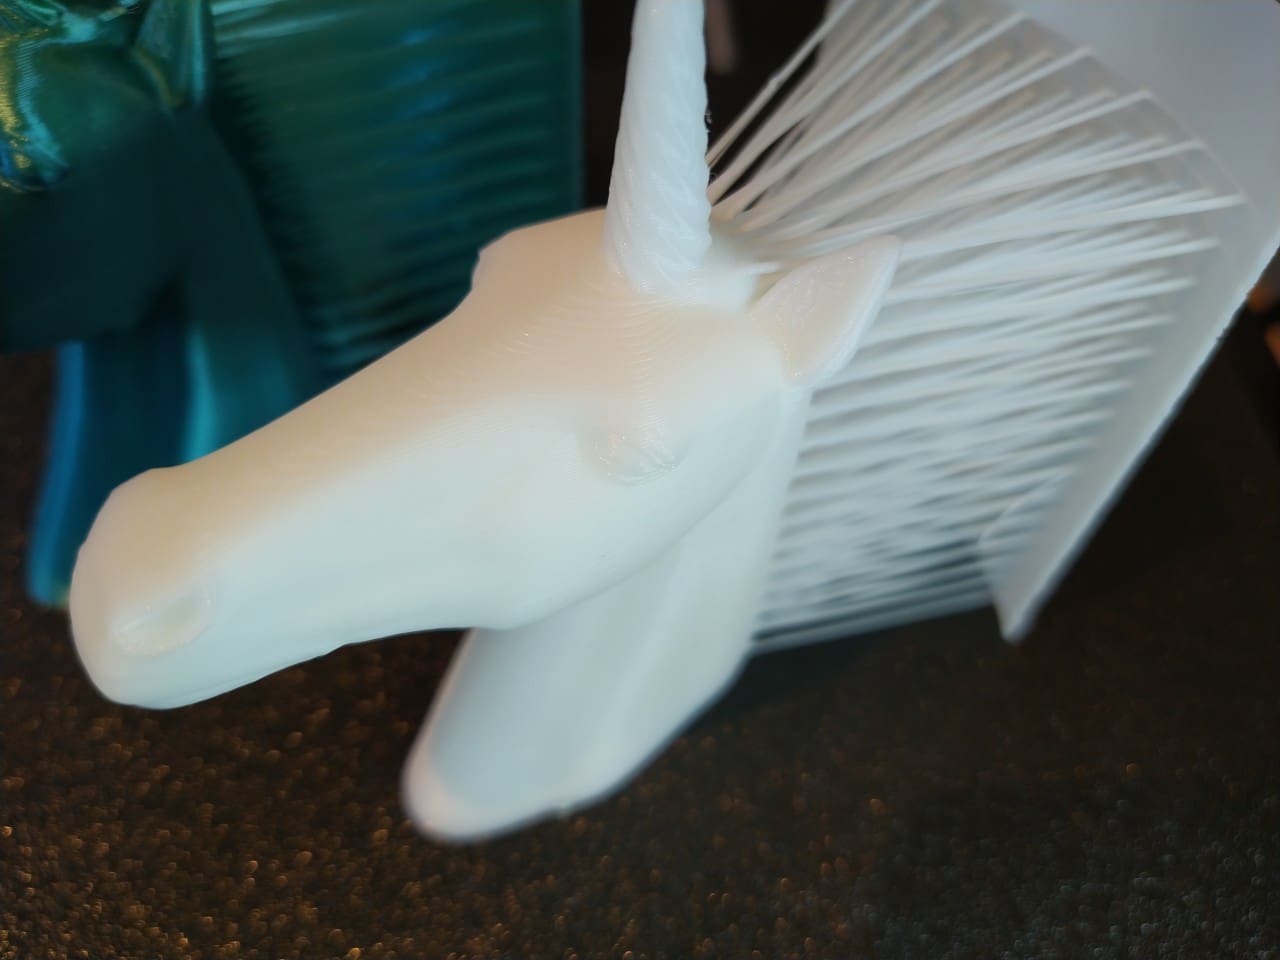
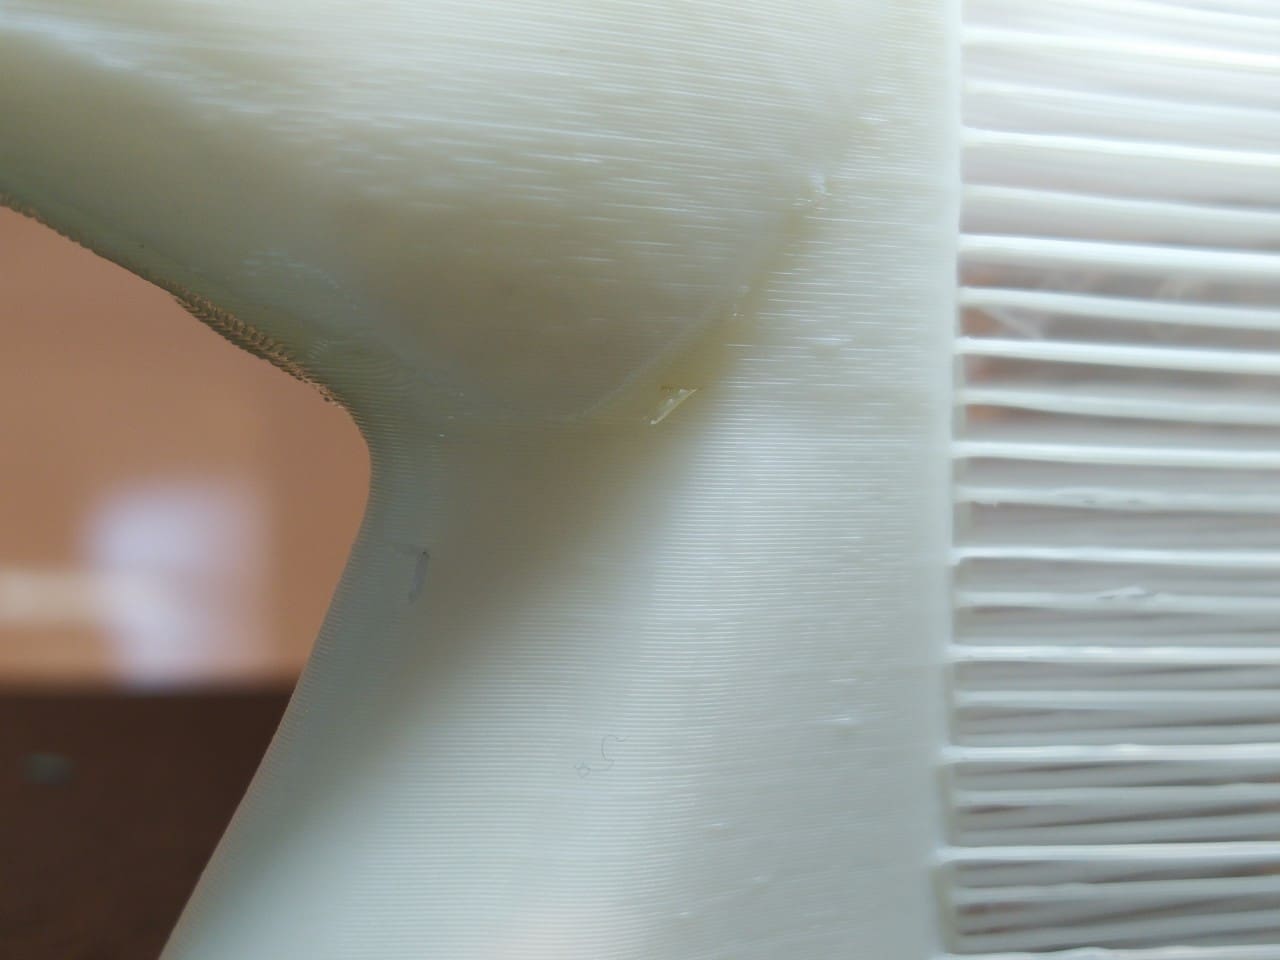
Creality Hyper PLA
With the white Creality Hyper PLA, the V3 KE only needs 1:23 h at 300 mm/s, less than half the time. I really like the matt finish of the off-white colour. However, the colour and the low gloss level also forgive mistakes. I think the result is excellent for such a fast print. I am very satisfied.
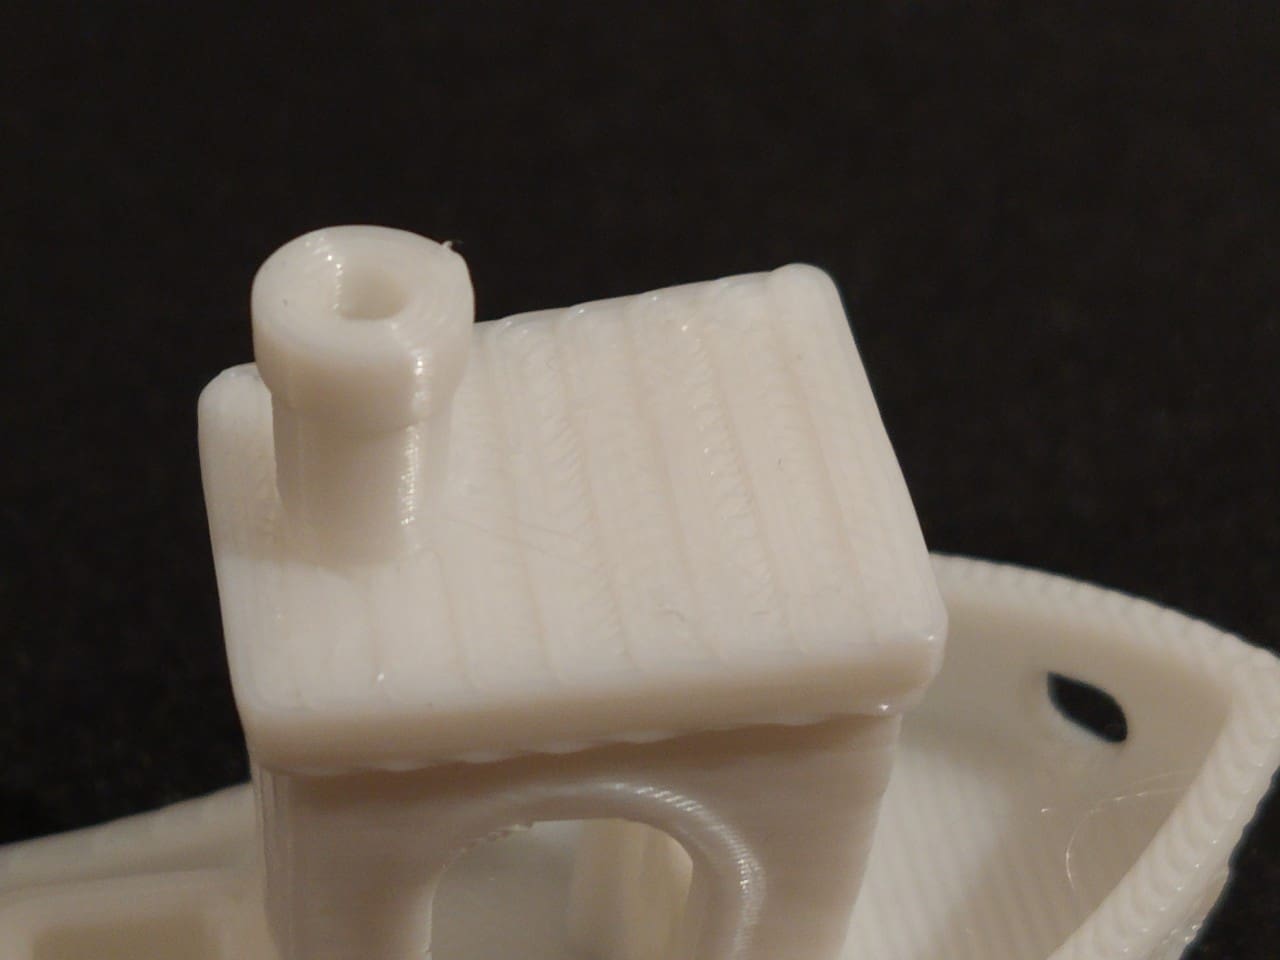
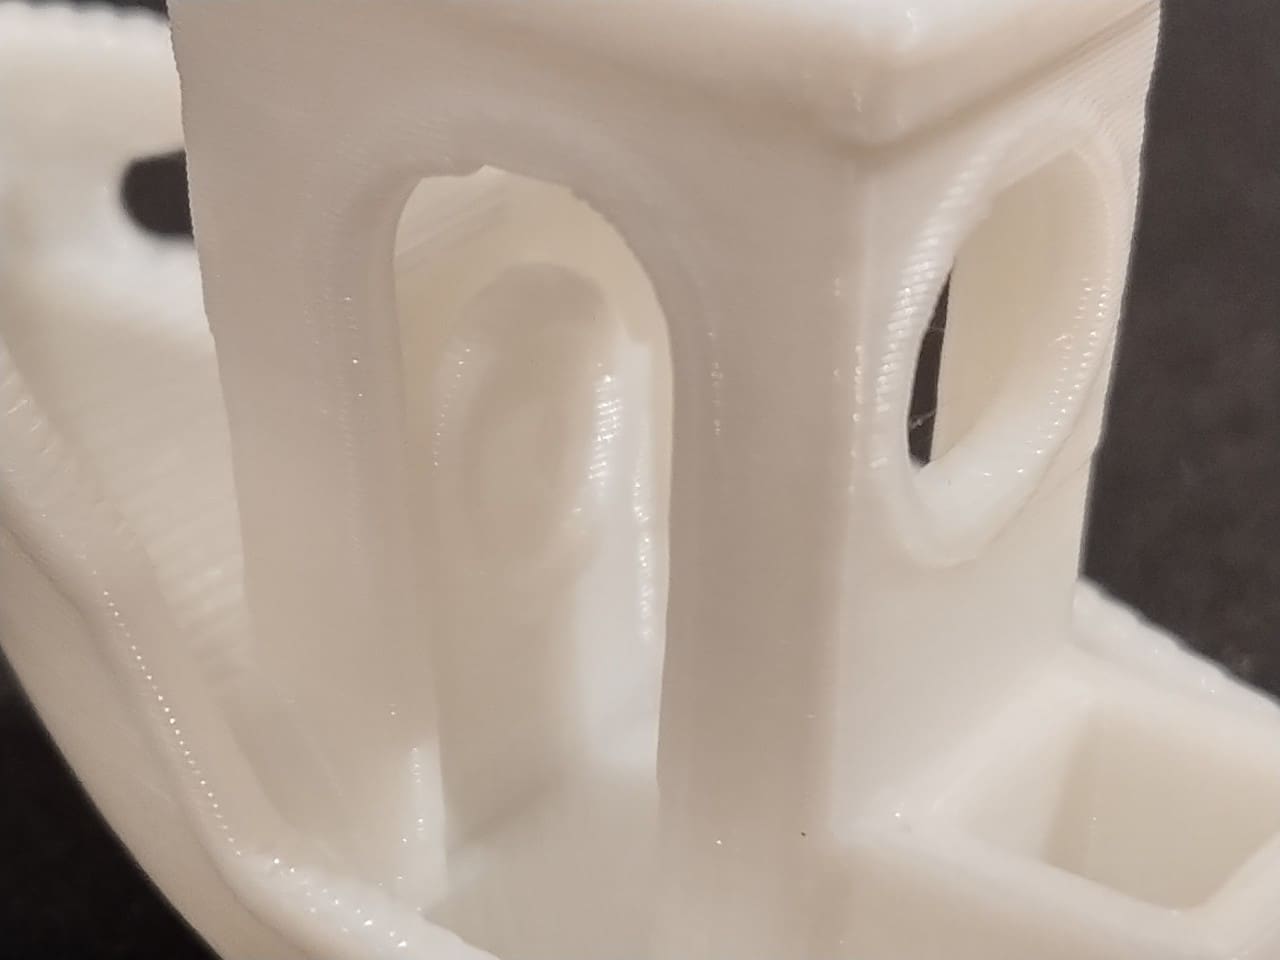
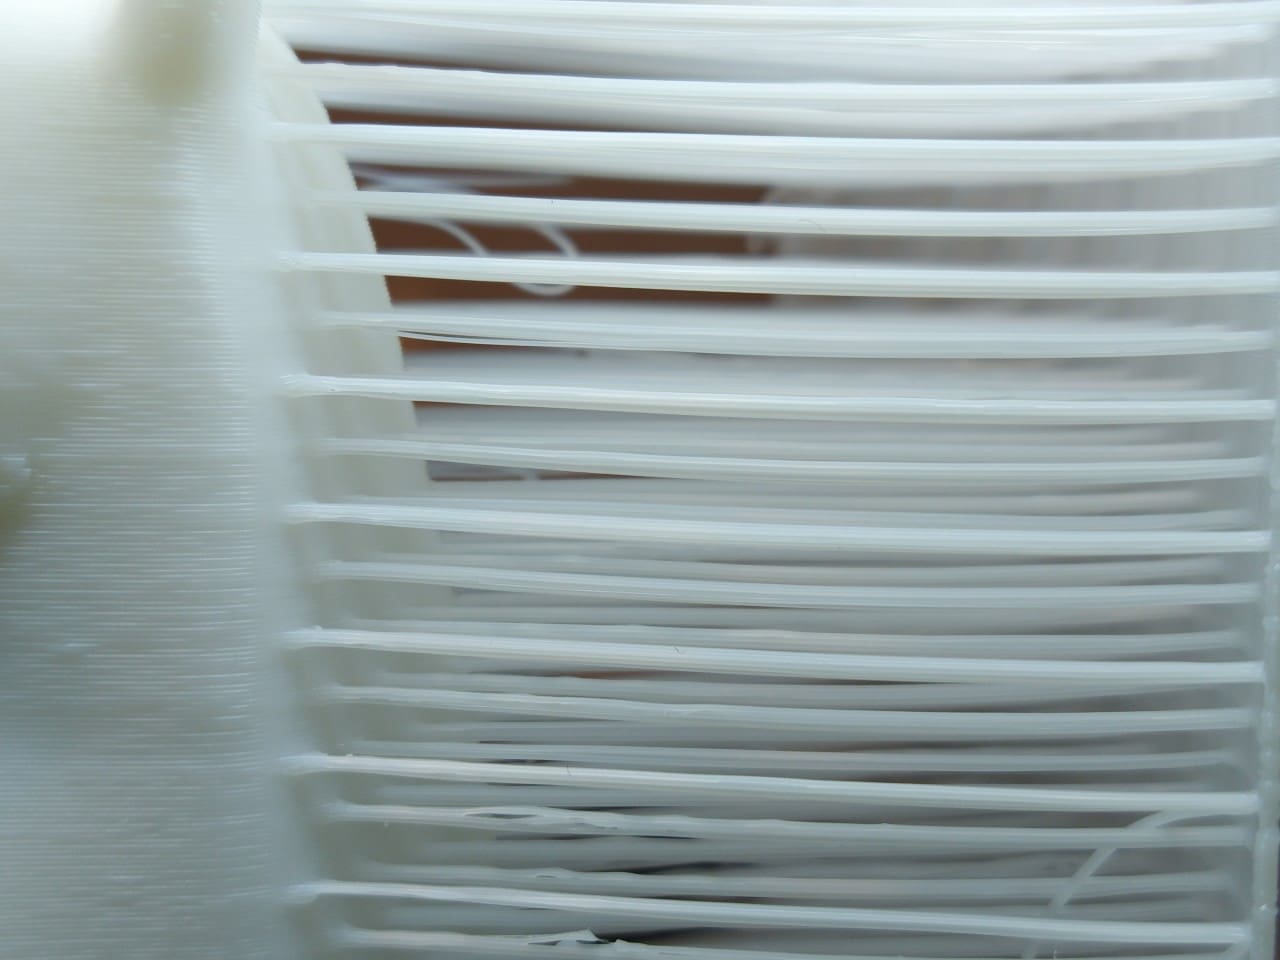
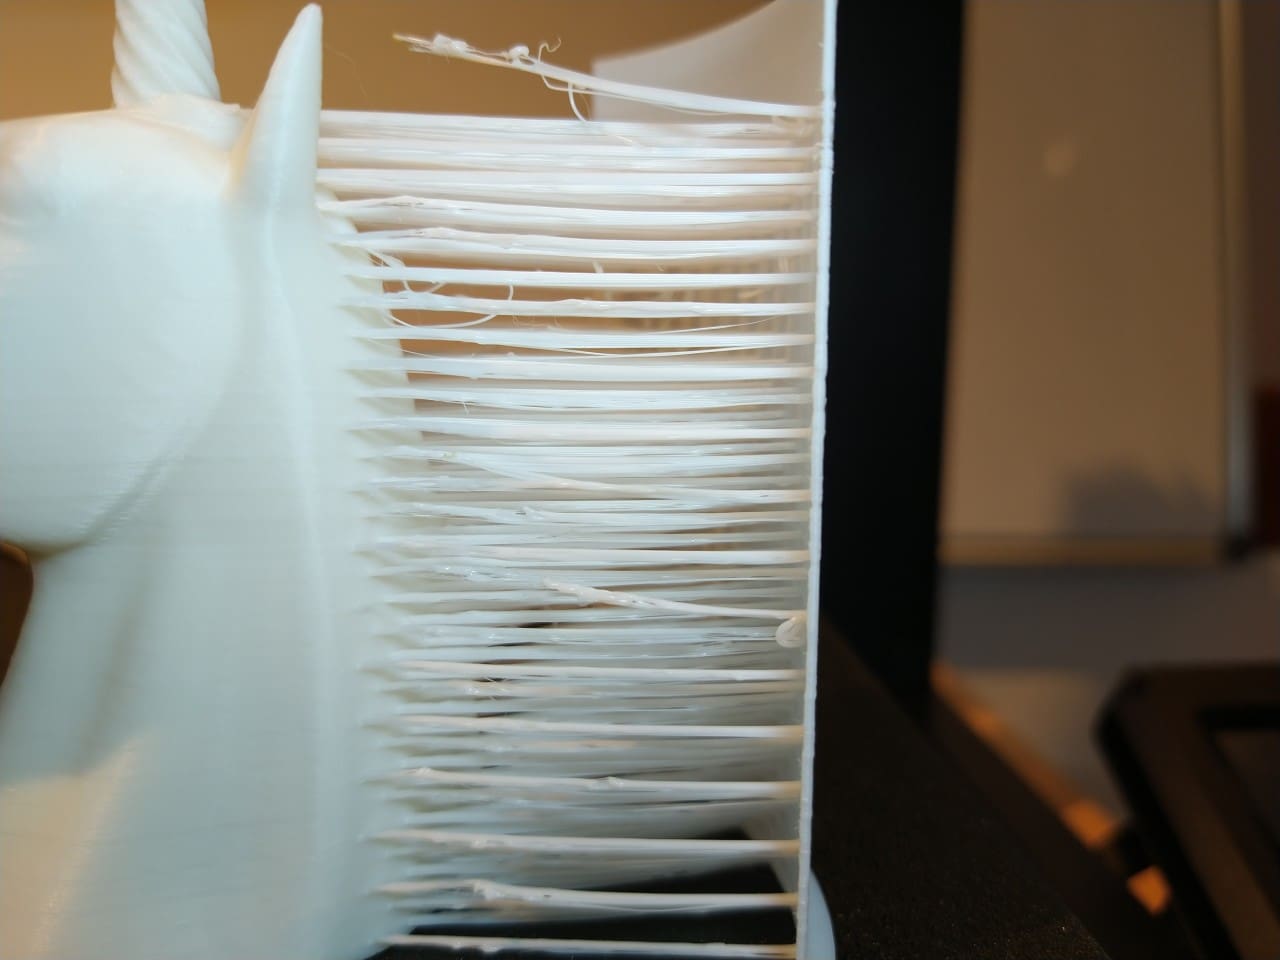
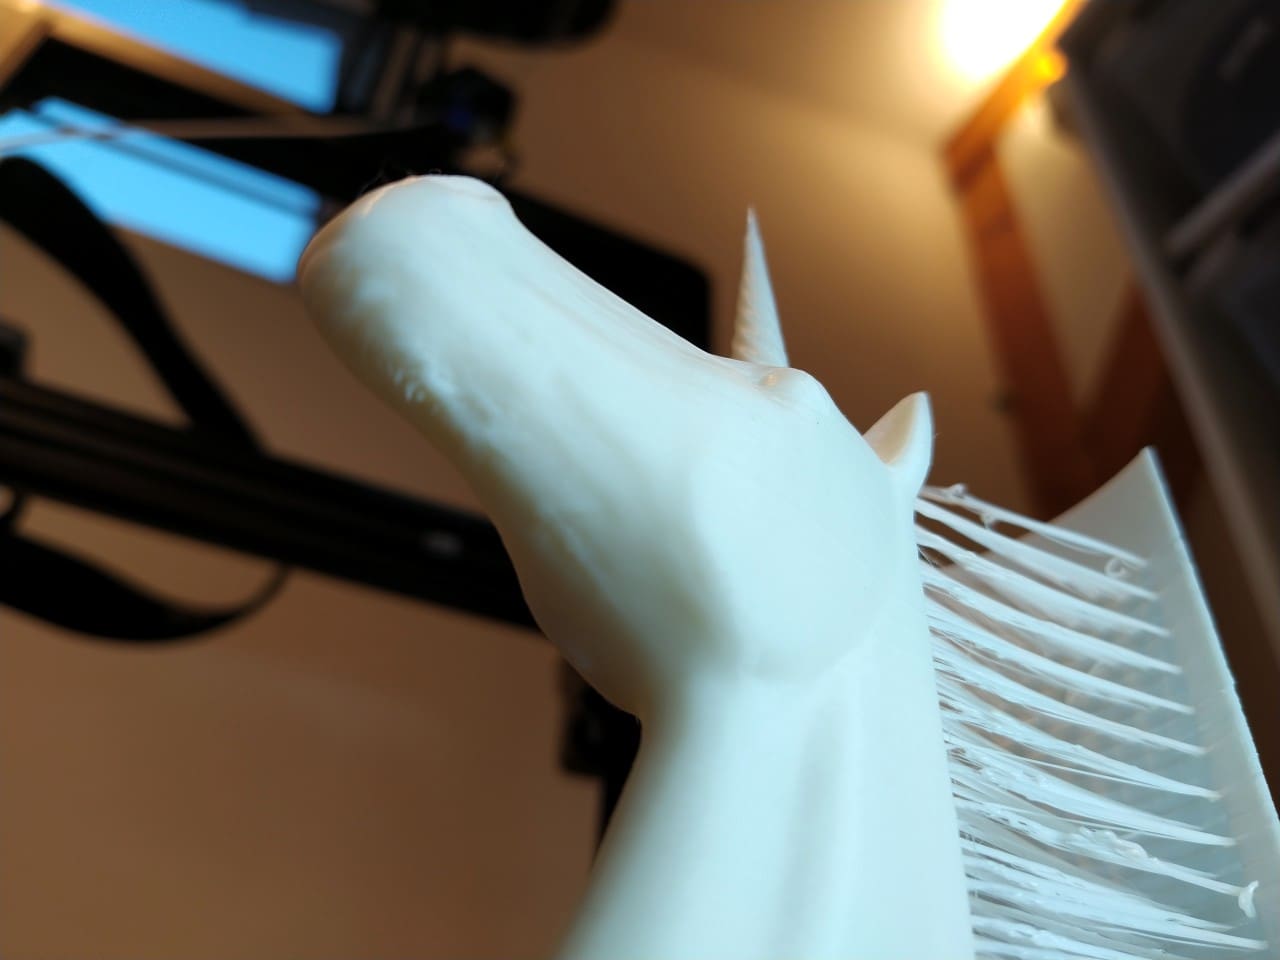
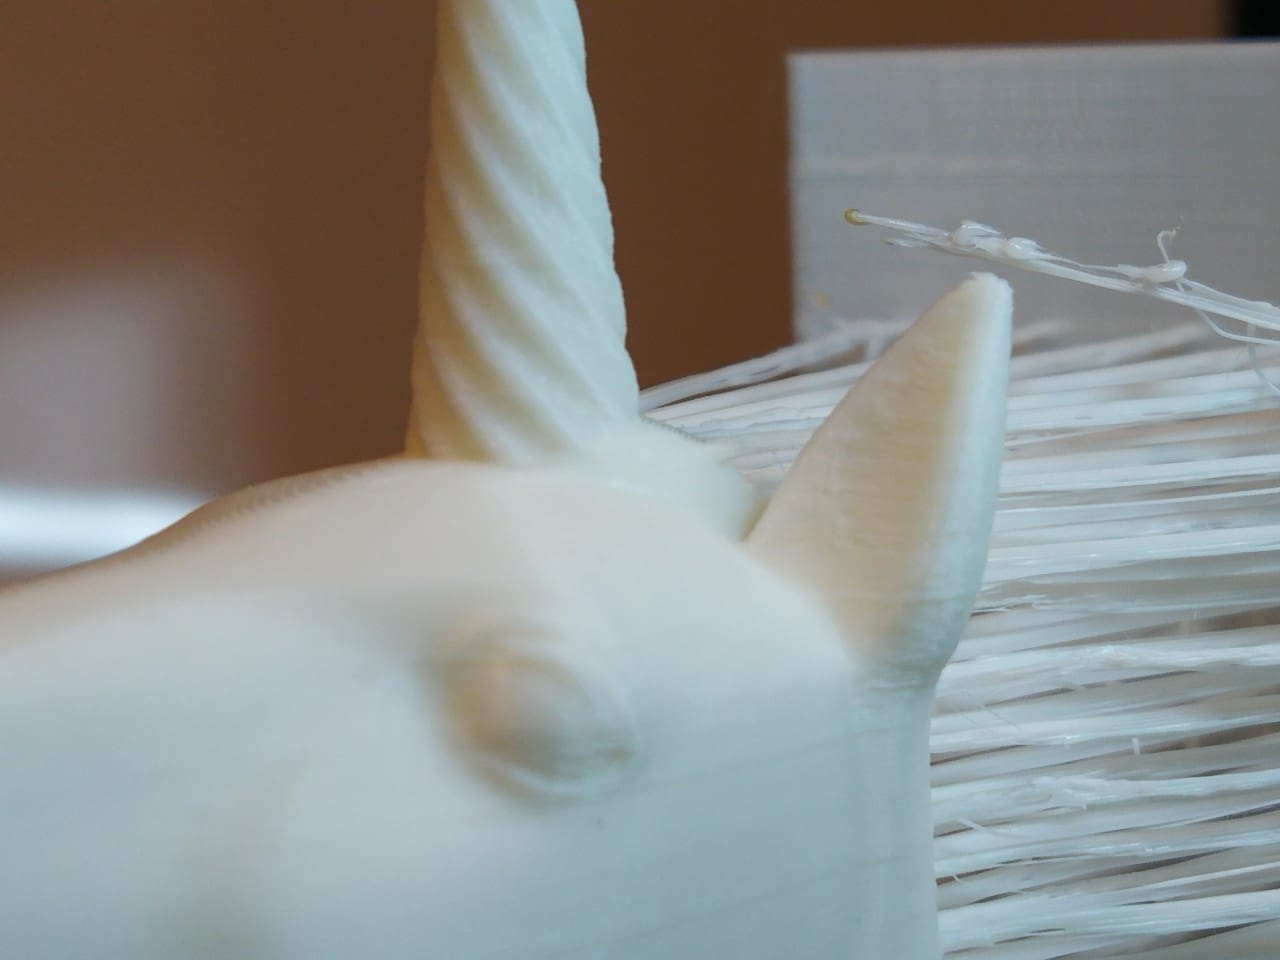
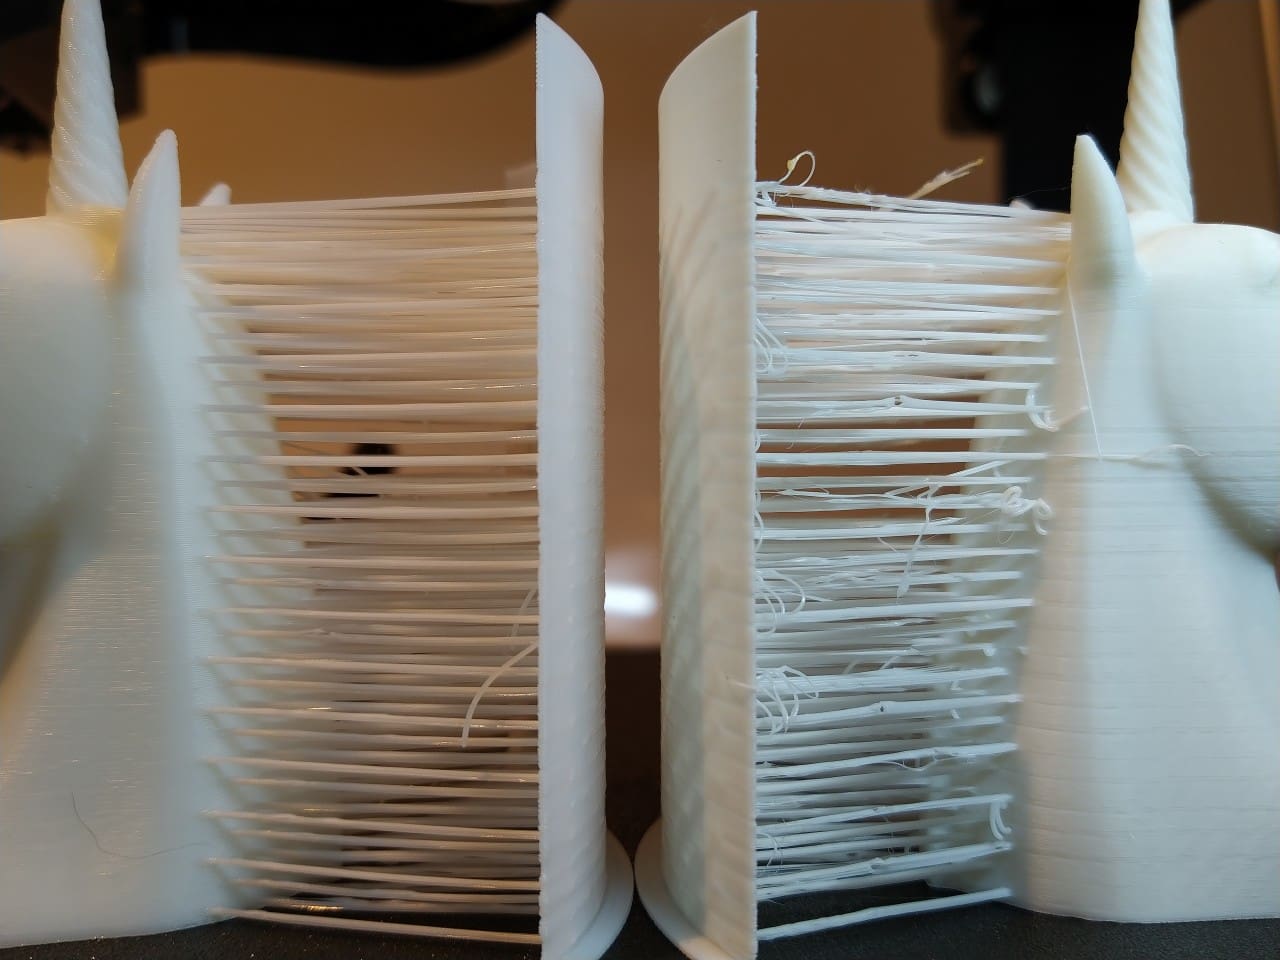
Kingroon PLA
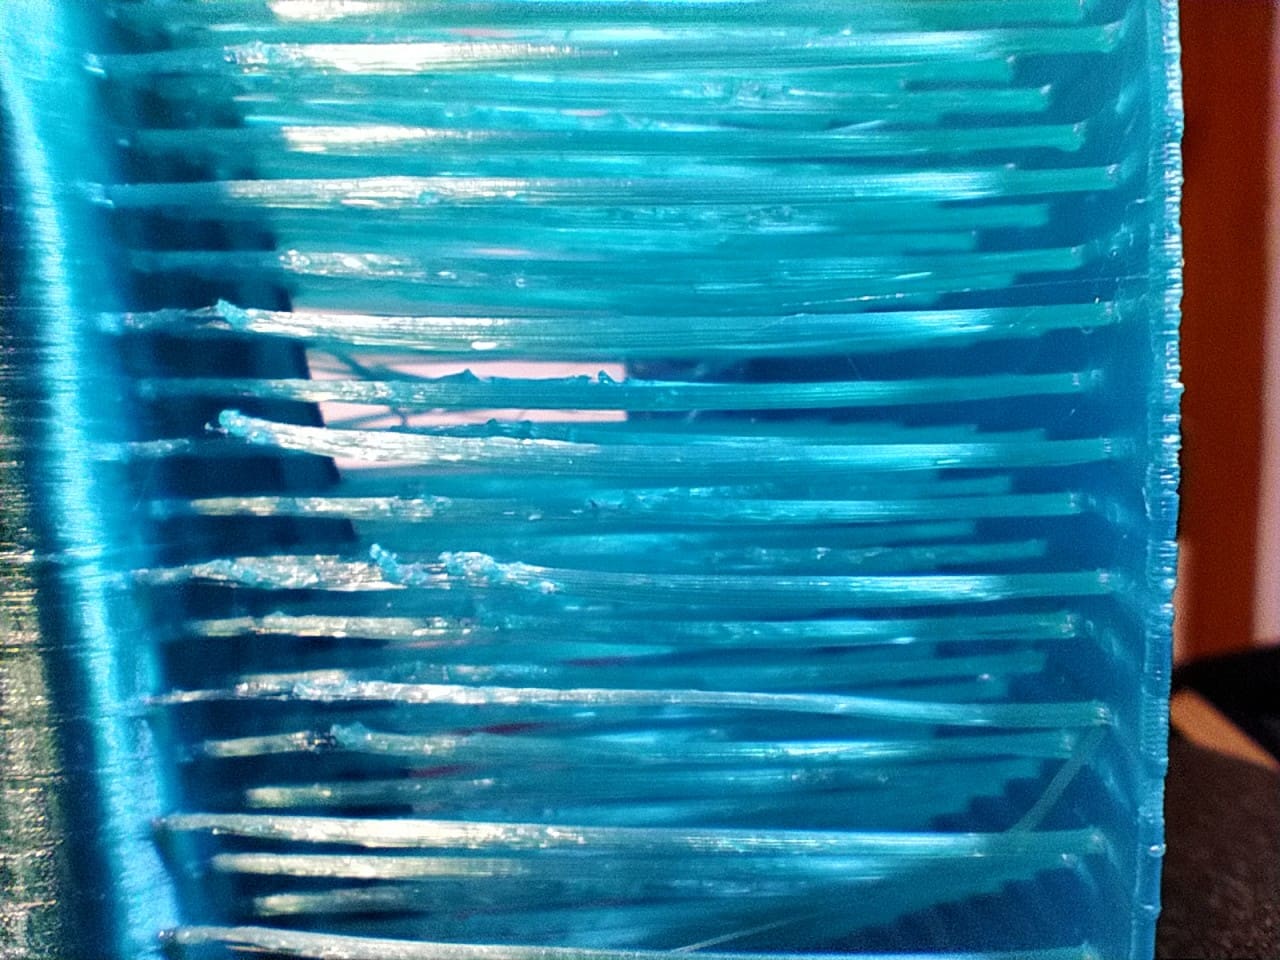
The Kingroon PLA reaches its limits with this figure and 200 mm/s. It prints closed bodies very well, as well as the overhangs, but it fails with the fine overhangs of the hair.
You also have to remember that I approached the models with a macro lens or zoomed in. The models look better when you hold them in your hand. When you see the Creality filament unicorn, you have to smile because it looks really good.
Printing costs
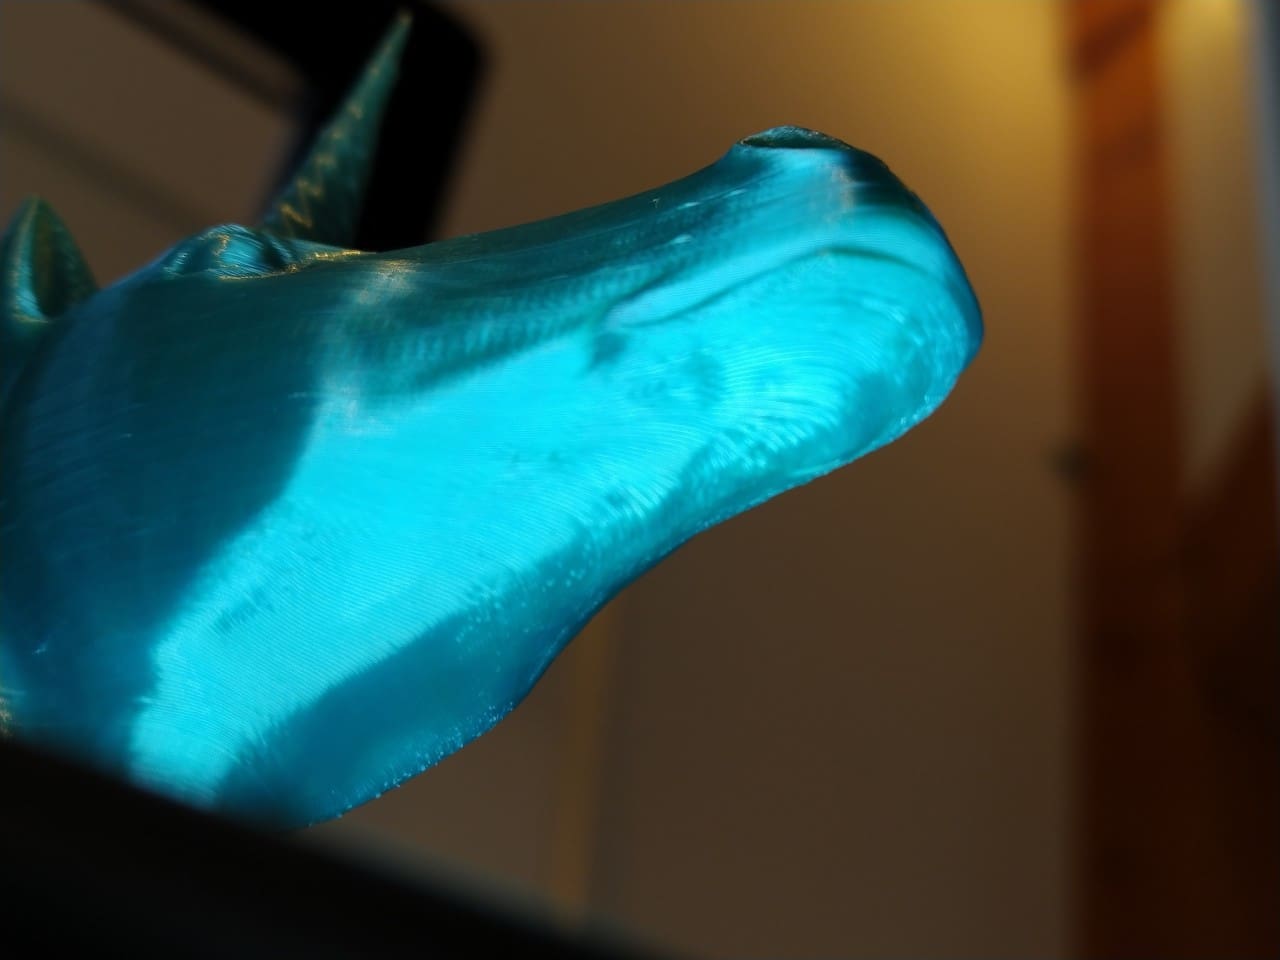
To answer a typical beginner’s question: the turquoise-coloured Rüdiger costs me about 84.9 cents with the Creality Ender-3 V3 KE.
12.9 cents for the electricity and 72 cents for the material if I use the Geetech Silk Raibow PLA.
As Hyper-PLA is similarly expensive, the costs for faster printing are reduced to 78.6 cents. The electricity costs are only 6.8 cents.
A faster print therefore saves 6.1 cents of electricity and 1.5 hours of time.
Cheap filament
But what happens if you use cheap filament? The PLA from Kingroon, which I got for just under EUR 8 a roll in a super special offer? It still prints well at 200 mm/s. The printing time is extended to 2:22 h and the electricity costs are 11 cents. The material costs drop to 26 cents. A print therefore costs 37 cents, but also takes an hour longer than with the Hyper-PLA from Creality.
Whether an hour of printing time is worth the saving of 35 cents is something everyone has to decide for themselves.
Old printer
If I print Rüdiger with the Anycubic i3 Mega, which only has a print speed of 50 mm/s, he needs almost eight hours for the same printout! The old Any consumes about 125 watts. That’s 30 cent in electricity costs alone! If I want to print Rüdiger with cheap PLA on the i3 Mega, the print costs 56 cents instead of 36 cents. Doesn’t sound like much, but it adds up quickly. The time saving is 5:33 hours. In fact, the Creality with normal PLA is almost 3.5 times faster than an old printer.
Conclusion
| Materials | Cost of electricity | Material costs | Costs (€) | Printing time (h) |
| Silk PLA | 0,13 | 0,72 | 0,85 | 02:53:00 |
| Hyper PLA | 0,07 | 0,72 | 0,79 | 01:23:00 |
| Cheap PLA | 0,11 | 0,26 | 0,37 | 02:22:00 |
| Old printer | 0,30 | 0,26 | 0,56 | 07:55:00 |
Compared to an old printer, the savings in printing costs can be up to 33% – and the savings in electricity costs can be up to 77% if Hyper-PLA is used.
Time is money: 70% to 85% time savings on printing are possible.
So with a fast printer like the Creality Ender-3 V3 KE, you can save a lot of time and money.
Volume
Very few 3D printers are quiet. The faster they are, the louder they tend to be.
The volume of the Ender-3 V3 KE is lower than comparable printers – even if you feel it. This is because the Ender does not produce any disturbing noises or vibrations.
With my smartphone, I was able to measure an average noise level of 32 dB when idling and 42 dB during printing at a distance of one metre and 25 cm above the level of the heating bed. Of course, my mobile phone is not calibrated, so this figure is only a rough guide.
Printing with the cloud
I’m not a big fan of manufacturer clouds. Not even with all my smart home products. But I can’t deny that the future belongs to the IoT and everything is going to the cloud. Consequently, every self-respecting manufacturer is aiming for the cloud and offering its customers corresponding services and apps.
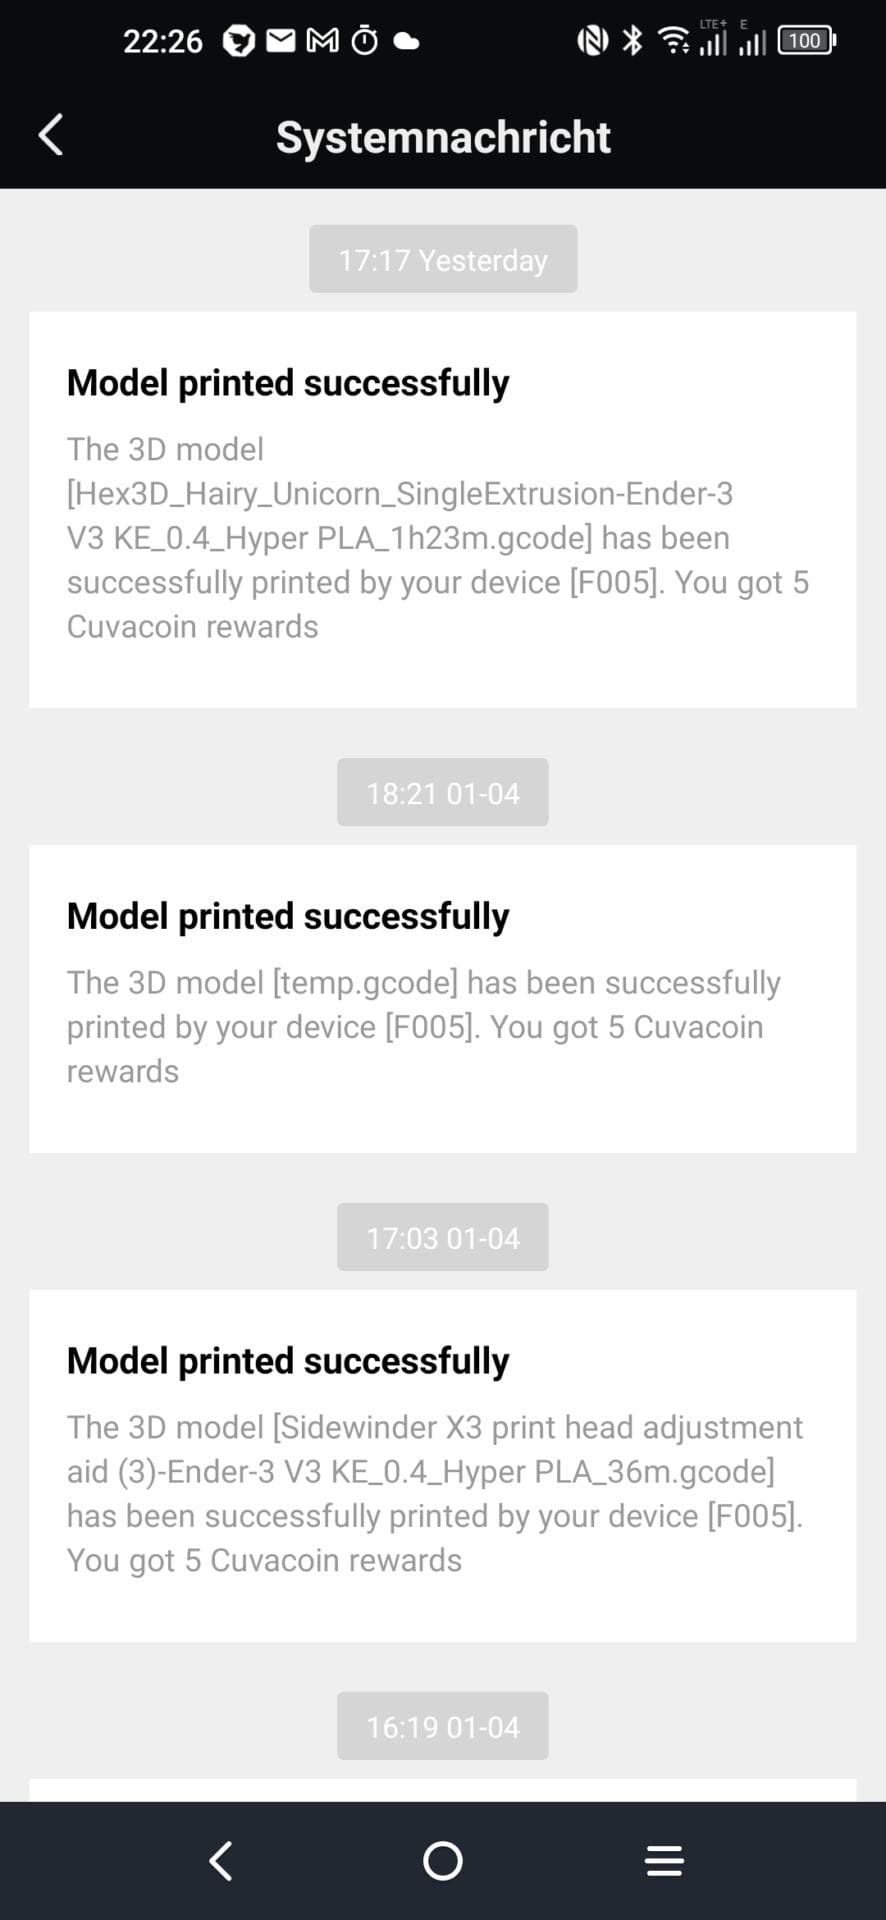
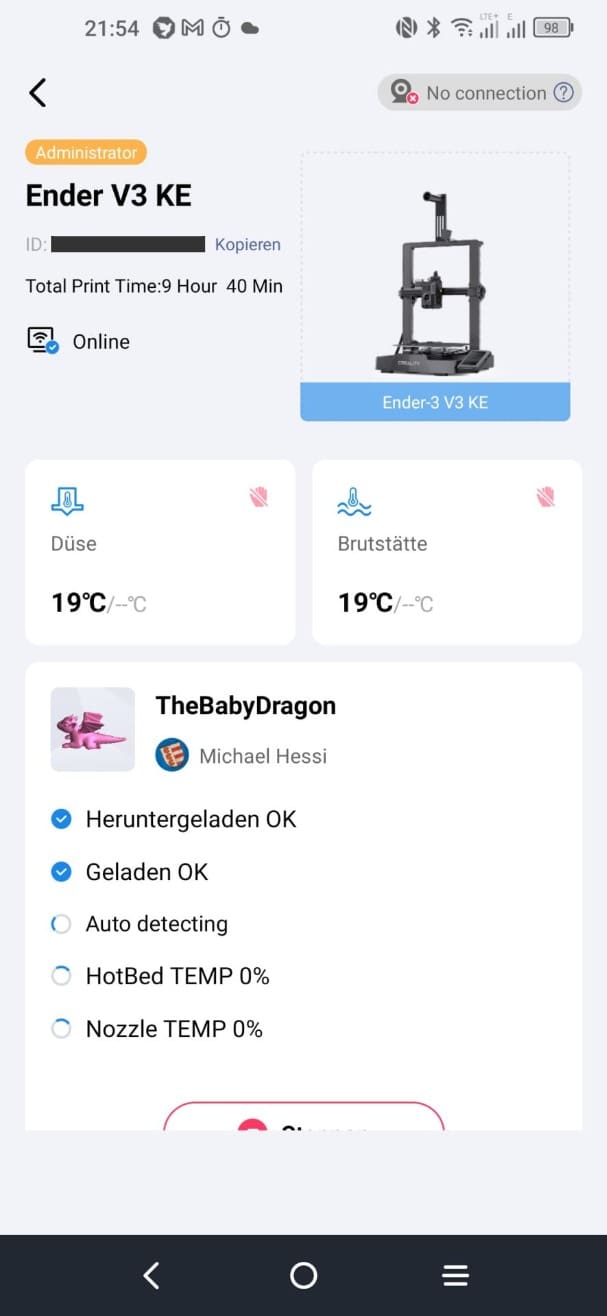
The Creality Cloud can be used from Creality Print, but also with an app for the smartphone.
The highlight is that you don’t need a “real” computer to 3D print with the Ender-3 V3 KE when it is connected to the cloud. A simple smartphone is all you need.
Set up the cloud
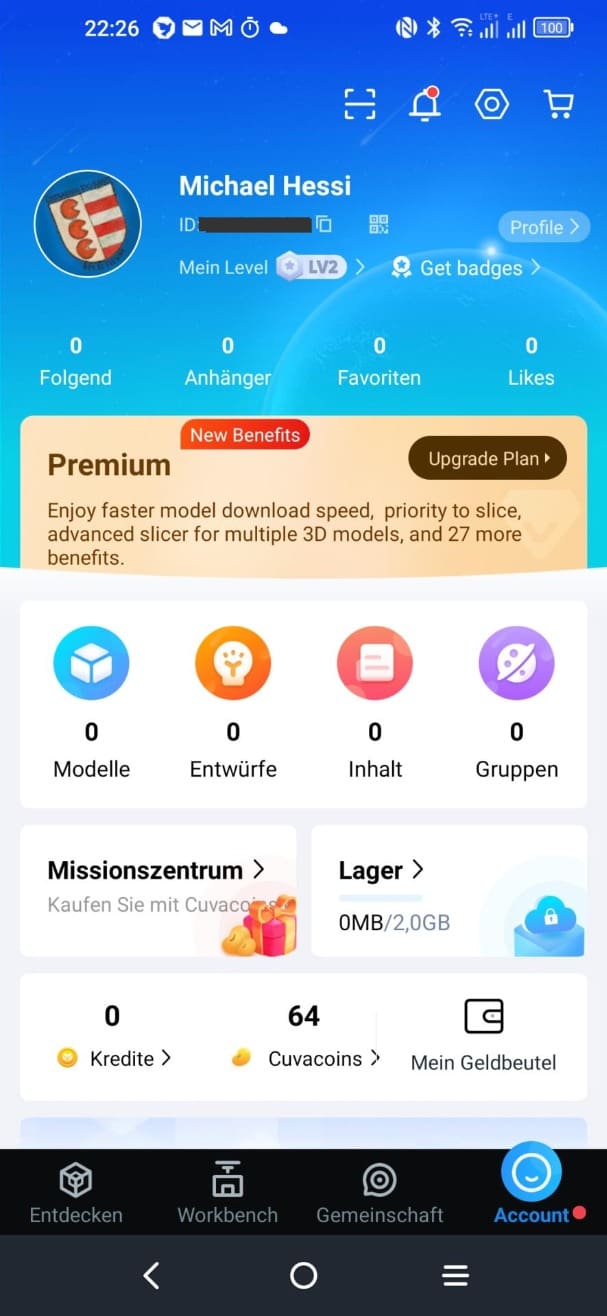
A test is a test, so I also have to test the cloud. Whether I want to or not. So I installed the Creality app on my Android smartphone. You can find the app for iOS here.
You then create an account in the app.
Lifting printers into the cloud
If you have not already done so during setup, tap on the gear icon on the printer screen
–>
“System”, scroll down a little
–>
tap “Bind Creality Cloud”.
A QR code will appear, which you need to scan with the app. The printer is then available in the app. It’s as simple as that.
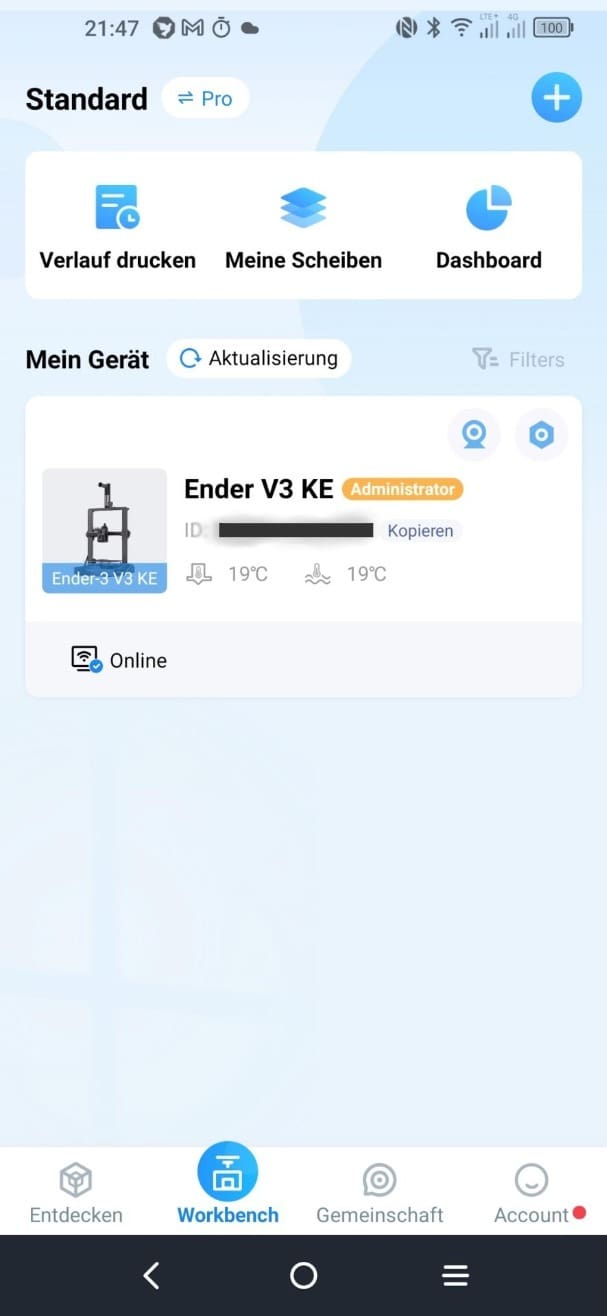
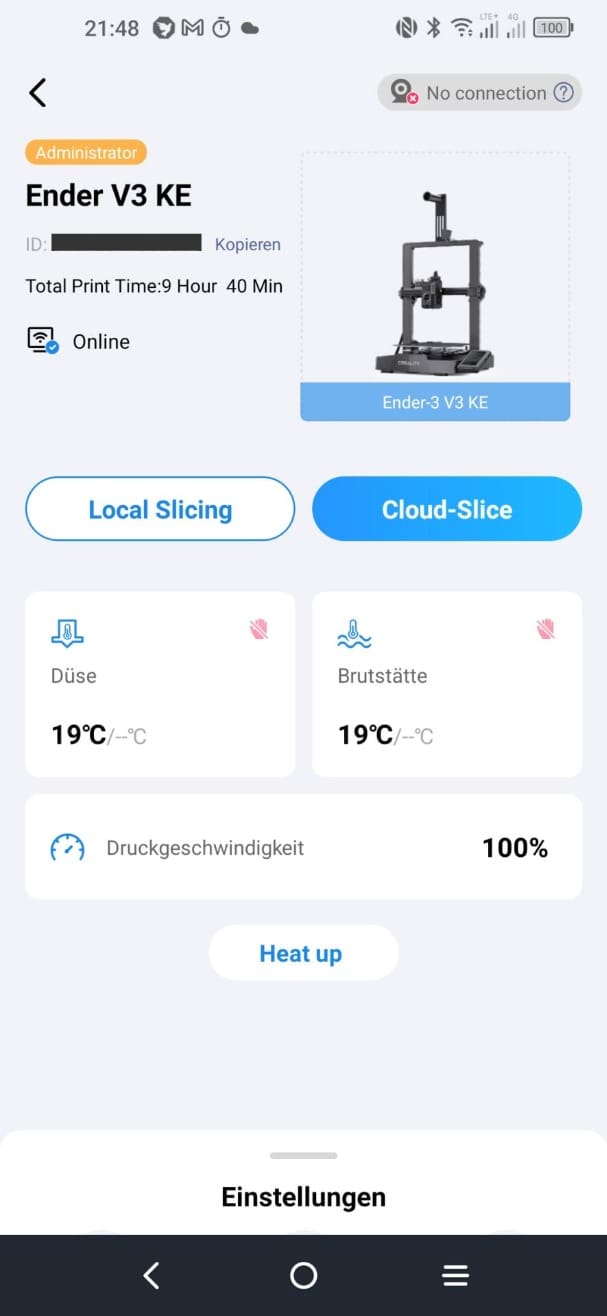
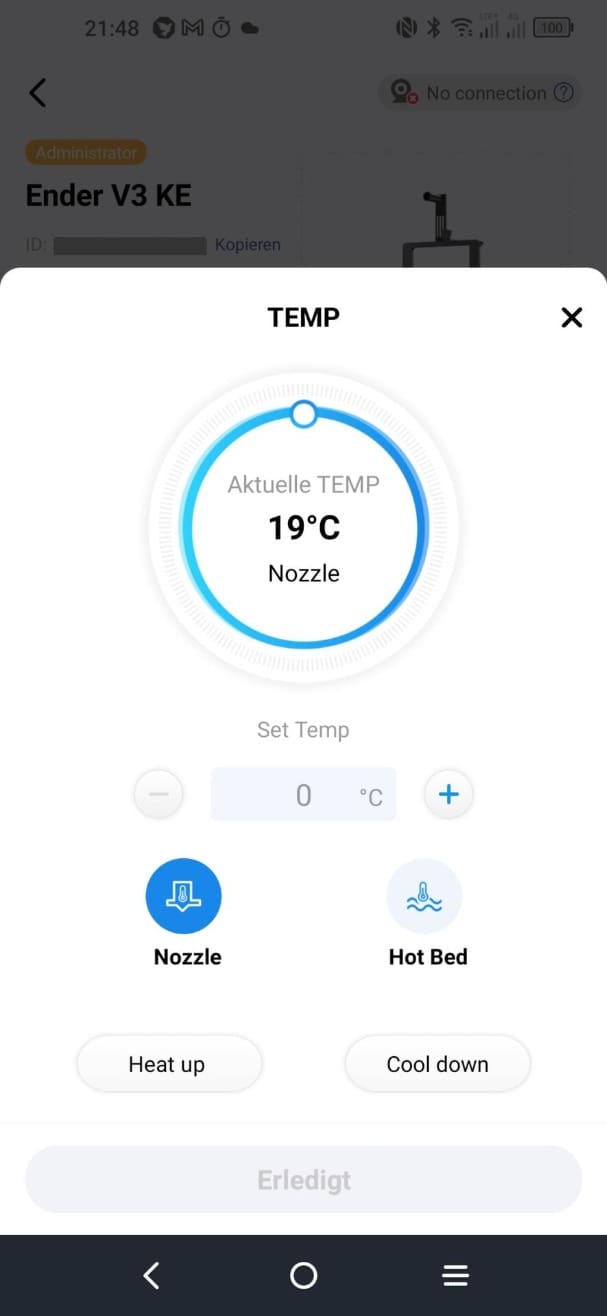
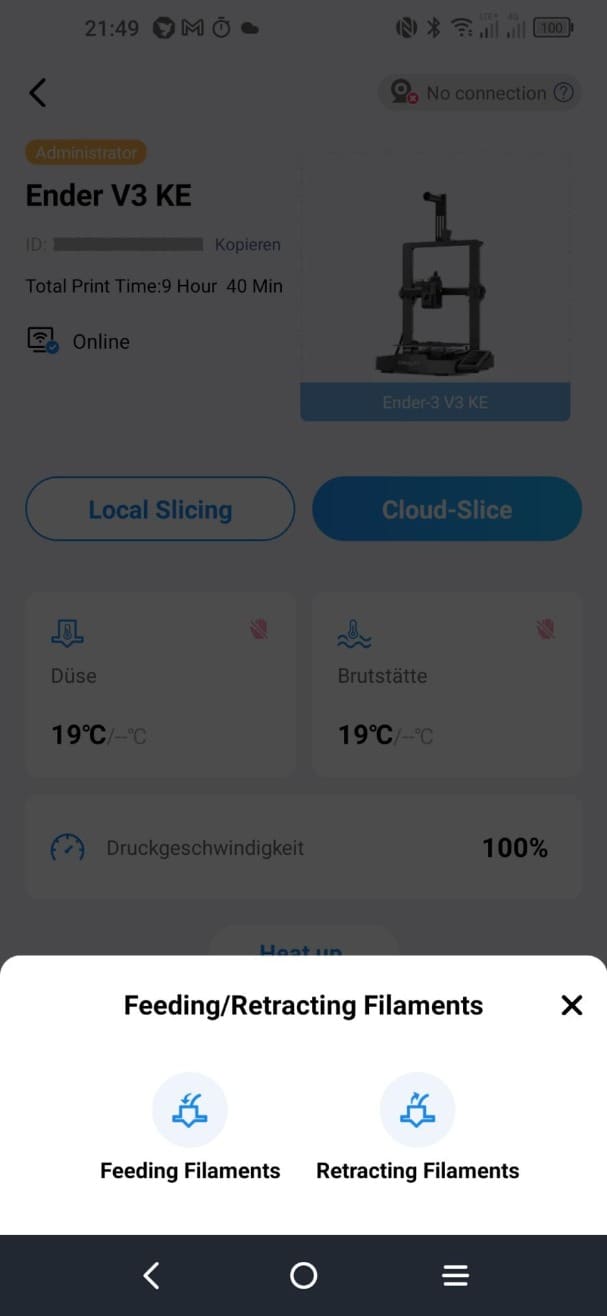
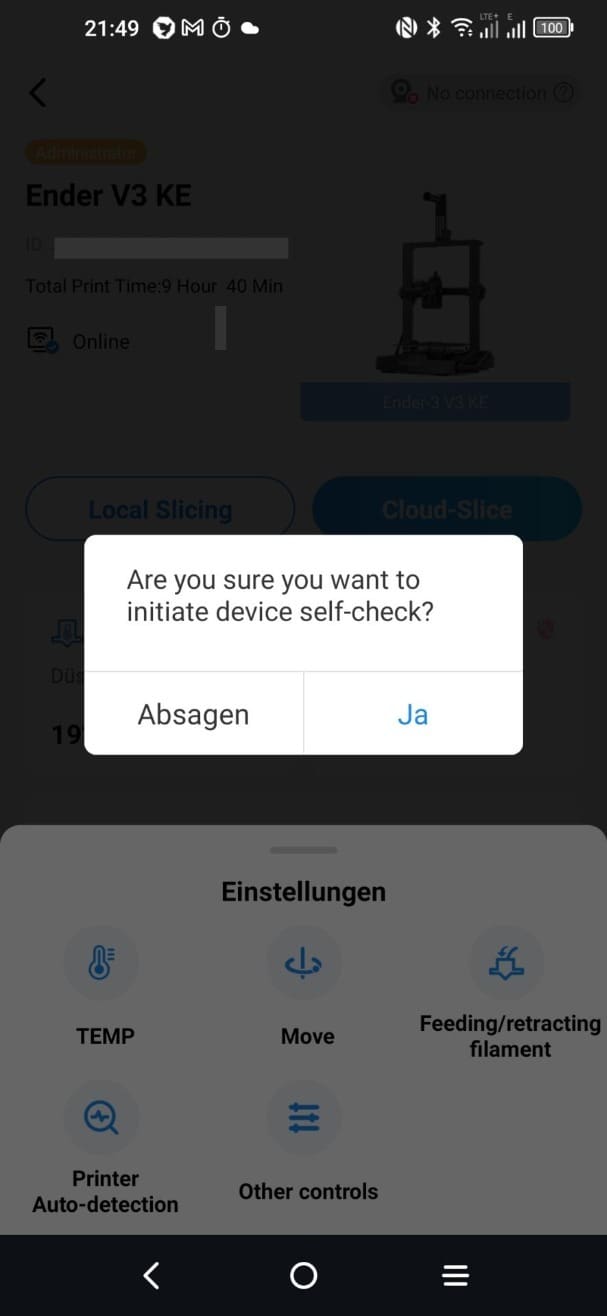
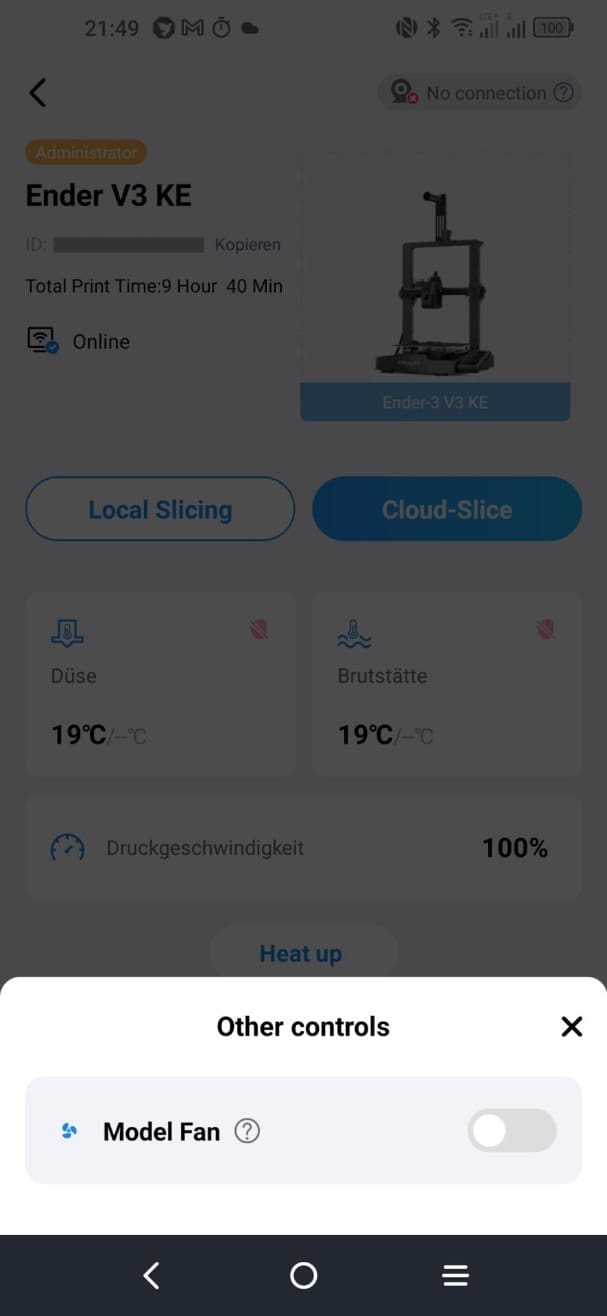
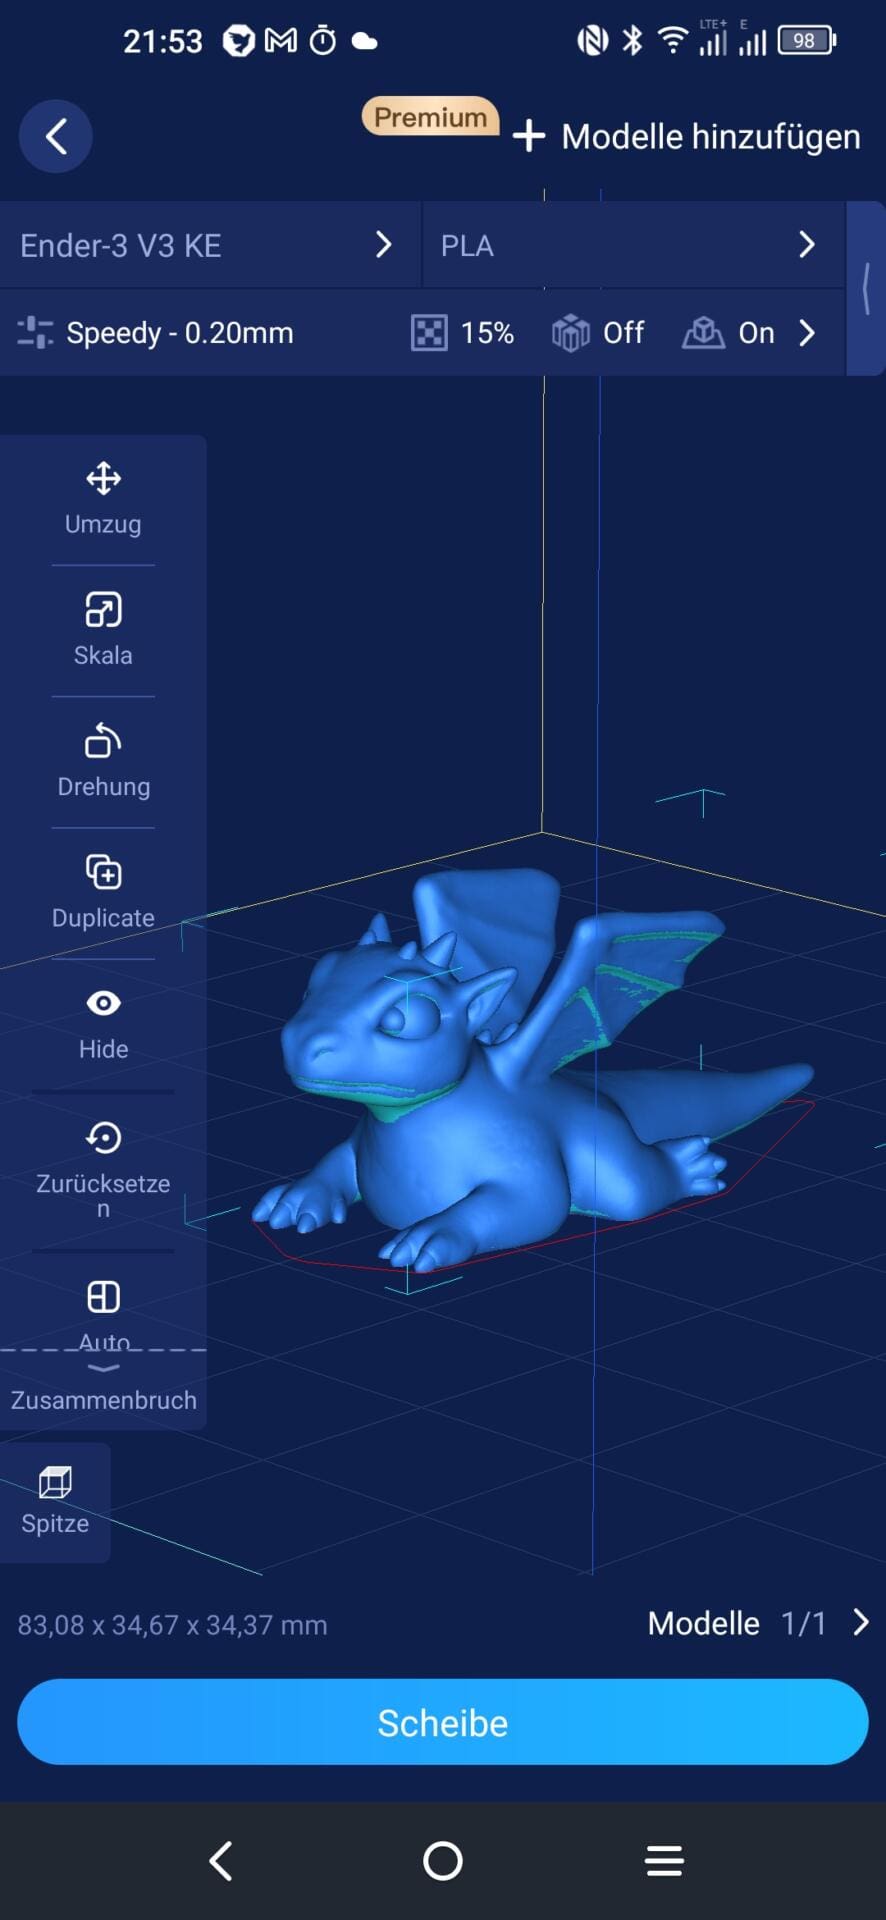
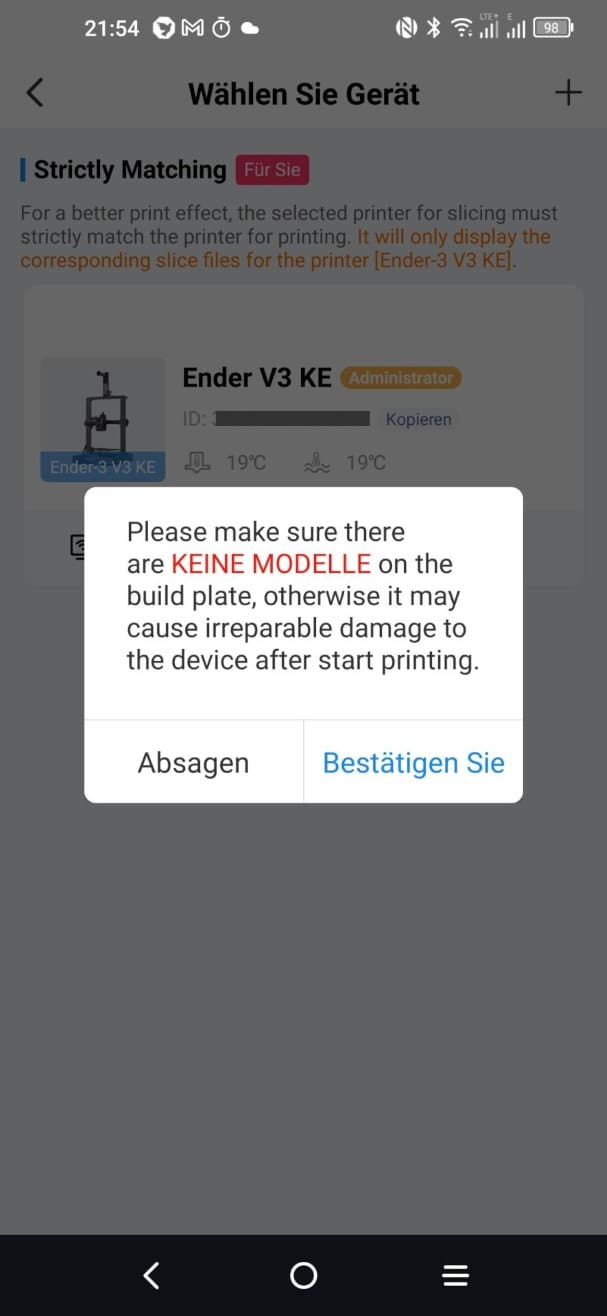
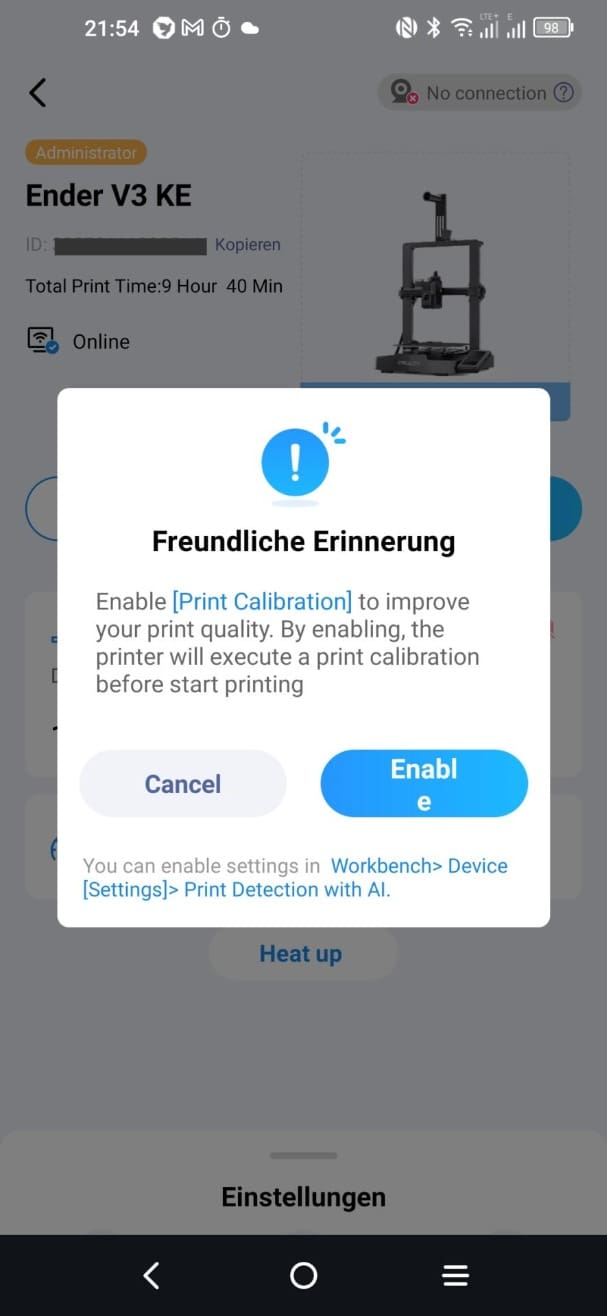
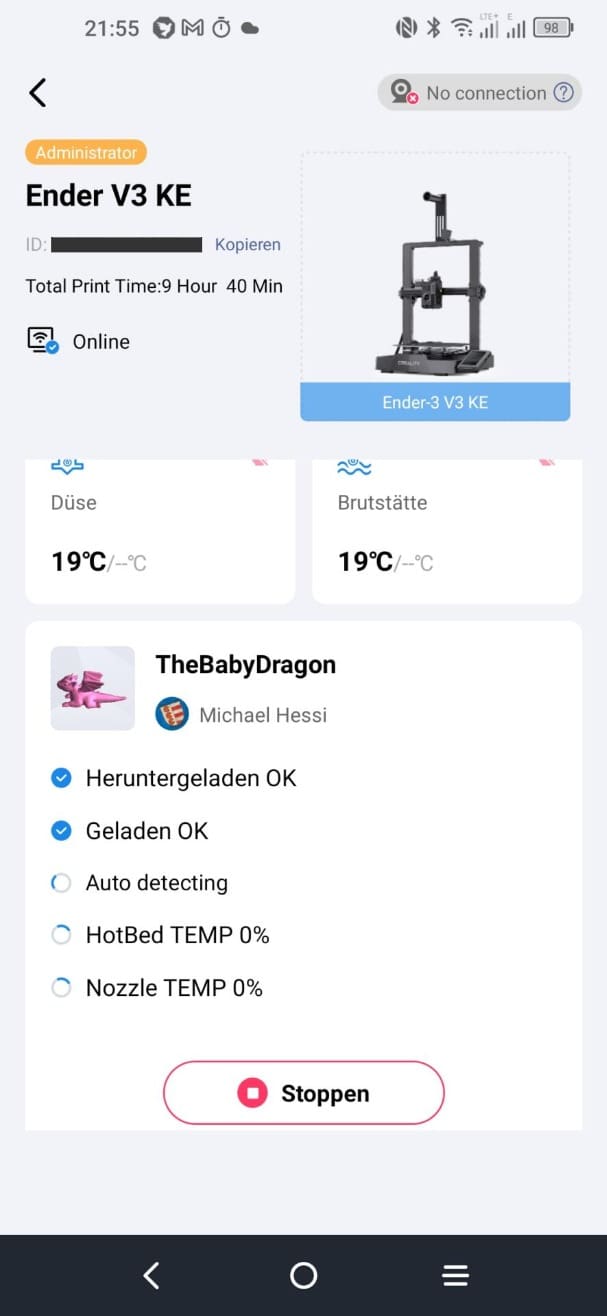
Operating the printer
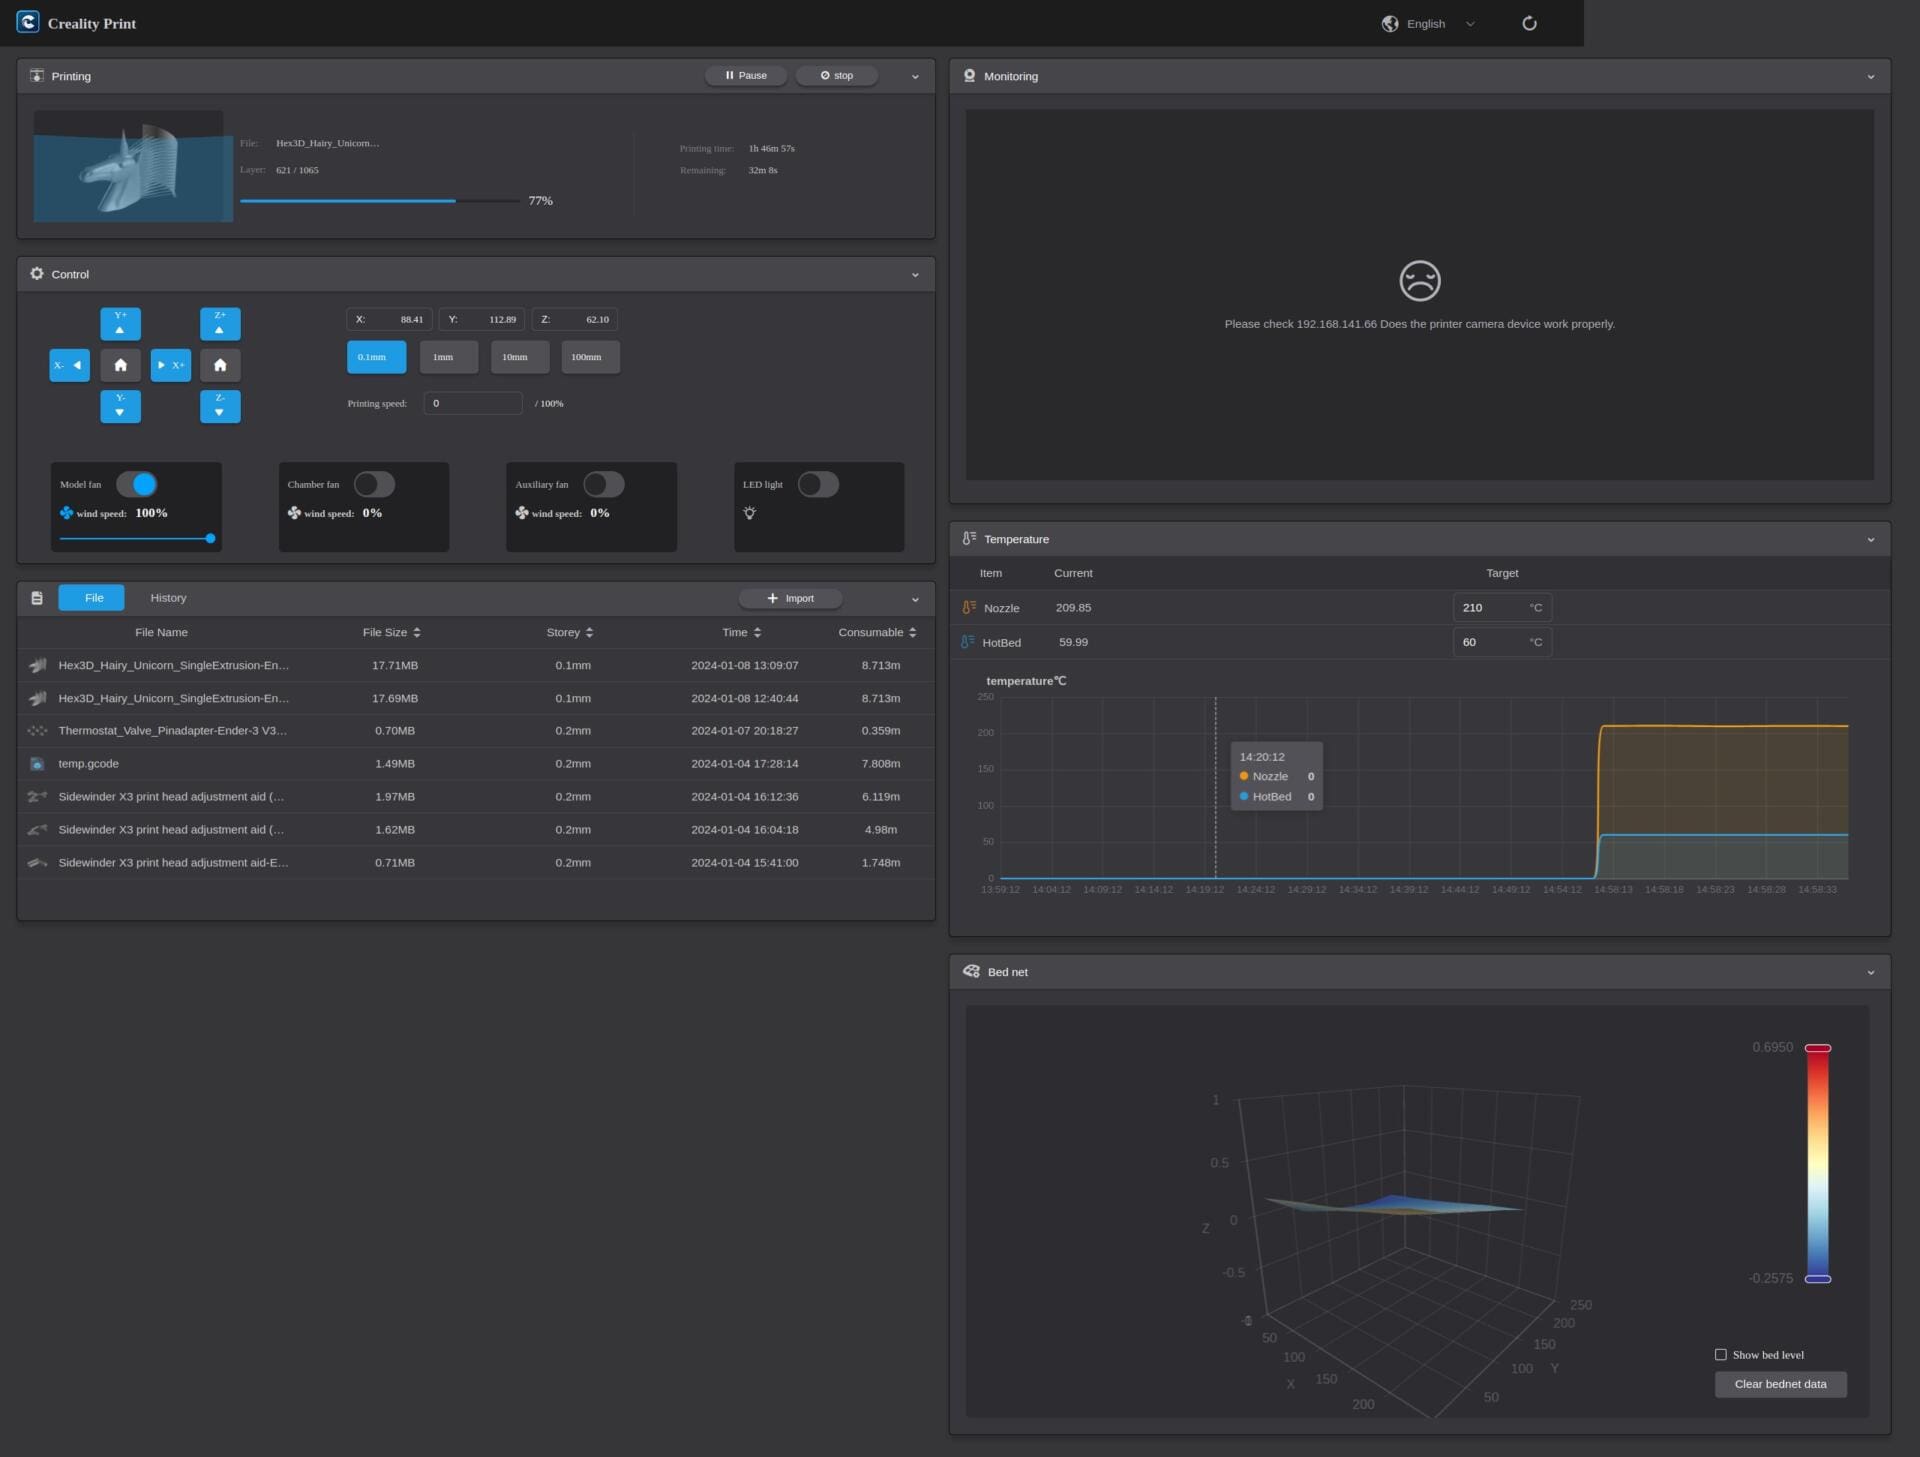
We can now operate the printer directly on the device, similar to the display — and really better than in the web end.
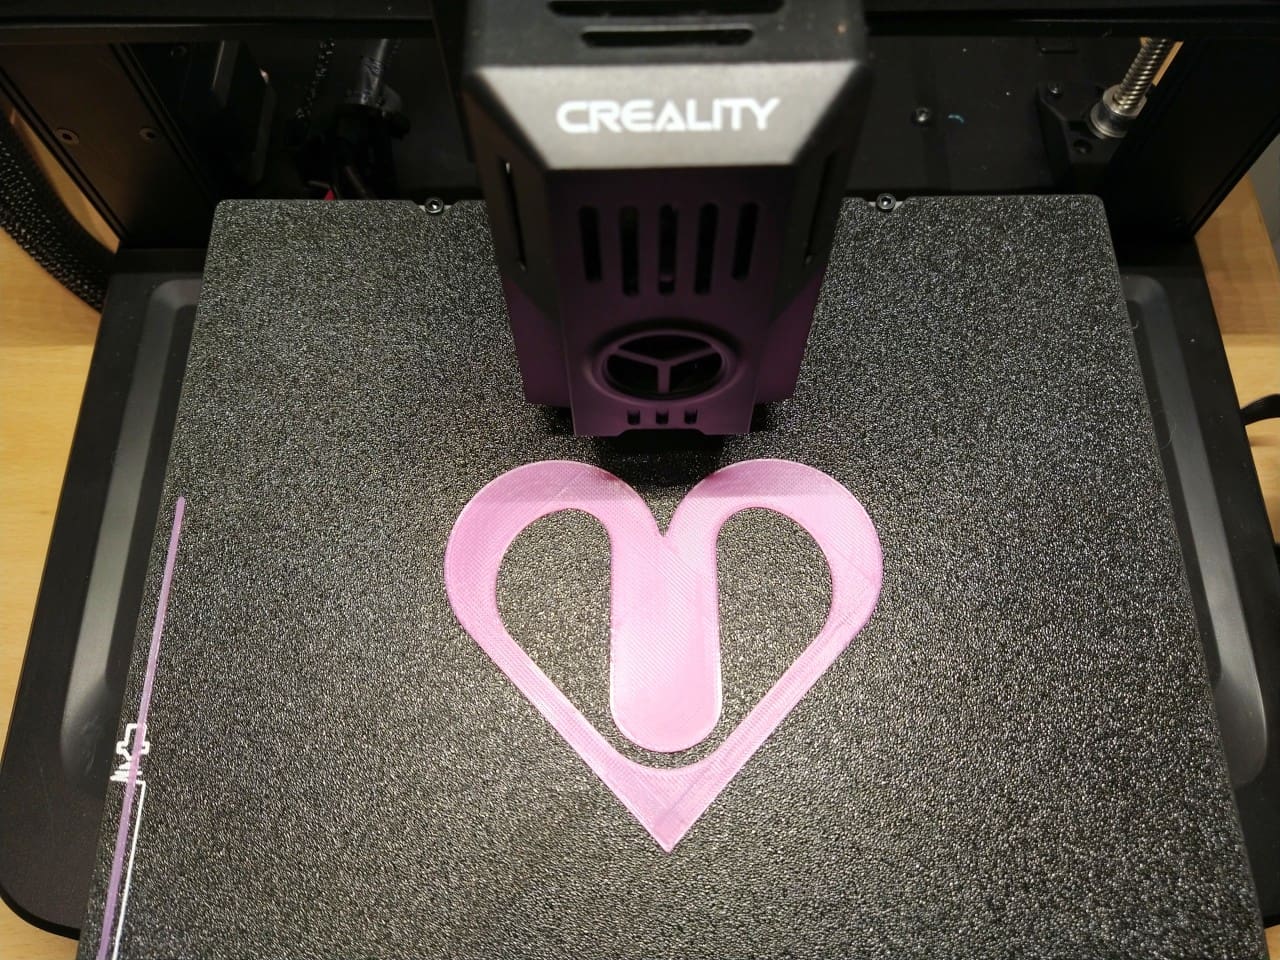
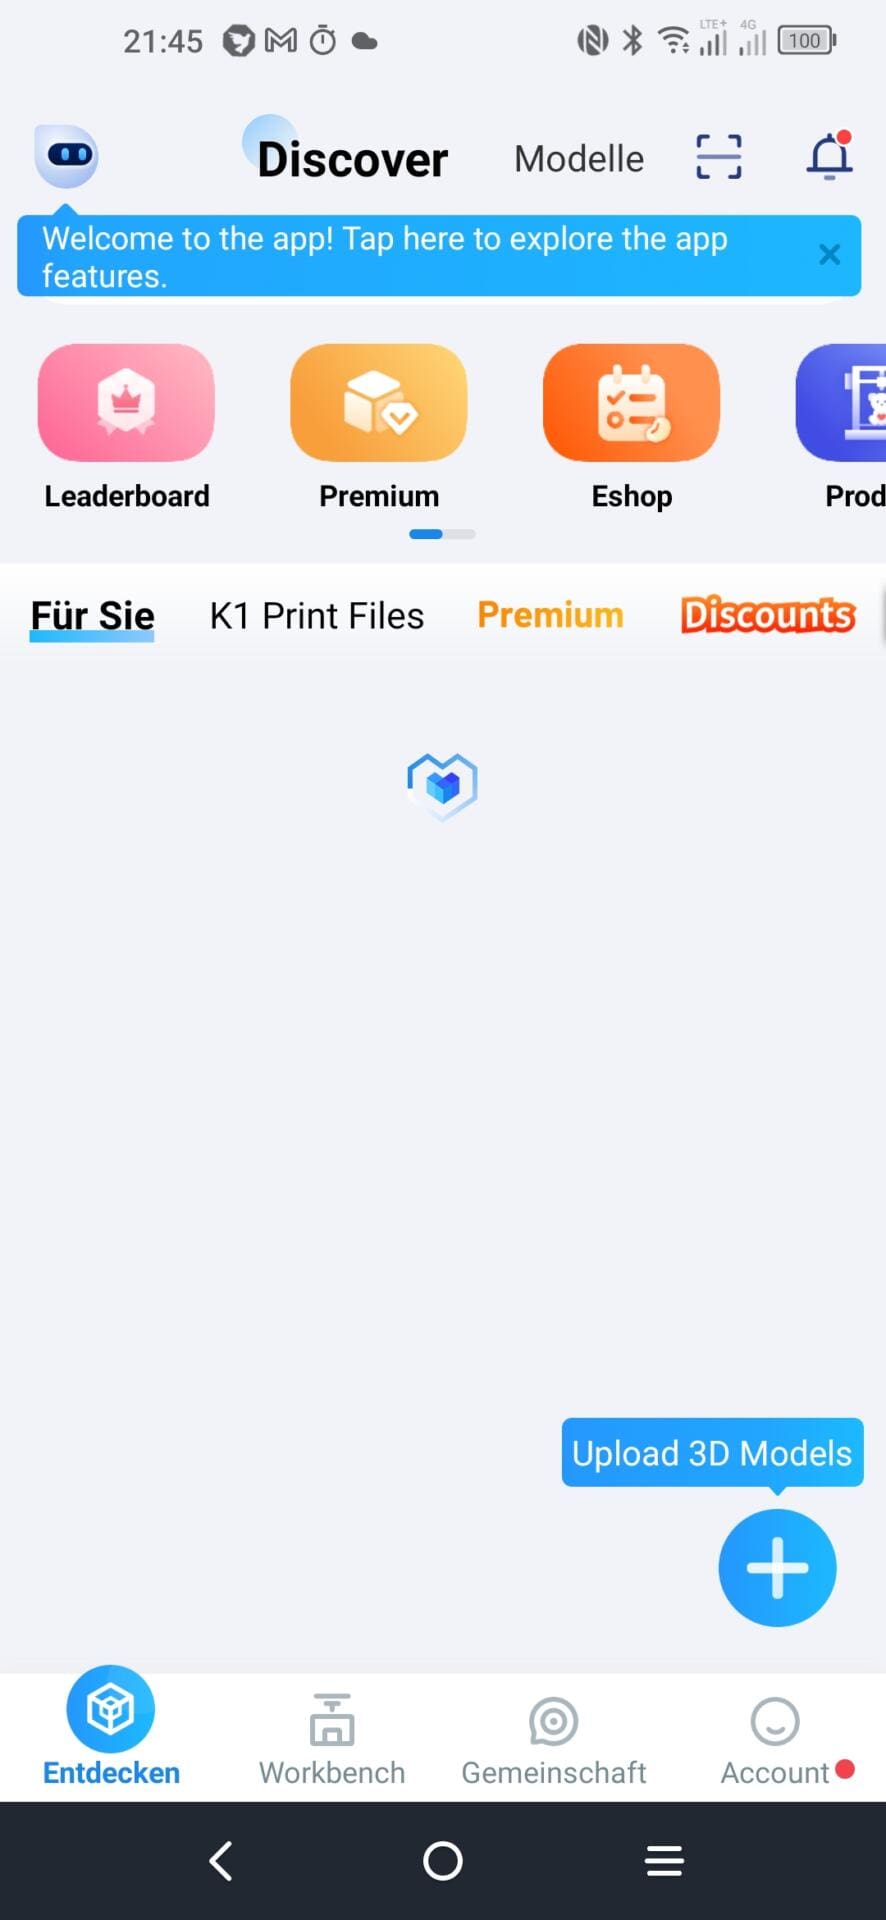
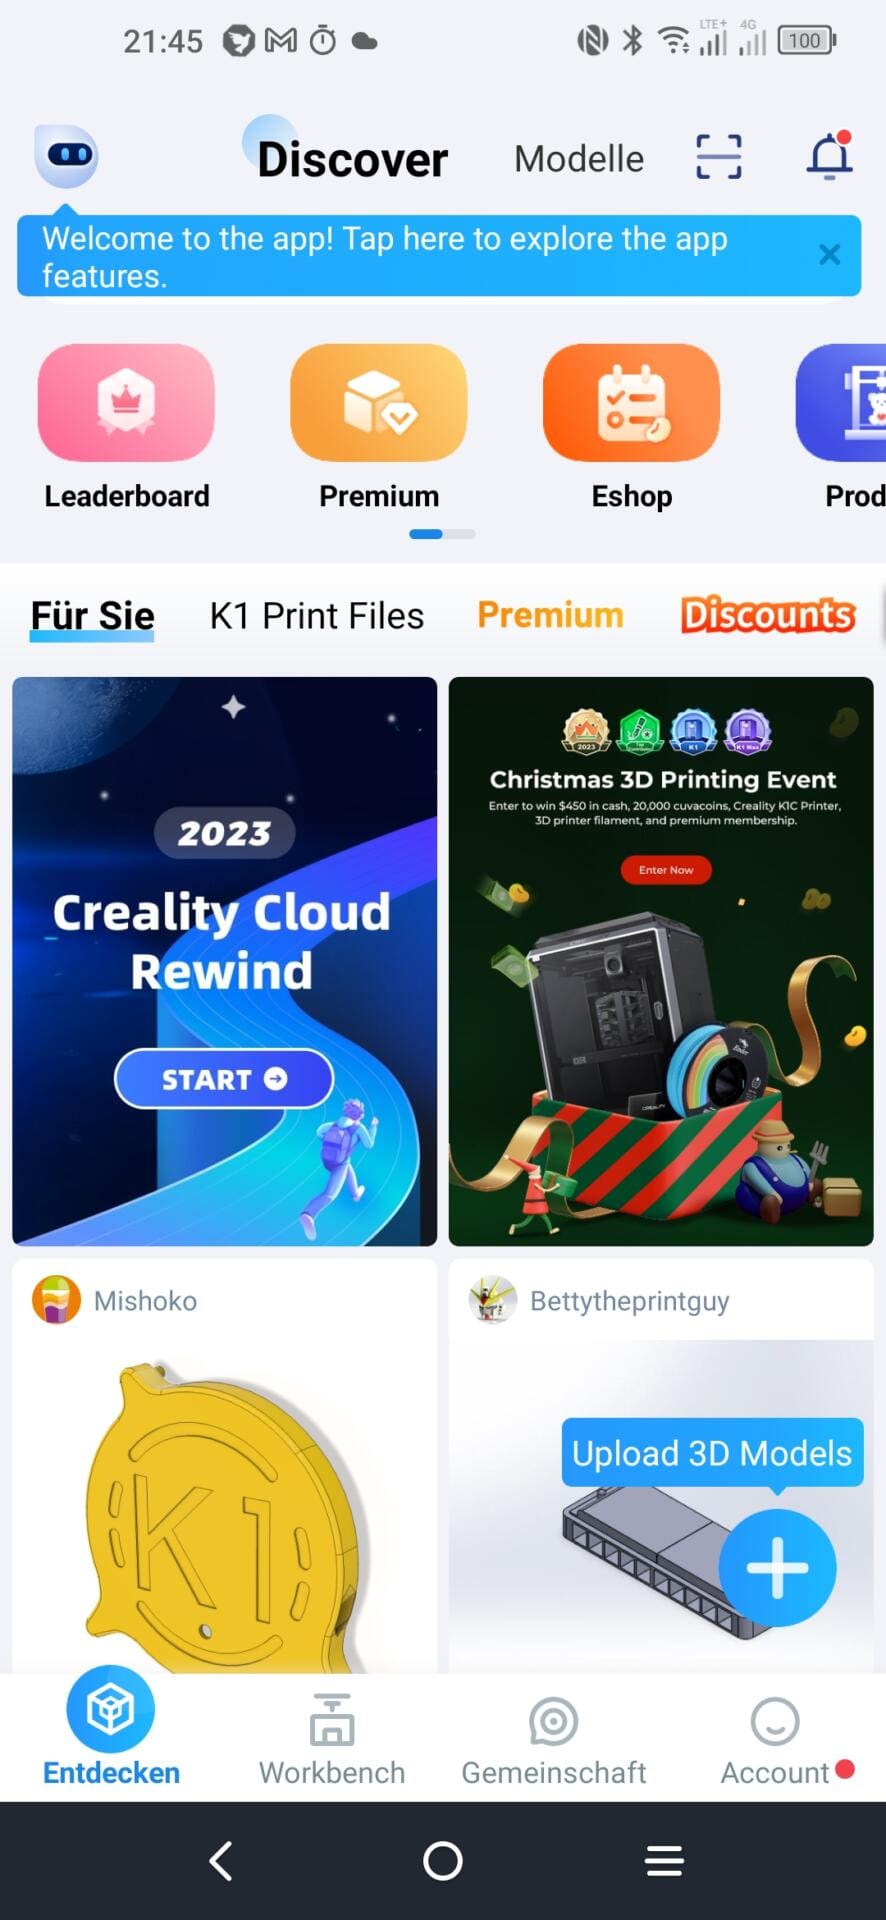
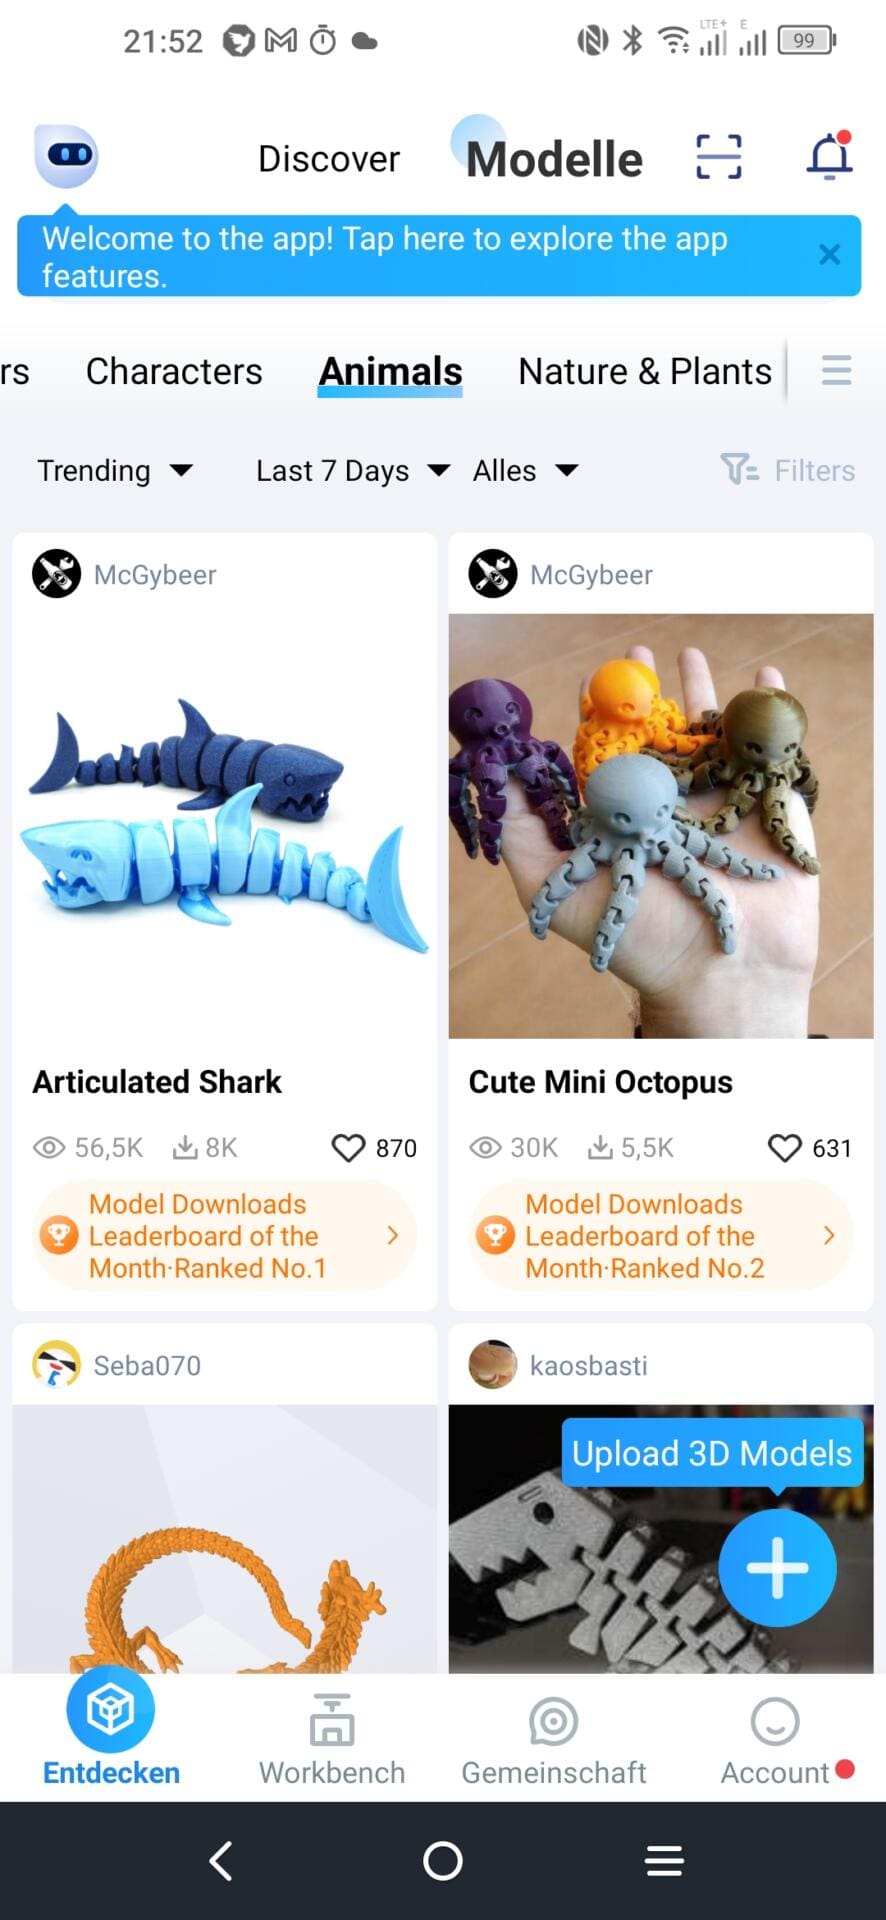
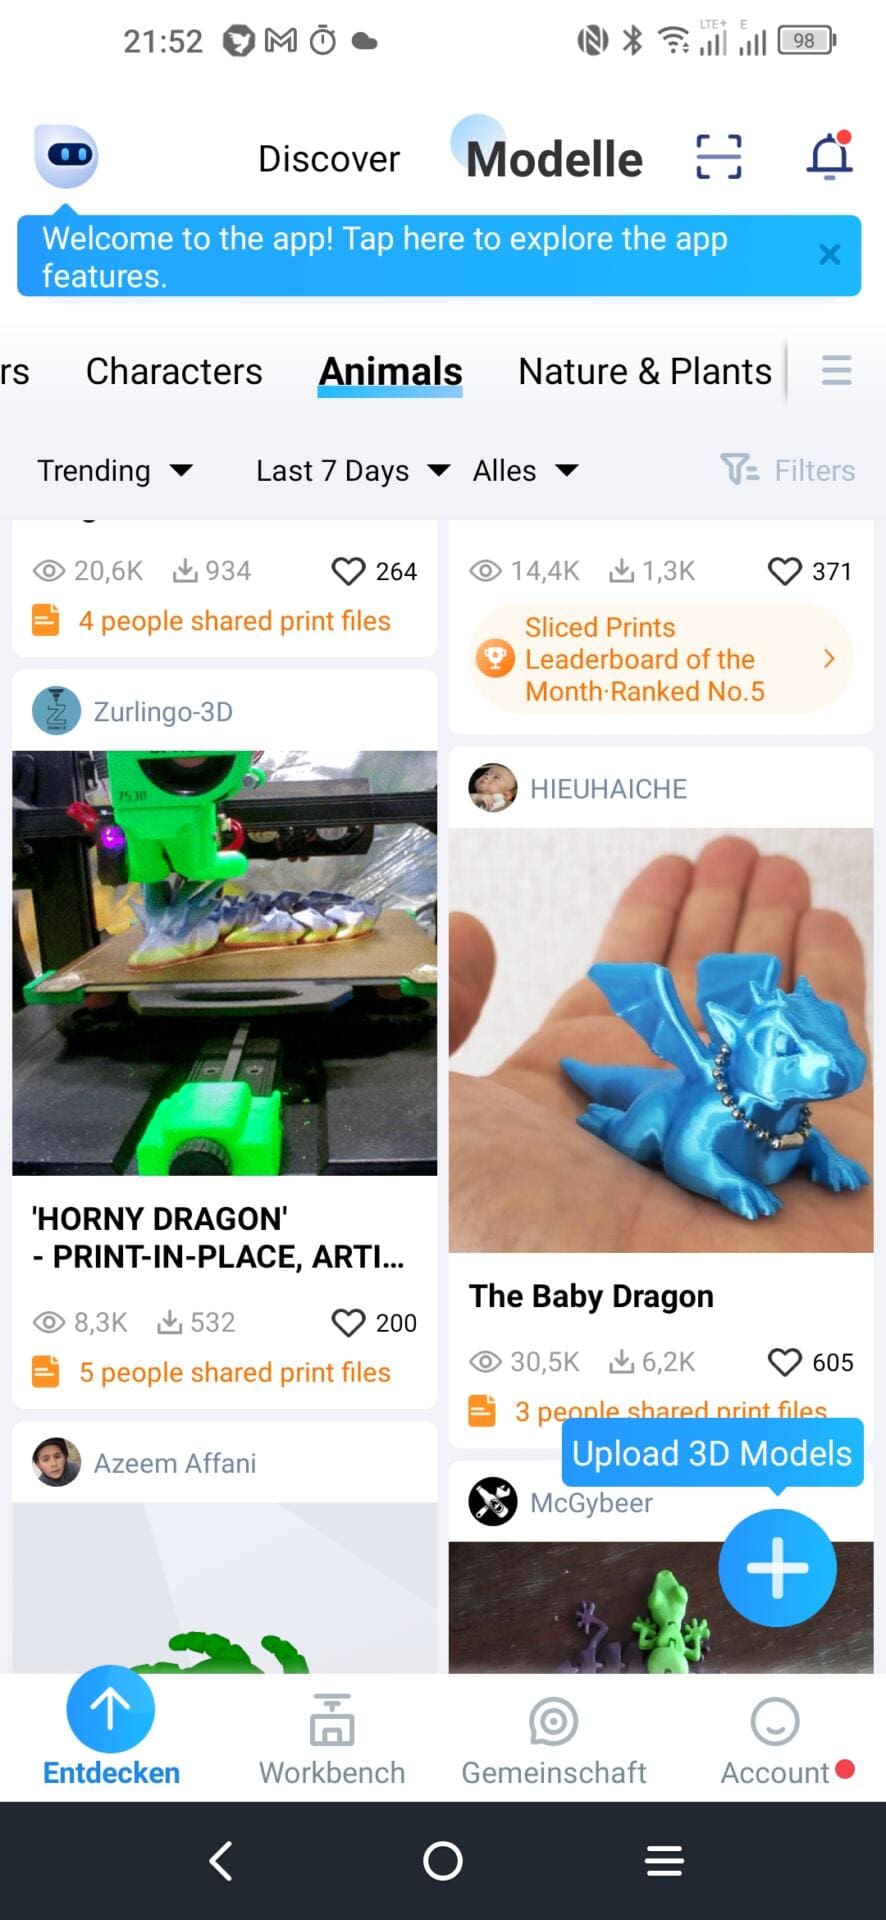
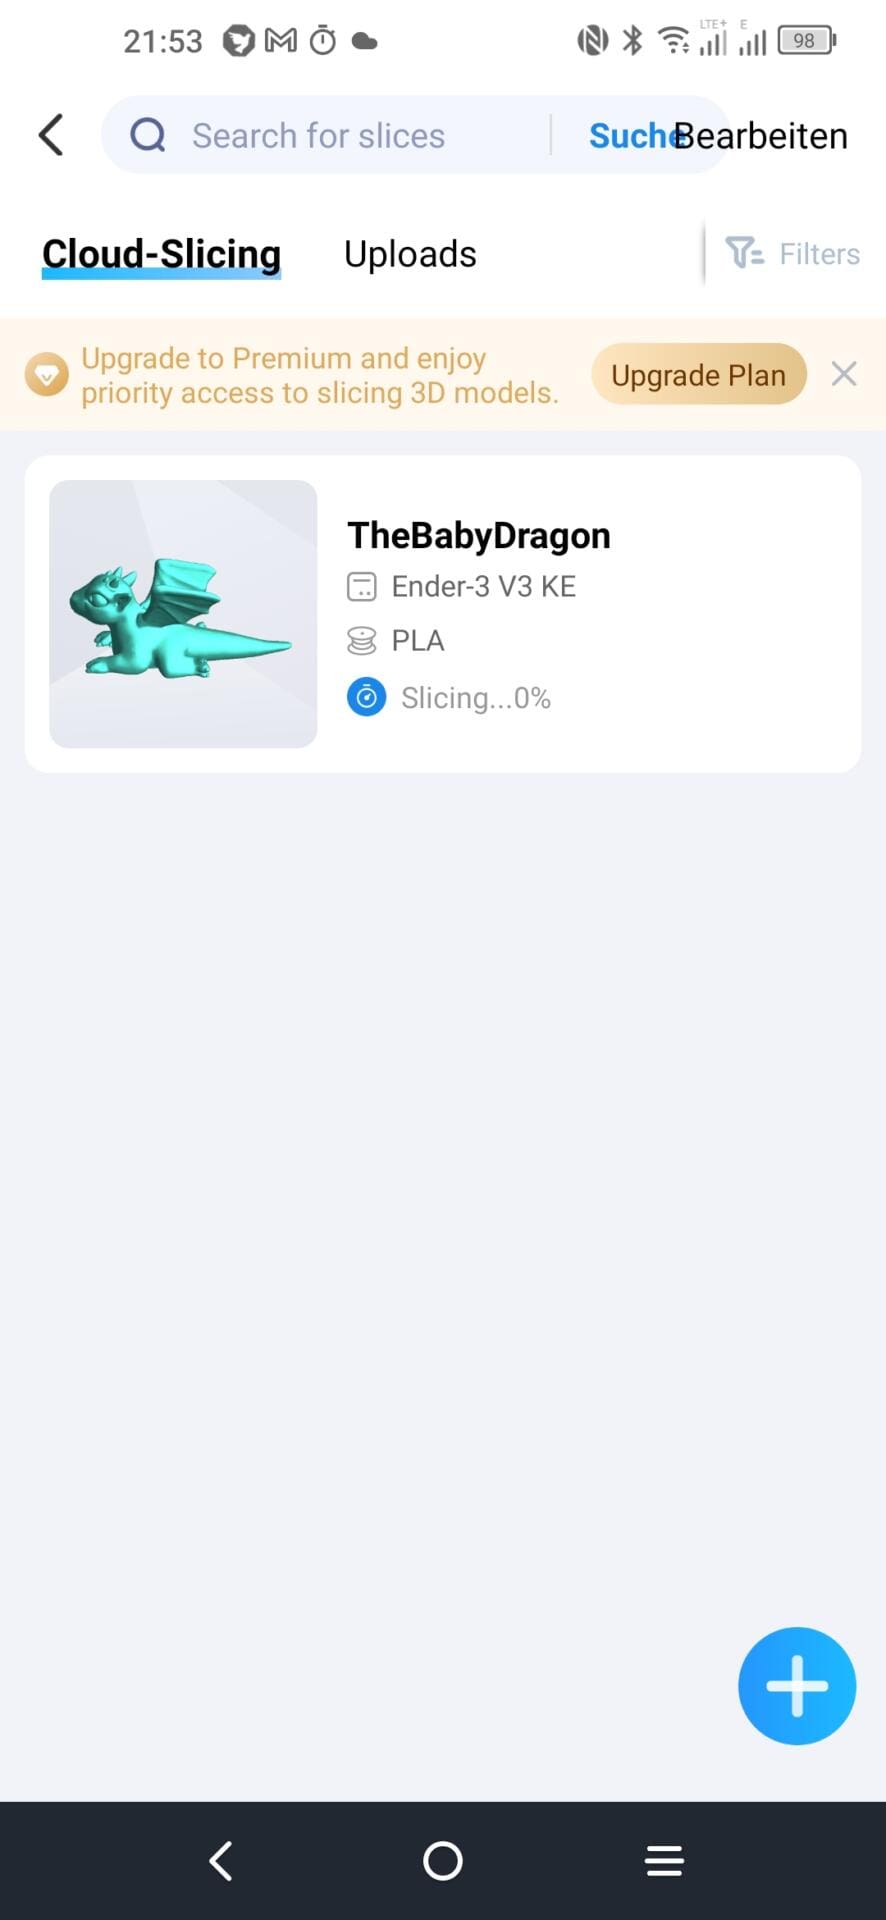
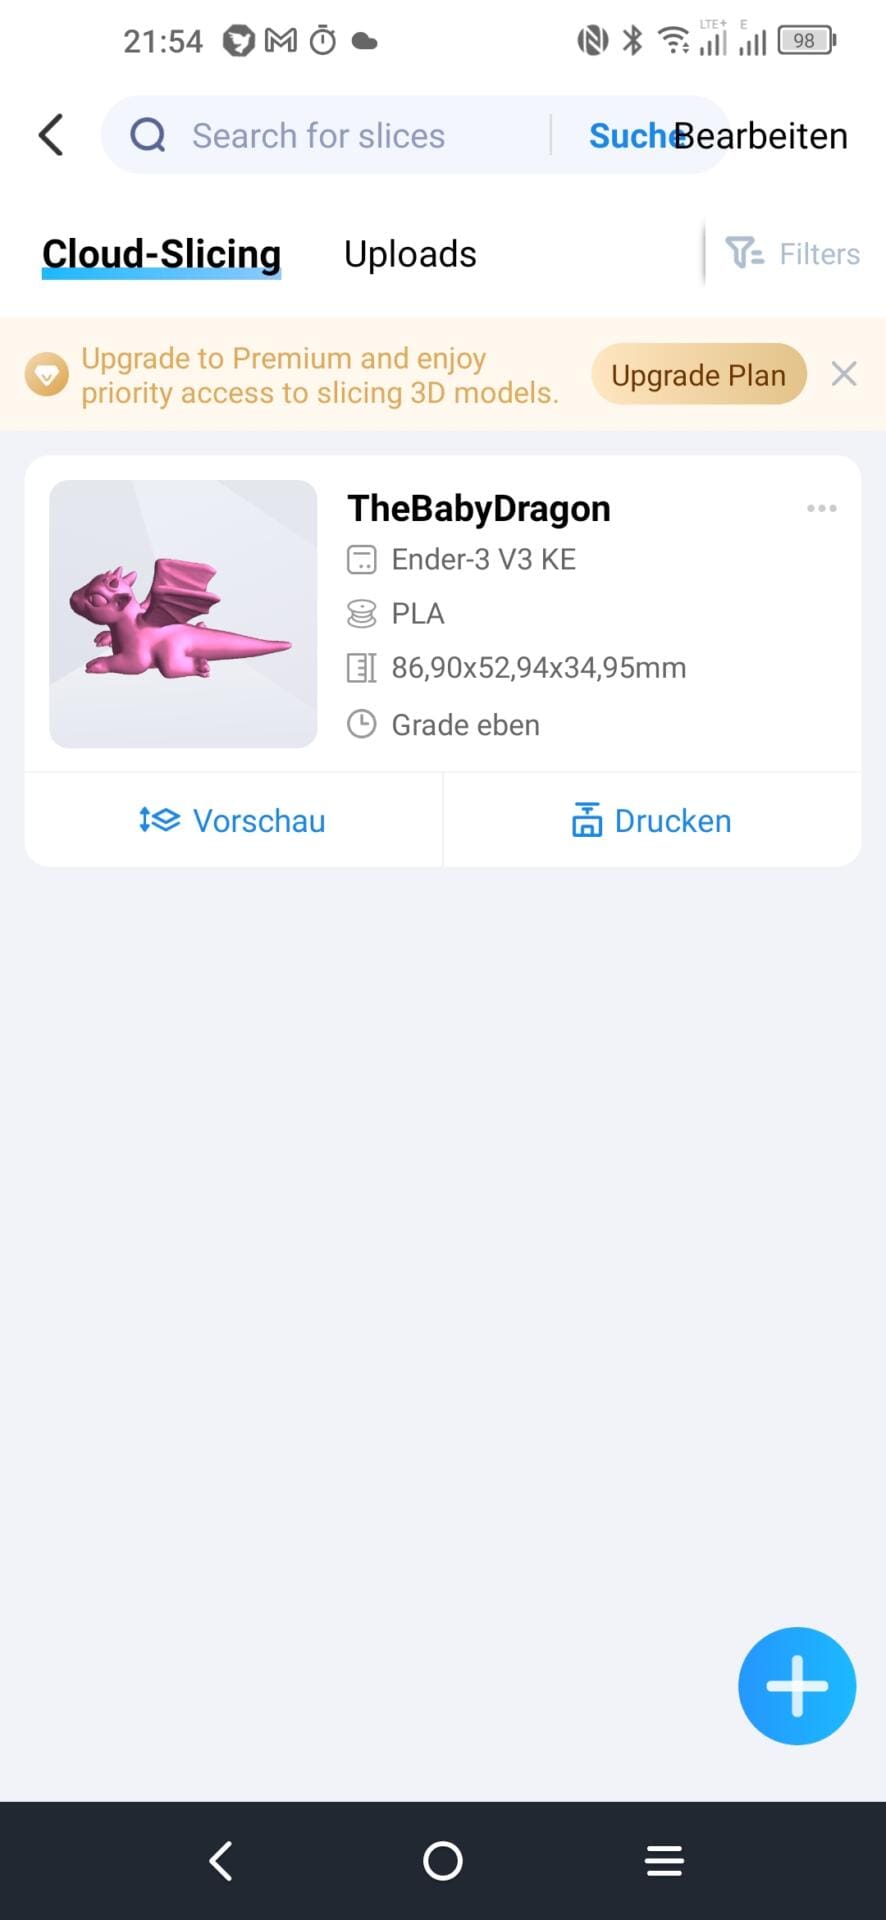
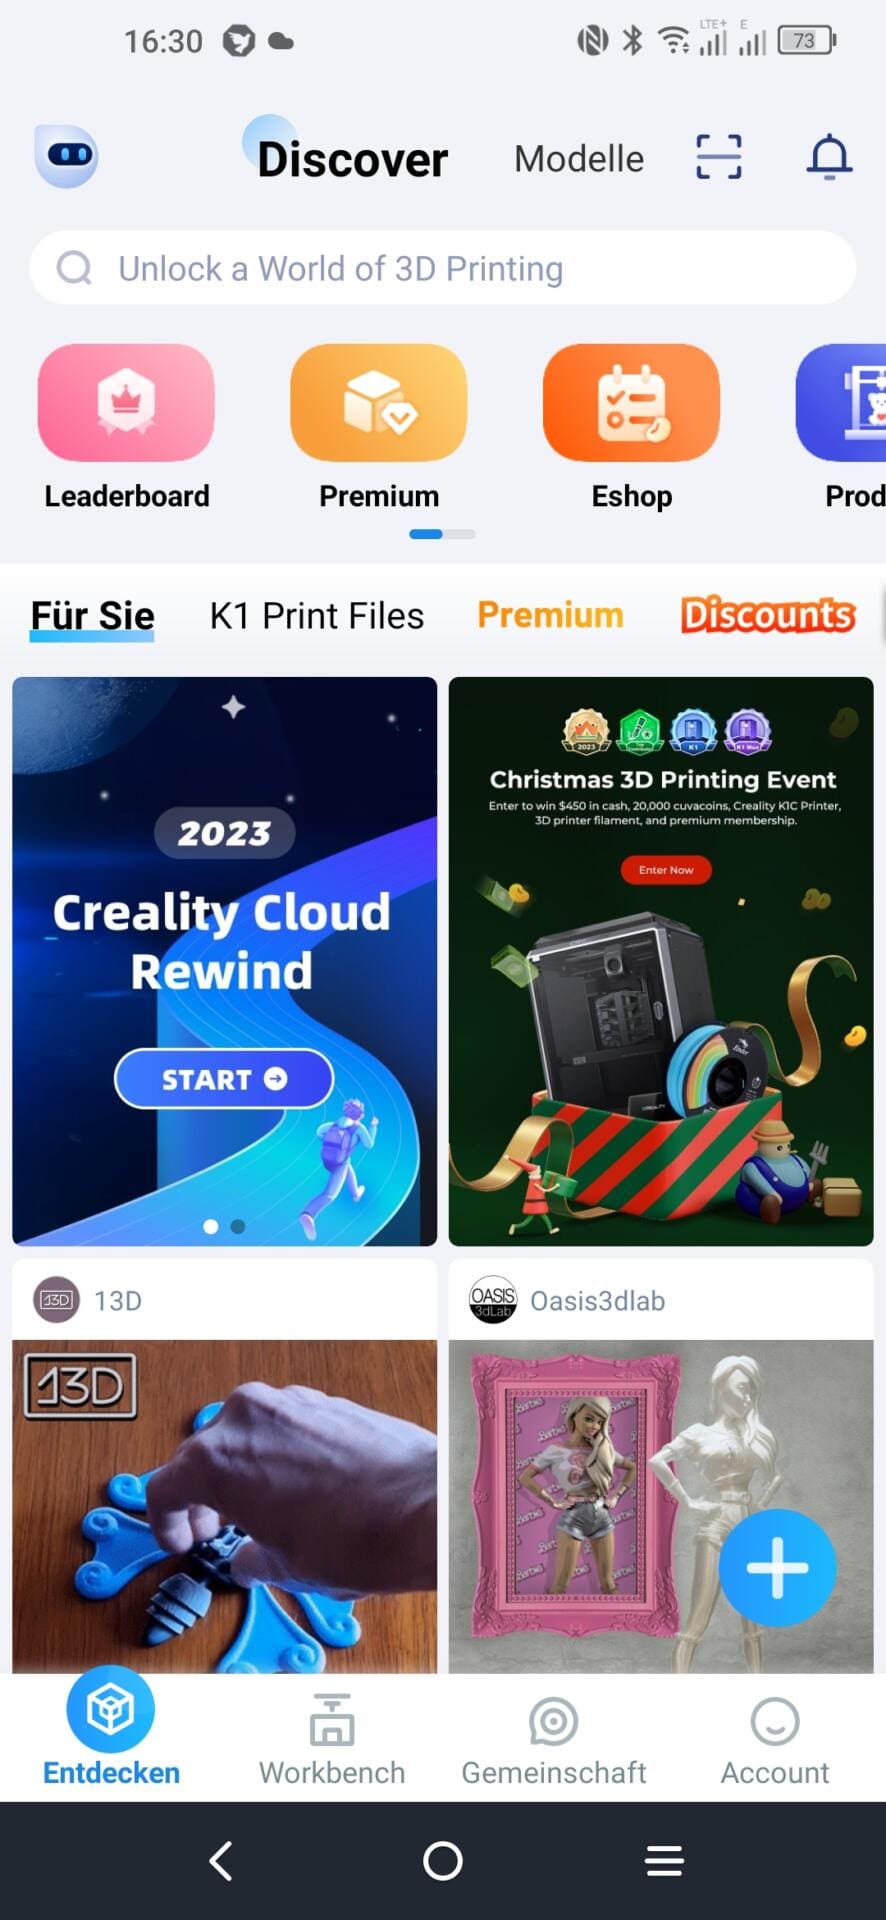
Search & print models
You can scroll through the models in the app under “Discover” and choose one. As I have children, I chose a kite. I haven’t had a chance to test my pink Geeetech filament yet. Let’s go!
Well, that was easy. And it was fun too, even if it was completely different from the computer.
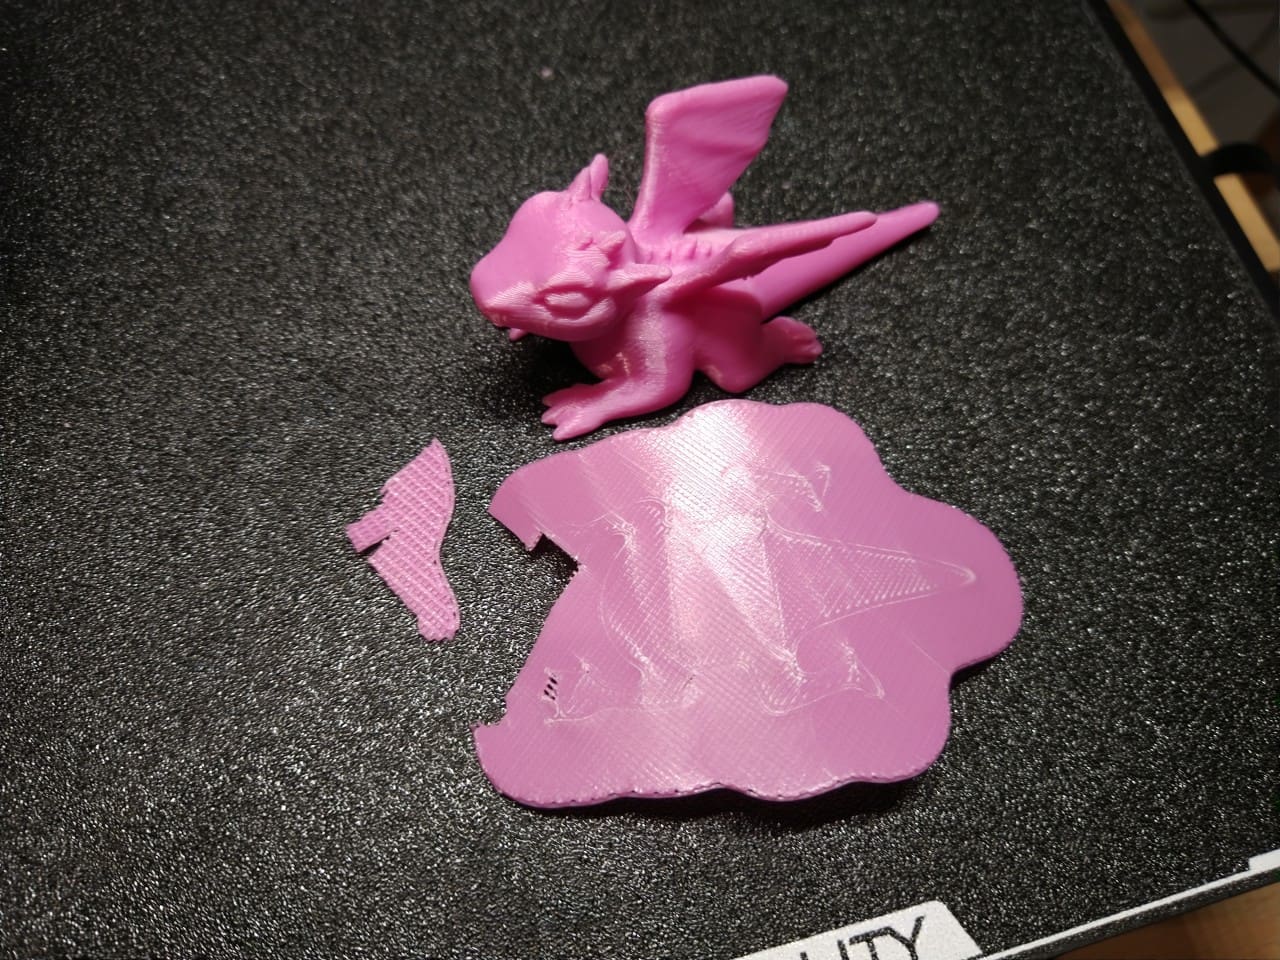
Result
The result is good. This time in normal resolution, i.e. with a layer height of 0.2 mm.
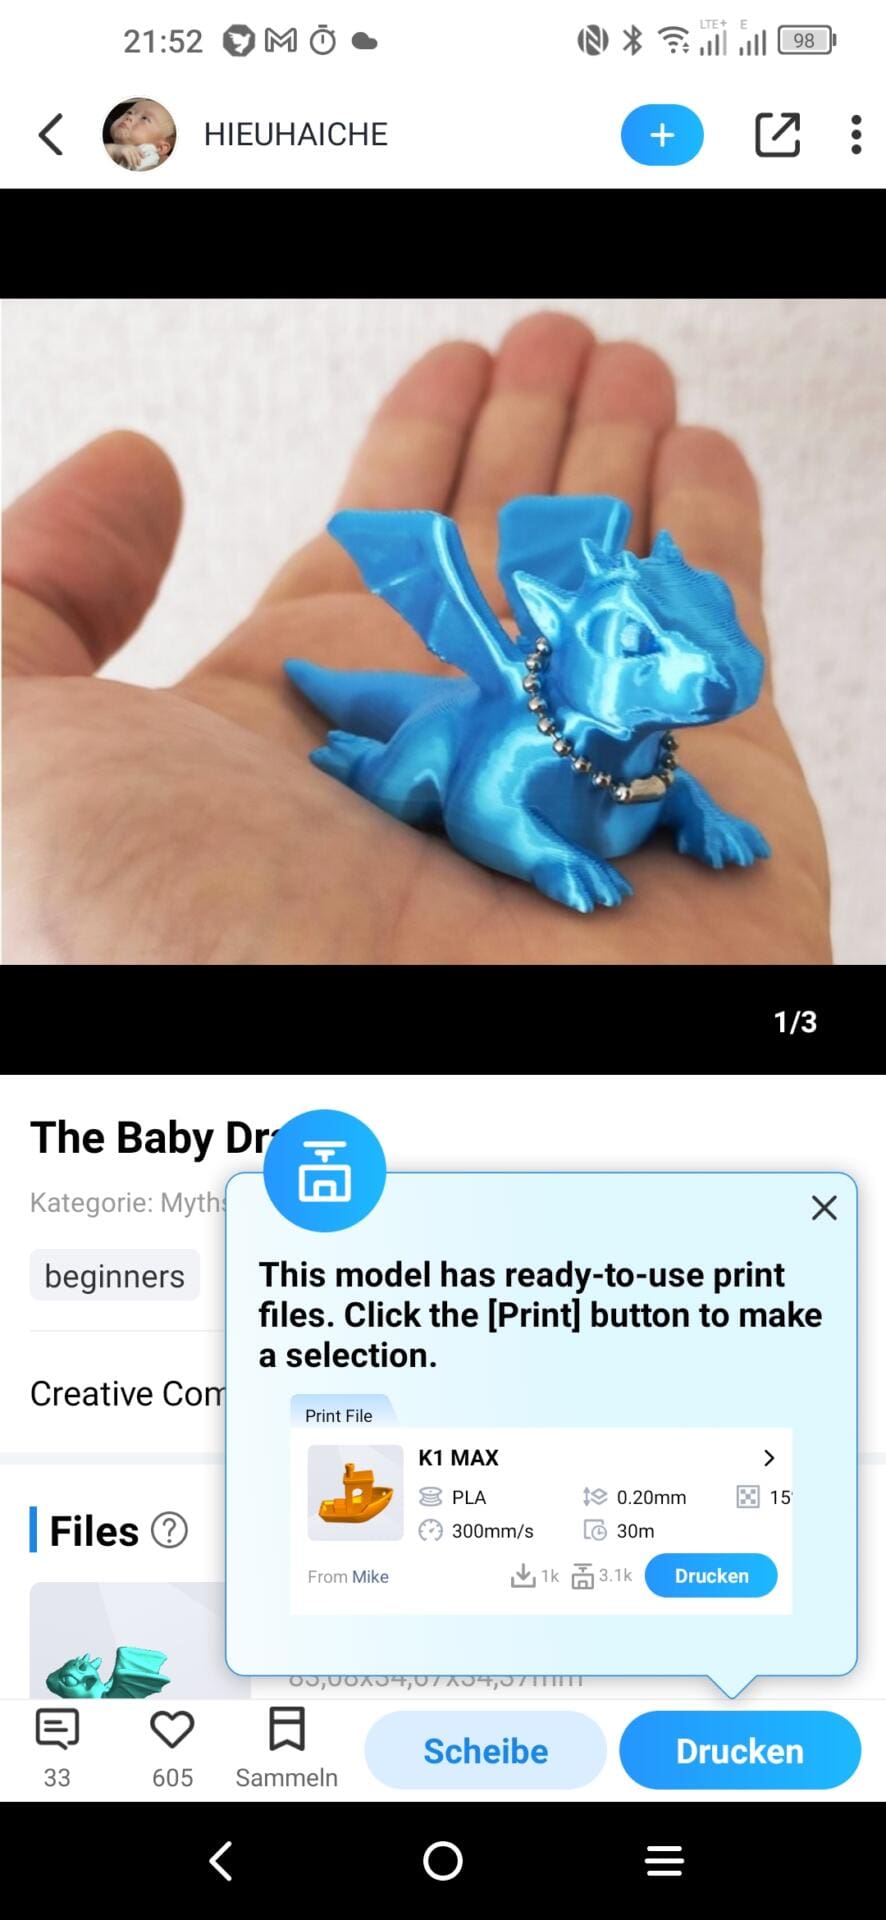
There are also ready-made models for your printer that can be printed out directly without having to be sliced first.
Print your own STL
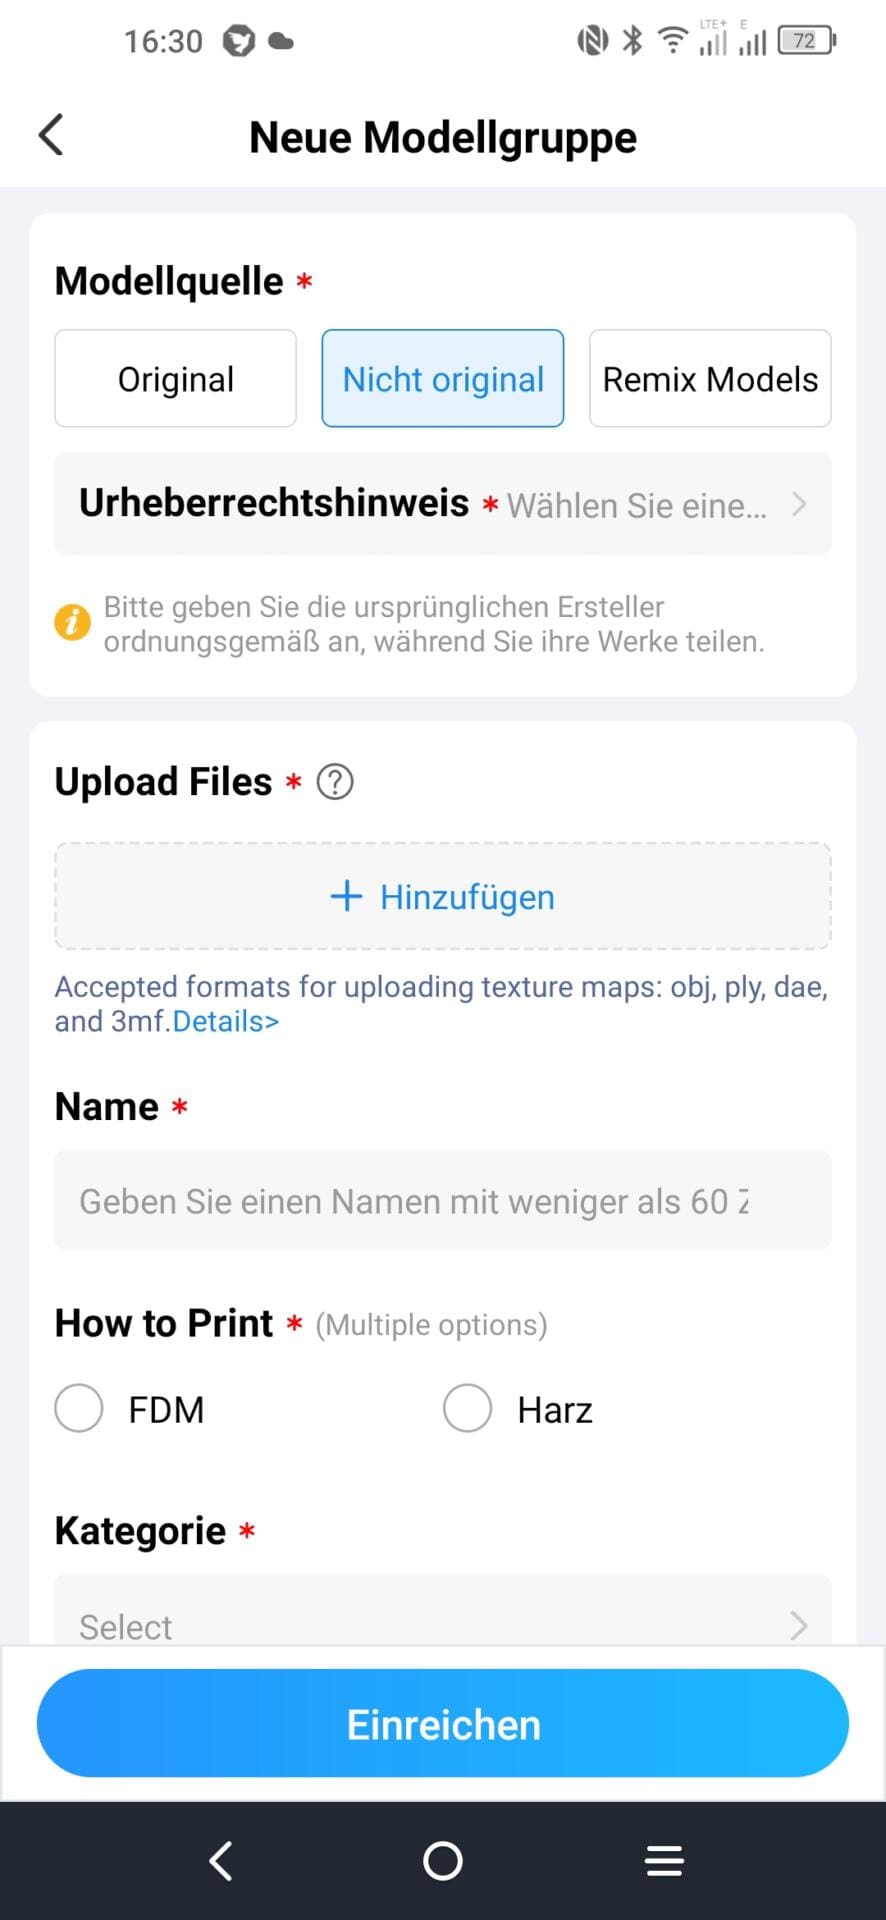
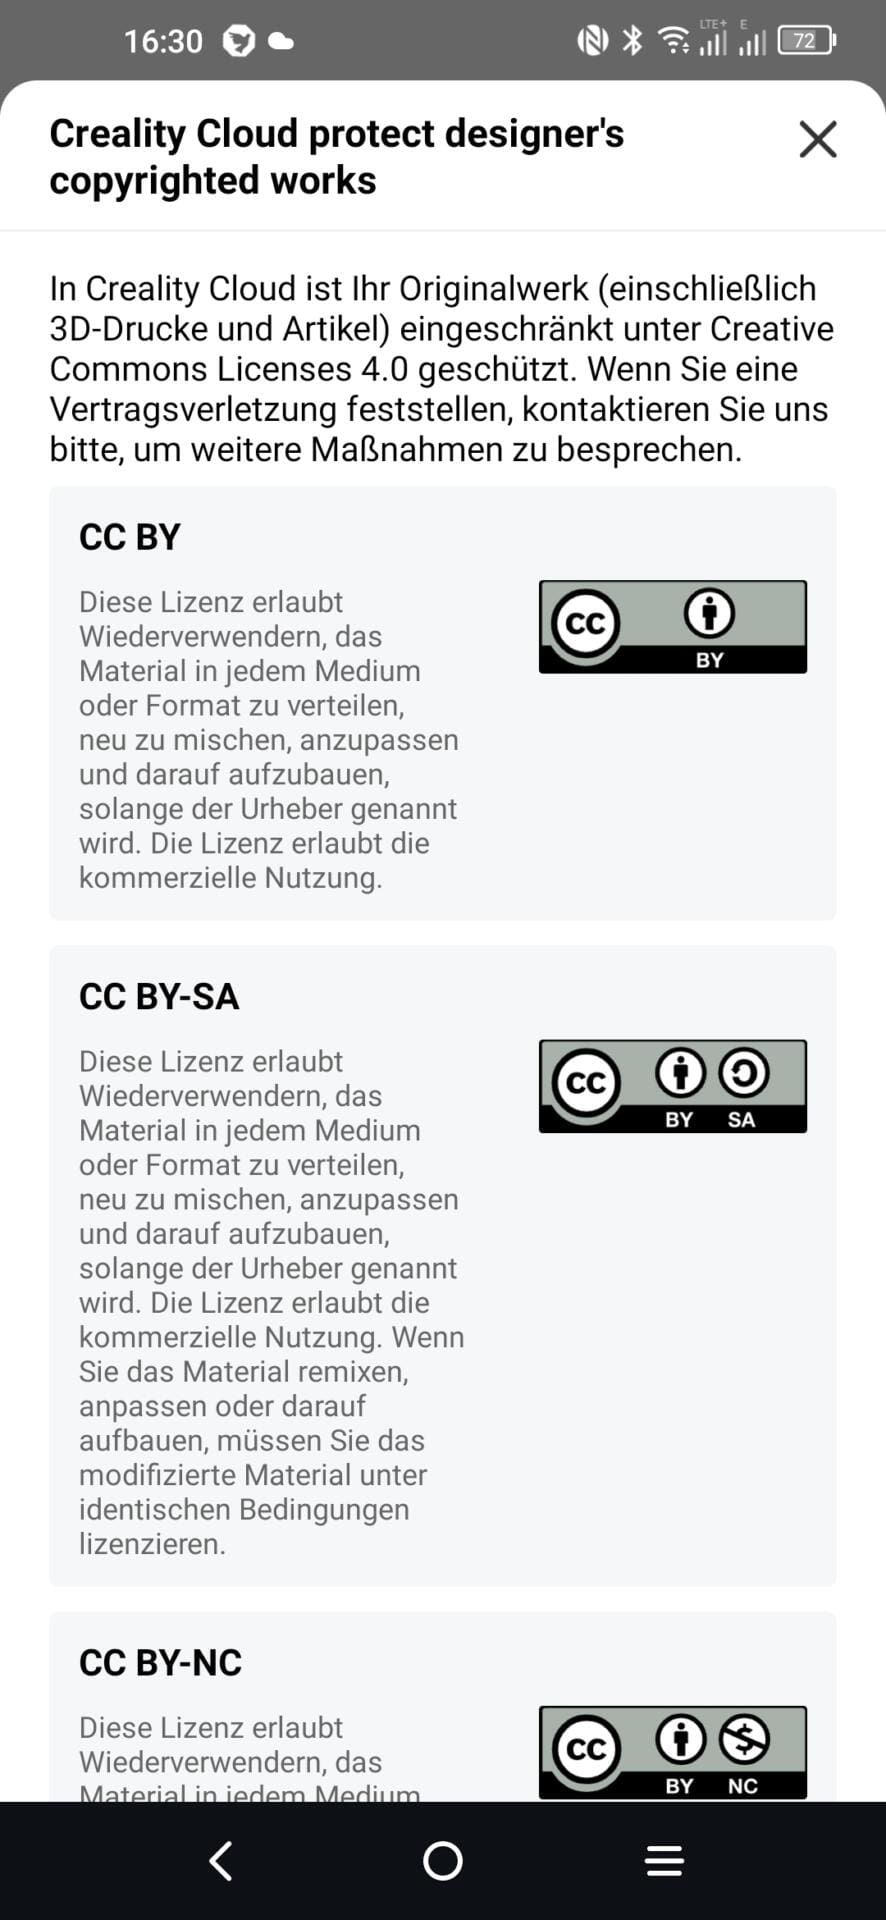
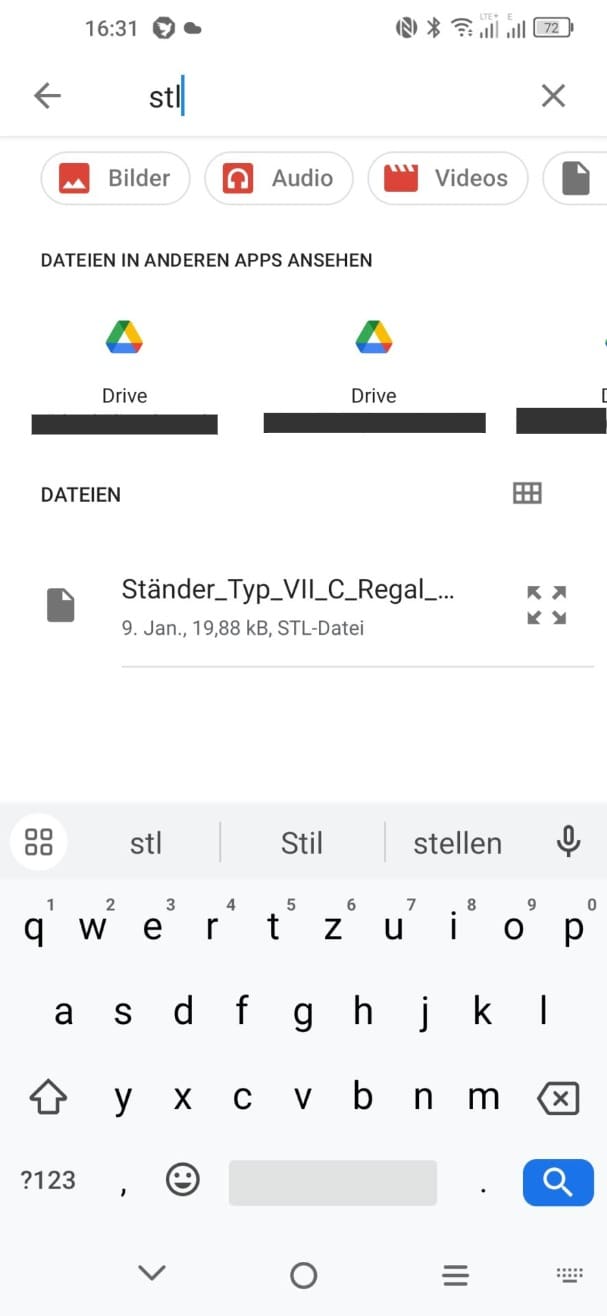
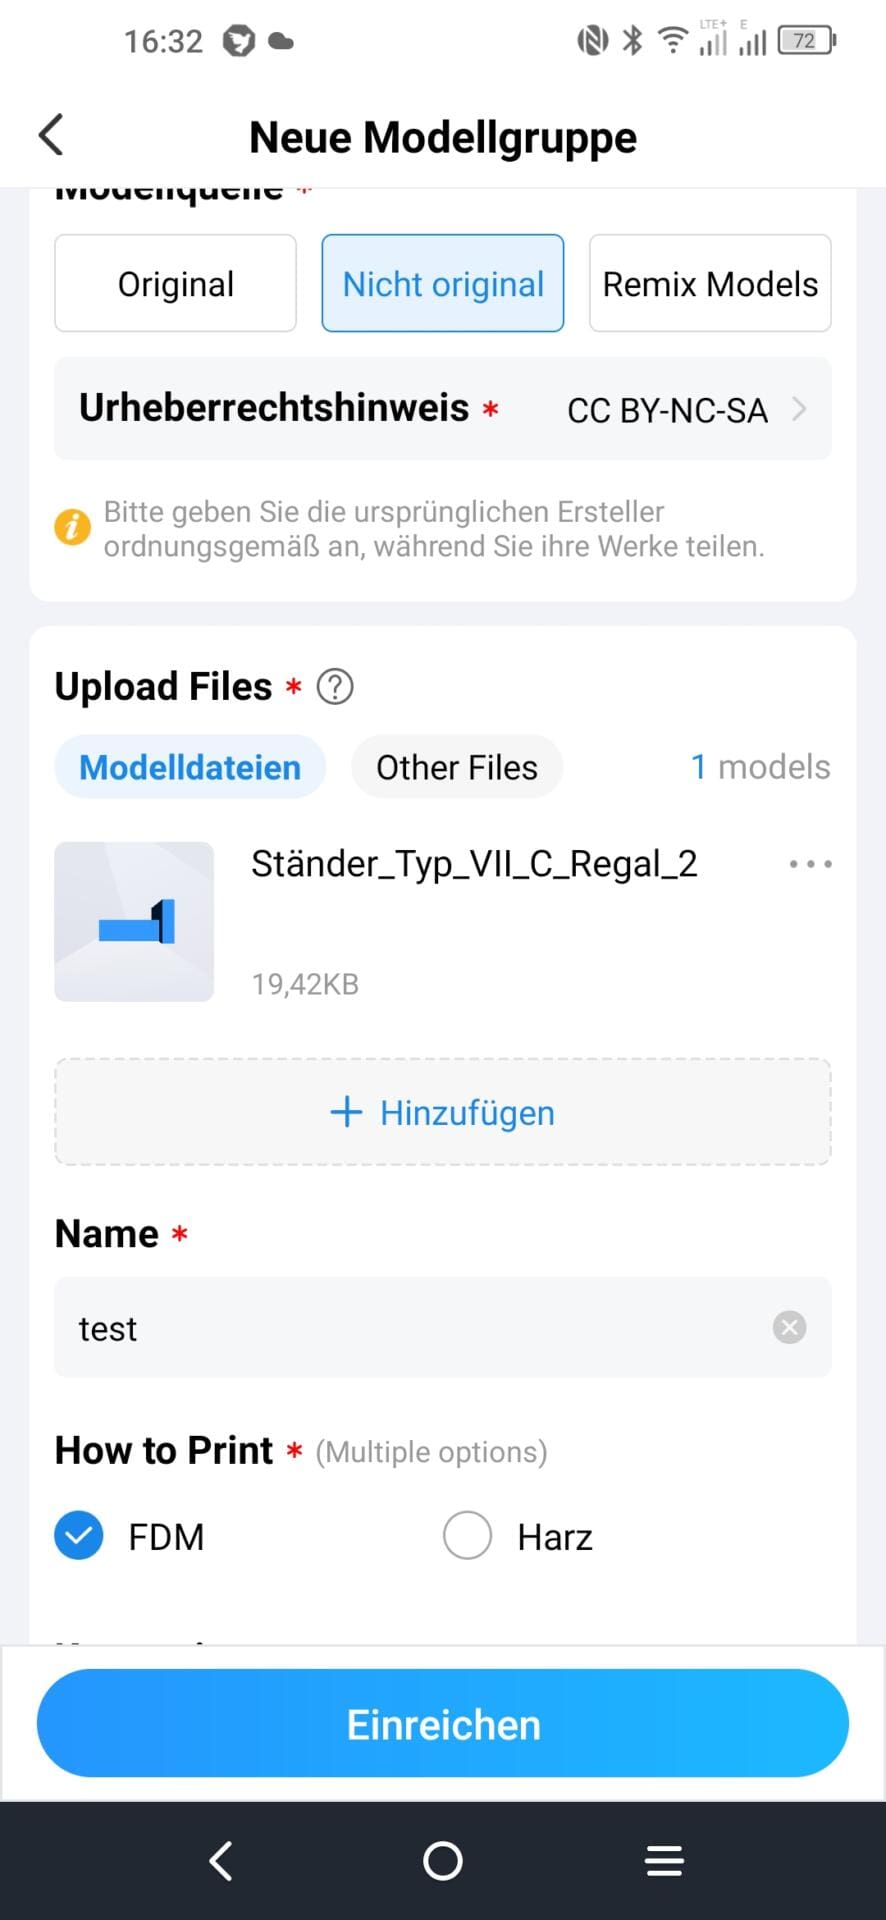
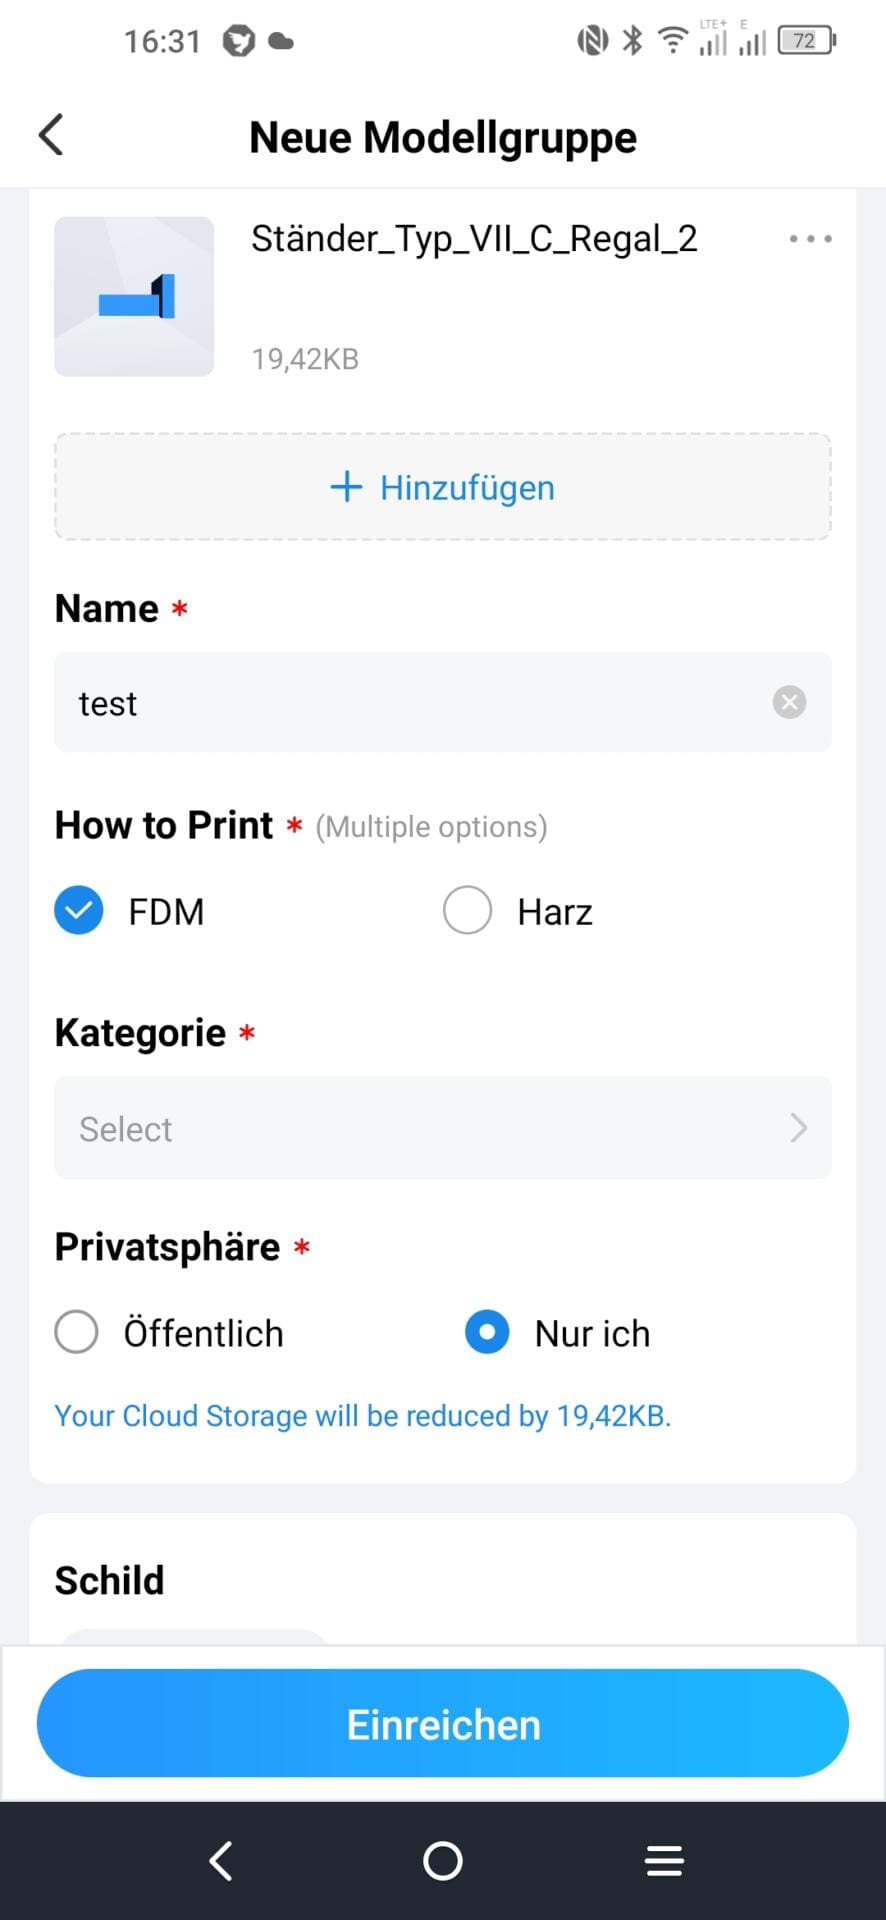
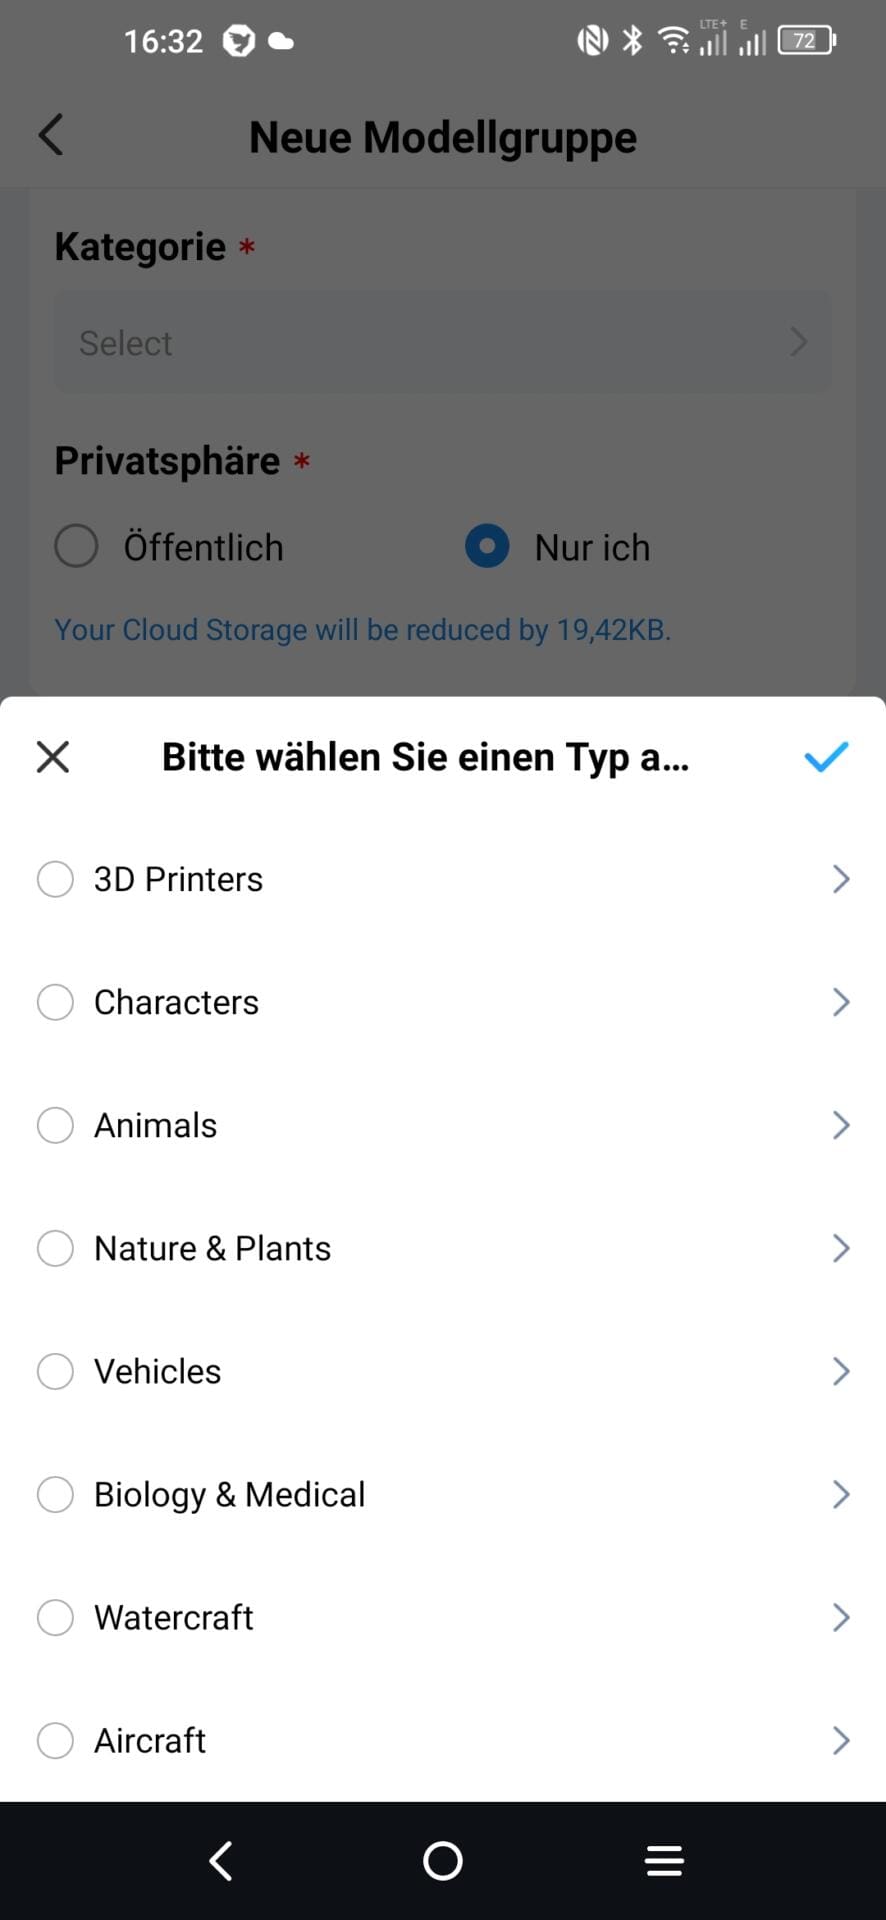
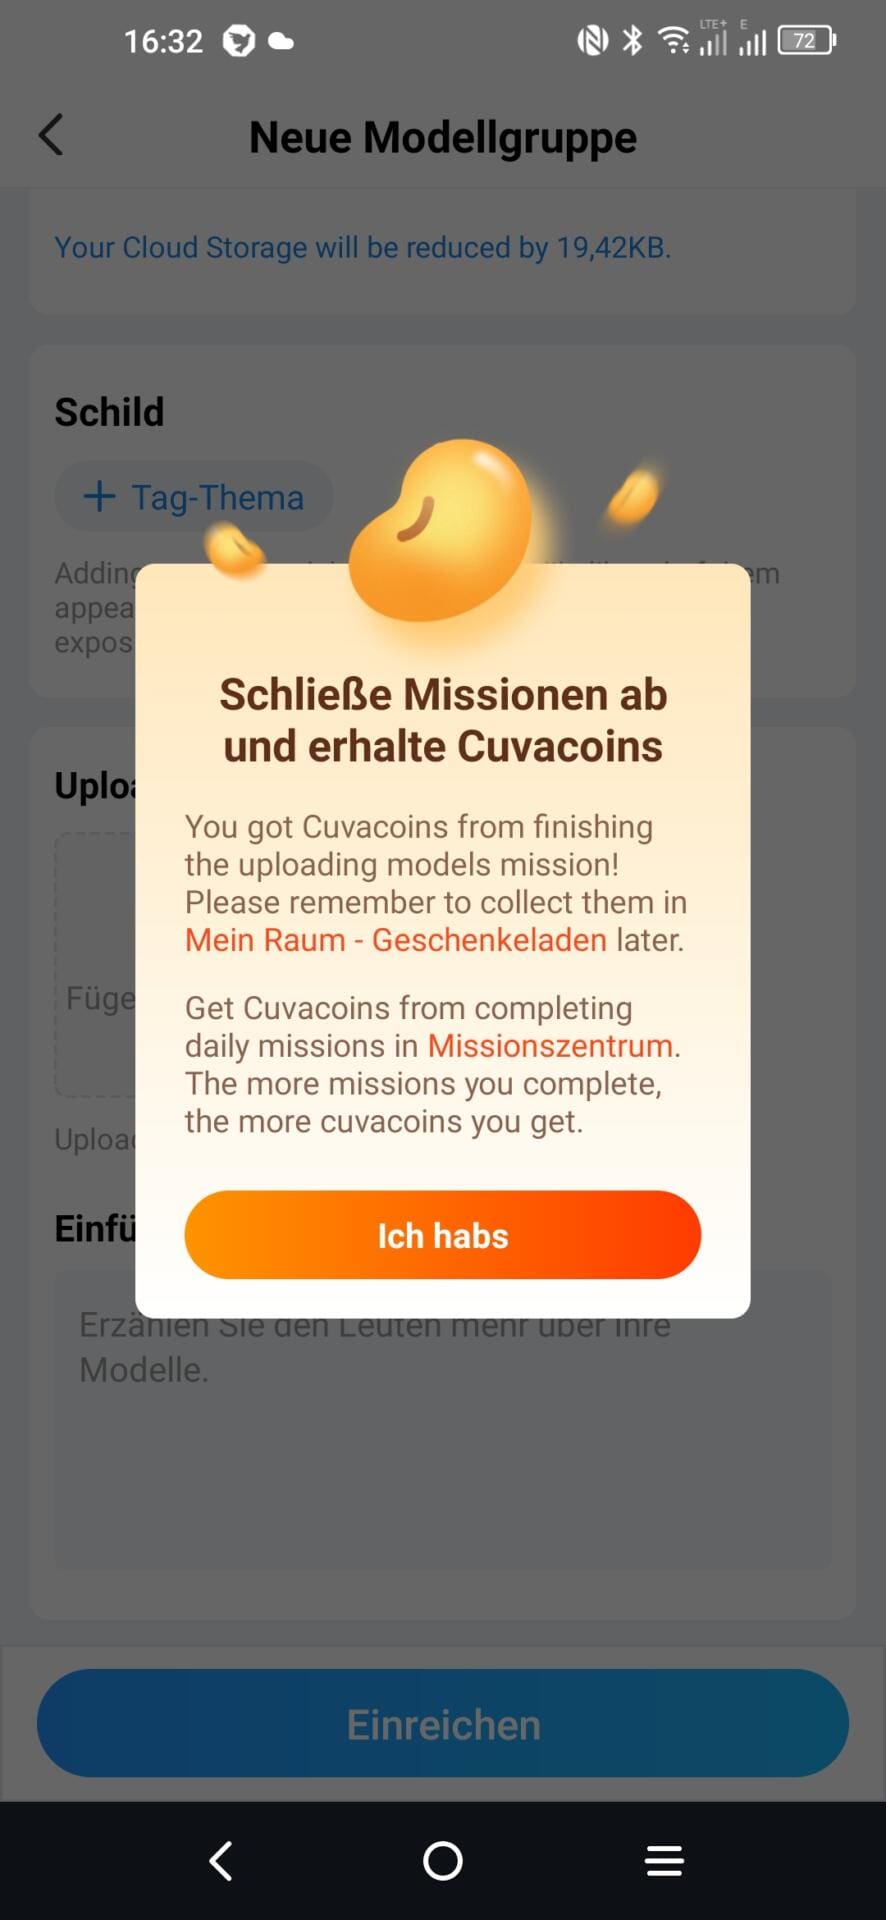
I was expecting to be able to use the app to cut and print my files or files that I have downloaded from another portal such as Thingiverse or Printables. Unfortunately, it’s not that easy. Although you can only upload files to the cloud for yourself, you still have to fill out a “form” for disclaimer reasons. The cloud is not a slicer on my computer where I can do what I like.
What’s more, and who could blame Creality, this increases the number of models they can offer, making the platform more attractive. Of course, only if you agree to the distribution when uploading the STL. However, this is only permitted for your models.
After a few hours (or days?), a large plus sign appears on the start page of the app. If you tap on it, you can upload an STL.
Cloud compulsion?
No! Thank goodness, the cloud is really only optional.
Handling
The printer is straightforward to use — primarily for beginners. After switching on for the first time and configuring the WLAN, the printer levels itself fully automatically. Even the Z-offset is set — perfectly. I have run the automatic levelling several times and have not noticed any errors in the subsequent printing.
Stability
I like the wide solid rubber blocks, on which the printer stands absolutely non-slip. They may look cheap, but they ensure that the printer doesn’t slip an inch when printing, even on smooth surfaces. They also effectively dampen the printer’s vibrations so that the tabletop doesn’t become a resonating body.
Who pays attention to this? Not me so far. But to make room for photos, I’ve just tried moving my printers over the tabletop. They all worked flawlessly. Only the Ender successfully resisted. I like it when someone pays attention to the little things during development. Wonderful.
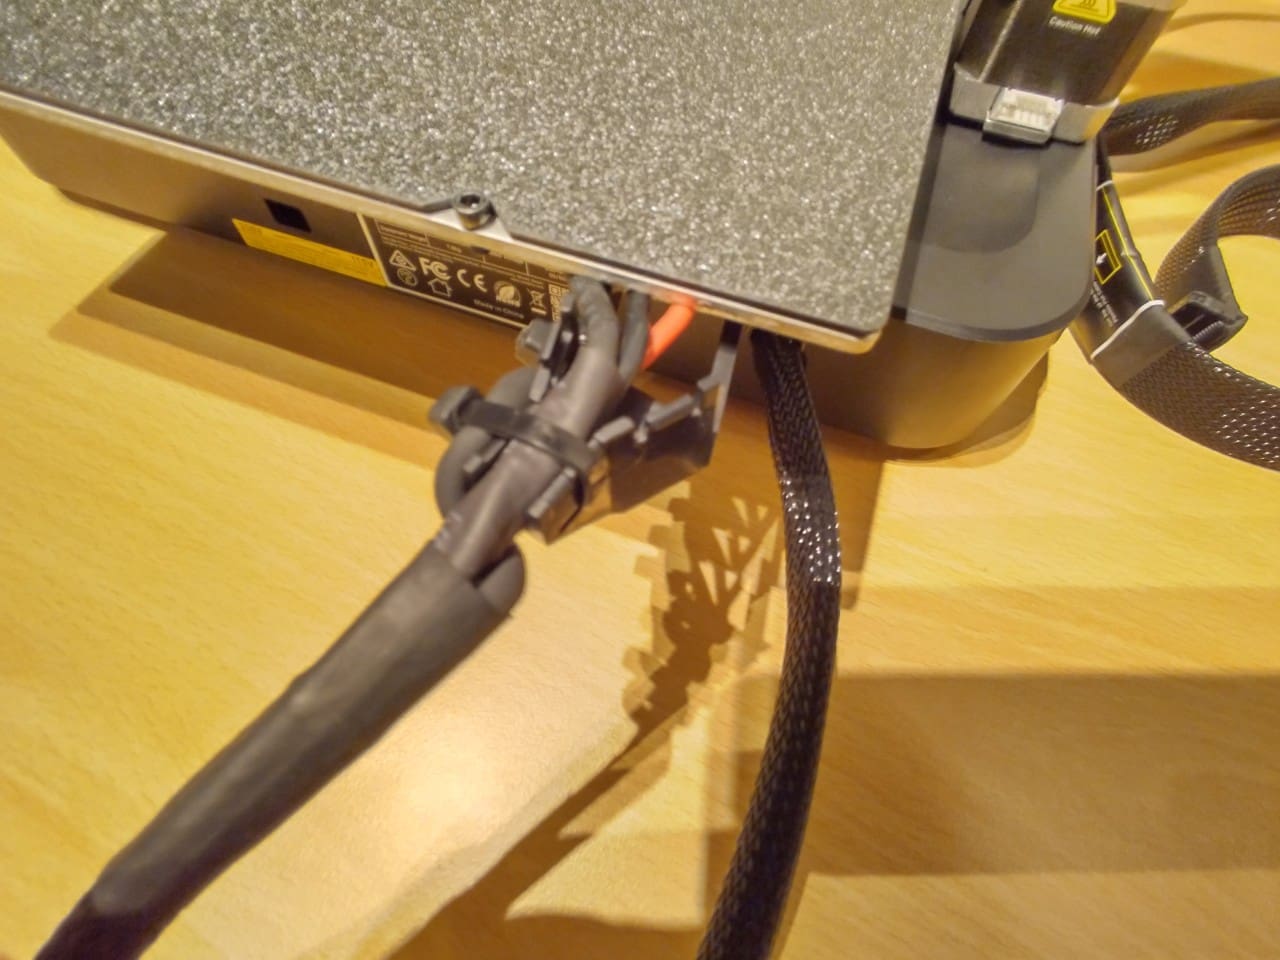
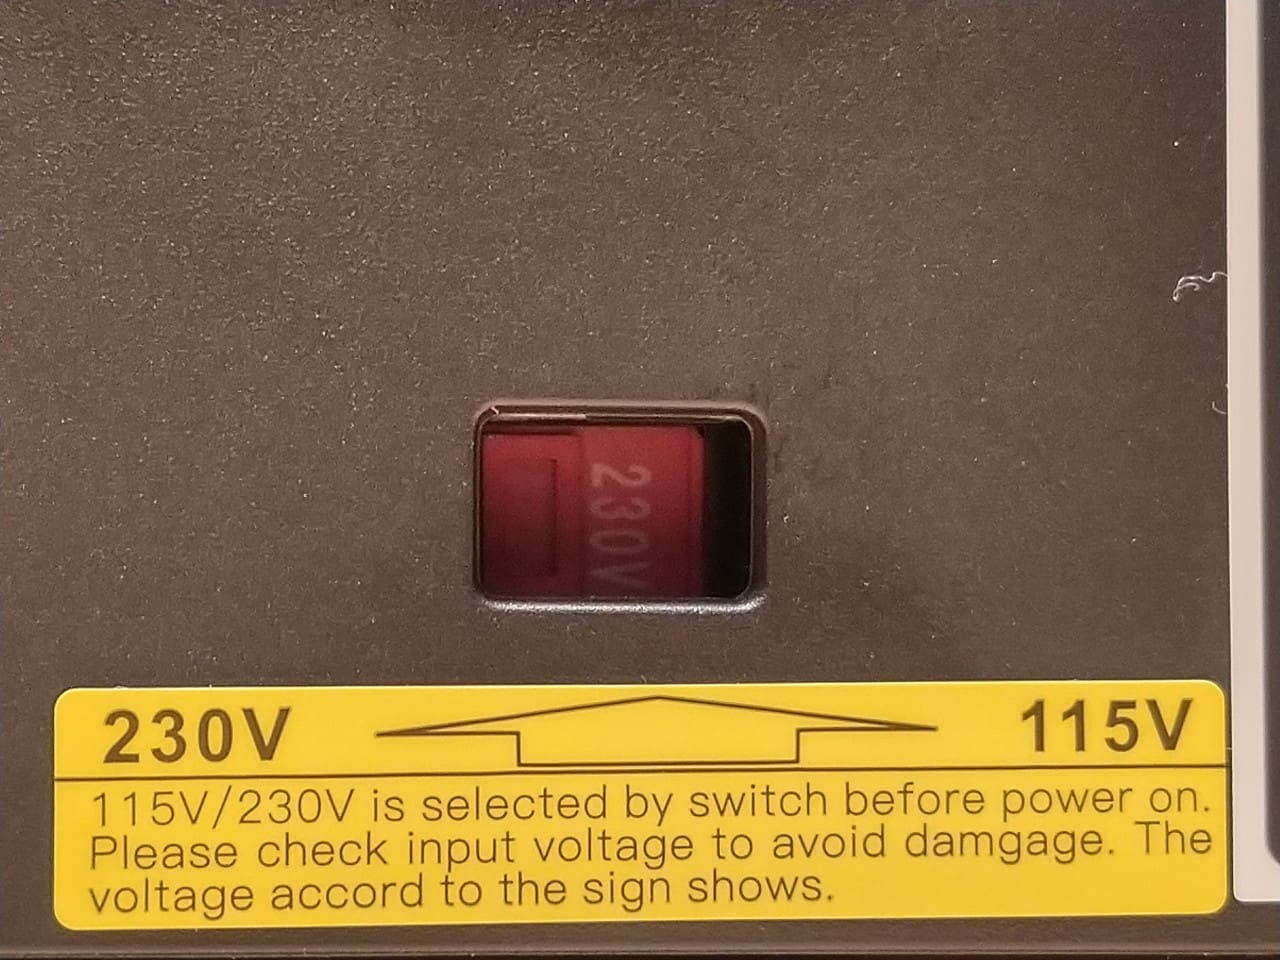
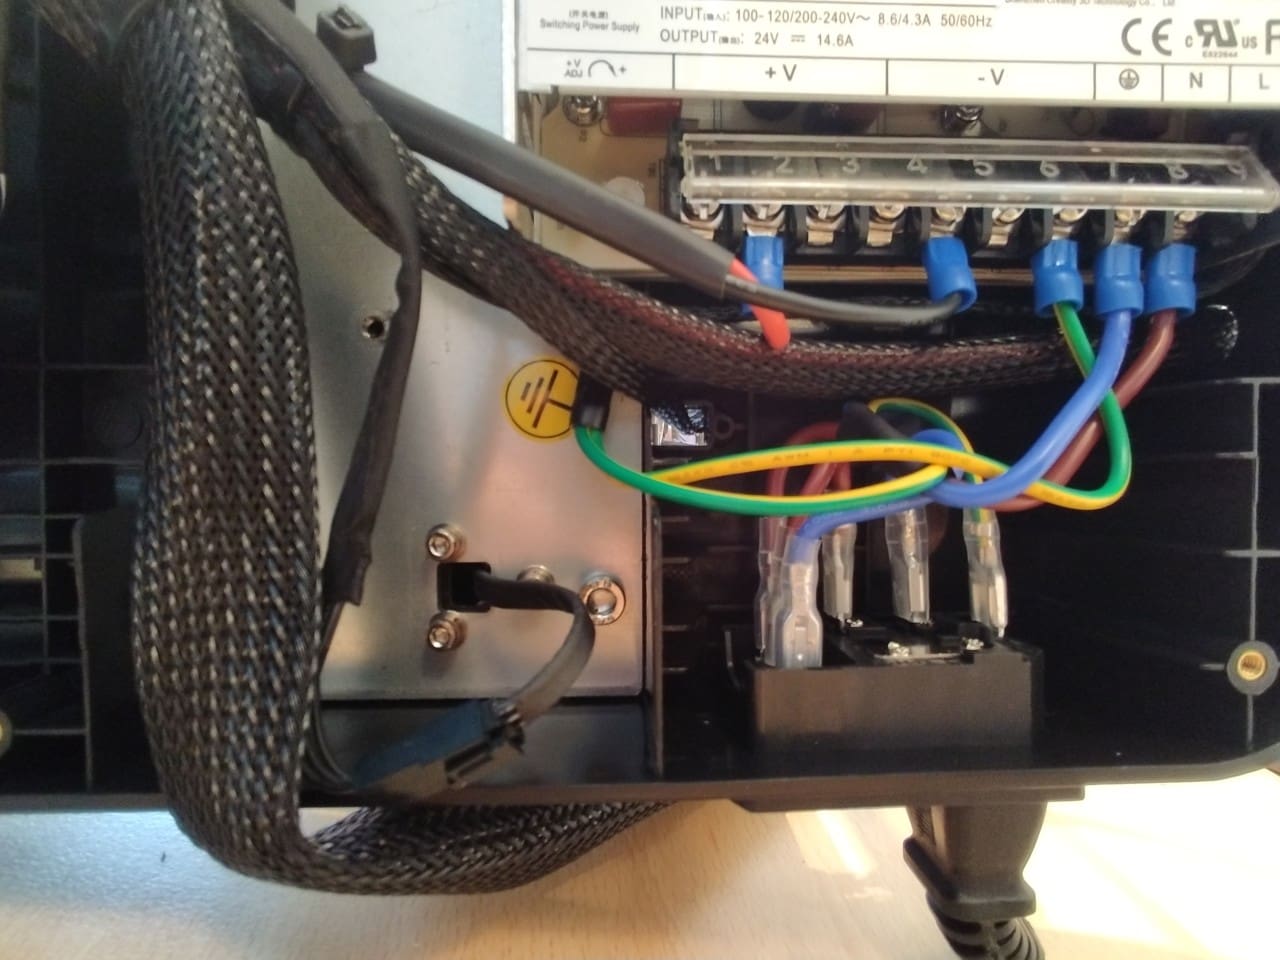
Power connection
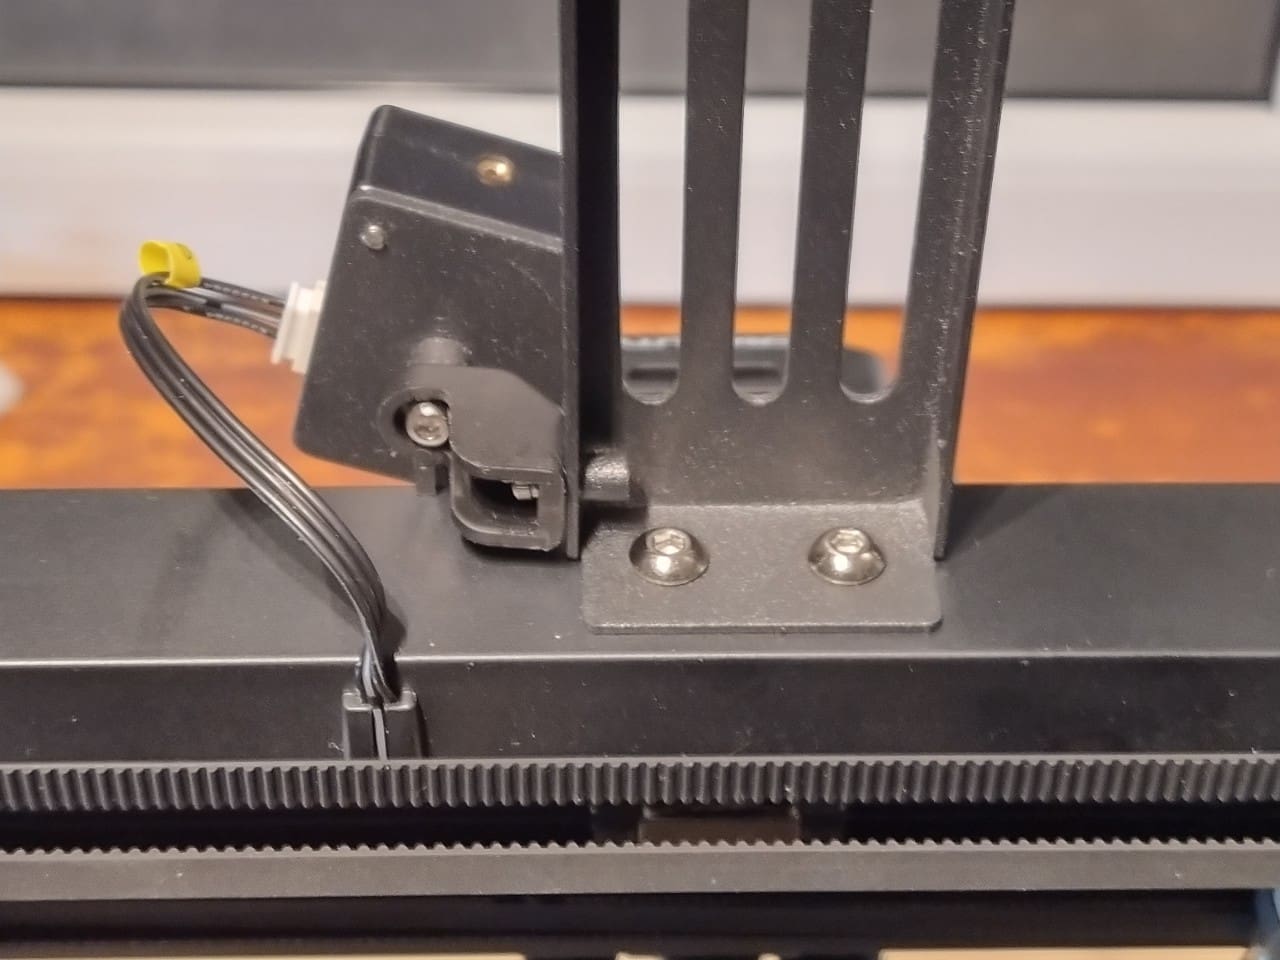
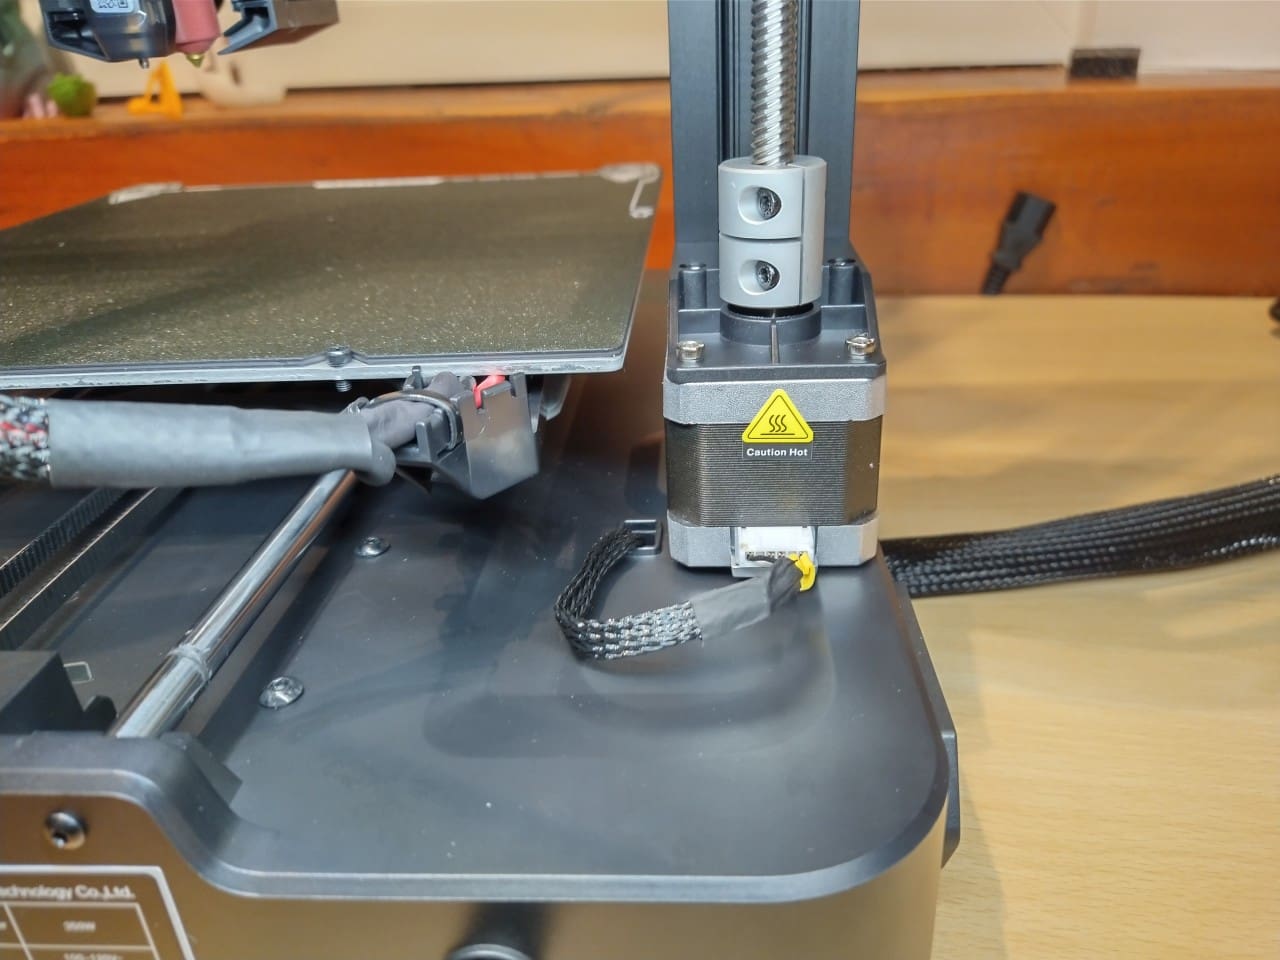
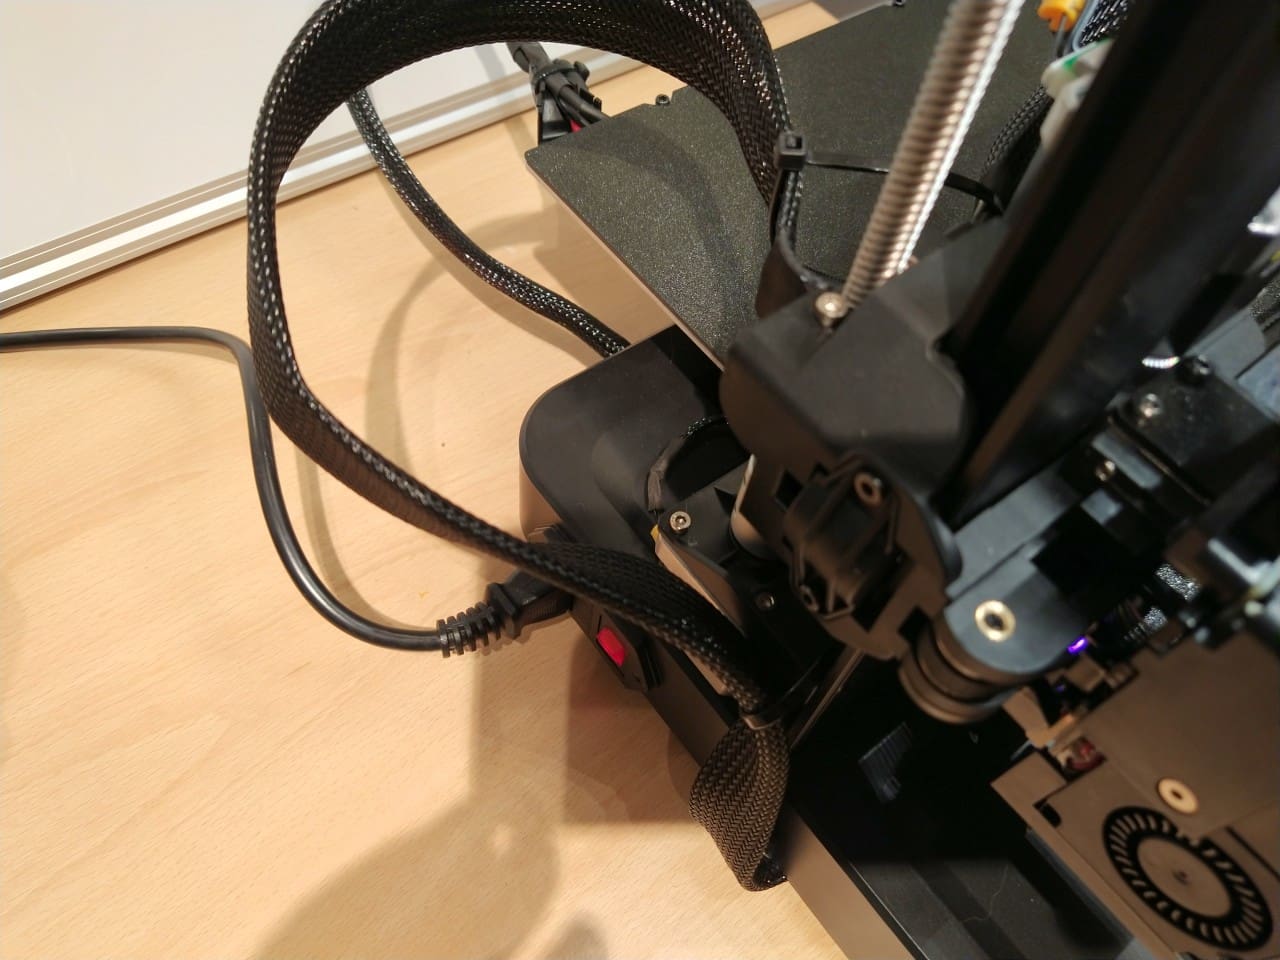
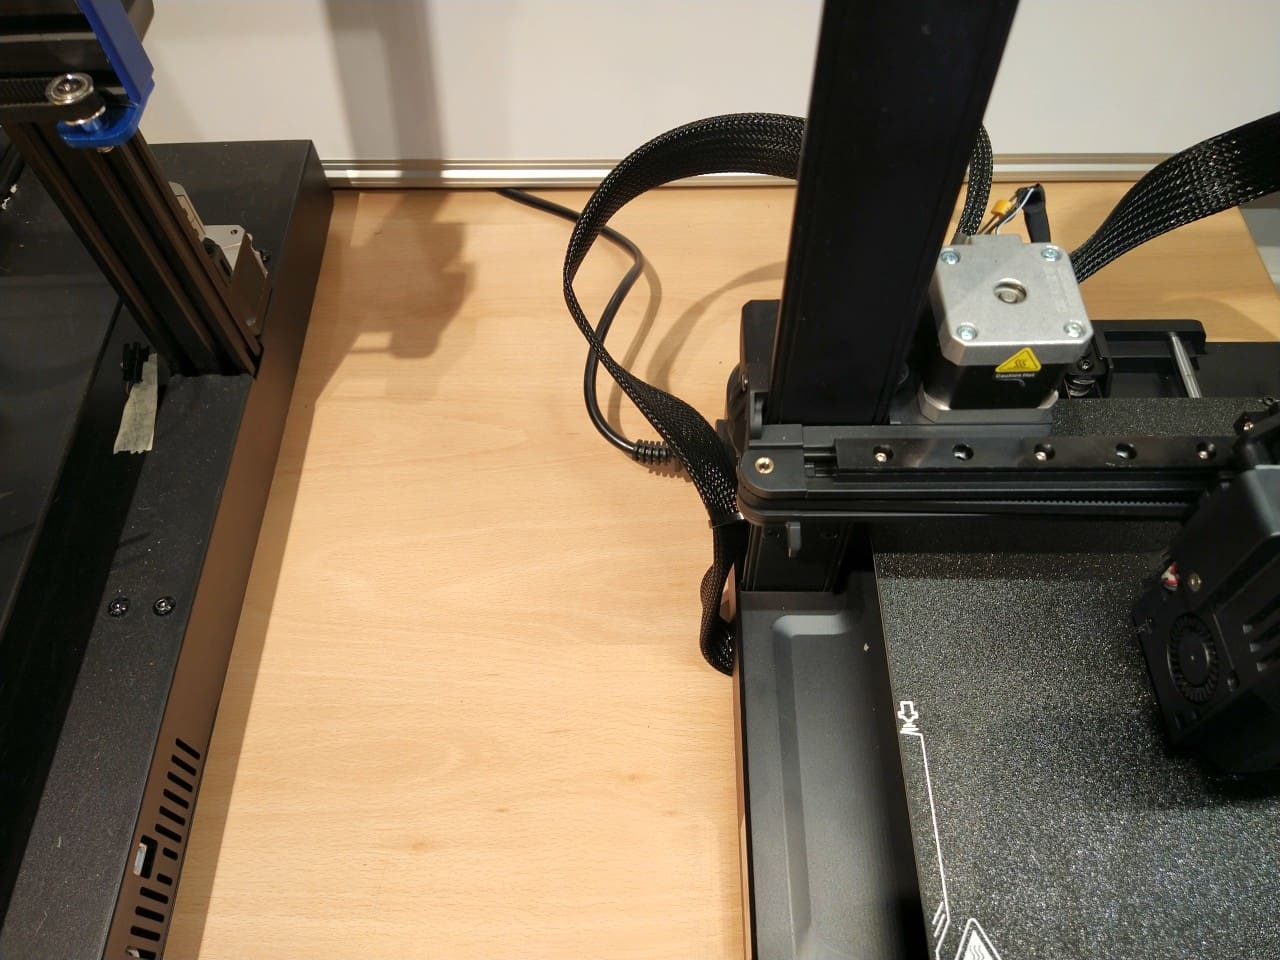
The power switch is large, red and illuminated. It is in an excellent position and easy to reach. The only thing that bothers me is that the power cable runs to the side of the printer. It would have been nicer if it was at the back. There are no such cables, but there are angled adapters. Yes, complaining at an extremely high level.
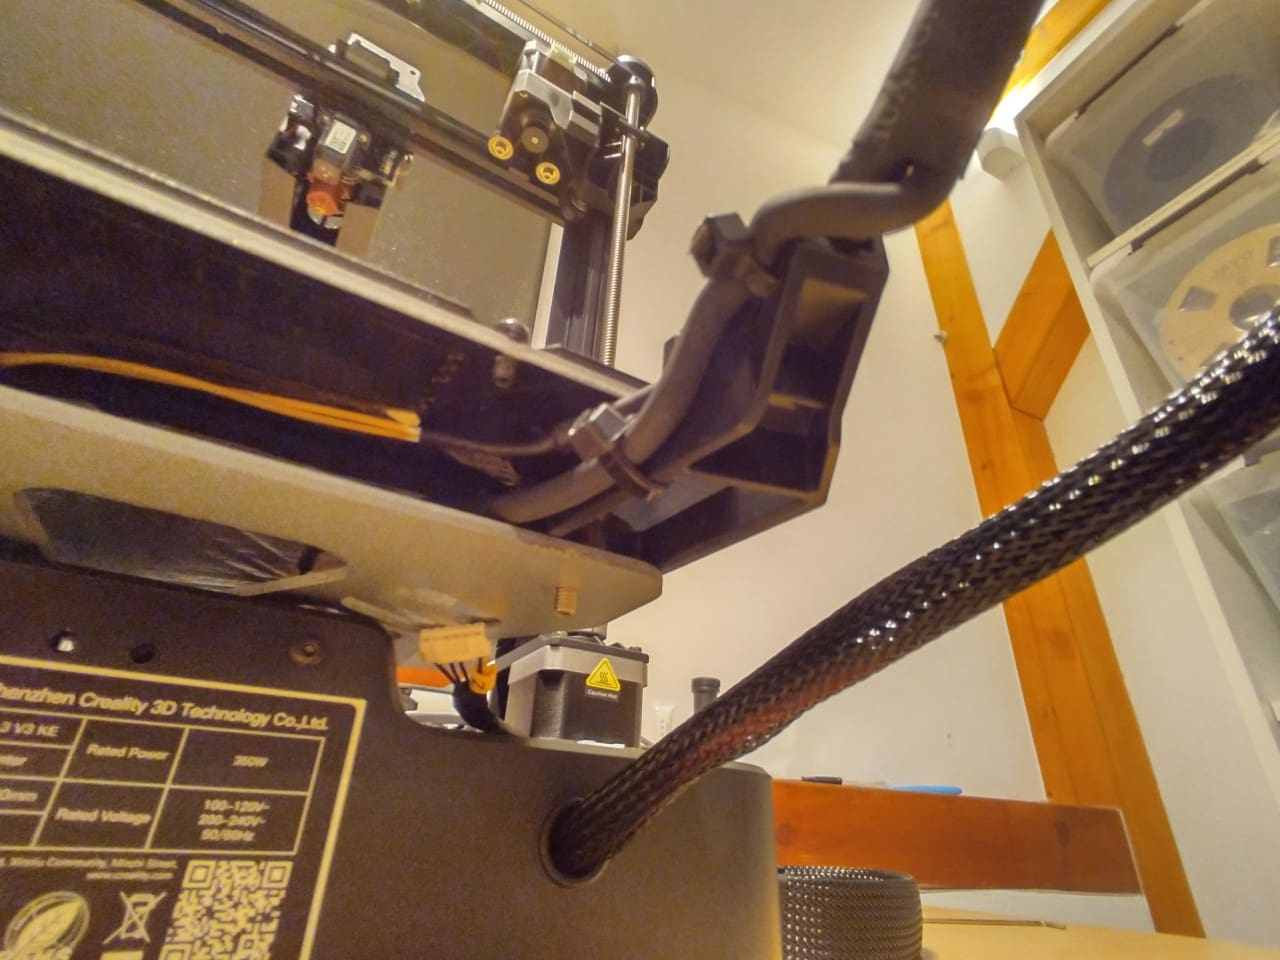
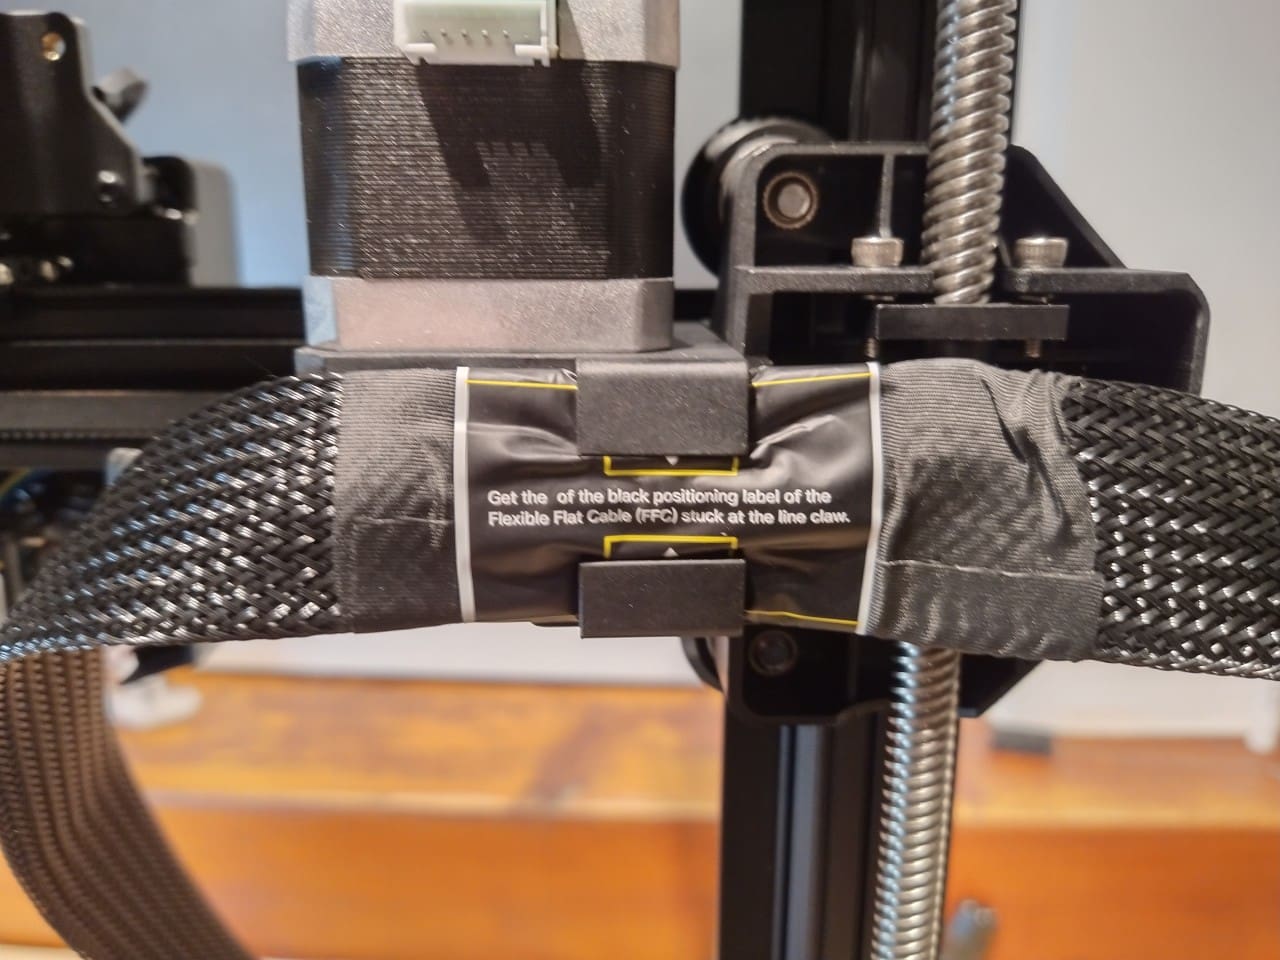
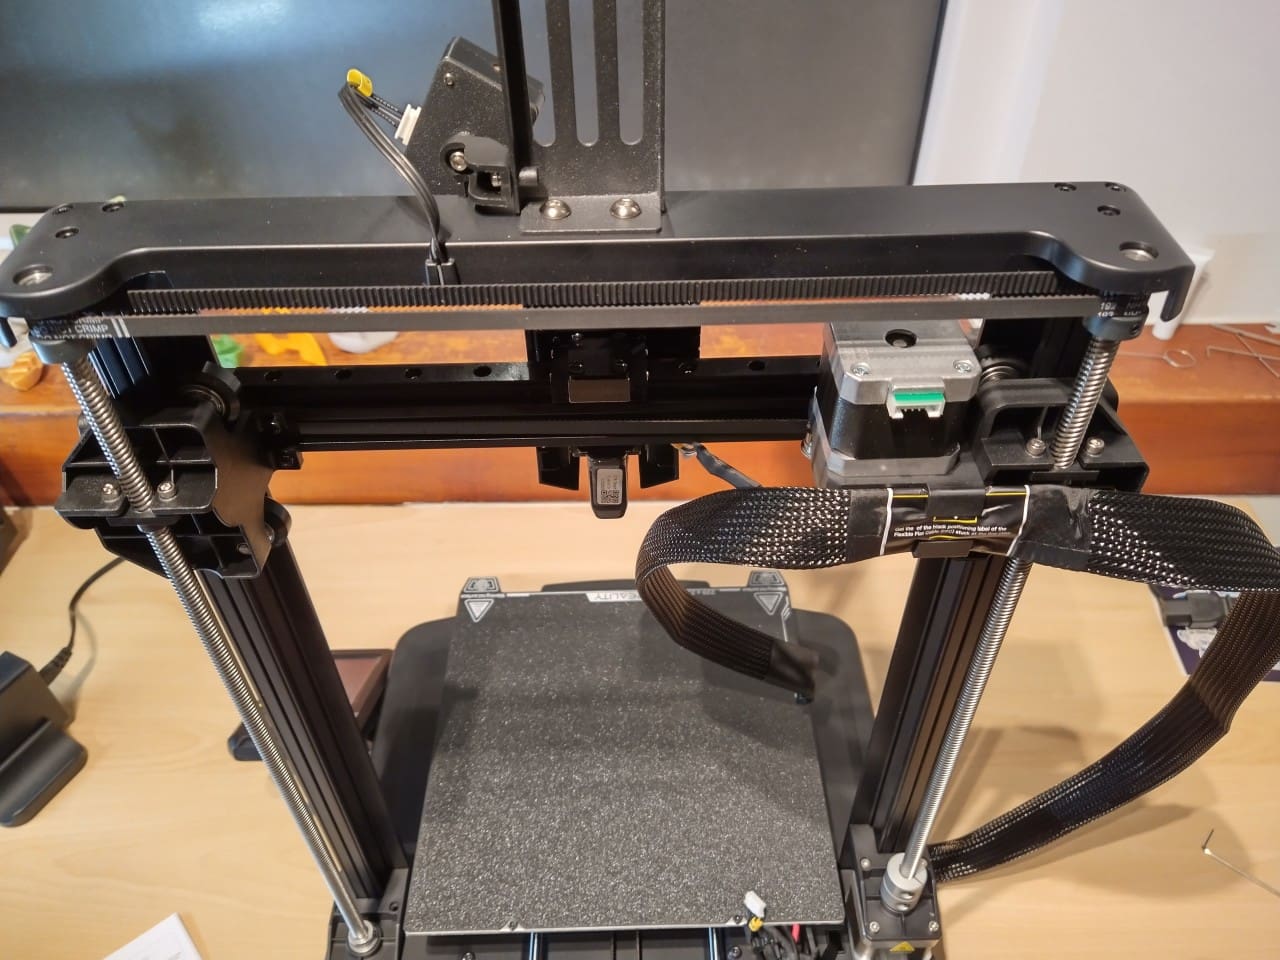
But while I’m at it: The X-axis cable sticks out too far for me. So I quickly used two cable ties to bring the cable a little closer to the printer. That doesn’t interfere with the function.
The printer’s portal, or more precisely the two vertical struts, are connected to the protective conductor and could be rung through.
Filament change
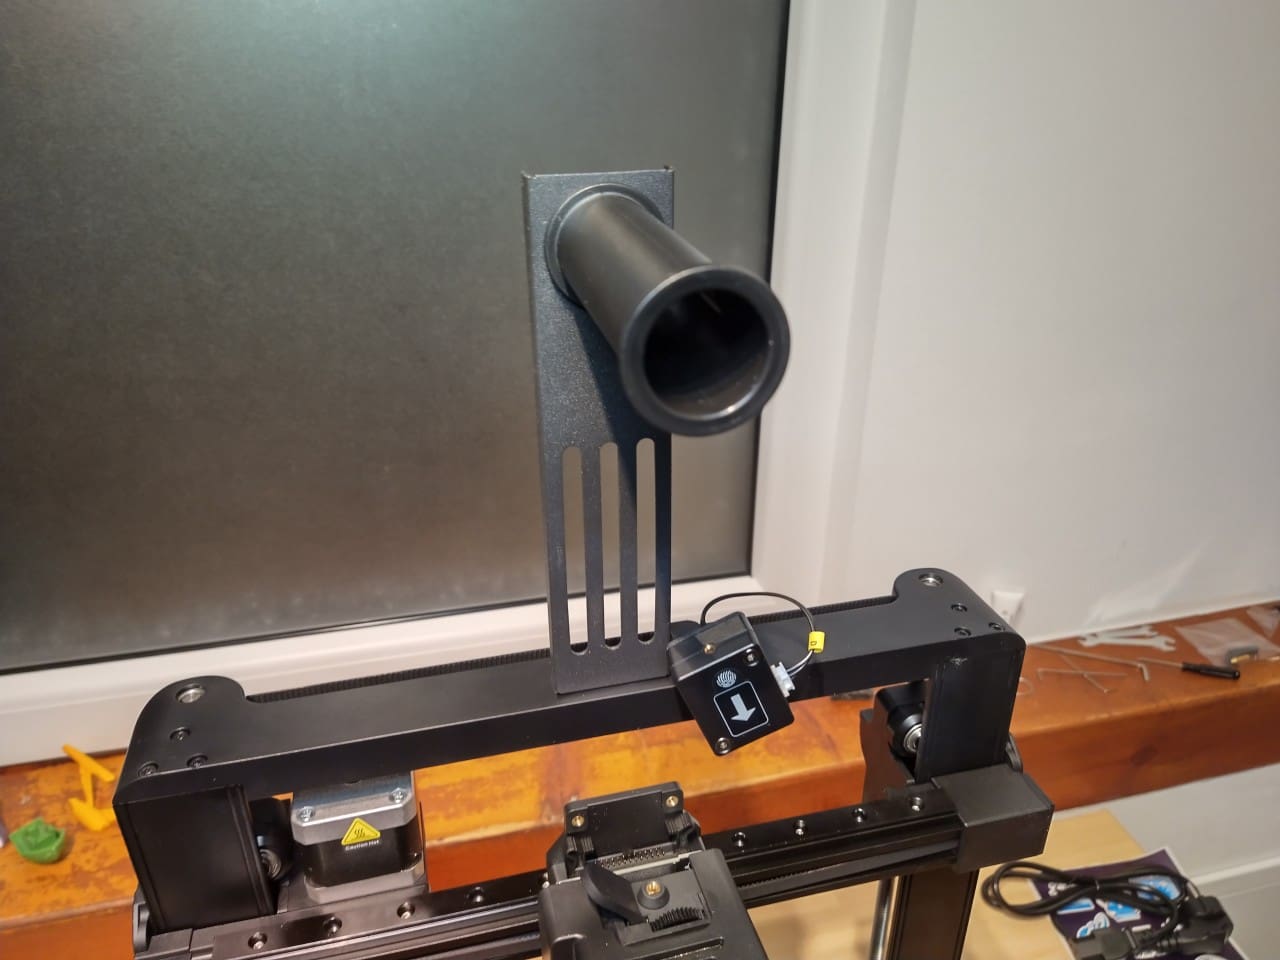
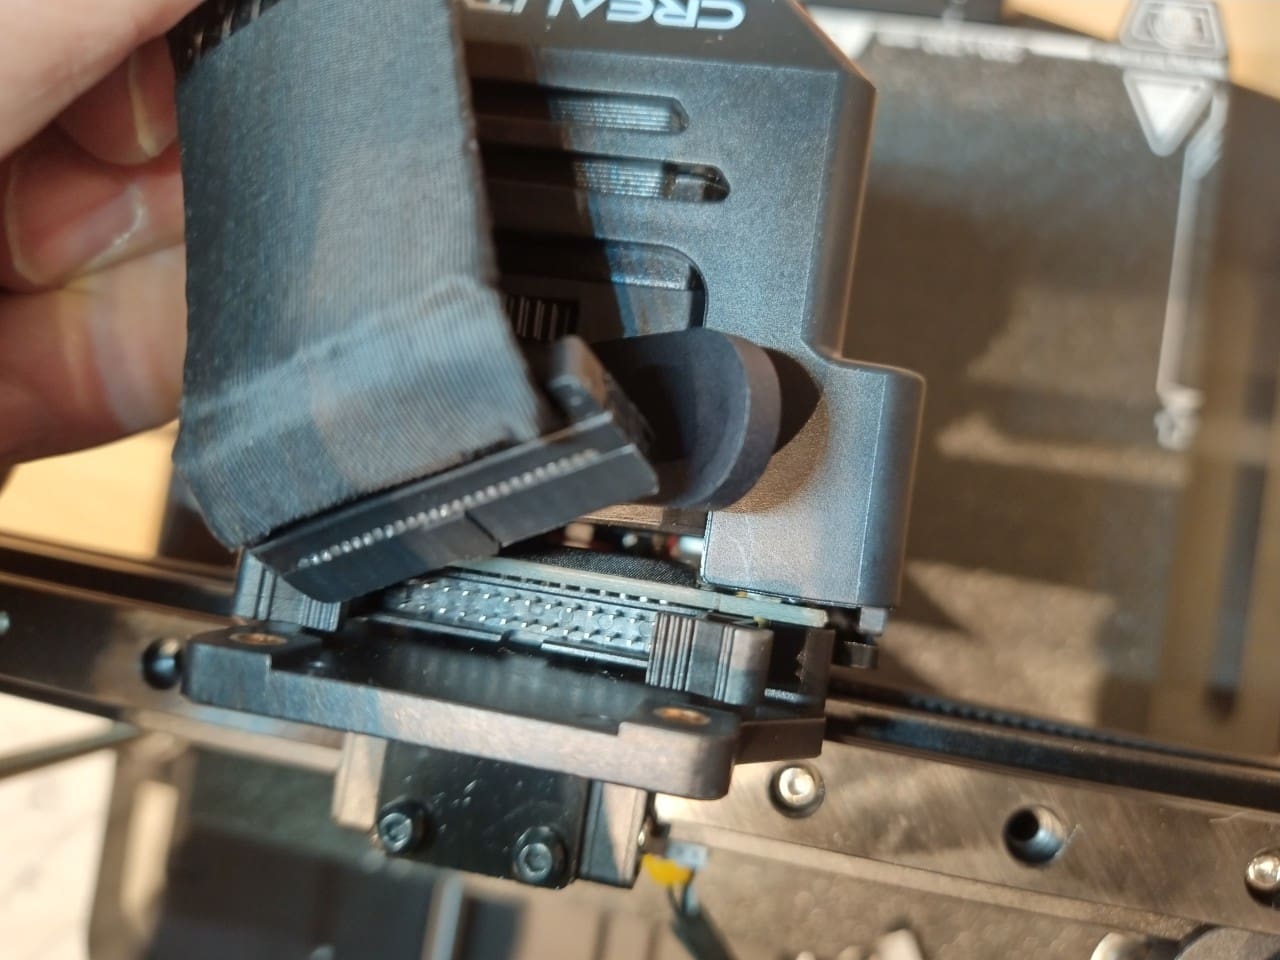
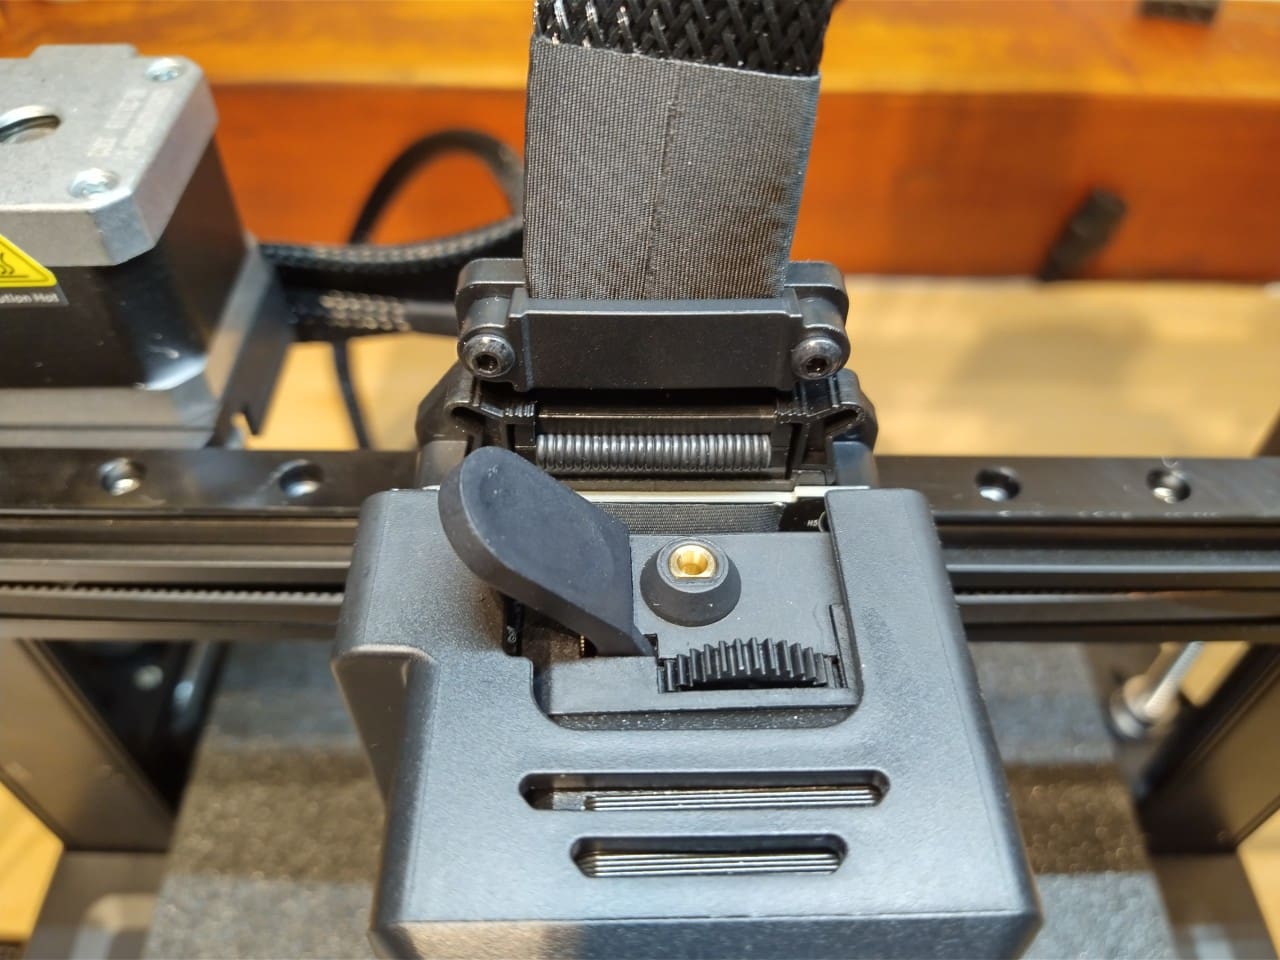
Handling the filament is very easy. The roll is positioned at a comfortable working height on the upper crossbar of the gantry. This allows you to place the roll in place and then release the filament from the locks on the roll. Now feed it through the filament sensor and insert it into the print head. It is locked in the print head manually using a lever. Press the lever and push the filament approx. 5 cm into the print head.
In the menu, select “Extrude / Retract” and then Extrude. The problem here is that the preset extrusion length of just 5 mm is simply too short to flush the old filament out of the print head and replace it with the new one. The length must therefore be increased to at least 20 mm in the menu. Unfortunately, the printer does not remember the changed length.
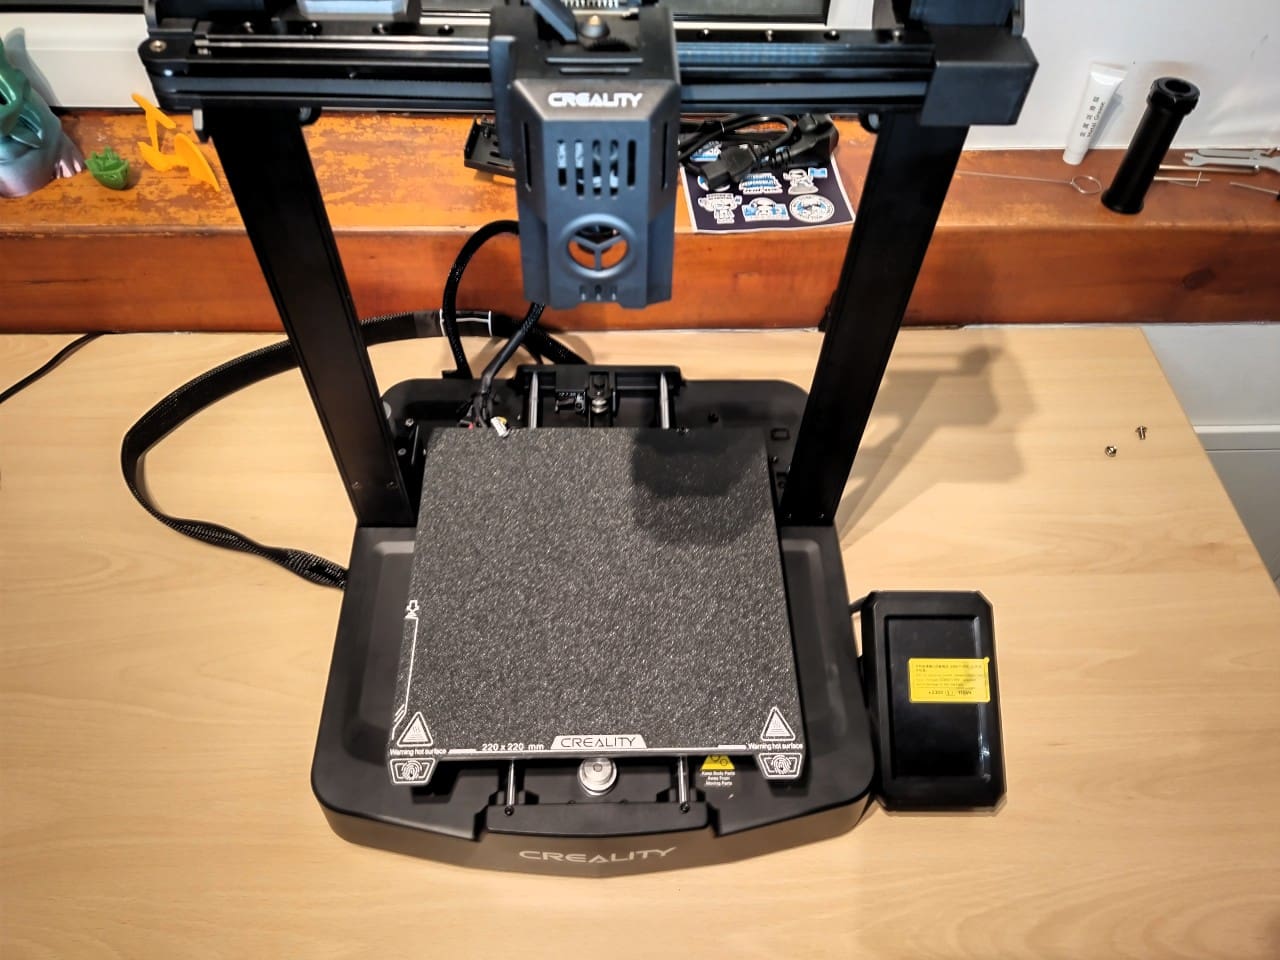
Heating bed
The heating bed is equipped with a magnetic PEI spring steel plate, which can also be replaced with one hand thanks to two rear guide grooves. The plate is characterised by good adhesion of the filament, even without time-consuming initial cleaning. I’ve seen much worse results from other manufacturers.
The print can be easily released through the spring steel plate if you take it out with the print and bend it.
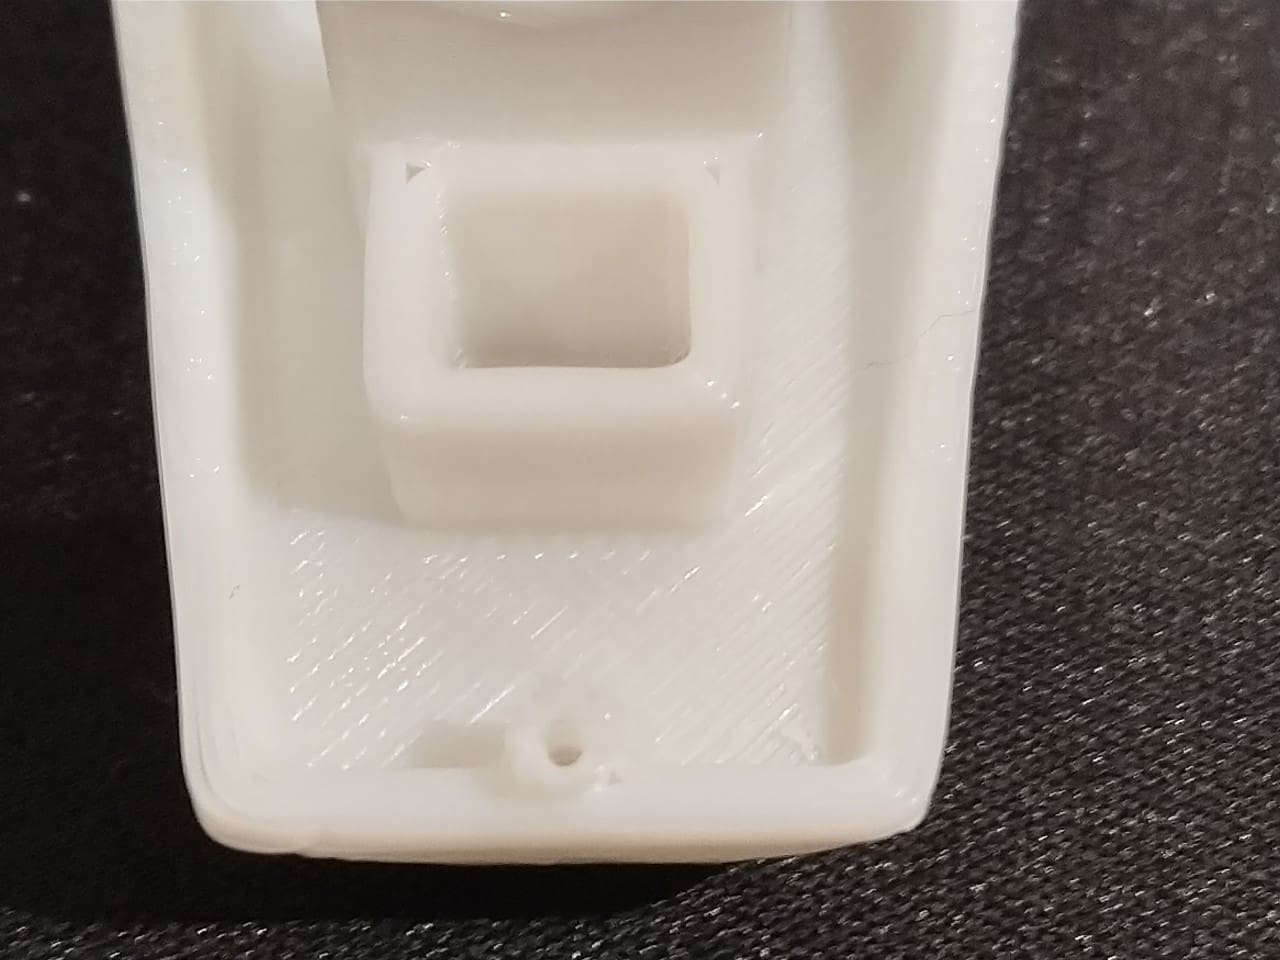
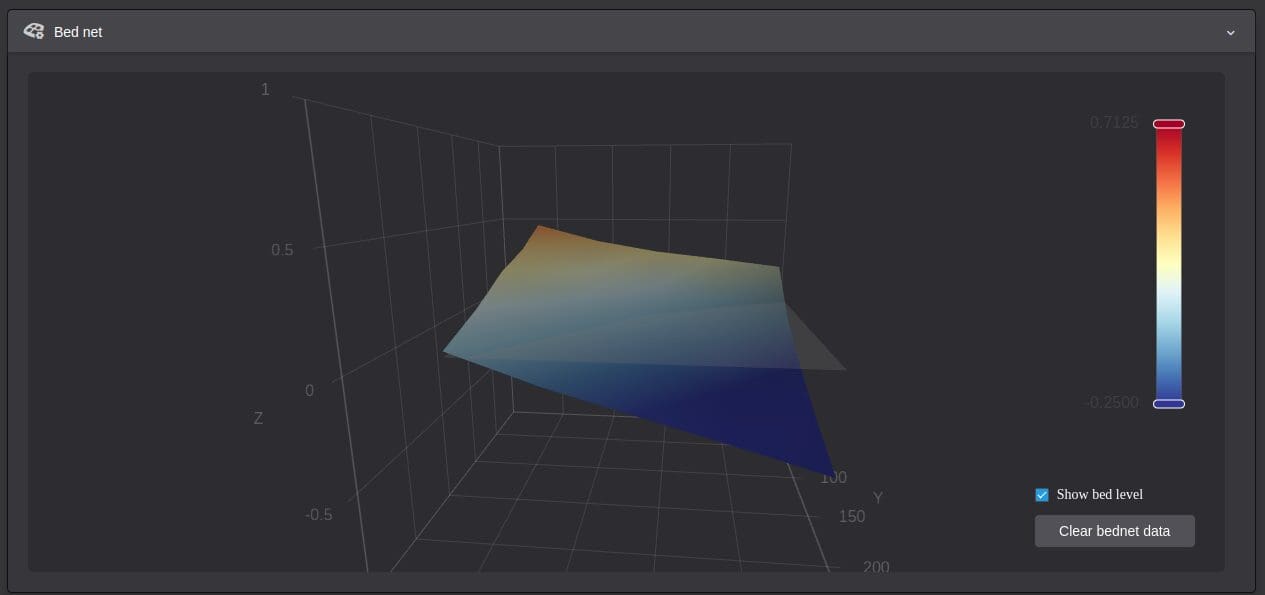
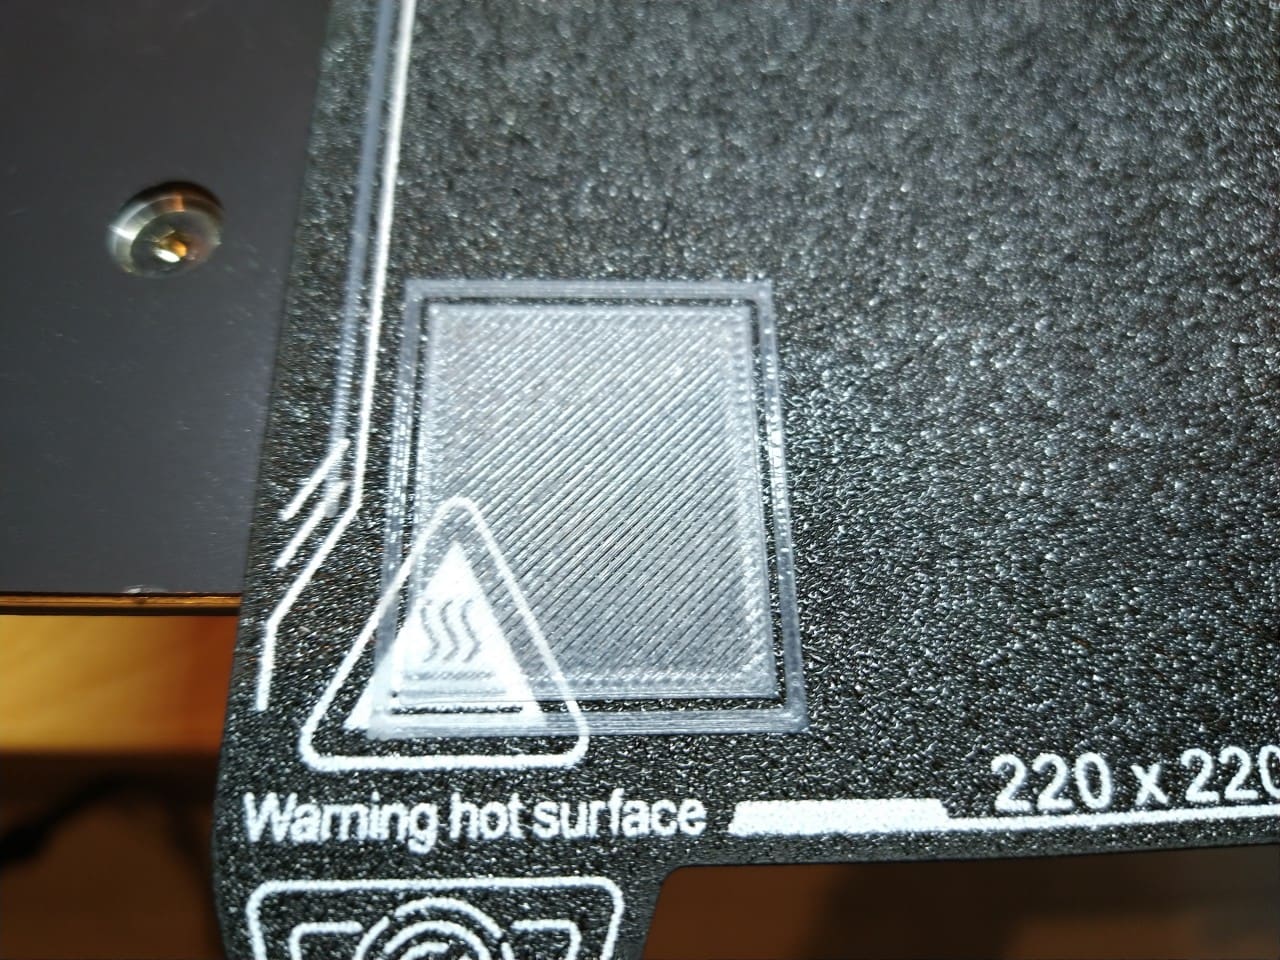
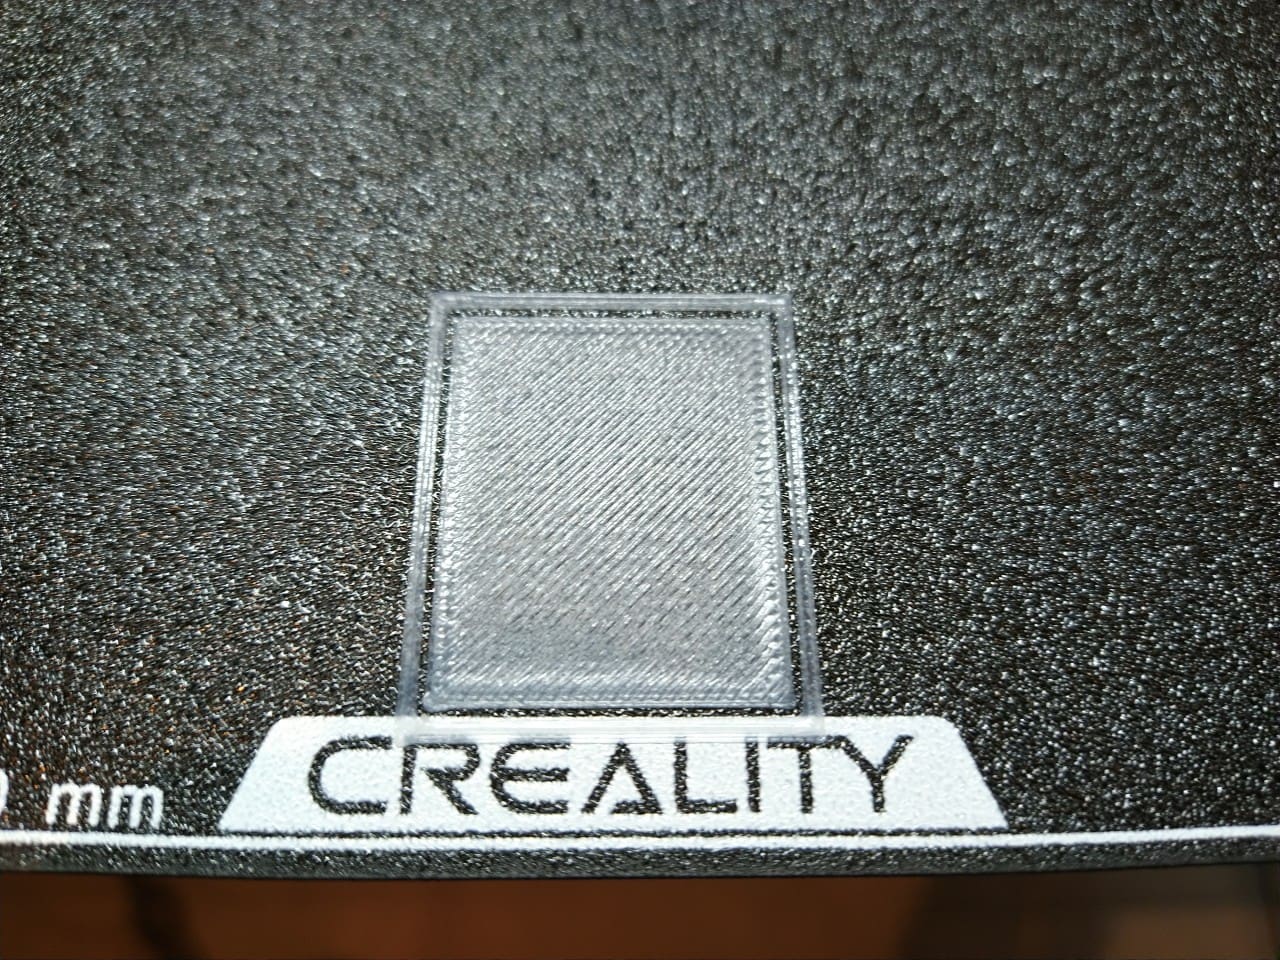
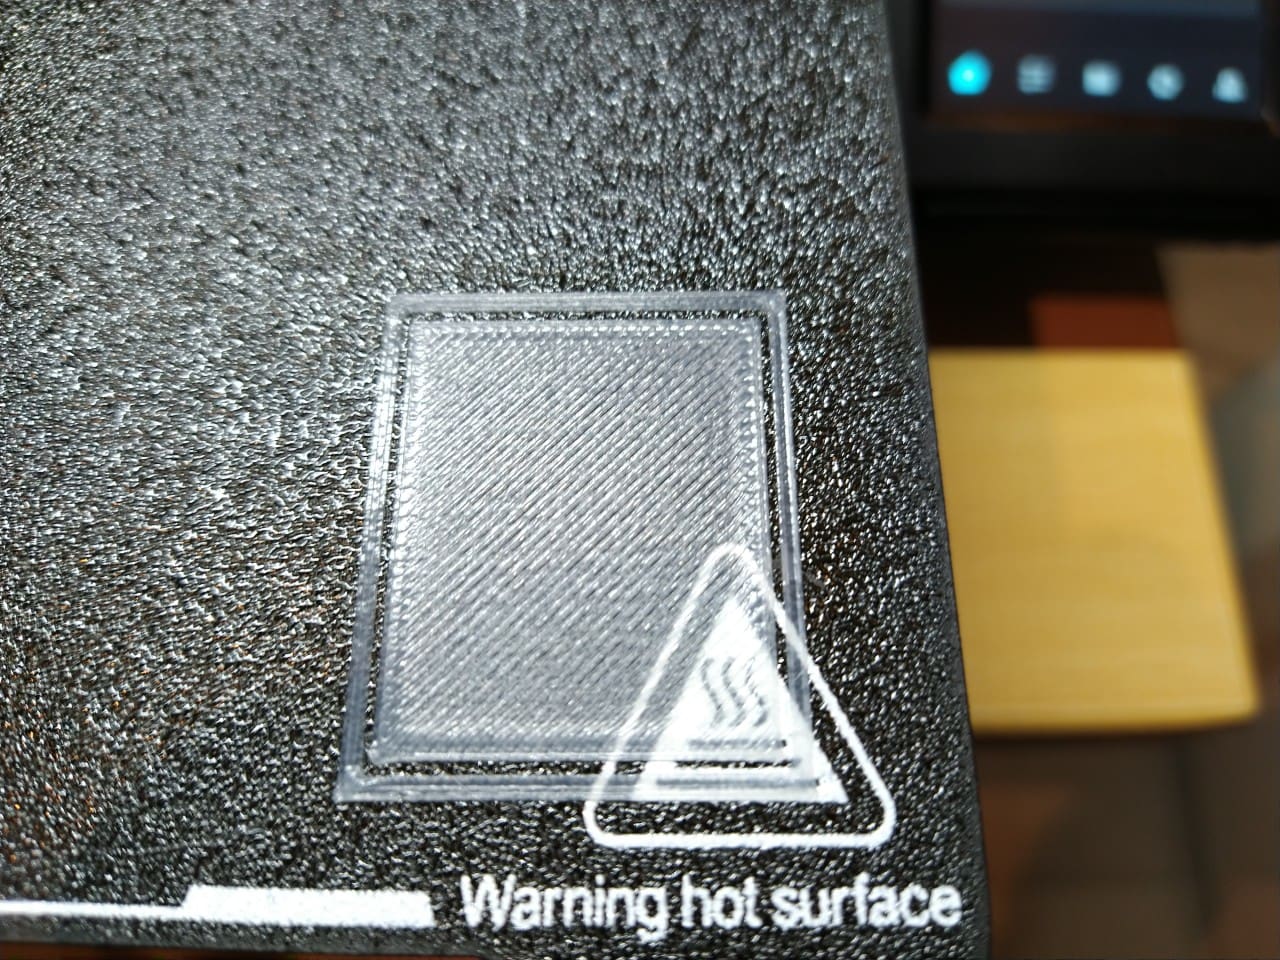
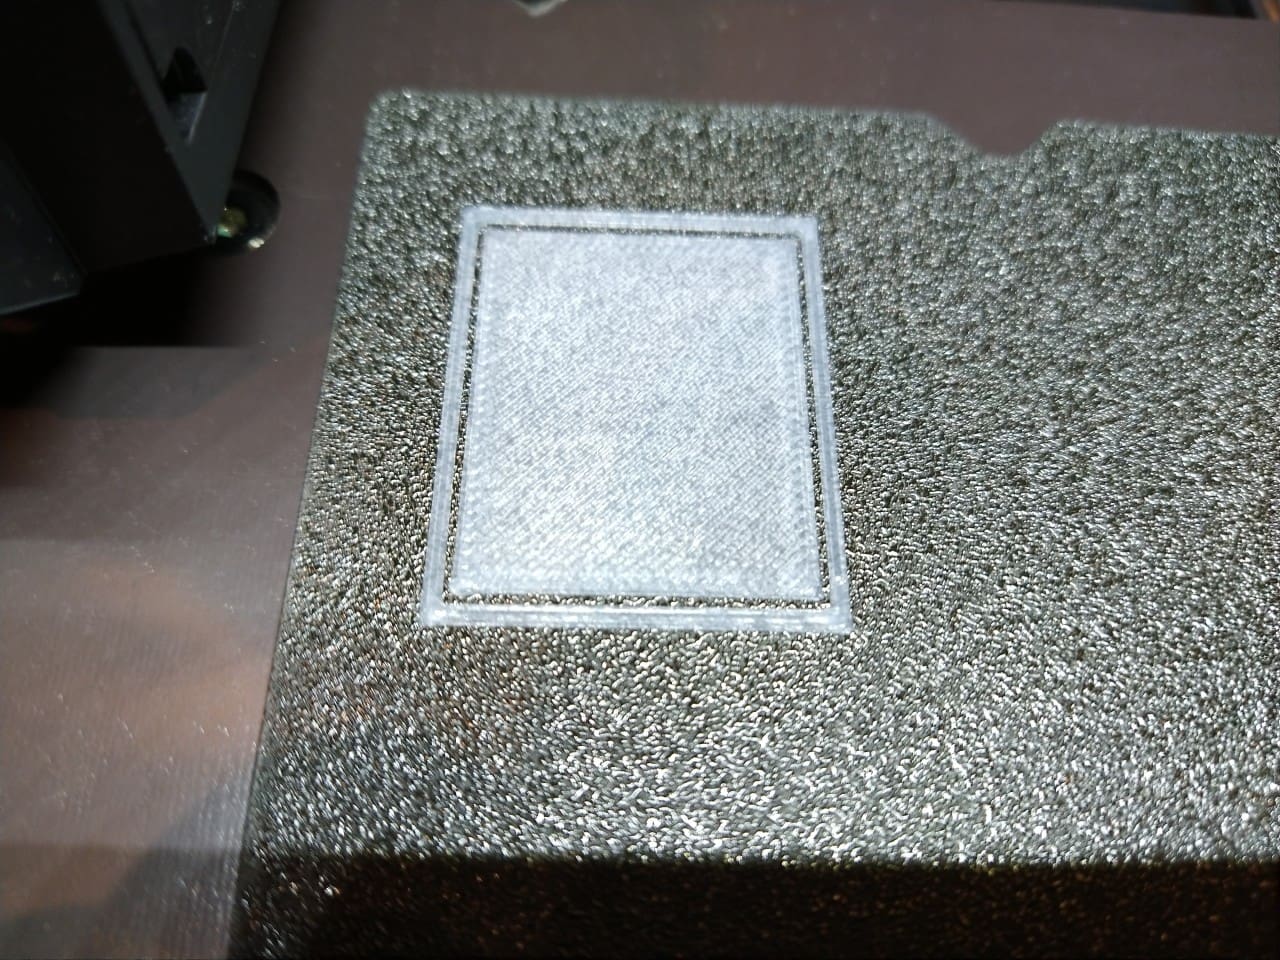
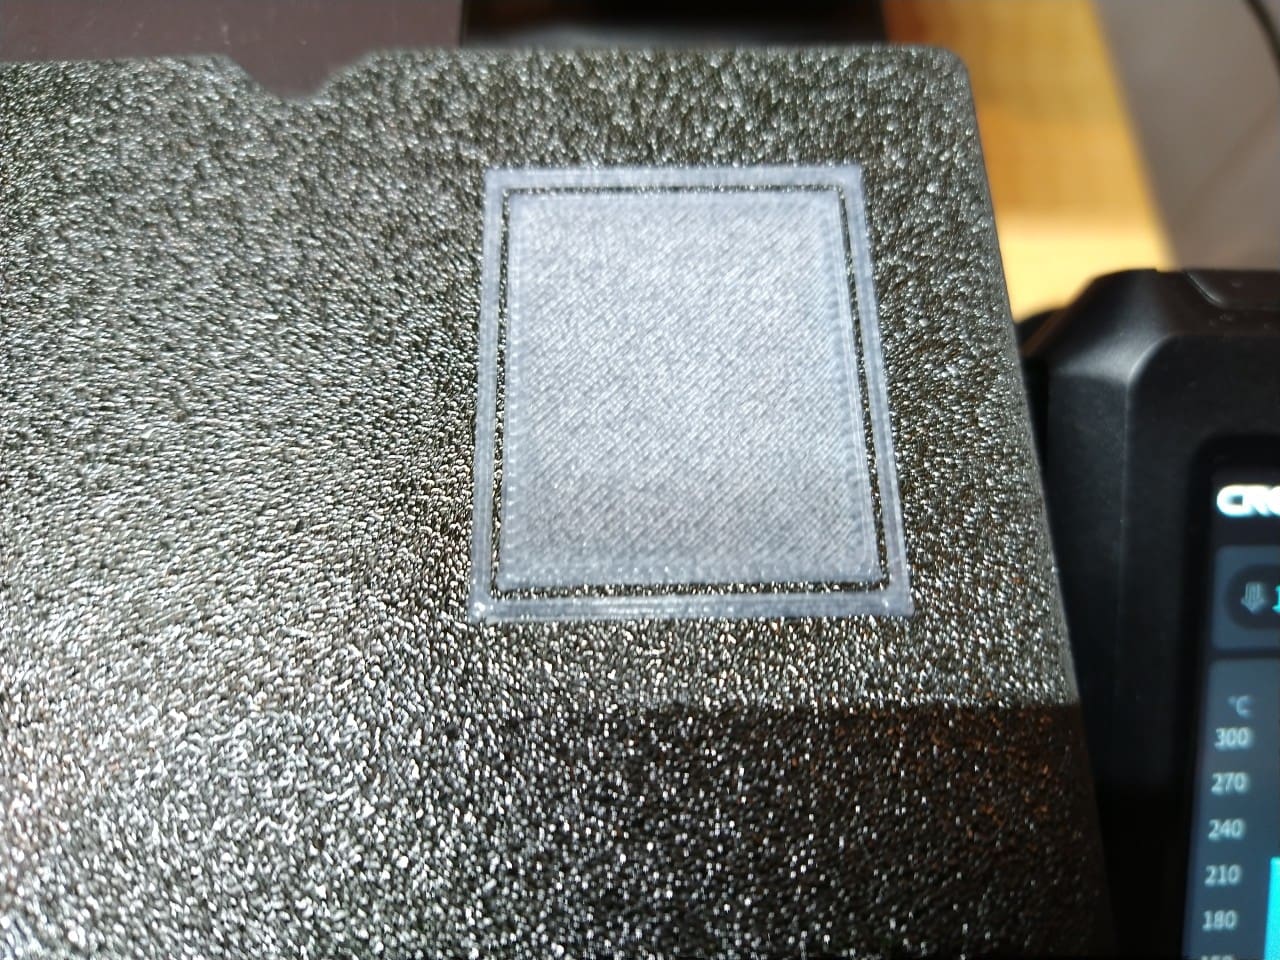
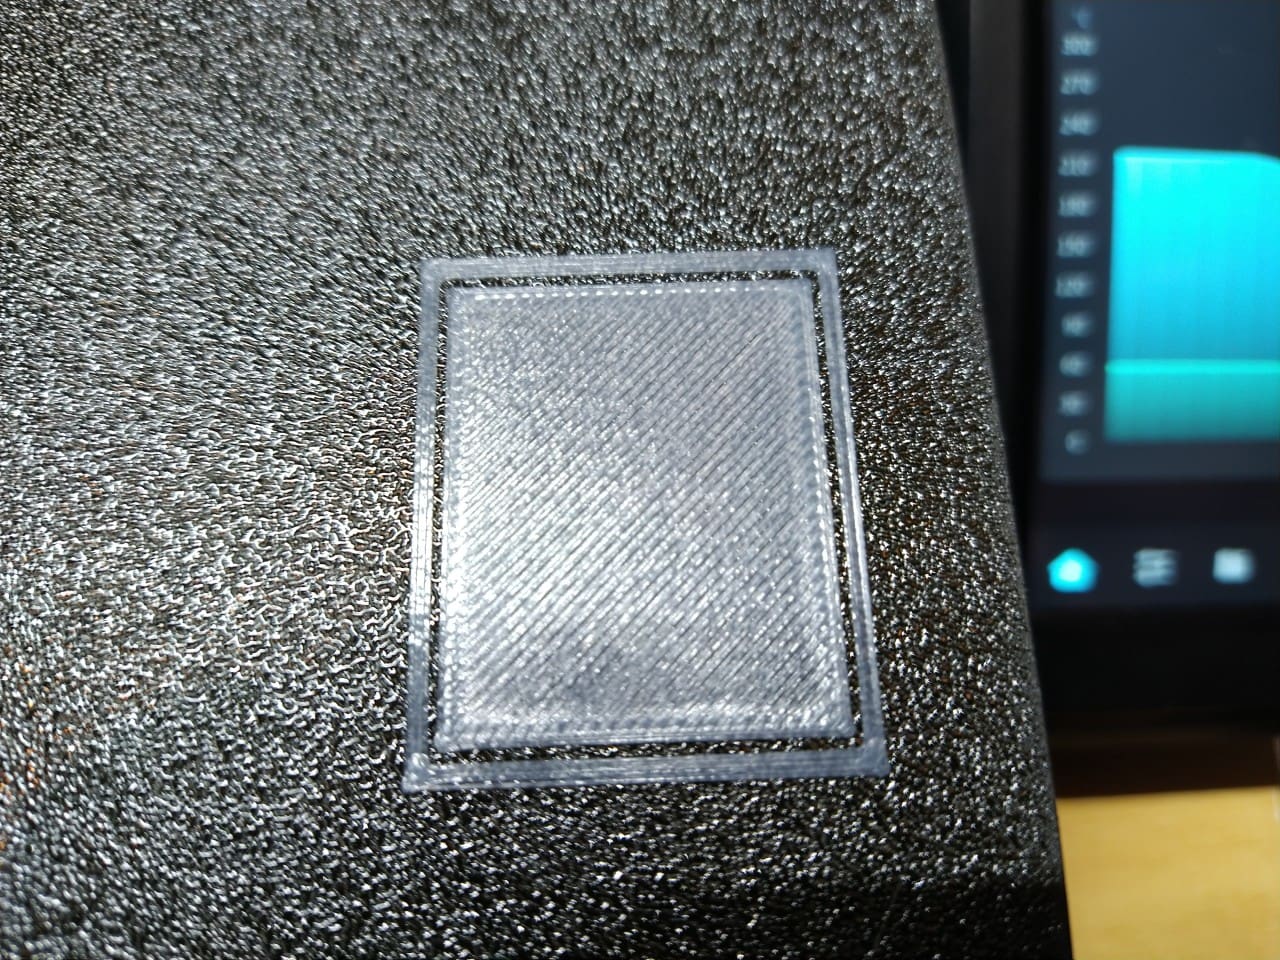
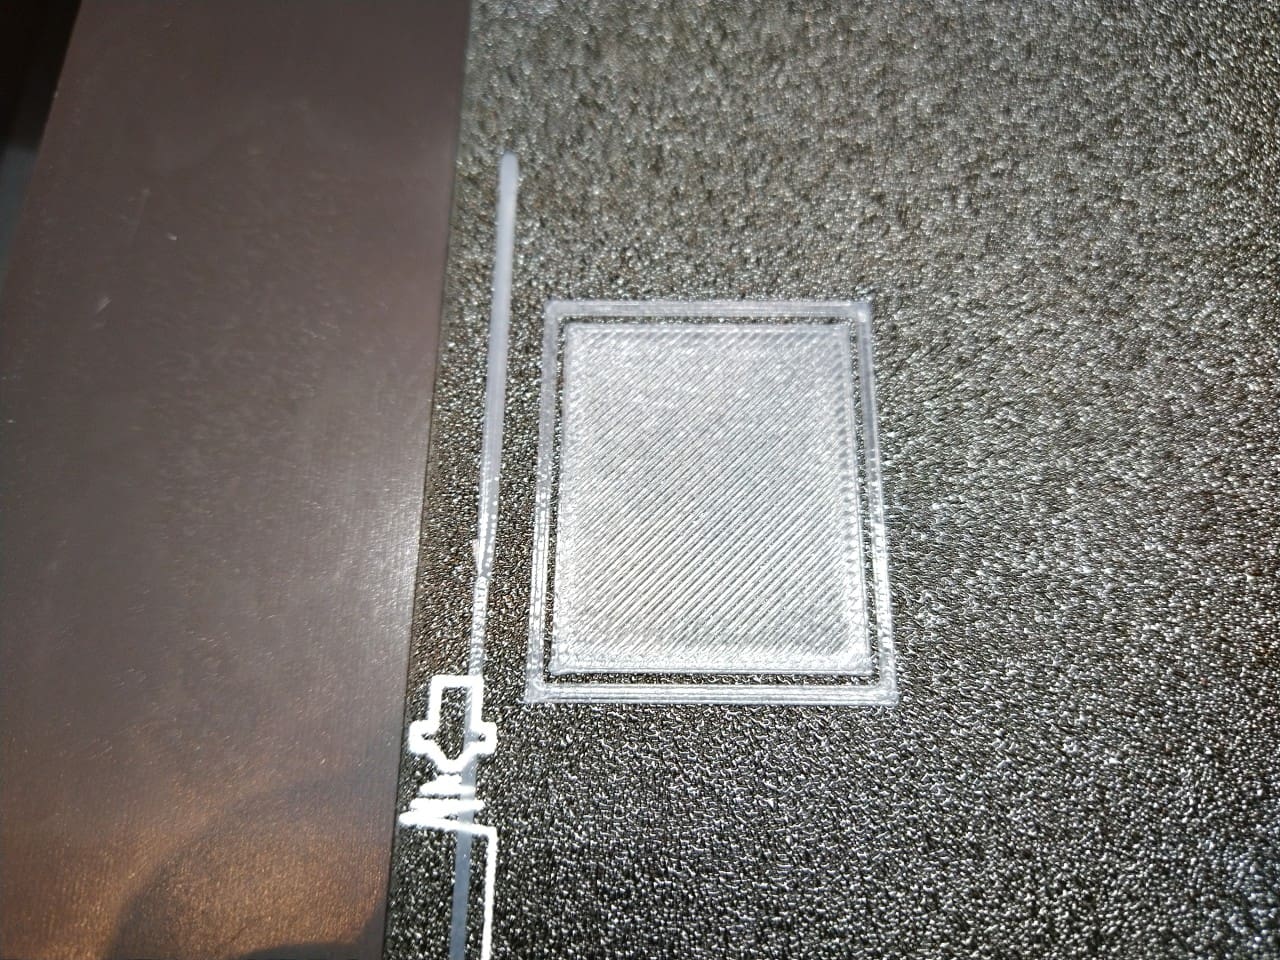
Levelling
The heating bed has no levelling wheels, which is an absolute blessing for any beginner. The printer sets the Z-offset perfectly via a sensor in the nozzle, which really impressed me. It’s really fun, and every printer today should be able to do this.
The calibration of the heating bed, the actual levelling, is done via the pen sensor, similar to the well-known BL-Touch. This is much quicker than with the nozzle, and so the autolevelling is also done before each print in a very short time.
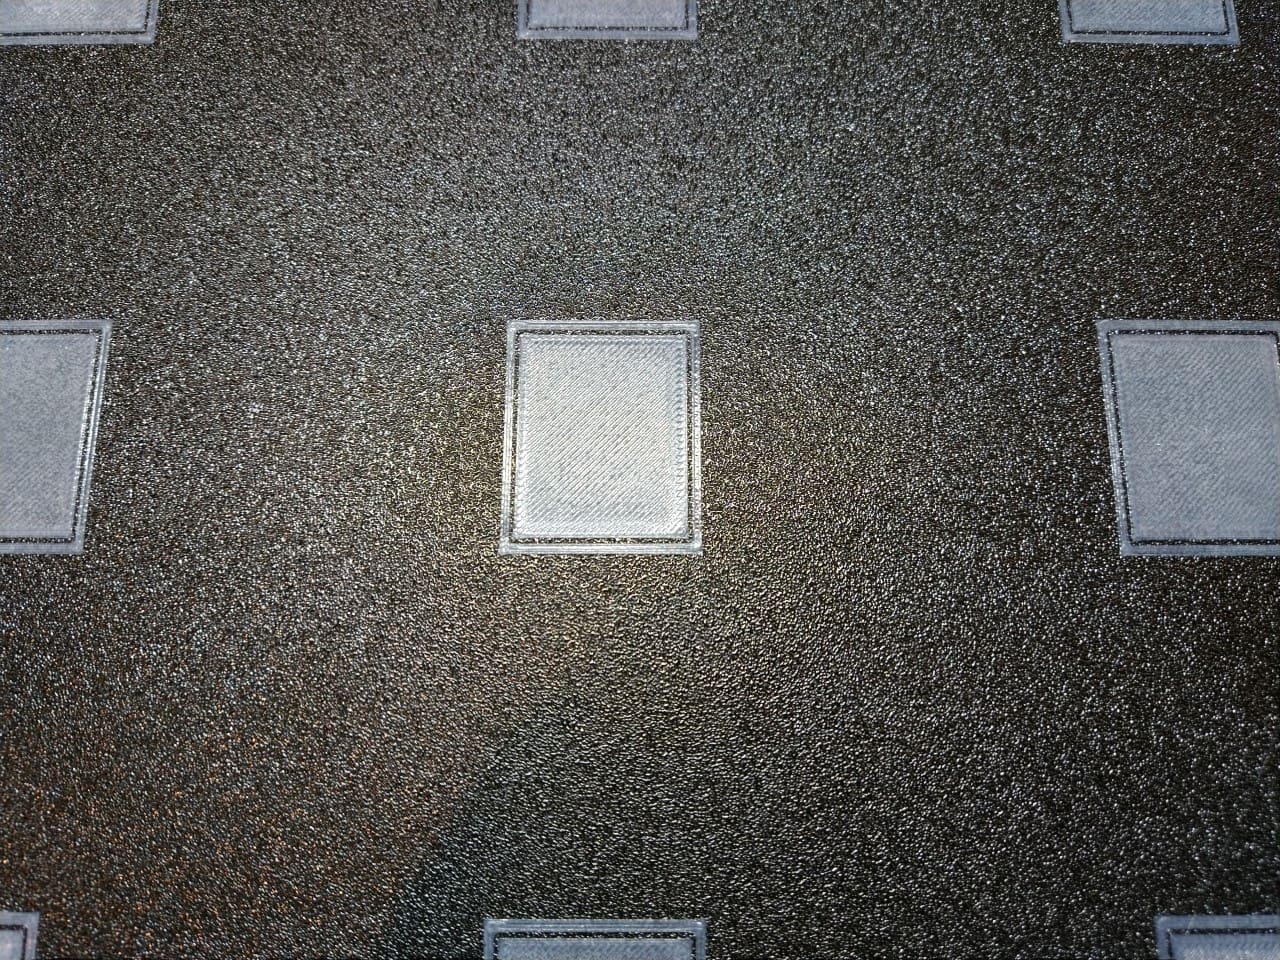
The heating bed of my Enders has a distortion of almost a whole millimetre from corner to corner.
That’s really a lot and I would start turning the levelling wheels immediately if it had any. The aluminium plate of the heating bed is attached to the carrier with screws, so I could certainly make some adjustments here. But I won’t do that unless I have to print a dimensionally accurate object with a large edge length. That will probably never happen, so I’ll leave it as it is.
As you can see from the pictures with the level test, every test square turned out perfectly. There is nothing to complain about here. The combination of simplicity, speed and accuracy is a novelty for me in this price range.
Conclusion
Reduce to the max – seems to have been the premise when developing the printer. A fast, obviously high-quality printer with no frills. Nevertheless, it still manages to impress with its simple operation.
Although I received the device from Geekbuying for testing, this is no cheap praise, as the printer has already managed to become my favourite printer after just a few test prints and is now the one I use the most. I will certainly upgrade it with the camera and the input shape sensor to make it perfect for me.
Cons
What bothers me compared to my other printers?
Klipper with reduced range of functionscannot be controlled with OrcaSlicer- extrusion too short when changing filament
I can actually delete my list of cons now because I have carried out the update. Why am I leaving them in any way? Because Mainsail or Fluidd were not installed from the factory. If this is changed or supplied with a firmware update, the only negative point that really bothers me is the low value (5 mm) for extrusion when changing filament.
Pro
What can it do better than my other fast printers with Klipper?
- lower noise level
- good stability
- easy handling of the filaments
- perfect print bed adhesion
- great print results
- fast start-up (for a Klipper printer)
And all this without having to calibrate PID tuning, e-steps or the flow. I didn’t even have to set or check the Z-offset. That’s what surprised me the most.
Target groups
Nerds will be bothered by the limited functionality of the Klipper and the lack of implementation in other slicers. On the other hand, I am sure that there will soon be patched firmwares and that the printer will be an interesting basis for projects. Well, that was quick! 🙂
It is the ideal printer for beginners and ambitious hobbyists who are looking for a 3D printer that simply works.
My absolute recommendation to buy!
Rating
People love ratings, so I’ll give it one:
4,8 / 5,0
0.2 points deducted for the inconvenience of re-installing Mainsail and Fluidd, as well as the short extrusion length when changing filaments.