
No sooner had I finished my article about the Ender-3 V3 KE than there was an upgrade that makes my main criticism of the printer obsolete! Here I show you how to install it.
First of all, if you are a total beginner and are fine with the printer as it is, then you don’t need to install this update manually. Just leave everything as it is.
Are you an ambitious melter and want to get more out of your printer? Then read on.
Creality released an update yesterday that enables root access. At the same time, installation scripts for Mainsail and Fluidd were released, which now provide full functionality with other slicers and finally allow access to the console and config files.
Inhalt:
Install Fw update
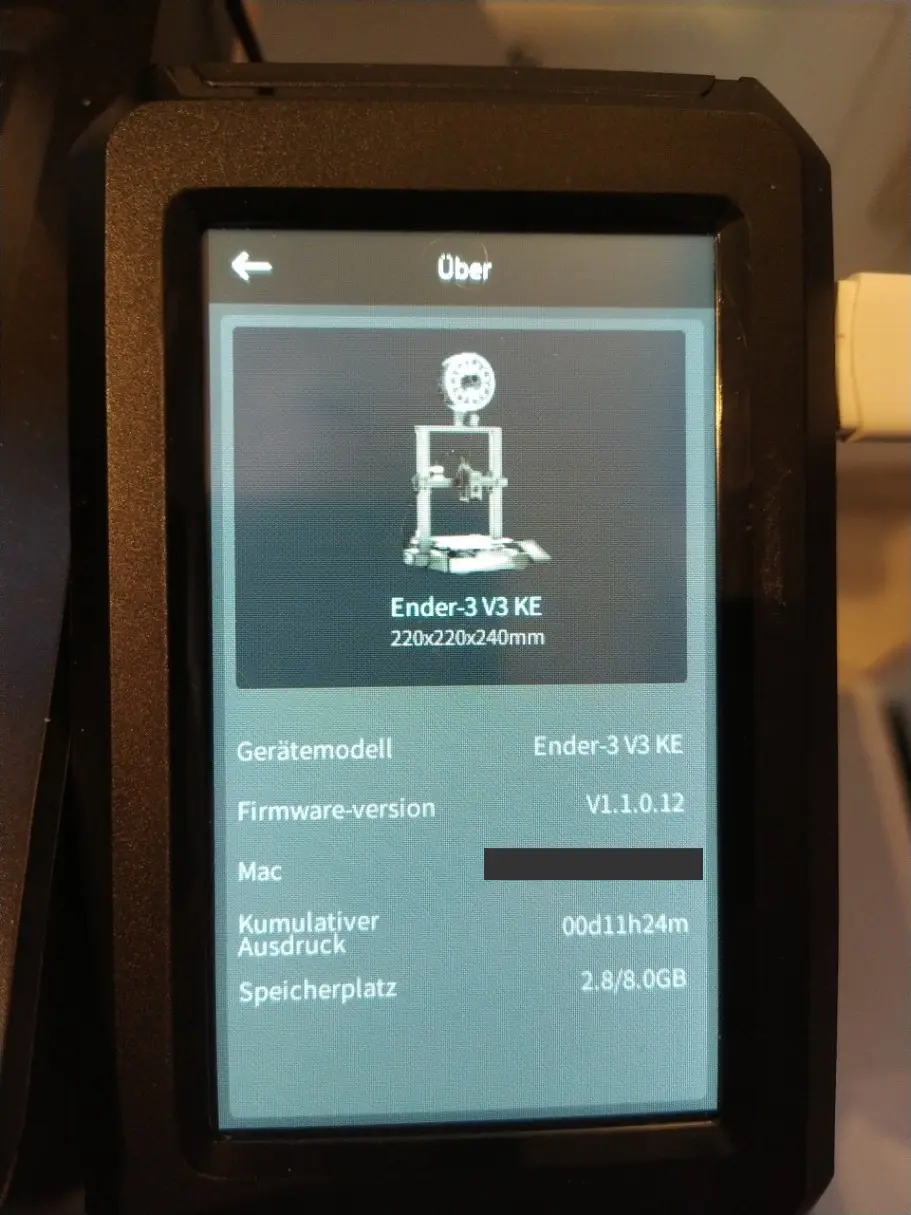
- Download the latest firmware update from GitHub.
- Copy the file „Ender-3_V3_KE_F00X_ota_img_V1.X.X.XX.img“ to the USB stick.
- As a precaution, delete all old print jobs on your printer so that the update is not cancelled due to lack of memory.
- Now insert the stick into the switched-on printer.
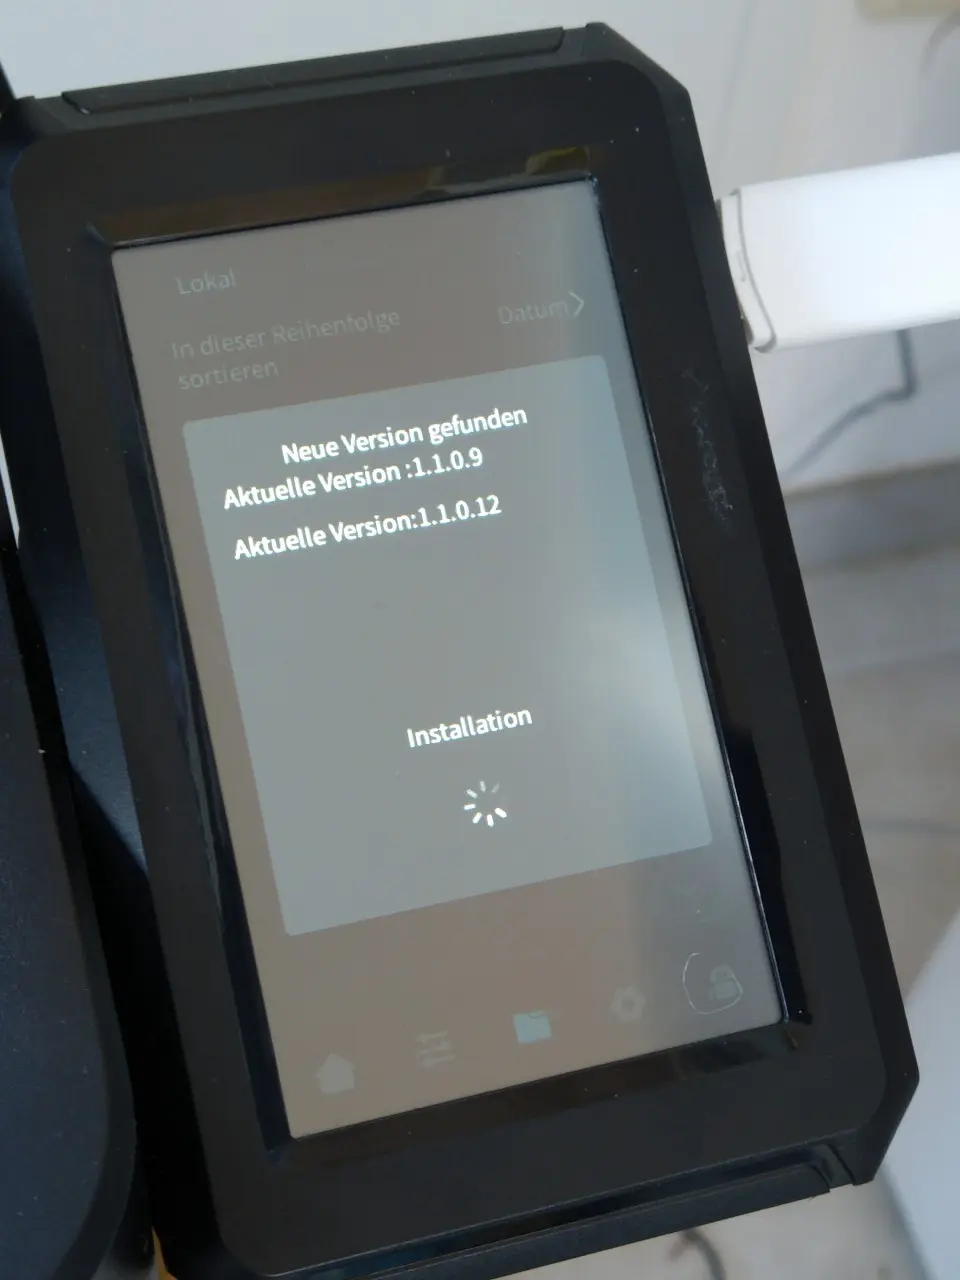
- A message pops up and you confirm that you want to install the update.
- The printer will now restart
- Finished
Install Mainsail
I also have Mainsail running on my other printers, so I’ll explain how to install it first.
You need to enable root access on the printer.
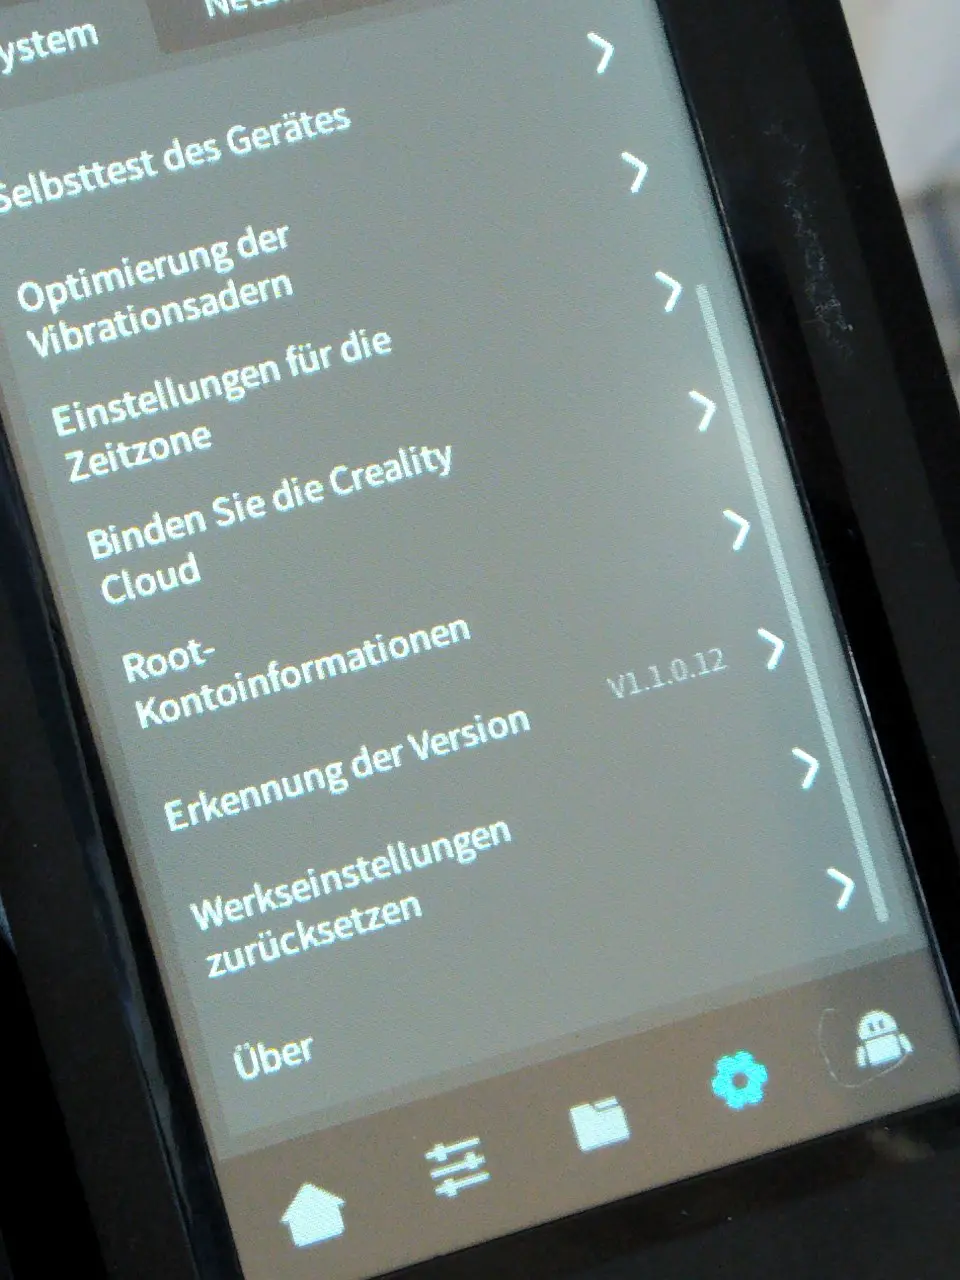
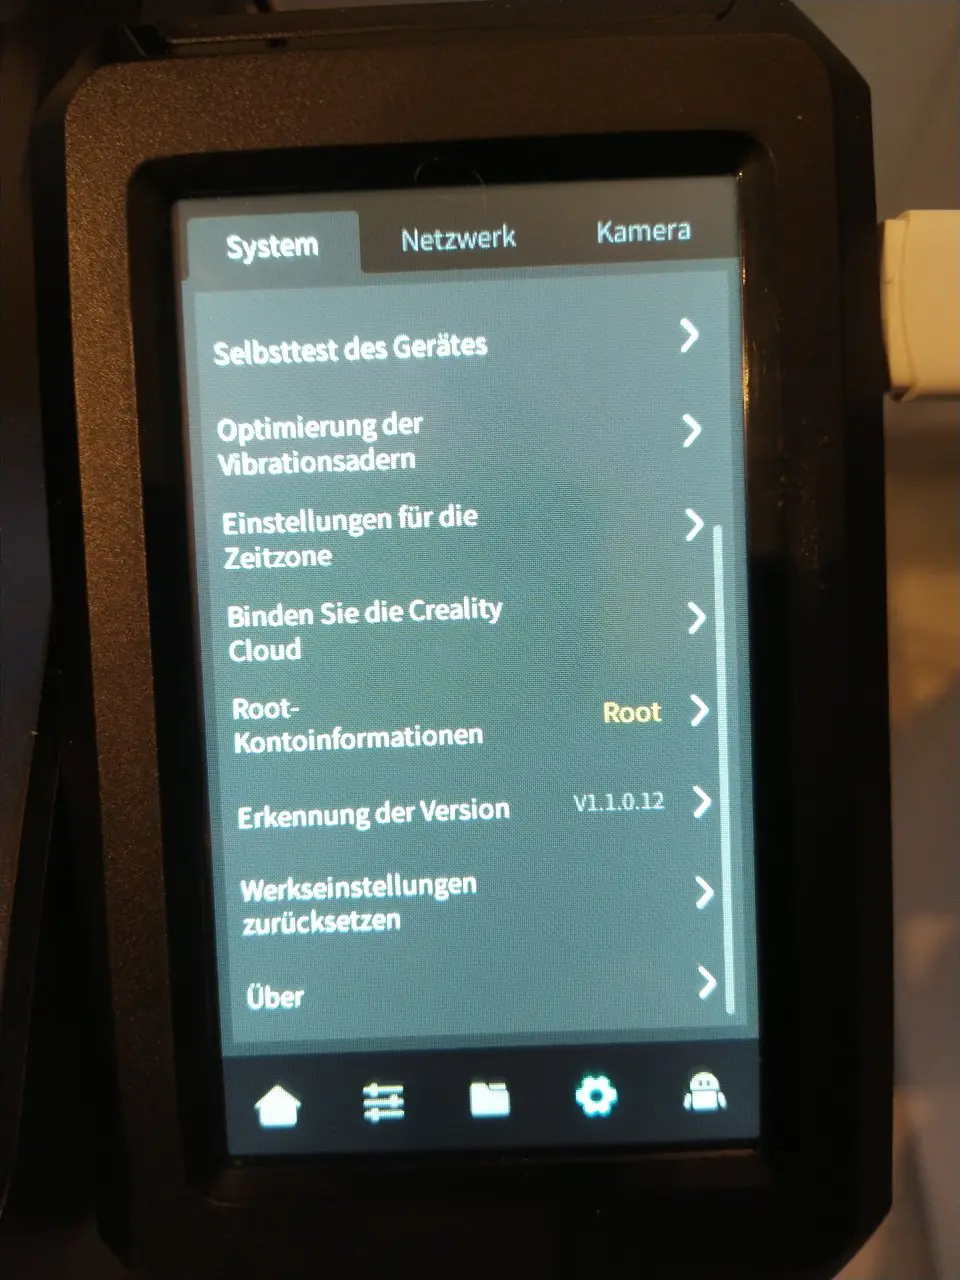
- Cogwheel symbol
- System
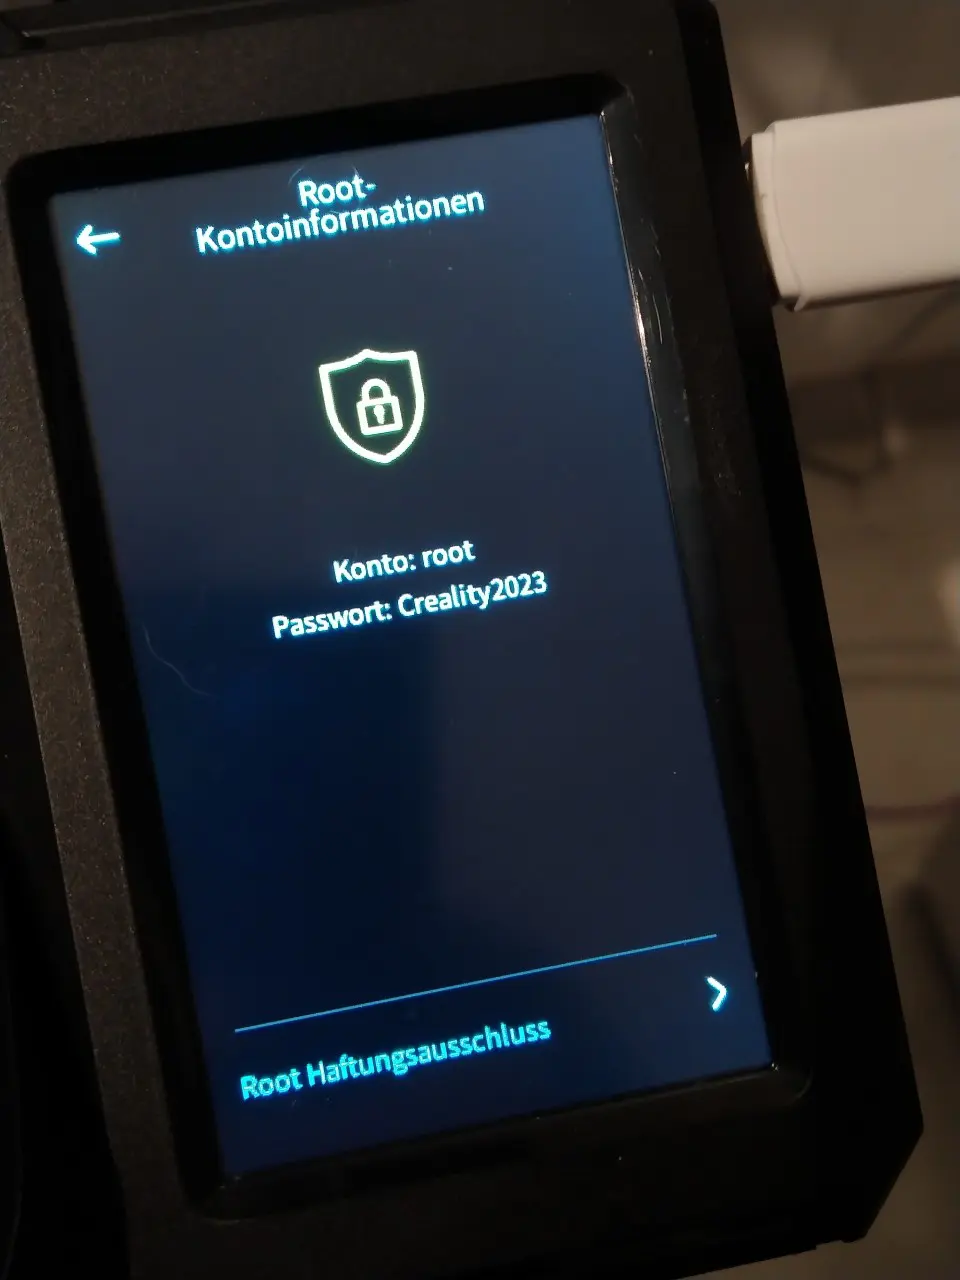
- „Root account information“
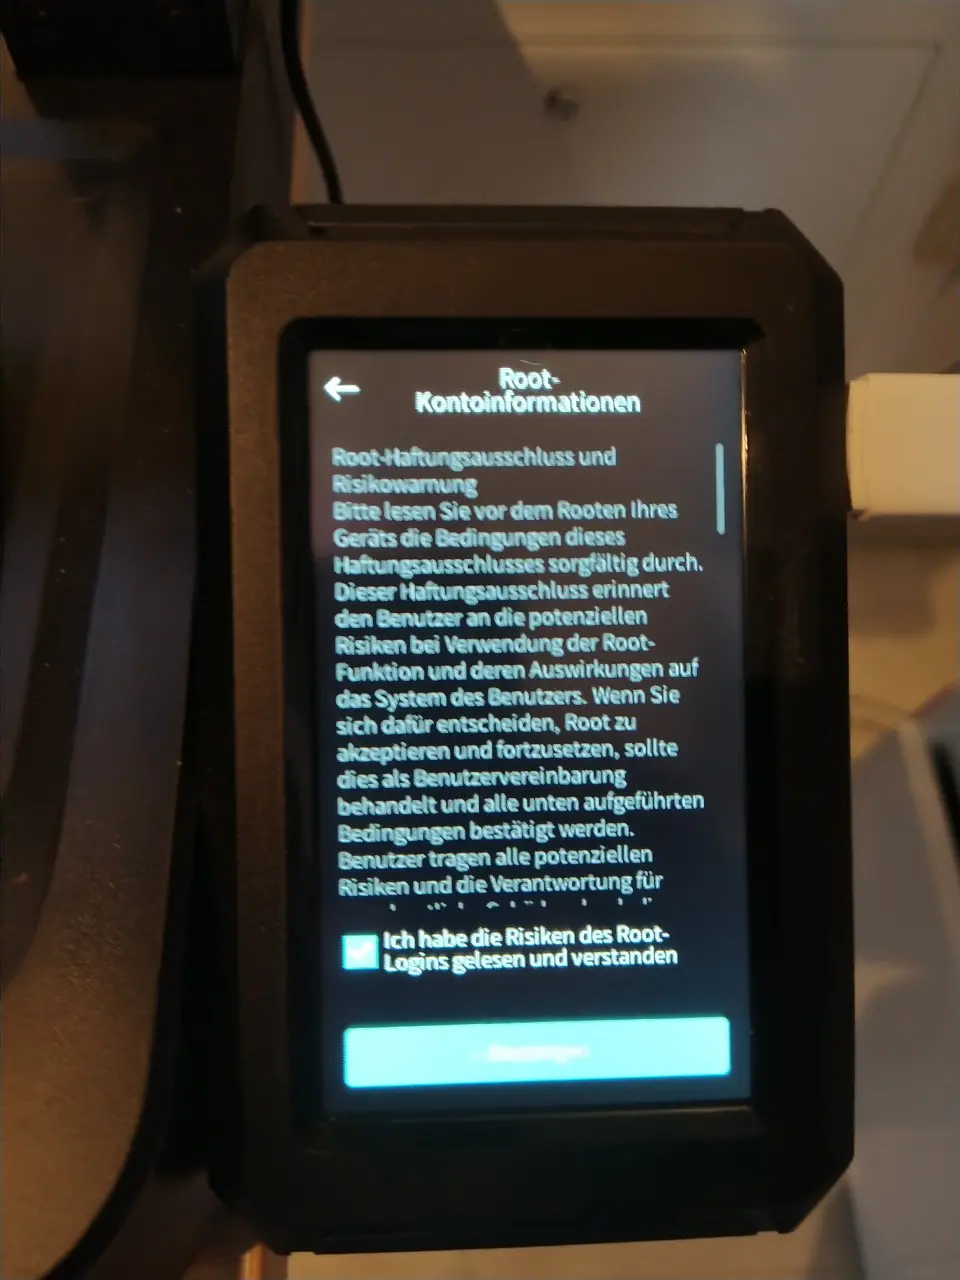
- Tick the box that you want to have root access
- Confirm disclaimer after 30-second countdown
- Remember the access data displayed (but should still currently be „root“ and „Creality2023“)
- Tap the Network tab
- The IP address of your printer is displayed under the network name. Remember!
Switch to the computer.
- Download Mainsail from GitHub (mainsail.sh and mainsail.tar)
- Copy the files to the USB stick and insert the stick into the printer
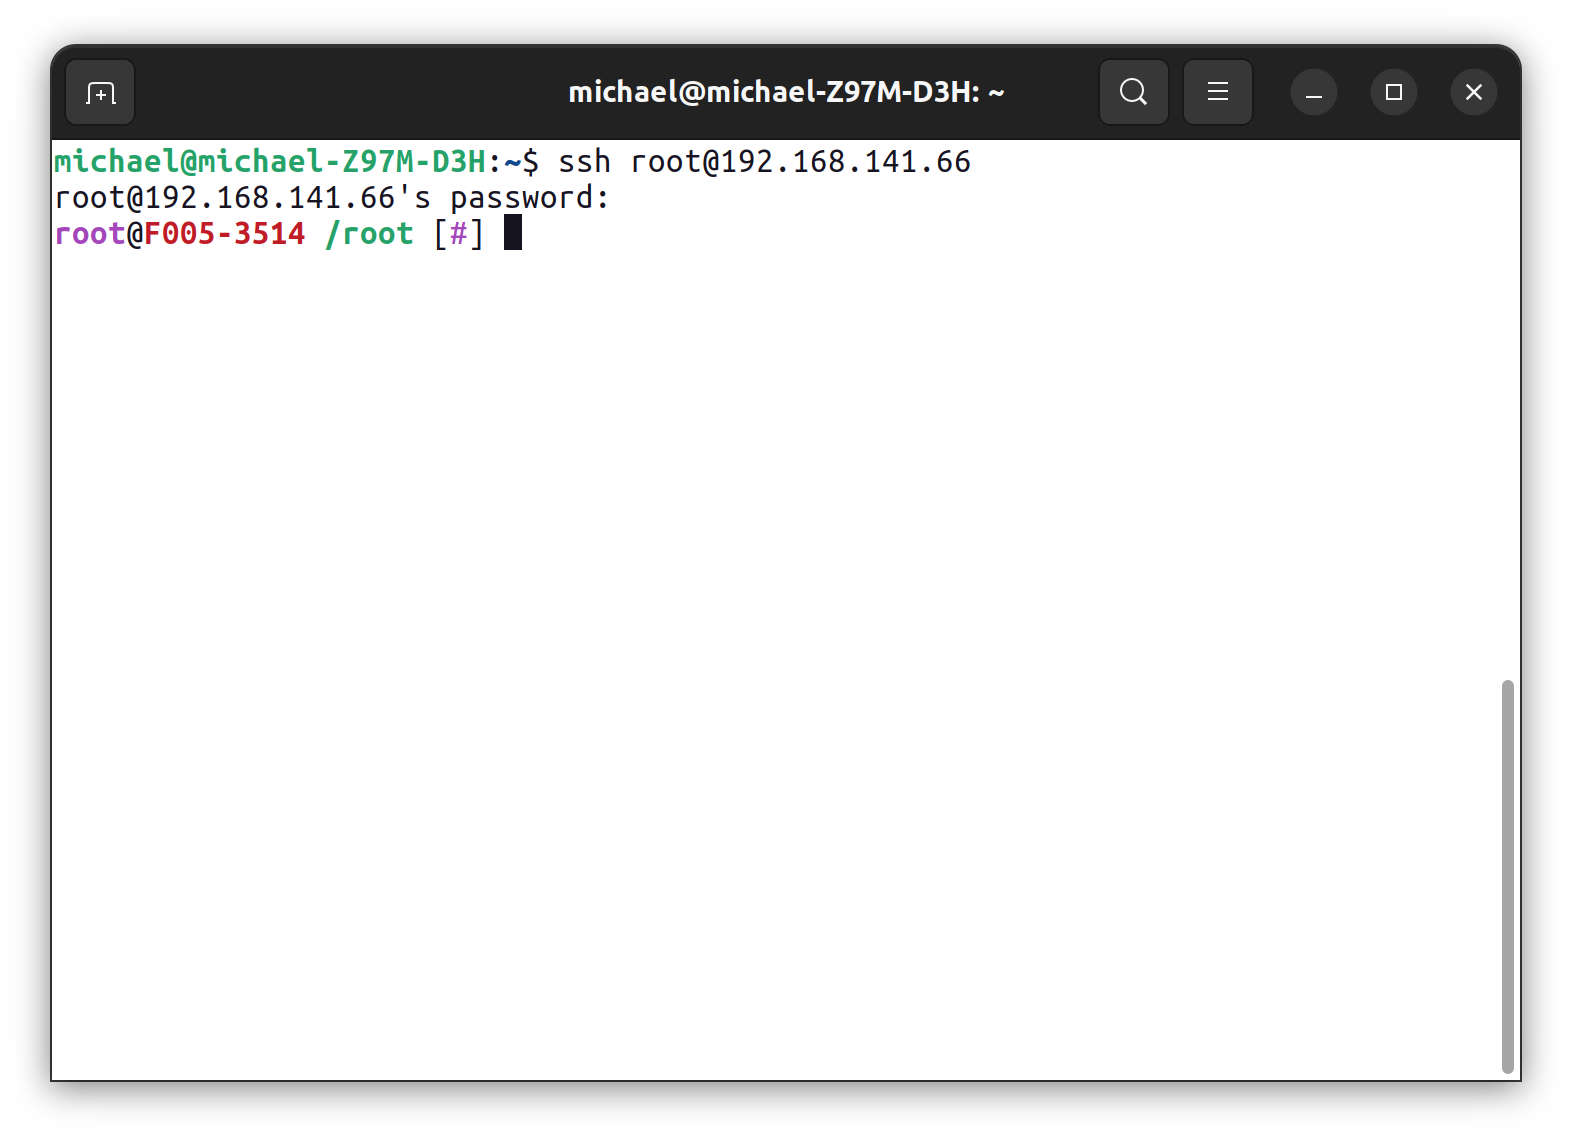
- open the terminal on the computer
- ssh root@IP-OF-YOUR-PRINTER
- Confirm the fingerprint message with YES
- Type in the following commands:
cd /
cp /tmp/udisk/sda1/mainsail* /usr/data/
/usr/data/mainsail.sh install - Done!
Explanation
I don’t know why Creality put errors in their own manual. Maybe to scare off people who have no idea about Linux?
Anyway, I’ll explain the commands:
- „cd /“ change to the root directory
- „cp /tmp/udisk/sda1/mainsail* /usr/data/“ copies all files beginning with „mainsail“ to the directory /usr/data, which was created by Creality for uploaded user data
- „/usr/data/mainsail.install“ executes the Mainsail script as an installation
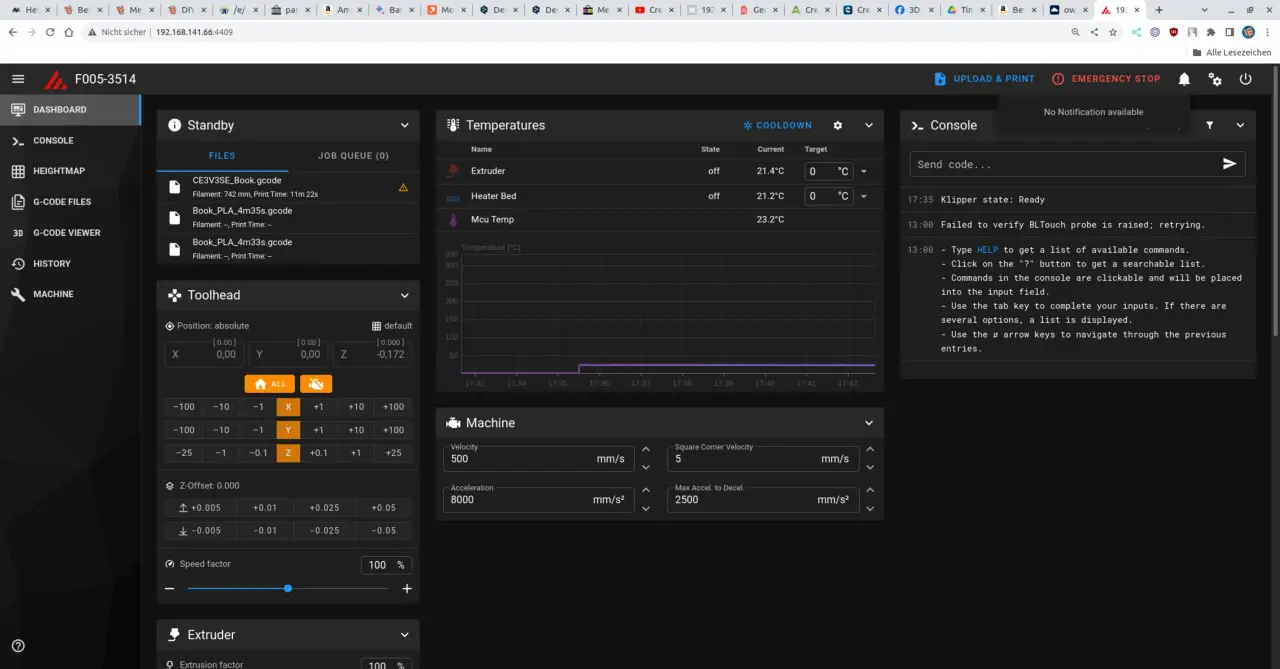
First contact
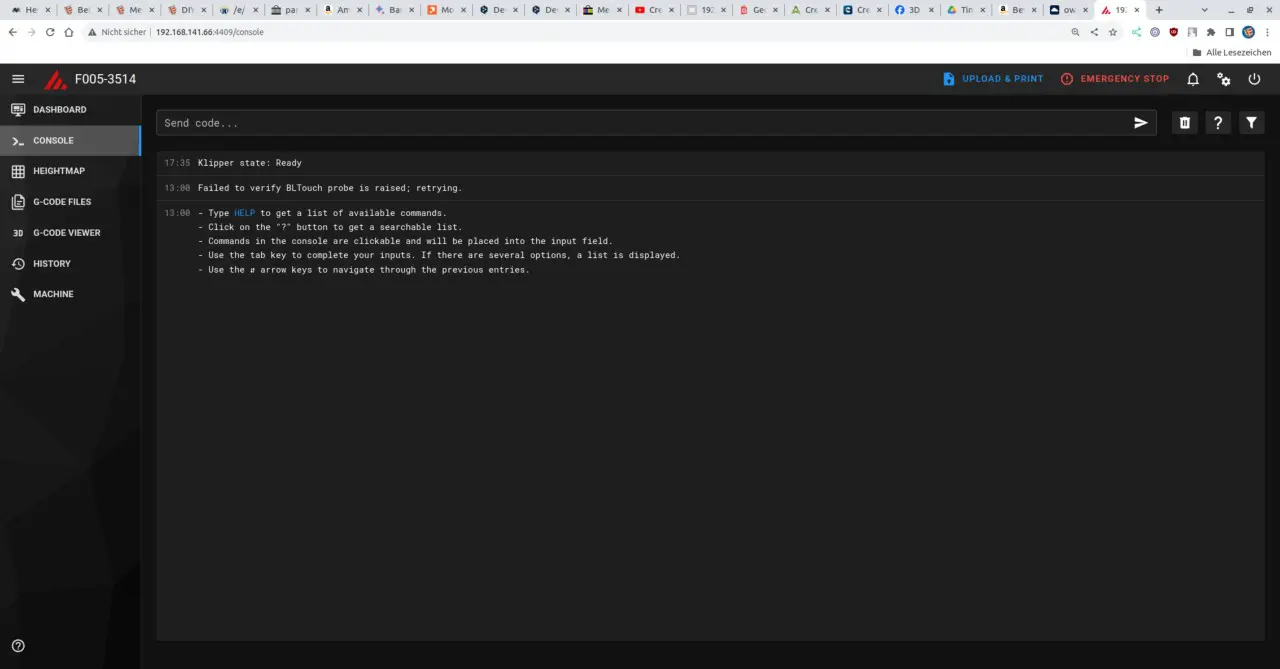
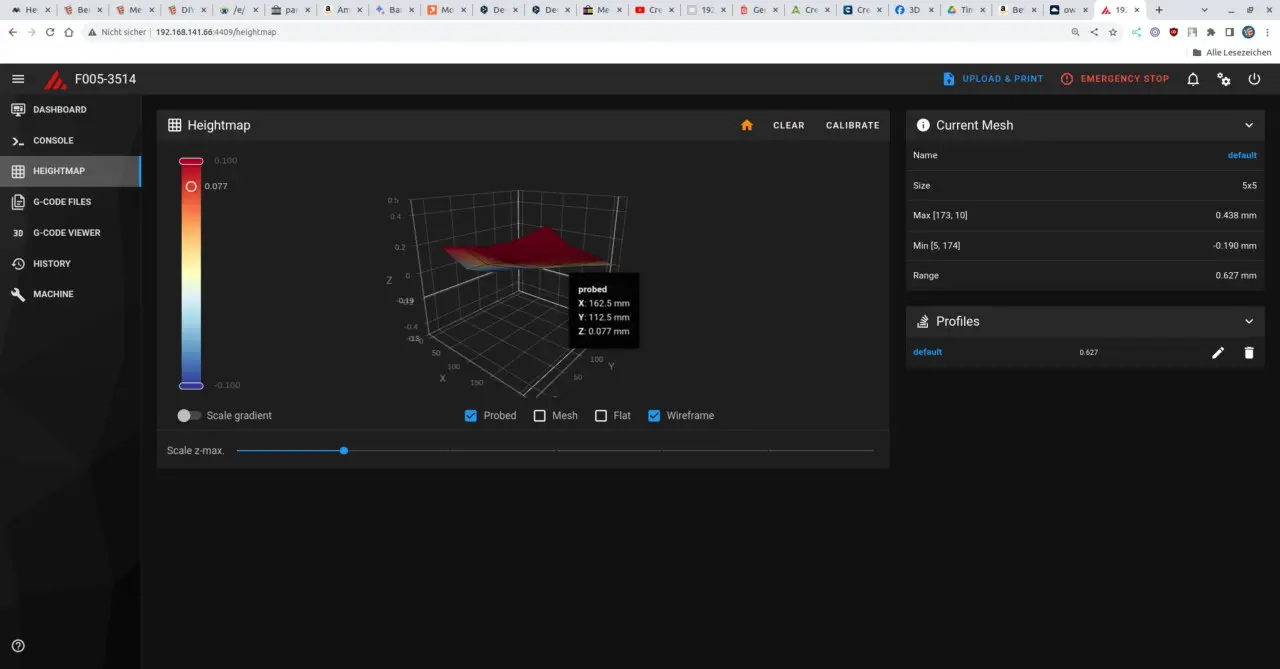
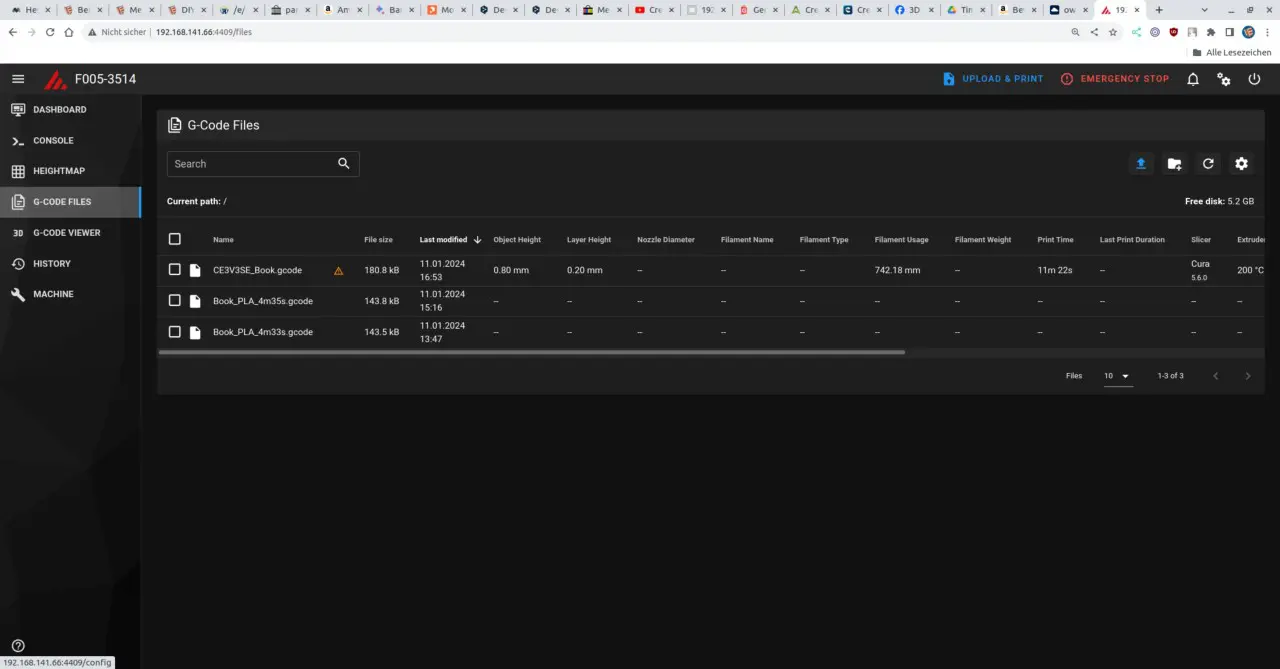
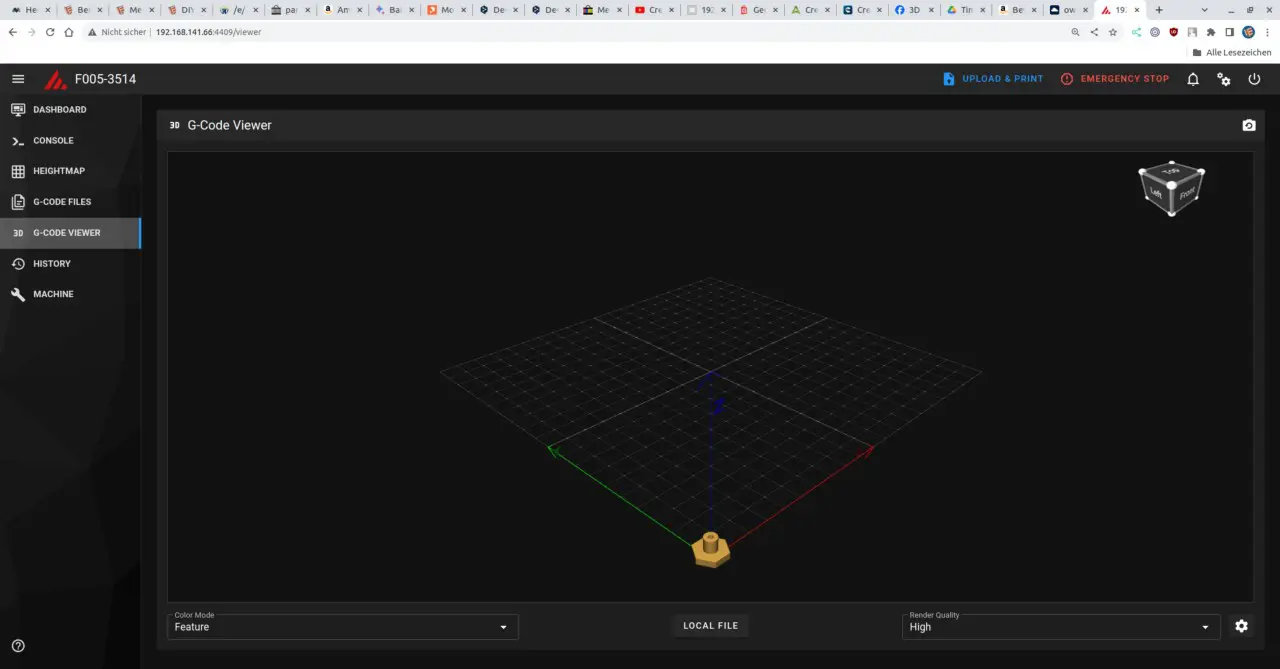
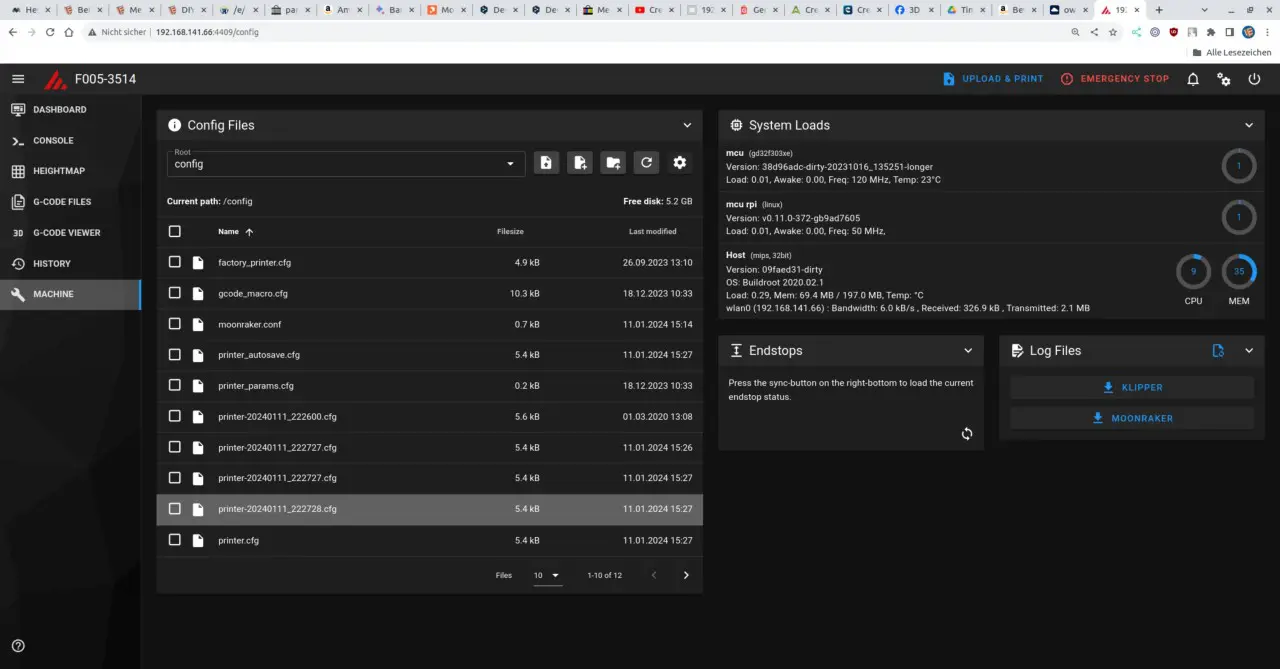
The printer can now be reached in the browser under port 4409: IP-OF-YOUR-PRINTER:4409
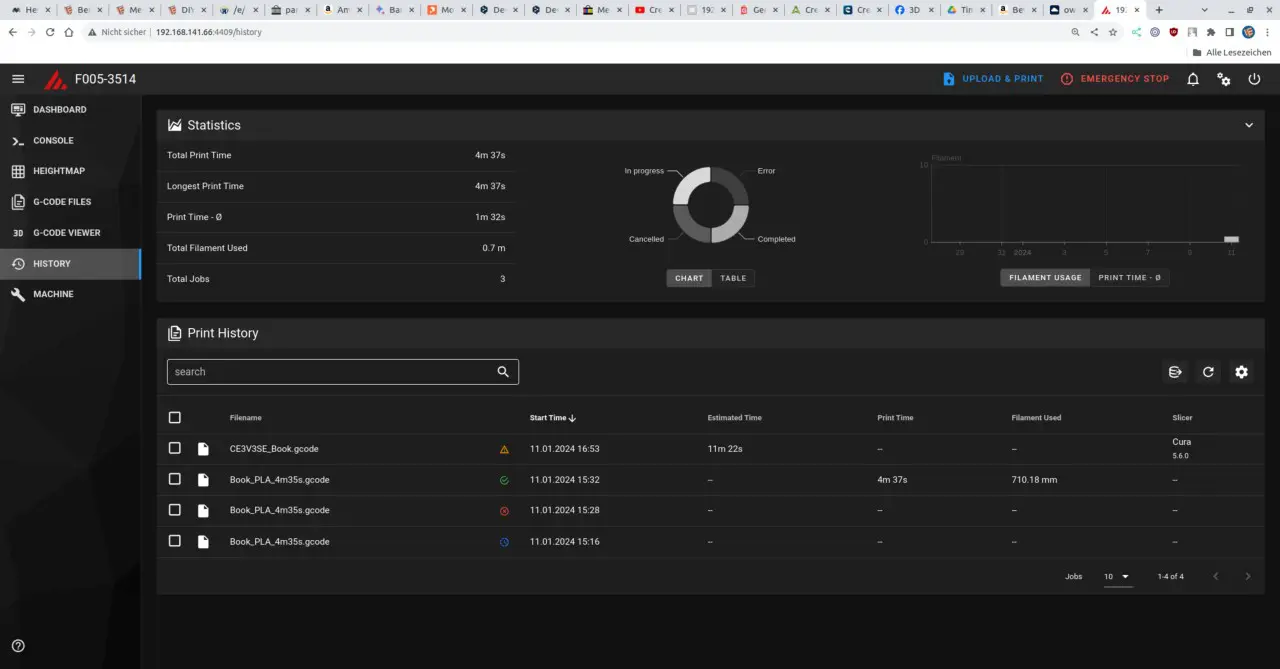
Finally we have access to the console and much more!
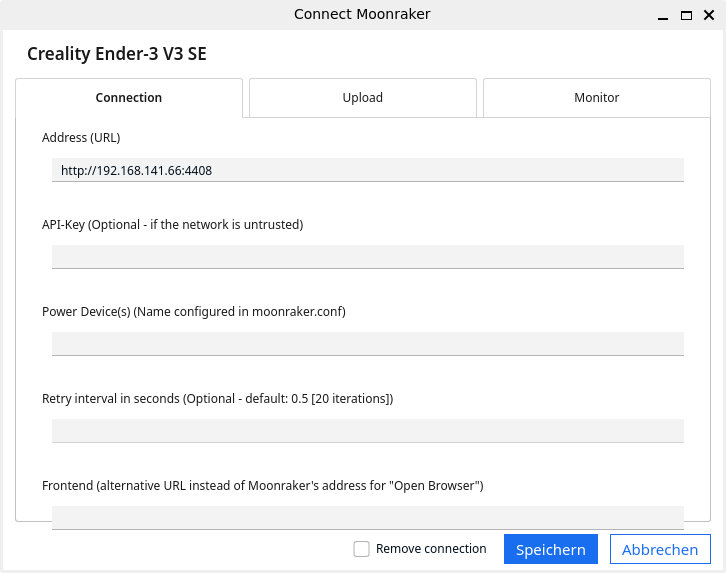
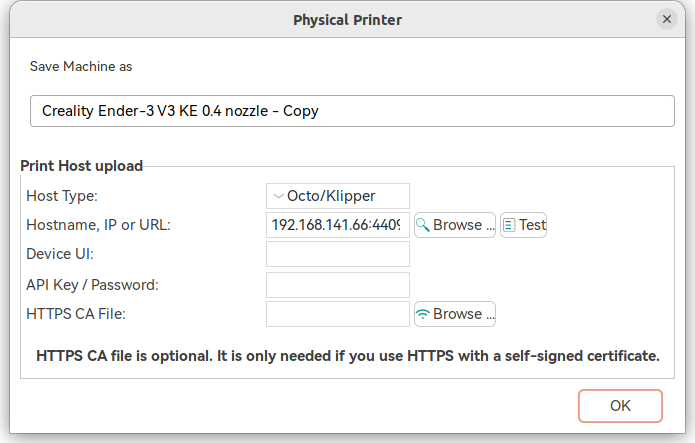
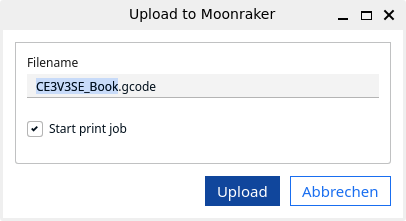
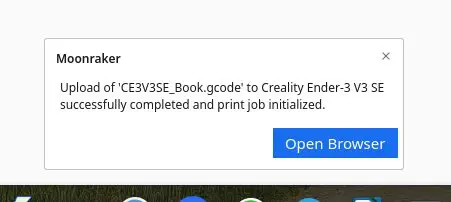
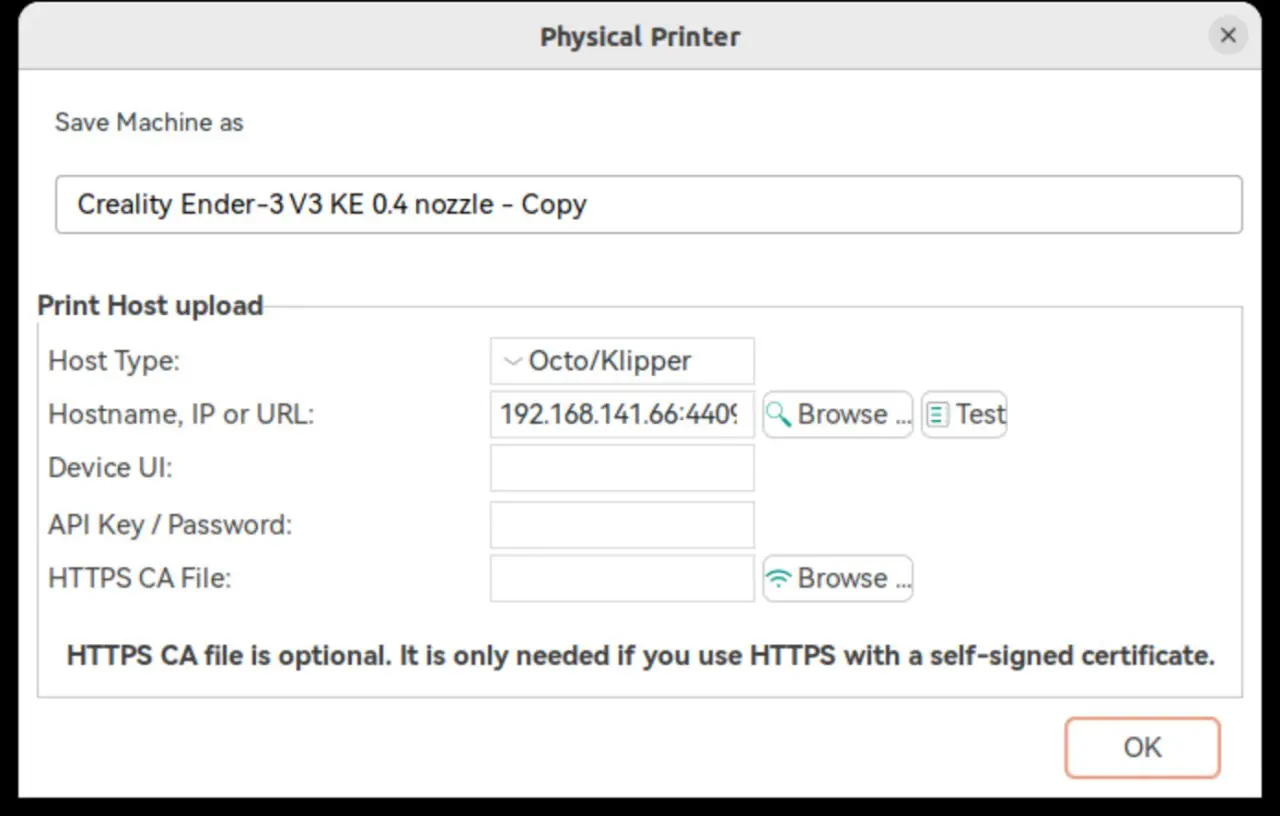
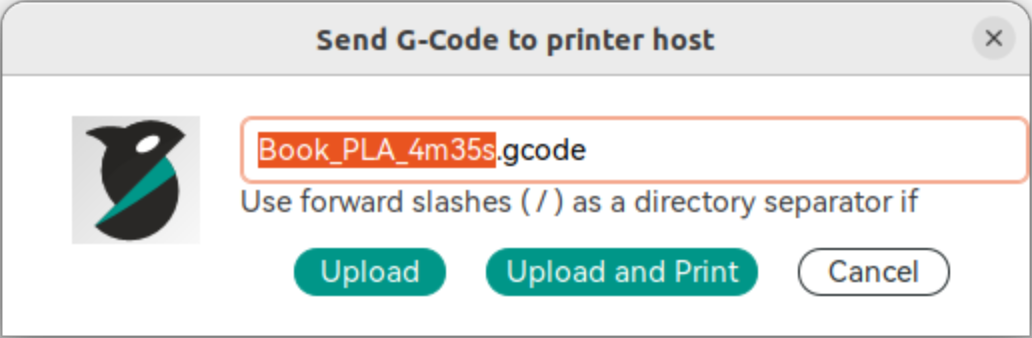
Other slicers!
Finally we have access to the printer from other slicers via IP-OF-YOUR-PRINTER:4409! Hooray! 🙂
And install Fluidd?
That works in the same way as with Mainsail:
You have to activate root access on the printer.
- Cogwheel symbol
- System
- „Root account information“
- Tick the box that you want to have root access
- Confirm disclaimer after 30-second countdown
- Remember the access data displayed (but should still currently be „root“ and „Creality2023“)
- Tap the Network tab
- The IP address of your printer is displayed under the network name. Remember!
Switch to the computer.
- DownloadFluidd from GitHub (fluidd.sh and fluidd.tar)
- Copy the files to the USB stick and insert the stick into the printer
- open the terminal on the computer
- ssh root@IP_OF_YOUR_PRINTER
- Confirm the fingerprint message with YES
- Enter the following commands:
cd /
cp /tmp/udisk/sda1/fluidd* /usr/data/
/usr/data/fluidd.sh install
The printer can now be reached in the browser under port 4408: IP-OF-YOUR-PRINTER:4408
Thanks for this article! I have just bought an Ender 3 V3 KE and was quite suprised to read about its stock compatibility with klipper.