
Geekbuying provided me with the Sceoan Windstorm S1 to test it. The printer is definitely incredibly beautiful, but is it any good?
Inhalt:
Sceoan Windstorm S1
The Sceoan Windstorm S1 is 500 mm/s fast and its print bed is 220 × 220 mm. It is a bed pusher that is controlled by Marilin.
What, you’re not impressed by the key data? Hm, how can I change that?
Wait a minute:
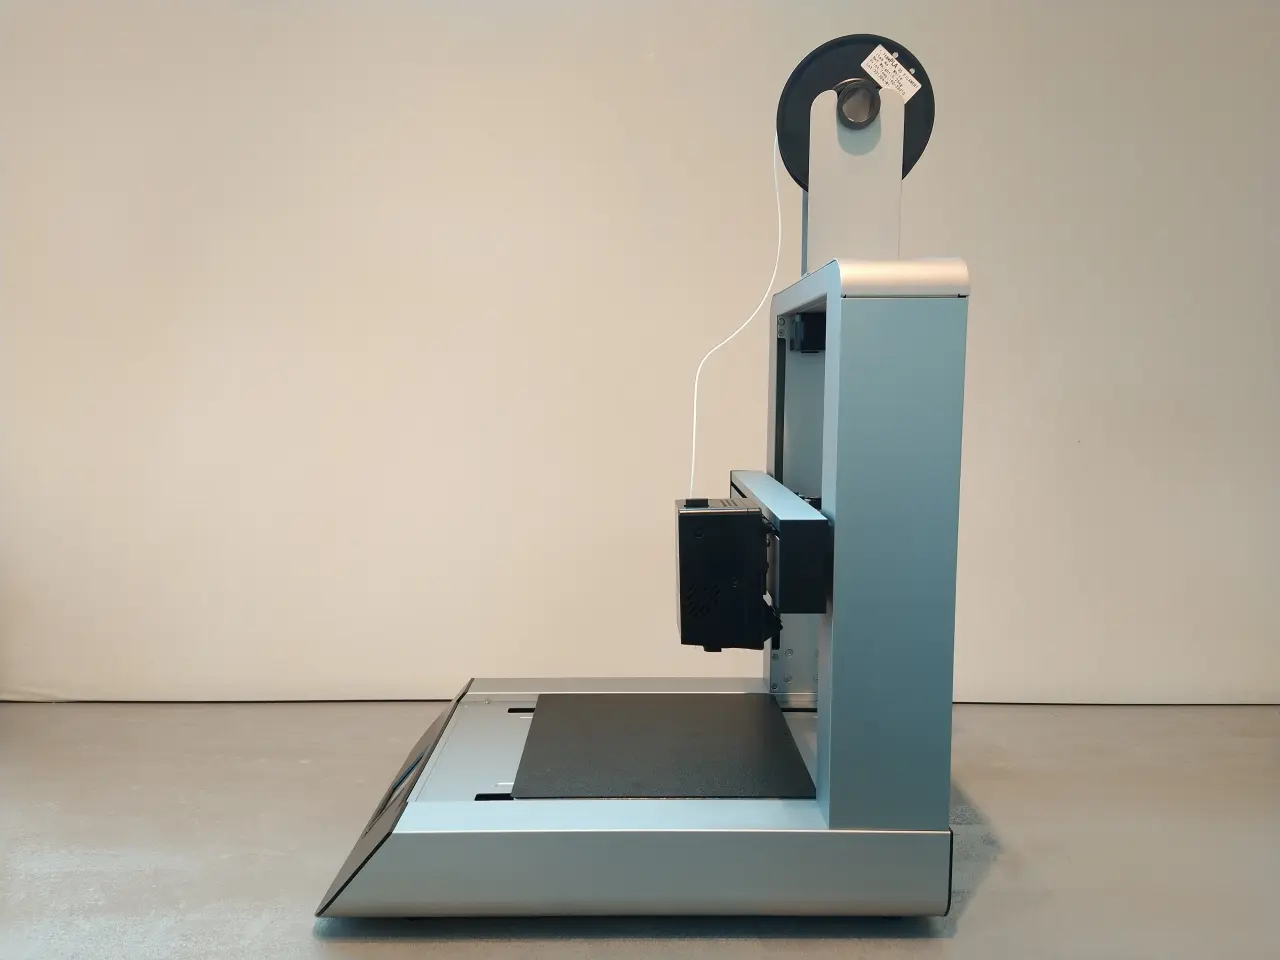
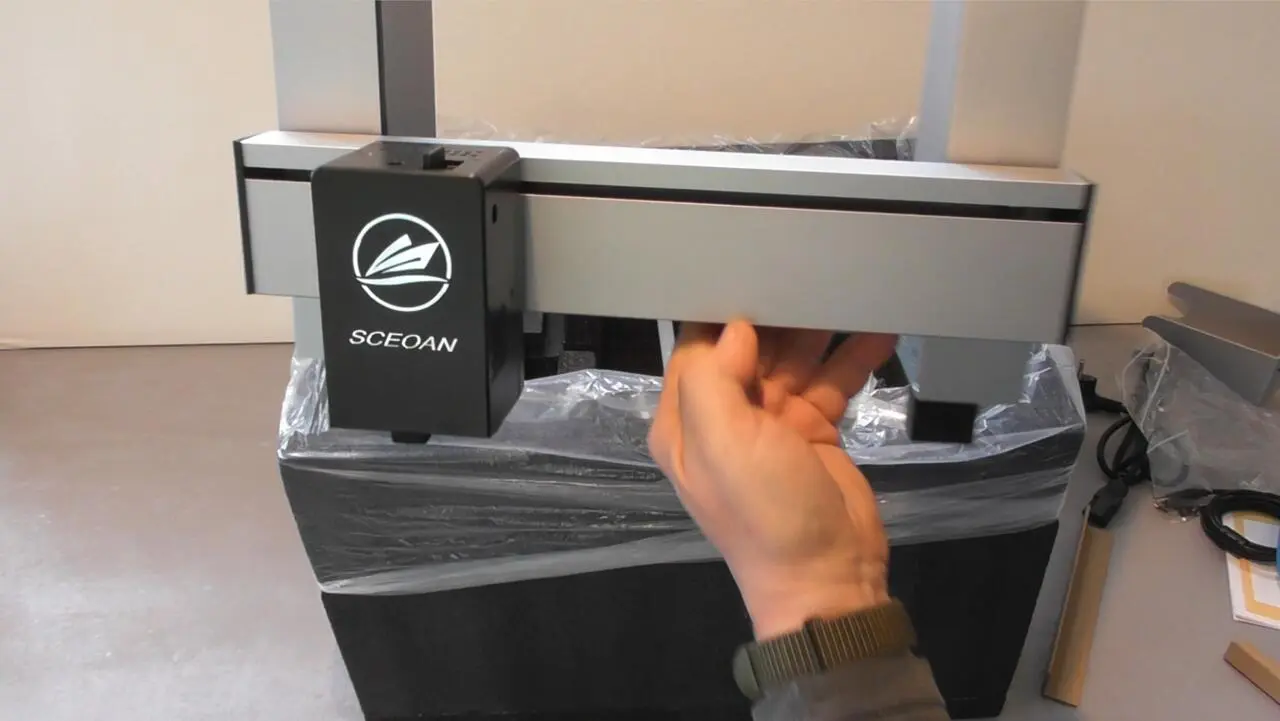
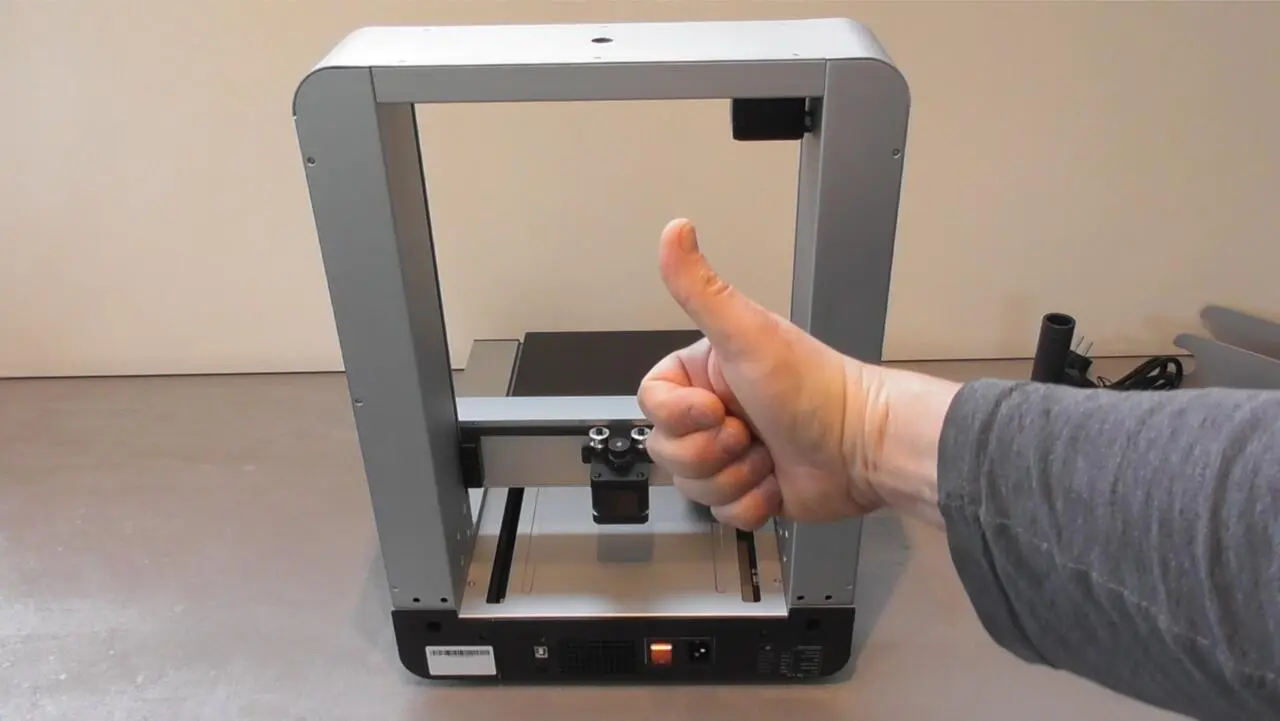
You can drop your jaw again. Yes, that’s a delicious and absolutely clean design, isn’t it? If an apple logo were emblazoned on the device, nobody would be surprised.
Key data
Let’s not be dazzled by the design and take a dispassionate look at what the printer has to offer. First of all: there is no motion compensator sensor on board and there is no WLAN either, but it does have a sneaker net. 🙂 Why the lack of WLAN is its biggest problem will be explained later
| Sceoan | Windstorm S1 |
| Type | Cartesian |
| Class | Compact class |
| Installation space | 220 × 220 × 250 mm |
| Acceleration X | a 10,000 mm/s² |
| Acceleration Y | a 7,000 mm/s² |
| Vmax | 500 mm/s |
| Vtype | 300 mm/s |
| OS | Marlin 2.1.2.1 |
| Print bed material | PEI |
| Maximum bed temperature | 140 °C |
| Bearing X-axis | Linear |
| Bearing Y-axis | Linear |
| Z-axis bearing | Plain bearing |
| Weight | 12.7 kg |
| Dimensions (cm) | 34 x 49 x 62 |
| Z-axis struts | yes |
| Control panel | Display |
| – Display | 3.5″ colour display |
| – Touchscreen | yes |
| Heating bed | integrated |
| – Material | magnetic PEI |
| – Heating power | 250 Watt, 24 Volt |
| – Maximum temperature | 140 degrees (crash over 110 degrees) |
| Extruder | Extruder type |
| – Extruder type | Direct, Dual, Metal |
| – Filament feed | manual |
| Nozzle | 0.4 mm |
| – Maximum temperature | 260 degrees |
| Printing materials | 1.75 mm |
| PLA, PETG | yes |
| TPU | yes |
| ABS, ASA | no containment |
| Abrasive materials | with different nozzle |
| Connectivity | Connections |
| – WLAN | no |
| – USB stick | USB-A |
| – PC connection | USB-B |
| – TFT display | USB-C |
| – Card reader | mSD |
| Additional functions | Features |
| – Auto levelling | yes |
| – Filament sensor | yes |
| – Self-cleaning nozzle | no |
| – Print bed lighting | no |
| – Input shaping | no |
| – Input shaping sensor | no |
| Price at market launch | 419 EUR |
There is no input shaping sensor on board and there is no WLAN either, but it does have a sneaker net. 🙂 Why the lack of Wi-Fi is its biggest problem will become clear later.
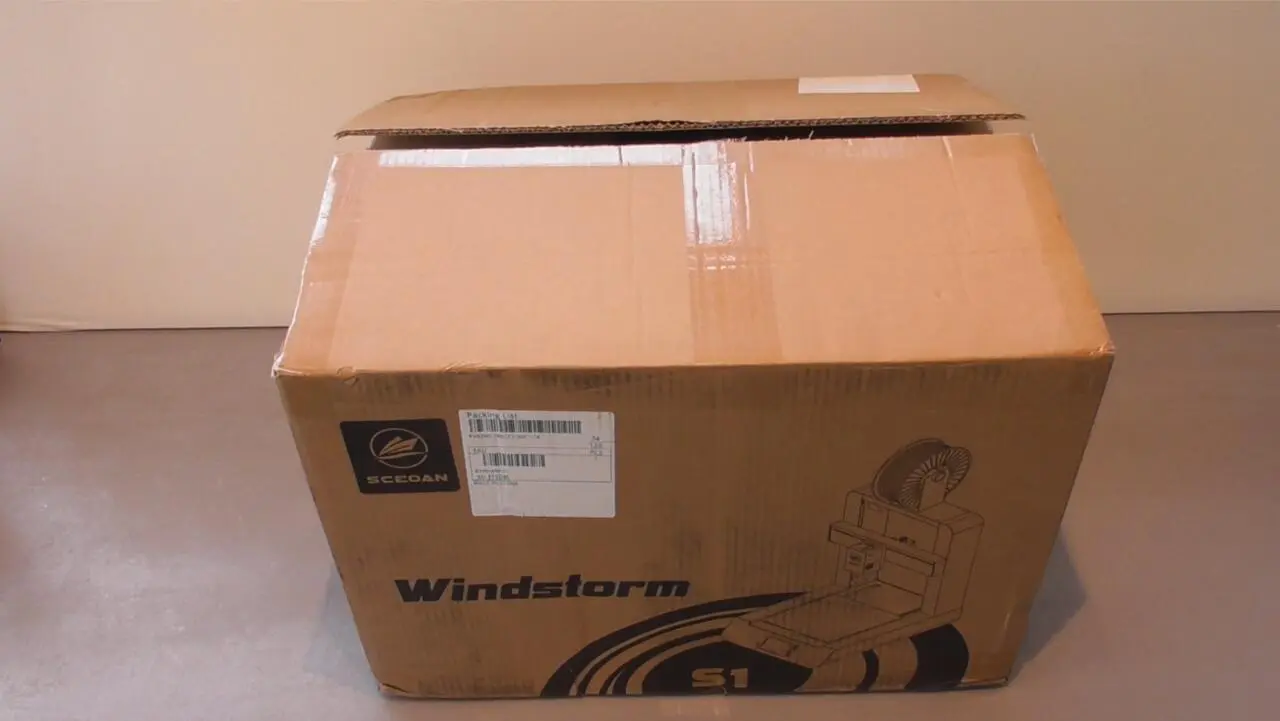
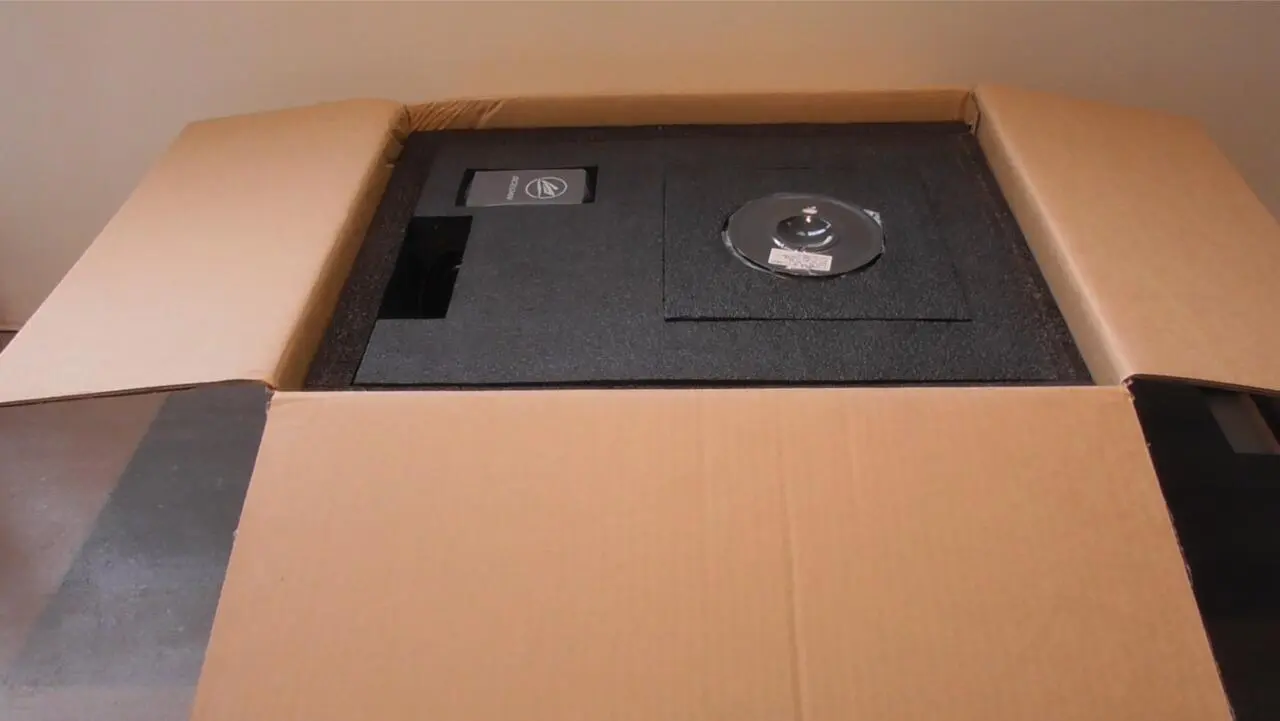
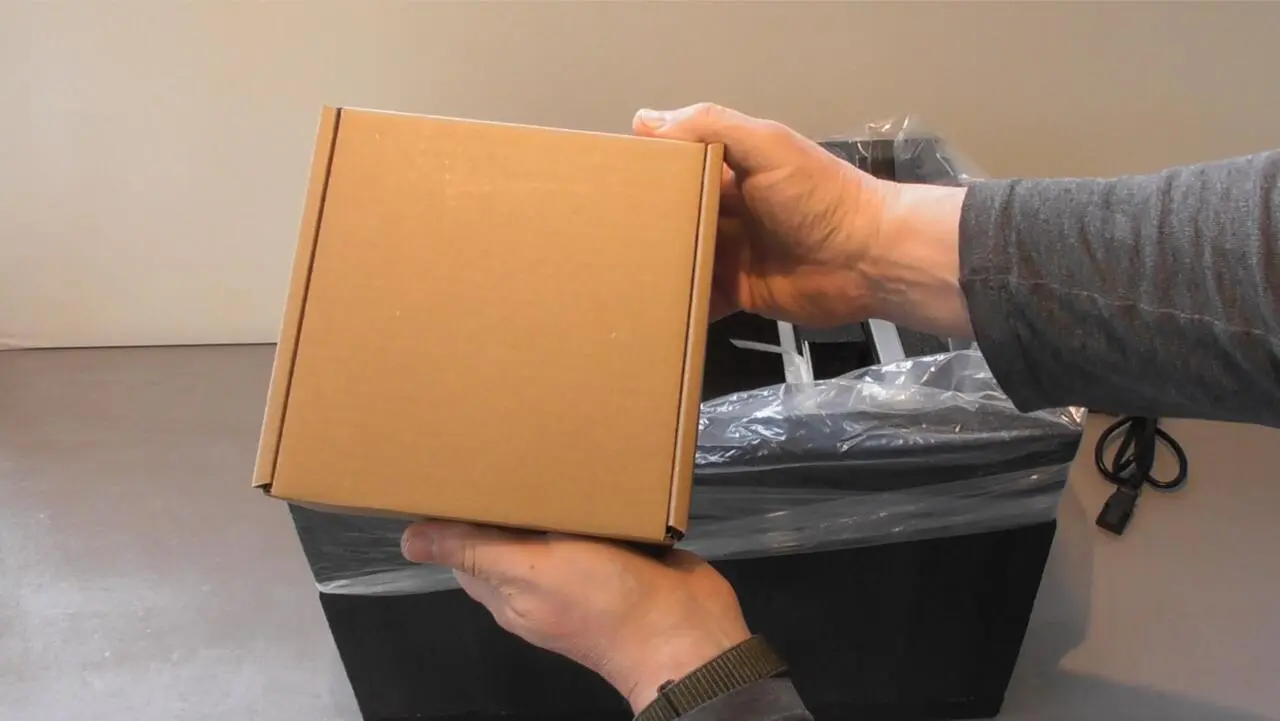
Unboxing
Yes, you always want to see how complicated it is to unpack and assemble the printer. I’m getting ahead of myself: It could hardly be easier!
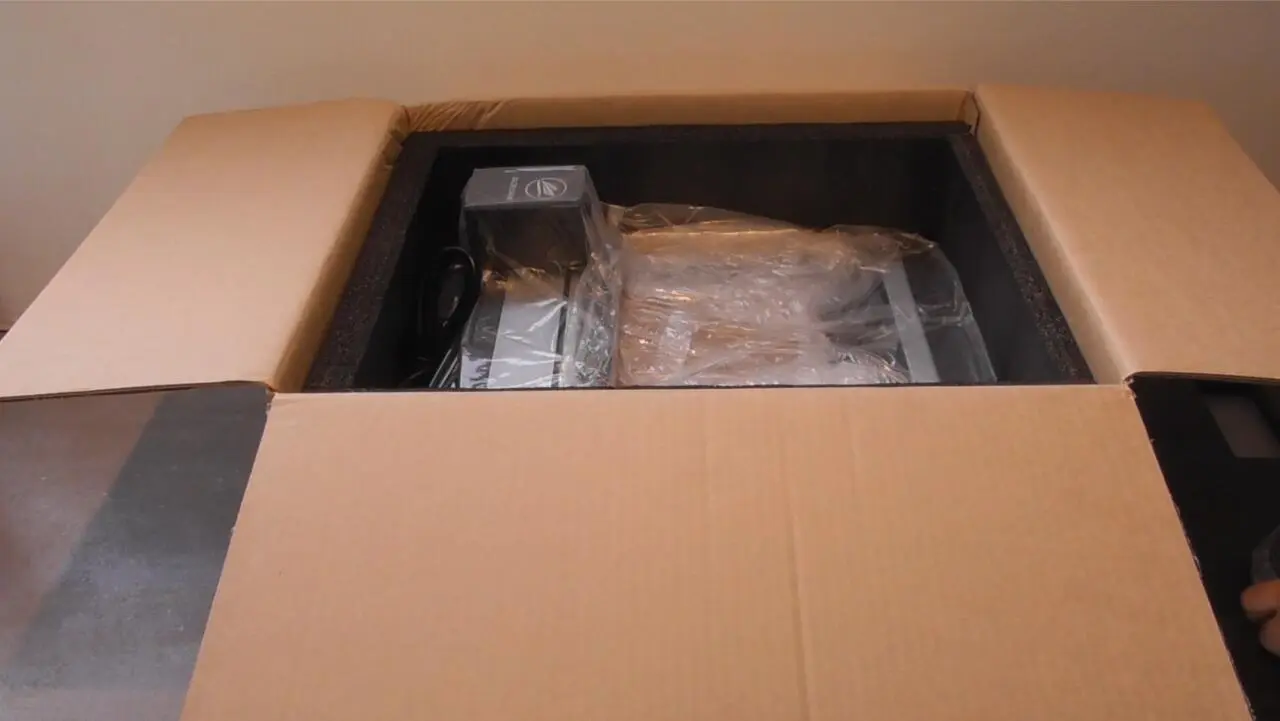
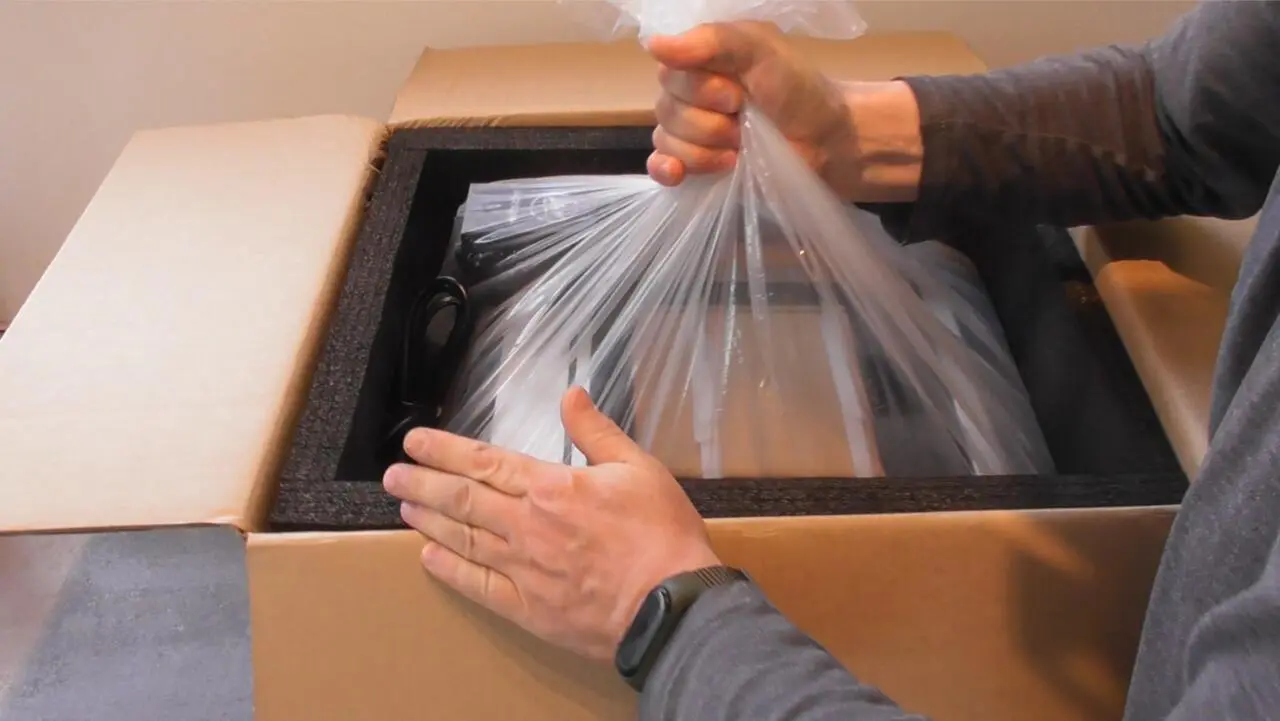
The printer arrived well packaged. As I still have a very early model, it came from China. The packaging took two heavy knocks, but nothing happened to the contents. That’s how it should be.
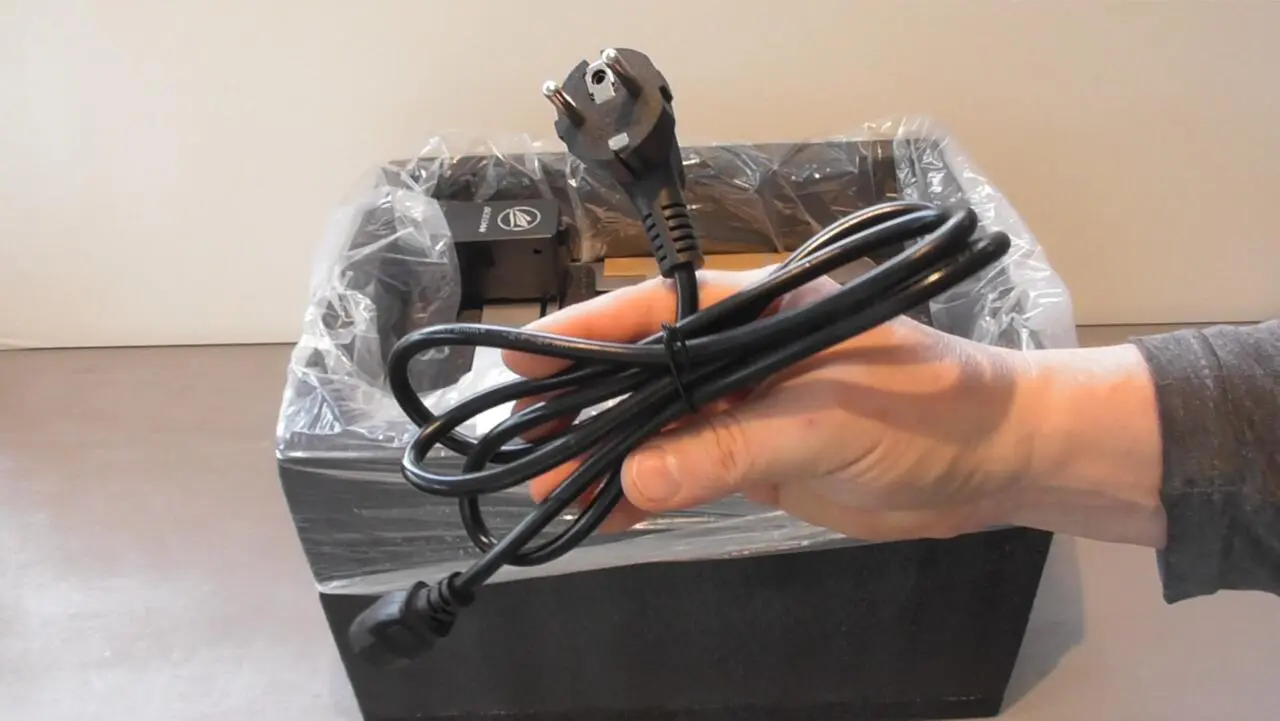
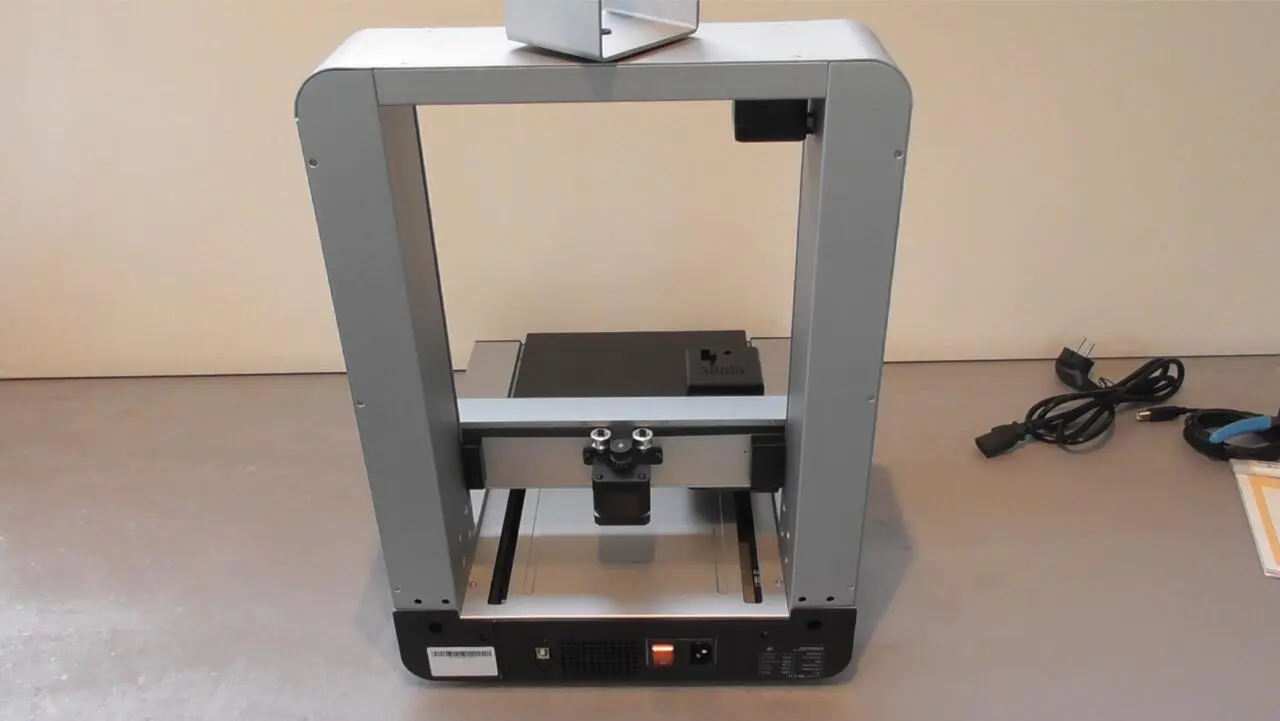
Accessories
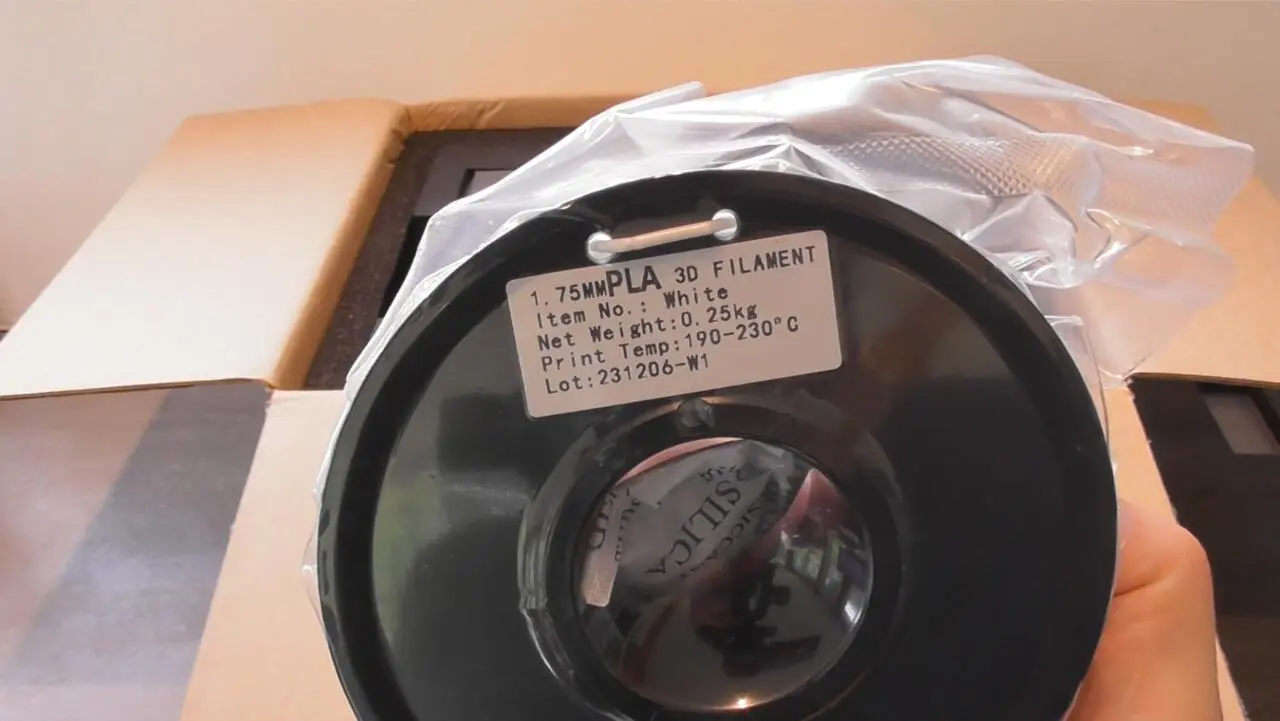
The 3D printer comes with the usual accessories. But one thing is missing: a pin. 🙂 I don’t like it anyway and the Sceoan doesn’t need it.
- 250 g pearl white HS-PLA
- Power cable
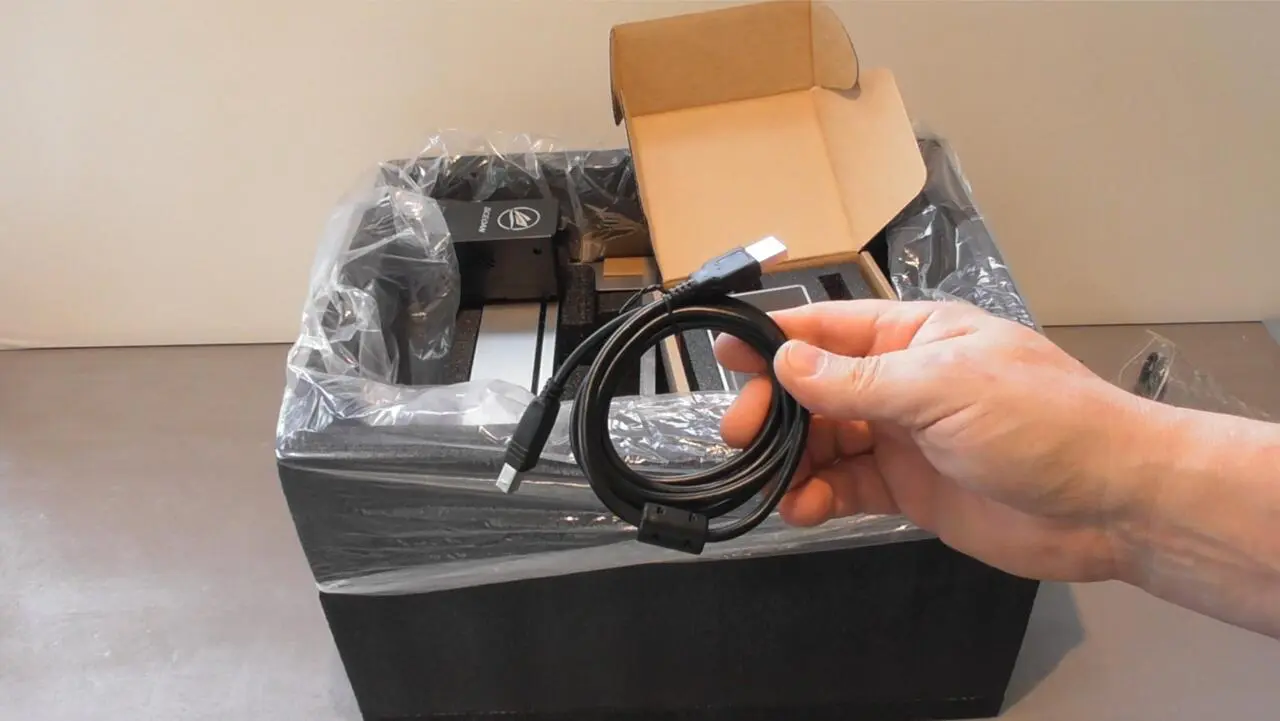
- USB-B to USB-A cable (in black!)
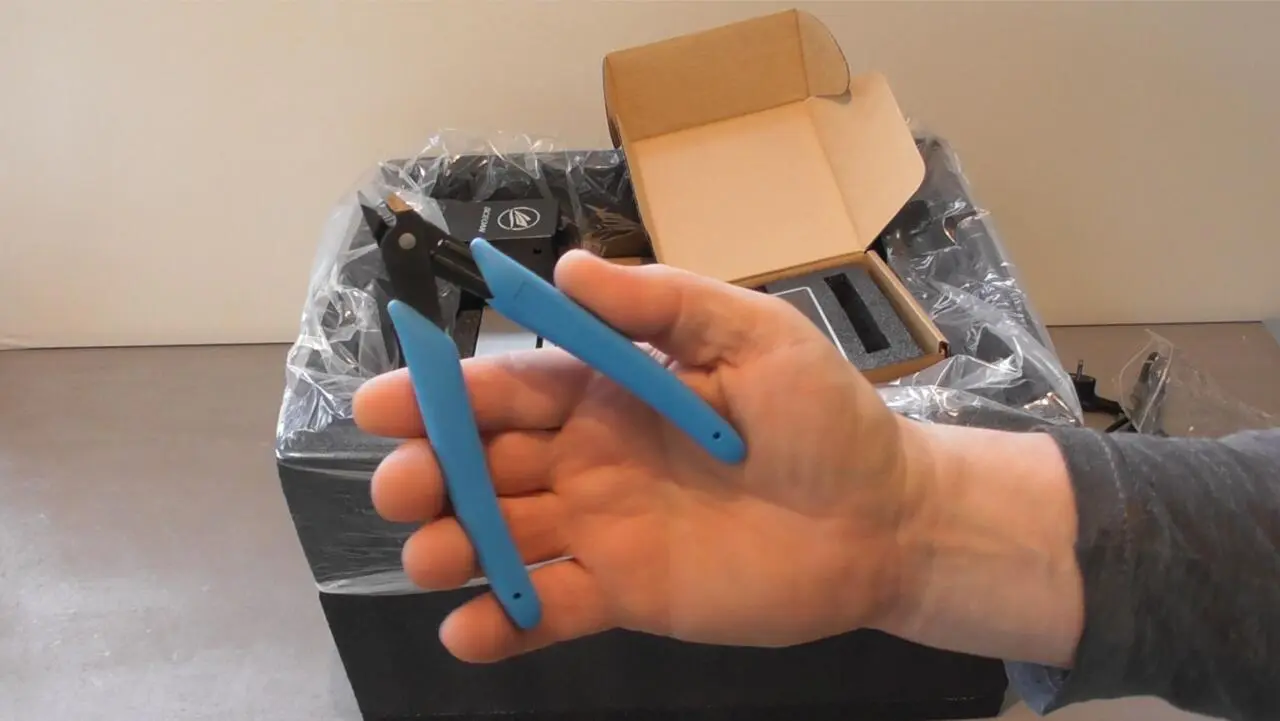
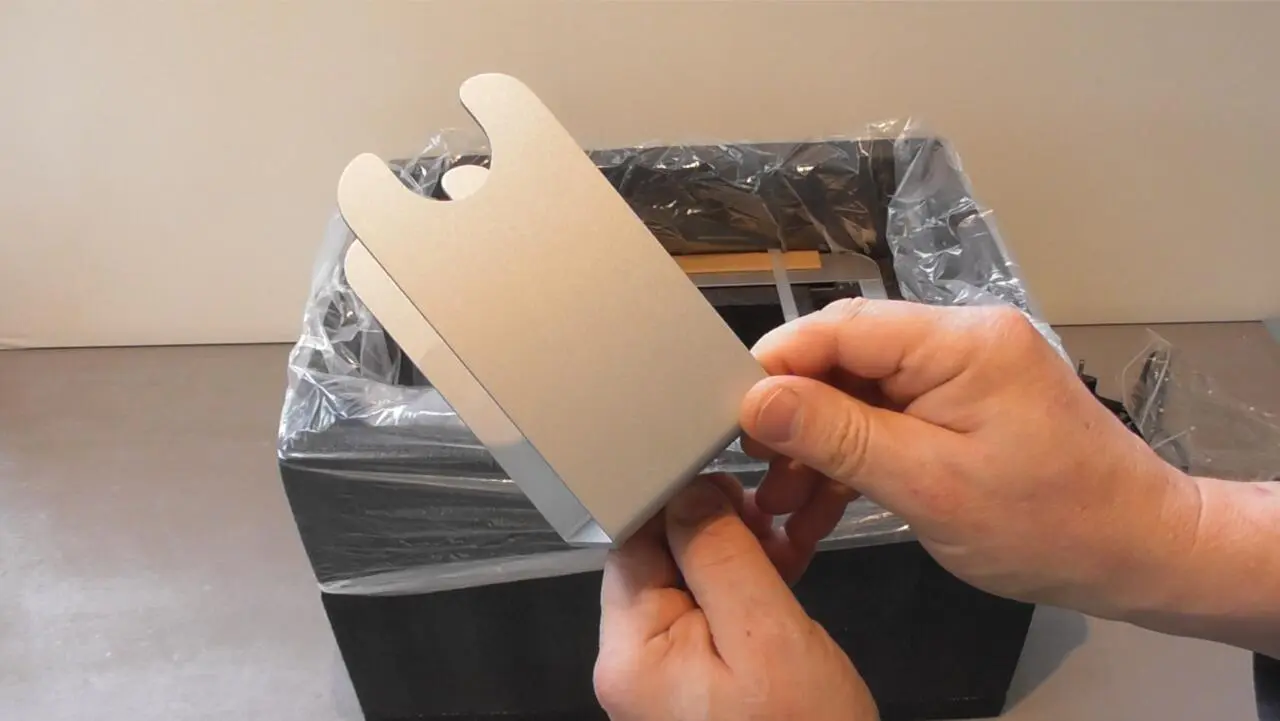
- Filament pliers
- bad tool
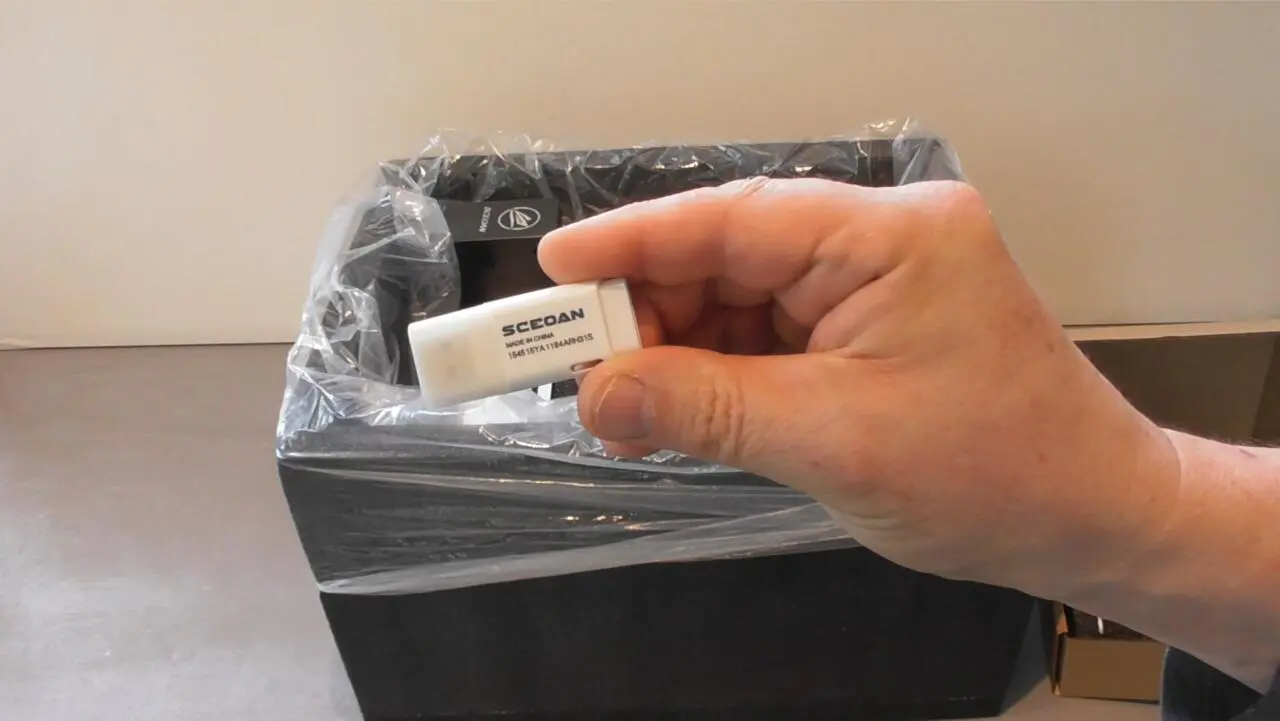
- USB stick, 4 GB
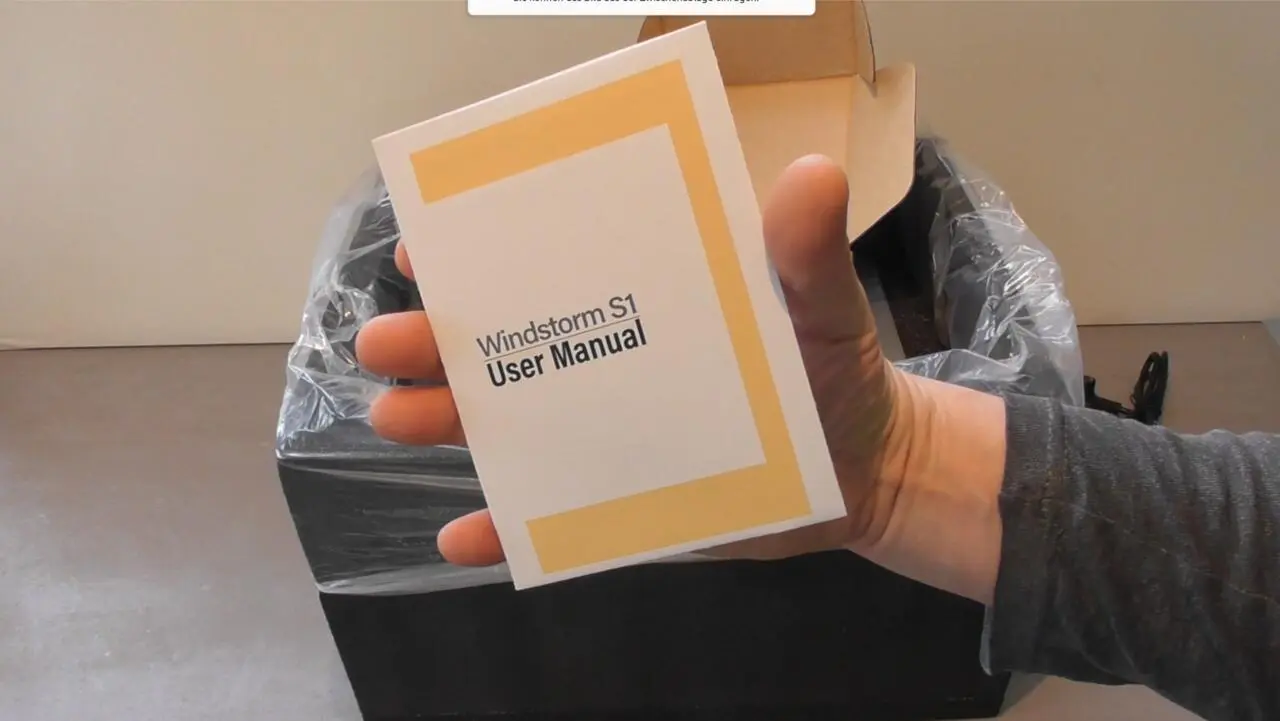
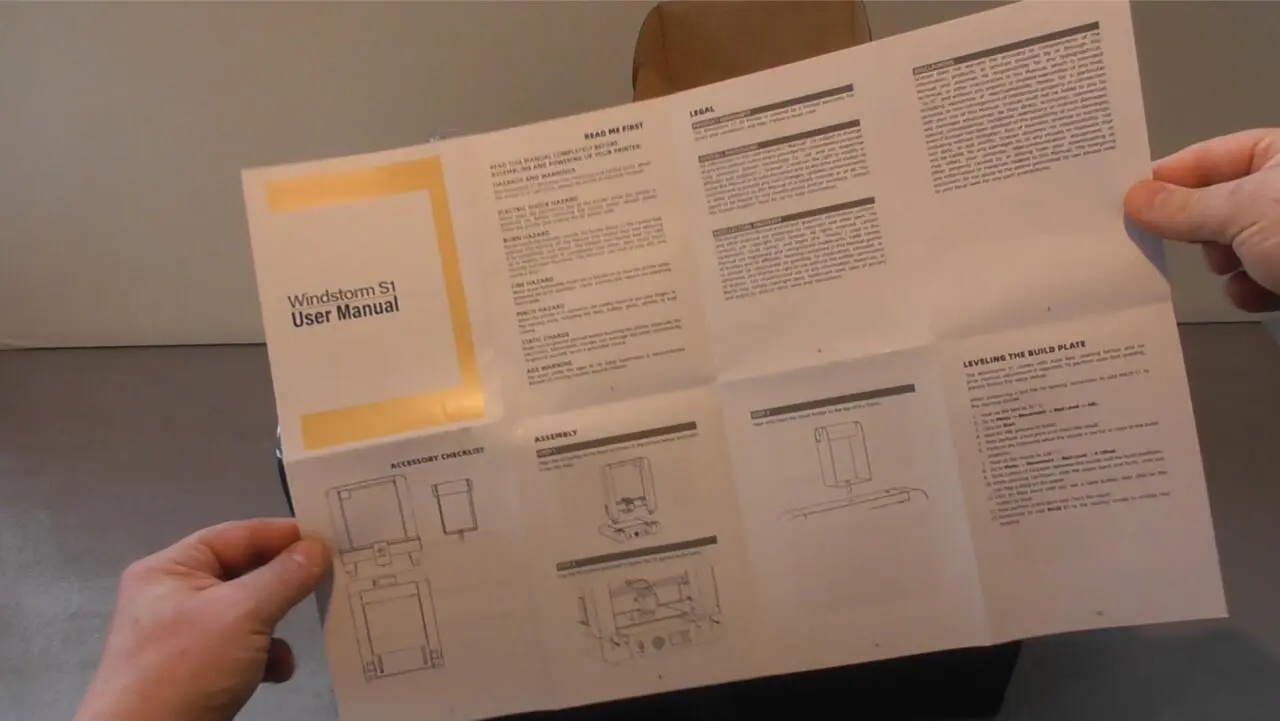
- Quick guide
At last there is a useful amount of PLA included! Even high-speed PLA in mother-of-pearl white! Really good stuff – I can already tell you that.
A black USB cable? They were actually always blue. 🙂 Instead, we find the usual filament pliers with the blue handles in the box. Also a 4 GB USB stick with sample print files and a manual in German and English.
I don’t recommend using the tool because it is simply made of steel that is too soft. The Allen key turns round even with the large screws. Too bad it came with a holder for a change instead of loose in a bag.
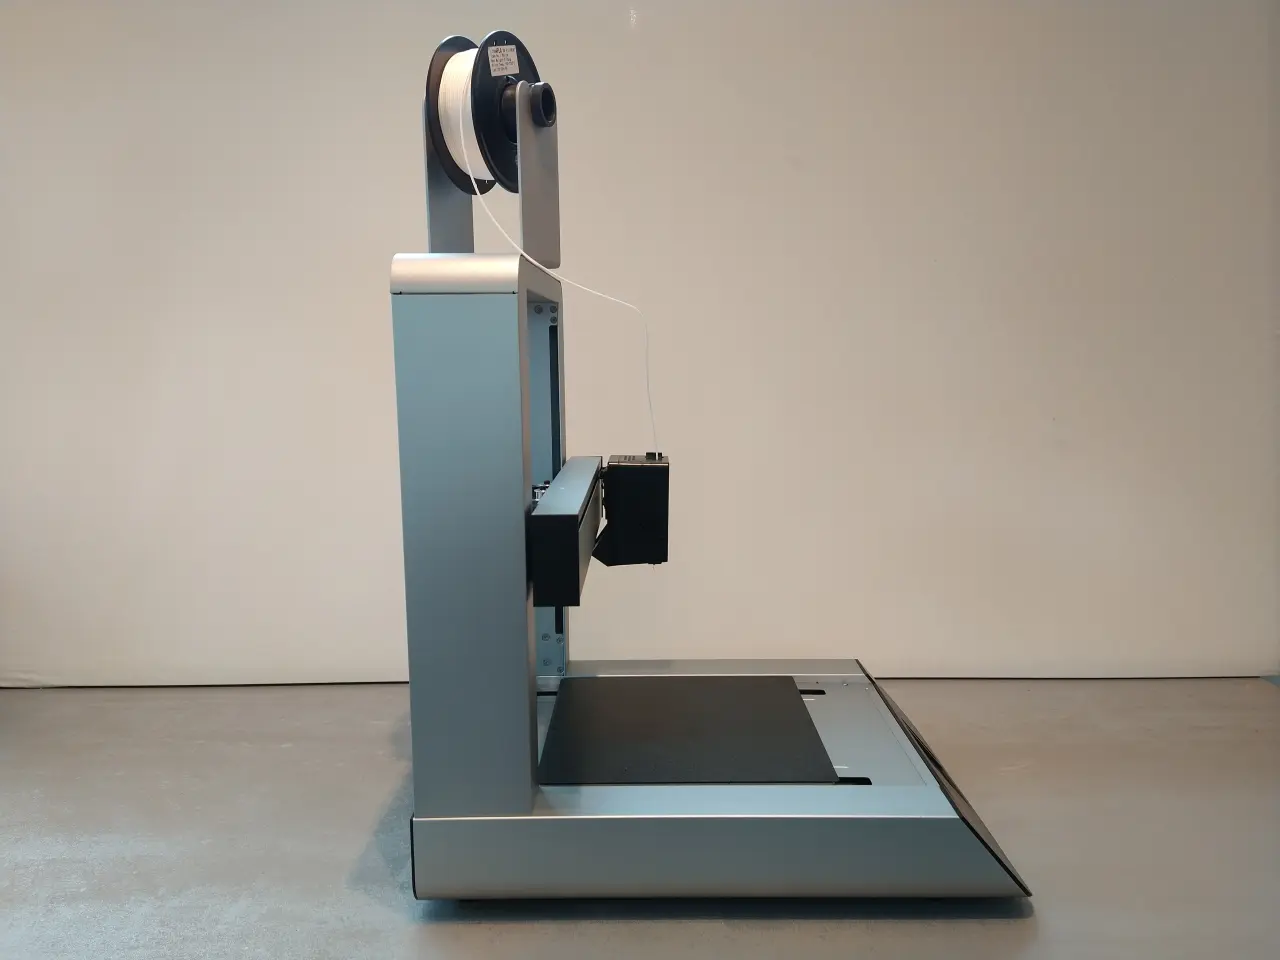
The filament holder is made of aluminium and even it is reminiscent of products from Cupertino. 🙂
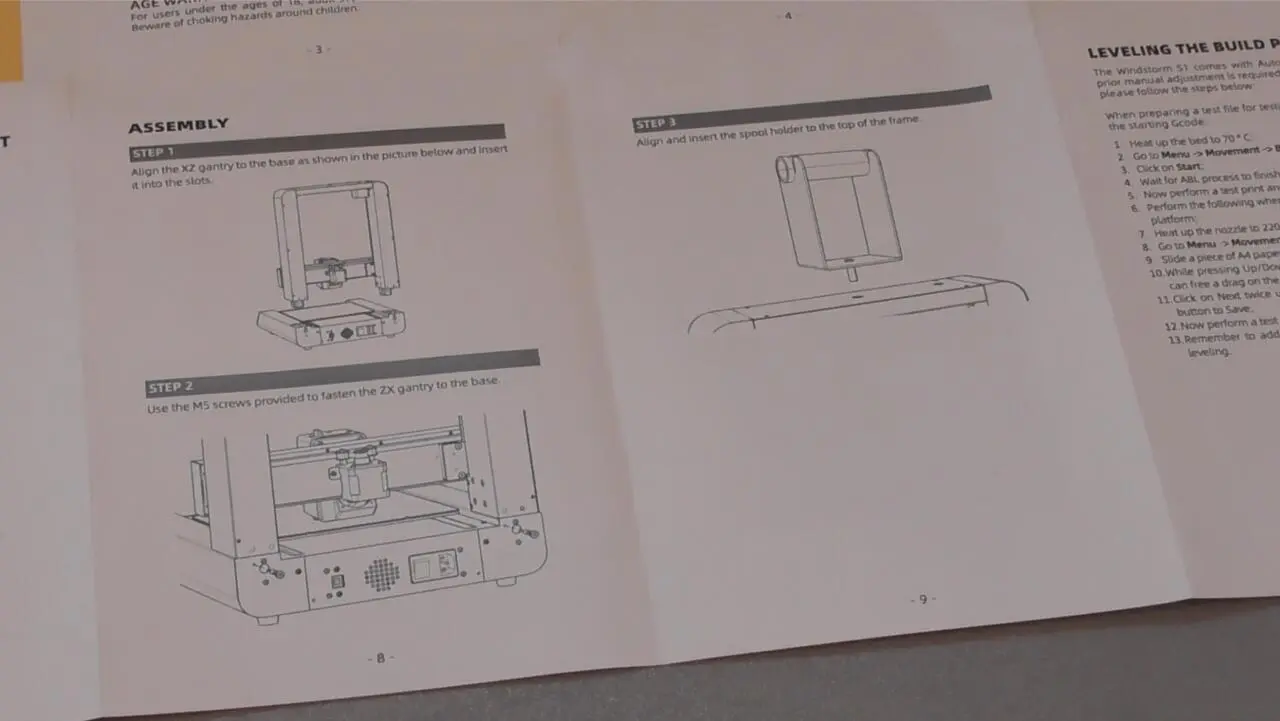
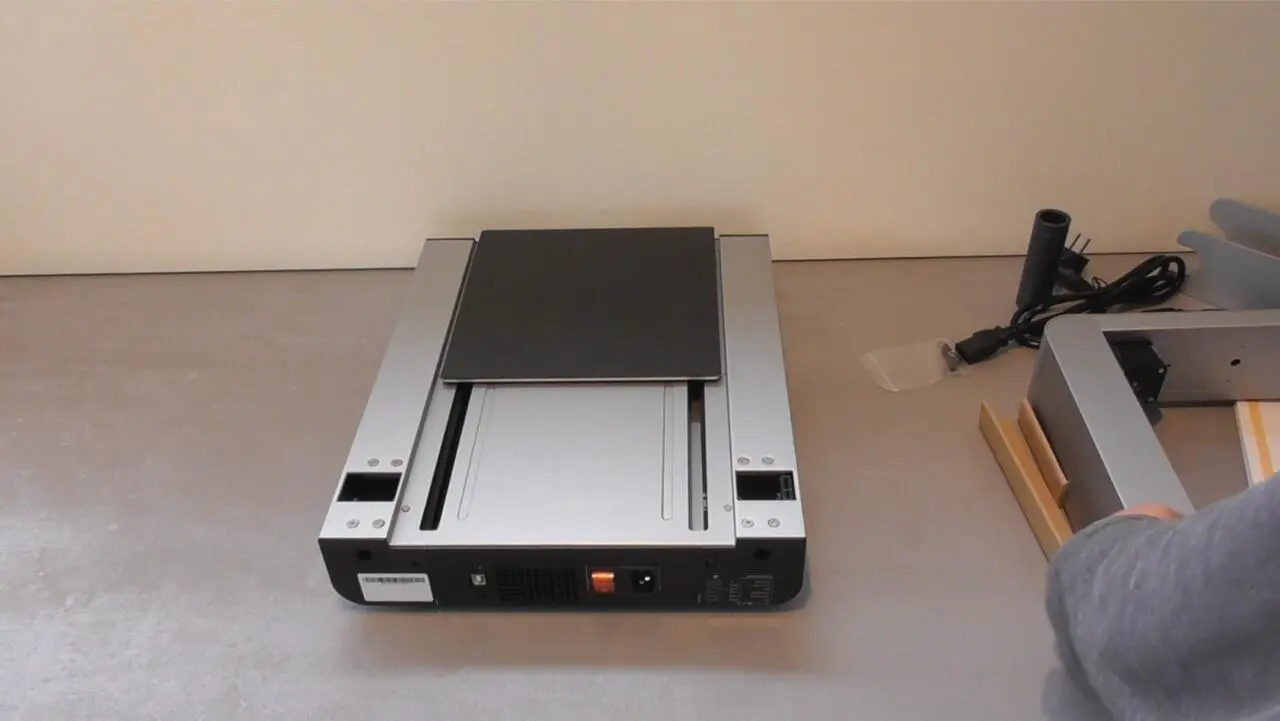
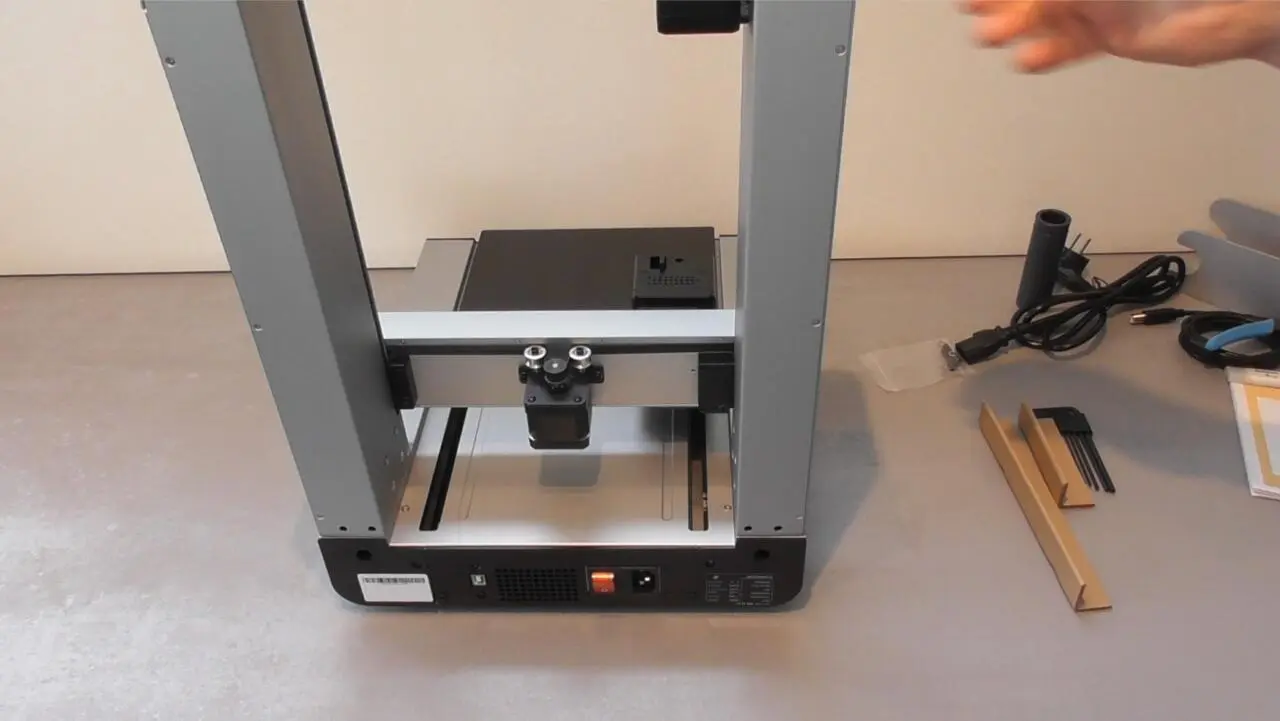
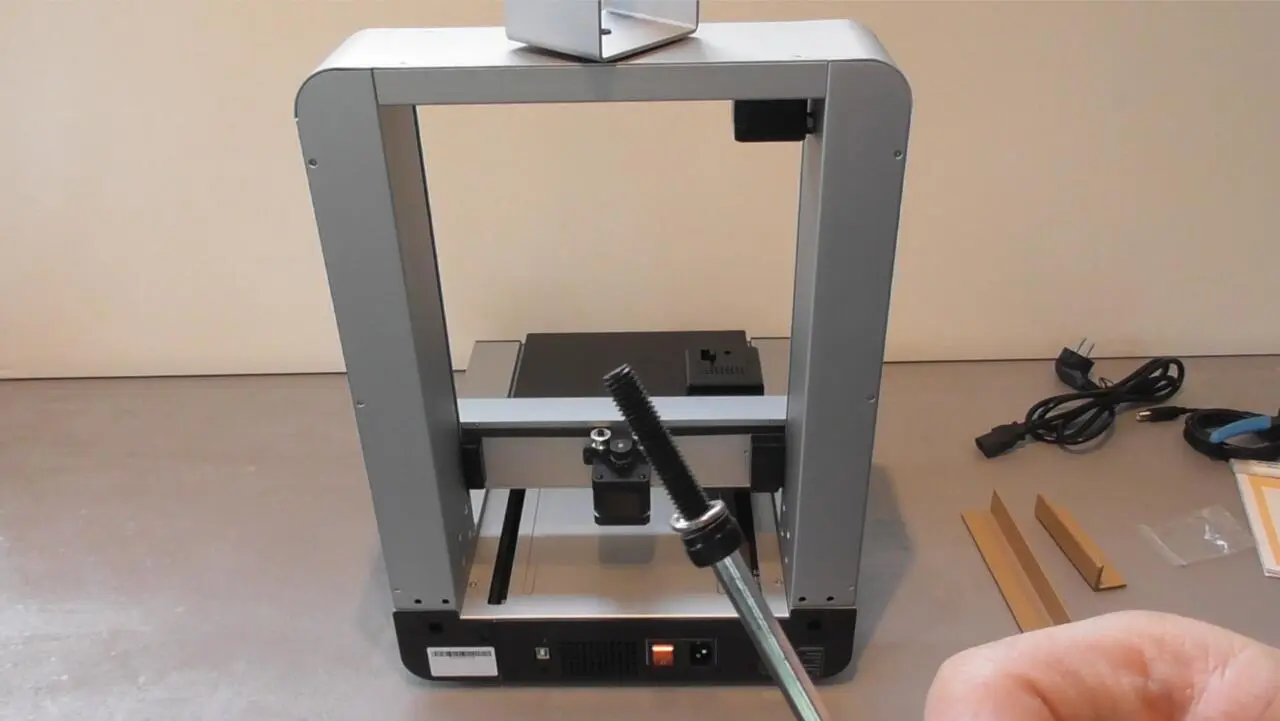
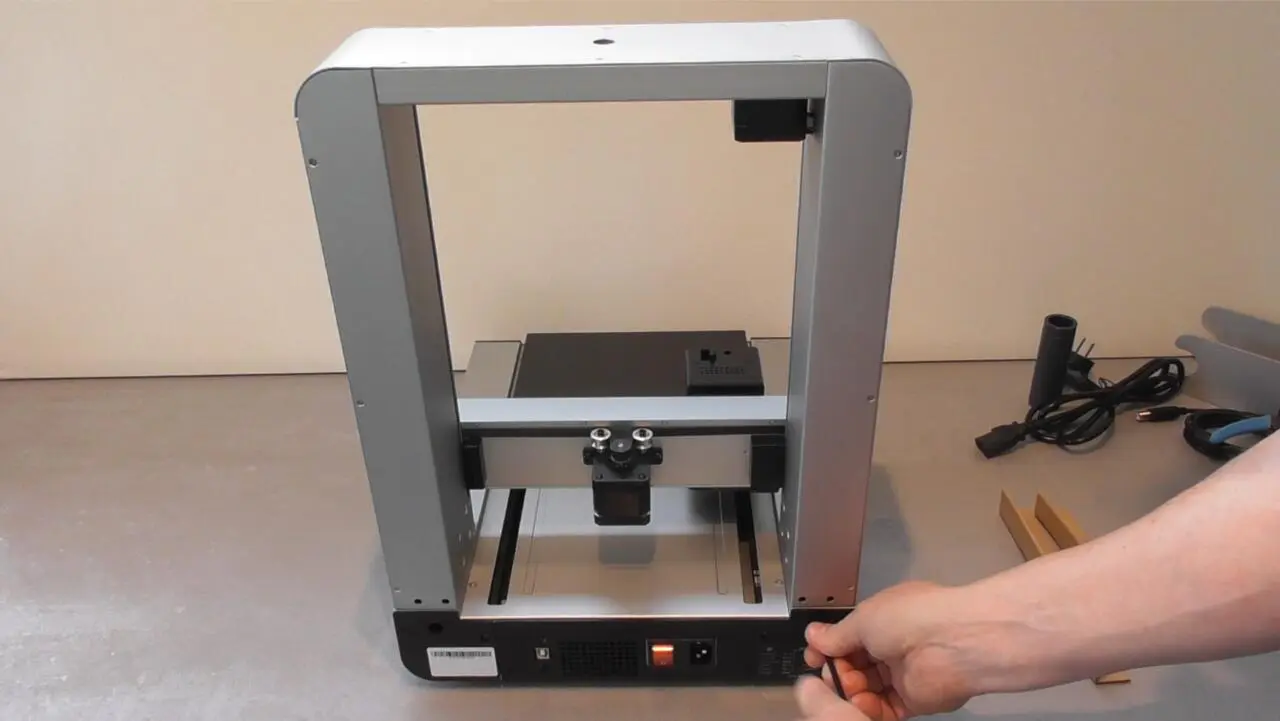
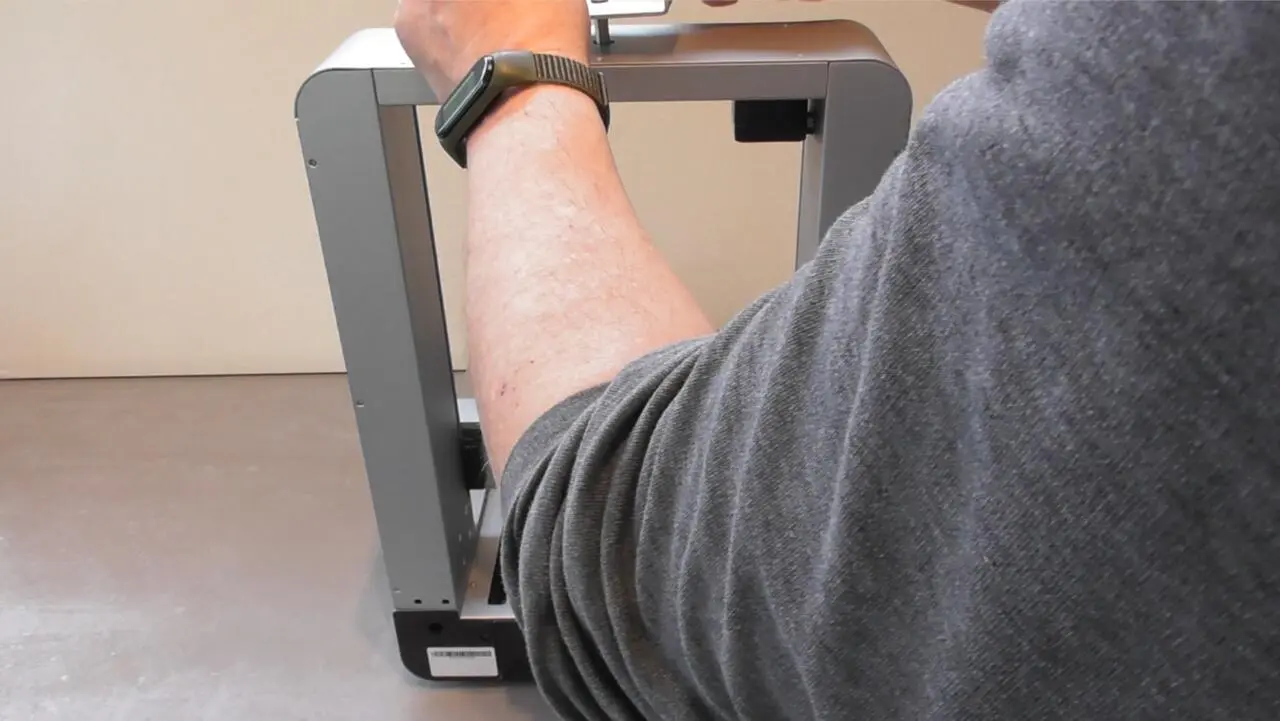
Structure
First we need to set up the printer. And that’s incredibly easy! Plug it together, tighten two screws, put the filament holder on top and you’re done. I’ve never had a printer that was so easy to set up.
I’m sure you’ll now cite a fully assembled Core XY printer, but with these there are still a lot of cable ties to undo, but not with the Sceoan.
When I had finished setting it up a minute later, I stared at the printer. Can I switch it on now? Just like that? I really did look at the manual again: yes, that really was the whole set-up, the printer is now ready to use. Absolutely great!
But the disillusionment comes with the first print! Unfortunately! 🙁
Volume
The Sceoan Windstorm S1 is a credit to a windstorm, because it howls worse than such a storm. It sounds like a kitchen blender from the 1970s.
I wanted to do more test prints, but I’m writing in the same room as the printer. The background noise is annoying! A really unbearable noise.
Other current printers are also loud, but not across the whole spectrum. As with the X3 Plus, the pitch sometimes changes, which was already annoying with the X3, but nothing like the Sceoan Windstorm S1. It’s impossible to concentrate.
The mixer noise is accompanied by mechanical noises, some of which are also clacking noises. A true cacophony.
Mere numbers don’t do it justice. Nevertheless, I measured the whole thing with my simple sound level meter. Distance 1 metre, approximately at the height of the print head, just as I measured all the other printers.
- 36 dB(A) idling
- 67 dB(A ) during printing
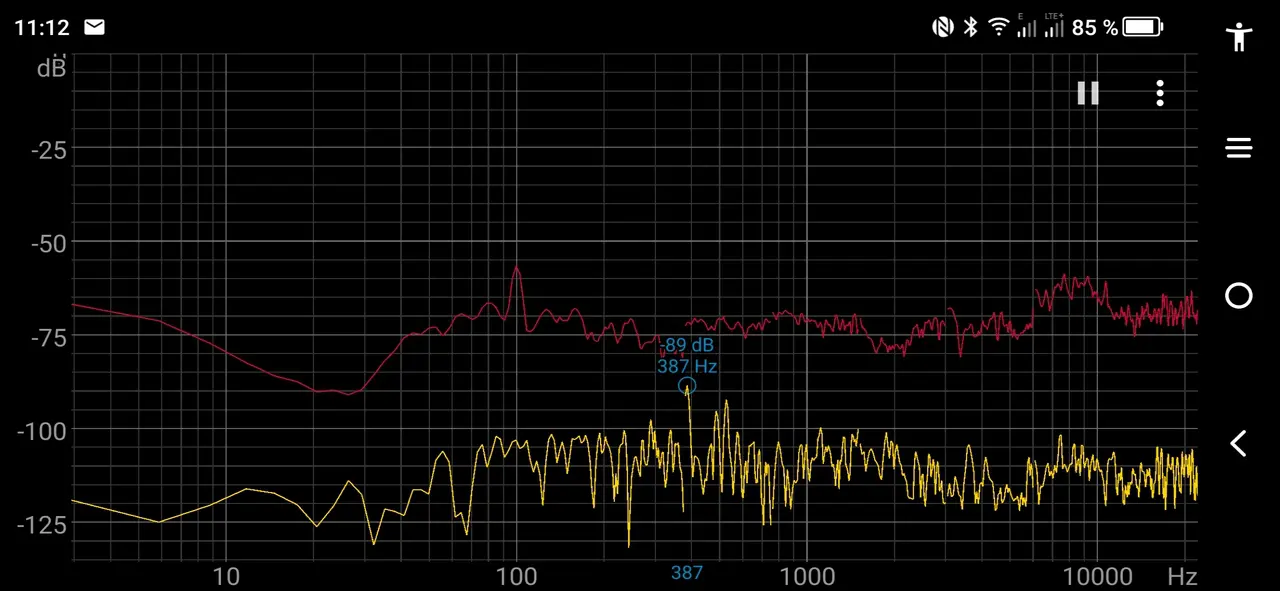
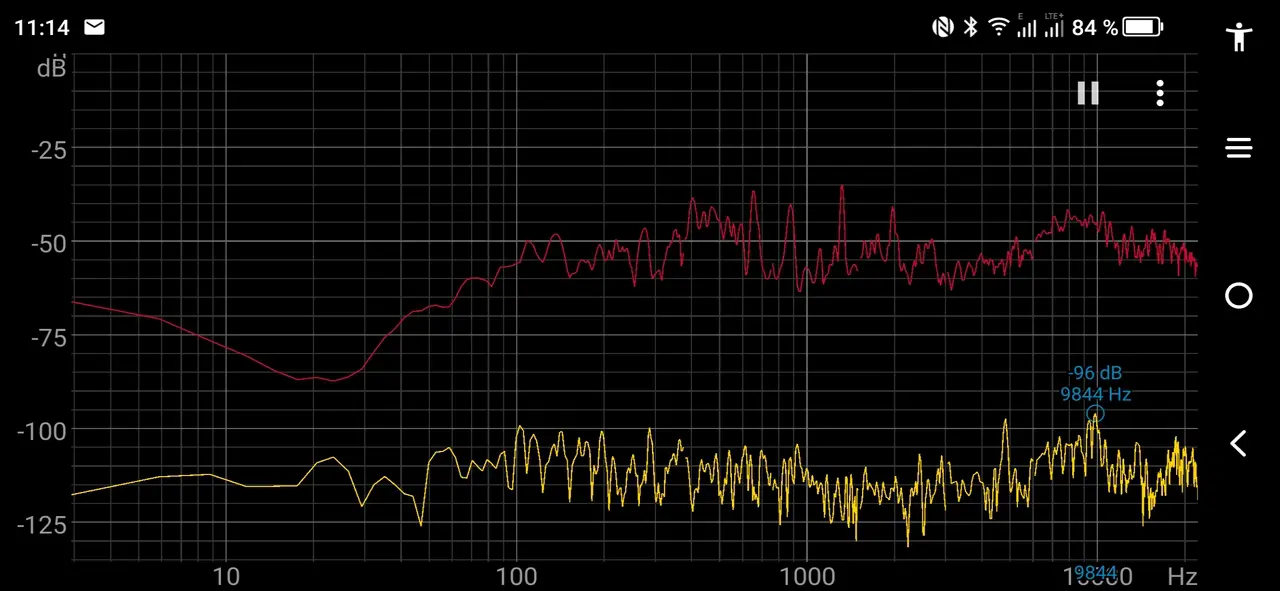
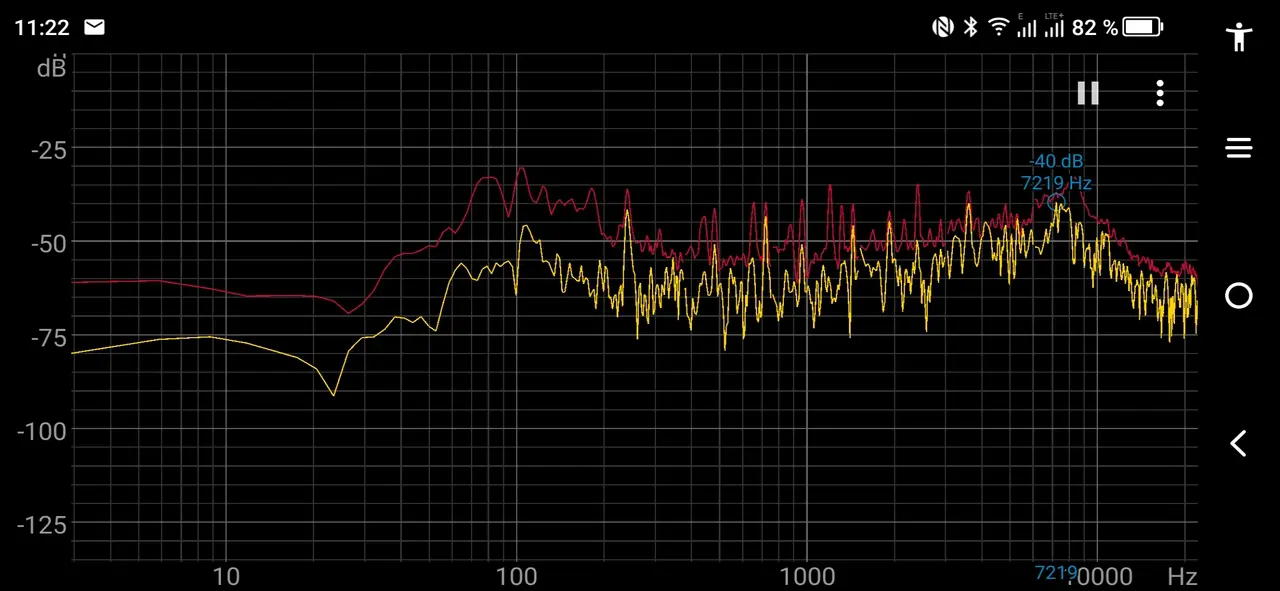
I wanted to find out more about this and downloaded a spectrum analyser to my smartphone:
From 100 to 10,000 Hz, almost every frequency is consistently around 60 dB.
The highest peaks are found at 1,200, 2,300 and 21,000 Hz.
Comparison
- Sceoan Windstorm S1: 67 dB(A)
- Artillery Sidewinder X4 Plus: 60 dB(A)
- Creality Ender-3 V3 KE: 42 dB(A)
As decibels are logarithmic, simple subtraction does not reflect the perceived difference in volume.
The Sceoan Windstorm S1 is the loudest printer with a perceived overall volume 1.7 times higher than the X4 Plus and 2.6 times higher than the Ender-3 V3 KE, making it the loudest printer I’ve ever had.
Causes
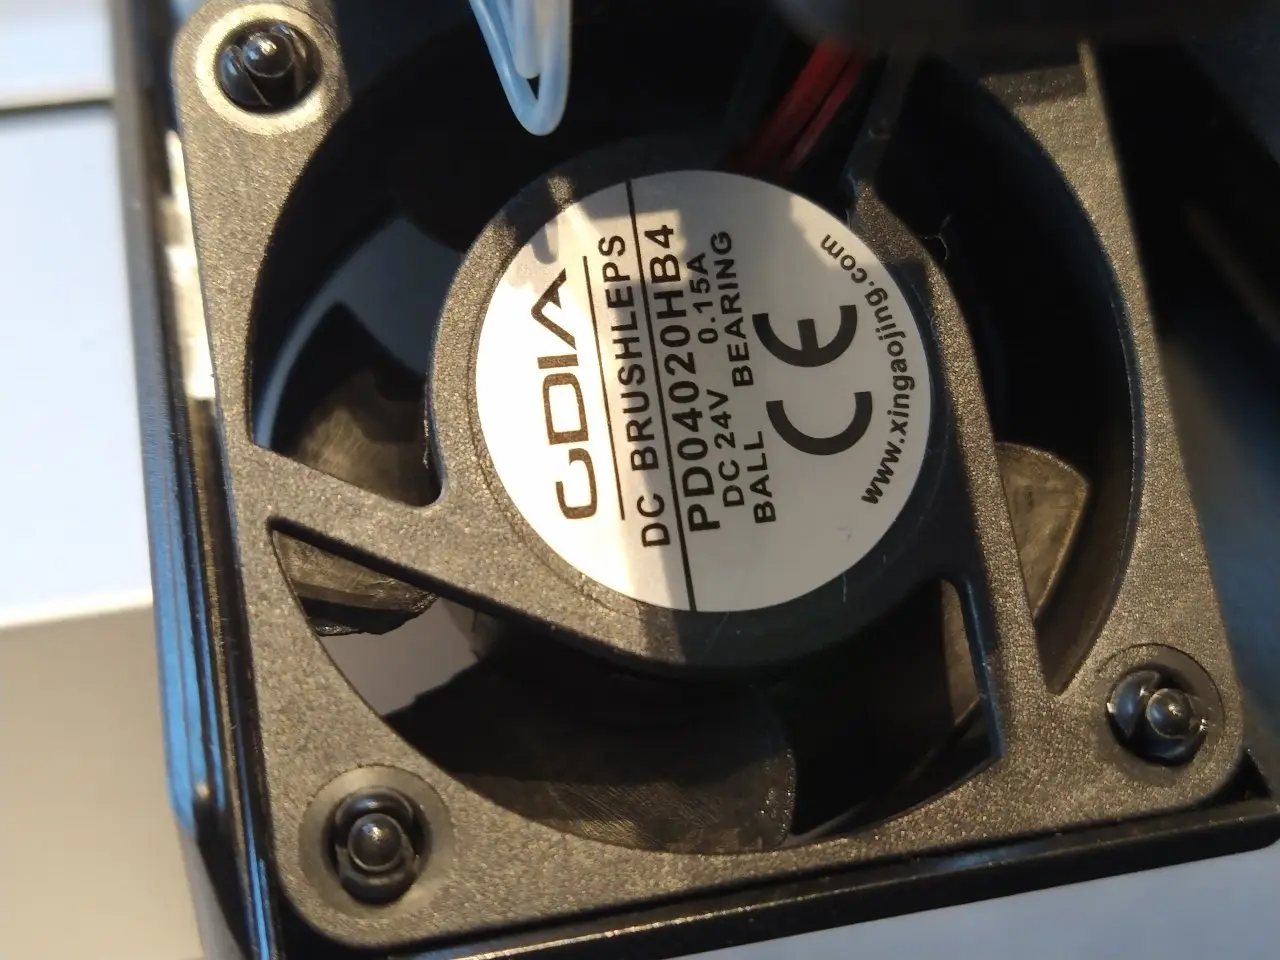
The fan in the mainboard drawer is audible throughout, but no louder than on comparable 3D printers. This also applies to the Hotend’s fan The culprit, however, is the component fan or its controller. The PWM signal is not stable, it seems.
Perhaps the 4020 fan from xingaojing with its 3.6 watts is too powerful for the regulating electronics? I have ordered a quieter and weaker replacement from Sunon. Sunon quality is beyond reproach. Then we’ll see what happens.
No WLAN
Together with the noise level, the Sceaon Windstorm S1 has a real problem: you would only want to have such a loud device in the next room, but preferably in the basement. If you don’t have a Raspberry Pi with Octoprint, you should get one now at the latest.
This results in
What do you want with a printer that looks so damn good, but is so damn loud that you don’t actually want to see it and therefore don’t want to hear it? You could replace the fans with quieter ones. But the Sceoan Windstorm S1 is first and foremost a 1A entry-level printer. And beginners don’t want to tinker.
A real dilemma! 🙁
I hope that improvements will be made here.
Octoprint?
Using Octoprint is not a problem. The Sceoan can be upgraded with WLAN with little effort and at little cost. It’s great that the USB port is located at the back of the device, so that no ugly cables spoil the good design of the 3D printer, but if you want to integrate a Raspberry Pi into the printer, this is also easily possible, because the rear USB port is only realised by means of a detachable USB cable. A money-saving tip that I have tried out myself with the Sceoan is to install Octo4A on an old smartphone. This worked perfectly. Unfortunately, I don’t have a separate room for the printer, but I wanted to test whether it generally works with the Windstorm S1 for this report.

Housing
Now it goes on much more pleasant. 🙂
The housing is incredibly rigid and robust. The portal doesn’t move a micrometre. I’ve never seen a bed pusher built so solidly. Great!
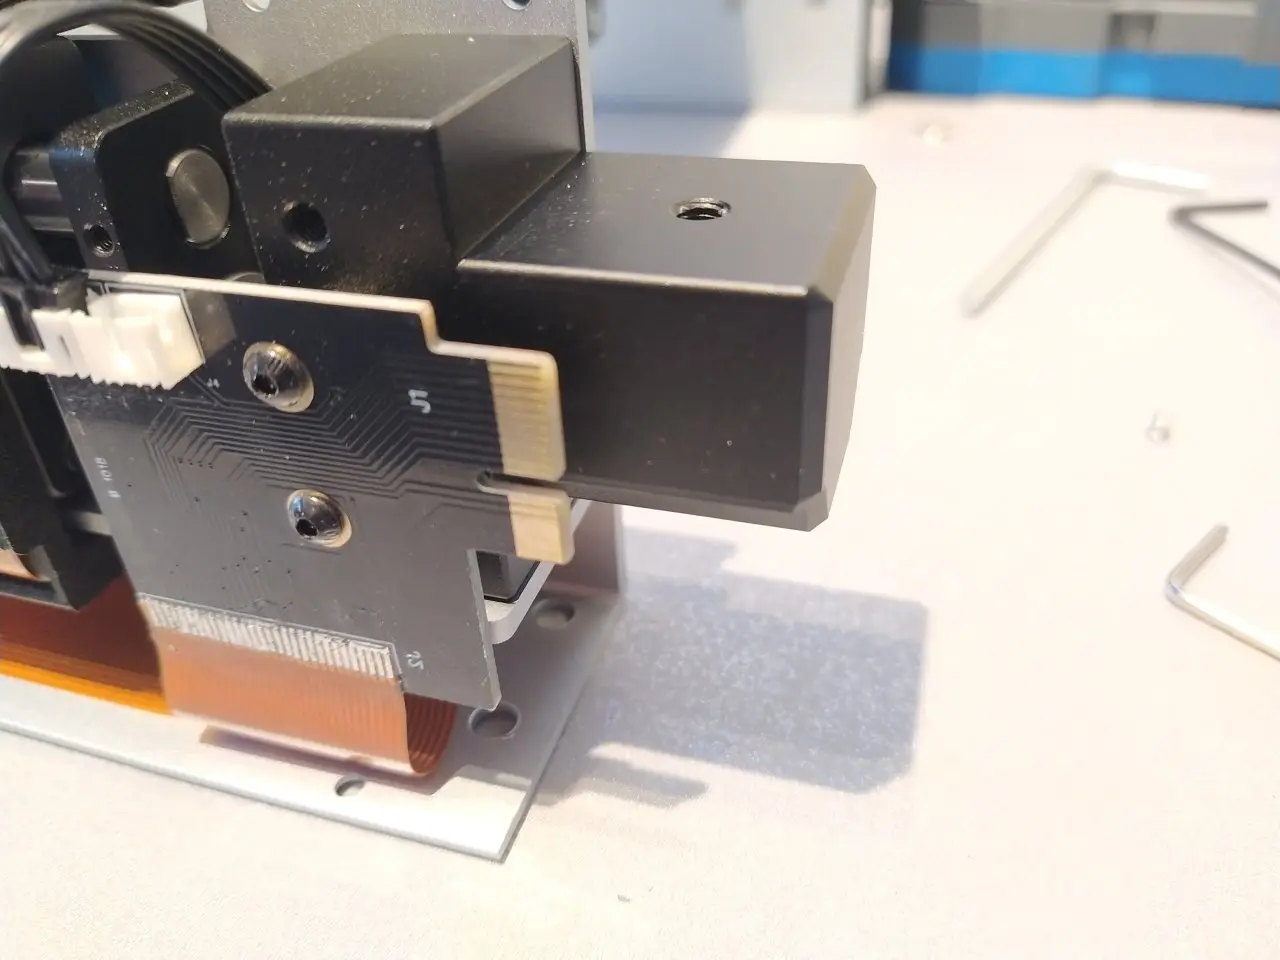
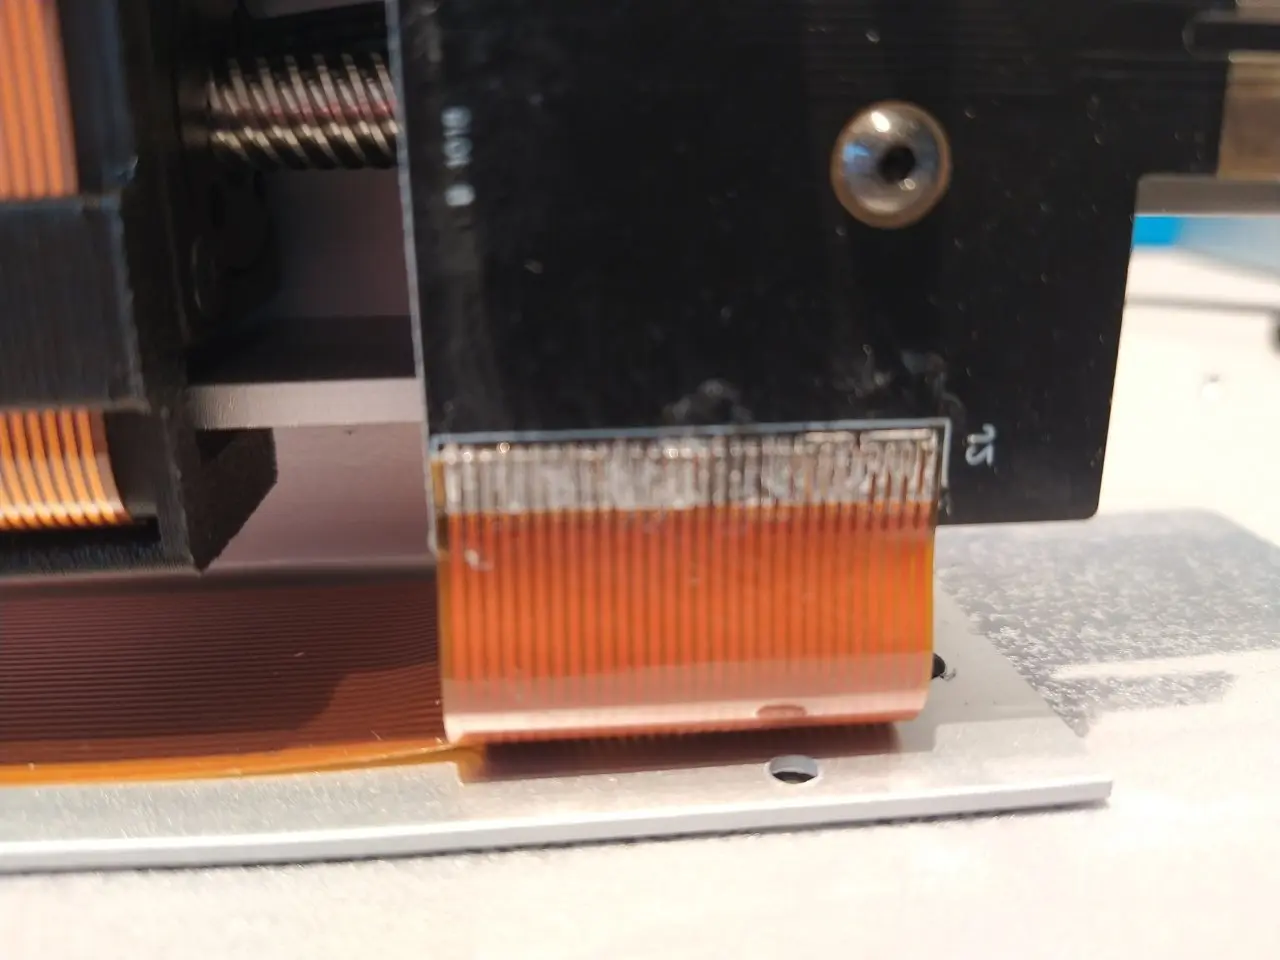
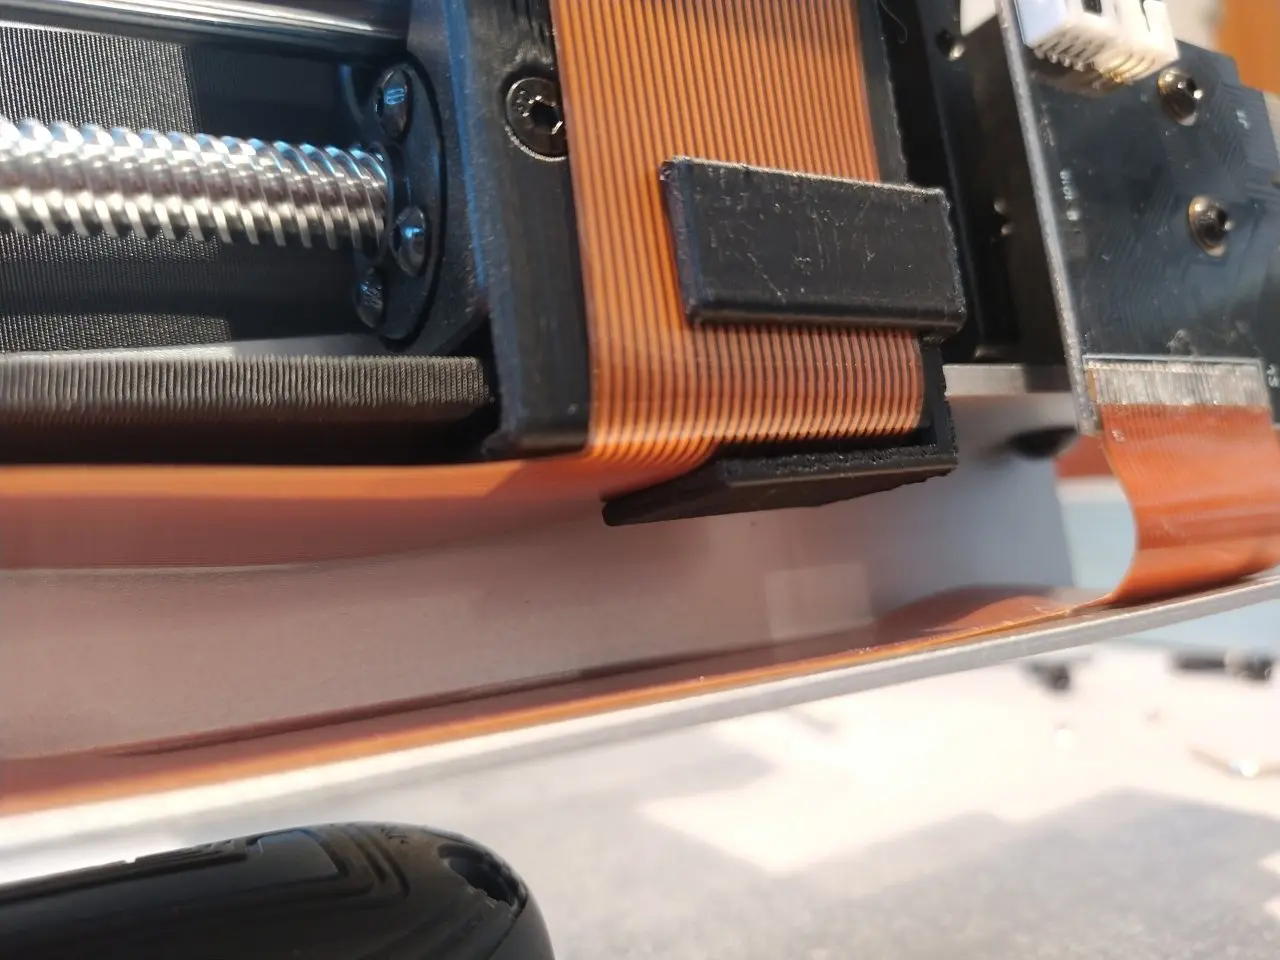
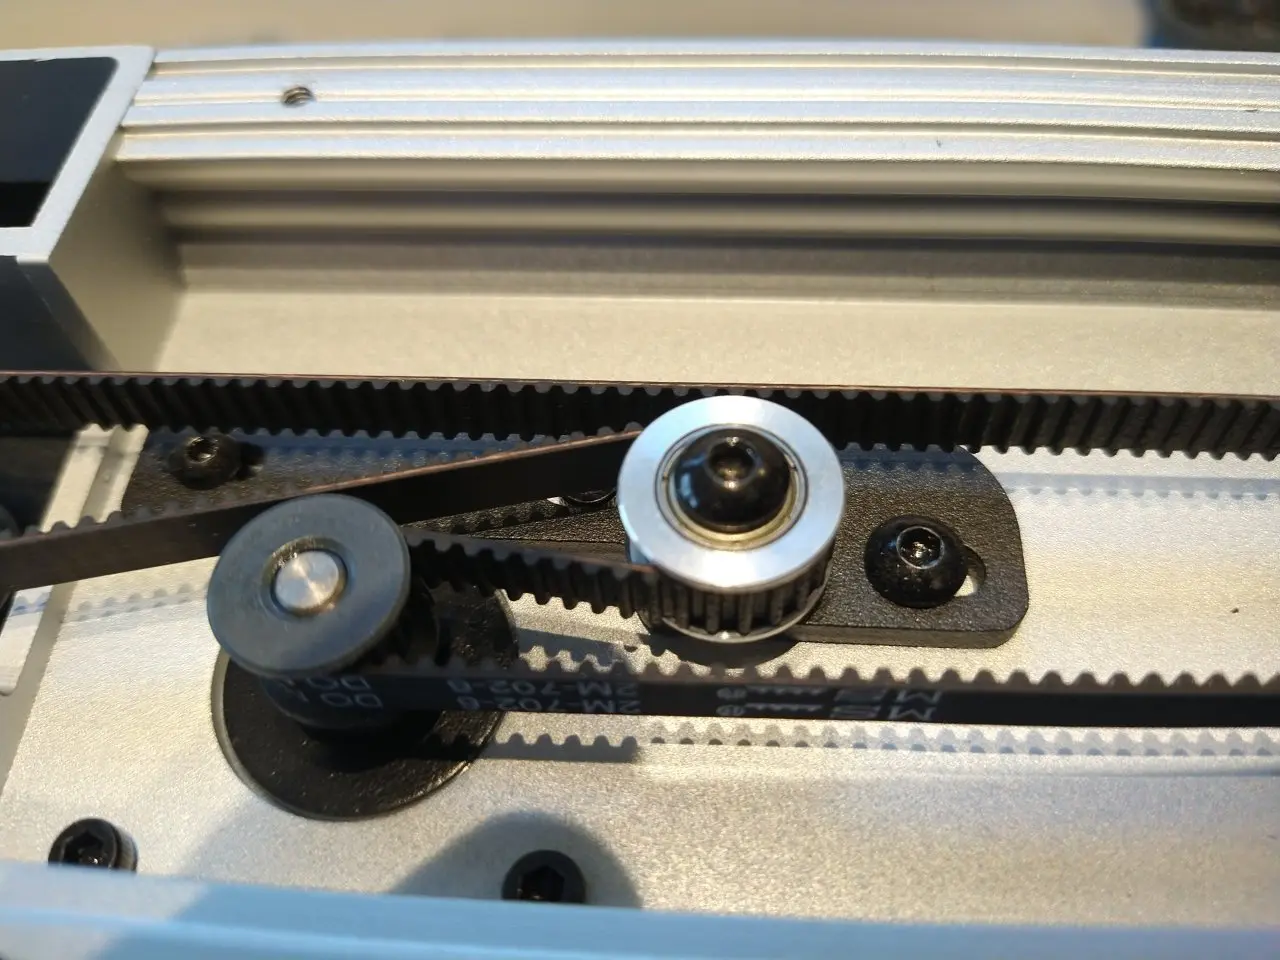
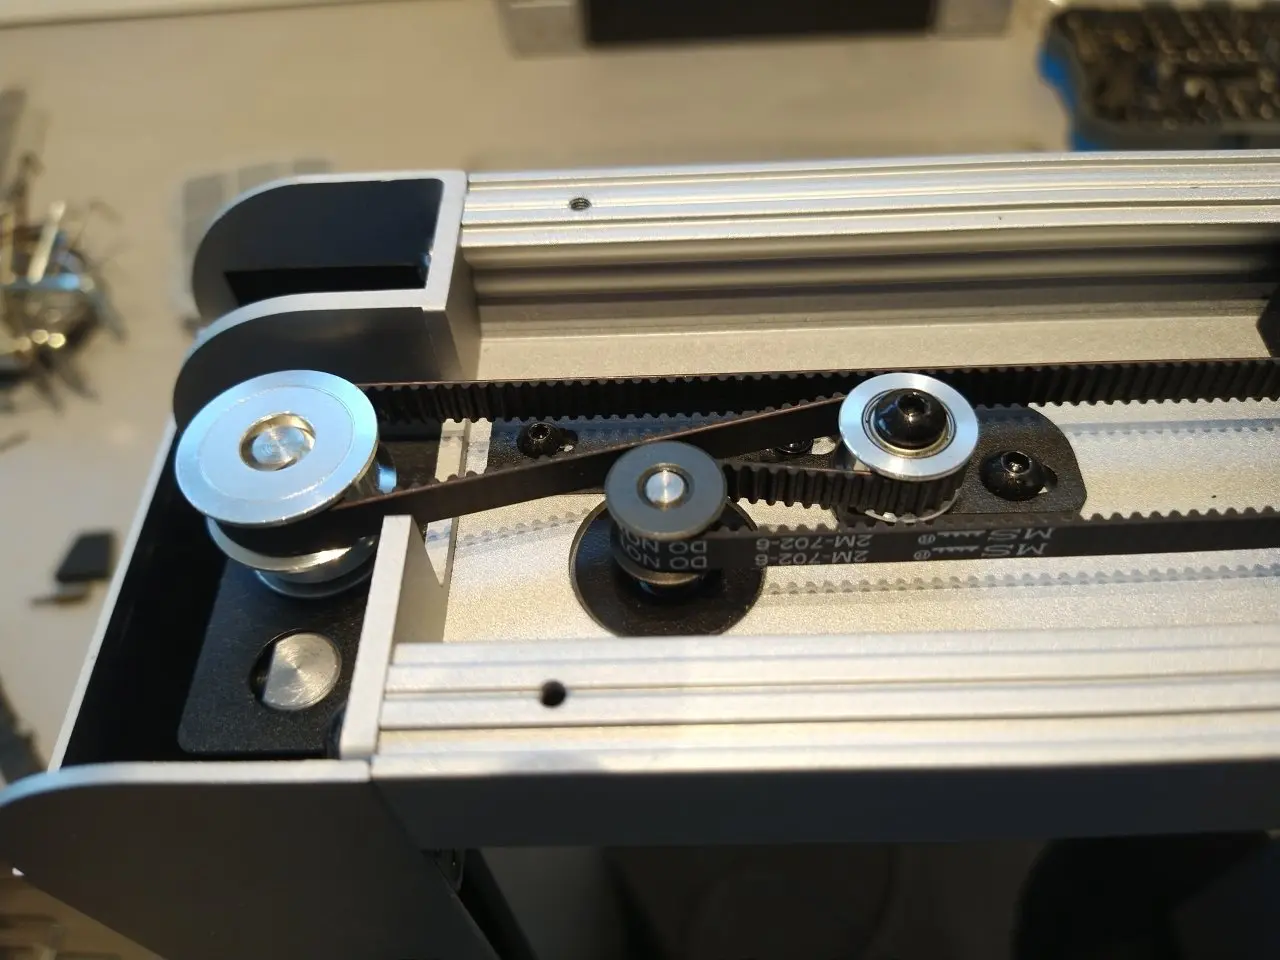
„Wireless“ design
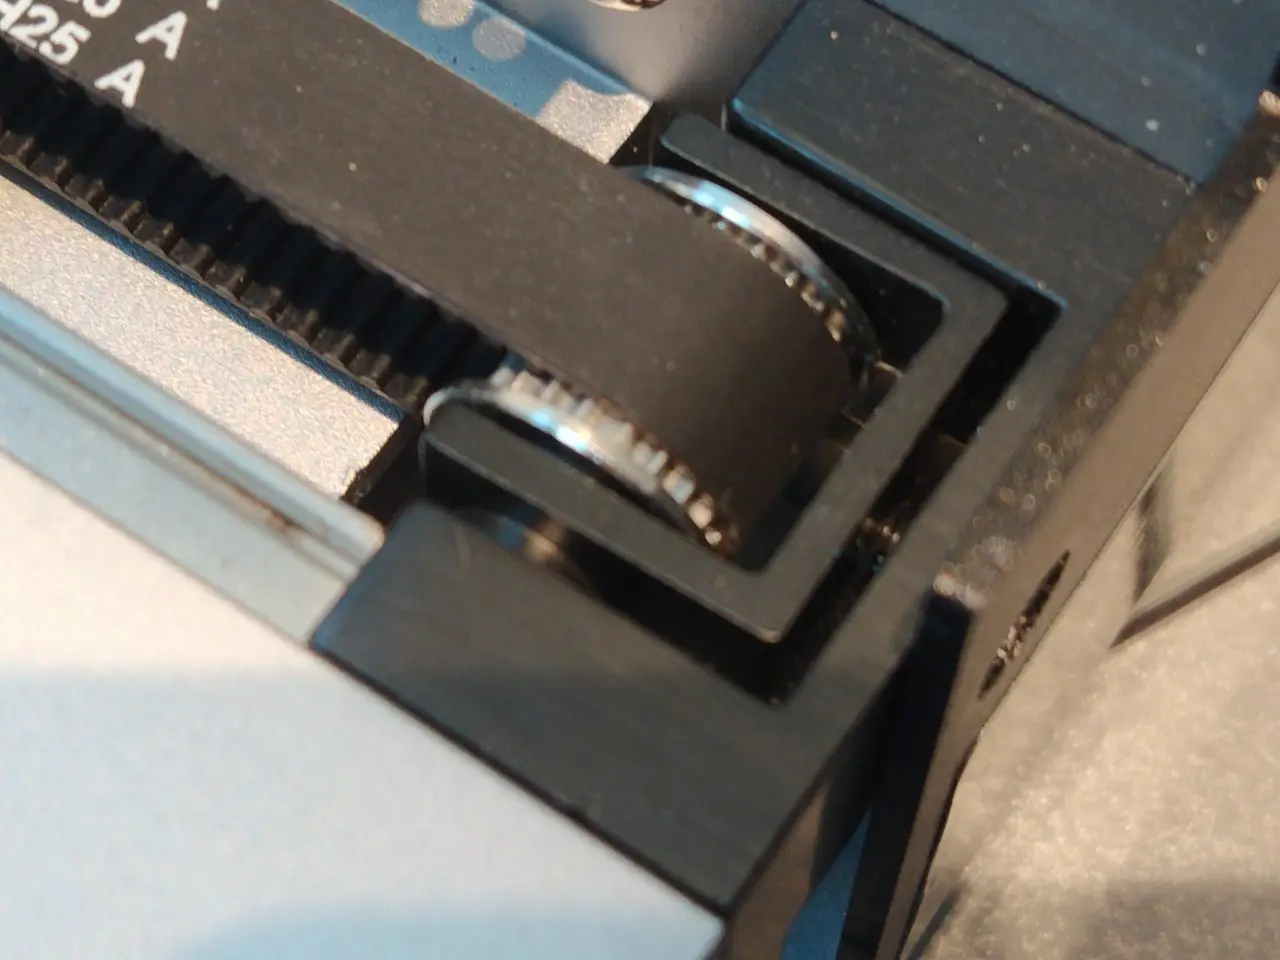
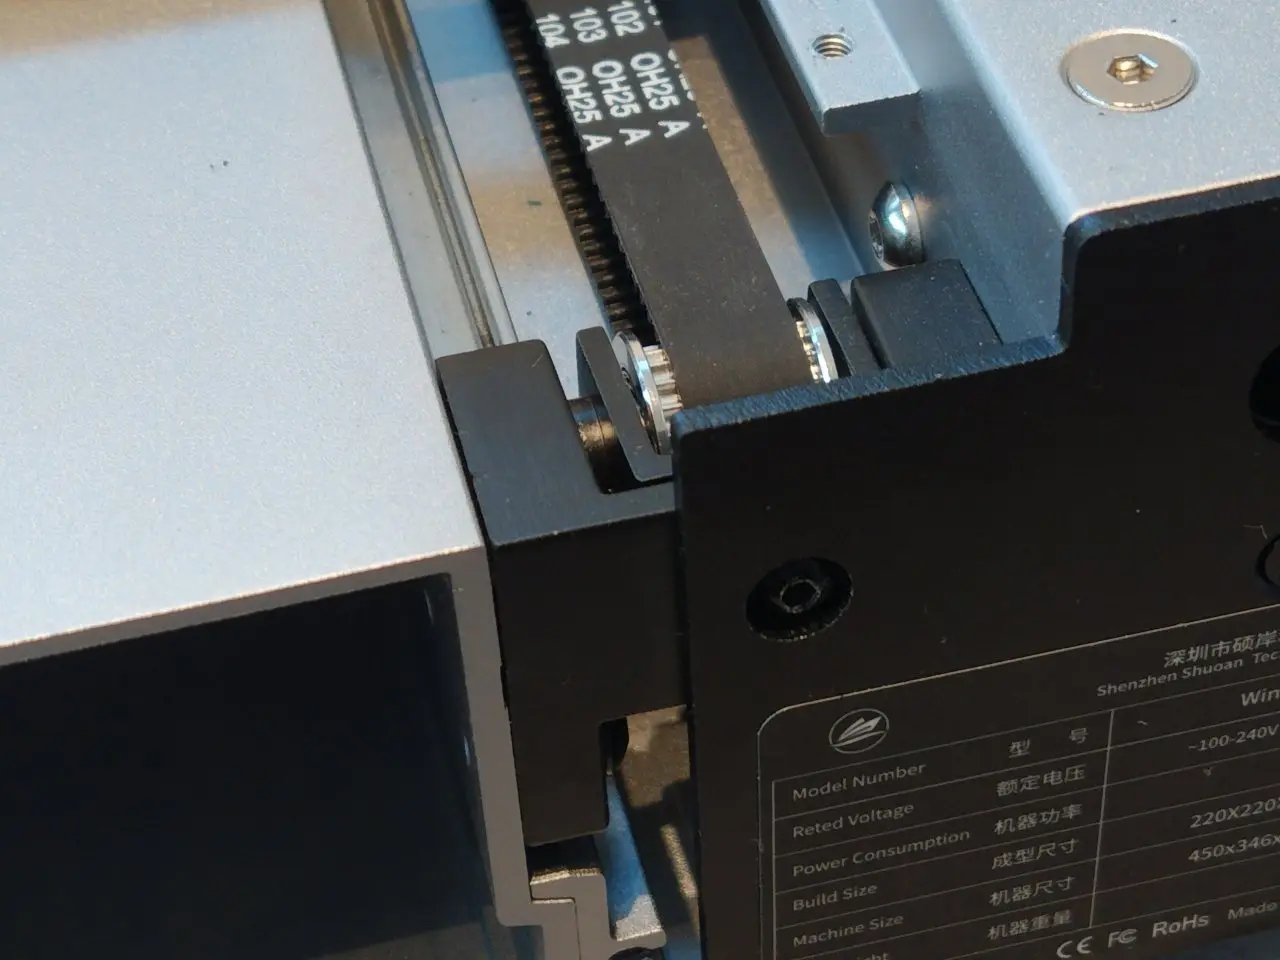
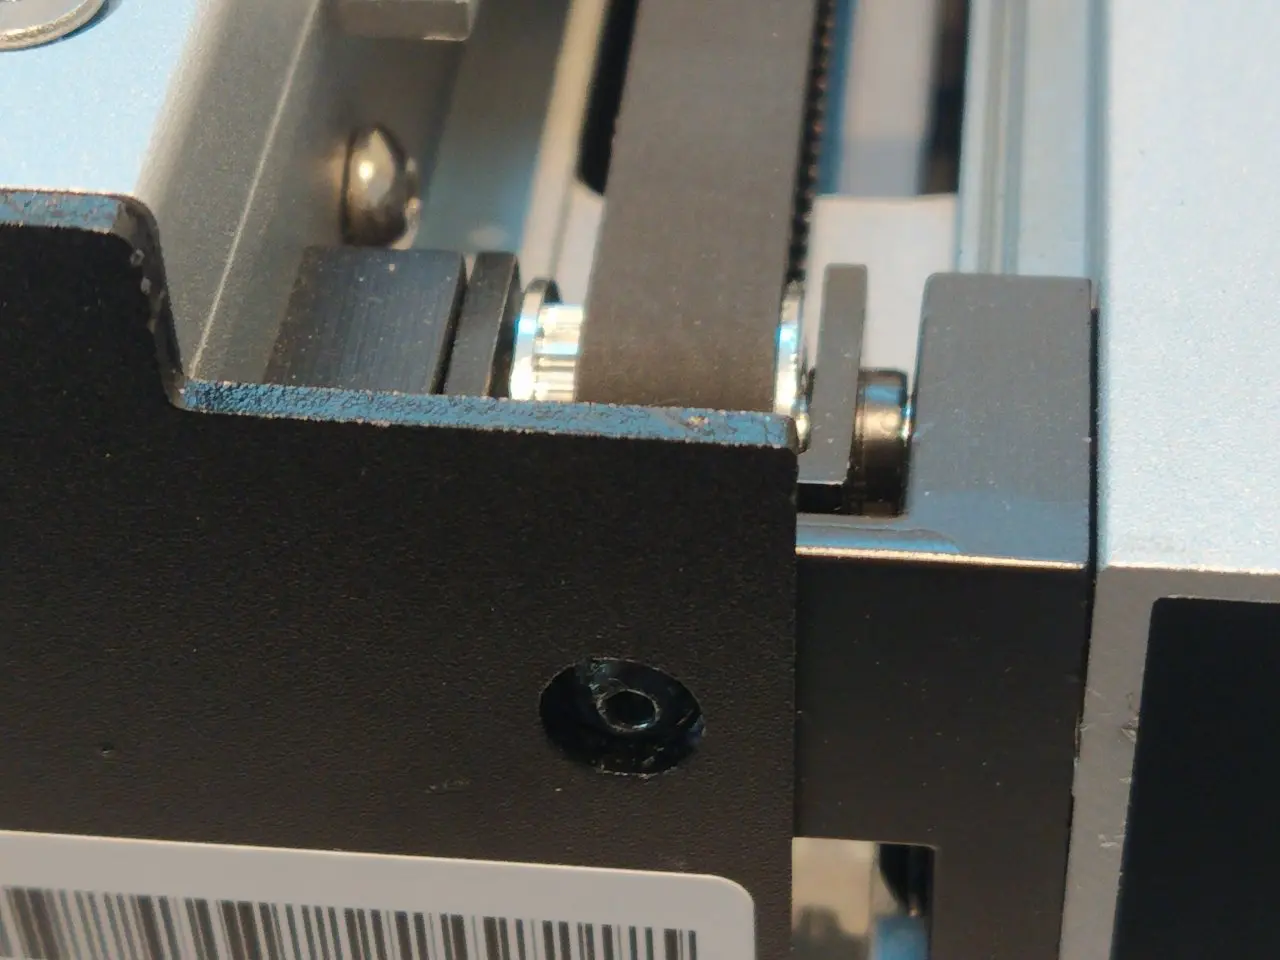
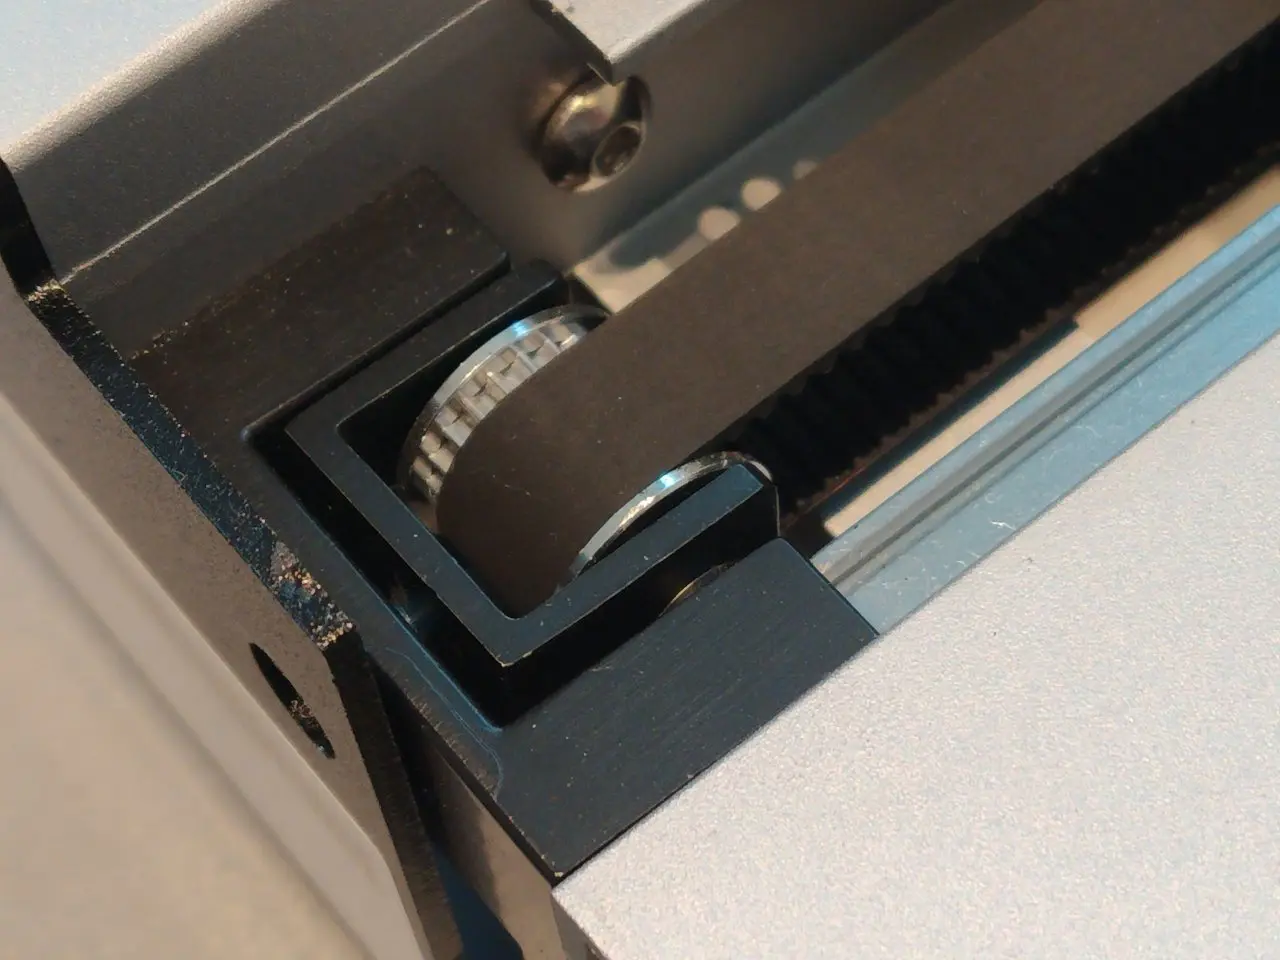
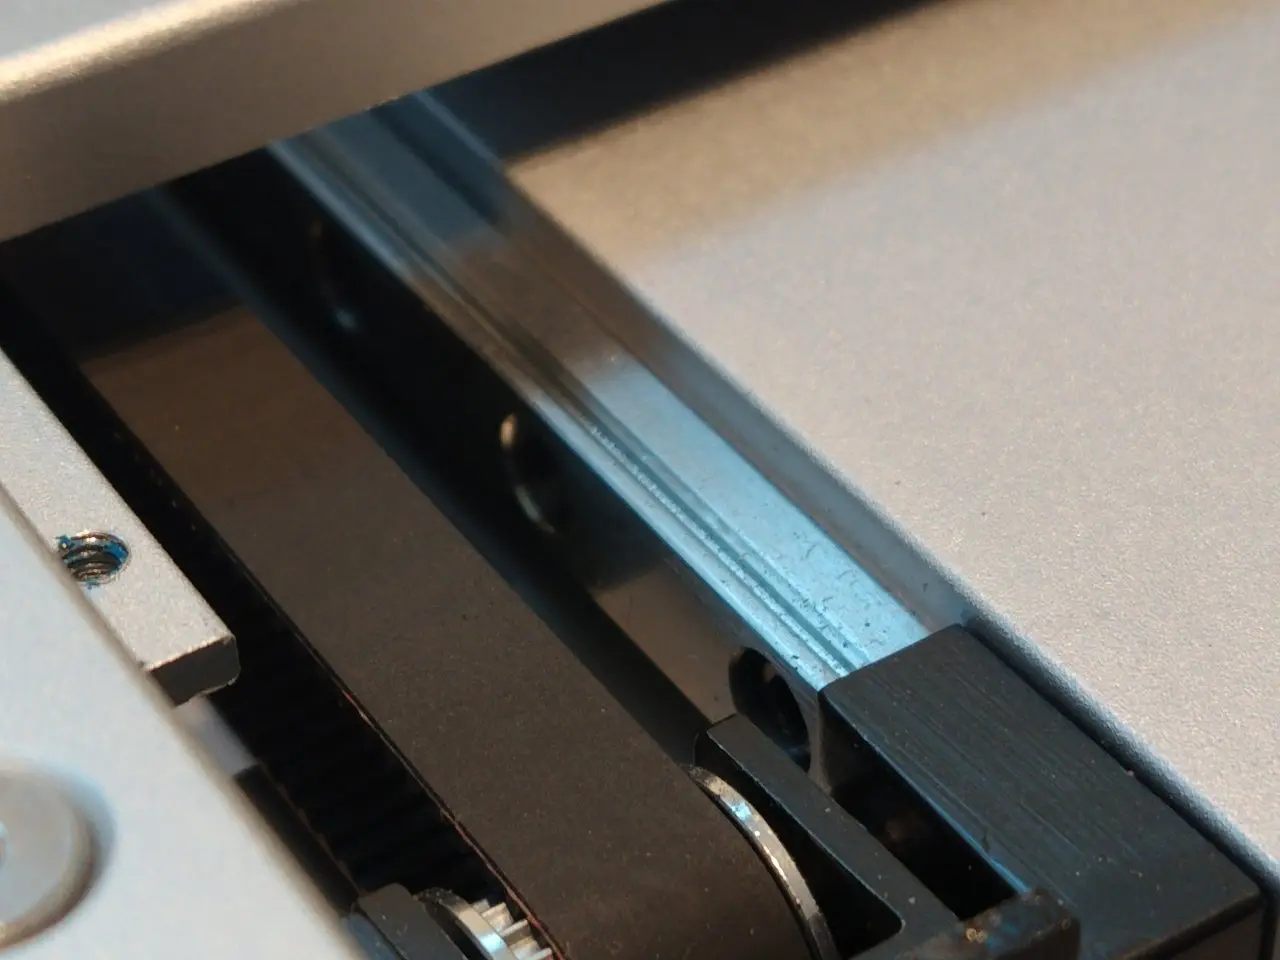
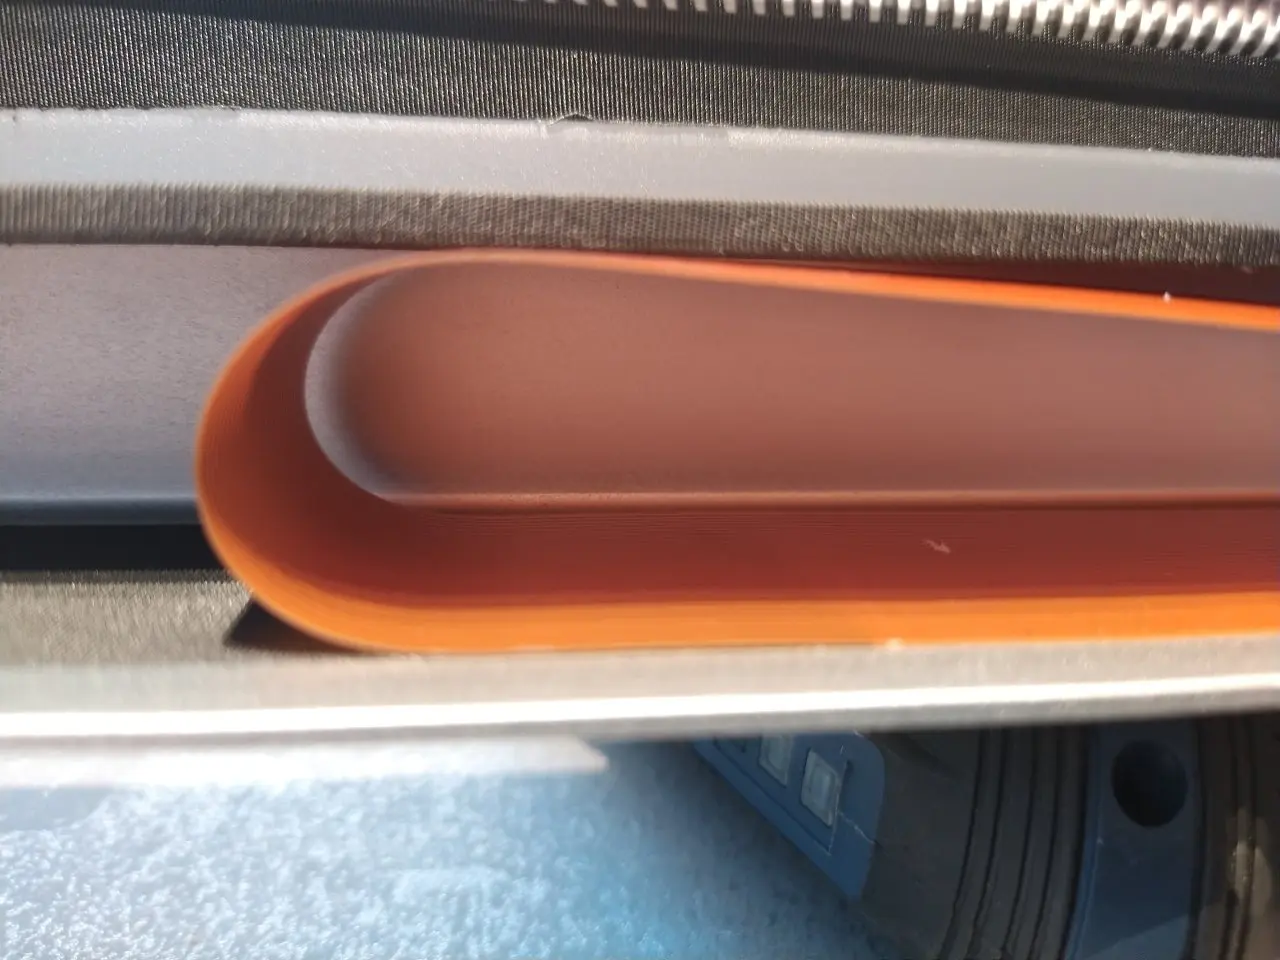
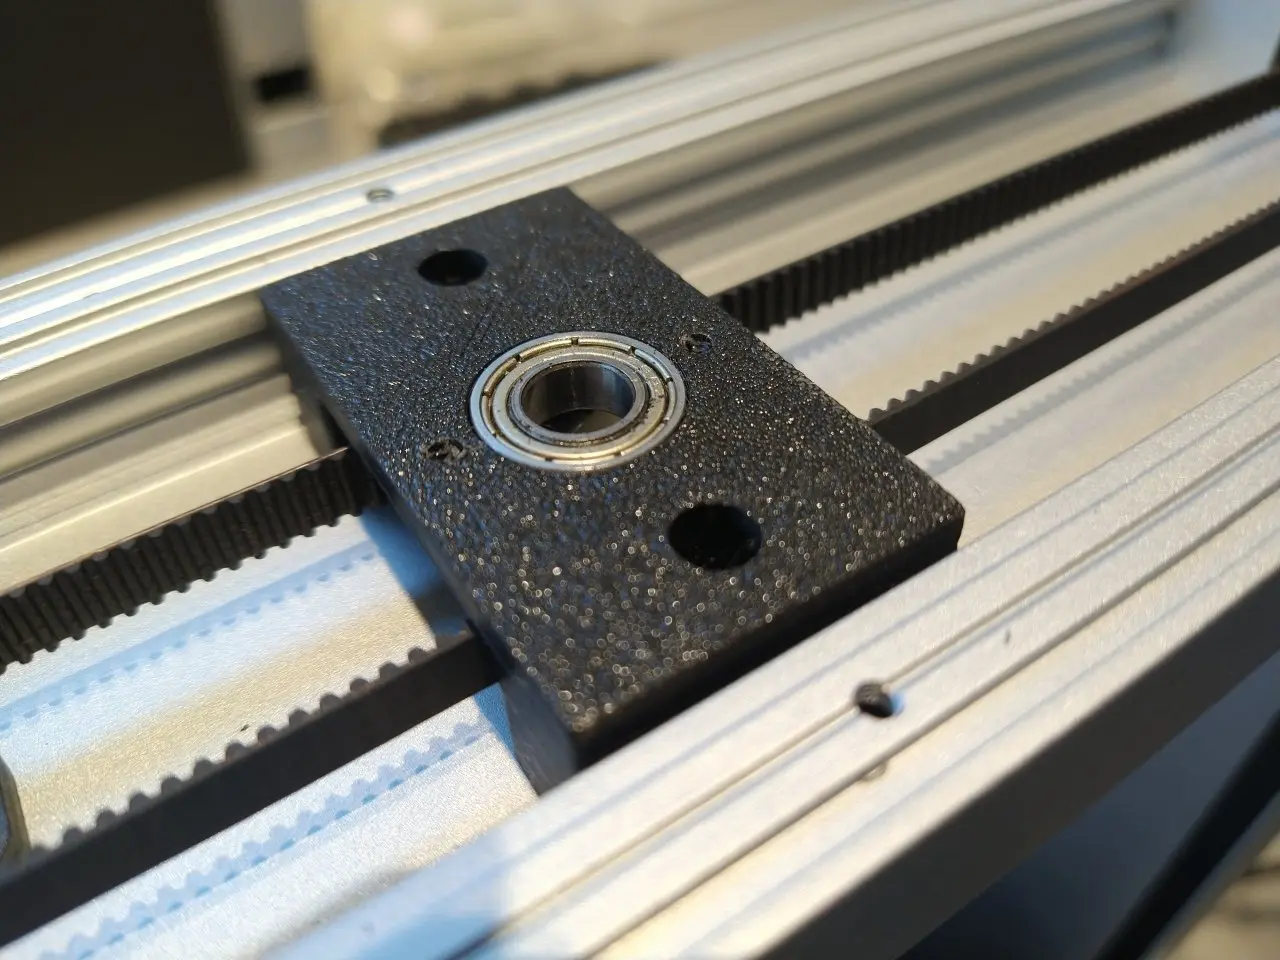
But how does the cordless design work? Of course the Sceoan has cables. But they are hidden. Similar to the Sidewinder X3, Sceoan also uses ribbon cables for the S1. Like the spindles of the Z-axis, these run inside the housing. This provides excellent protection against damage and dirt:
Of course, more screws are required for maintenance work on the printer than on normal printers.
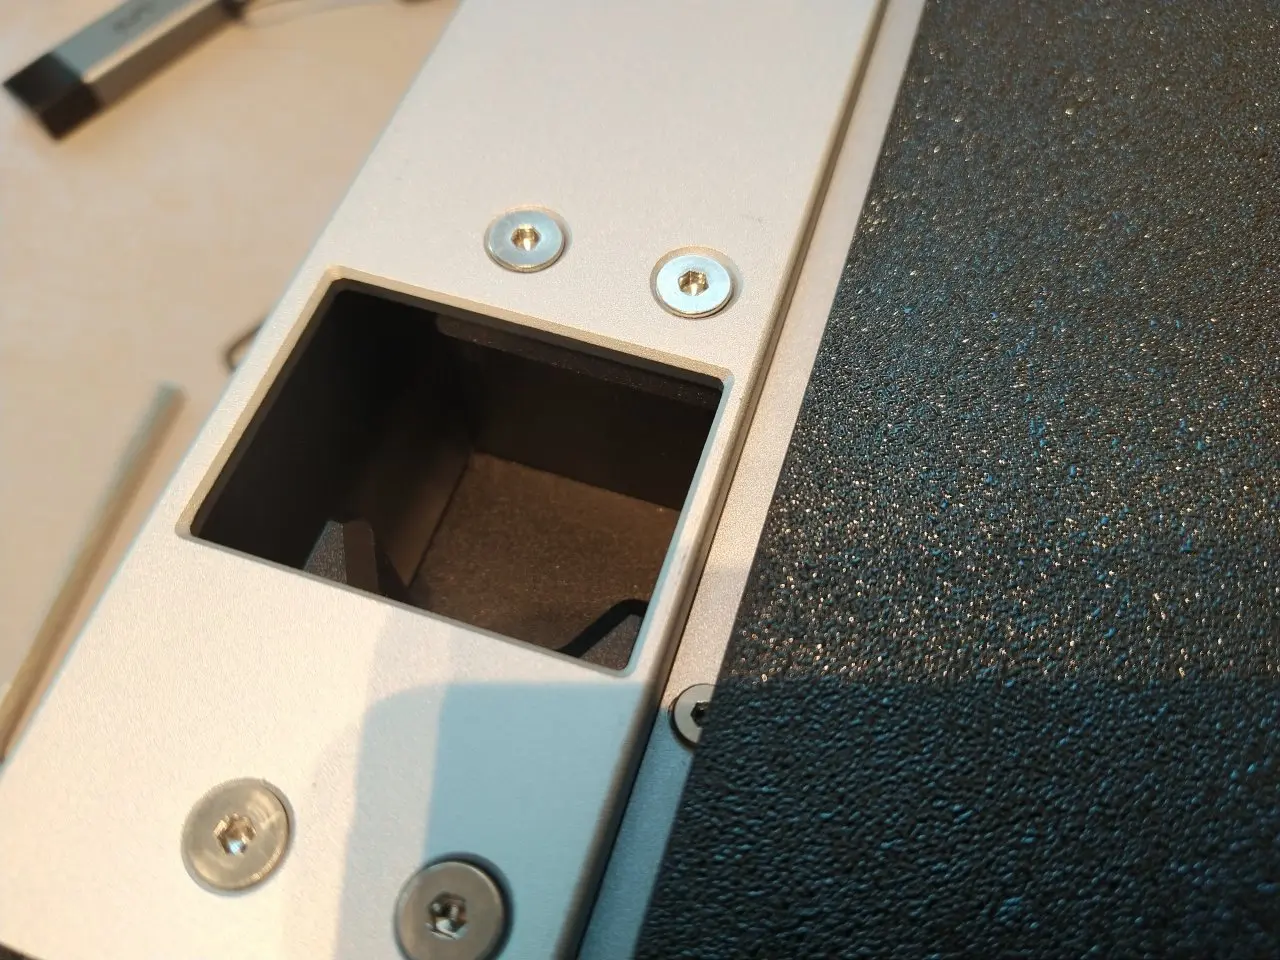
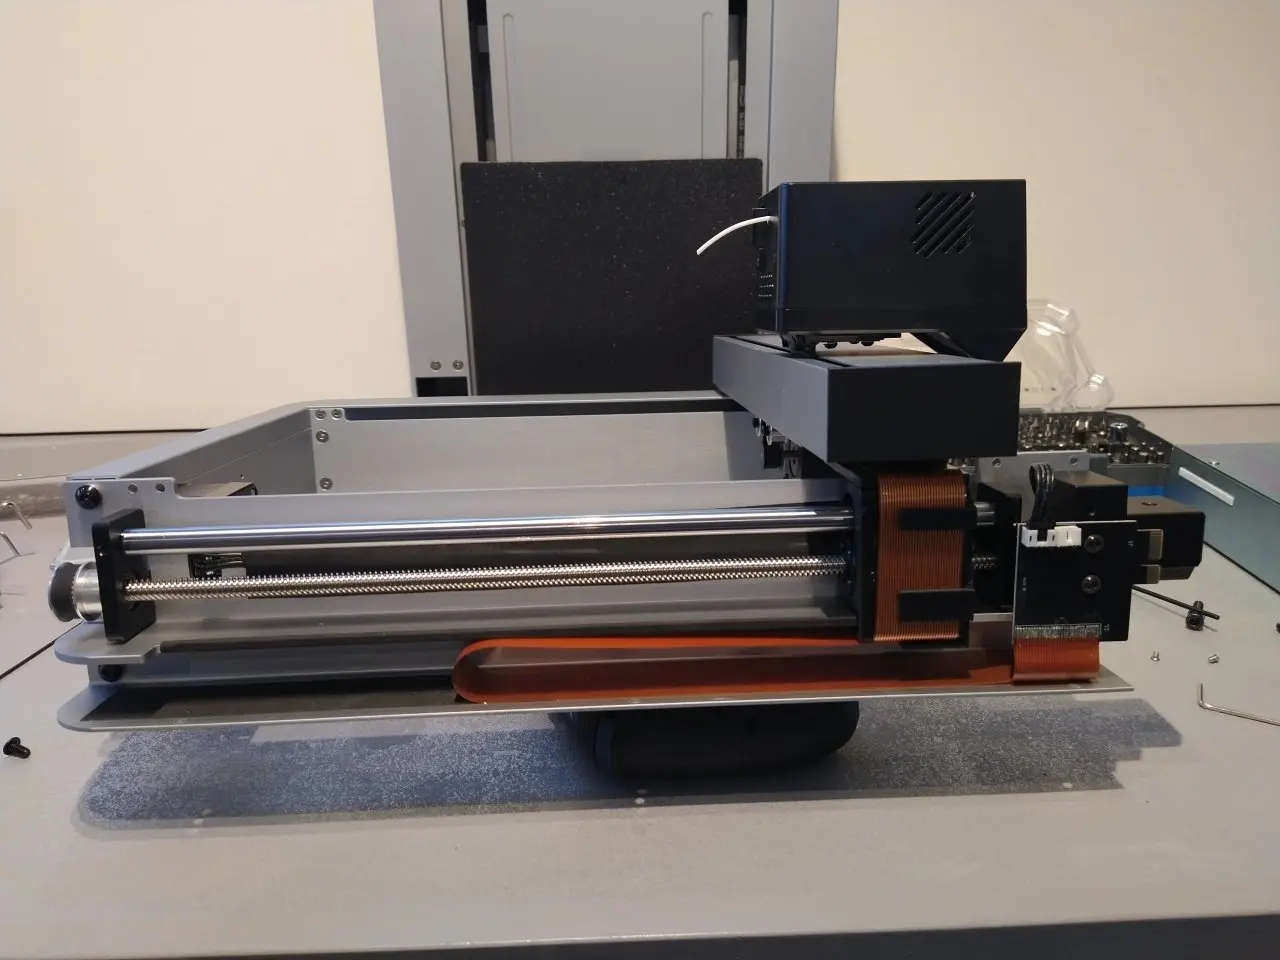
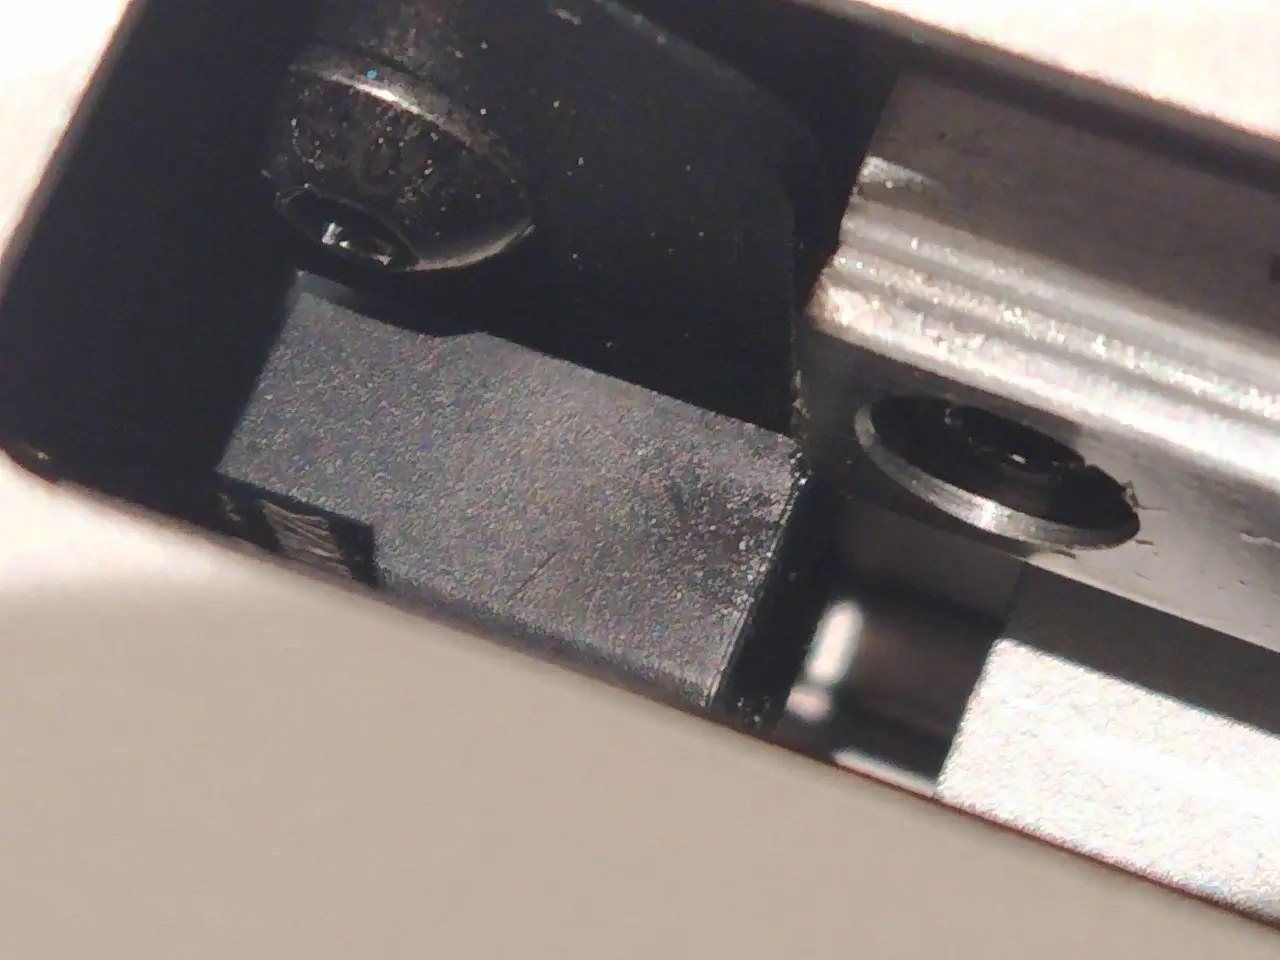
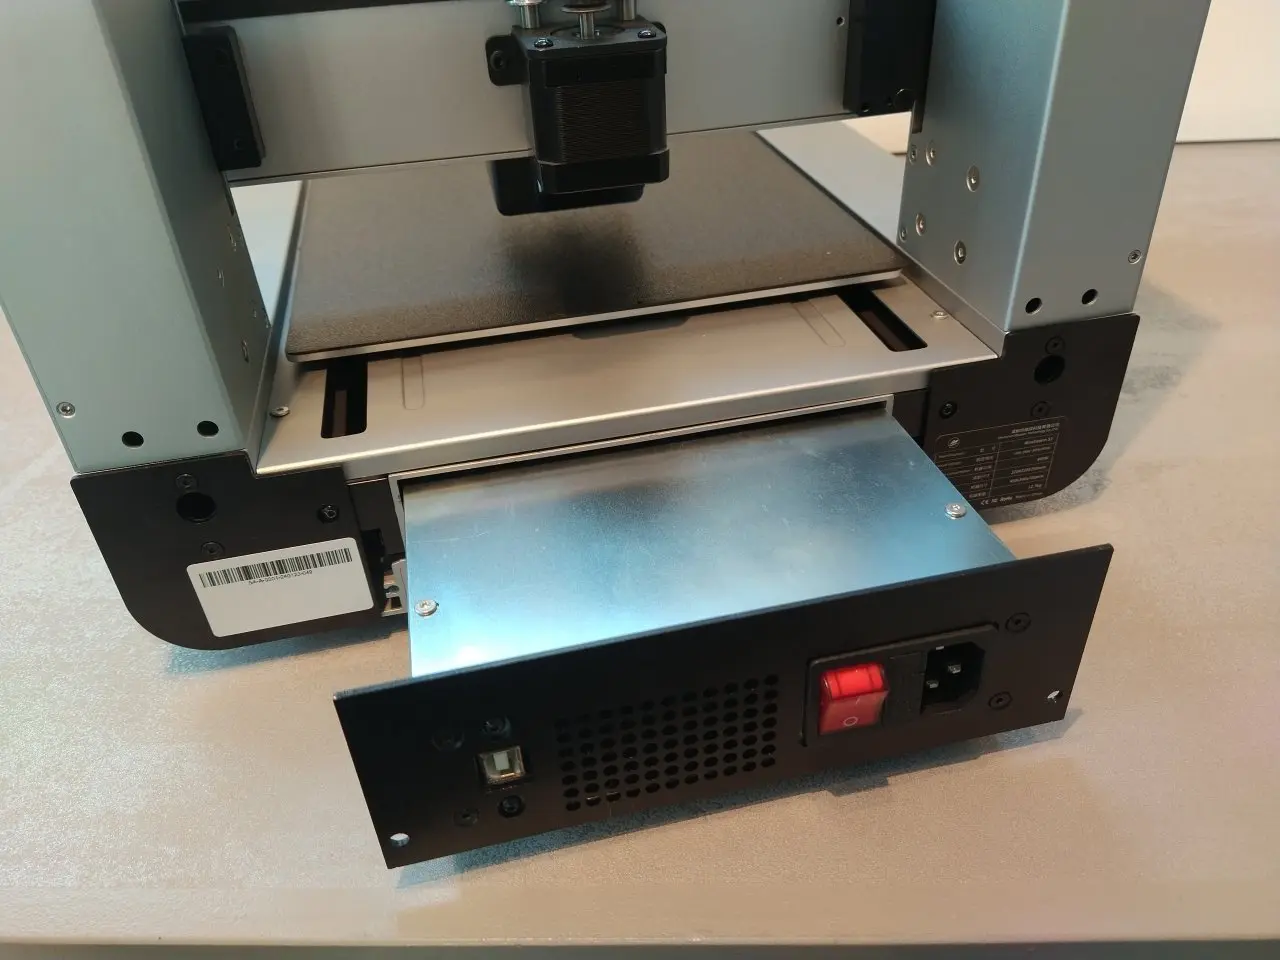
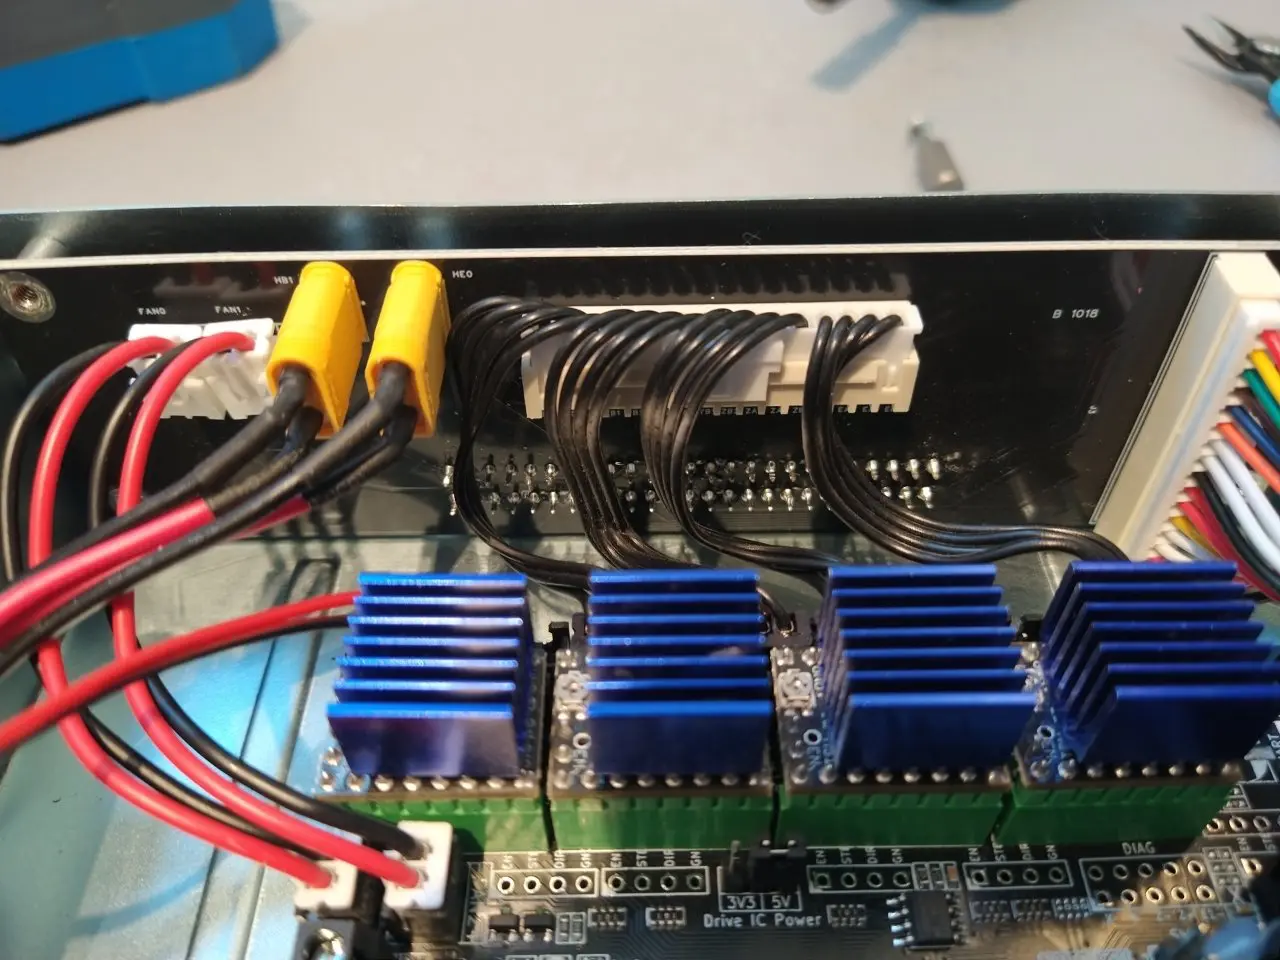
Modular design
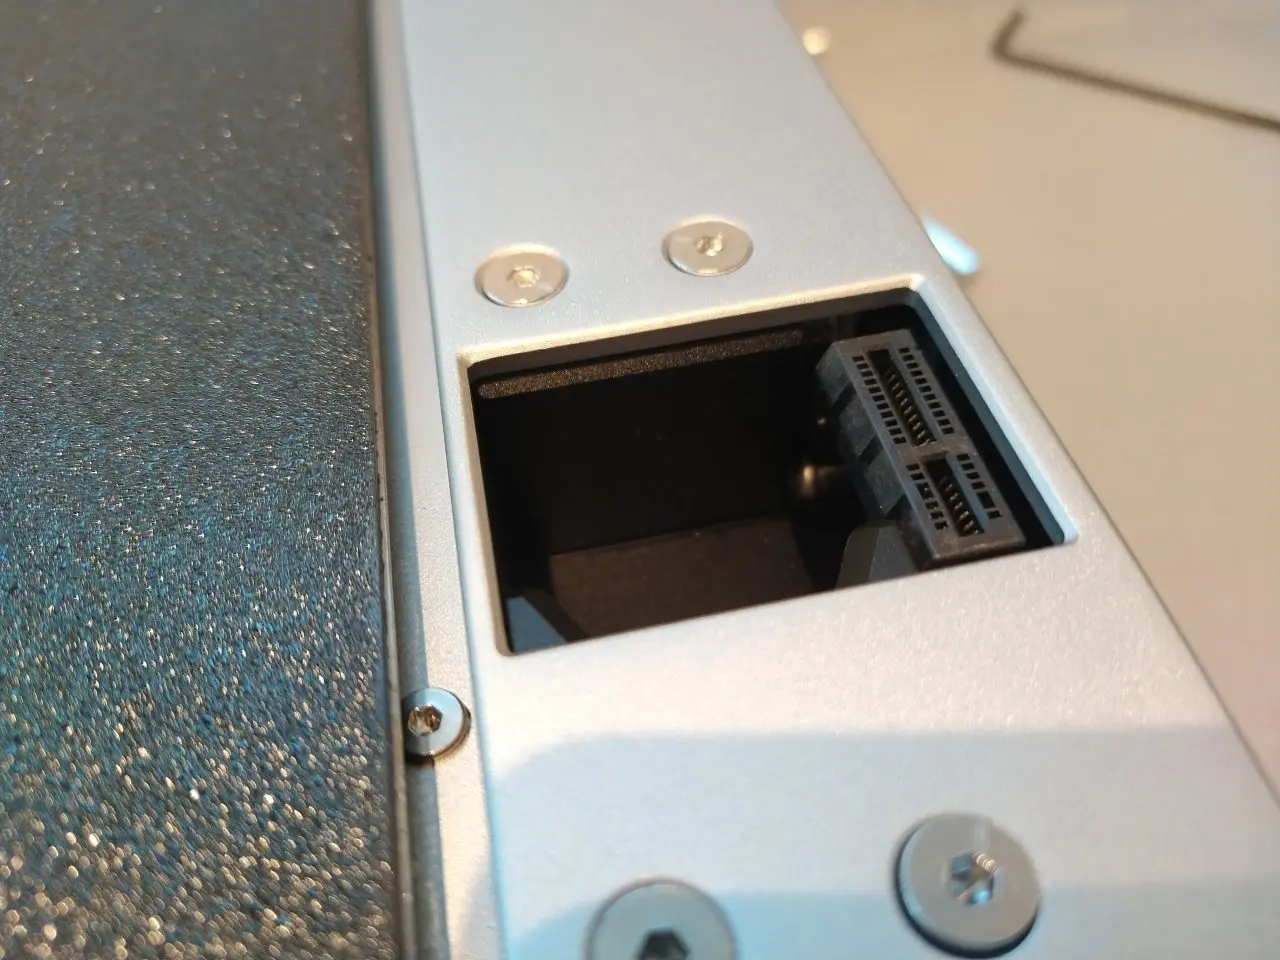
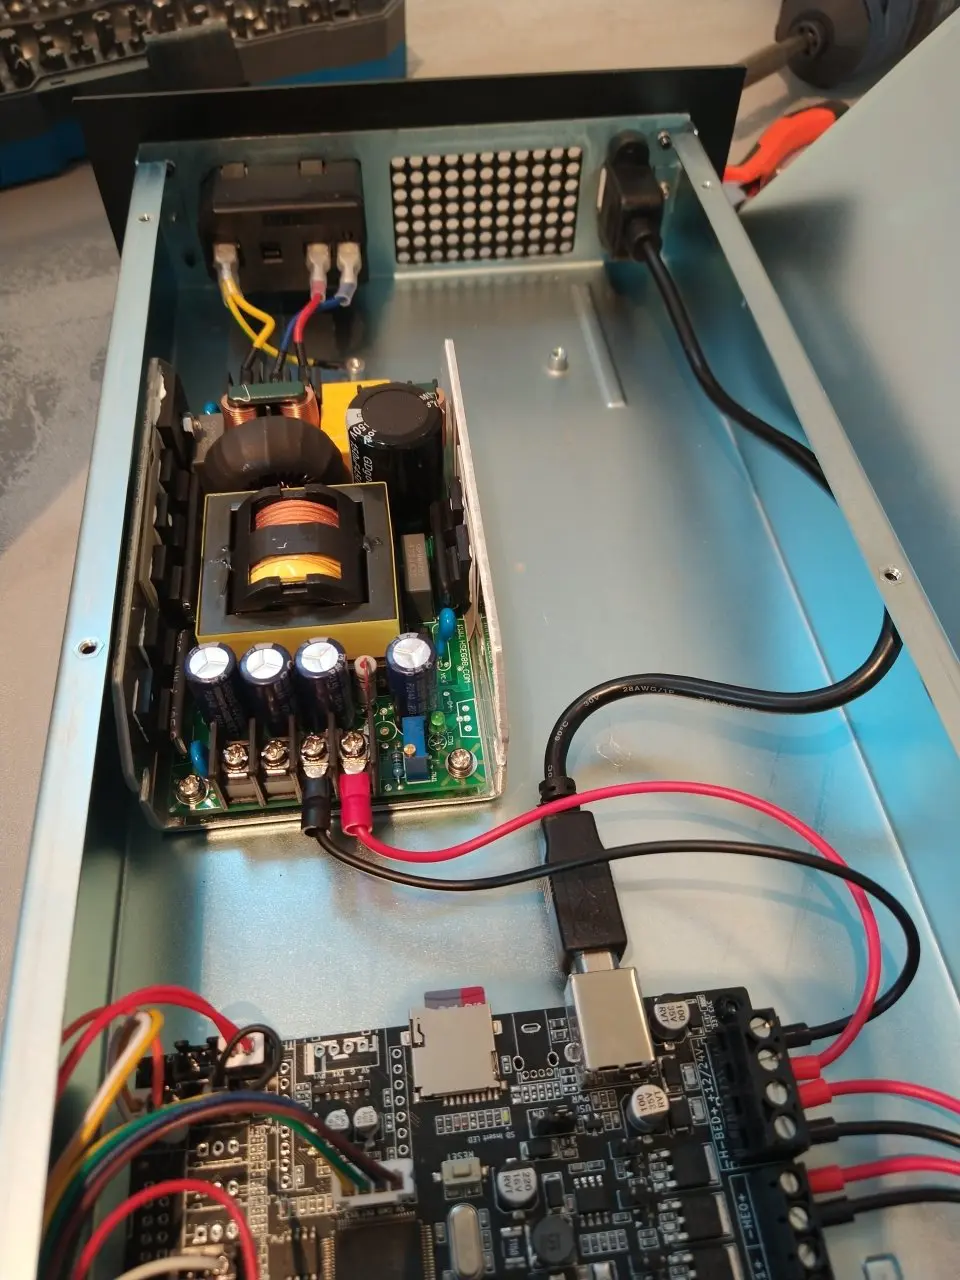
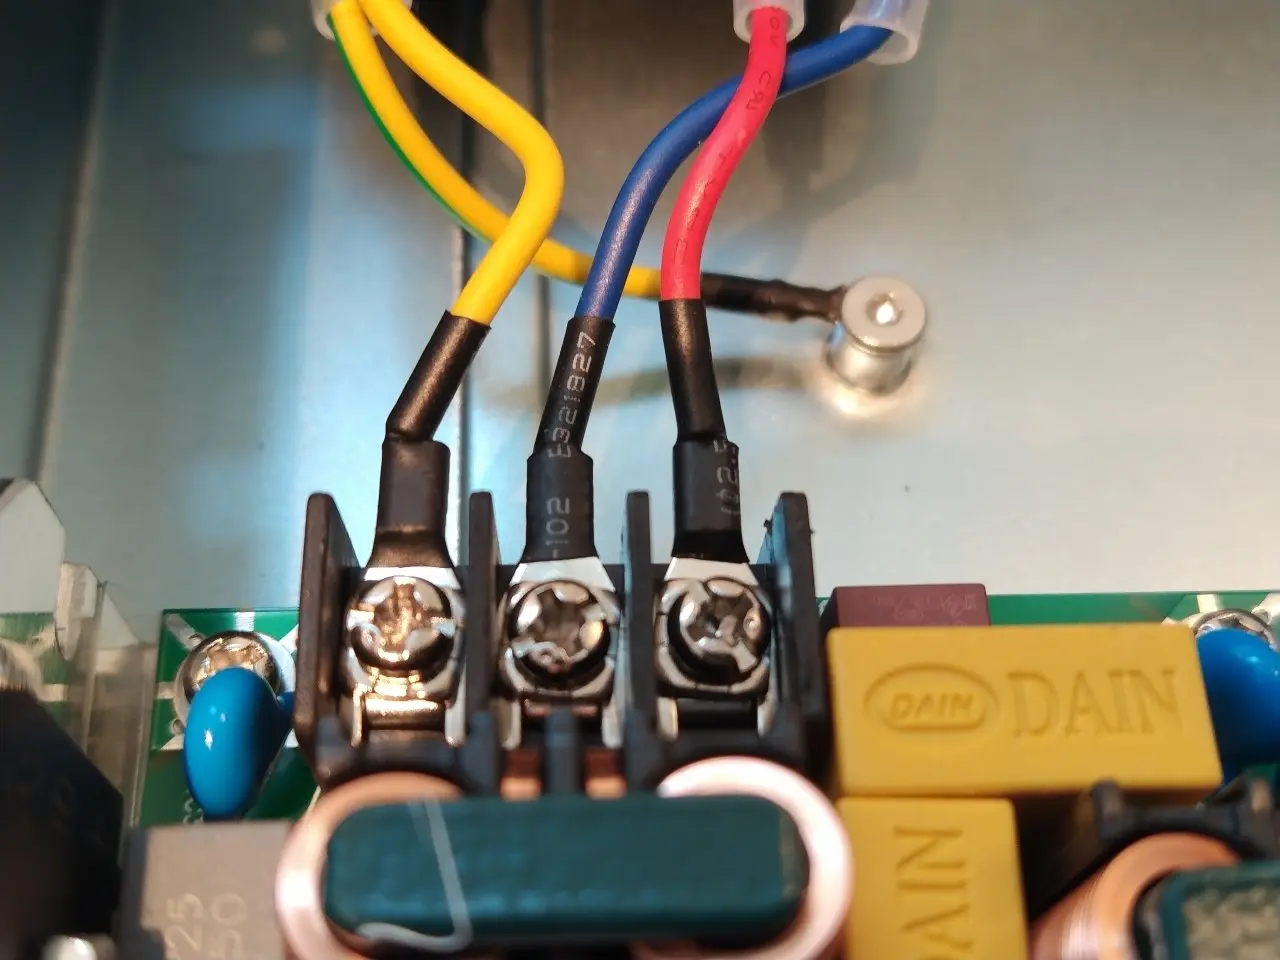
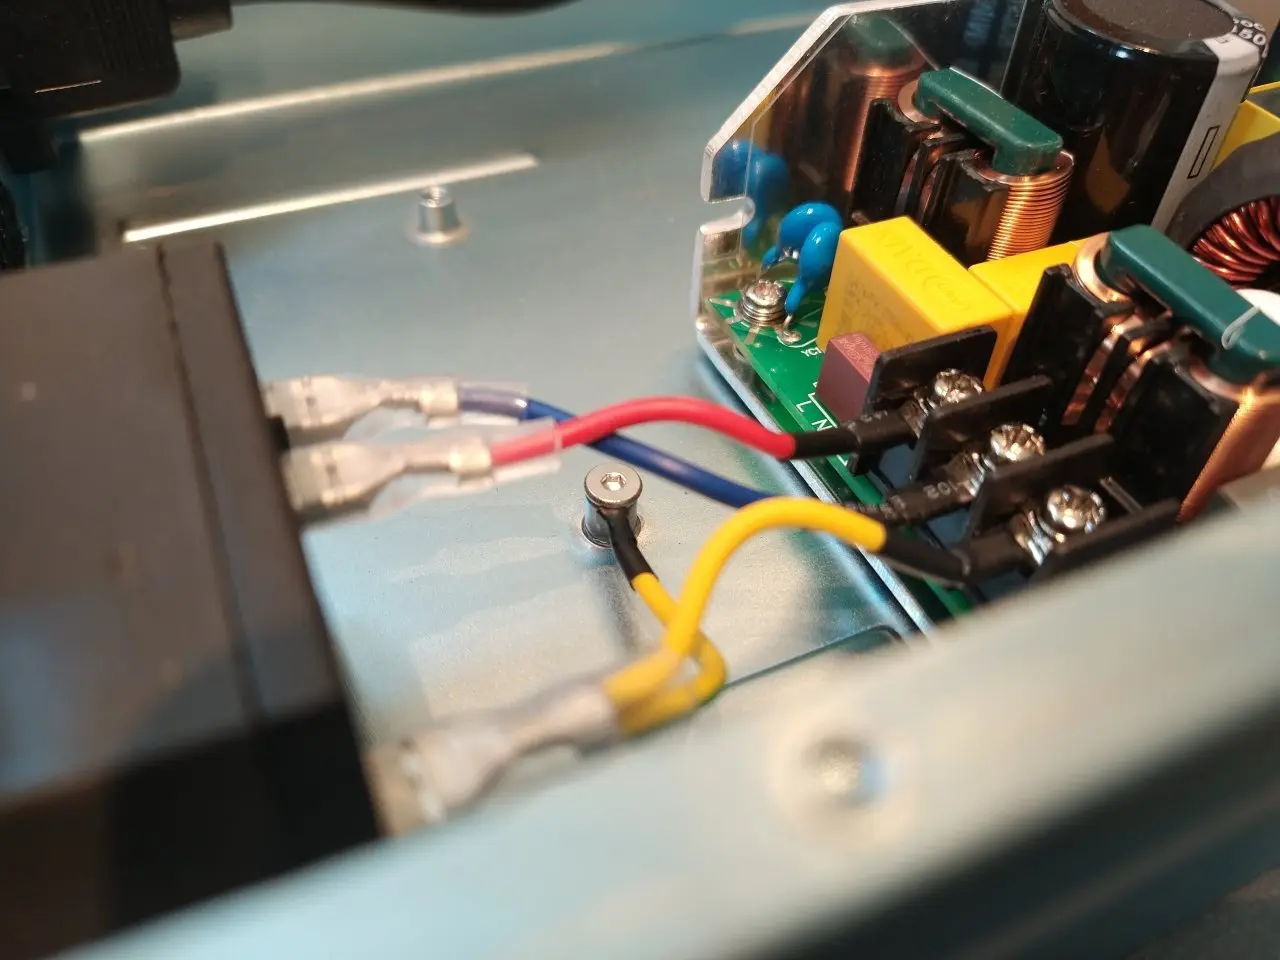
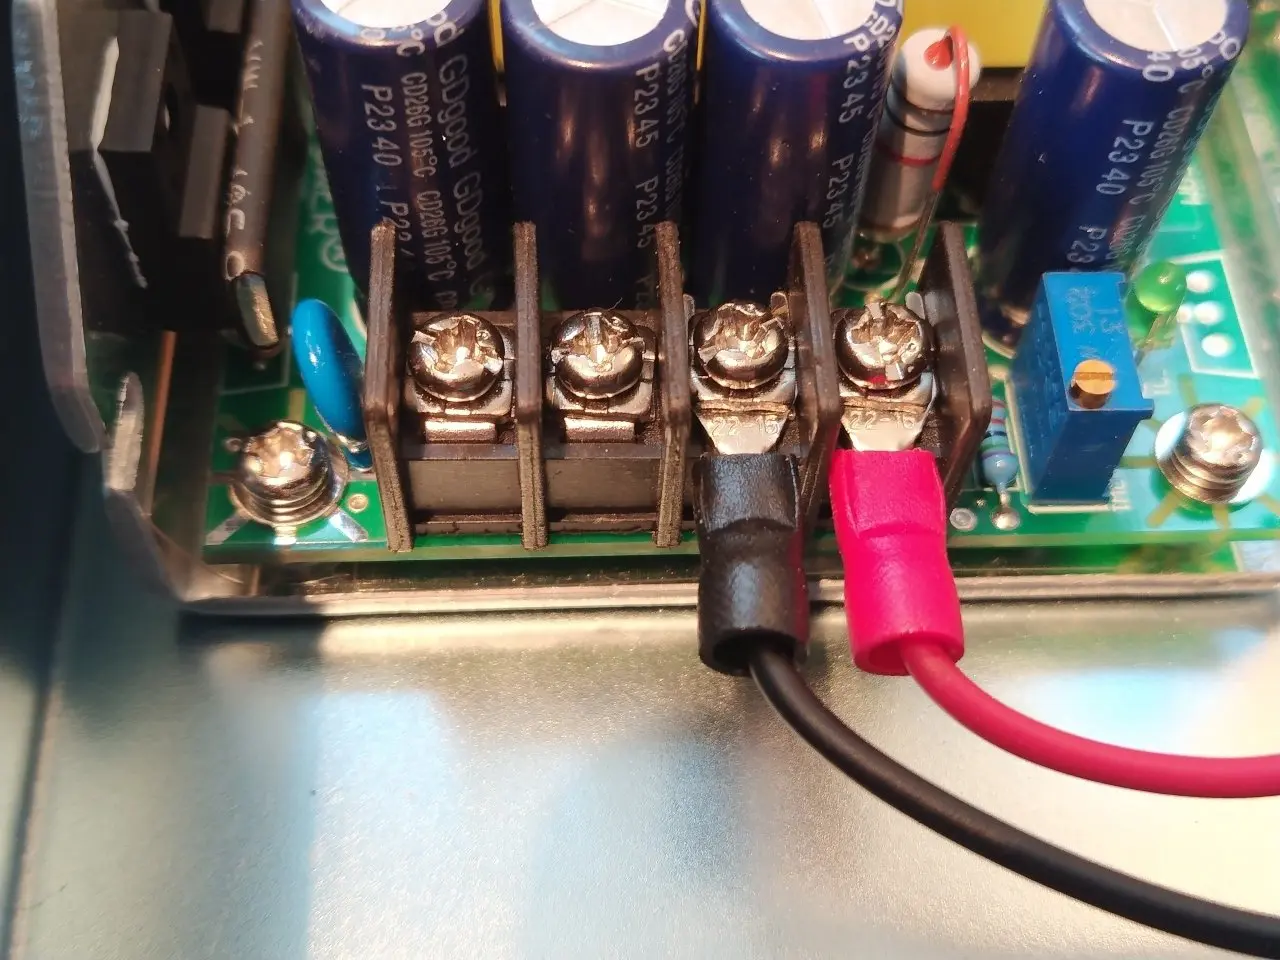
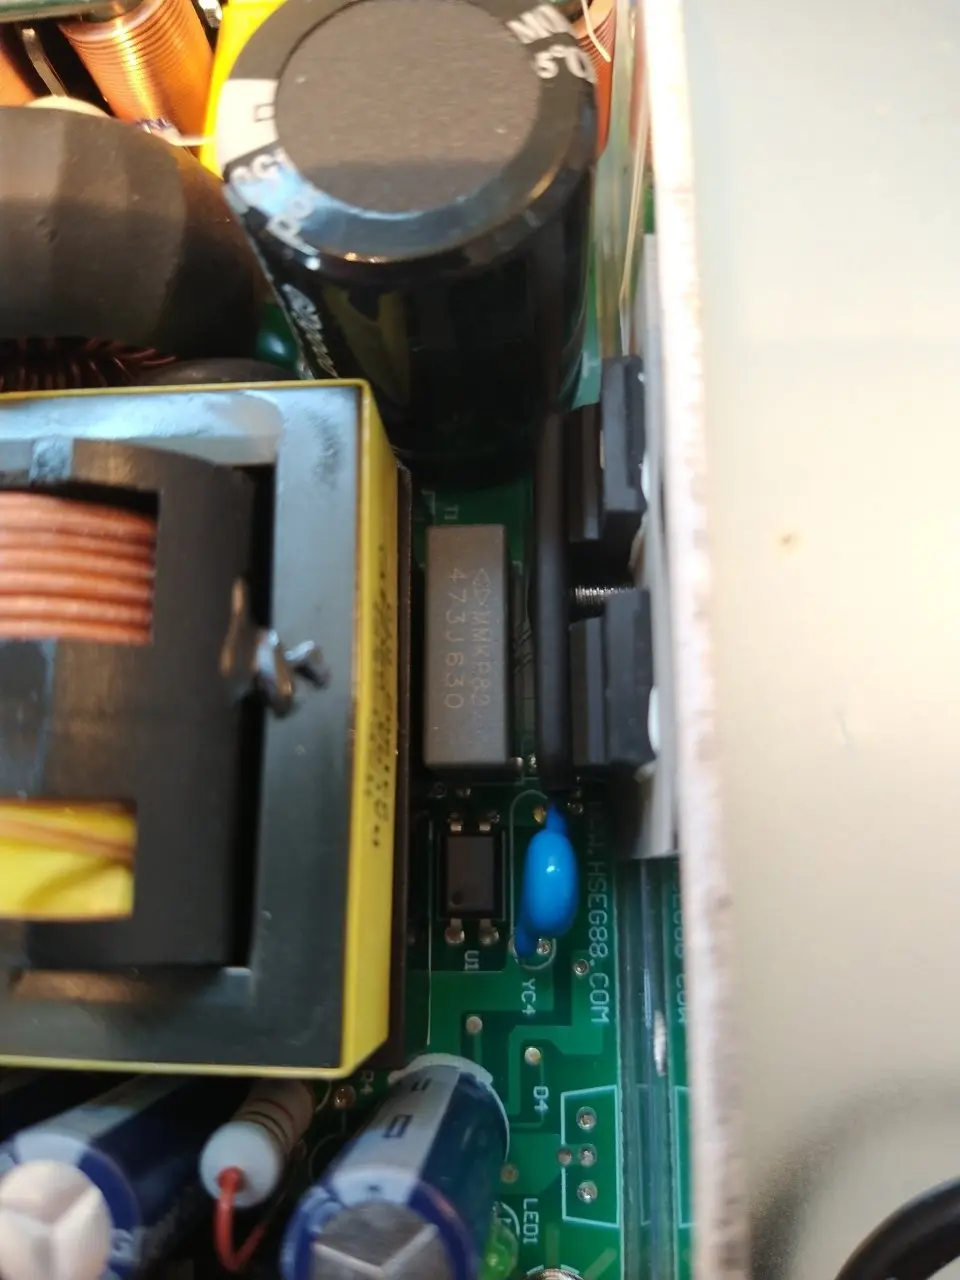
One of the buzzwords that Sceoan likes to use. And rightly so! All the electronics and the power supply unit are located in a cassette that can be pulled out of the back of the printer. Only two(!) screws need to be loosened for this.
However, the lid of the cassette itself is secured with eight screws. There is still plenty of space in the cassette, for example for a Raspberry Pi or similar. I confess that I have unfortunately not measured the two free terminals at the output of the power supply unit. With a bit of luck, we have an output with 5 volts here.
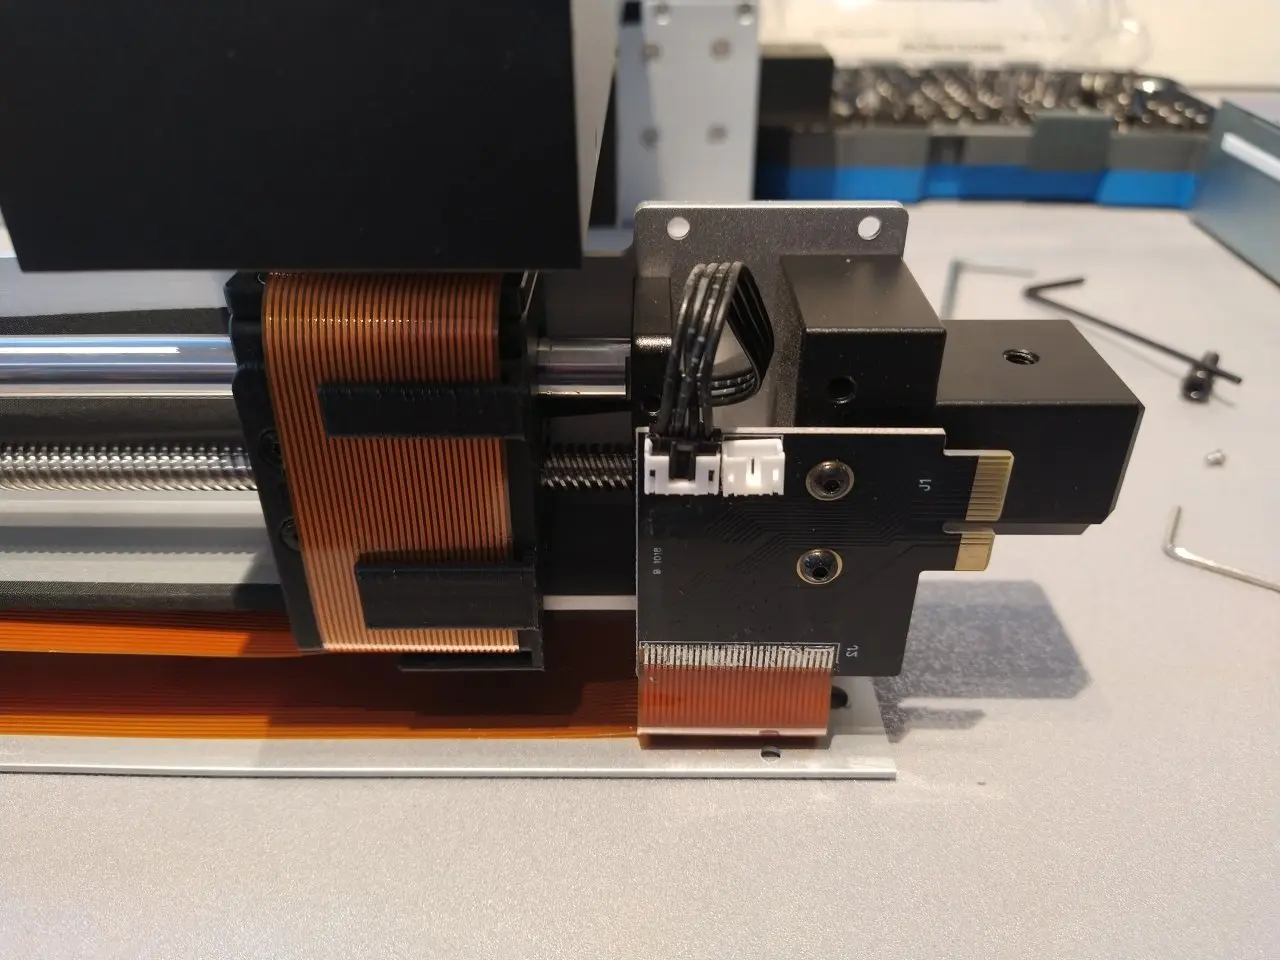
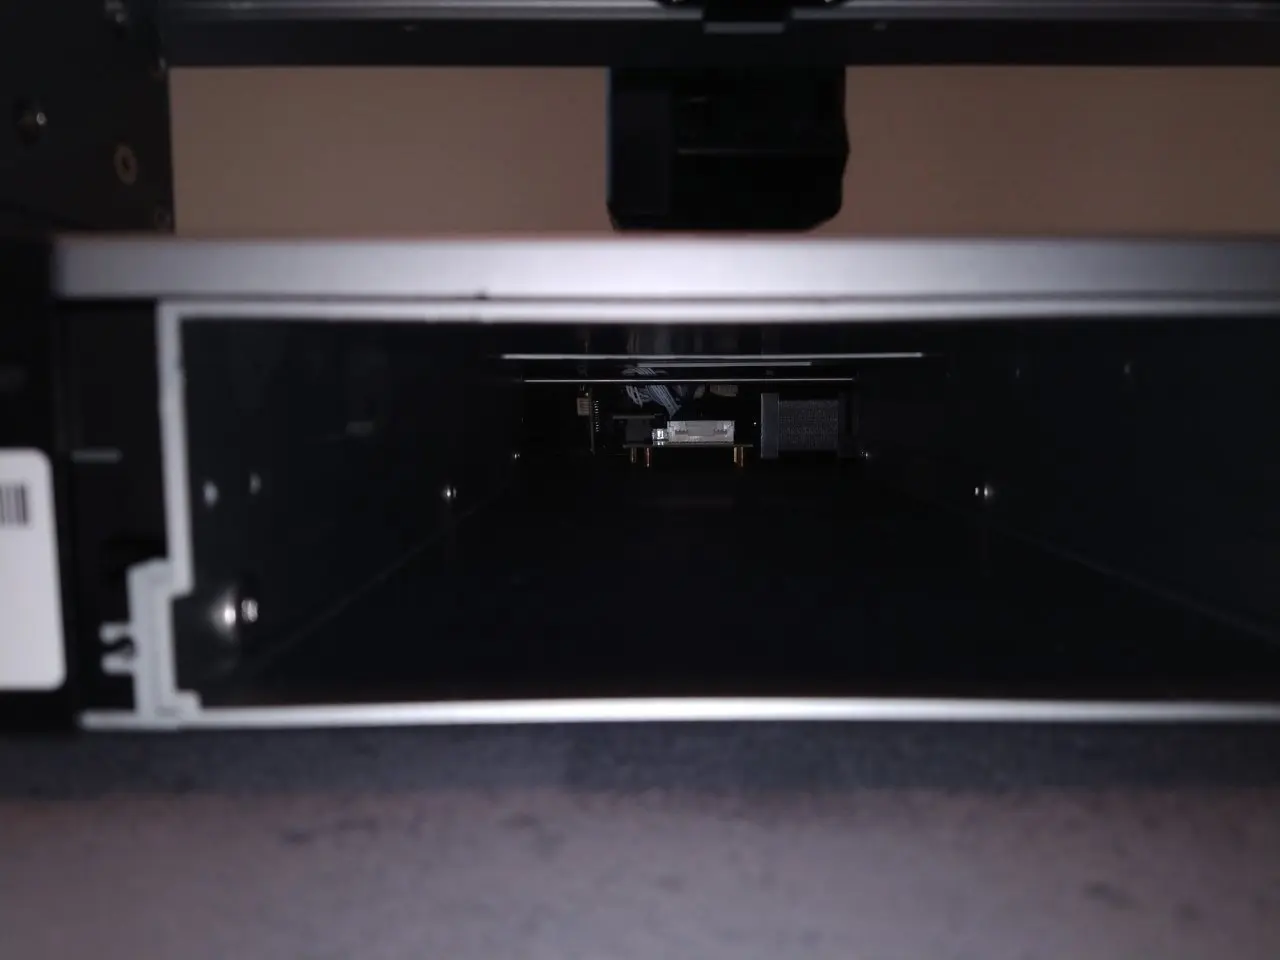
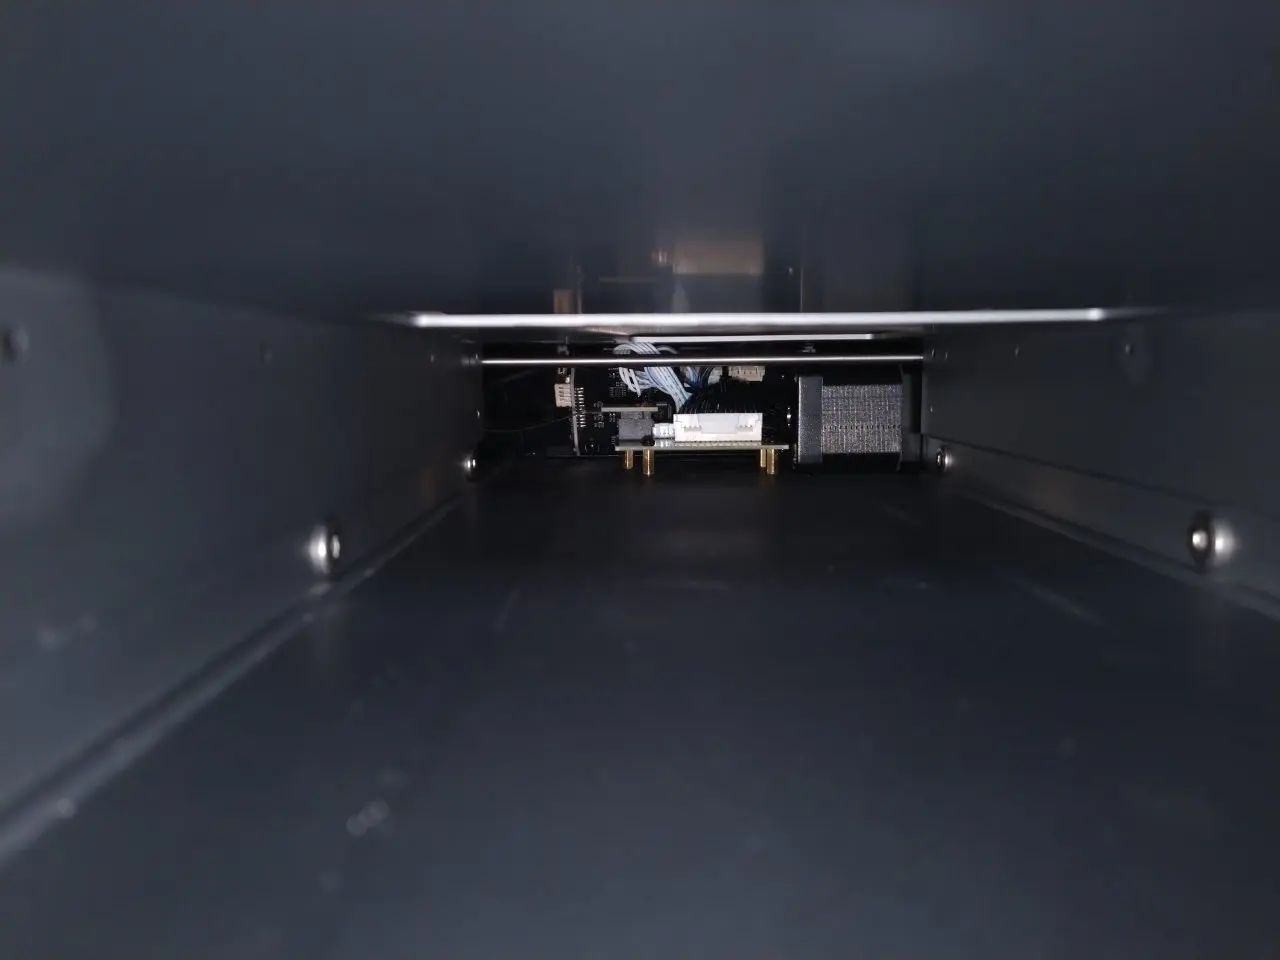
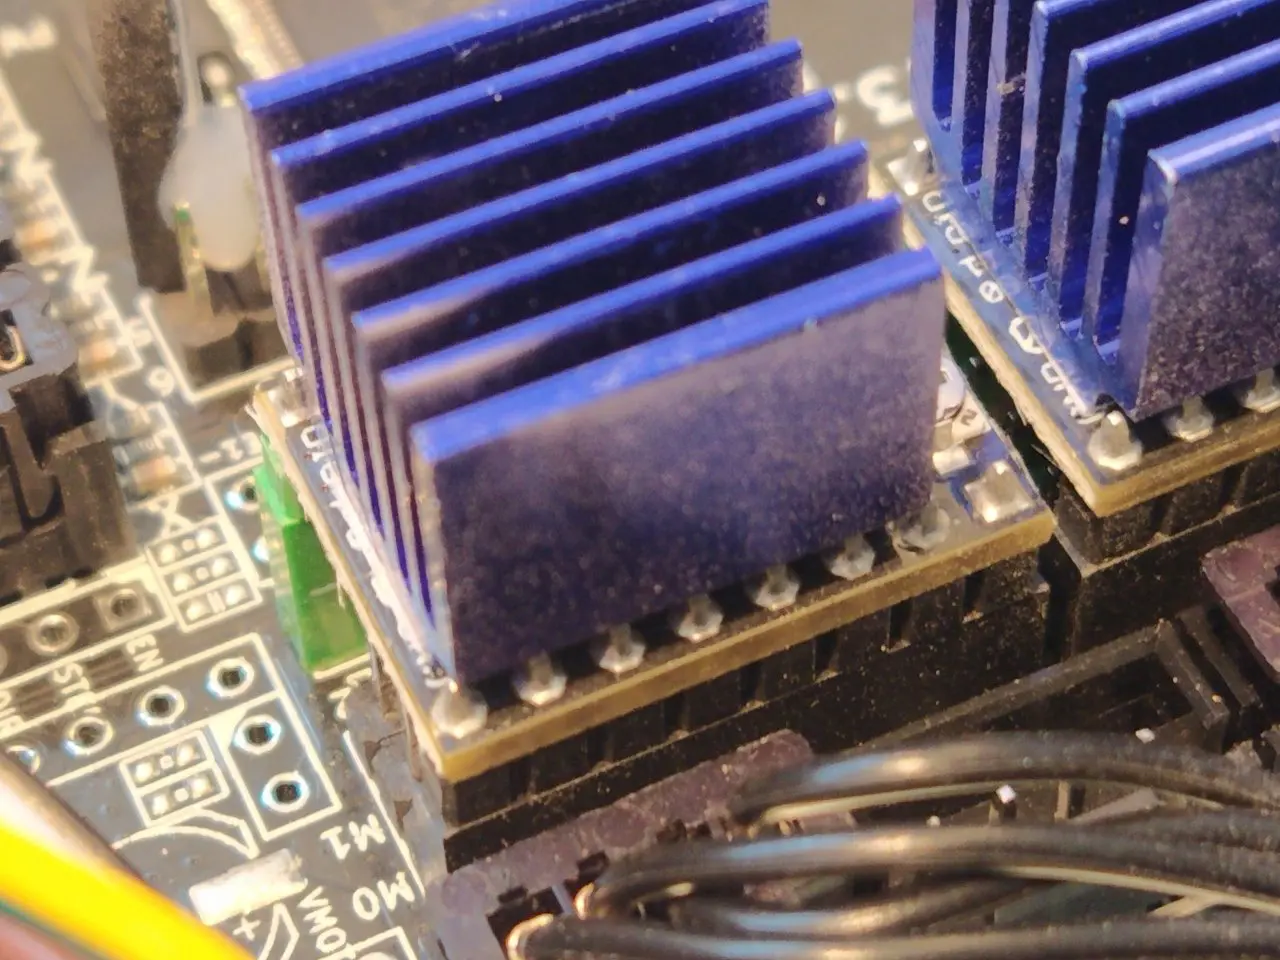
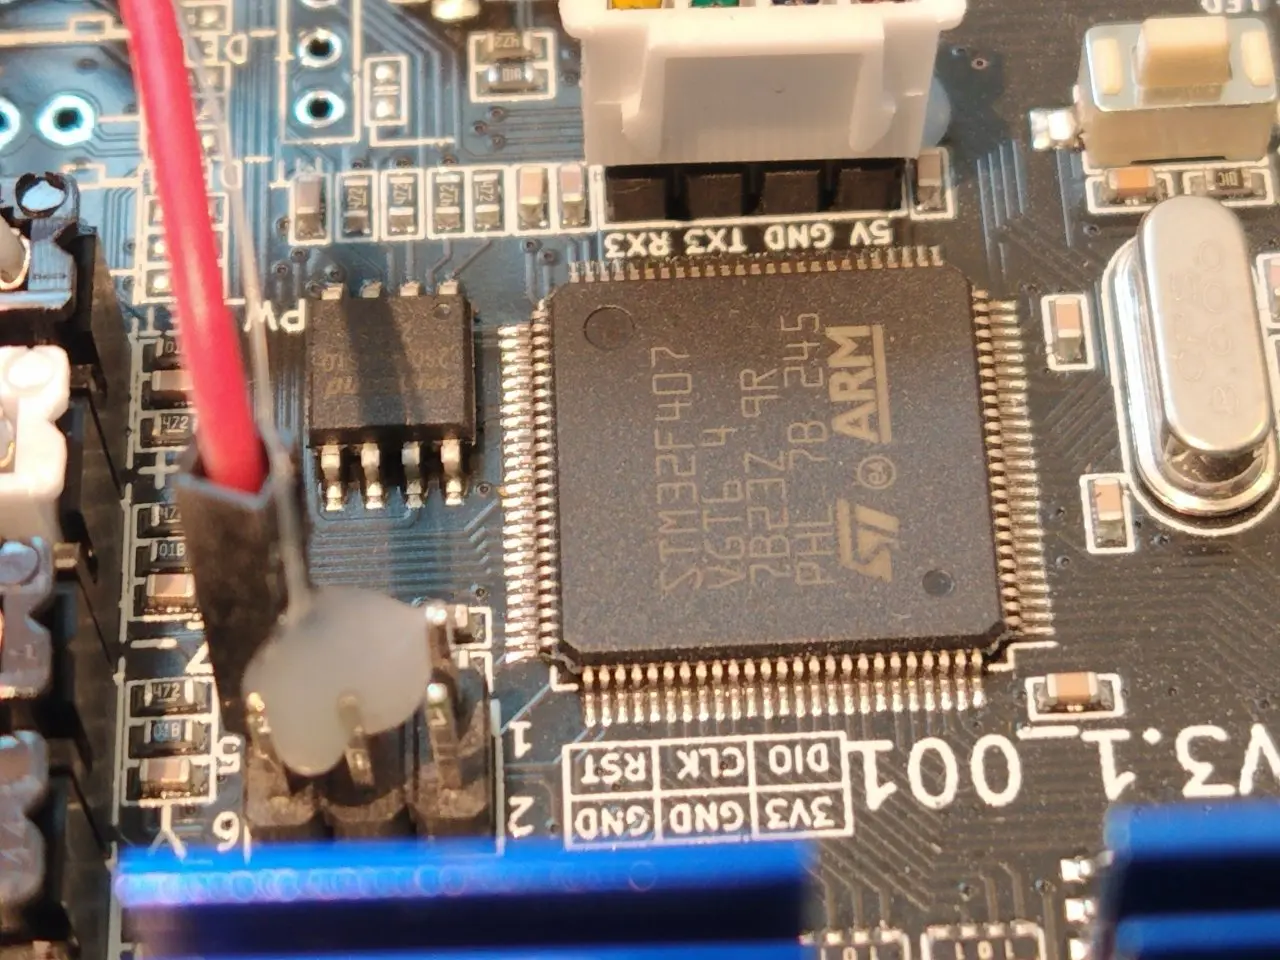
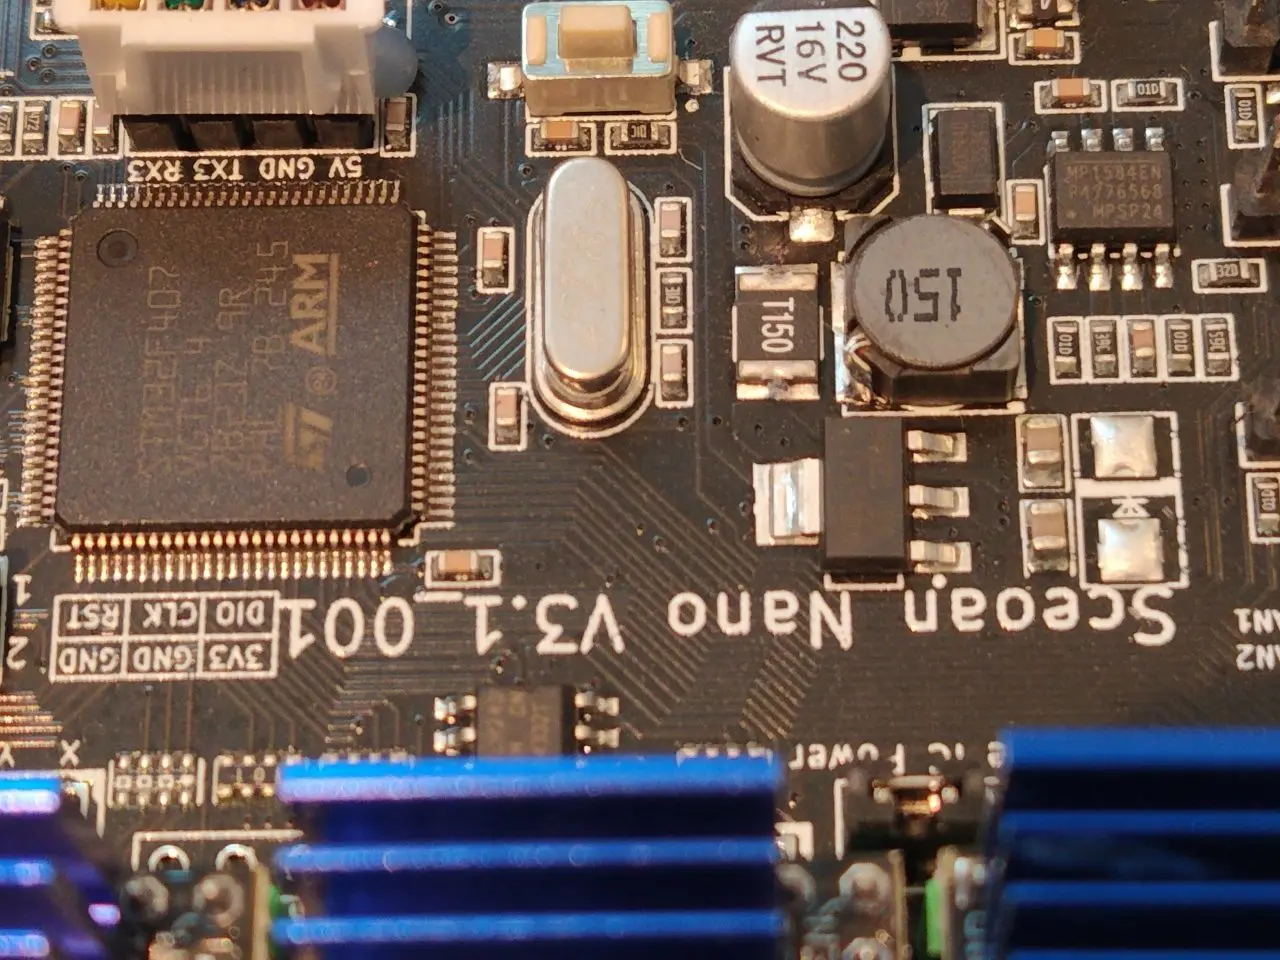
Mainbaord
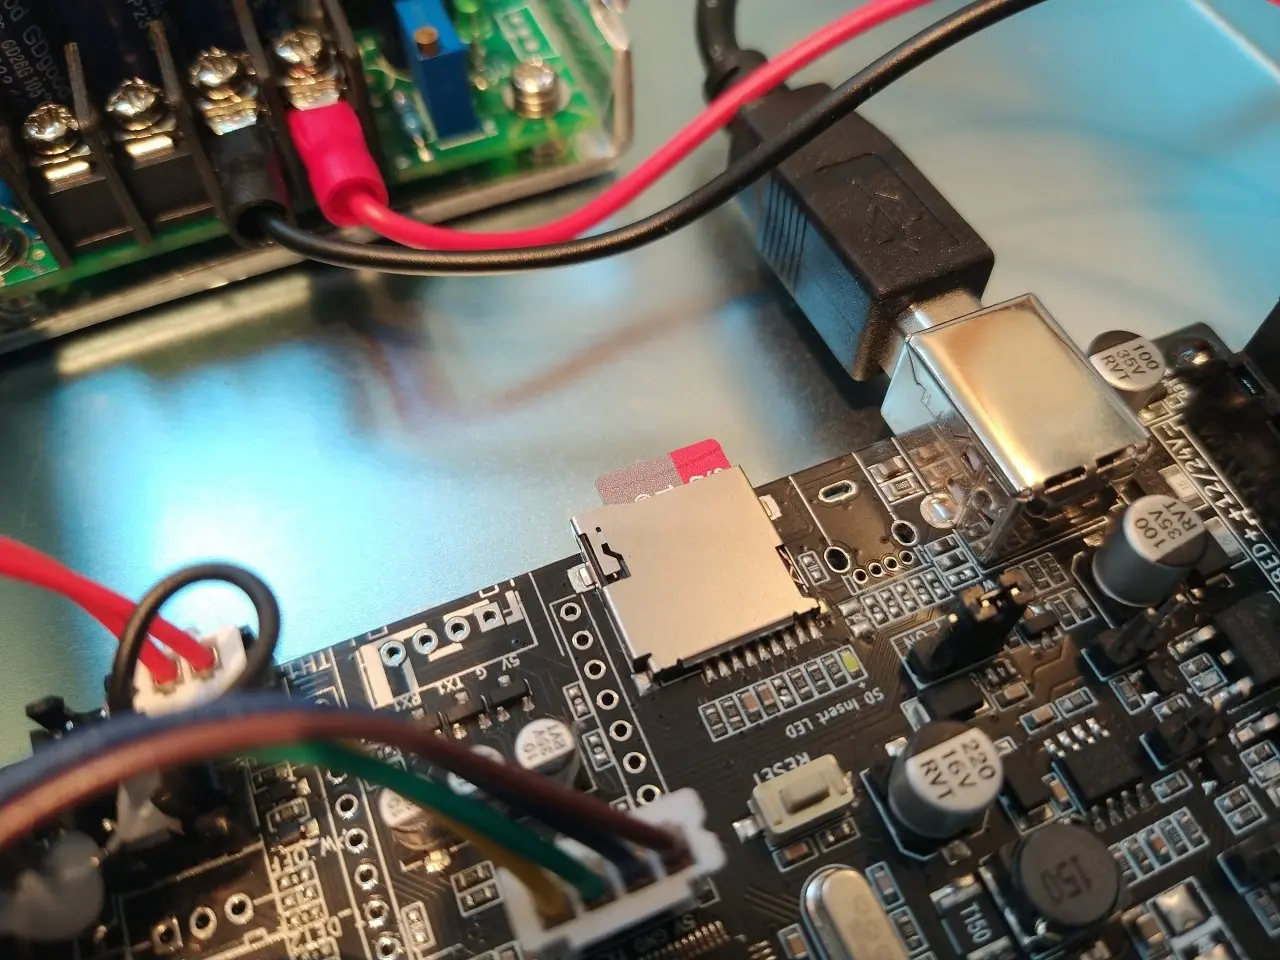
As the printer runs with Marlin, we only expect an STM32F407/417 with 168 MHz as SoC. This is perfectly adequate. The mainboard is labelled „Nano V3.1_001“ and fortunately has socketed drivers for the stepper motors. I haven’t seen that for a long time. I am thrilled!
I also noticed an mSD card slot on the mainboard, but an attempt with a memory card was unsuccessful. You can’t access it via the menu.
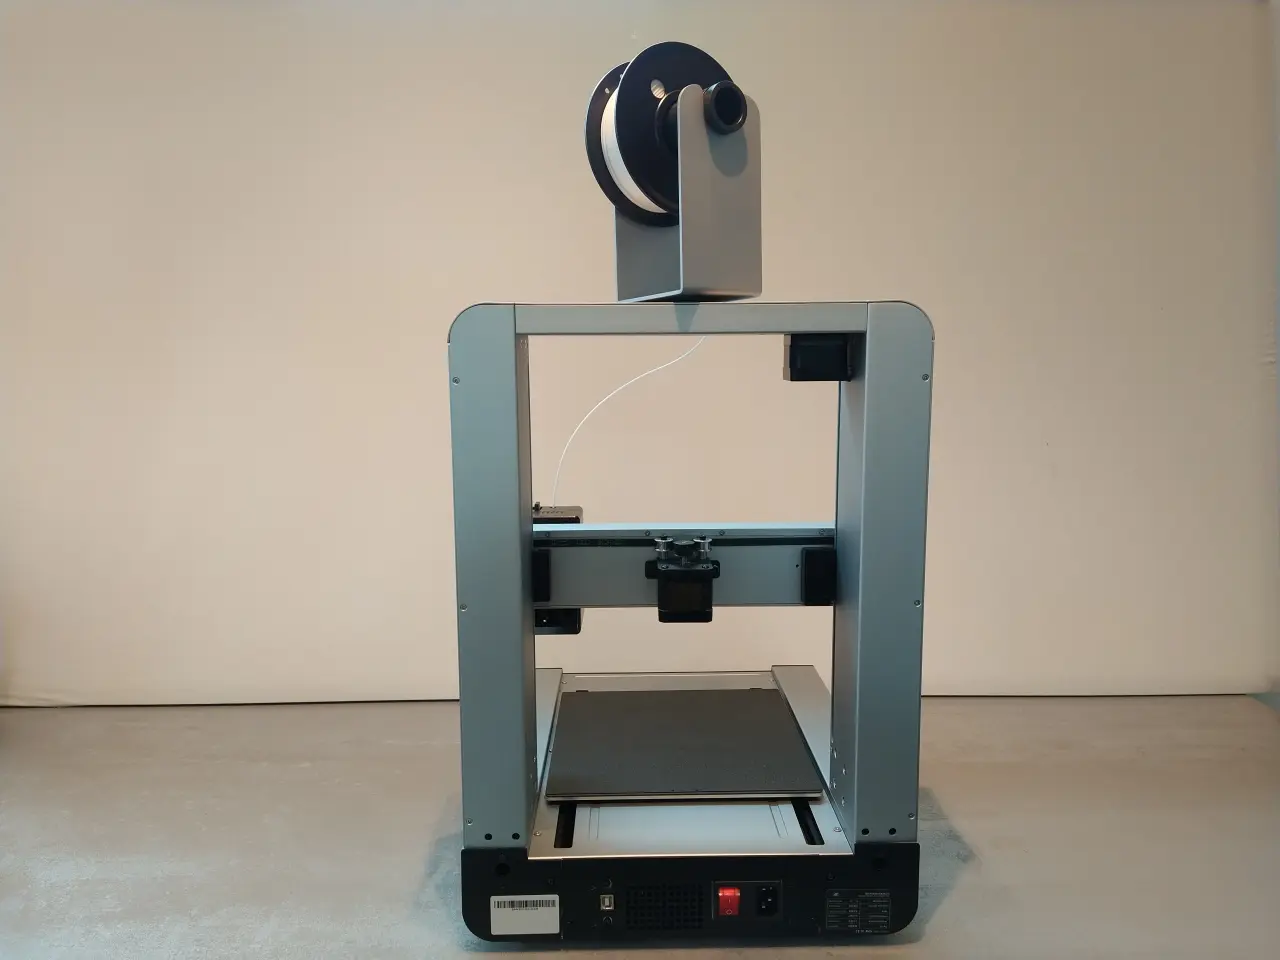
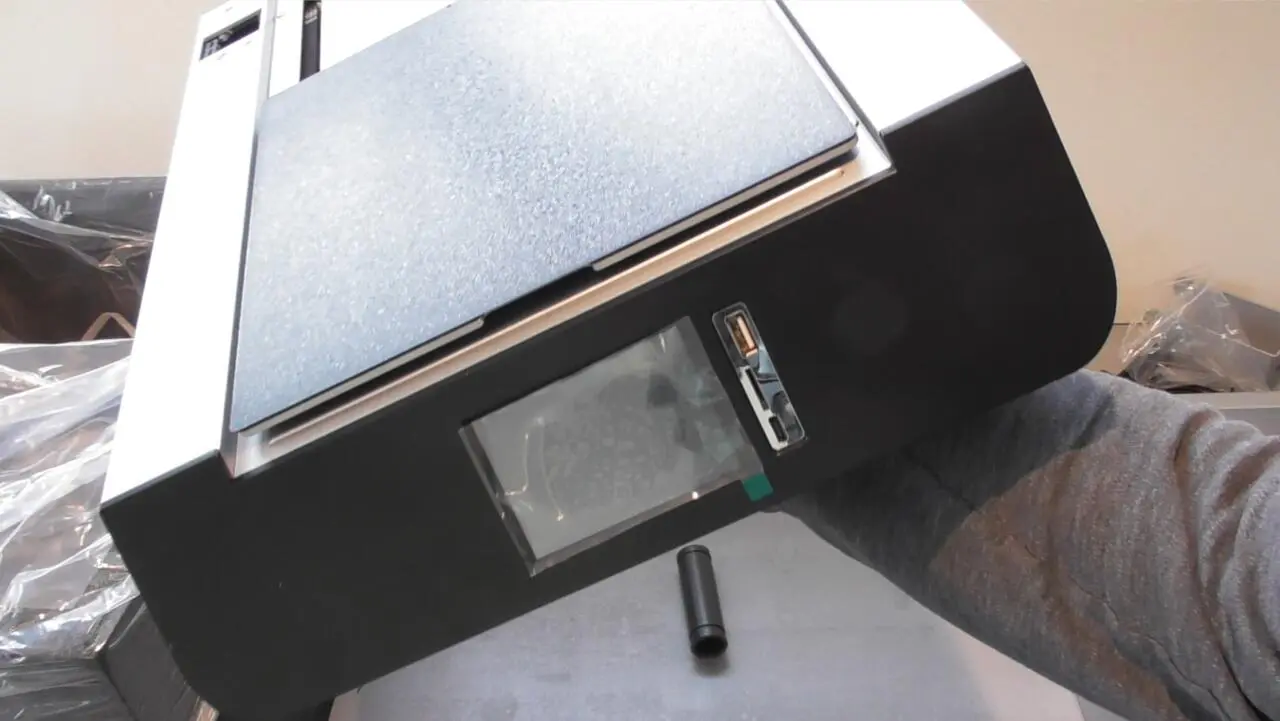
Connections
There is one USB-A, USB-B and USB-C port on the device.
The latter is presumably only used to flash the display, as a QinHeng Electronics CH340 serial converter is connected here. The fact that this connection is located on the front is well thought out, as it is impossible to access the display without screwing it in.
We remember that under Marlin the displays are usually small computers in their own right and therefore relieve the mainboard of the printer when it comes to graphics output. If you want to change the menus, you have to update the display with new firmware.
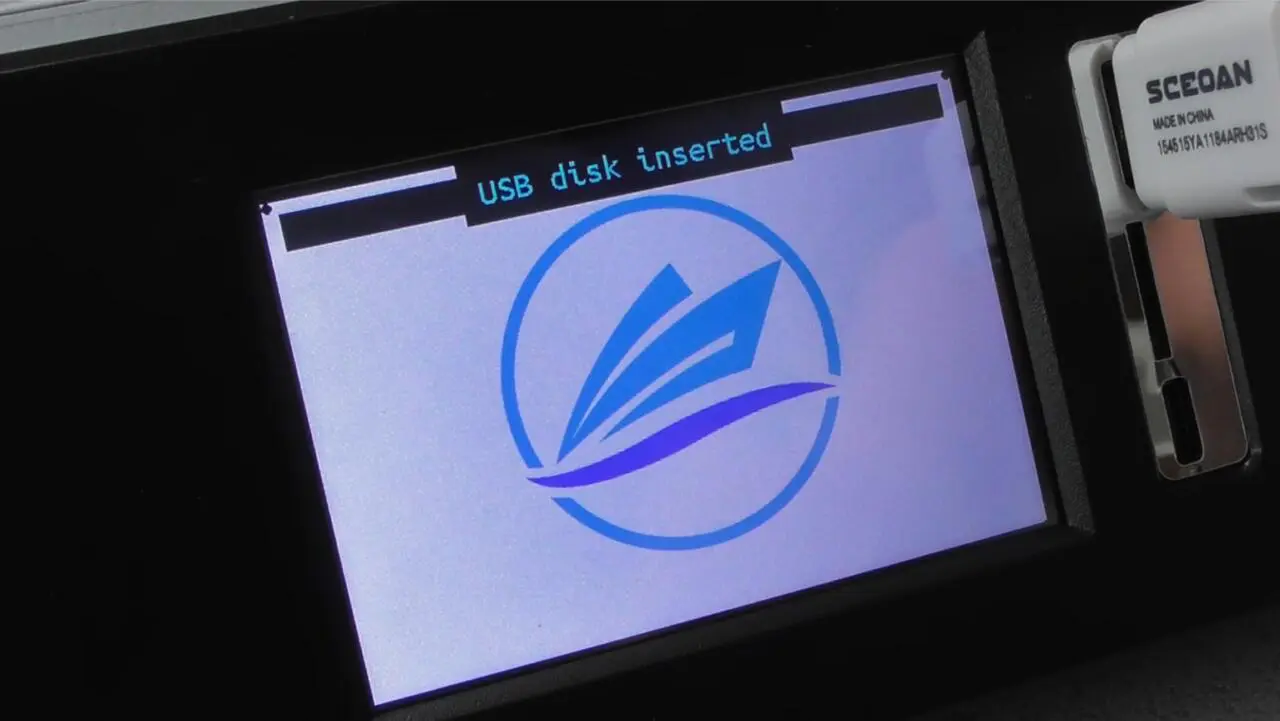
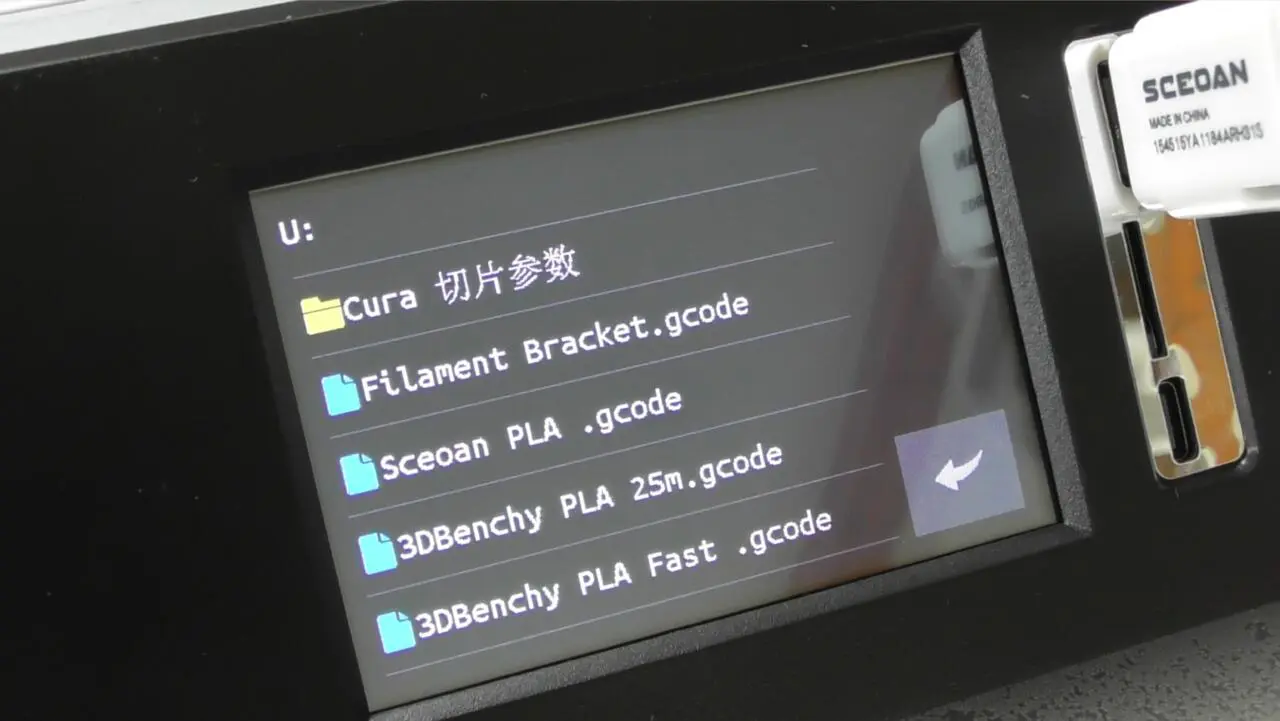
Data carrier
The Sceoan Windstorm S1 accepts print files via USB stick and microSD card. In contrast to other 3D printers with such a tiny slot, I find inserting the card pleasingly easy.
Nevertheless, I am a fan of USB sticks, as you can simply plug them into the computer. You usually need an adapter for microSD cards. So it’s nice that the printer gives you a choice.
Space requirement
Thanks to the integrated print bed and the integrated display, the Sceoan does not take up much more space on the desk than its housing dimensions would suggest. It is pleasingly compact:
- Width: 34 cm
- Depth: 50 cm
- Height: 47.5 cm
- Height with filament holder: 62 cm
- Height with filament roll: 69.5 cm
The base area is therefore 1,700 cm² That’s great!
In comparison, the Ender-3 V3 KE looks smaller. But this is very deceptive, as it is a full seven centimetres deeper and 16 centimetres wider due to its protruding print bed with a protruding power supply! It takes up 2,850 cm² of desk space,
- The S1 requires only 60% of the footprint of the Ender-3
- The S1 saves 1150 cm² of space compared to the Ender-3
The Sceoan Windstorm S1 is therefore significantly more compact than the Ender-3 V3 KE and requires 40% less desk space. This can be an important factor if you have limited space.

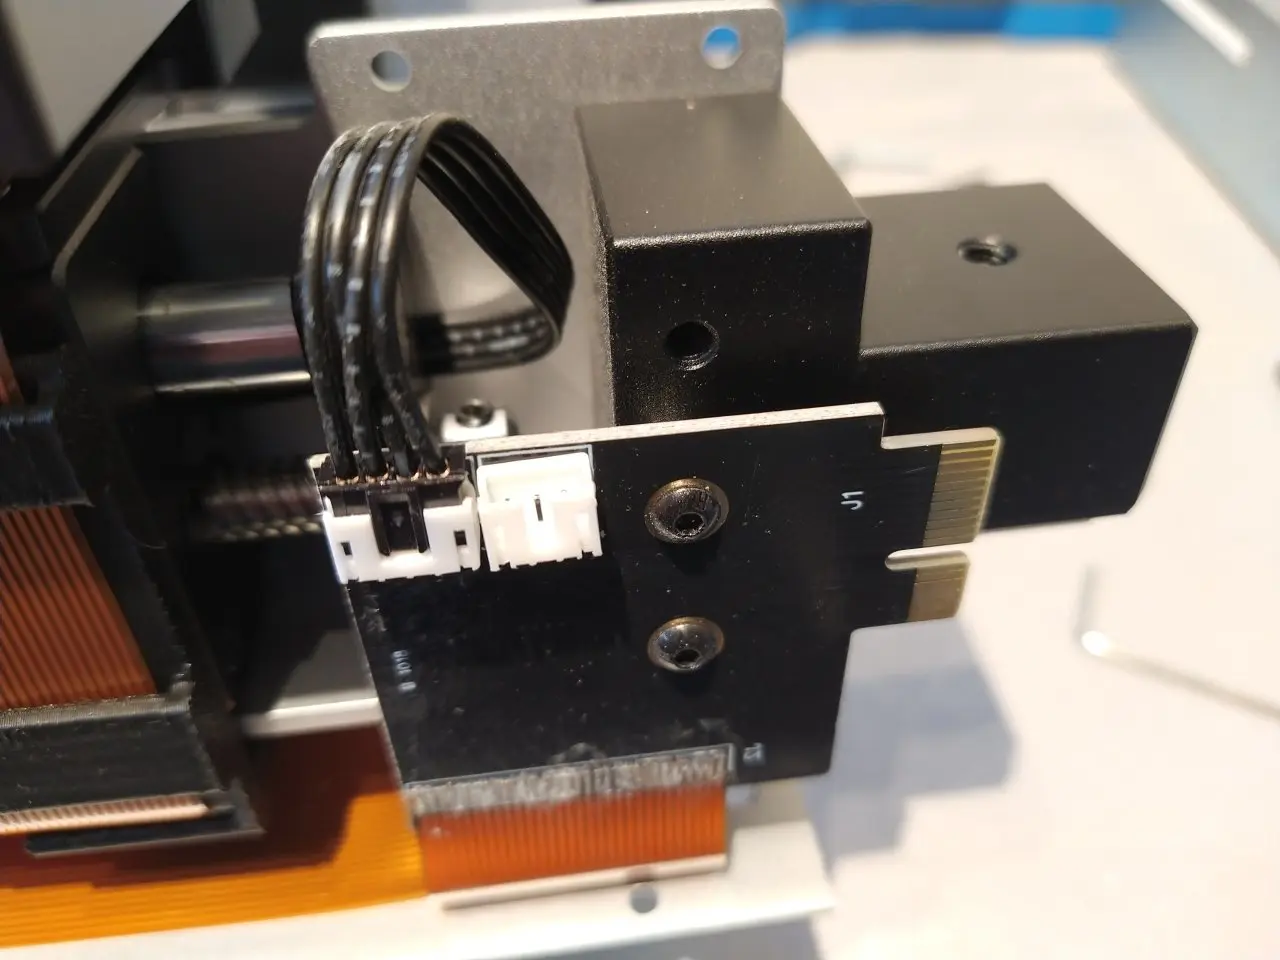
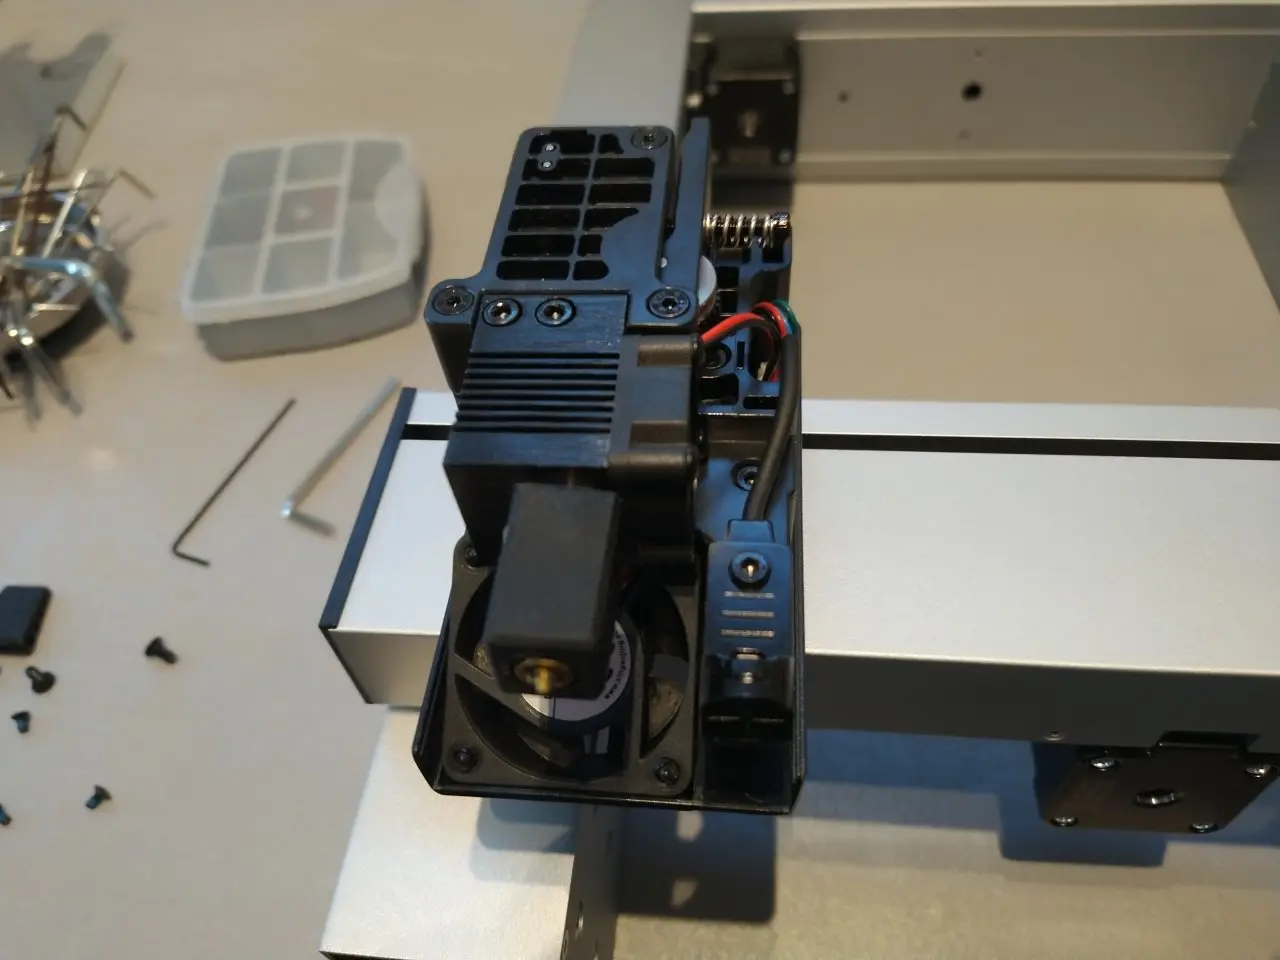
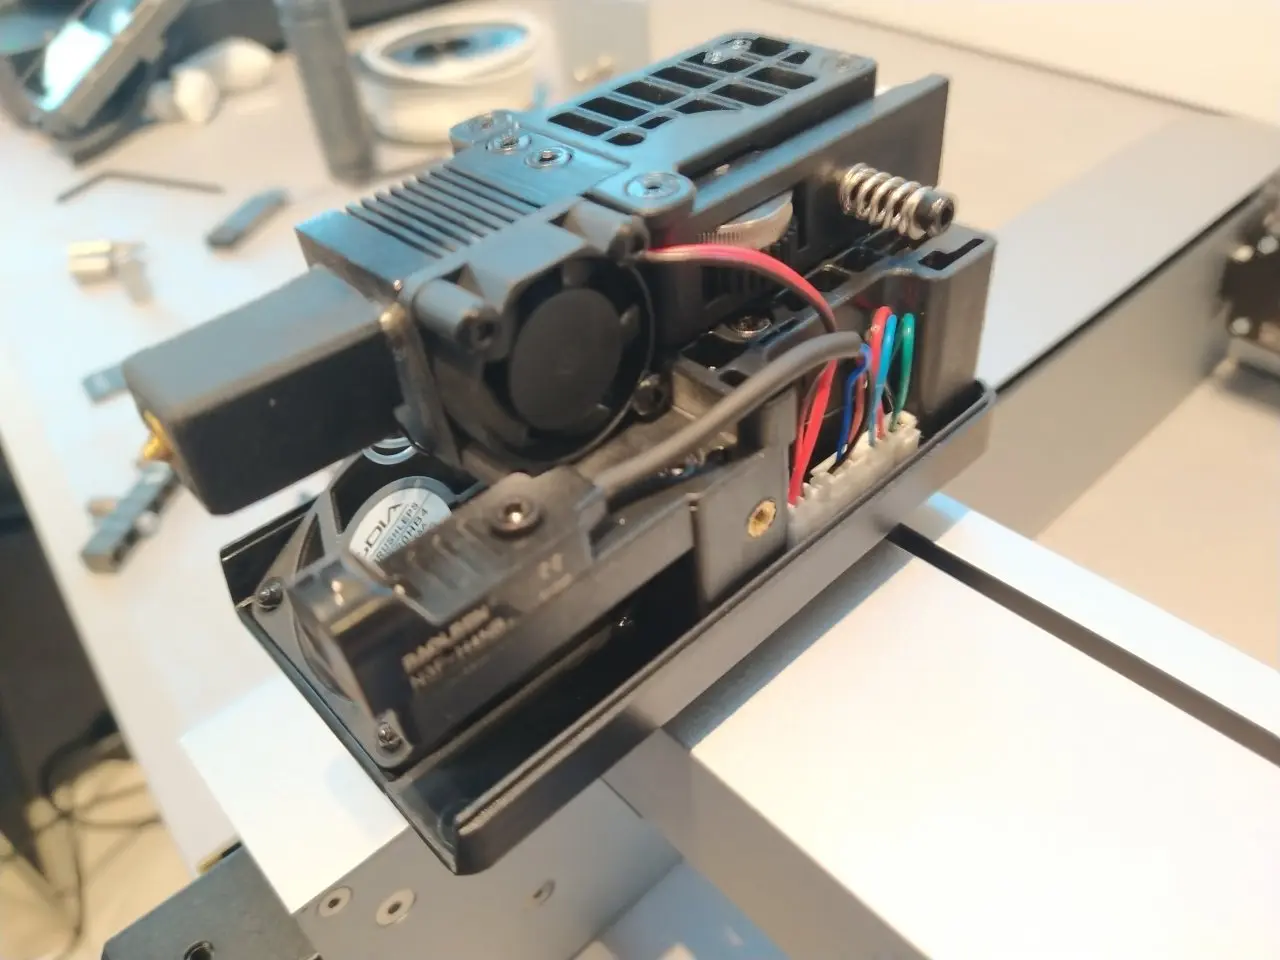
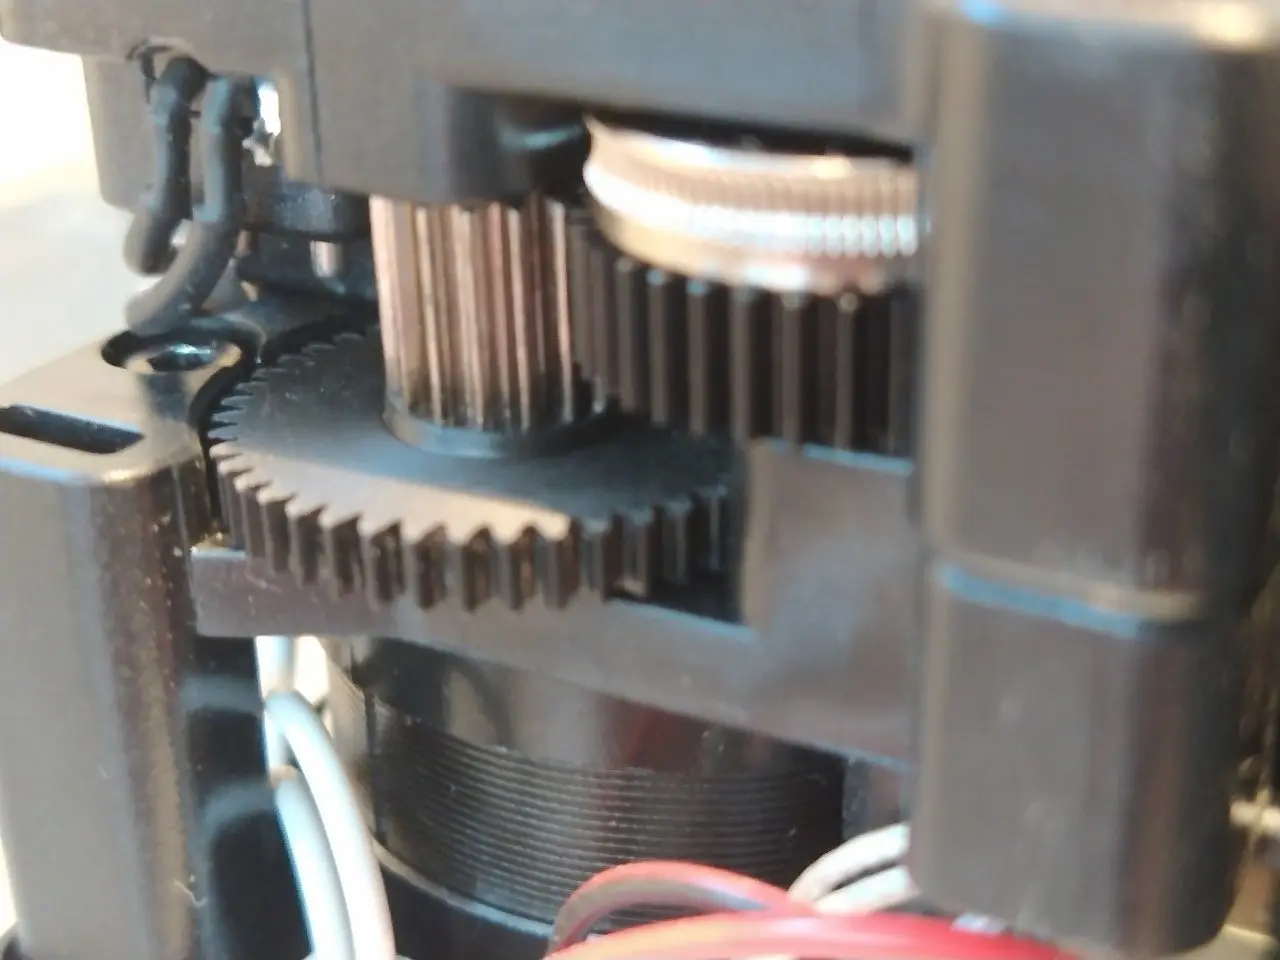
Print head
A dual extruder with metal filament drive, ceramic heating element and integrated filament sensor – that’s really well done!
Print bed
The print bed is characterised by light and shadow. It is integrated into the housing, which looks nice, but I personally have three minor problems with it:
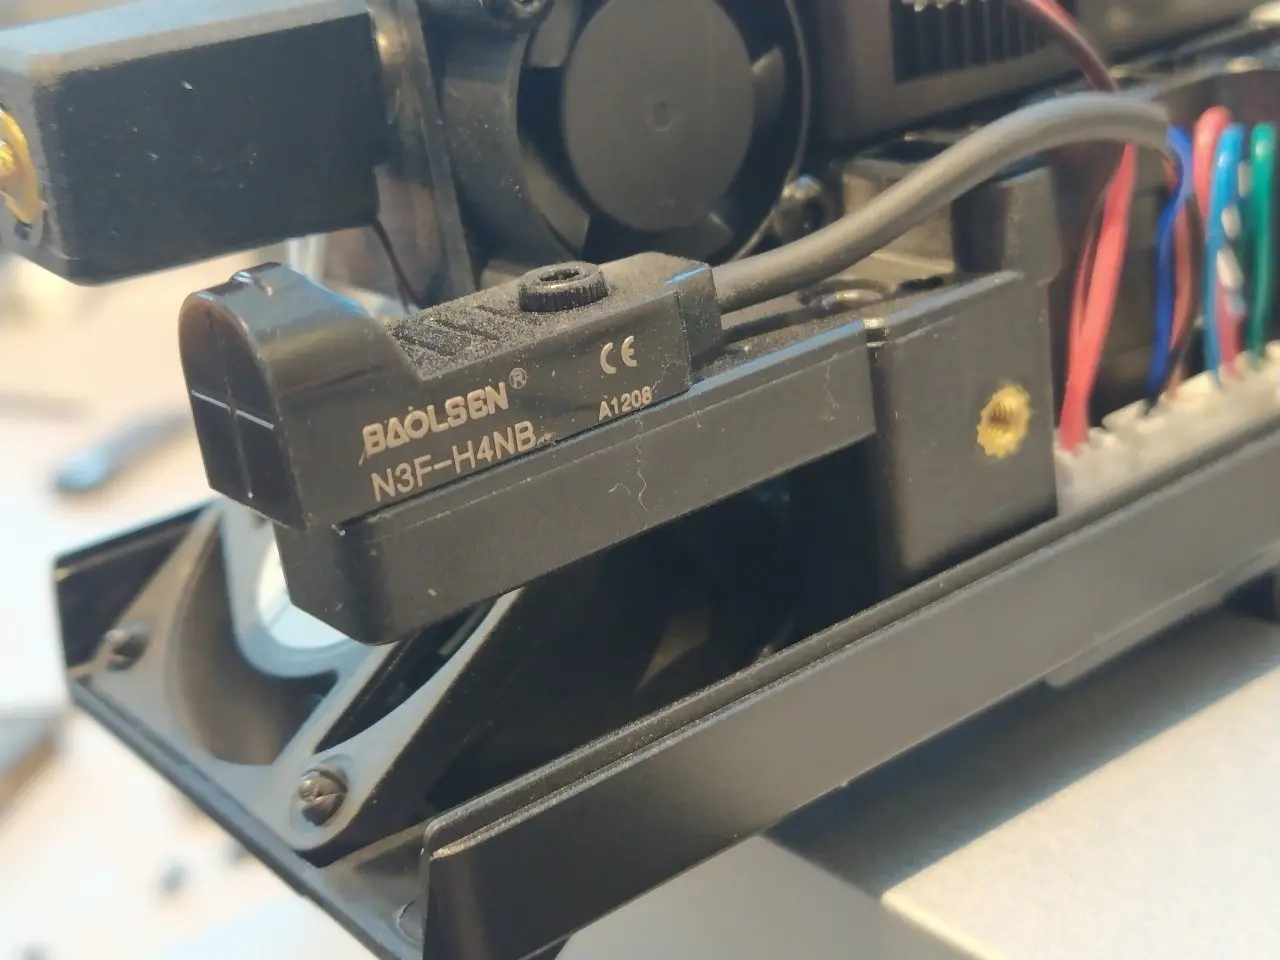
- Removing filament remnants is trickier, they can fall into the guide slots. If you’re not careful, you can move the limit switch at the front right, so that the printer moves the bed to the stop and then ends the process with an error on the display. This has already happened to me.
- There are no guide grooves at the back of the bed. It is difficult to place the magnetic PEI plate straight again with just one hand.
- The print bed is poorly insulated or not insulated at all.
However, this is not the main problem, because Sceoan specifies a print bed temperature of up to 140 degrees, but the printer hangs up at 111 degrees. So you can „only“ heat the print bed up to 110 degrees. Well, you shouldn’t print ABS or ASA with the printer without an enclosure anyway. So this is more of a cosmetic problem from my point of view.
Light
Nevertheless, we are looking at one of the better print beds:
- The print bed heats up from 20 degrees to 65 degrees in almost exactly three minutes. A good value for 24 volts and 250 watts.
- On the other hand, I like the fact that the PEI plate is relatively thin, so the prints can be removed easily.
- Speaking of which, the adhesion is absolutely excellent. I’ve rarely had such good print bed adhesion. I haven’t even had a problem with it.
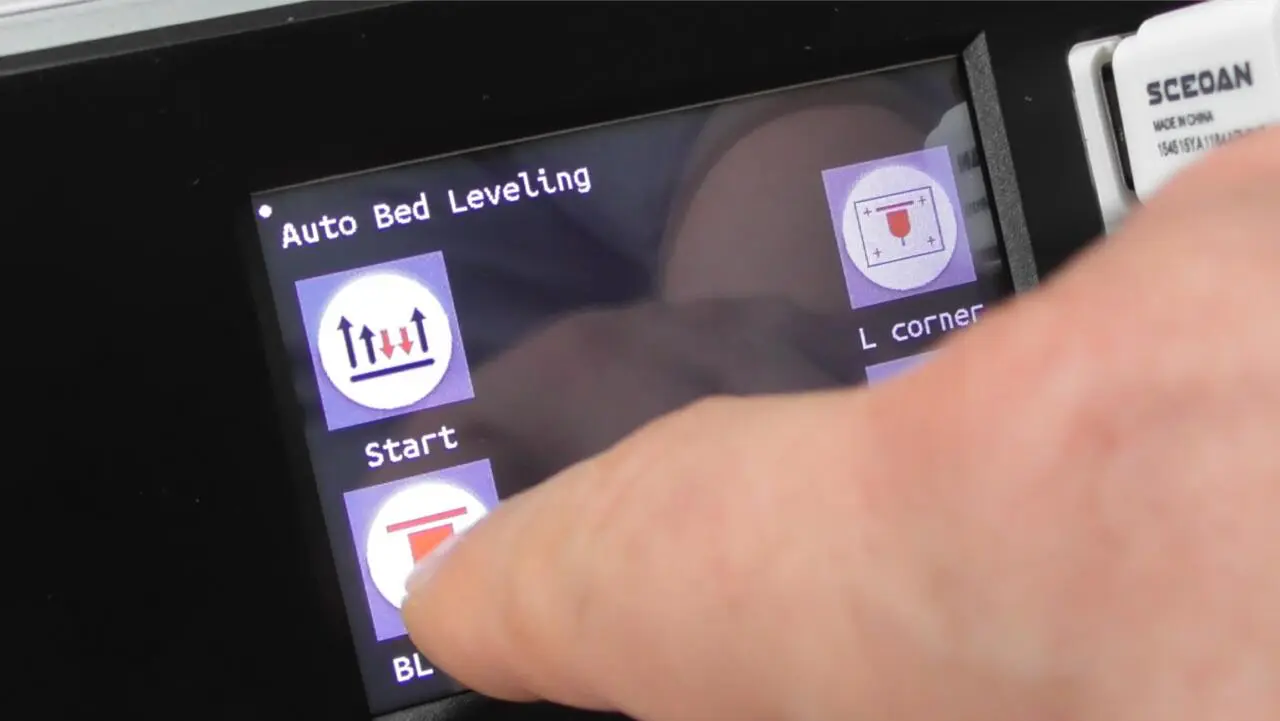
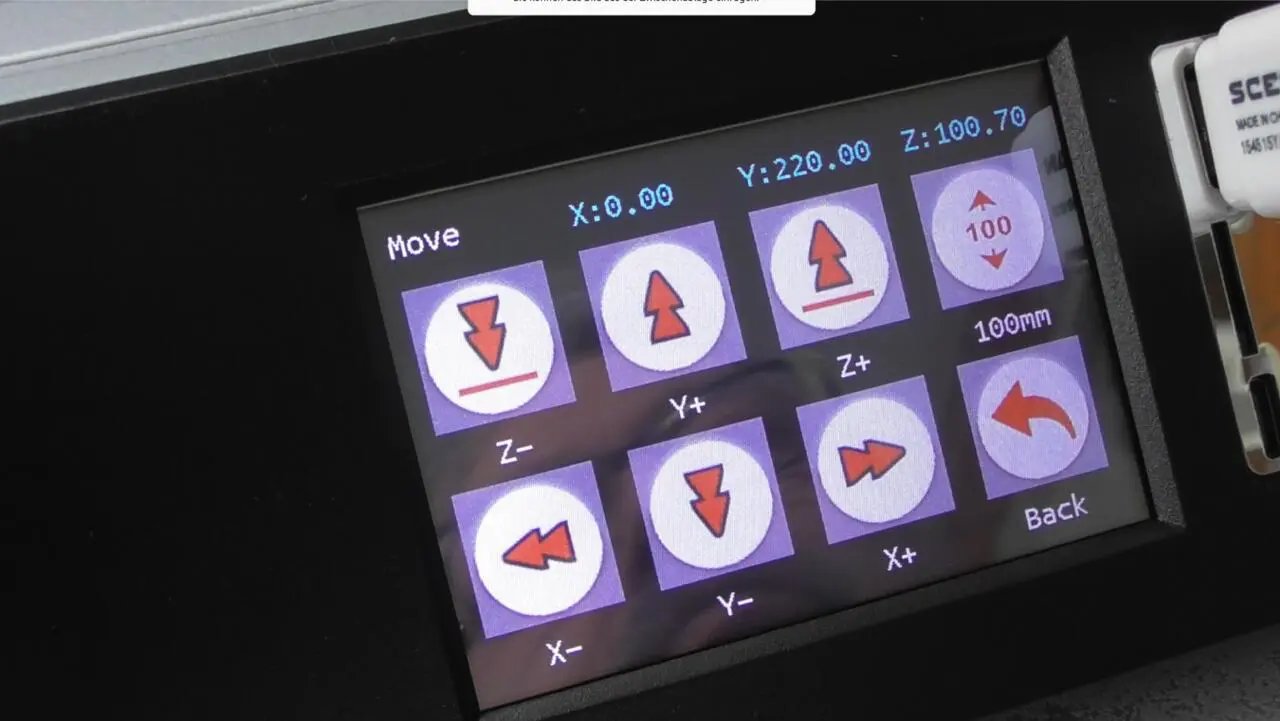
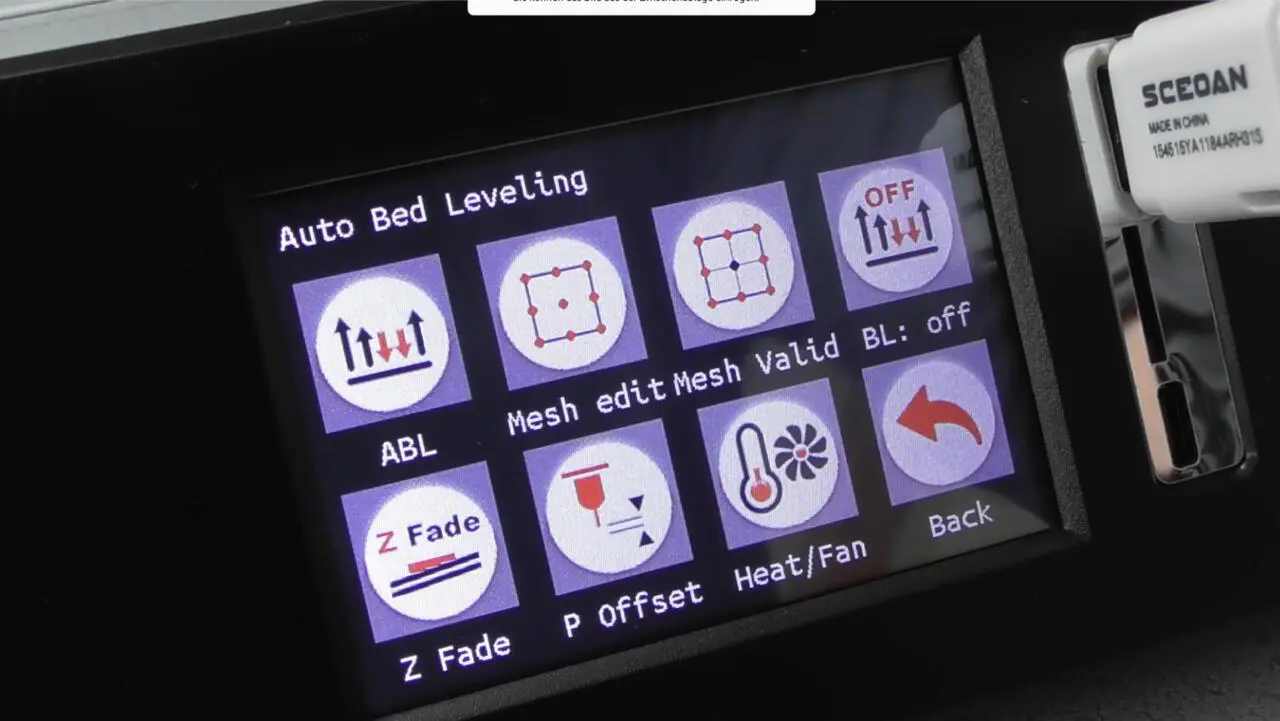
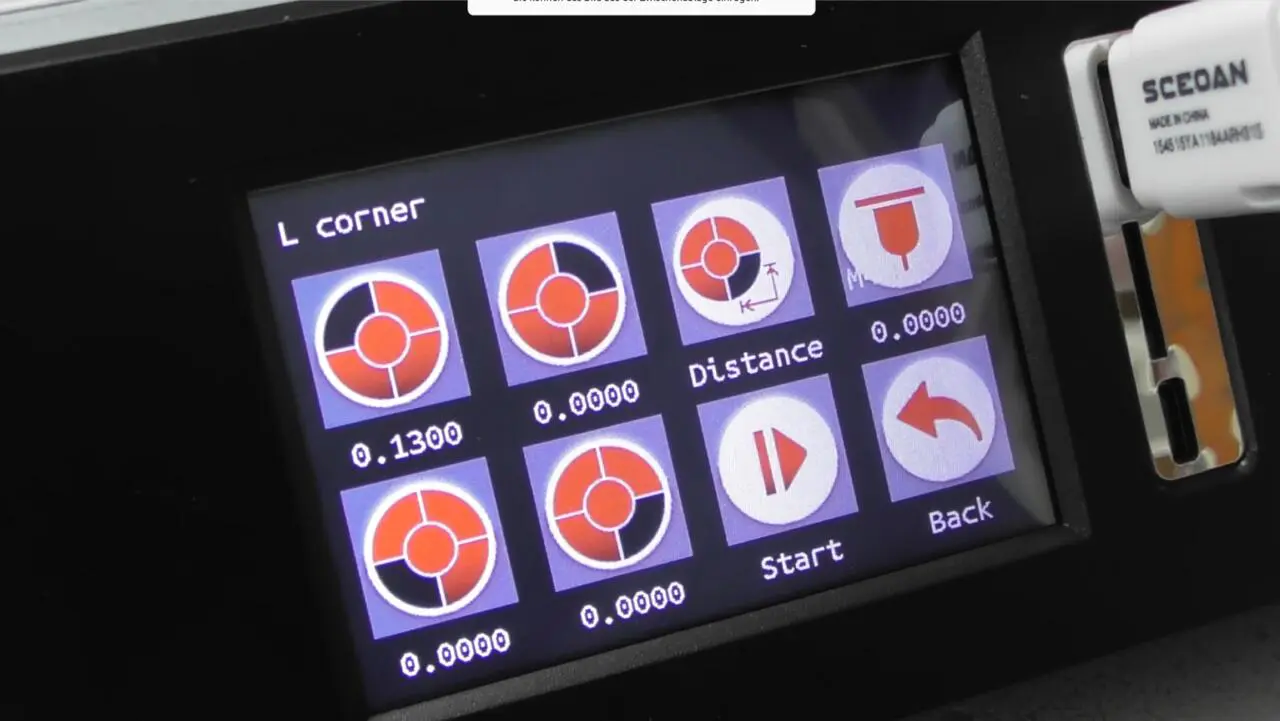
Levelling?
I switched on the printer and did the autolevelling once. The printer does not explicitly have an automatic Z-offset setting, yet I did not have to adjust the Z-offset. This may be a coincidence, or an indication of the printer’s excellent workmanship and manufacturing tolerance – I can’t say. Of course, the classic setting of the Z-offset is possible via the menu.
The print bed does not have adjustment wheels, but it seems to be pleasingly flat.
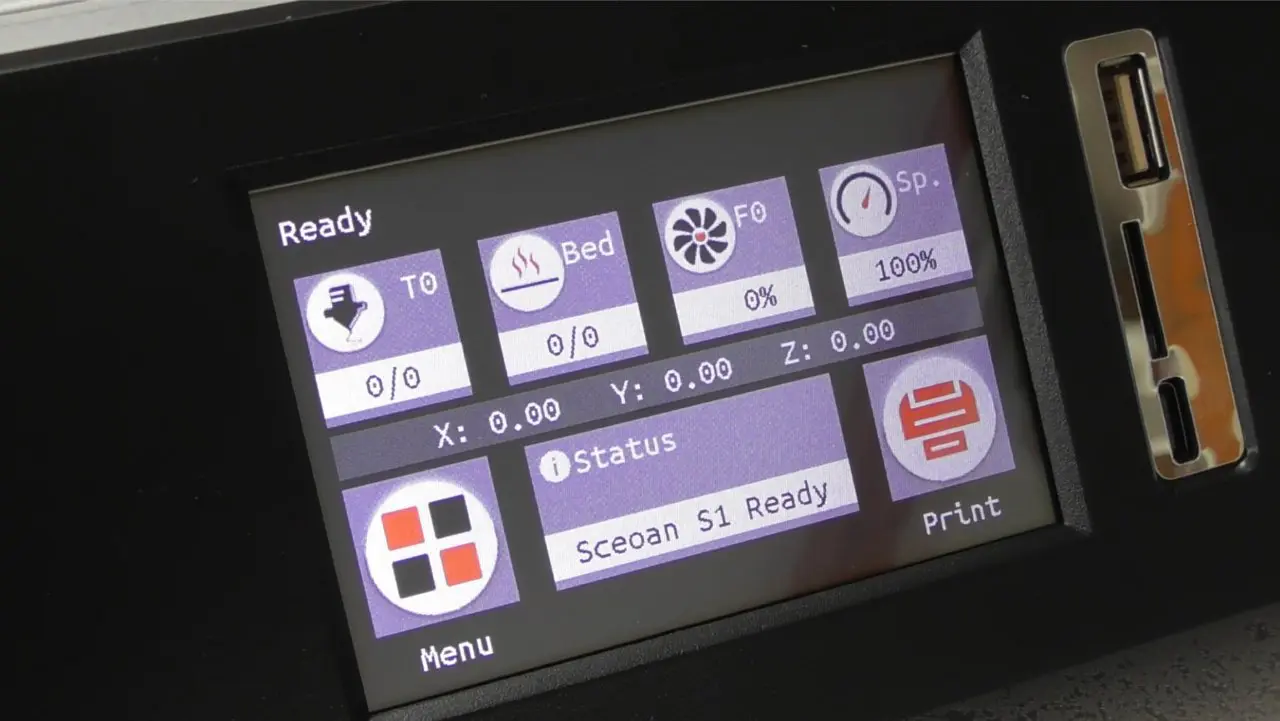
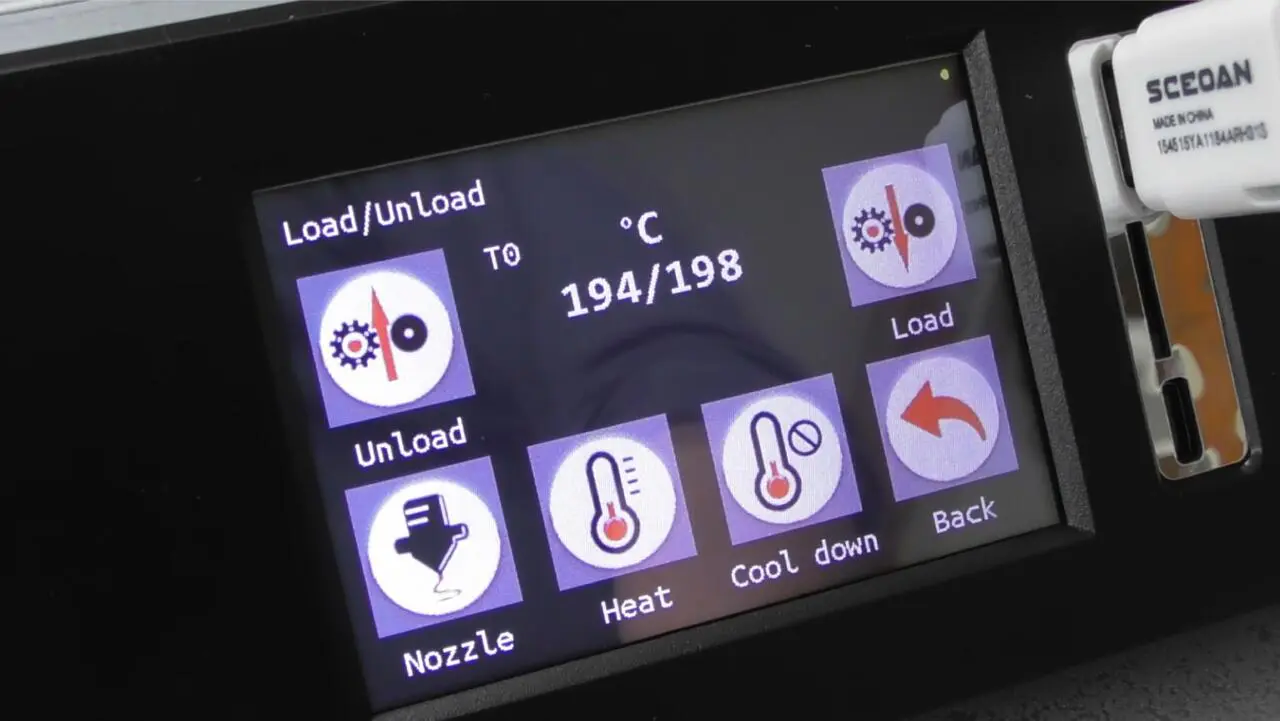
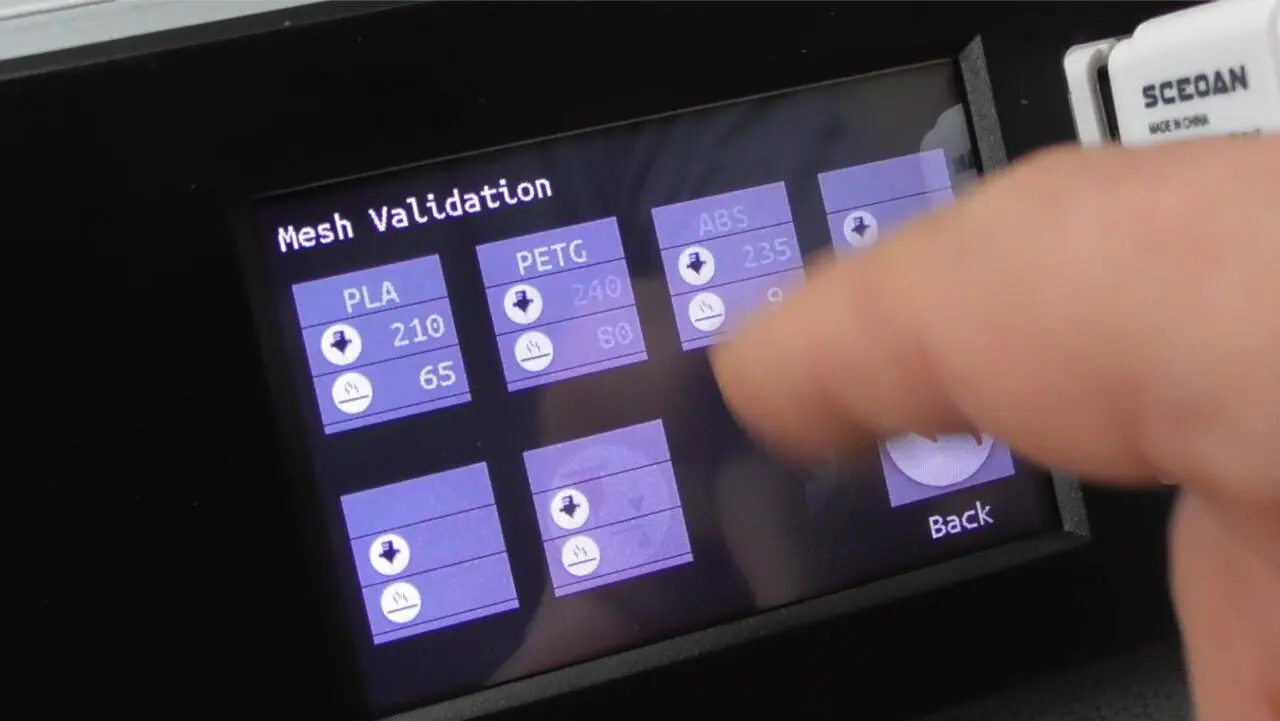
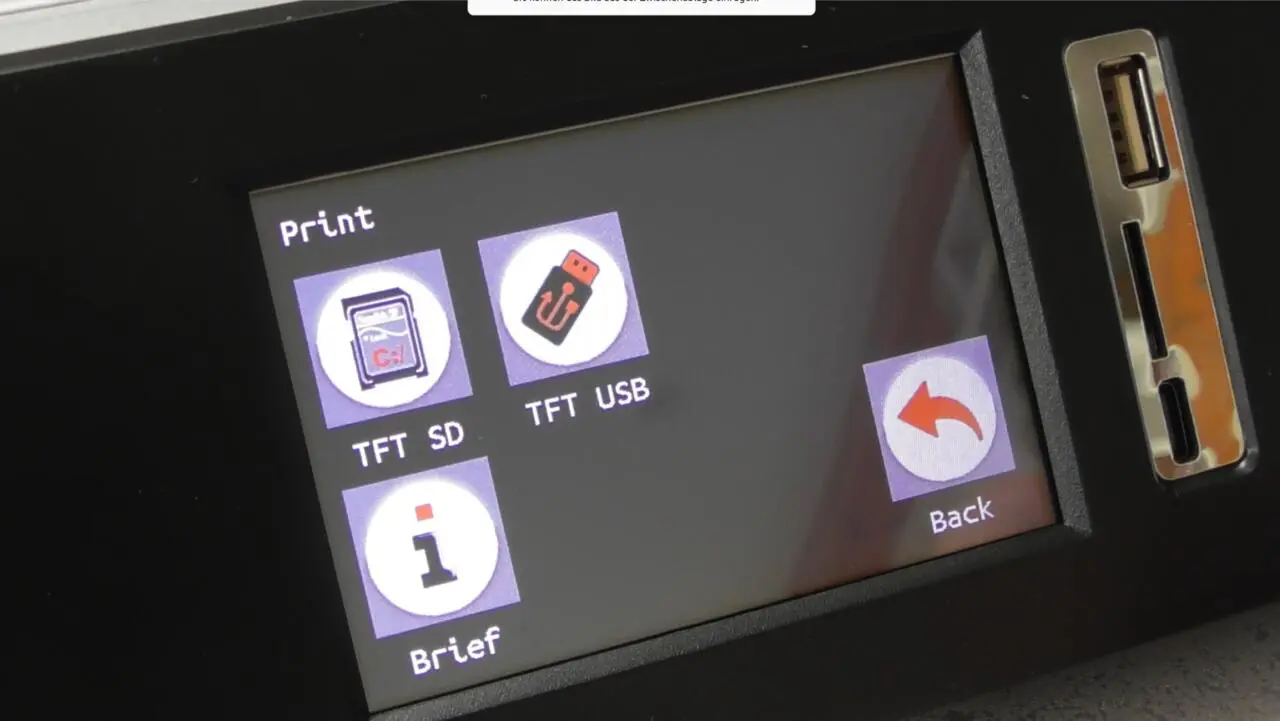
Display
Although the integrated display is rather small, it is excellent in every respect.
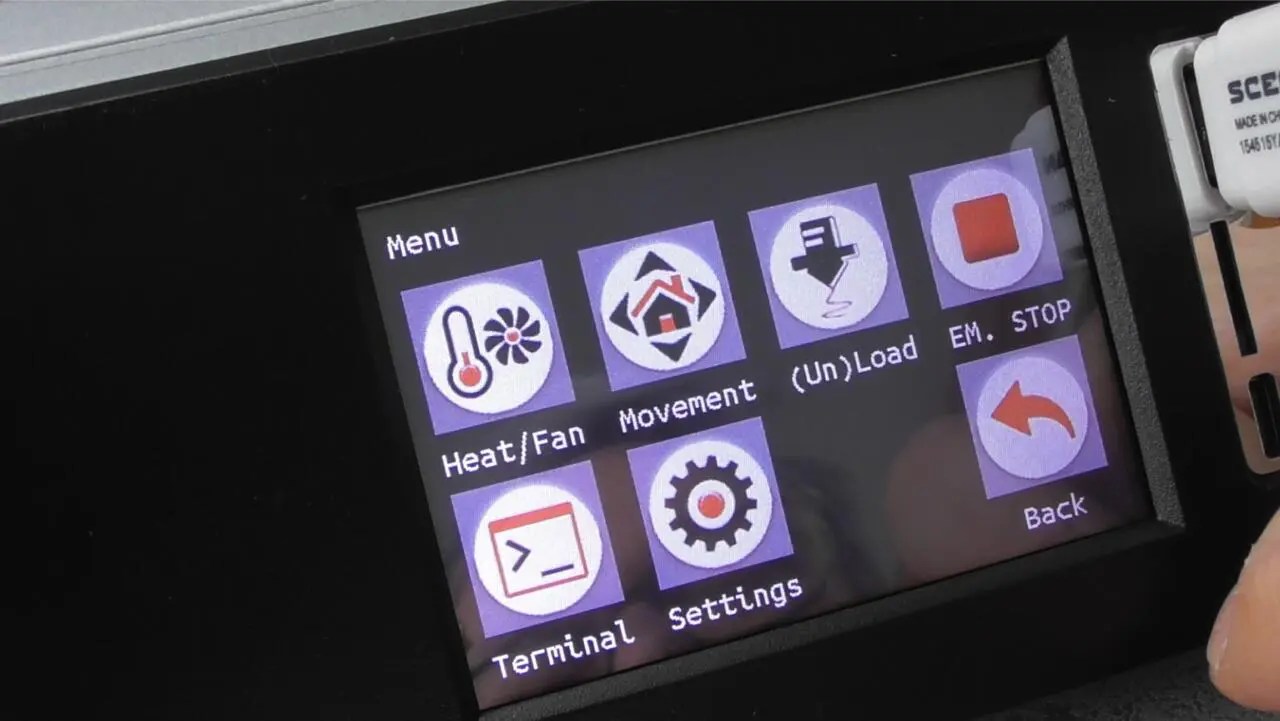
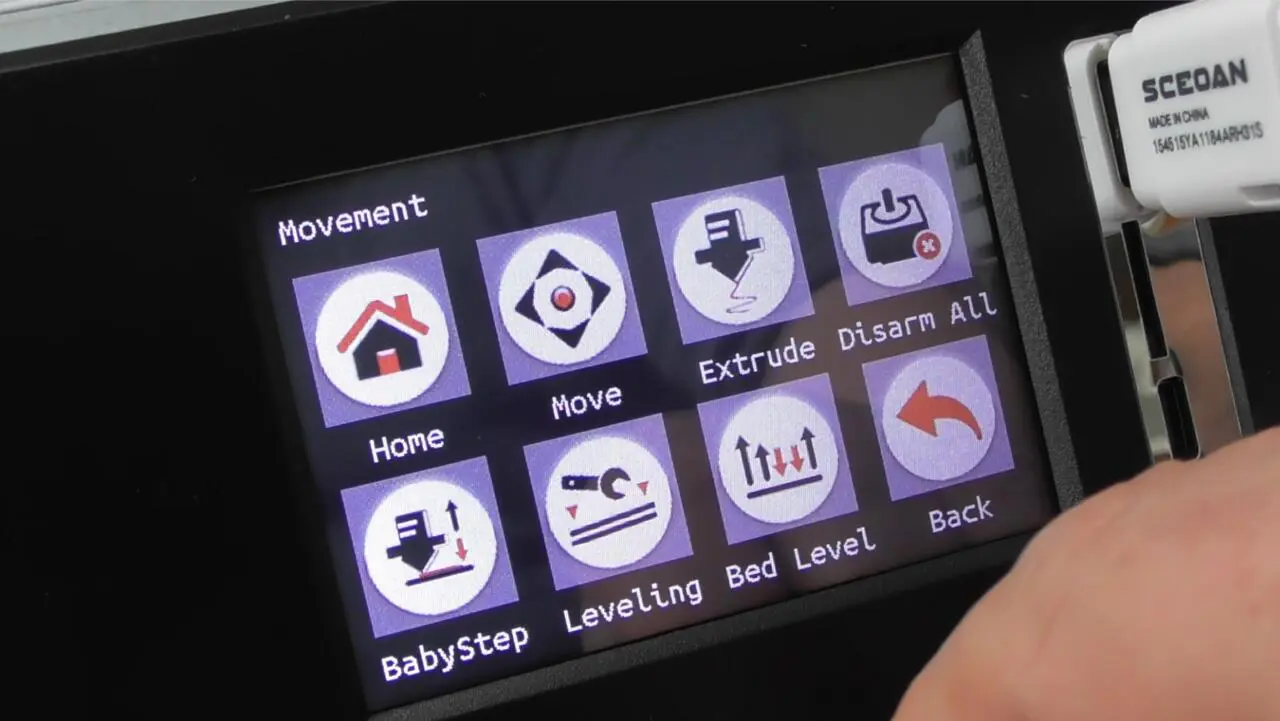
Everything that a Klipper printer needs a graphical interface for can be set clearly and quickly via the display. I have rarely seen a printer that can be set so completely via the display. Here is just a selection:
Even PID tuning and e-steps are possible via the menu. Absolutely top! Today’s printers with klipper offer less information on their much larger displays, fewer setting options and are even more difficult to operate. Sceoan has done everything right.
And there’s even a console! You no longer need Proterface with this printer!
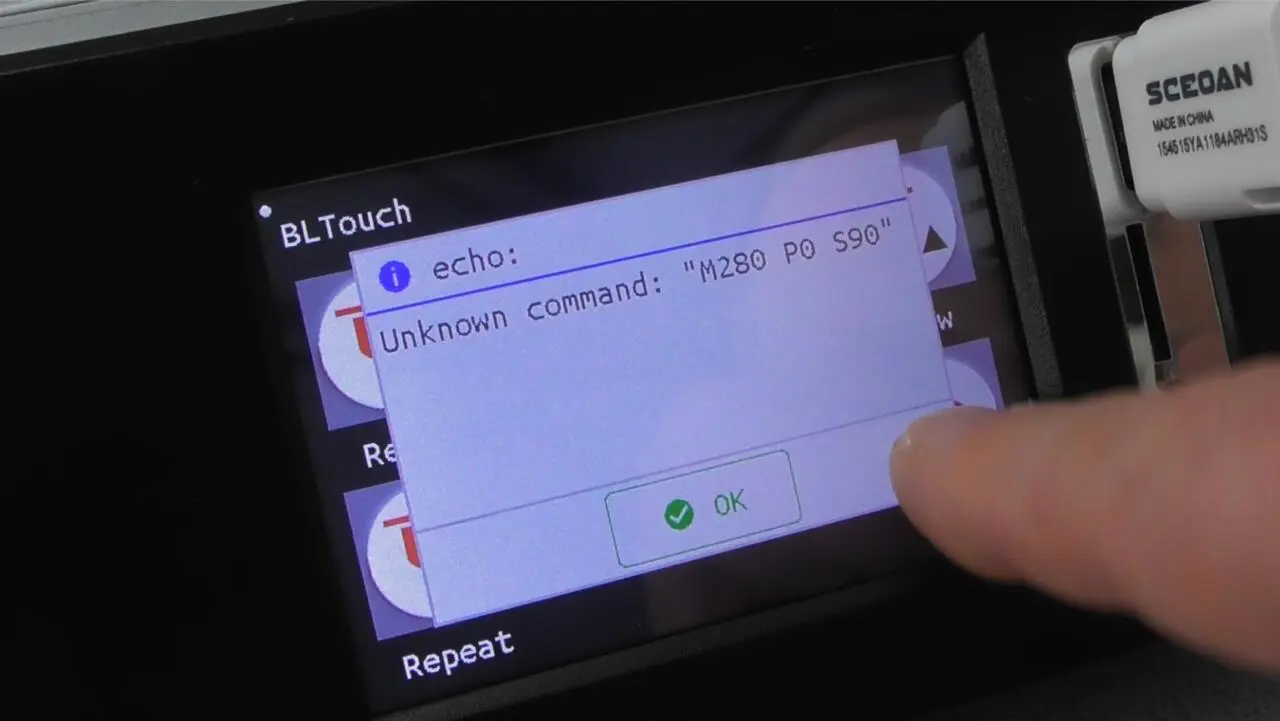
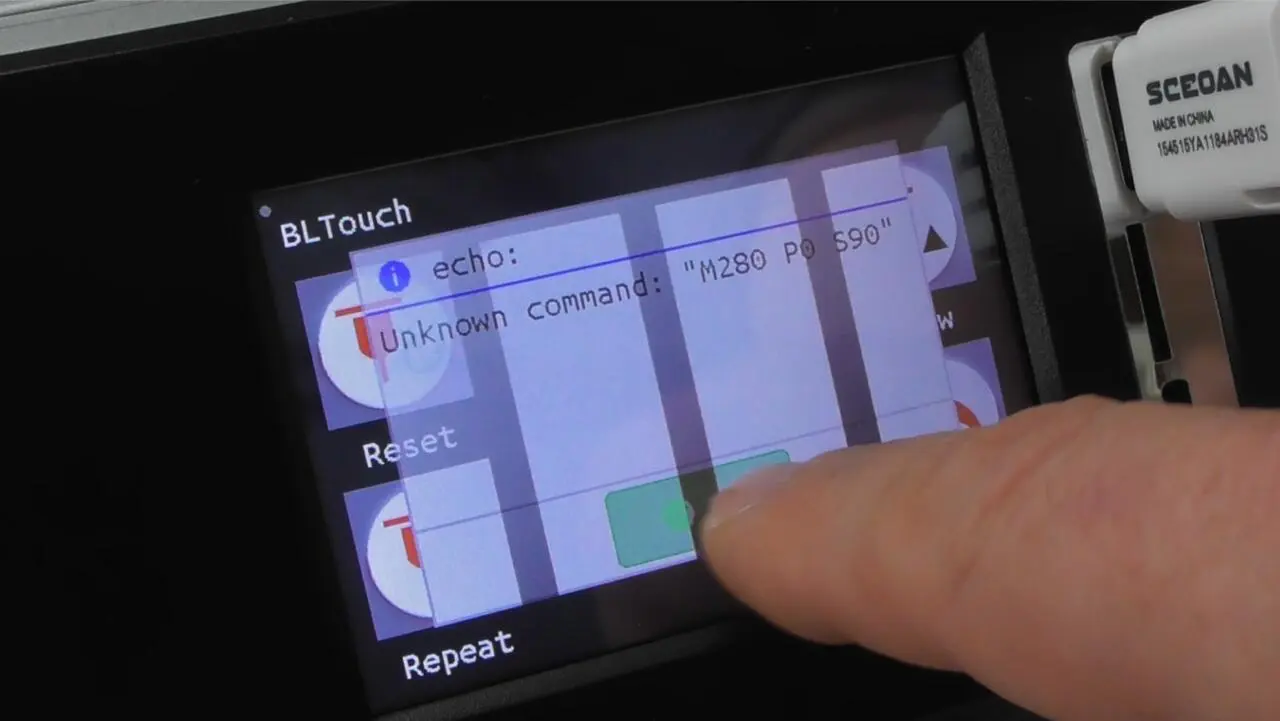
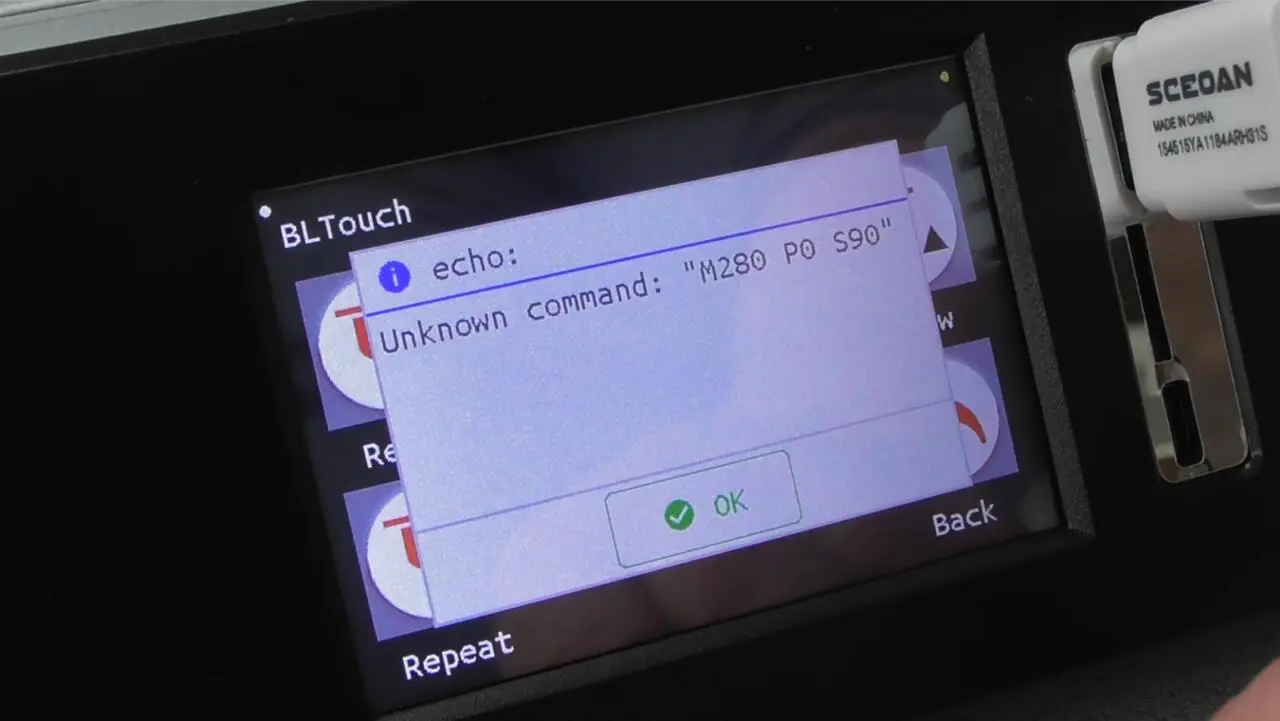
On my very early model, however, I also find setting options that make no sense. These include the RGBW LED lighting setting. I was also able to reproduce the fact that the printer got stuck in the menu when I clicked on „BL-Touch“, so I had to switch the device off.
File manager feed
A print head with an integrated filament sensor is a great thing. The filament is loaded quickly this way. I also really like the ingeniously simple filament holder. There’s nothing to complain about here.
3D printers should print
Well, let’s leave the design and volume aside for a moment. A printer should mainly print well and quickly, right? Can it do that? Absolutely! 🙂
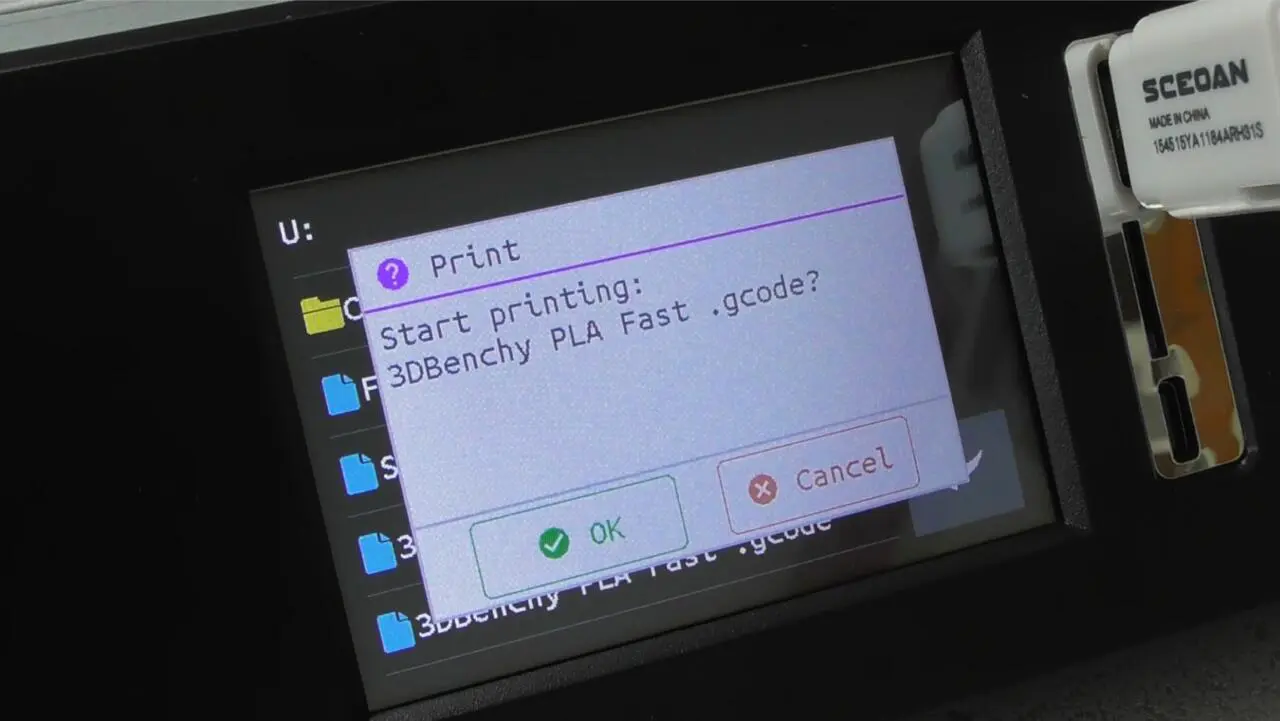
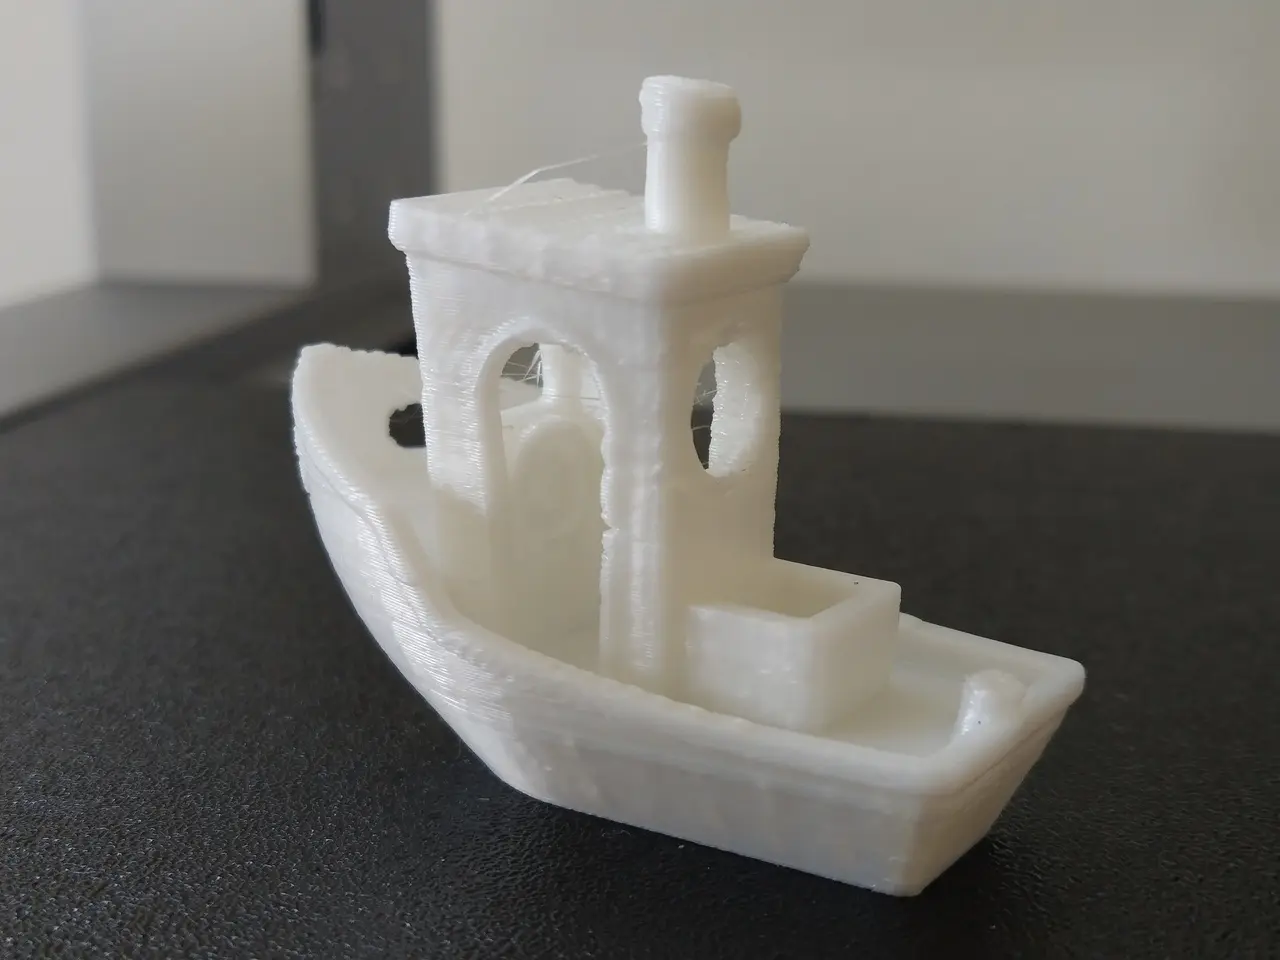
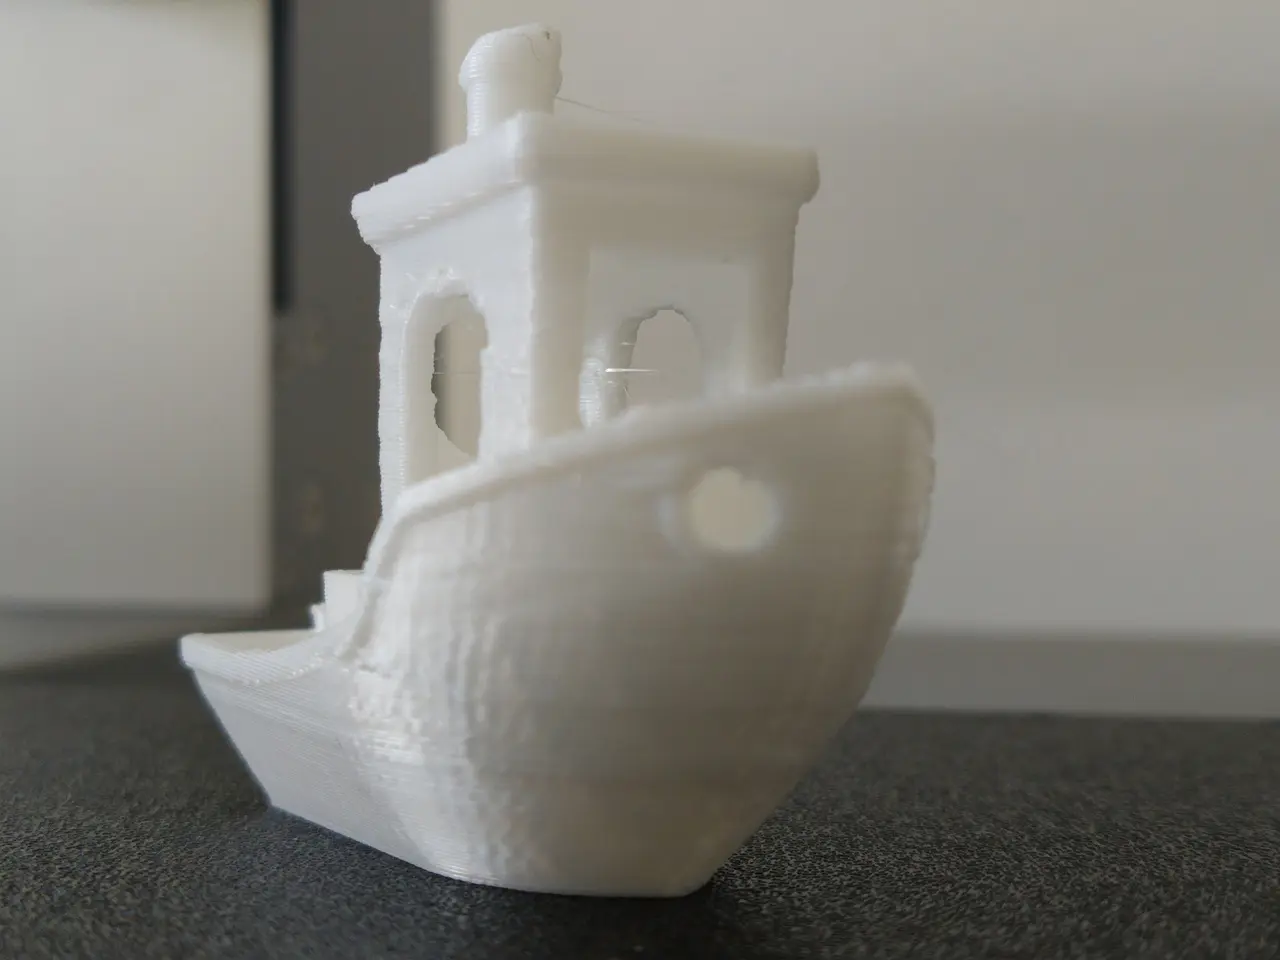
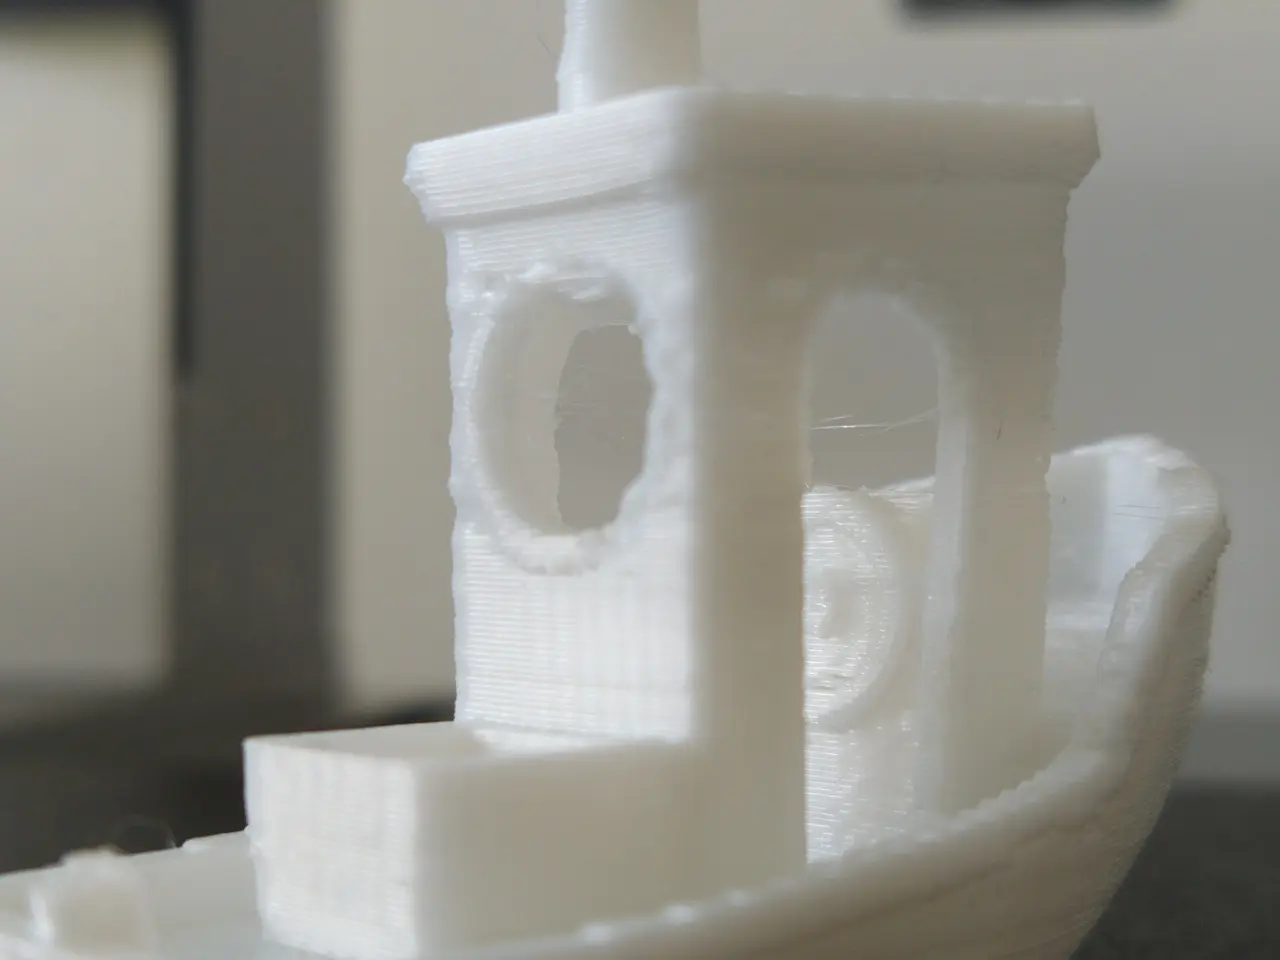
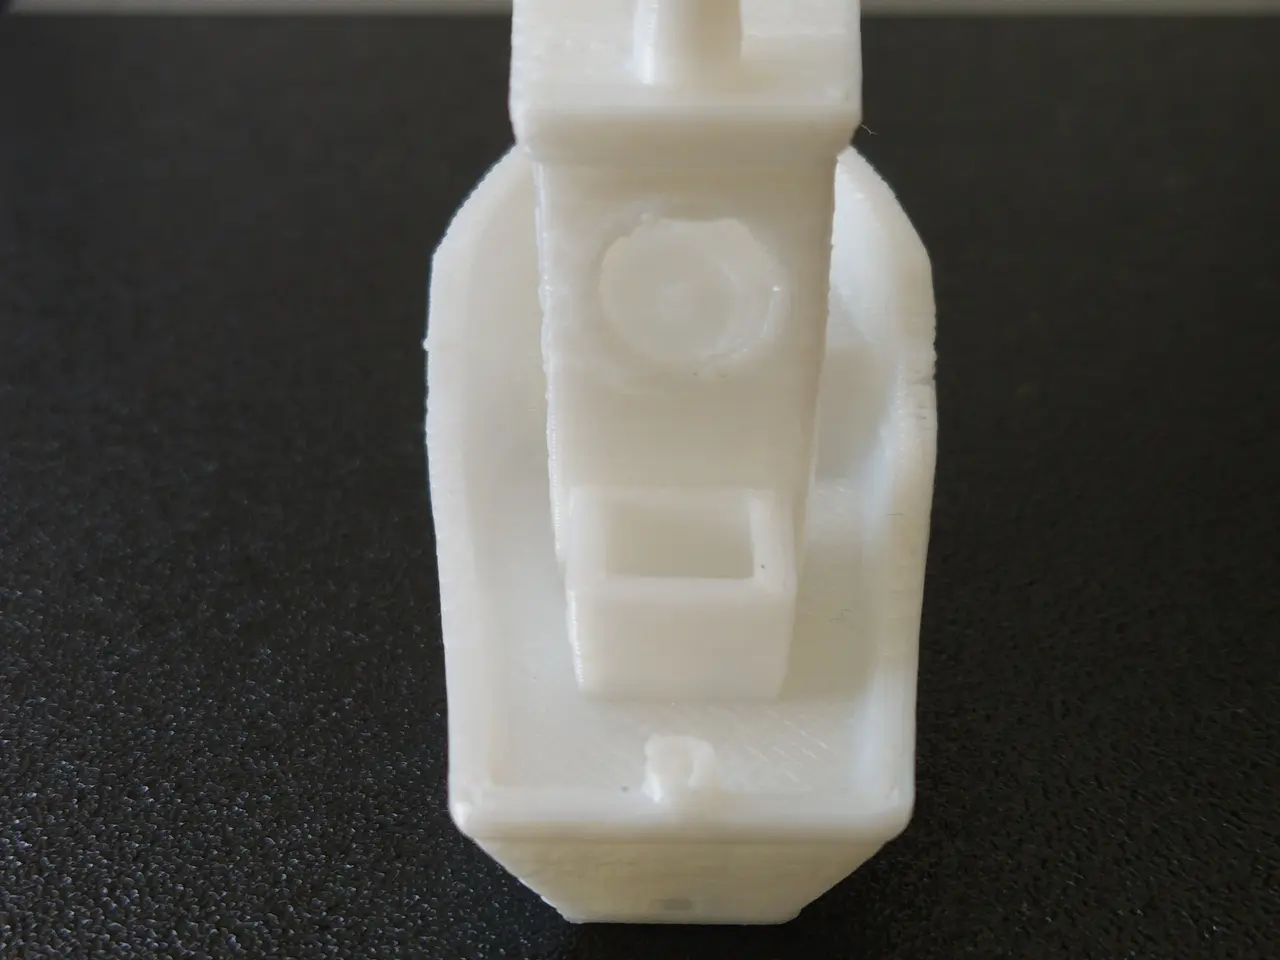
15-minute benchmark
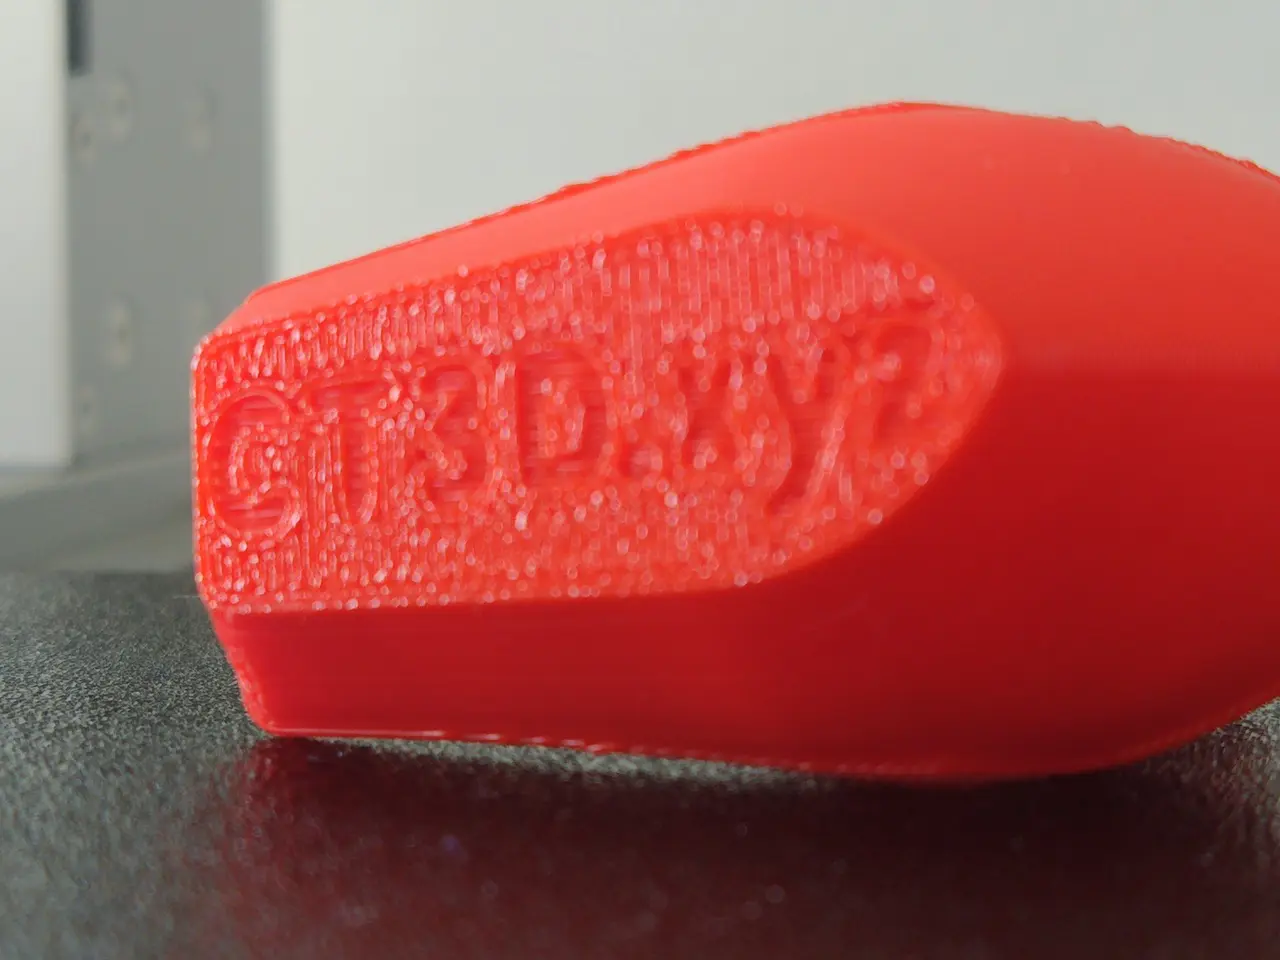
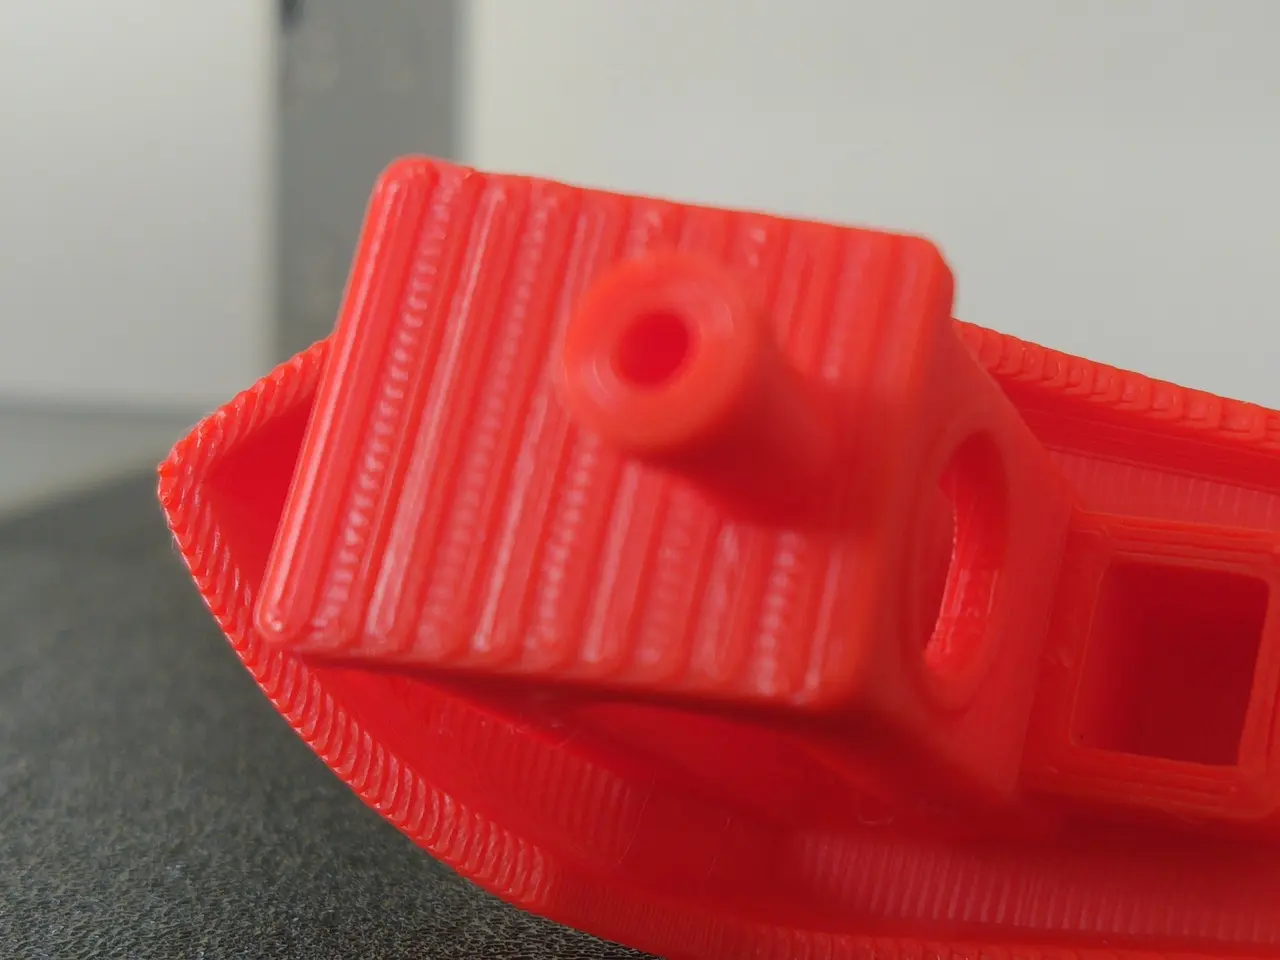
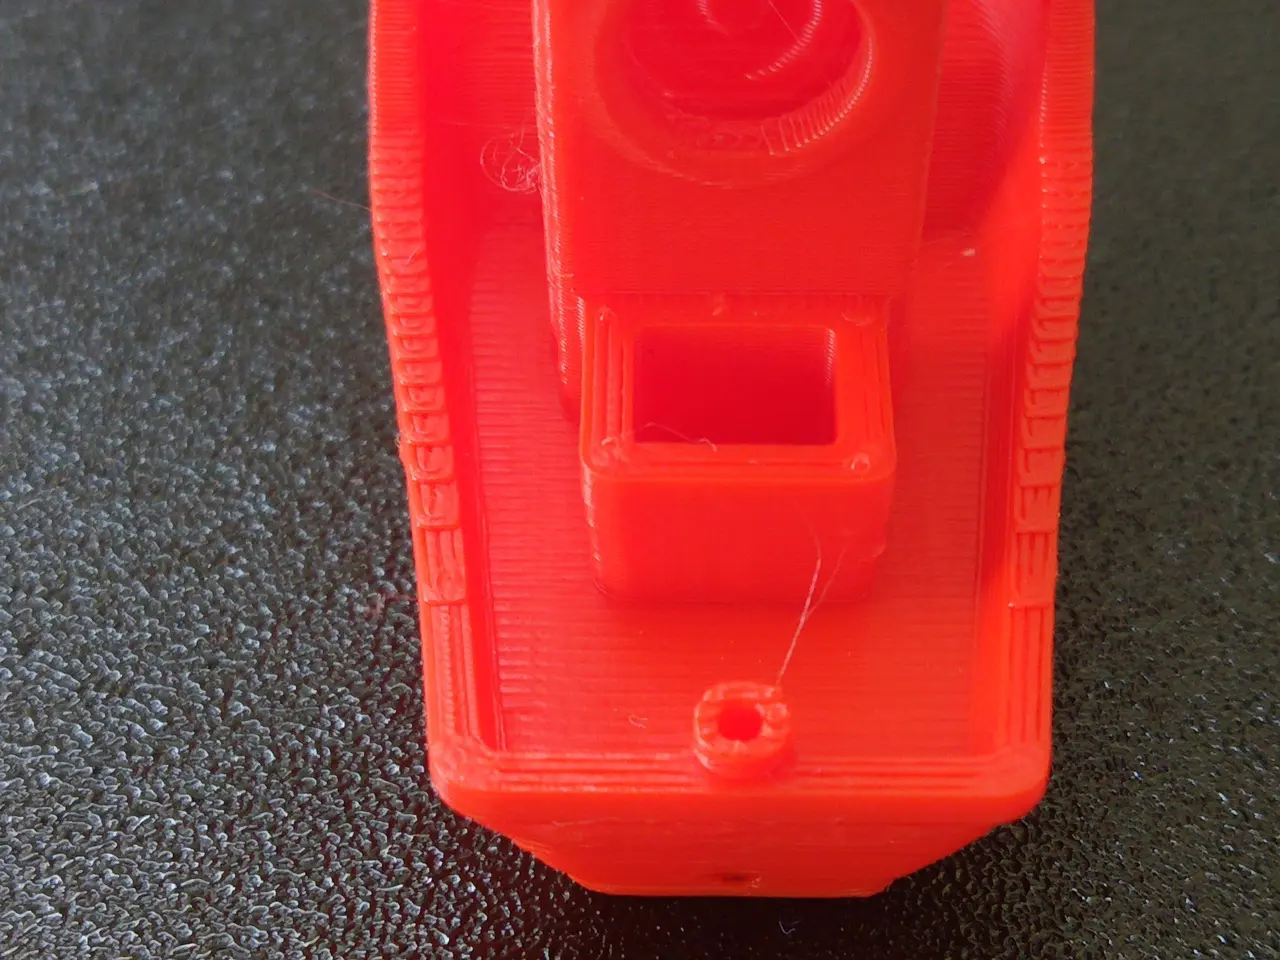
In the extremely fast 15-minute benchmark, however, it fails across the board. The results were printed with the enclosed HS-PLA. Anyone looking to blame the filament is wrong, because the results were even worse with other HS-PLA!
At such high speeds, which would not be possible in reality anyway, the component cooling reaches its limits. The Sceoan does not need a fanduct to guide the air flow. You could print your own remedy and it is to be hoped that Sceoan will soon provide an STL for this.
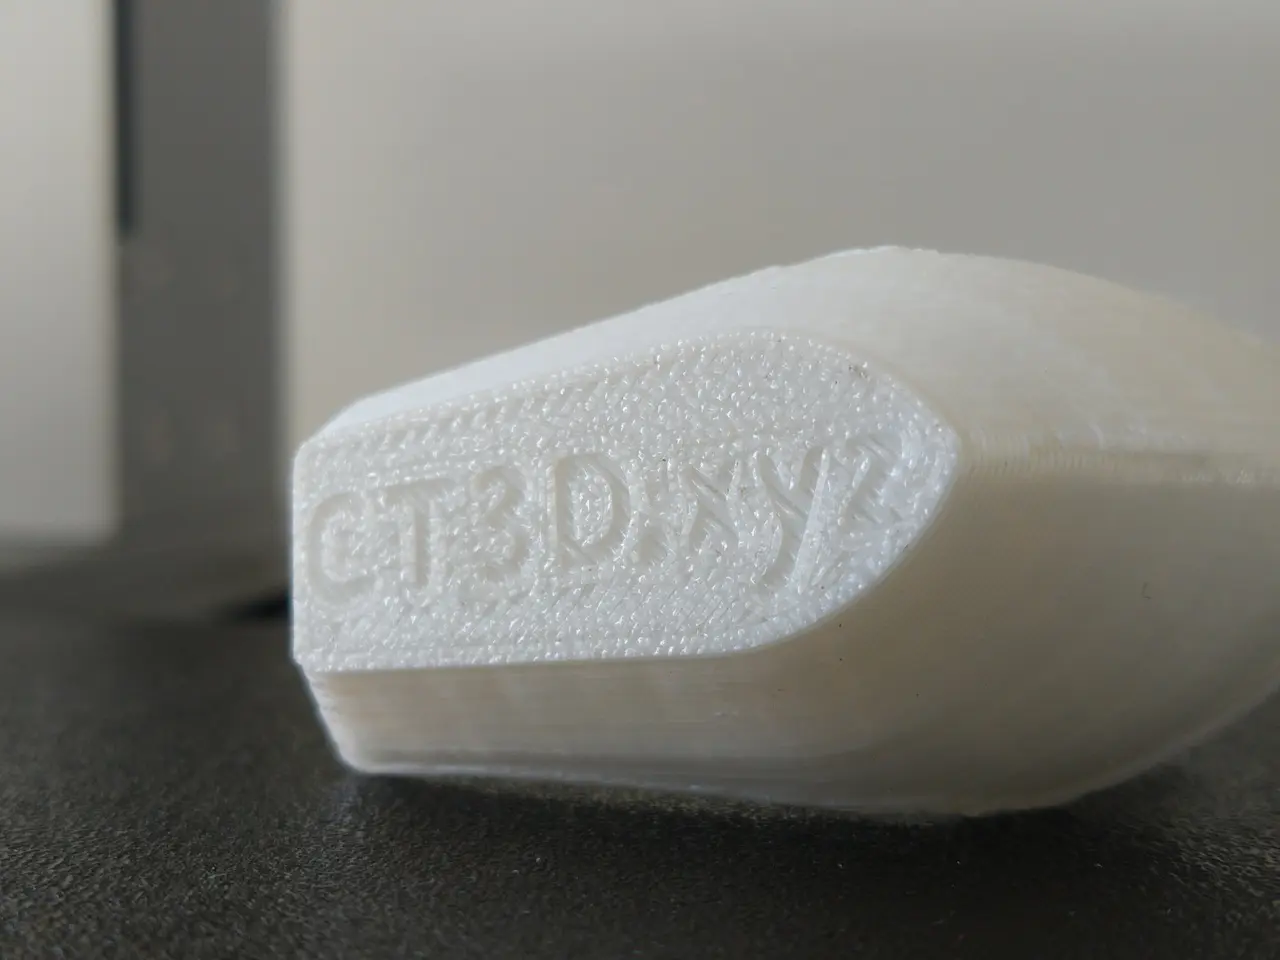
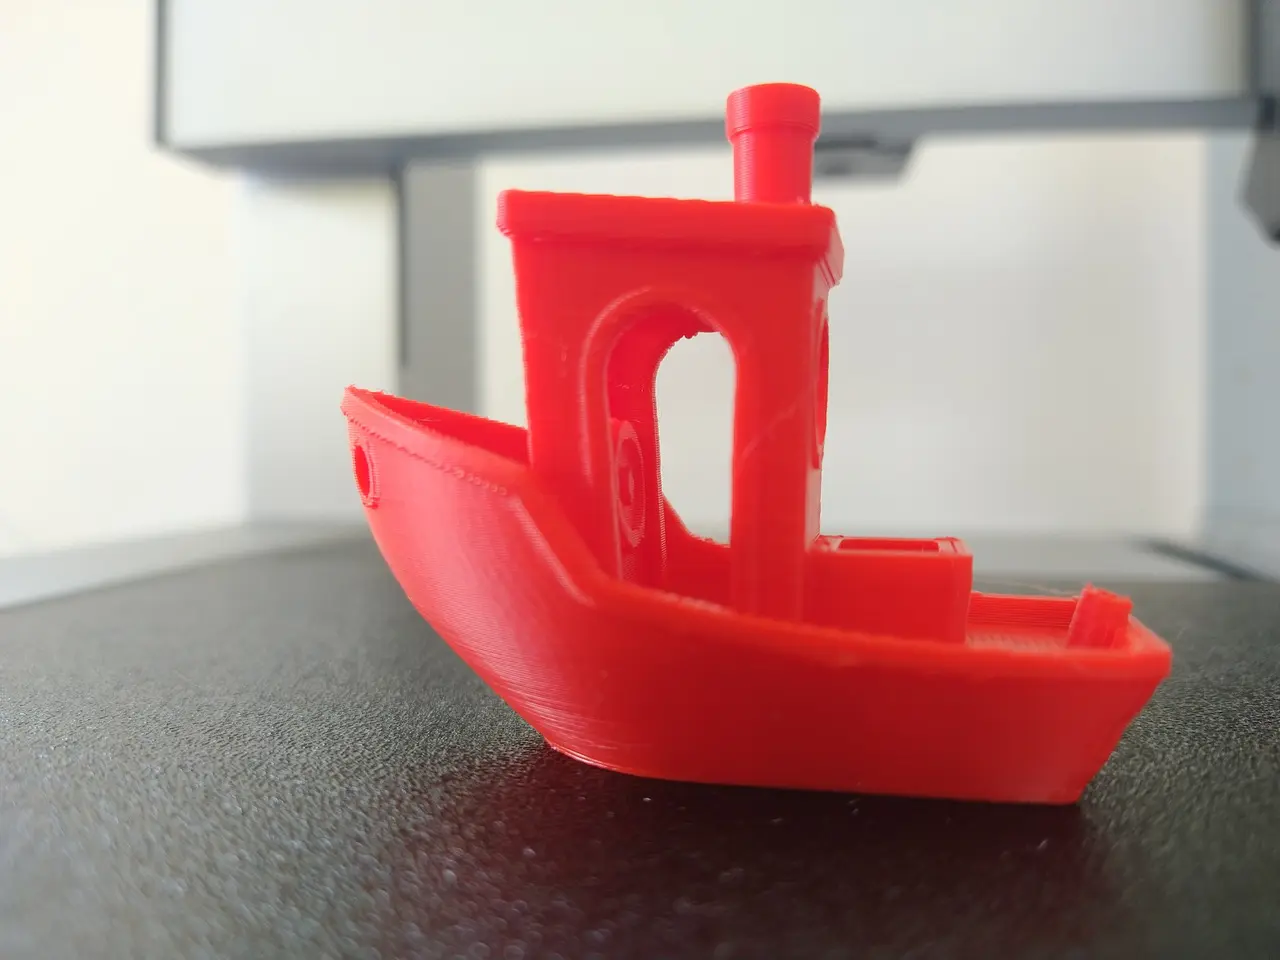
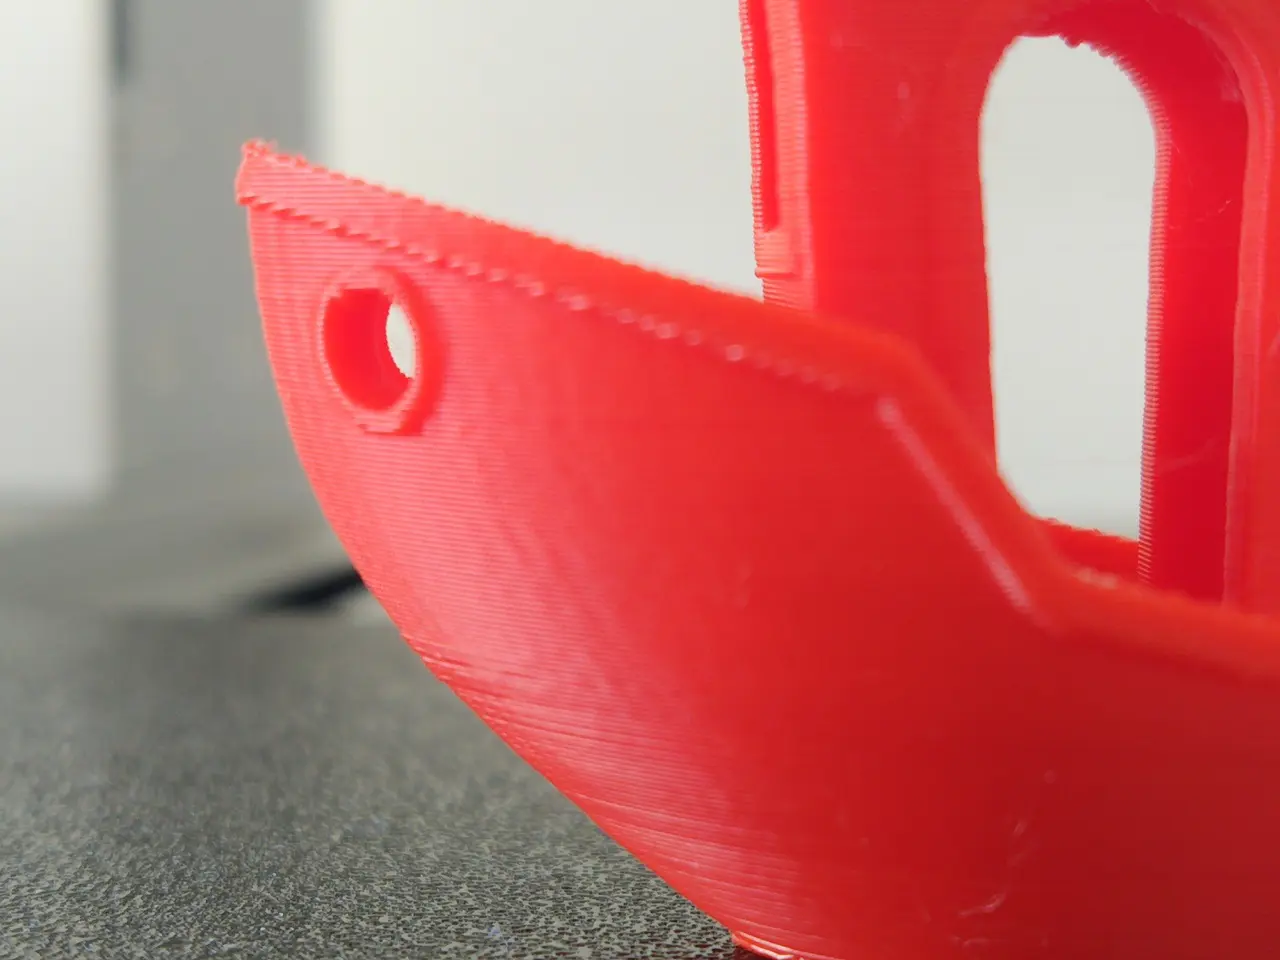
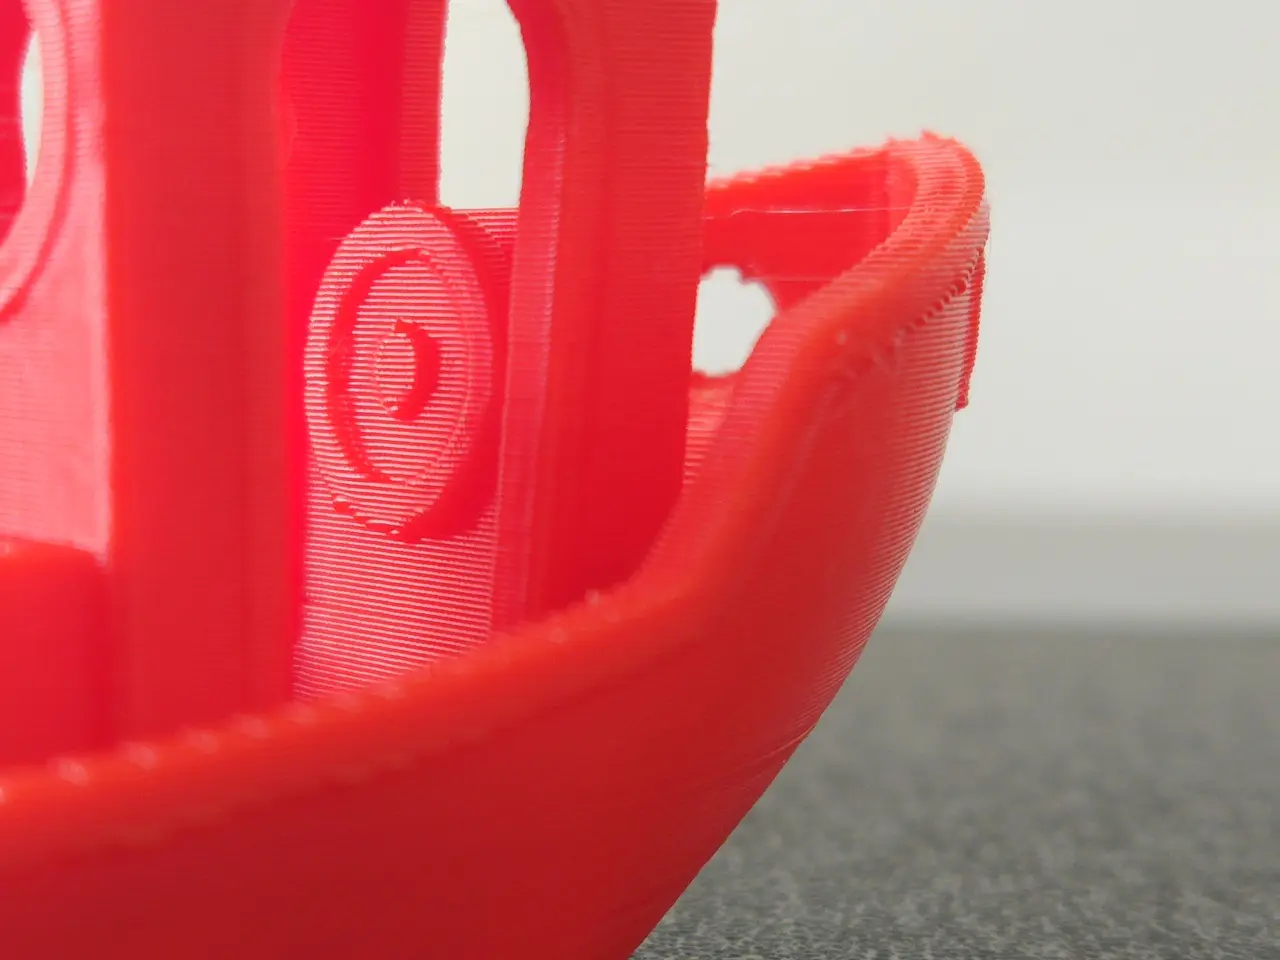
25 minute benchmark
However, this does not mean that the printer is picky about the material. I printed the 25-minute benchmark with normal PLA. The result is convincing:
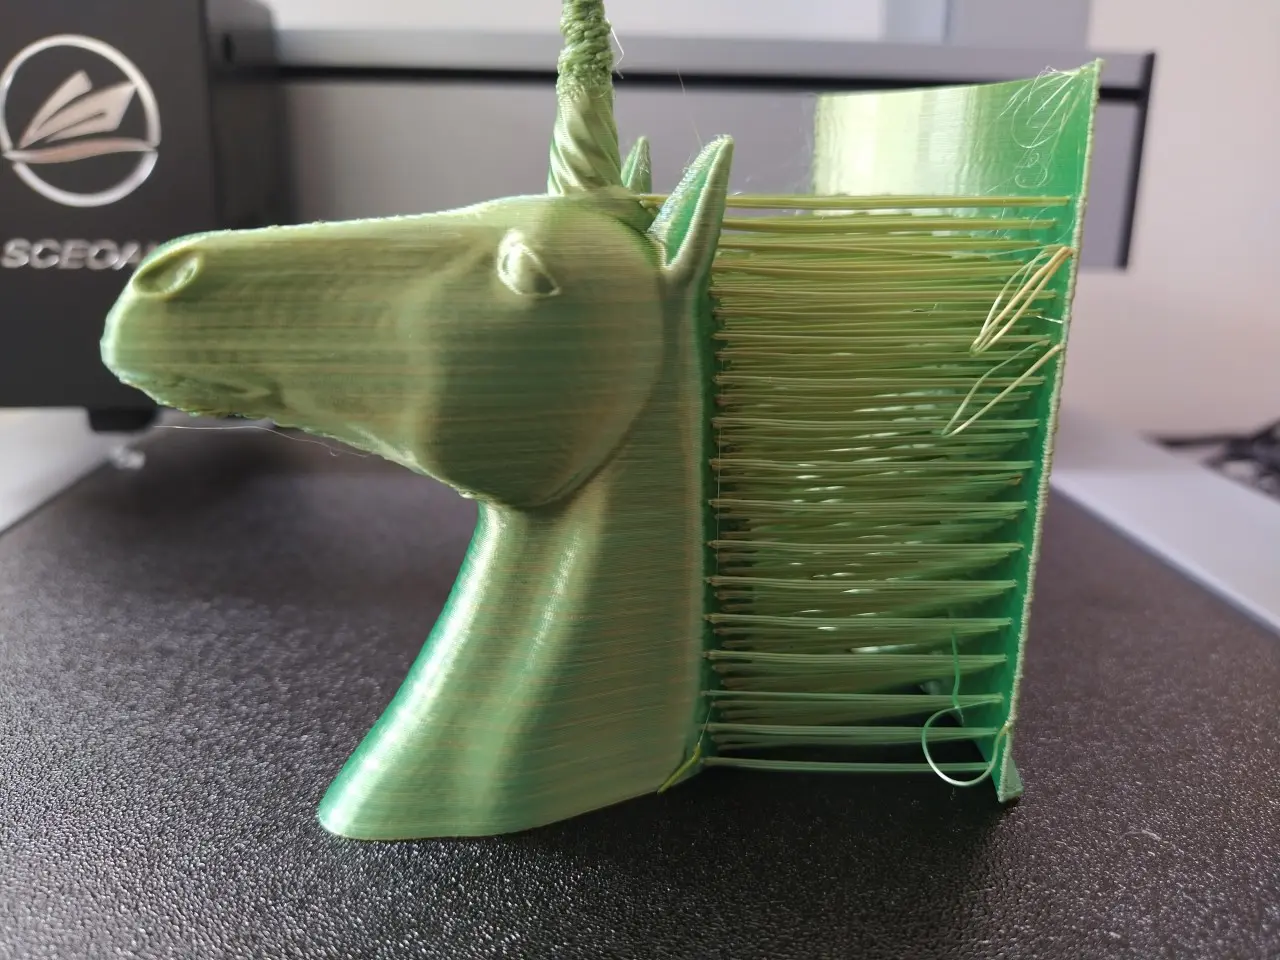
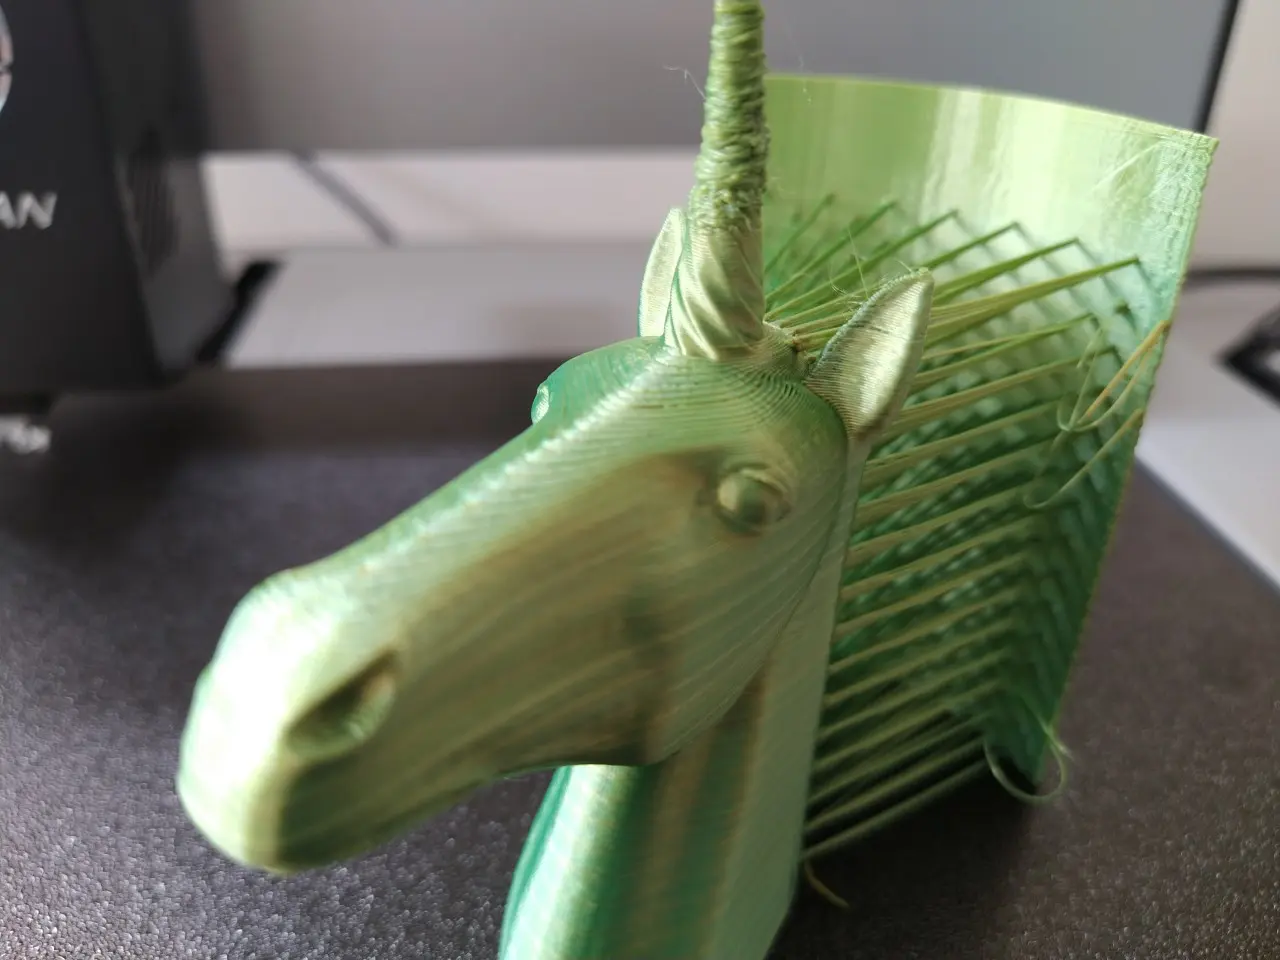
Rüdiger
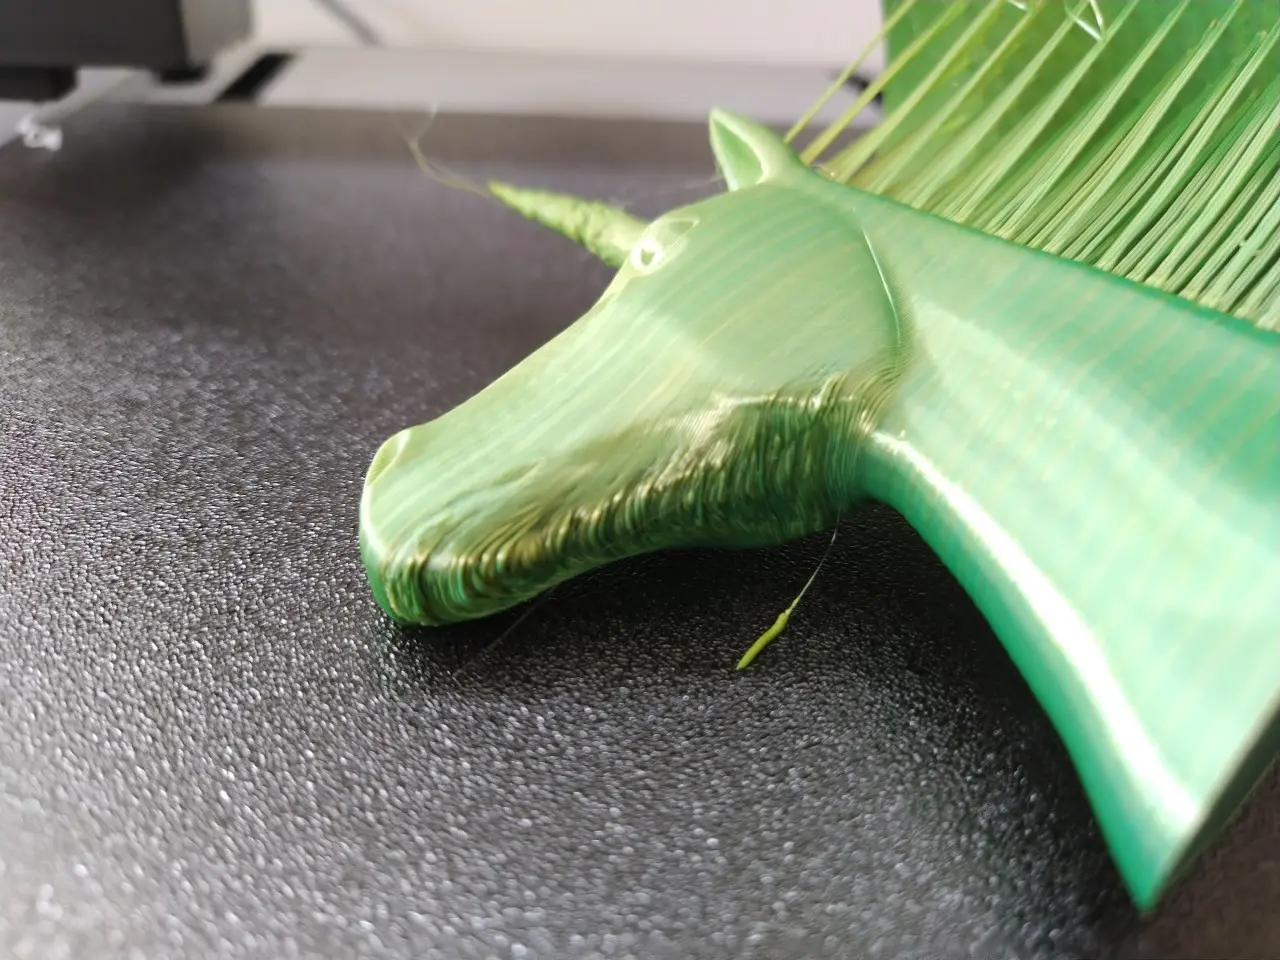
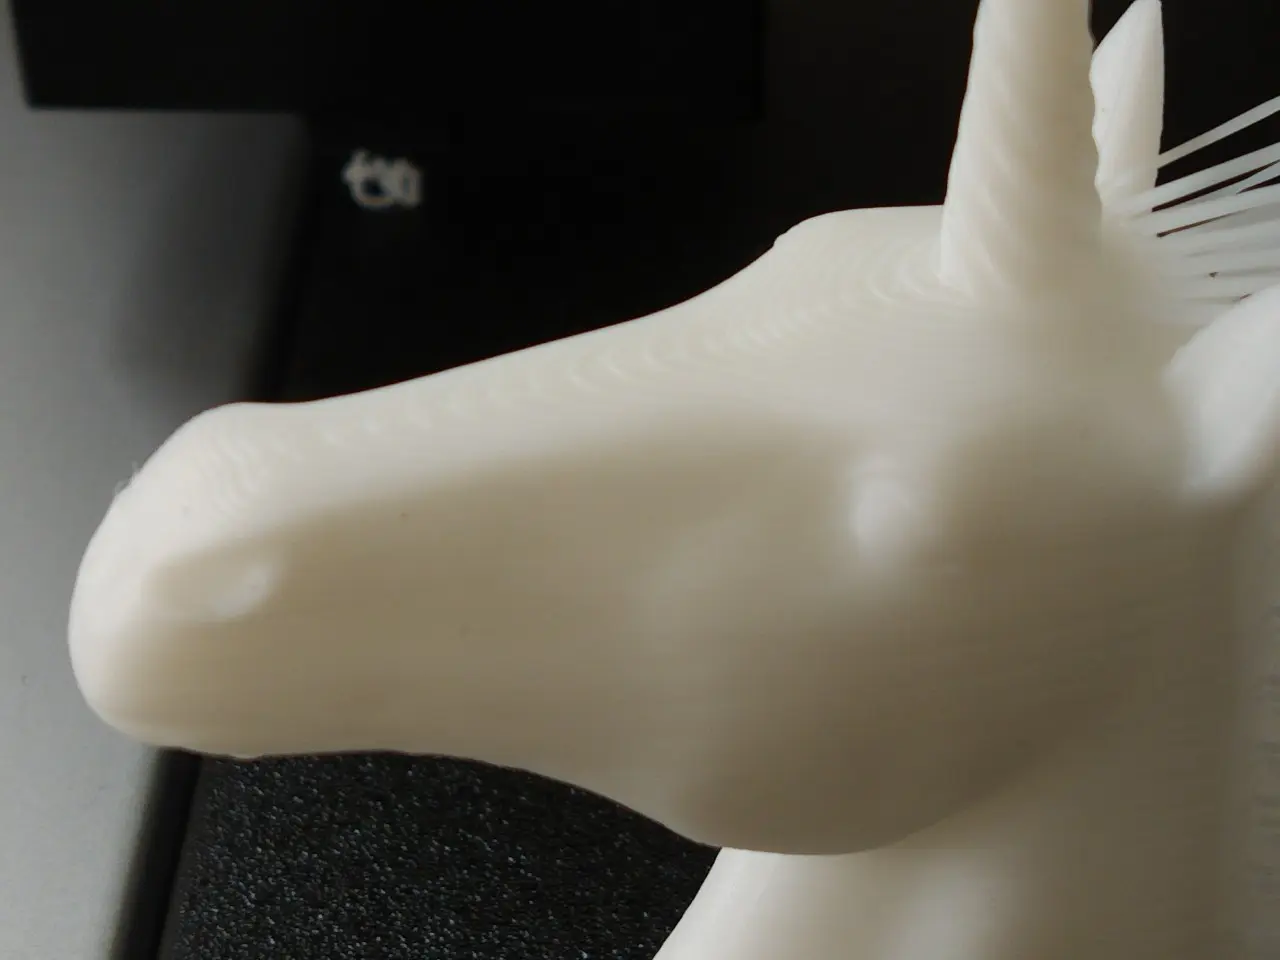
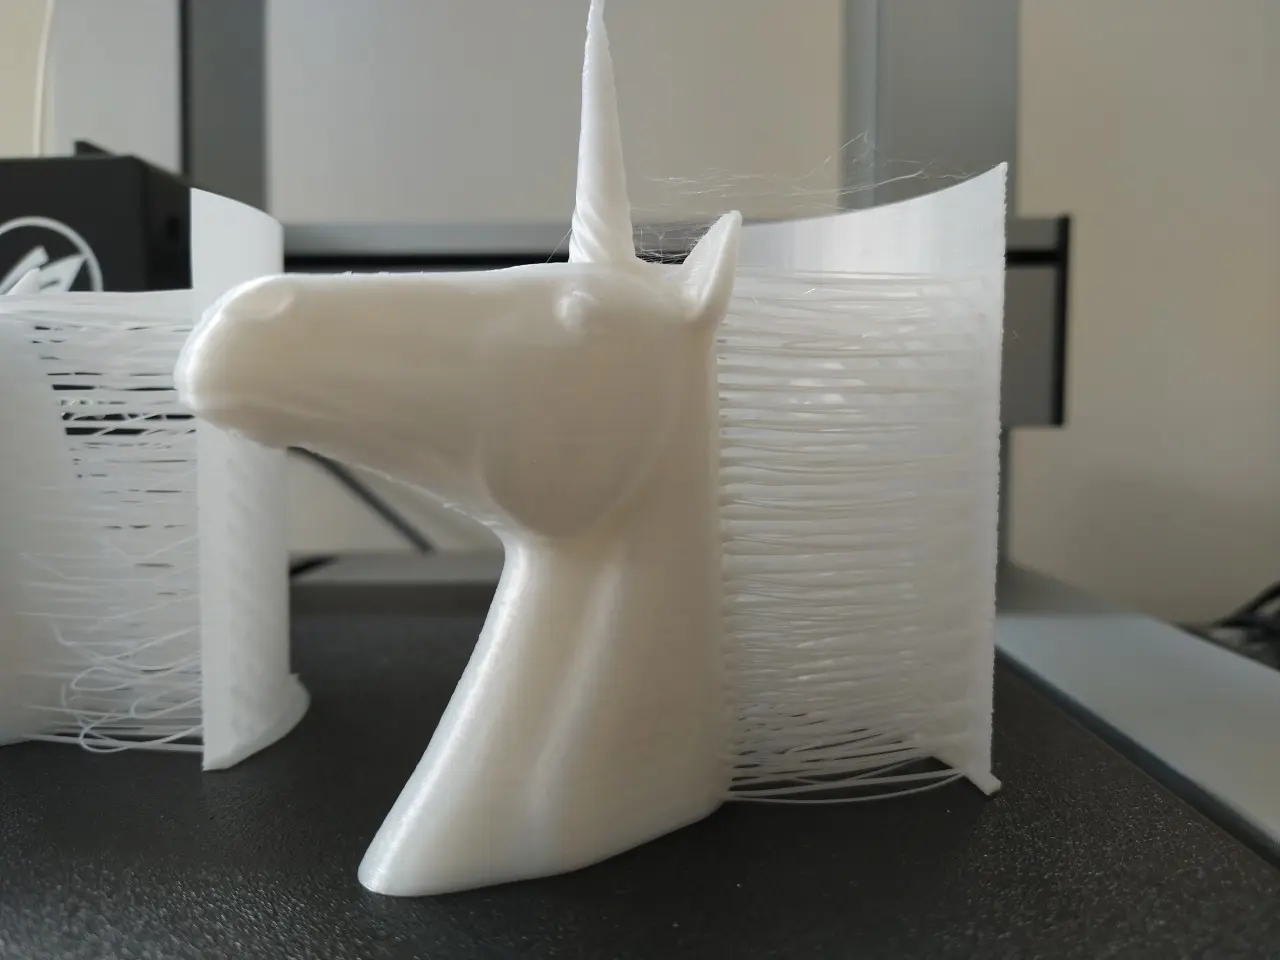
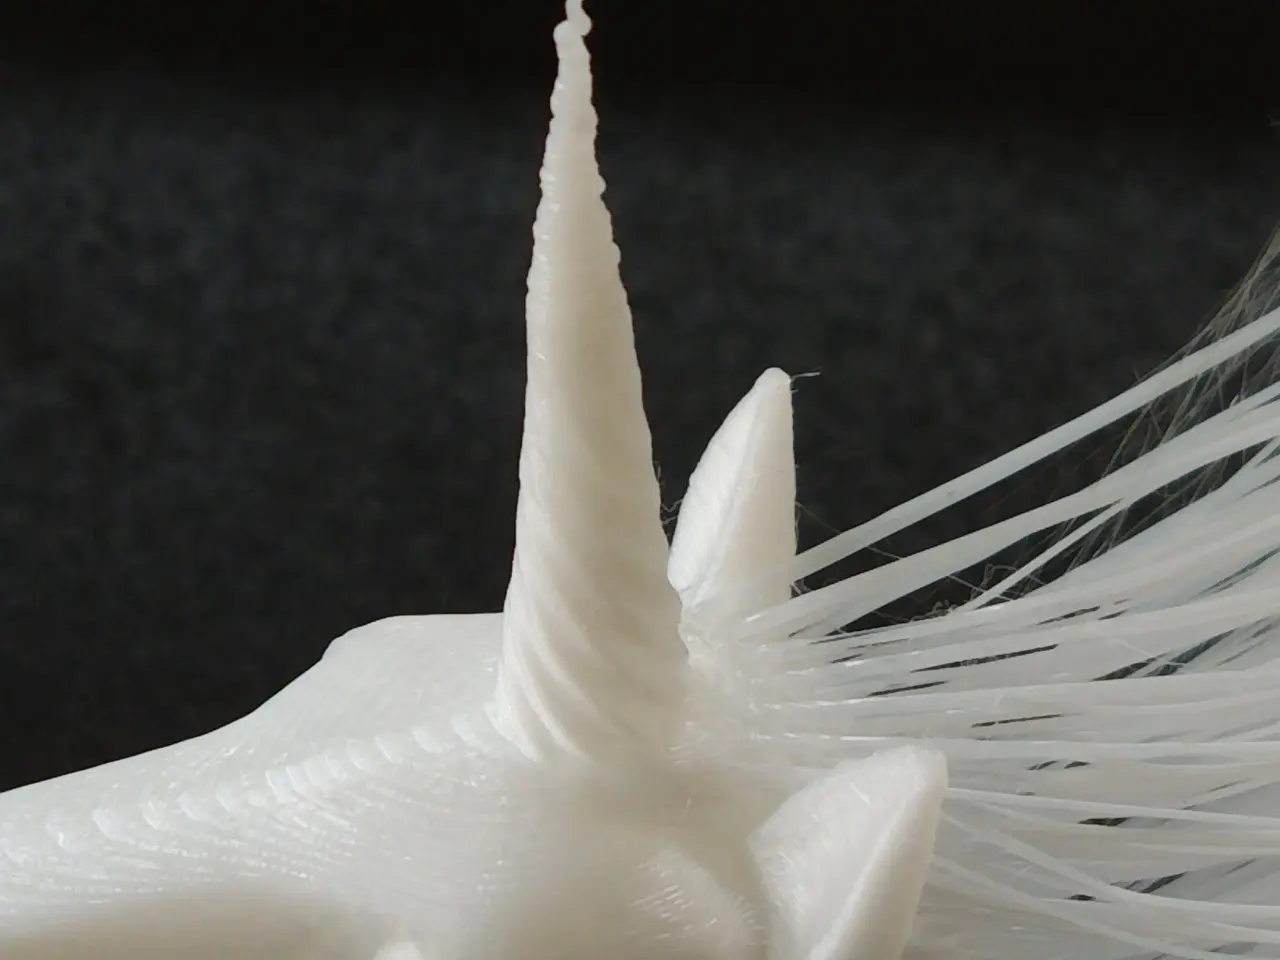
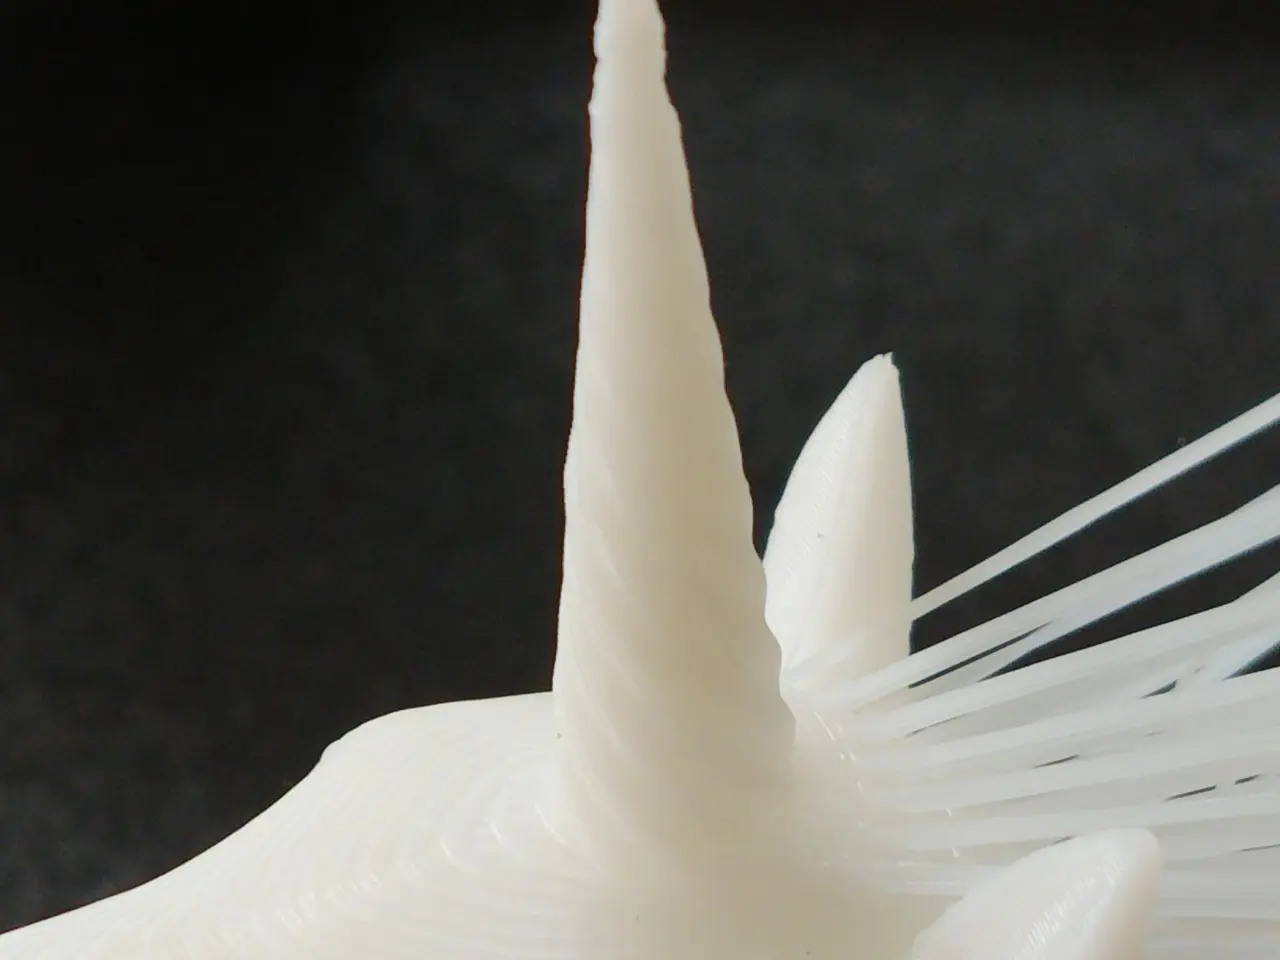
I like to use Rüdiger as my personal benchmark. Rüdiger is actually called „Hairy Unicorn“ and was designed by Geoffro. Here I have many things that are important to me: smooth surfaces and normal and very long overhangs.
Geeetech Silk PLA
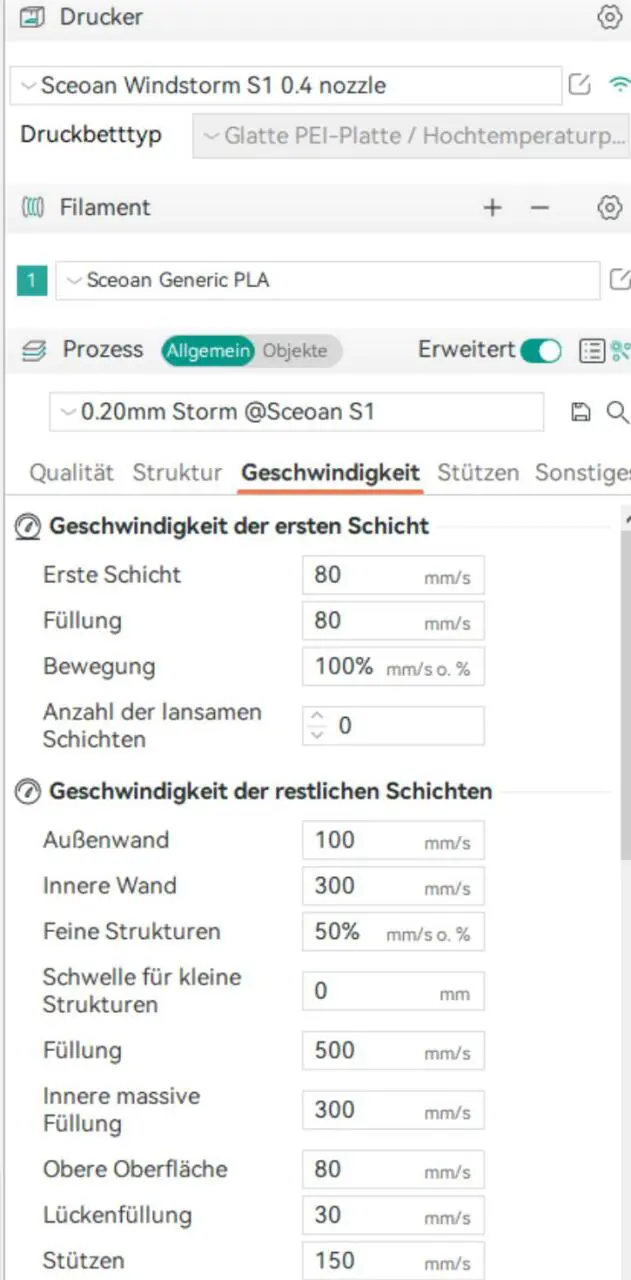
I wanted to find out and printed Rüdiger with the „Storm-PLA“ profile from Sceoan. Printing a Silk PLA with it of all things is more than naive! It could only backfire. But it didn’t! In 55 minutes(!) Rüdiger was finished in astonishing quality!
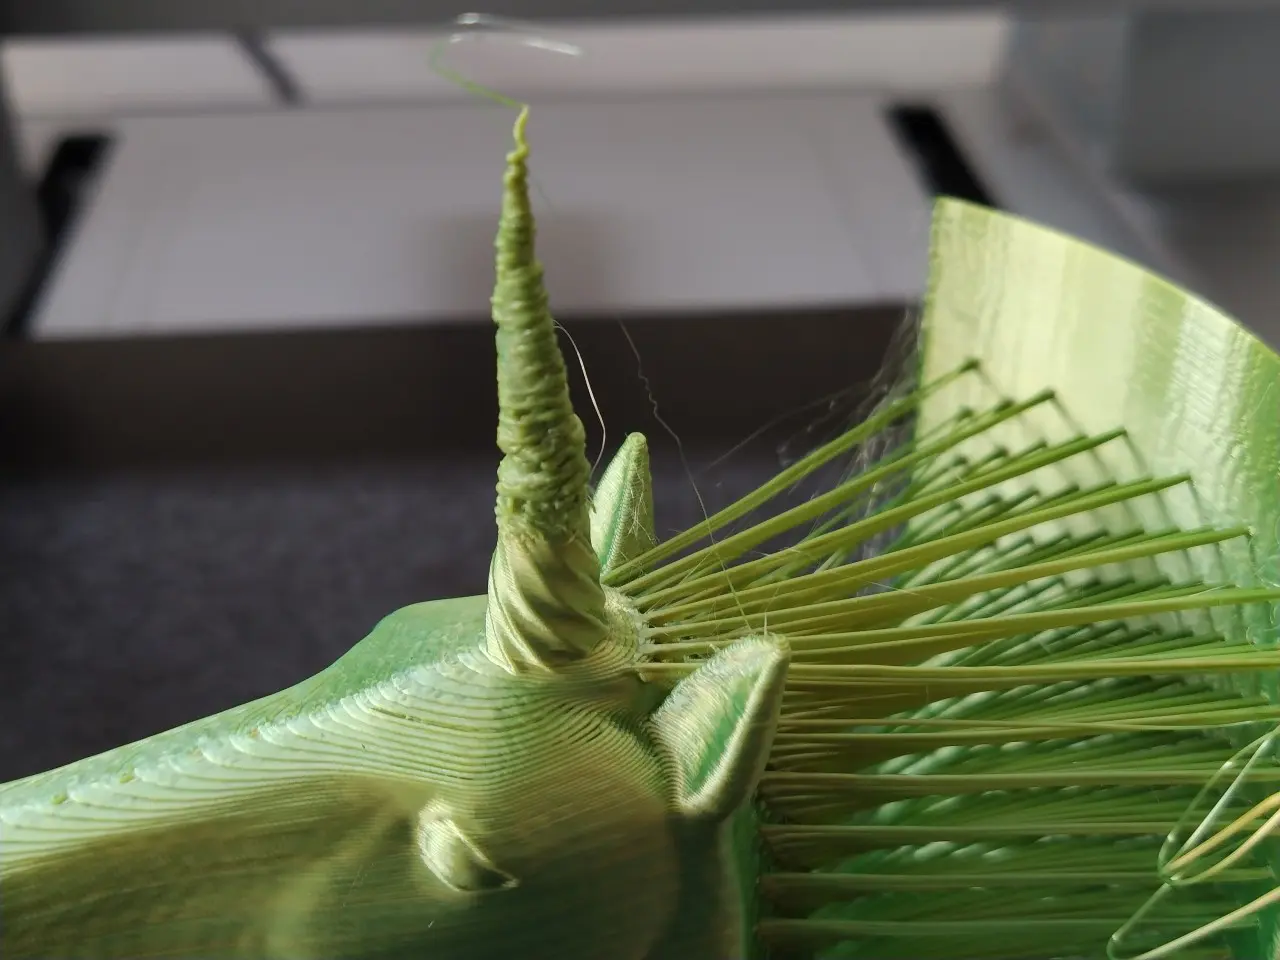
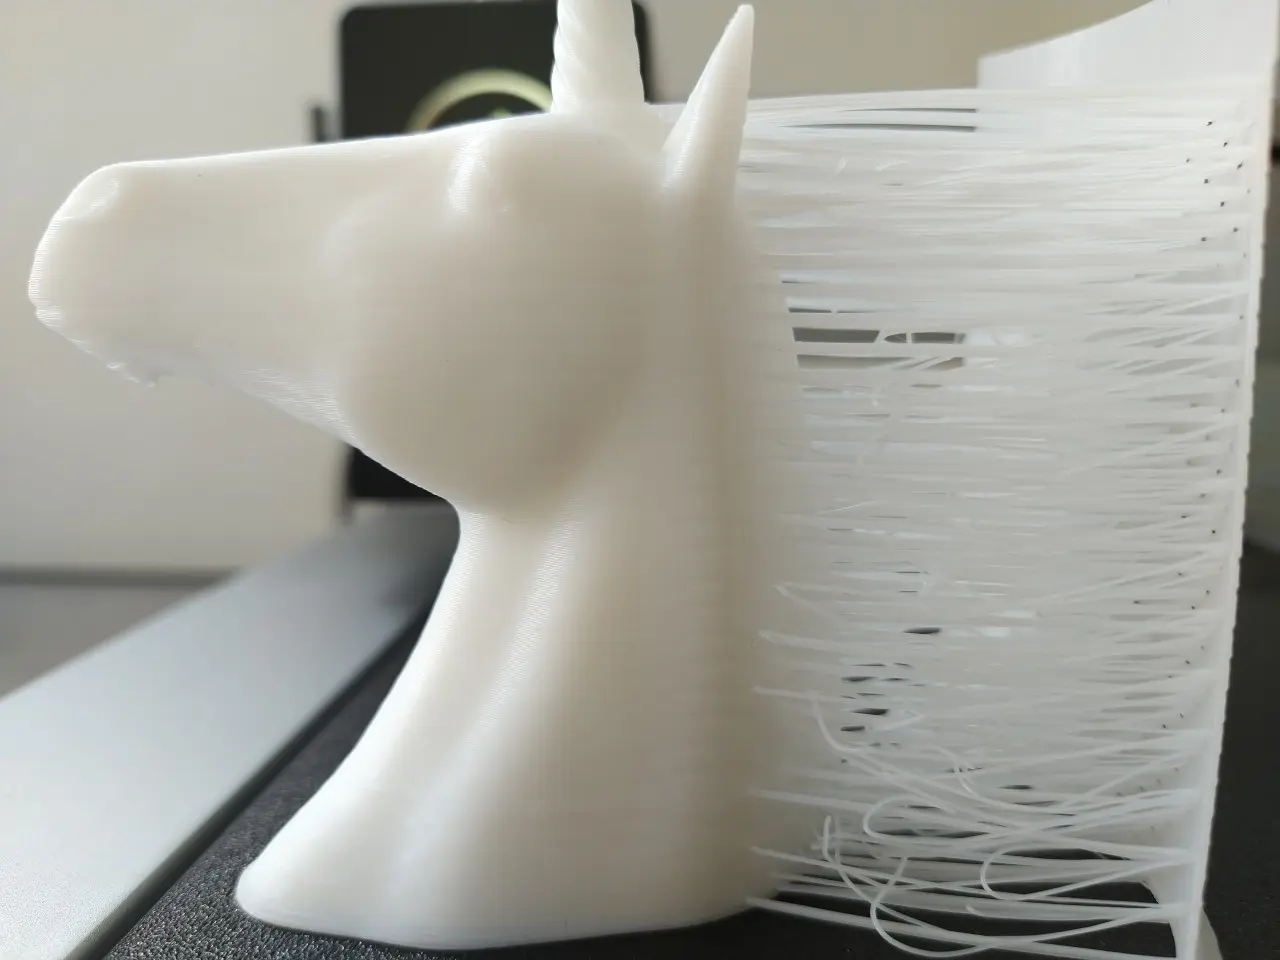
I have seldom received hair of such good quality from a printer – especially at this very high speed. Chapeau, Sceoan!
But: The overhangs on the chin could really be improved. Better guidance of the component ventilation will certainly help here.
The fact that the horn melts was absolutely not to be expected; other printers, such as the X3, have already printed worse at much lower speeds.
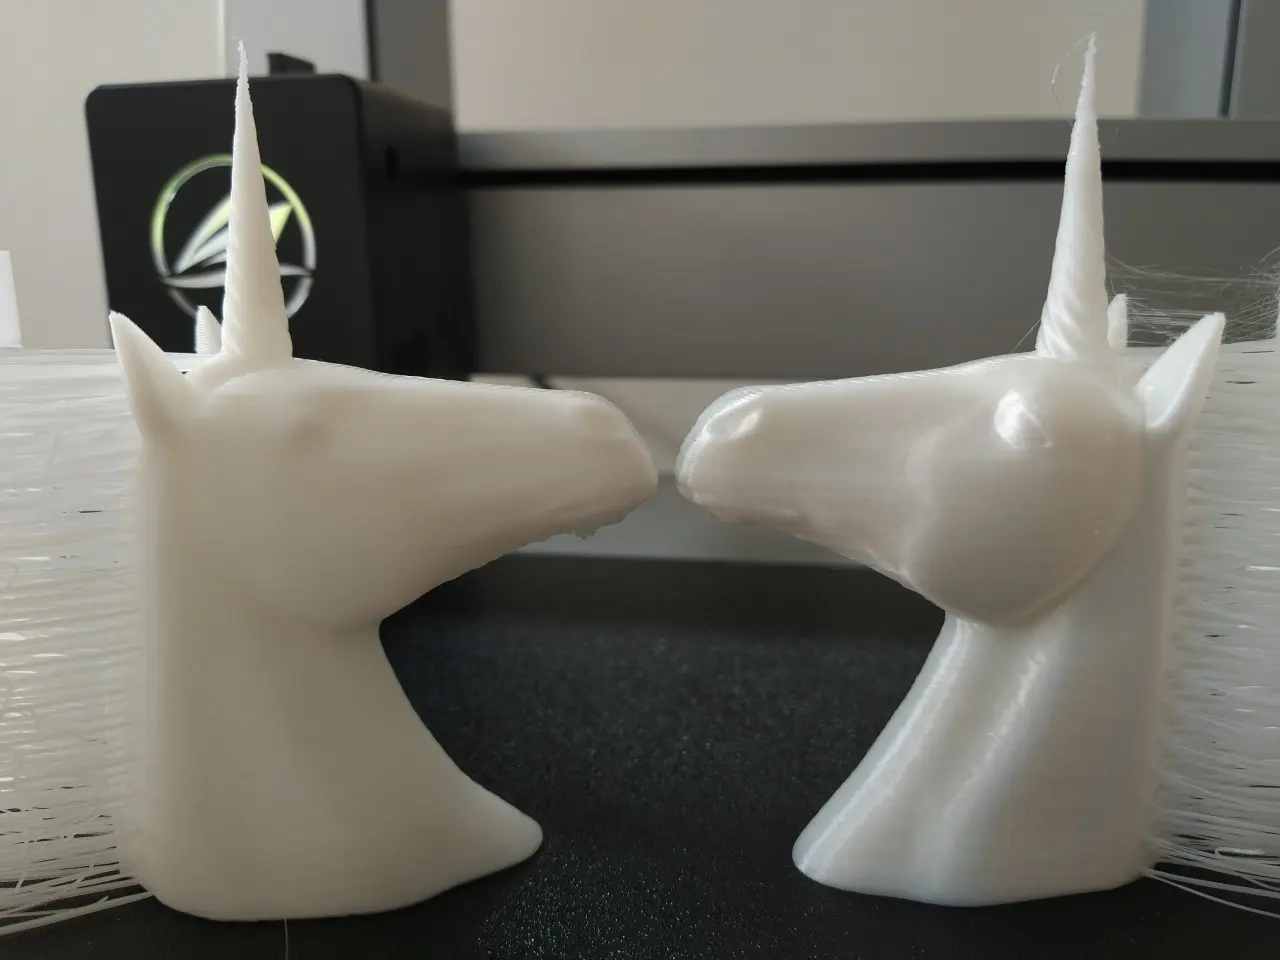
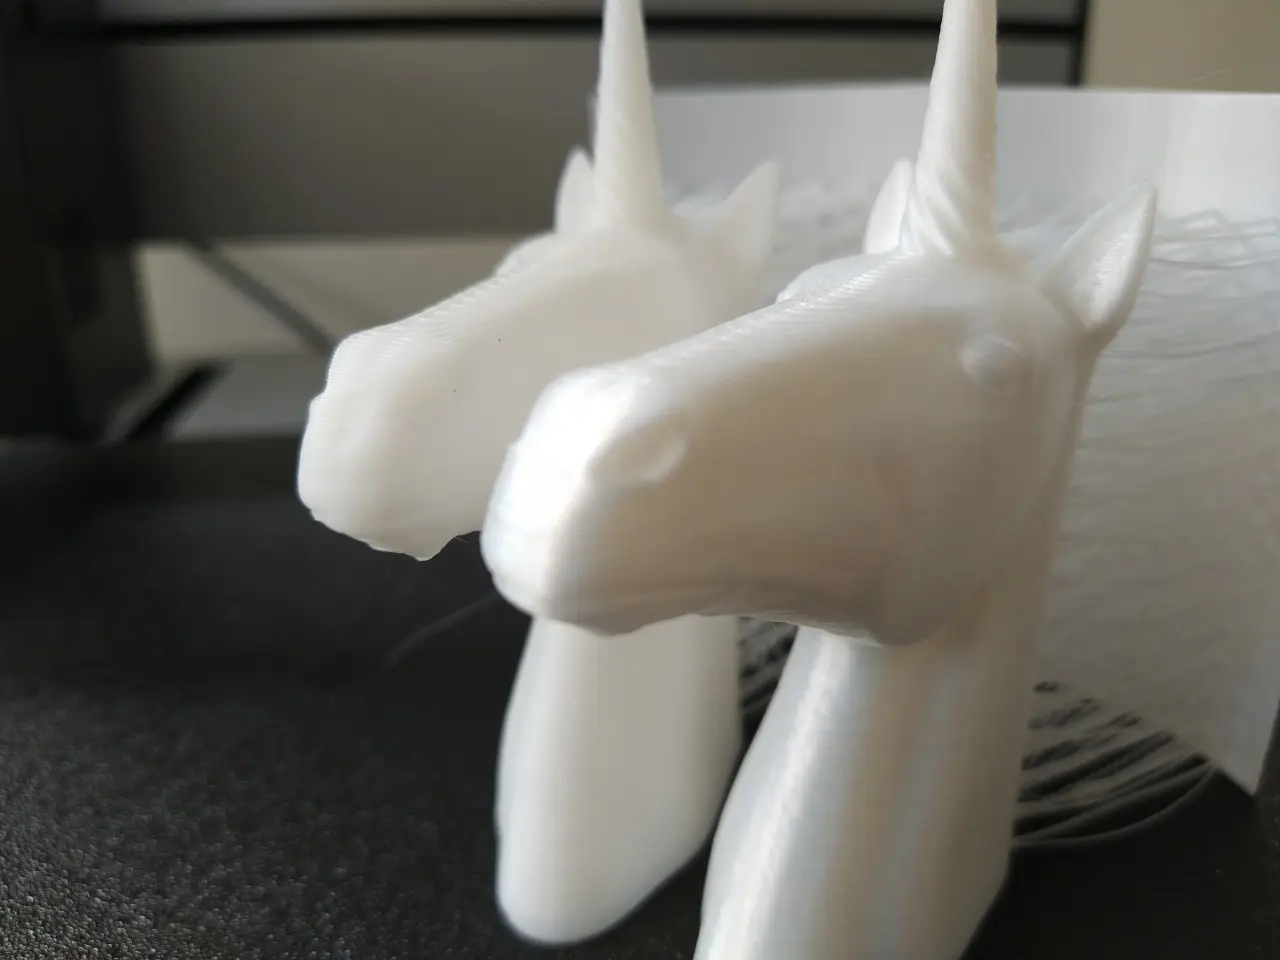
Kingroon PLA vs Sceoan HS-PLA
I told you that the printer is not picky! I tested the cheap PLA from Kingroon against the high-speed PLA from Sceoan. Of course, the Kingroon is a whole lot worse, especially for the hair, but both prints only took just over 50 minutes, which is a record for Rüdiger anyway.
Great, I’m very pleased with the results!
But why didn’t I print Rüdiger in 0.1 mm? Because it took too long and the printer was simply too loud for me.
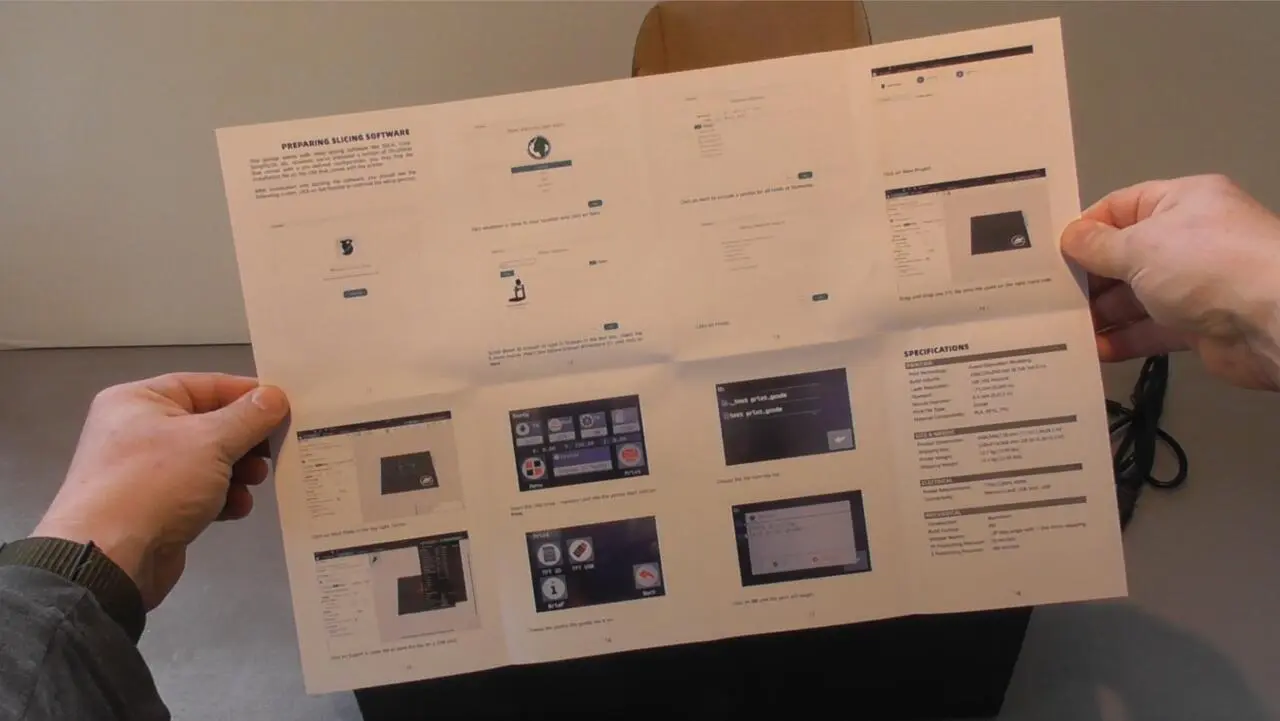
Software equipment
Every self-respecting manufacturer has customised one of the usual slicers such as Cura or Orca, in some cases massively… customised. I think that’s terrible! I want to be able to use a standard slicer like Cura or Orca. Without having to copy profiles! I don’t want to get used to it. I hate having to have umpteen slicers on the system.
Sceoan has no such ambitions! They provide profiles for Cura that you can use under macOS, Linux and Windows and a Windows version of Orca from which you can export the profiles for Linux and macOS if necessary. That’s how it should always be! Thank you, Sceoan! That’s a neat thing!
Power consumption
Measured with a Gosund WLAN smart plug at 20 degrees room temperature. Approximate values are average values.
Unfortunately, the power consumption is comparatively high:
- Idle mode: approx. 10 watts
- Warm-up phase: max. 260 watts
- Fast benchy: approx. 200 watts
- PLA, 210 degree nozzle, 60 degree bed, 60 mm/s: approx. 200 watts
- PLA, 210 degree nozzle, 60 degree bed, 300 mm/s: approx. 255 watts
Presumably, for design reasons, no modern insulation of the print bed was used, because I can’t explain these values any other way.
An hour of printing with PLA, which most users will use, costs around 6 centsperkilowatthour at 30 cents, according to Adam Riese. My other printers require around 4.5 to 5 cents of electricity per hour of printing.
Support
The first product from a Chinese company. You’re sceptical at first. You always read so much about problems with this new-fangled devil stuff, these 3D printers. 🙂 It’s good to know that Sceoan lists the German company 3D-Partner as a support partner on its website.
Conclusion
Let’s come to the conclusion. As with all my tests, I try to be objective despite my enthusiasm and the free trial provided by Geekbuying. I’ll start with the negative points I noticed.
Cons
What don’t I like about the Sceoan?
- much too loud
- no WLAN
- Component ventilation needs to be improved
- PEI plate has no guides
- poor maintainability
- increased power consumption
Should I mention the high price? This is due to the materials used and the complex assembly in the factory. An Apple device also has a higher price due to the design and materials. That’s just the way it is.
Pro
What do I like about the Sceoan?
- genuine German support
- Design
- simple construction
- high-quality materials
- flat print bed
- modular structure
- low space requirement
- very torsion-resistant frame
- high weight
- good stability
- insensitive to fingerprints and dust
- easy to use
- good screen
- fast boot process
- profiles supplied for Cura
- Orca slicer with good profiles
Target group
The Sceoan Windstorm S1 is aimed at beginners and advanced smelters who appreciate high-quality materials, good design and simple operation. However, they should also be noise-resistant or have the will to replace the fans themselves.
My opinion
I really like the design and the materials. I am also satisfied with the print results. I’m going to replace the fans and install a Raspberry Pi with Octoprint in the printer’s cassette.
At last I have a printer with a cable that I don’t constantly run the risk of getting caught on, or that pulls something along with it during operation. There’s no print bed hitting things I’ve put down on my desk. In terms of ease of use, this is more or less a core XY printer. It’s the little things that you only appreciate once you’ve experienced them.
There is no such thing as the perfect device anyway, but if Sceoan puts a little bit of effort into the hardware and software, they have achieved a great success with a lot of potential. Especially for a company’s first printer.
Buy now
You can currently buy the Sceoan Windstorm S1 from Geekbuying for EUR 419 including shipping from Germany.