Inhalt: [-]
Today I finally managed to get the Anycubic i3 Mega „klipped“ to measure the bed properly. The glass top is anything but level. And not even evenly uneven. Like a floodplain landscape. Really bad. But Klipper takes care of that.
Klipper installation
I still had an old Raspberry 2 lying around here. That’s more than enough for Klipper. With the Raspberry Pi Imager, Klipper is quickly copied to an SD card.
Select OS —>
Other specific-purpose OS —>
3D printing —>
Mainsail OS
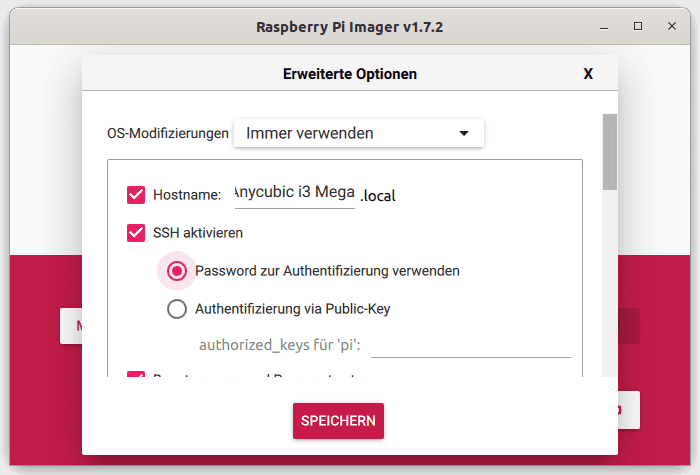
Now click on the cogwheel symbol and set the basic settings for the Raspi.
You can set everything here, from the device name to the account to setting up the WLAN access and, above all, the SSH access, so that you do not have to connect a monitor and keyboard to the Raspi, but can log in via SSH over the LAN or WLAN.
Save, select the target SD card and have the image written.
Flashing
Connect the Any to the Raspi using a USB cable. Insert the SD card into the Raspi and connect it to the power supply.
Once the Raspi has booted, you can access it via the network. You can find the IP address in your WLAN router (Fritzbox, home network, clients) or search the network with Angry IP Scan.
The MAC manufacturer is Raspberry Pi Foundation and we can already see the network name „Anycubici3Mega.local“ here. We memorise the IP address, open the terminal (under Windws you still need Putty) and enter „ssh PI.8617437764191.2911743776419@ip1743776419 „Deines-Raspi“:
Of course, enter the login name of your Pi and the IP here. You will be asked for the password, please enter this.
When the system asks whether the remote computer with the Laberrhabarber fingerprint should be trusted, please enter „Yes“.
Create firmware
Now enter the following: „cd klipper“ and in this directory: „make menuconfig“.
cd klipper
make menuconfig
This window opens, in which everything should already be preset:
- Atmega AVR
- Atmega2560
- 16MHz
- UART0
- Baud rate 250000
Q like Quit and enter „make“ in the command line
make
The Raspberry starts to work and creates the firmware for the Anycubic i3 Mega.
It has the name „klipper.elf.hex“.
Copy files
We connect to the Raspberry via SFTP:
Under Ubuntu, this is done via Files, other locations. Enter „sftp://192.168.141.63/“ in the field and click on Connect.
Same game under macOS. In the Finder: Go to, with Connect to server.
Under Windows you need a tool like Filezilla again. Windows is really only good for MS Office.
We copy the klipper.elf.hex to our computer.
We also get the file /home/pi/klipper/config/printer-anycubic-i3-mega-2017.cfg onto our computer and rename it to printer.cfg.
We now copy this file back to the Raspberry in the folder
/home/pi/printer_data/config/
Flash the firmware
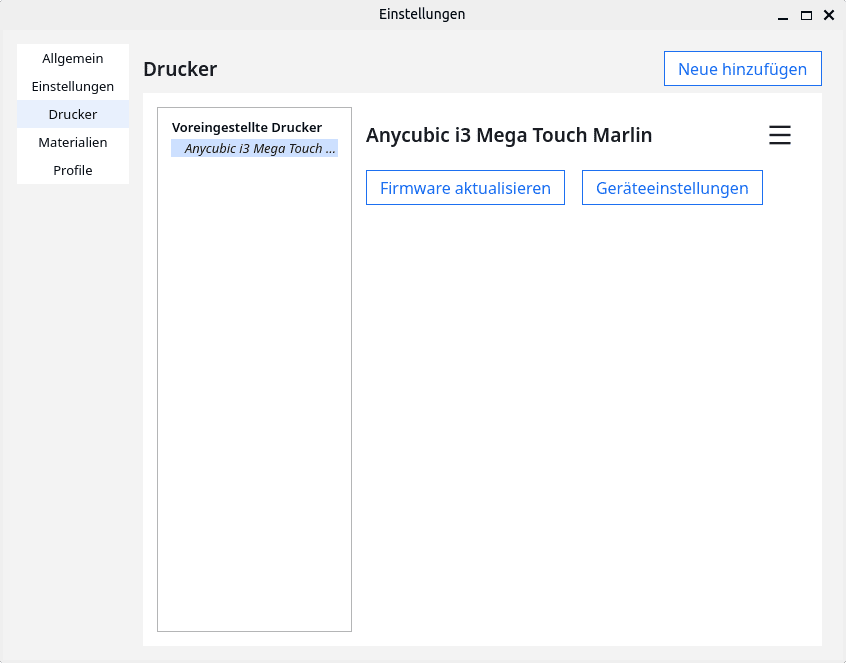
We start Cura or the slicer that we normally use with the Any and use it to flash the printer’s firmware.
We select the firmware klipper.elf.hex and flash the printer with it.
First start
Enter the IP address of our printer in the browser. The Mainsail interface opens.
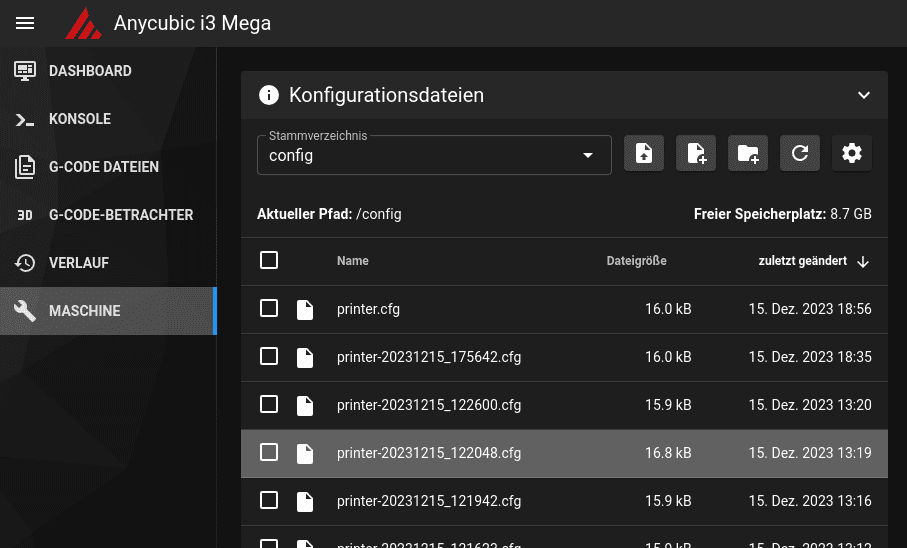
No current configuration instructions for Mainsail are stored in the old Printer.cfg for the Any. We copy them in ourselves.
Machine —>
Config —>
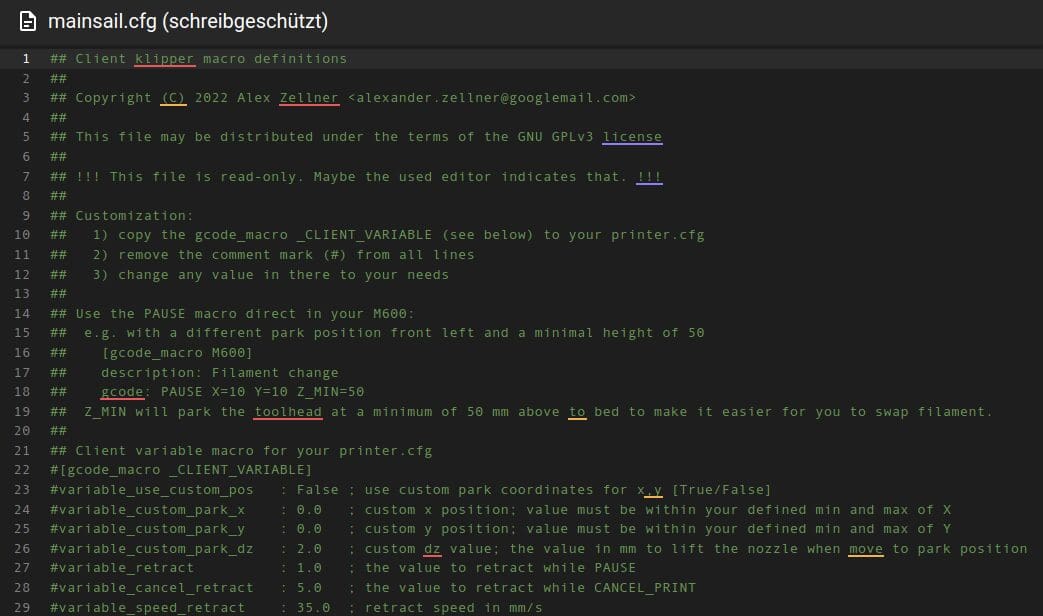
mainsail.cfg
Double click on it and press Ctrl-A and Ctrl-C in the editor.
Click on the X at the top right and double-click on printer.cfg in the file overview.
Scroll down, place the cursor there and press Ctrl-V.
click on „Save and restart“.
Now Klipper starts and we are ready.
Adjustments
2208?
The quiet drivers make the motors turn in the opposite direction. I didn’t want to reverse the connectors on the mainboard of the Anycubic i3 Mega, so I had to do this in the software. In the printer.cfg I changed the following entries:
[stepper_x]
step_pin: PF0
dir_pin: PF1
enable_pin: !PD7
microsteps: 16
rotation_distance: 40
endstop_pin: ^!PE5
position_min: -5
position_endstop: -5
position_max: 210
homing_speed: 30.0

[stepper_y]
step_pin: PF6
dir_pin: !PF7
enable_pin: !PF2
microsteps: 16
rotation_distance: 40
endstop_pin: ^!PL7
position_endstop: 0
position_max: 210
homing_speed: 30.0

[stepper_z]
step_pin: PL3
dir_pin: !PL1
enable_pin: !PK0
microsteps: 16
rotation_distance: 8
endstop_pin: ^!PD3
position_min: -1.5
position_max: 205
homing_speed: 5.0

[stepper_z1]
step_pin: PC1
dir_pin: !PC3
enable_pin: !PC7
microsteps: 16
rotation_distance: 8
endstop_pin: ^!PL6
enable_pin = !PC7
It is about the entries with the exclamation mark (!). This changes the direction of rotation of the motors.
BL-Touch
The X-Y offset of the BL touch must be determined. This is the distance between the position of the nozzle and the pin of the BL touch. Klipper must measure at the point where the nozzle should be located.
I have followed these instructions.
If you have attached the BL-Touch with the Knutwurst holder in the centre of the print head housing, the offset is approximately X: 1 and y -23. We enter this in the printer.cfg.
[bltouch]
sensor_pin = ^PE4
control_pin = PB5
# do your own measurement
x_offset = 1
y_offset = -23
#z_offset = 2.460
stow_on_each_sample = False
probe_with_touch_mode = True
Let’s go!
I wanted to start printing straight away, but had to stop myself. First I had to at least level the bed.
Putting the bed in the water
Yesterday I once again levelled the bed very precisely using the SCREWS_TILT_CALCULATE command. The front left corner should only be halfway right so that the nozzle does not ram into the heating bed when it is in the zero position. This screw is used to adjust the height of all the others.
Where are the screws?
On a standard Ai3M, the screws are located approximately here according to my measurements:
[screws_tilt_adjust]
screw1: 0,30
screw1_name: front left screw
screw2: 210,30
screw2_name: front right screw
screw3: 210,210
screw3_name: rear right screw
screw4: 0,210
screw4_name: rear left screw
speed: 80.
screw_thread: CW-M3
You can copy this into your printer.cfg. It is clear that the rear screws cannot be reached by the print head as they are outside the print area.
Setting procedure
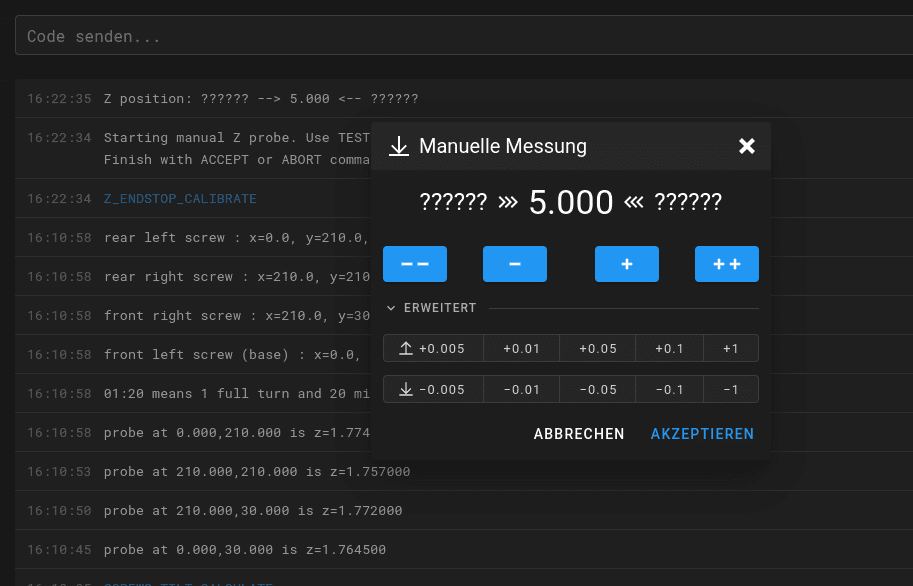
The output of the command is actually an indication of how many hours and minutes you should turn the level wheel in which direction. I left it at an accuracy of one minute each.
Click Accept and enter SAVE_CONFIG in the console so that the value is also saved.
Look mum! No feathers!
Why not set this minute as well? Well, actually the Any, like all other old printers, has springs that push the bed up and screws that pull it down.
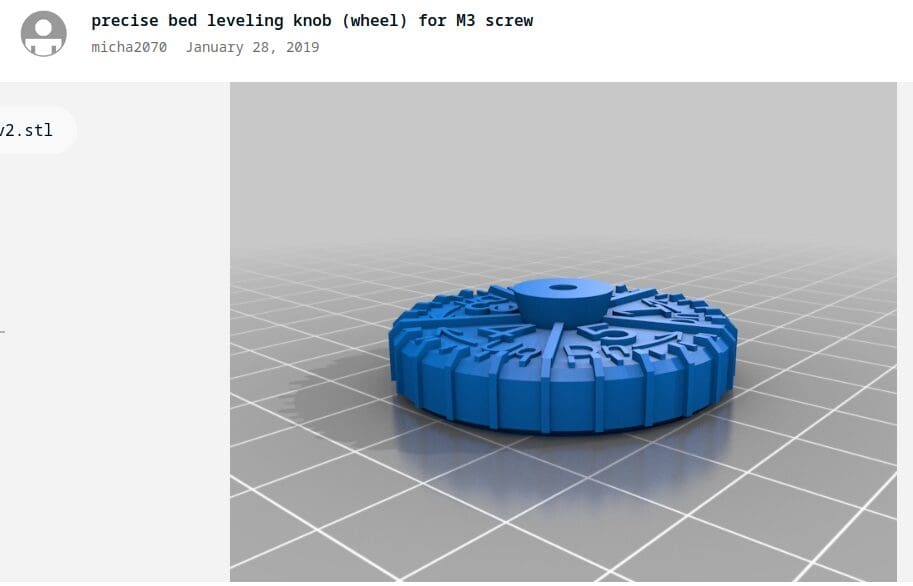
But because my bed was so crooked, the rear left screw was always loose. So I took these STL as new, large bed level screws and glued a small M3 nut into them:
As a replacement for the springs, lock nuts now push the bed upwards:
The bed is now held at the correct height by force. However, it no longer gives way if the nozzle moves down too far.
Adjustment is not made any easier by the two adjustment wheels. First loosen the large wheel, then turn the lock nut according to Klipper’s instructions and then lock it again with the lower nut. It’s easy to counter too tightly or too loosely. Be that as it may, the result was well worth the few minutes of work.
It sounds like total overkill at first, but it really isn’t. Great function in Klipper.
Calibrate end stops (Z-offset)
Now I calibrated the end stops. The Anycubic has one motor per Z-axis spindle. Both are not synchronised with a toothed belt, so that after a few print jobs the Z-axes are at different heights. That’s bad. Nothing good.
With the BL-Touch, this could be levelled in a time-consuming process before each print, but you can also tighten your trousers with a pair of pliers. After all, the i3 Mega has two limit stop switches that work perfectly. However, the printer should know how far the nozzle is from the print bed when the limit stop switches are triggered.
The gap should normally be 0.1 mm. How could you measure this? With a sheet of A4 copy paper. This has a thickness of 0.1 mm! I set this distancewith the Z_ENDSTOP_CALIBRATEcommand.
I like to set it a little tighter with Any. In my case, it should be possible to push an A4 sheet backwards under the nozzle just enough to prevent the paper from curling upwards.
In the example image, the output shows the position of my home. This is not at 0,0,0 like the original, but at 105, 105, 5. This is the centre of the bed and the nozzle is 5 mm above the end stop position.
I moved the Z-axis down via „–“ until the paper jammed. Then slowly move it up again with “ “ until the sheet of paper can be moved loosely under the nozzle.
Now use the baby steps to move it down until it felt right. If this is either too low or too tight when printing later, you can still change it in the „Tool head“ window *sic* via the Z offset (Z offset *sic*) during printing. However, you should not forget to save the value: SAVE_CONFIG.
I was happy with my setting. It’s nice that you only have to set SCREWS_TILT_CALCULATE once. The rest is adjusted by the bed levelling.
Start bed levelling
This function again requires an entry in printer.cfg so that Klipper knows how big the bed is. The bed of the Anycubic i3 Mega is 210 x 210.
[bed_mesh]
speed = 200
horizontal_move_z = 2.460
mesh_min = 2.2
mesh_max = 210.187
probe_count =5.5
#fade_start = 1.0
#fade_end = 10.0
algorithm = bicubic
25 measuring points should be enough, so I set the probe_count to 5.5. Here you can set values from 3.3 to … i don’t know … can be entered. 5×5 is easily enough for a printer of this size.
Before calibrating the print bed, we need to home the axes. Click on the orange house. Then click on „Calibrate“, when this is done we have to save the whole number again.
The glass plate is anything but even. And not even uniformly uneven. Like a floodplain landscape. Really bad. But no matter, it printed the bed level test very satisfactorily. BL-Touch rules. :-)
Load Bedmesh
I didn’t want to make myself tired and always enter my working levelled bed (default_funzt) into the start gcode of the slicer, or to level the bed again before each print, so I changed the printer.cfg as follows:
[delayed_gcode bed_mesh_init]
initial_duration: .01
gcode:
  BED_MESH_PROFILE LOAD=default_funzt
This always loads this mesh. A nobrainer from now on.
PID tuning
Now I want the hotend and the bed to be heated up faster and the temperature to be maintained more precisely. I achieved this with the command PID_CALIBRATE HEATER=extruder TARGET=210
I probably print most filaments at 210 degrees. After entering the command in the console, the printer works for some time and repeatedly heats the hotend until the algorithm has learnt how best to deal with the overshoots and undershoots in the temperature curve. When does heating need to take place and at what percentage so that the temperature does not drop too much? When should it be switched off again so that the temperature does not exceed the setpoint?
There is a similar command for the heating bed: PID_CALIBRATE HEATER=heater_bed TARGET=60
First pressure
Done so far. So I gave it a Christmas tree as a test print. Instead of the maximum 60 mm/s, I set a blunt 90 mm/s. Let’s see what comes out of it, because at least the device is standard – apart from a component cooling system I printed myself, the quiet drivers and the BL-Touch.
Sorry, the camera in my phone no longer focuses. It must have been dropped one too many times in the last six years. :-(
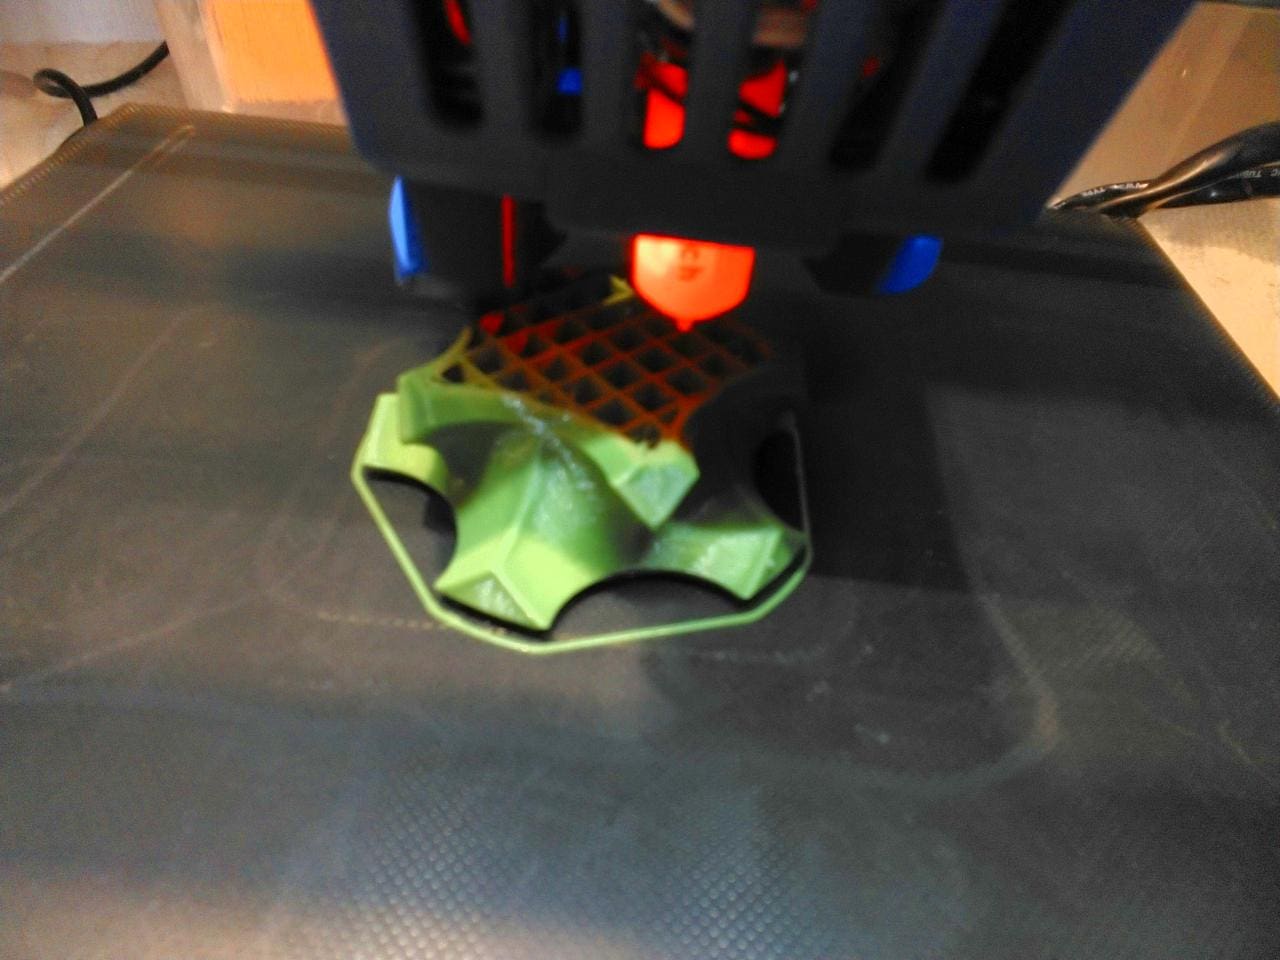
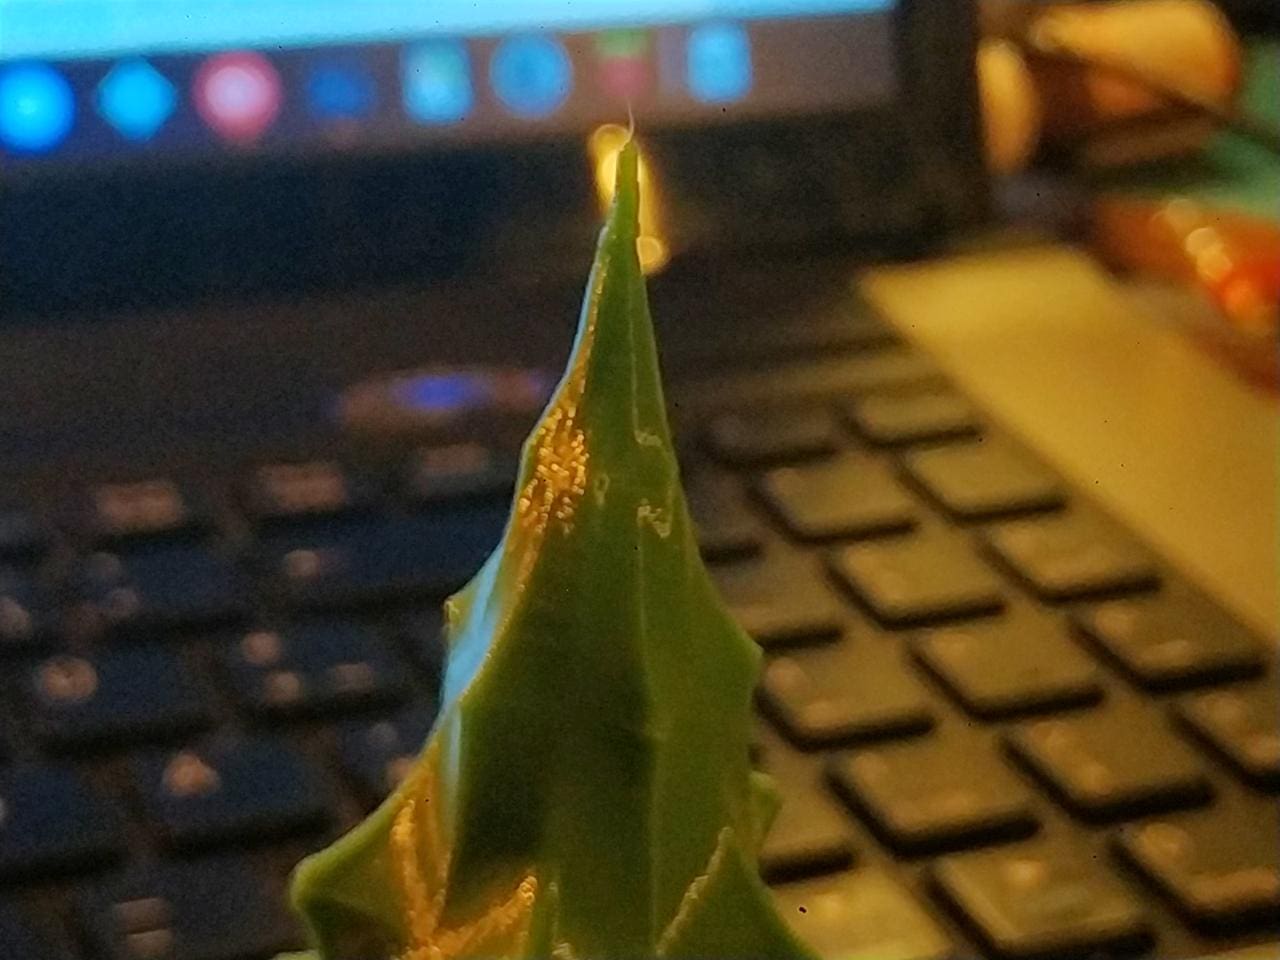
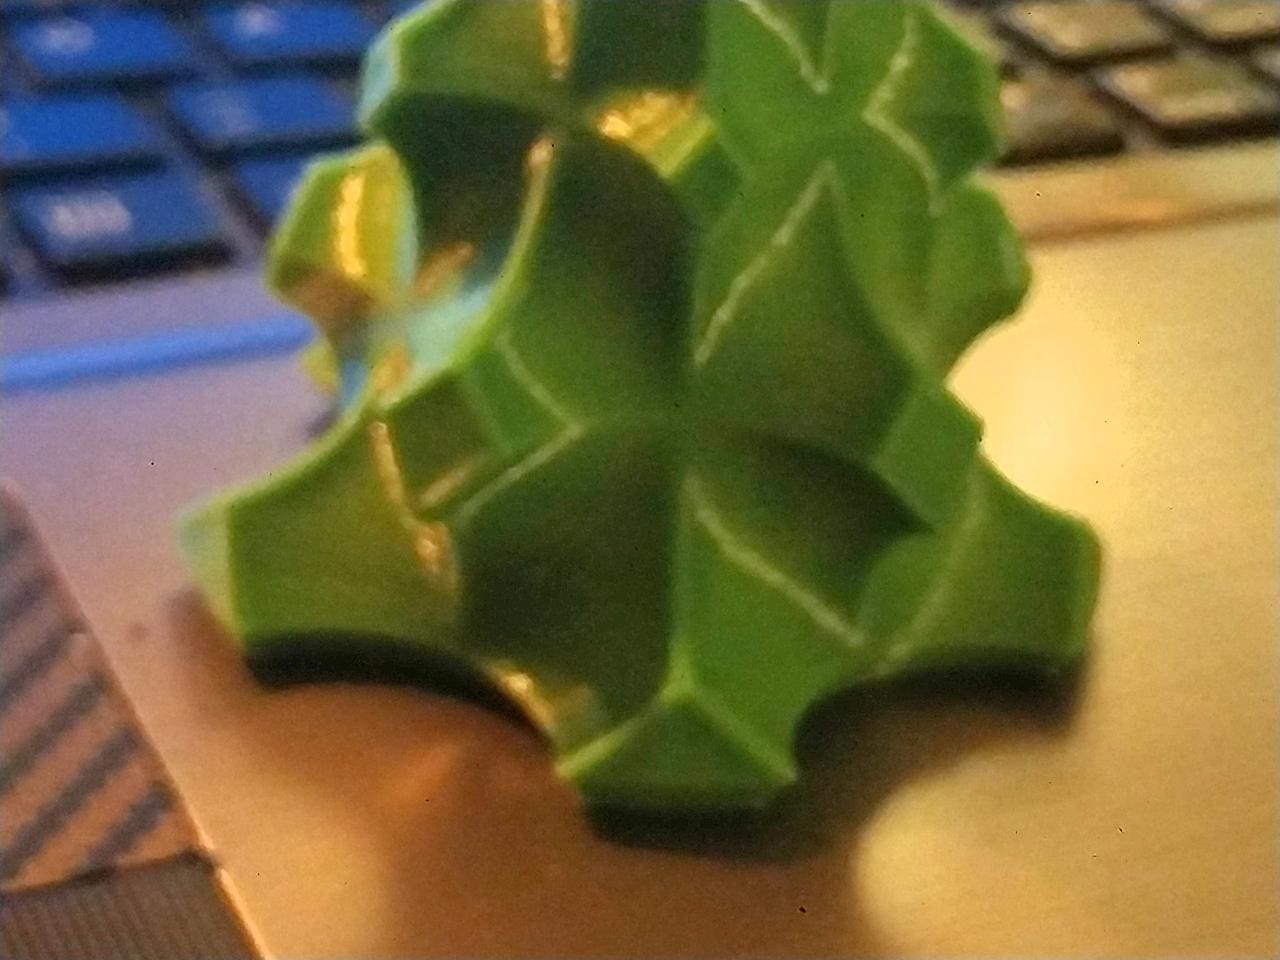
This is the first print with Klipper. I didn’t calibrate anything except for the bed. No e-steps, no flow, nothing. It’s the four-year-old PLA from Owl, I just want to print it away.
But, I’m just picking it up again … 90 mm/s? An old i3M? PLA from Owl? Damn, this thing looks really good. I’m really pleased.
Well … 90 mm/s is okay, but 120 mm/s is better! Twice as fast as the original. Tweaked all the other speeds a bit and also increased the acceleration values. Printed another tree, this time a bit bigger. 1:48 h printing time.
The old Any accelerated like there was no tomorrow. I hadn’t realised that it could achieve such high acceleration values. It almost looks like a modern printer.
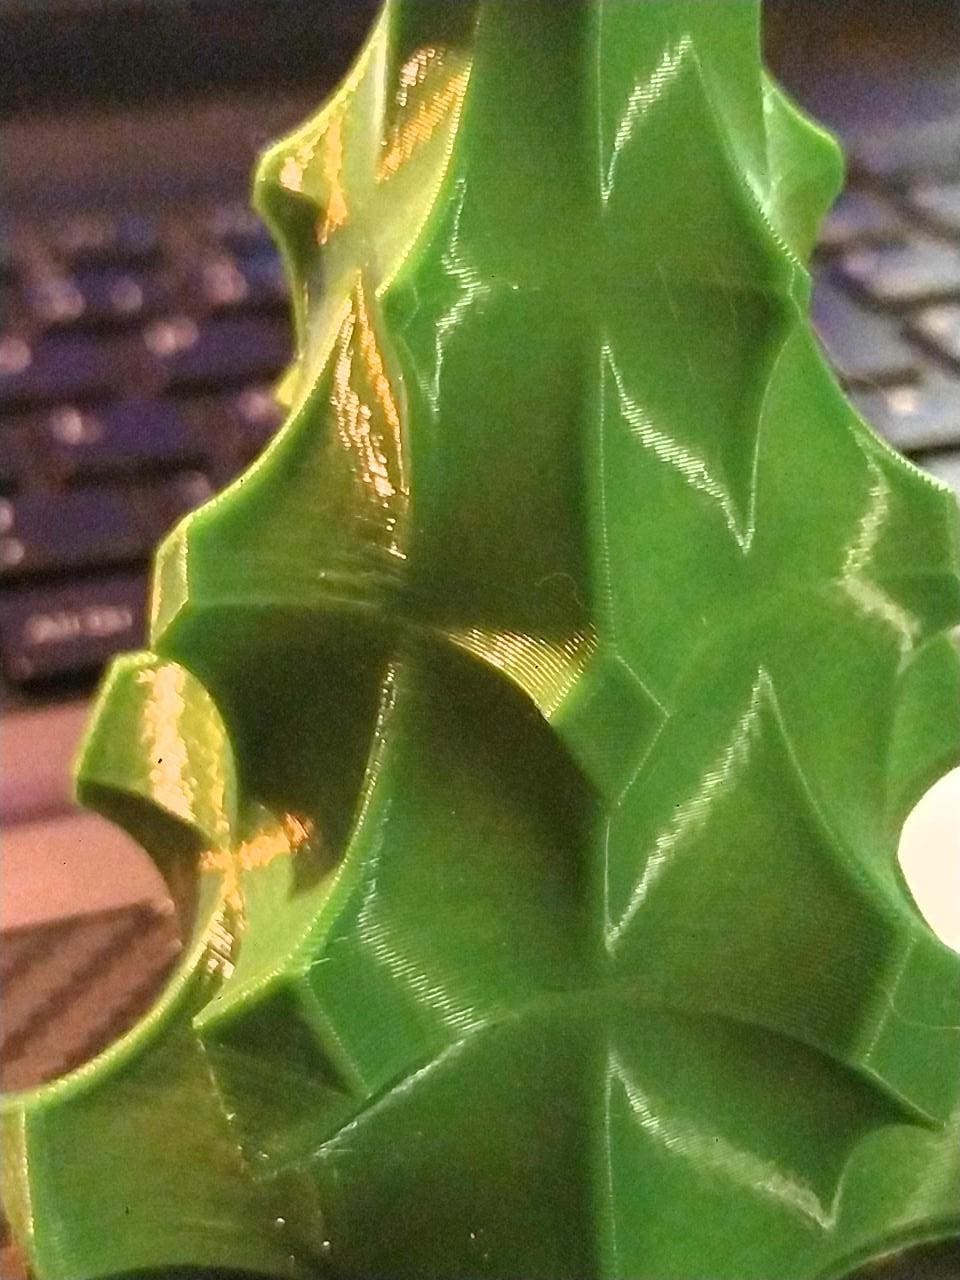
This is a very pleasing result. Well, the tree is certainly not a good test print. But I just wanted to print the green filament. I need a new smartphone with a good camera, then I’ll take some real pictures again.
And what else?
The volume is finally right. No more howling and singing from the engines. A really pleasant sound, even when the original component fan kicks in, which is now starting to suffer bearing damage. The printer now sounds much … more solid, more valuable.
Conclusion
Apart from a small imperfection at the bottom of the tree, the quick print was also a complete success. it lasted 1:48 hours.
Of course, my Qidi is still twice as fast (55 min) at 200 mm/s, which is due to the significantly higher acceleration values.
It’s great that my first 3D printer has been given a second life by Klipper after all.
So: Klipper on the old Anycubic? Yes, of course, sure! Gladly and again and again!
Was it worth the work? Absolutely!
Update
And now there’s an update! The printer is currently running smoothly at 150 mm/s and an acceleration of 6,000 mm/s². The bed bearings whine sporadically when the head moves from one corner to the other. The printout still looks completely normal.
Of course, you can’t compare the 150 mm/s with those of a current printer. I usually only print at 200 mm/s with the Qidi, but even then it is still twice as fast as the Any at 150 mm/s. This is the result of the enormous acceleration values that today’s printers achieve thanks to their lightweight construction.
Nevertheless, the result is great for such an old gentleman, isn’t it?
View
Whenever something is running, you want more. Upgraded with a BMG extruder and a V6 hotend, the Any should achieve speeds of up to 250 mm/s.
I start to wonder ..
Watch lists
Hardware
2208 drivers (installed)
Direct MK4 extruder: BMG clone
Slicer settings according to various sources
- Infill 1st layer: 200 mm/s
- perimeter 300
- external perimeter 250
- infill 250
- top shell 200
- travel: 300
- max_accel and max_accel_to_decel 4000
(from 7000 the bearings whine, from 10,000 the belts slip)
