How do I connect any webcam to the Creality Ender3 V3 KE? With timelapse, RAM-Disk and spaghetti detection!
Inhalt:
Update firmware
We need the latest firmware from Creality:
- Download the latest firmware update from GitHub.
- Copy the file „Ender-3_V3_KE_F00X_ota_img_V1.X.X.XX.img“ to the USB stick.
- As a precaution, delete all old print jobs on your printer so that the update is not cancelled due to lack of memory.
- Now insert the stick into the switched-on printer.
- A message pops up and you confirm that you want to install the update.
- The printer will now restart
- Finished
Connect to printer
What IP does your printer have? Check the display:
- Cogwheel symbol
- System
- Tap the Network tab
- The IP address of your printer is displayed under the network name. Remember!
Open the terminal (or Putty) and enter the following:
ssh root@IP-DEINES-DRUCKERS
Password is Creality2023
At least for v1.01.12. But check if this remains the same when they have released a new firmware.
Load and activate webcam service
cd /etc/init.d
wget http://openk1.org/static/k1/scripts/S50non_creality_webcam
chmod 755 S50non_creality_webcam
/etc/init.d/S50non_creality_webcam restart
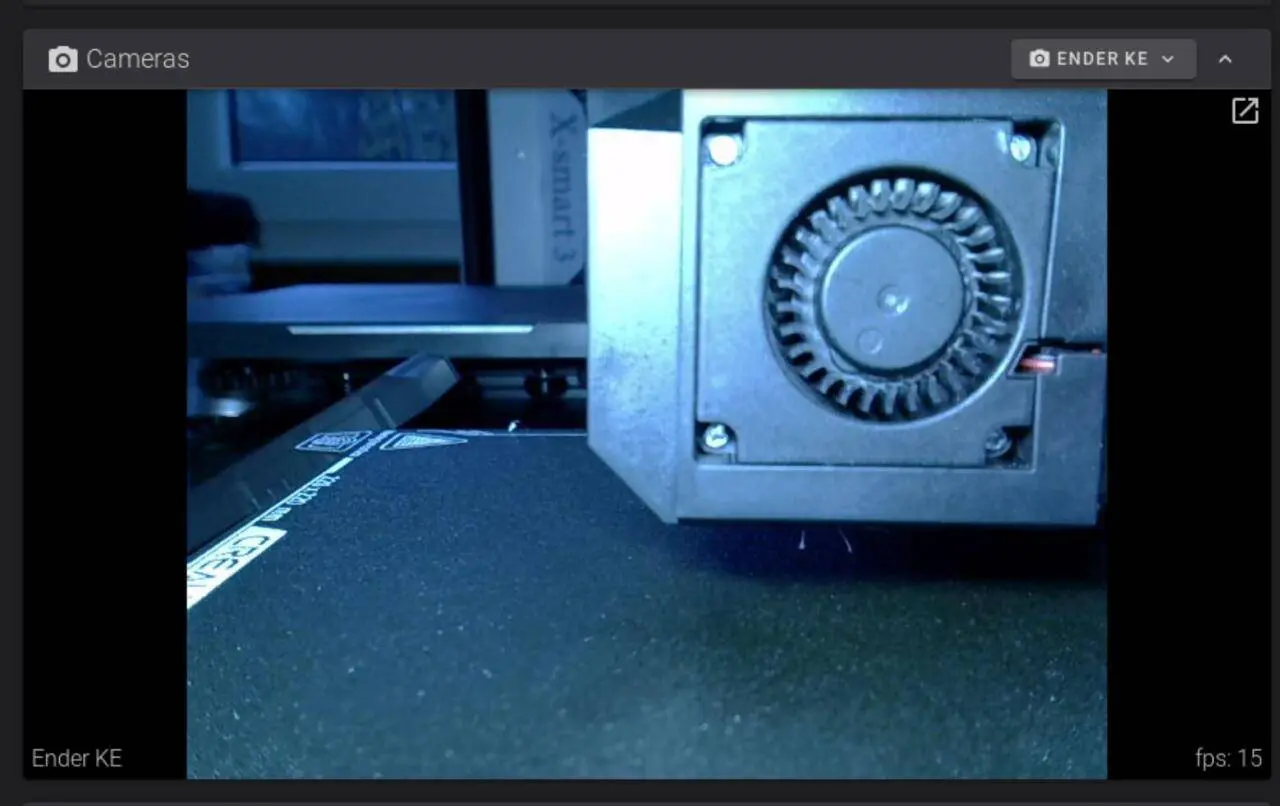
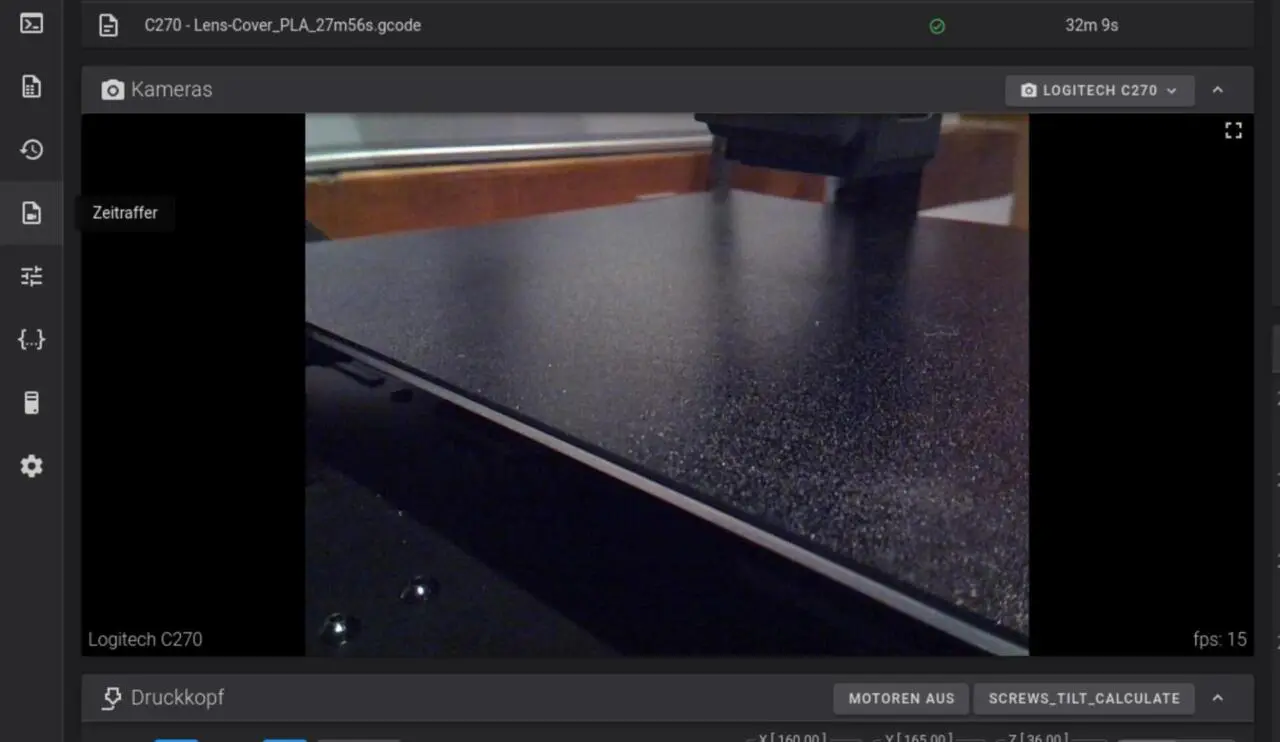
The webcam is now available. I have connected the absolute 3D printer webcam classic, a Logitech C270, to my KE. This has the advantage that you can open it and manually adjust the focus ring precisely to the print bed.
Time lapse?
Do you want to take time-lapse shots? No problem! There is a helper script that we need to install. Reconnect to the printer via ssh and ..
git clone --depth 1 https://github.com/Guilouz/Creality-Helper-Script.git /usr/data/helper-script
We start it with:
sh /usr/data/helper-script/helper.sh
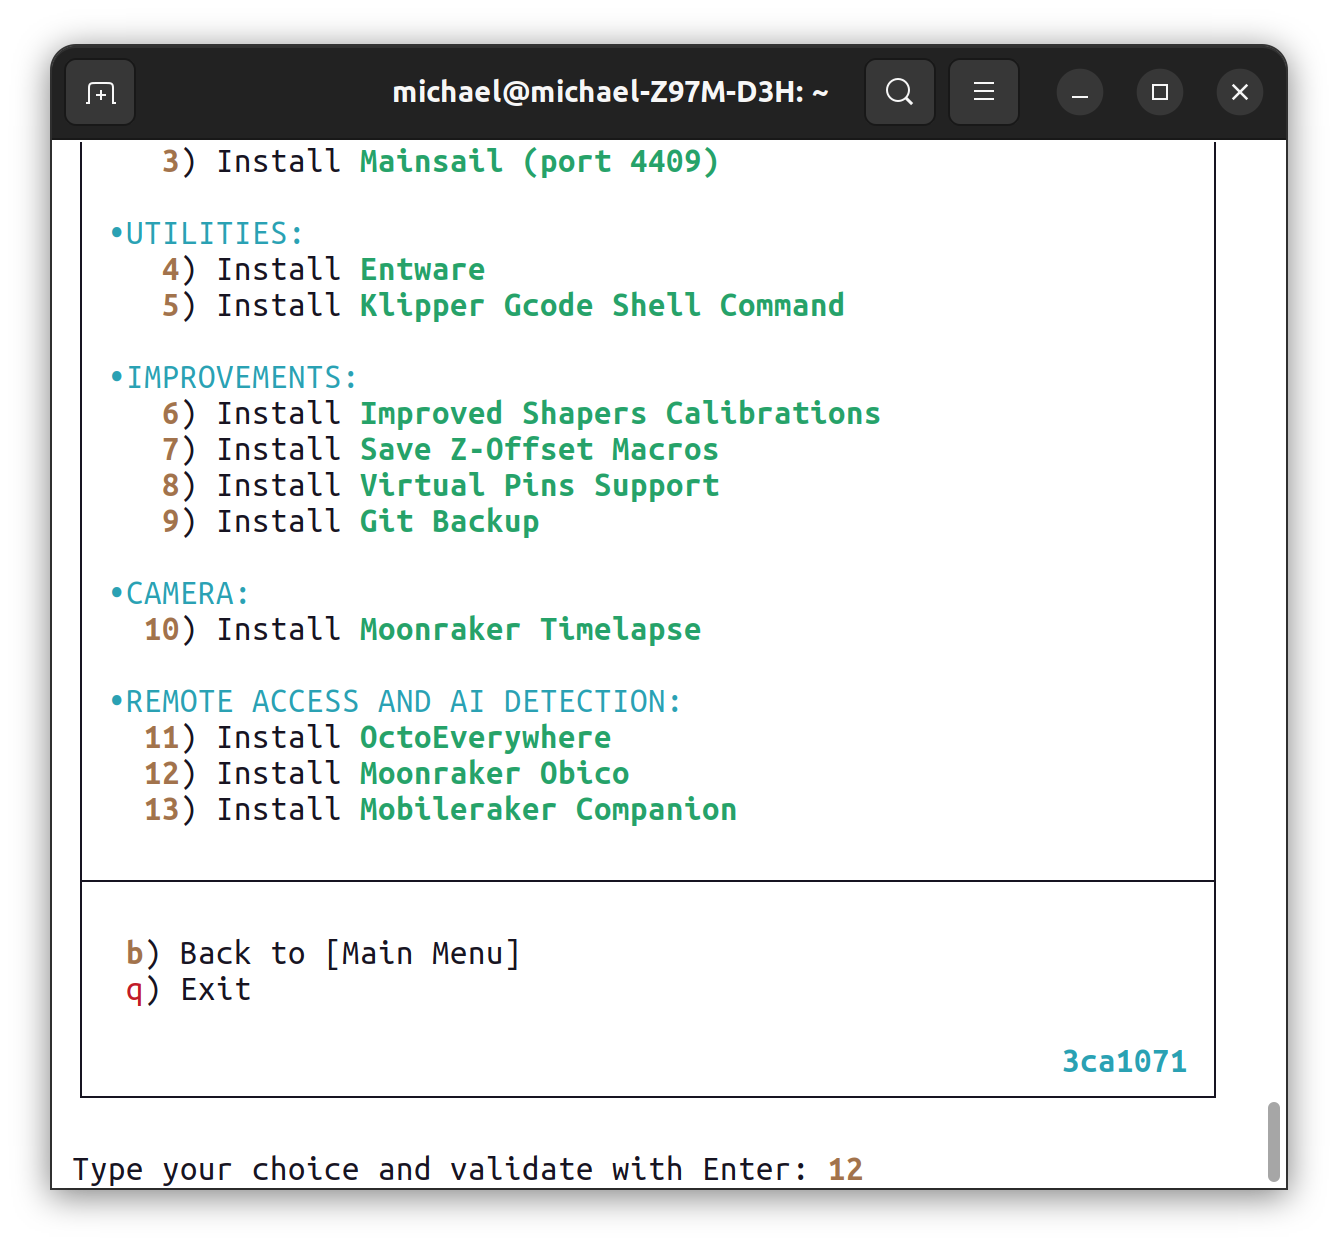
This menu appears:
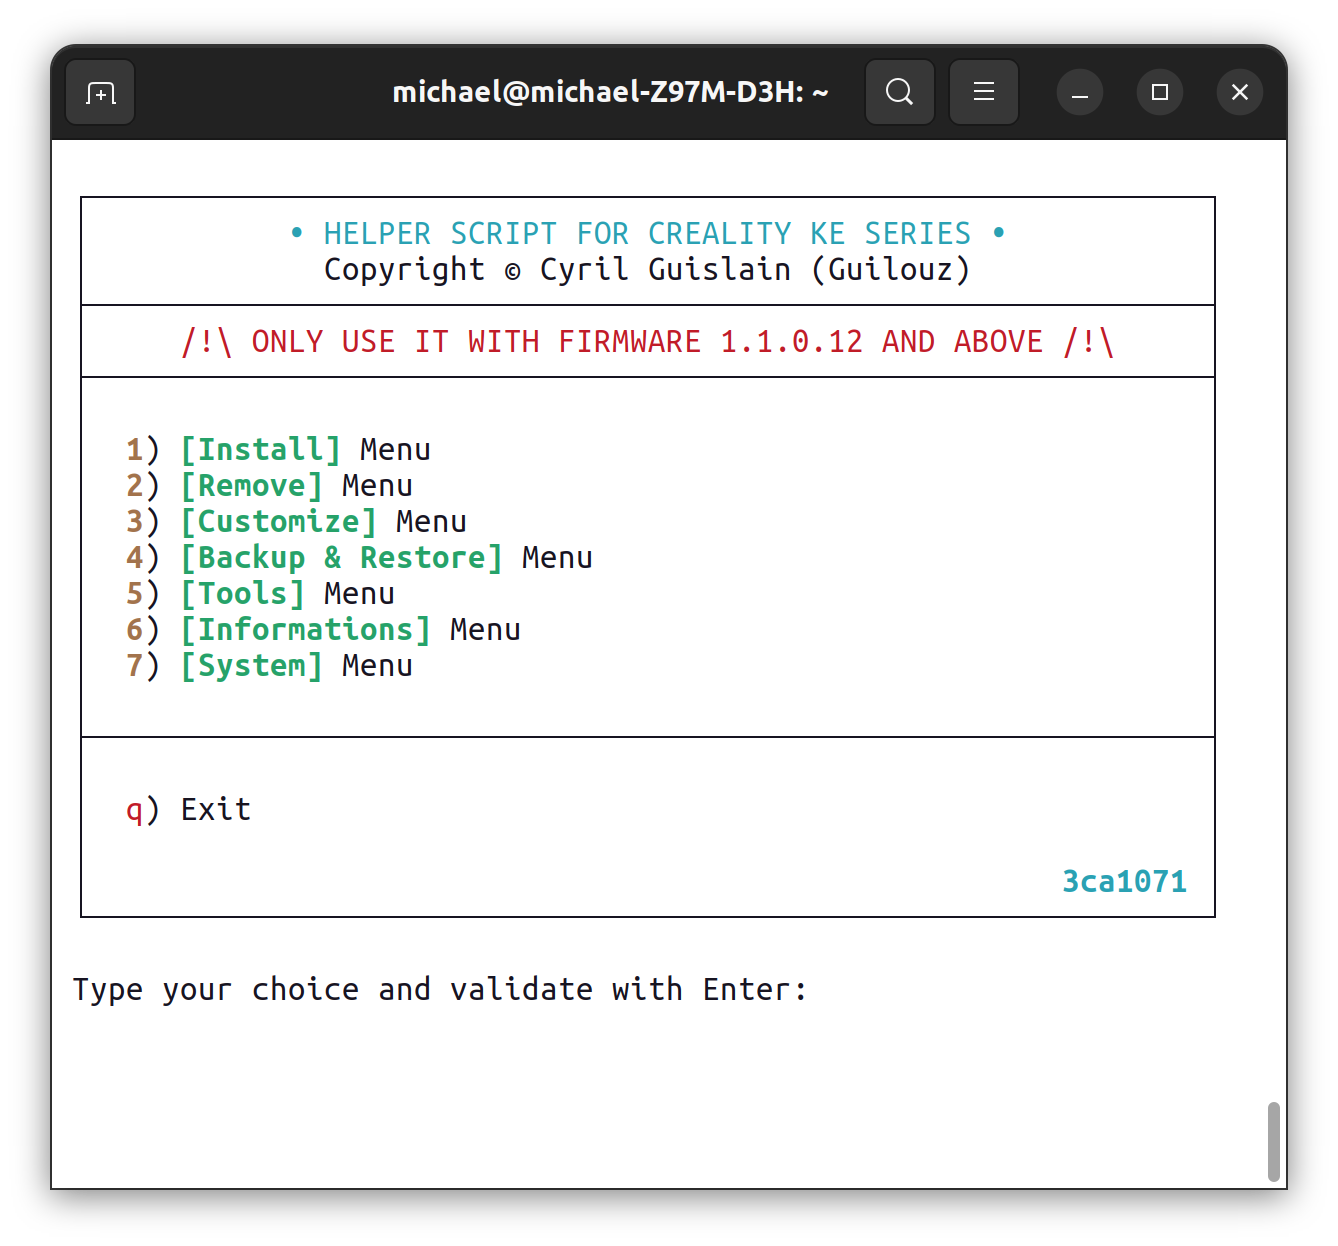
We want to install Moonraker Timelapse, so we type in 10:

Zack! And it’s installed!
Enter macro
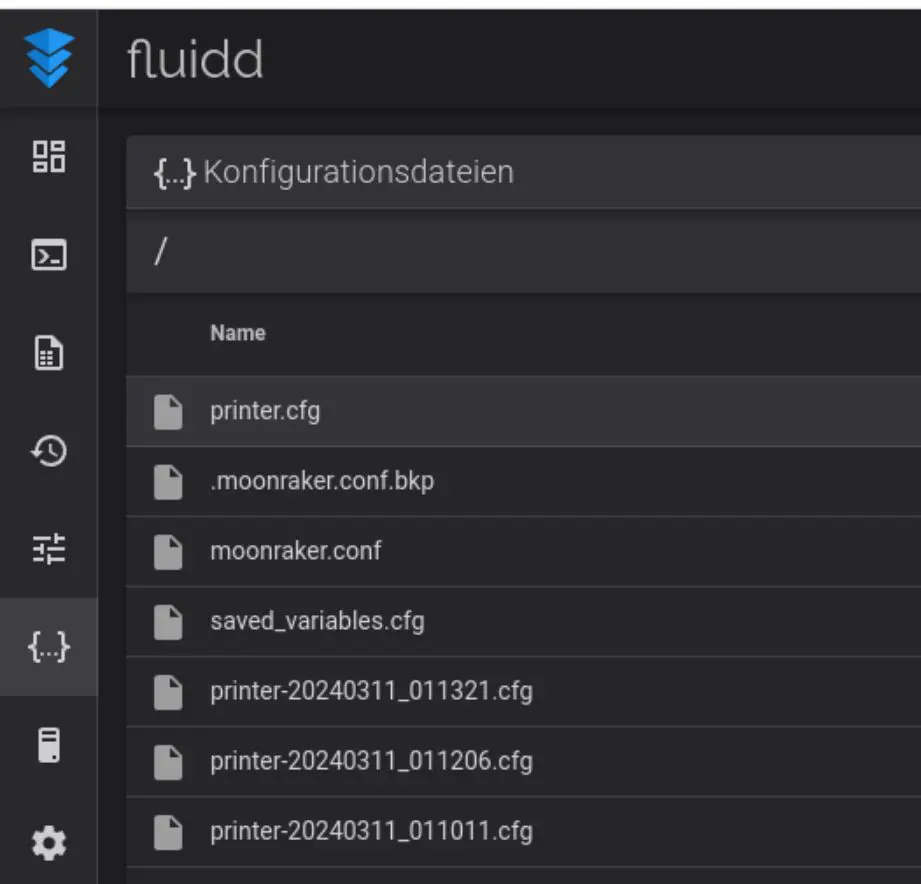
So that we also have a button that we can click on, we open the printer in the browser (fluidd).
-> Configuration ({..} symbol) -> open printer.cfg
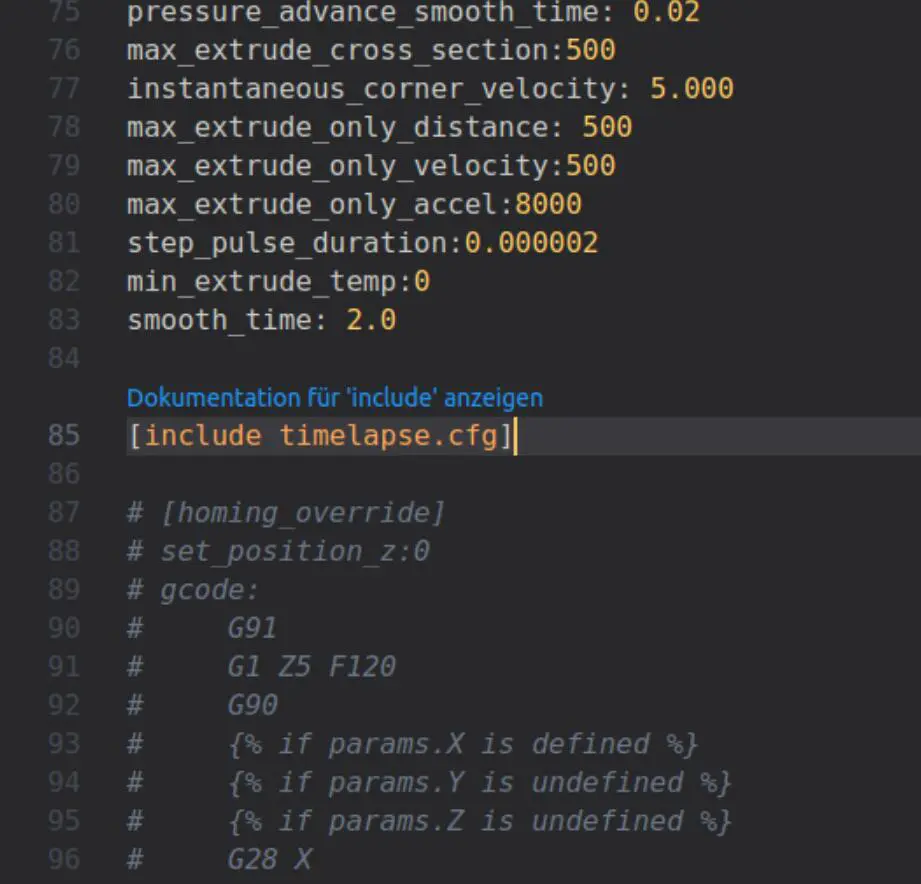
And insert the following text at the end of the script, before the grey area:
[include timelapse.cfg]
Save and restart!
Activate and updates
In order for the plugin to be activated and updated, we need to enter the following in moonraker.conf:
Open the printer in the browser (fluidd).
-> Configuration, {..} symbol-> open moonraker.conf
Insert the code at the end:
[timelapse] output_path: ~//timelapse/
frame_path: /tmp/timelapse/ [update_manager timelapse] type: git_repo
primary_branch: main
path: ~/moonraker-timelapse
origin: https://github.com/mainsail-crew/moonraker-timelapse.git
managed_services: klipper moonraker
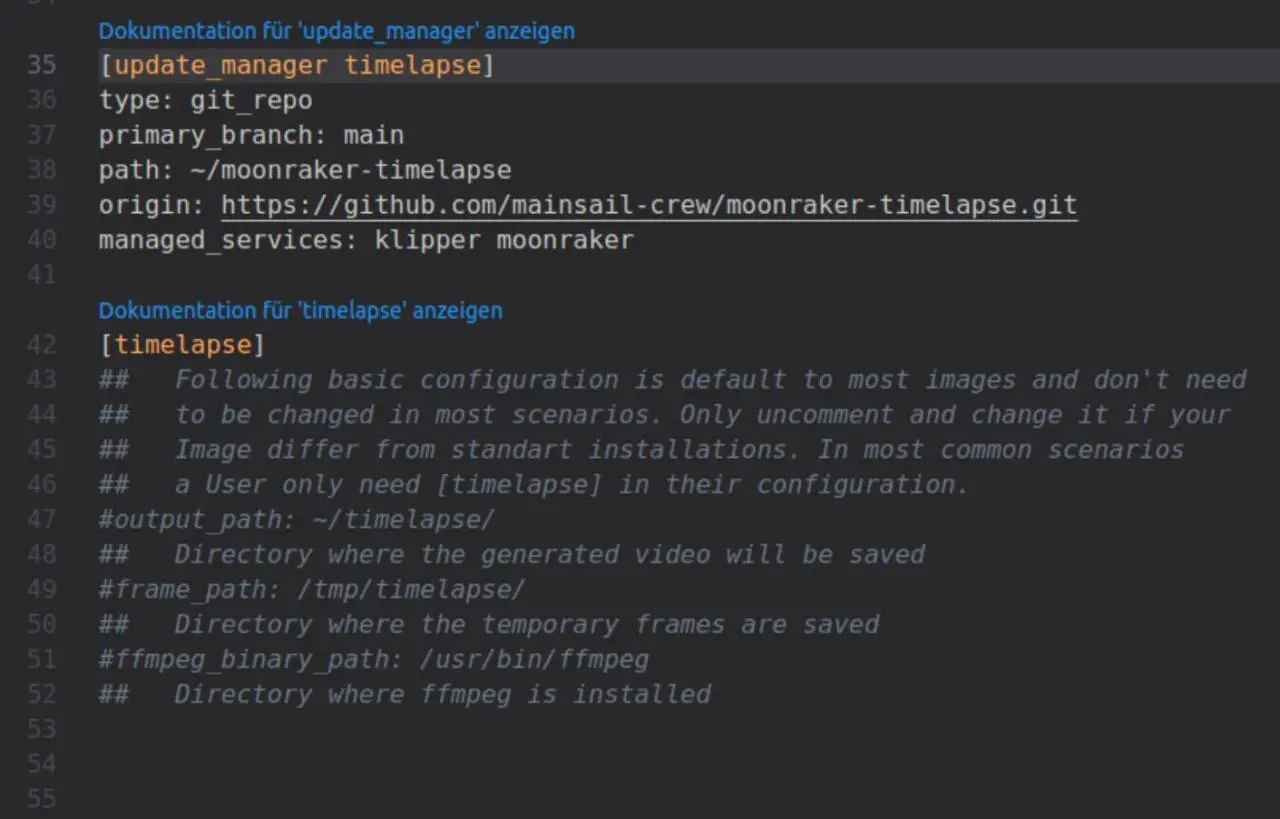
Save and restart!
Settings
And how can I operate this now?
There are two new items under fluidd:
- Time-lapse in the main menu
Here you start the time-lapse recording manually - Settings -> Time-lapse
Here you can find all settings
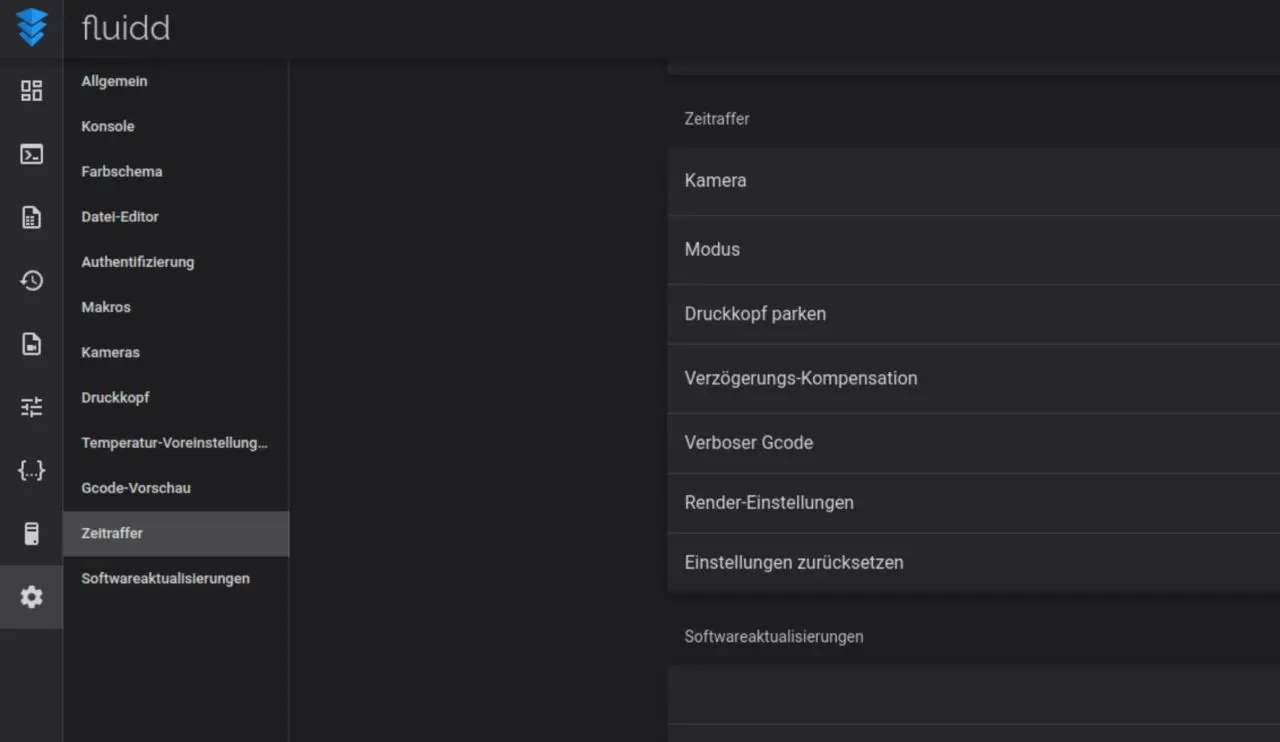
I switch off the parking of the print head. This slows down the printing a lot.
I set a target length of 20 seconds for a video, which should be more than enough.
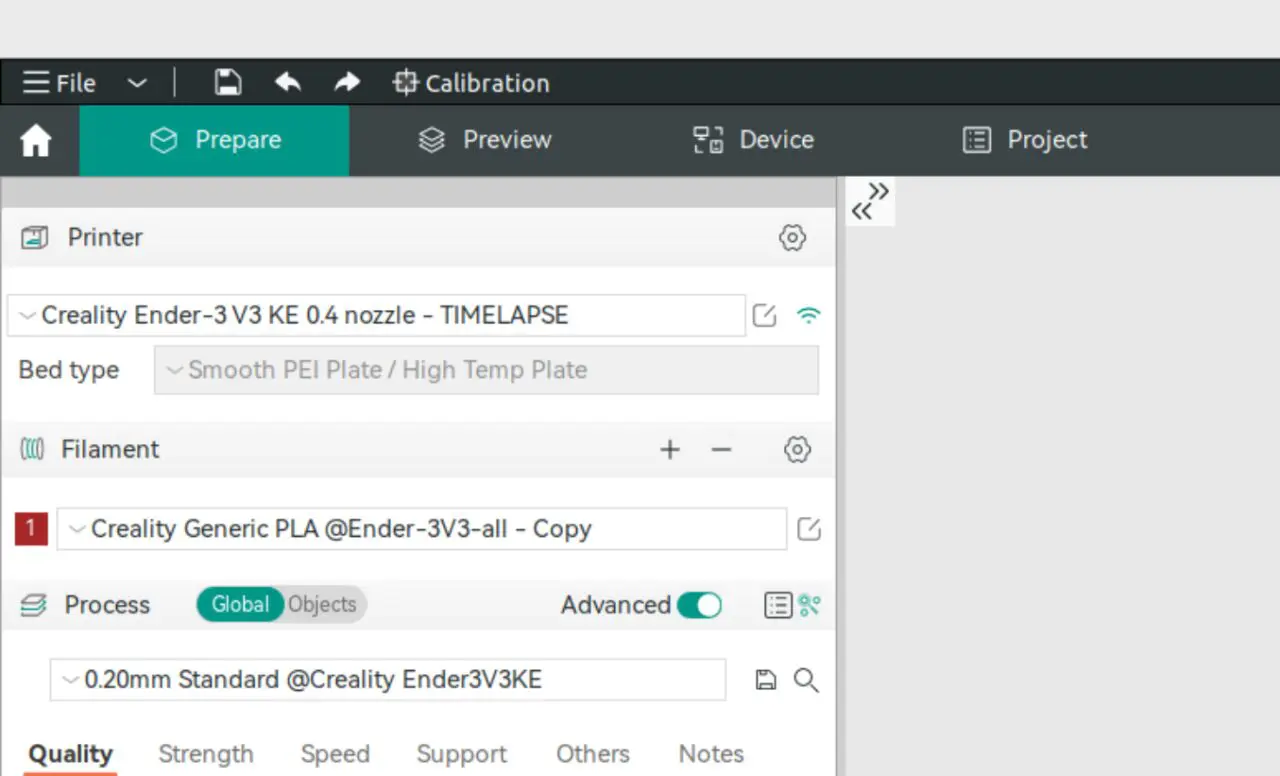
Start timelapse automatically
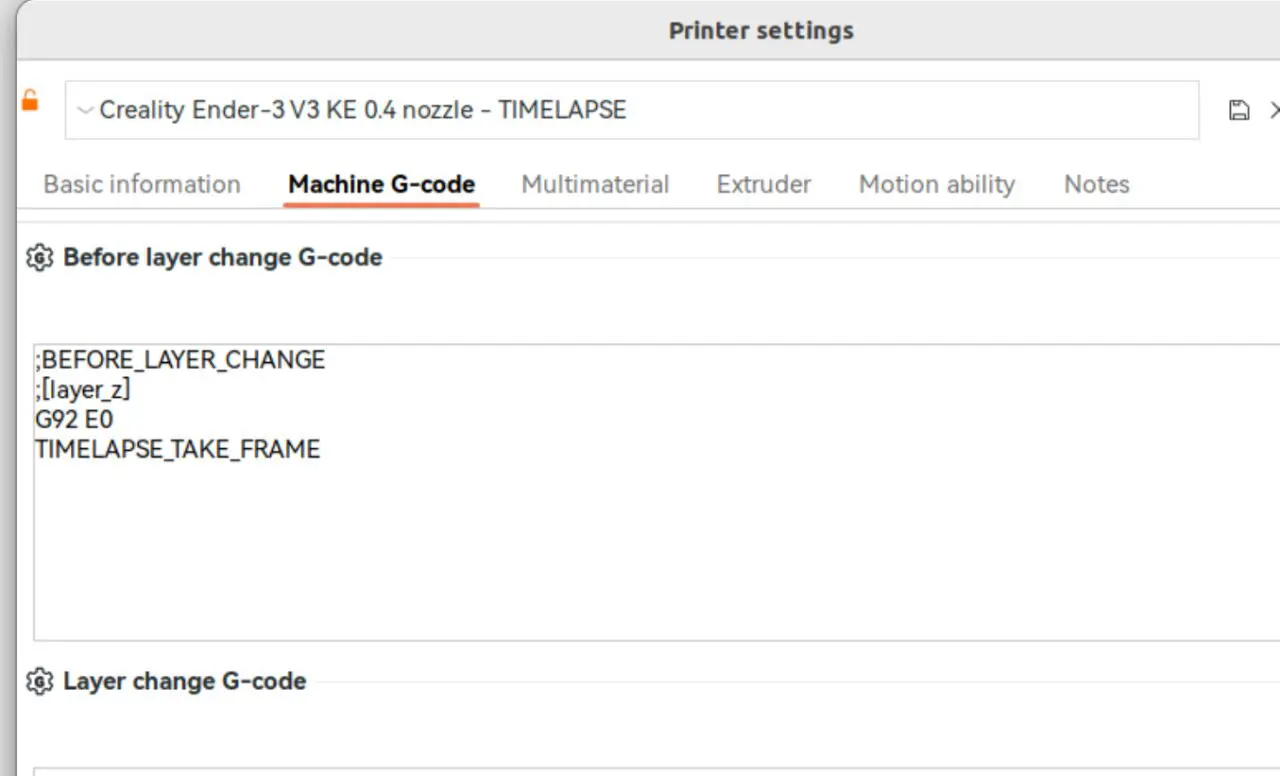
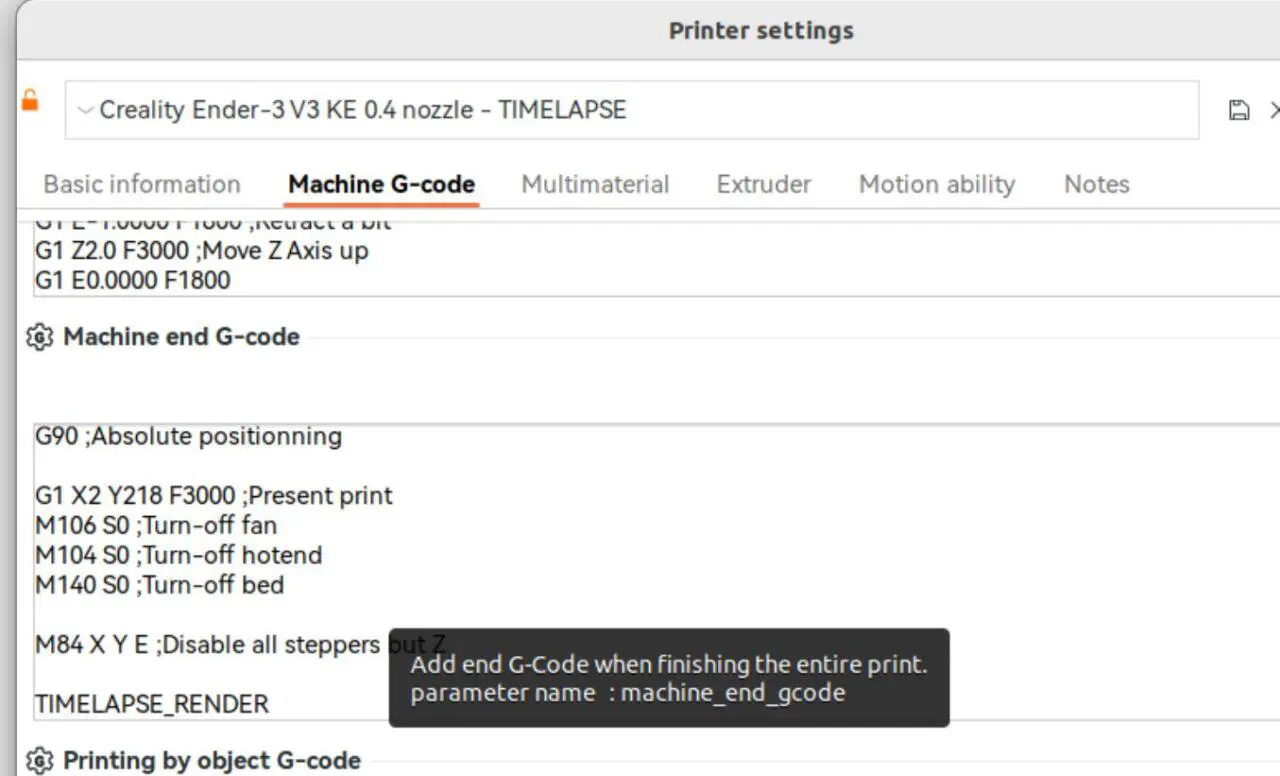
In your slicer, you need to enter something in the „Before-Layer change G-Code“ and the „Machine end G-Code“ if you want to automatically accompany every press with a timelapse recording.
I simply created a copy of my normal printer and labelled it TIMELAPSE at the end.
Before Layer Change:
TIMELAPSE_TAKE_FRAME
Machine End G-Code:
TIMELAPSE_RENDER
RAM disc?
Yes, the Ender KE has an eMMC memory, which may not be as robust and fast as an SSD, but it is significantly faster and more reliable than SD cards or USB sticks. The use of a RAM disc is not absolutely necessary, but it certainly wouldn’t do any harm either.
We are still logged on to the printer as root.
We create a mount point for our RAM disc with the following command:
mkdir /media/ramdisk
Now we want everyone, including the Mainsail process, to be able to access this folder.
chmod 777 /media/ramdisk
For a time-lapse recording, we still need the folders for the time-lapse video and for the individual images:
mkdir /media/ramdisk/timelapse /media/ramdisk/frames
Now the RAM disc should be mounted each time the printer is started. To do this, we add a line to the /etc/fstab file that does this.
echo "tmpfs /media/ramdisk tmpfs defaults,size=20% 0 0" >> /etc/fstab
You are now wondering what „20%“ means, right? The timelapse function should use a maximum of 20% of the available RAM. In the case of the Ender3 V3 KE, this is 64 MB.
Yes, megabytes! The Creality Ender3 V3 KE has a working memory of only 328 MB in total.
Well, an image has a size of around 50 KB if the resolution of the webcam is 720p. We therefore get around 1,300 images or layers on the RAM disc. With a print resolution of 0.2 mm, this corresponds to a print object height of around 28 cm. The Ender3 V3 KE can only print 24 cm high, so we are on the safe side.
But what happens if the RAM disc fills up anyway, or the RAM is needed by Klipper?
Don’t worry, the tmpfs (temporary file system) writes the contents of the RAM disc to the swap file on the eMMC in such cases. The printer should not crash or hang.
Nevertheless, you should download your time-lapse recordings promptly and then delete them.
Adjust paths!
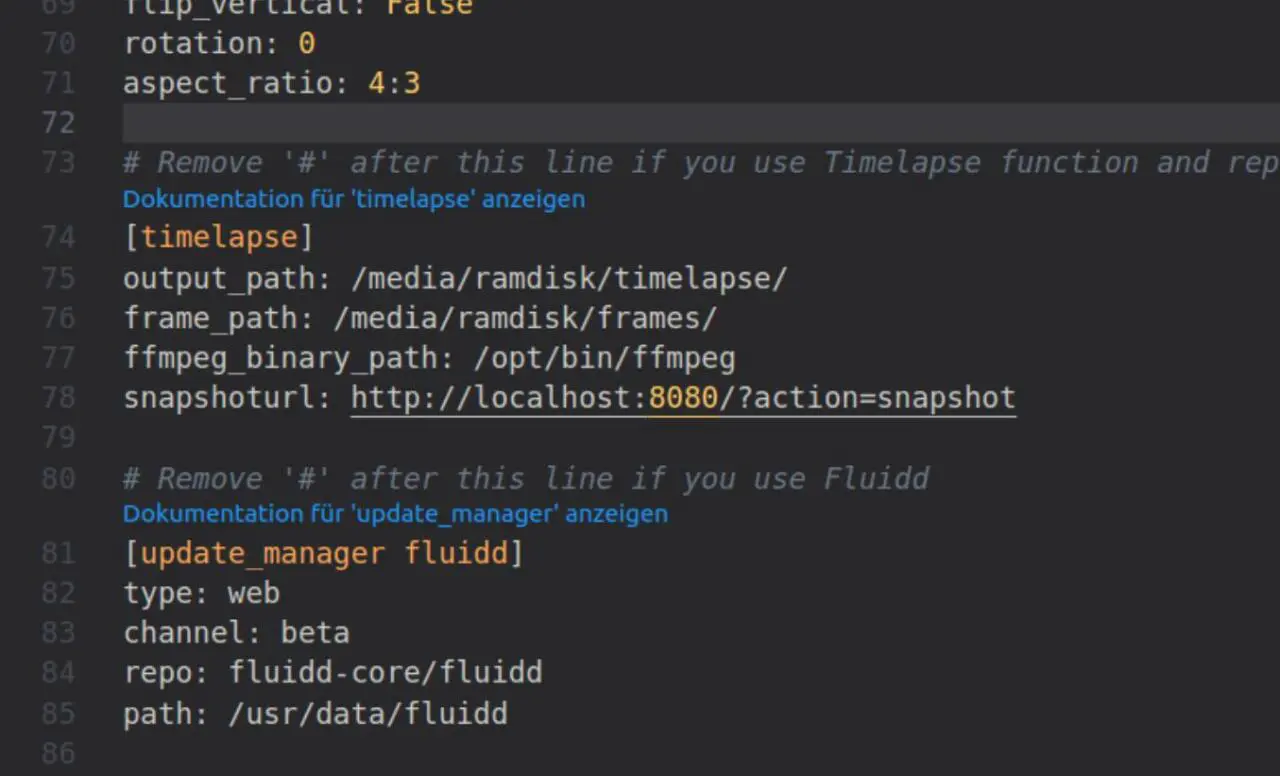
We have to change the Moonraker.conf again, namely the paths for the videos and the images!
output_path: /media/ramdisk/timelapse/
frame_path: /media/ramdisk/frames/
These should, of course, be on the RAM disc.
Spaghetti detection
This is also very easy using the helper script. However, you will need an Obico account for this. During the installation you will be guided through the connection. But first you have to install Entware: enter 4.
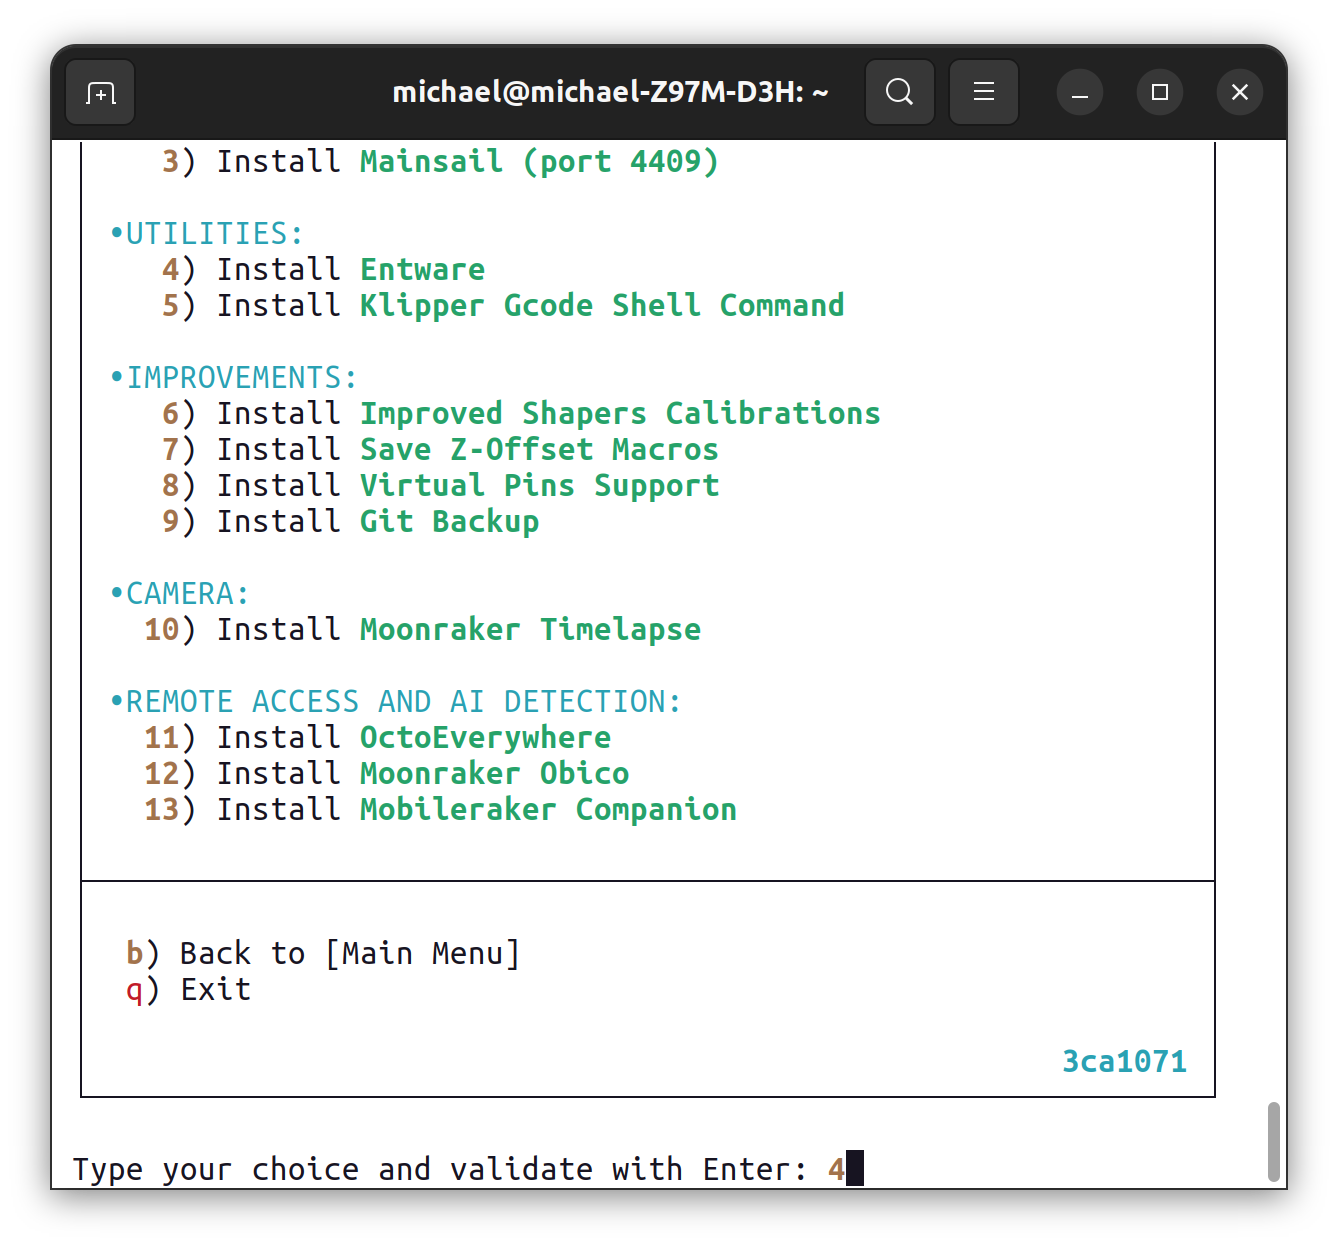
Now enter Moonraker Obico, i.e. 12.
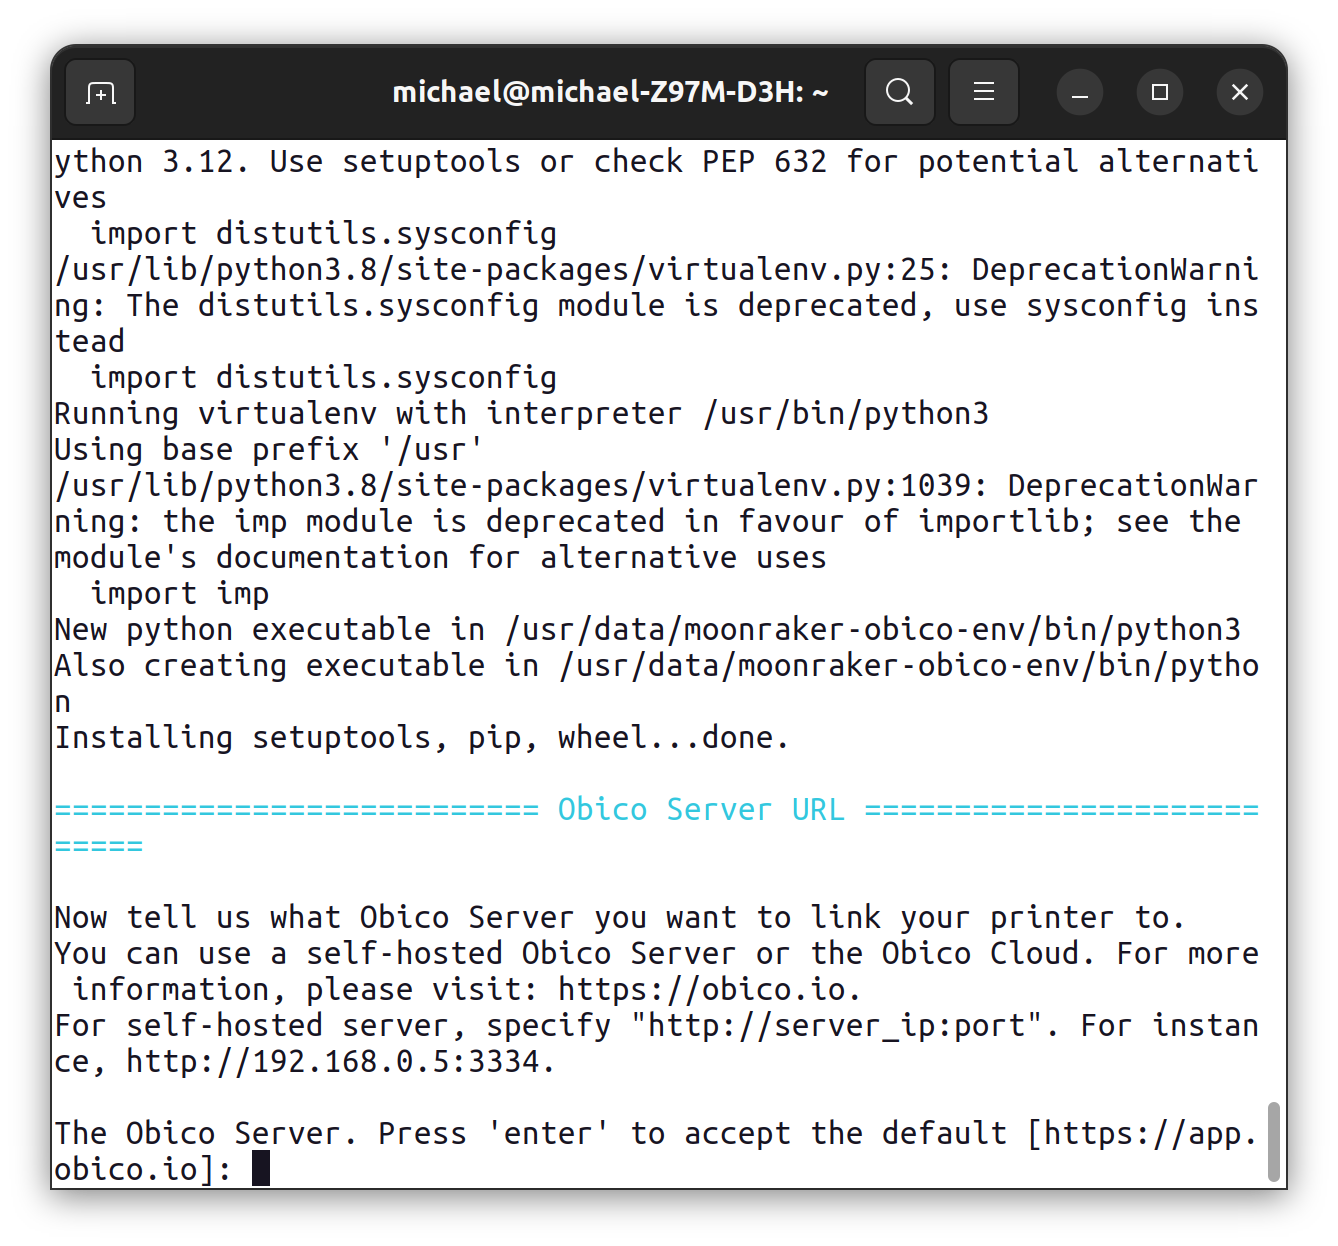
After a long while, it wants us to enter our own server or go to this website: https://app.obico.io/
As we don’t have our own server yet, we use the official server and press the Enter key.
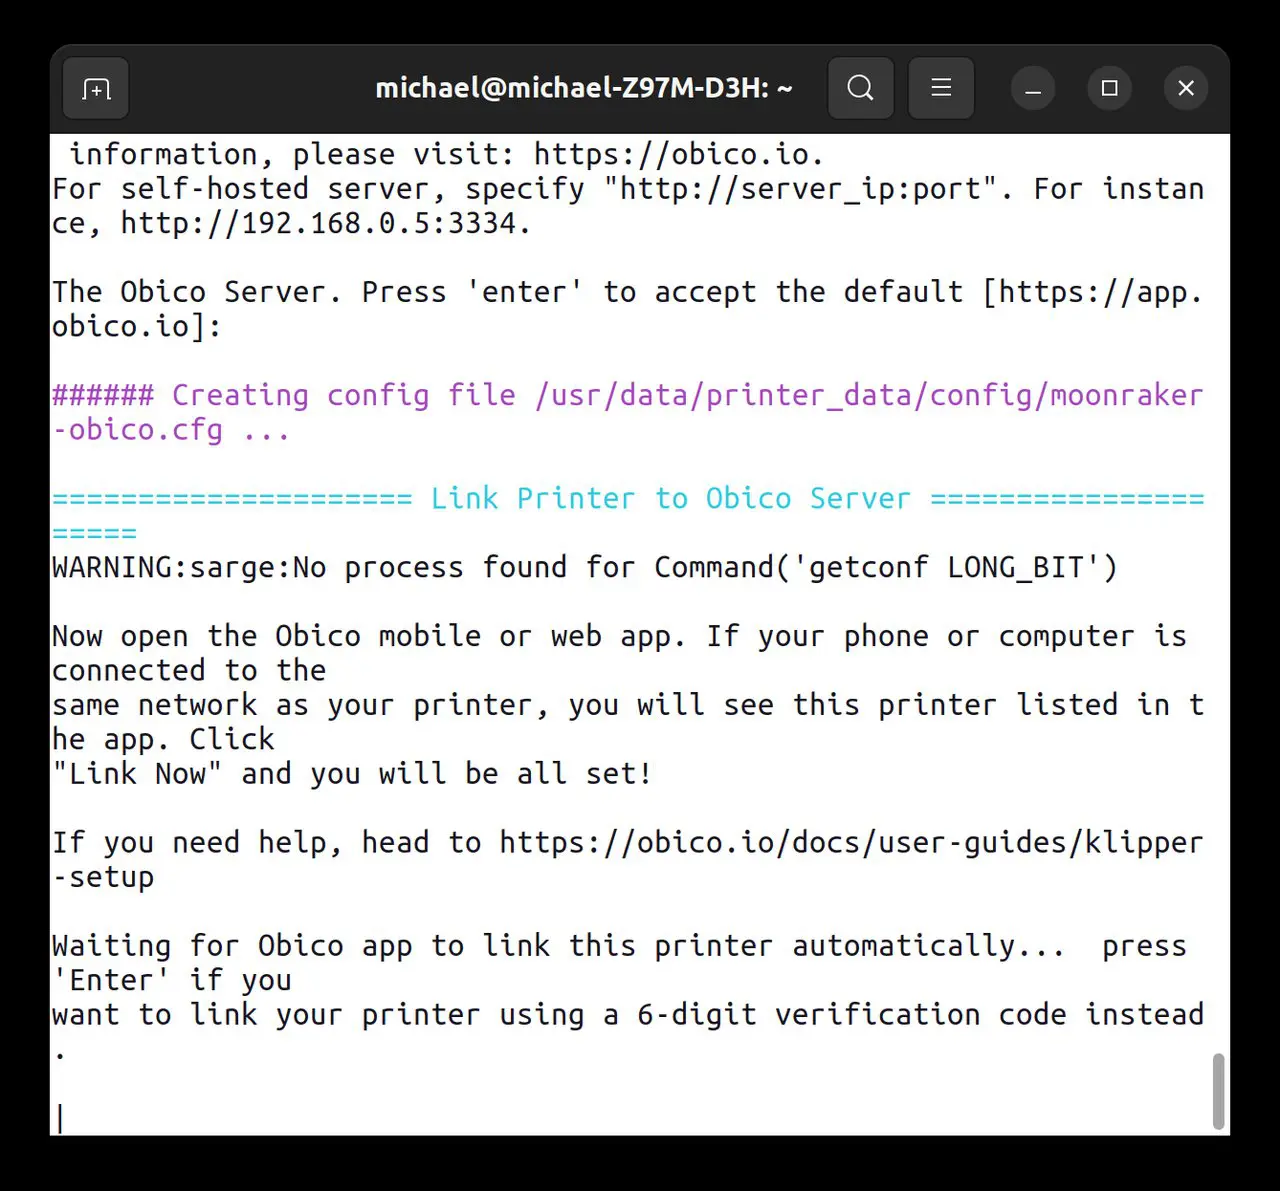
Then the following happens:
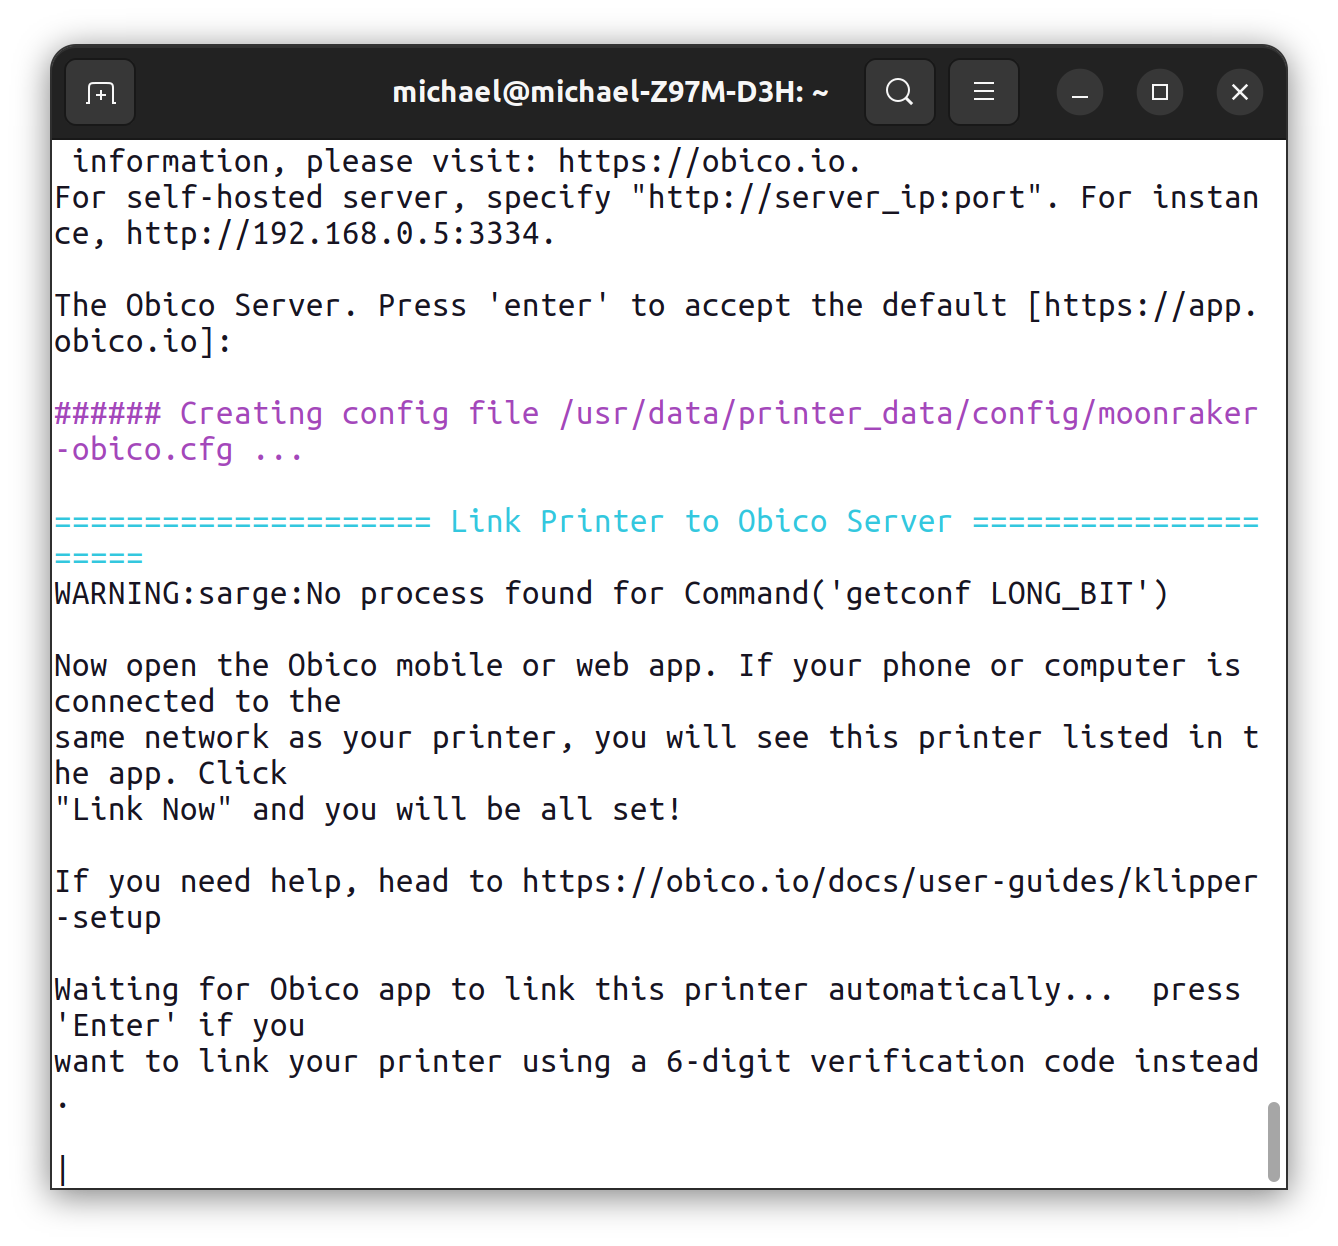
Enter again.
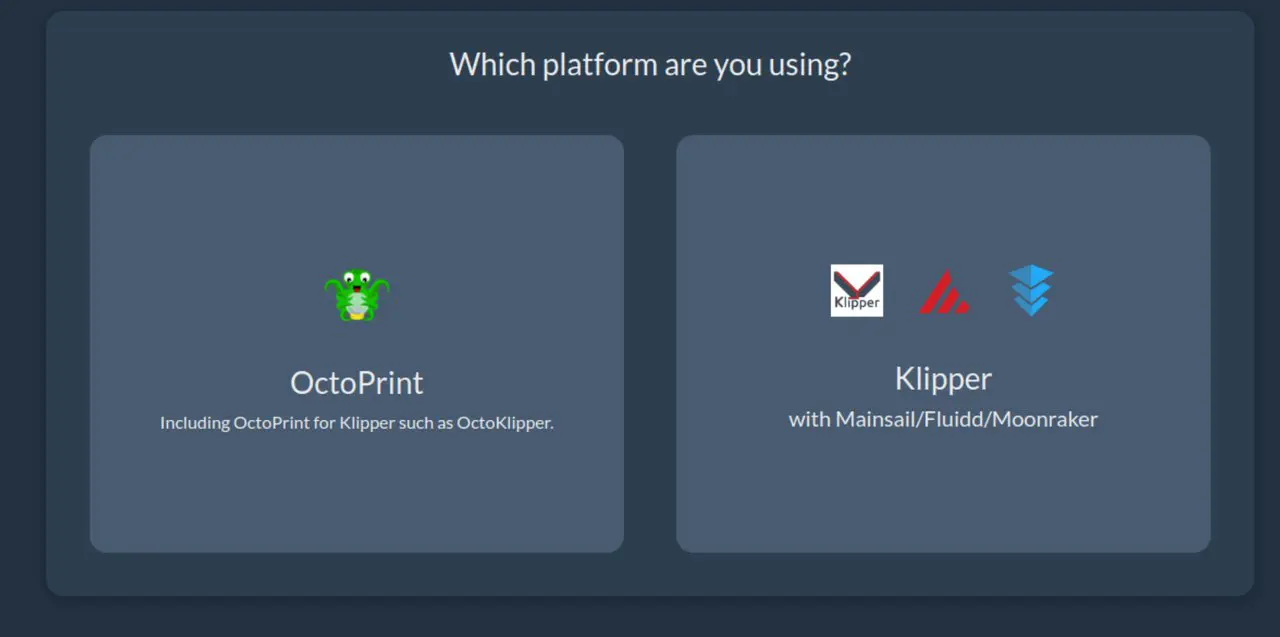
Switch to the Obico website and select Klipper.
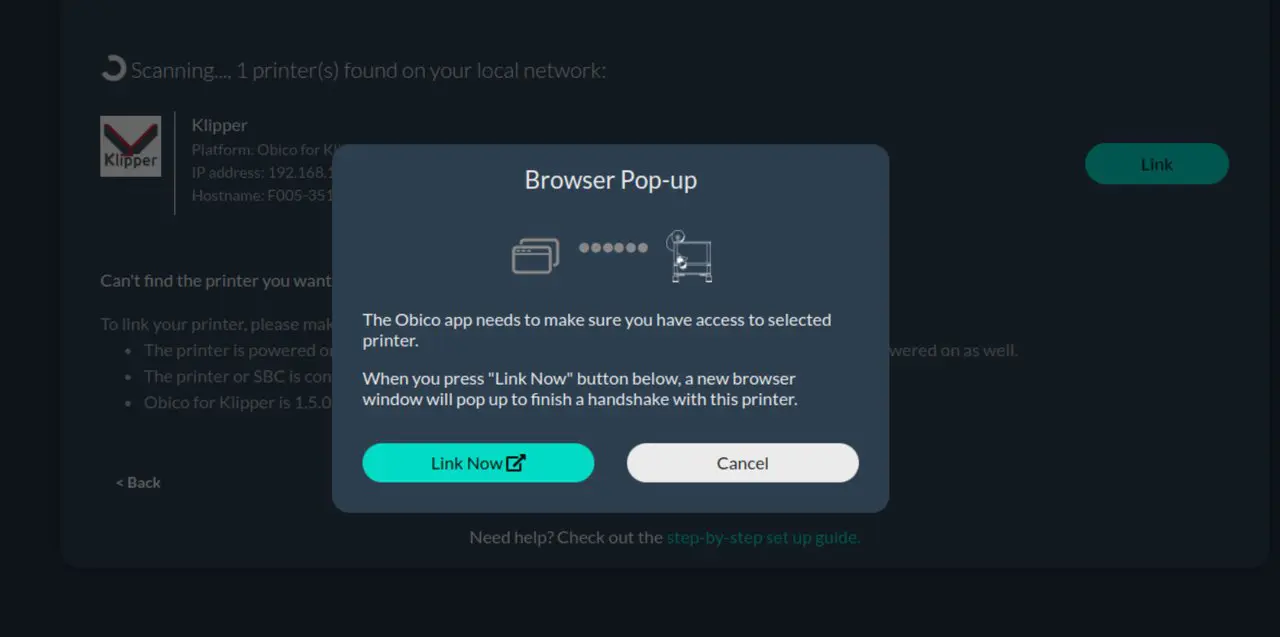
Link now? Yes, of course!
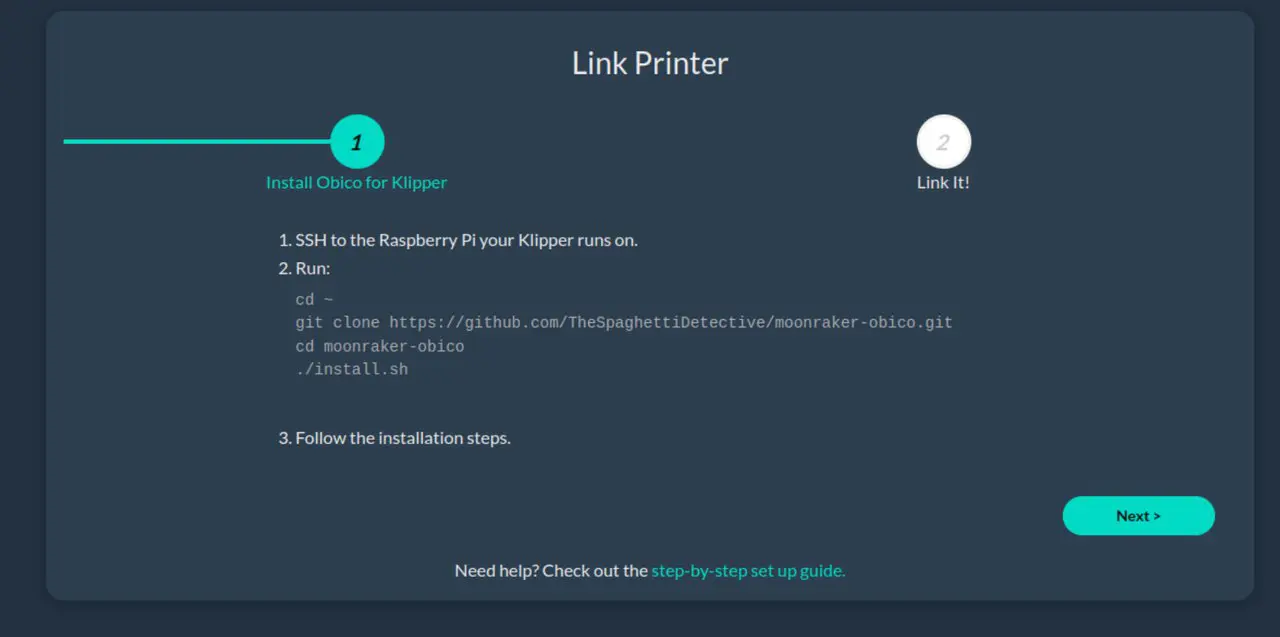
Moonraker Obico is already installed, so let’s click on „Next“.
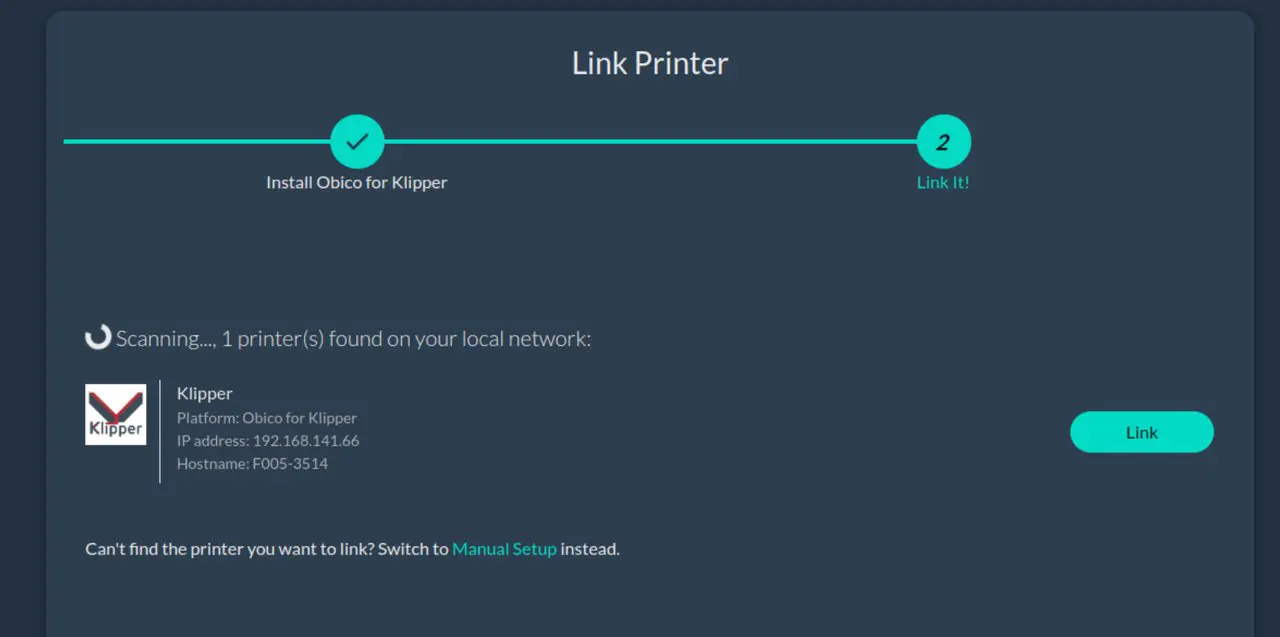
And there it is! We click on „Link“:
We also enter a speaking name!
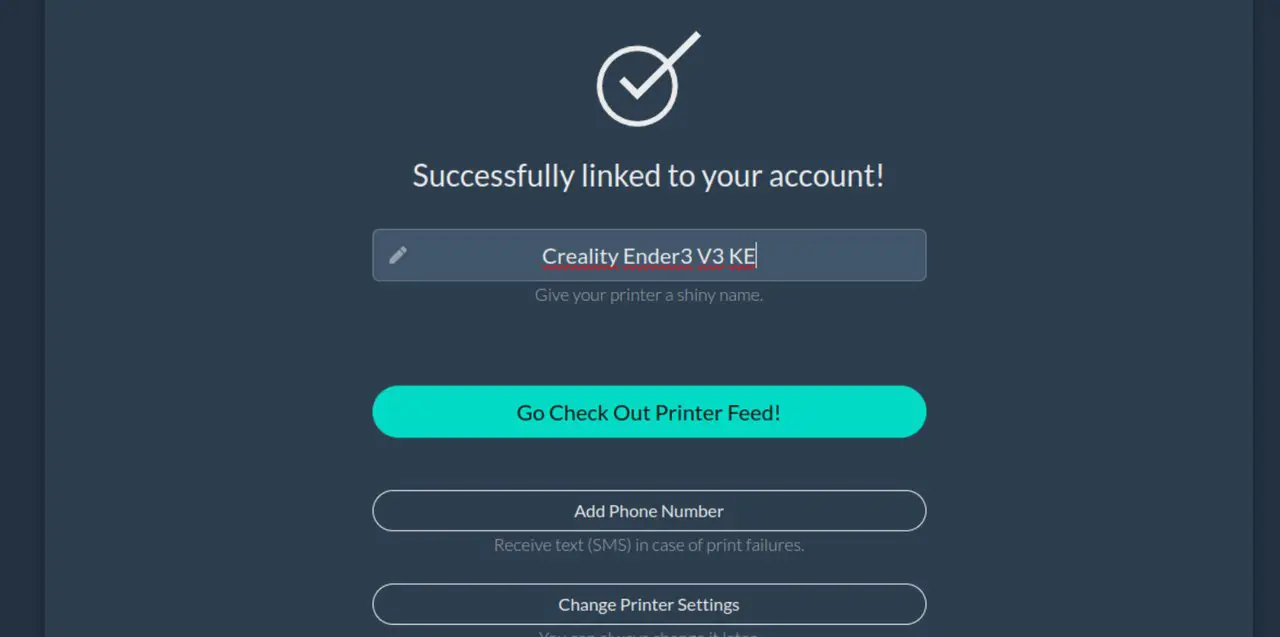
We check the printer feed out, which is still empty as we are not printing.
We end the helper script in the terminal with „q“.
That’s it!
If a print error is now detected, Obico Remote cancels the print job via the Internet. This happens quickly, so don’t be surprised and swear that the printer no longer prints anything, but have a look at Obico.