Inhalt: [-]
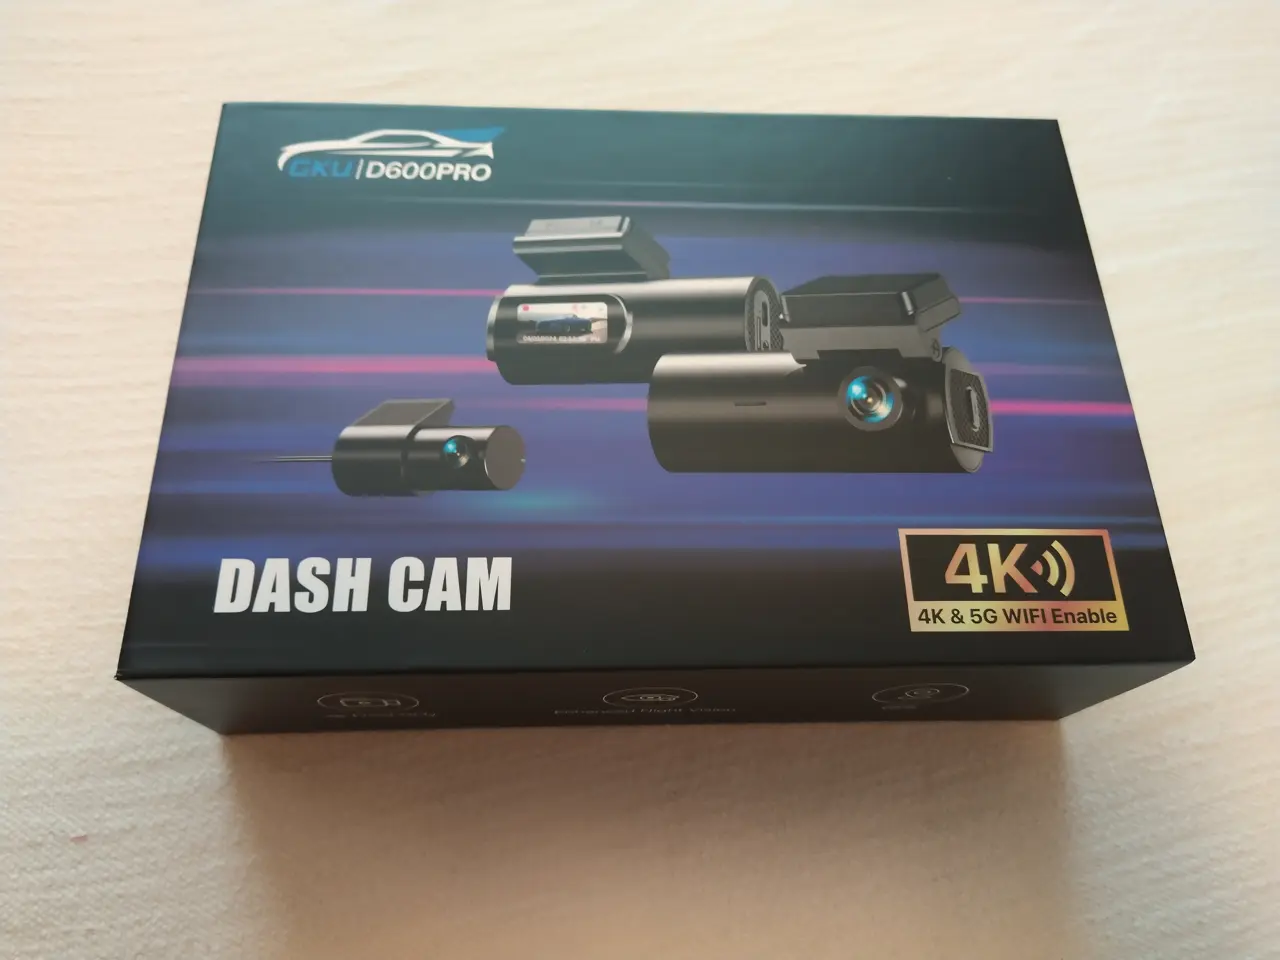
I’ve been tinkering again and fitted our Nissan Leaf with a smart dual dashcam from GKU. So that we don’t have such an ugly adapter hanging around in the cigarette lighter and we can finally use the car park monitoring system in case someone thinks they need to bump into our electric car.
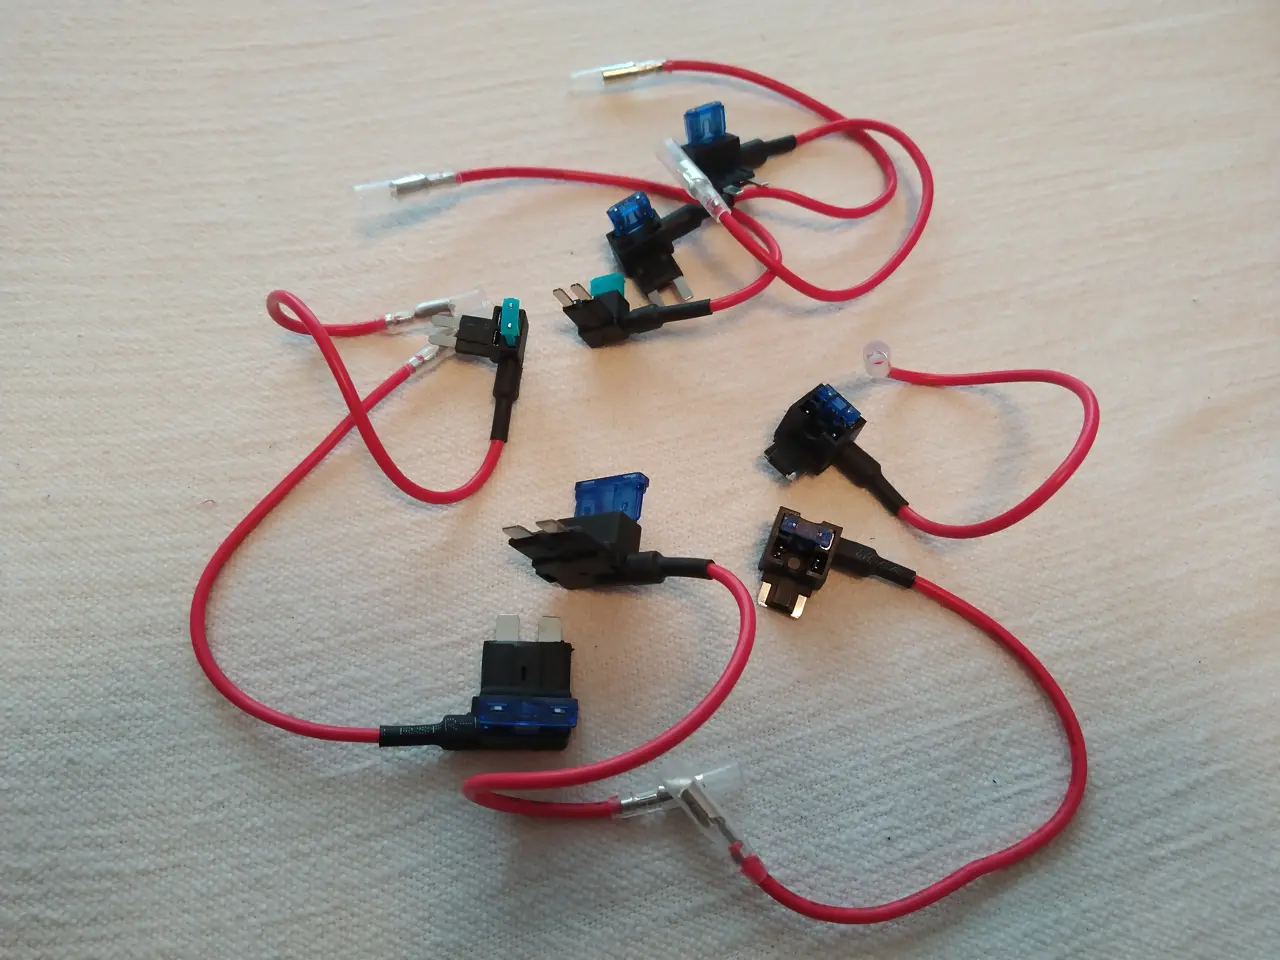
Why this particular set? Well, it was the original accessory for the dashcam and what was the deal with the fuses in our electric car? To be honest, when I looked in the fuse box, I was a bit at a loss as to exactly what type of fuse to put in there. Do you know that too? There are plenty of fuse holders with pre-assembled fuses in the hardware kit. But it’s better to have a few adapters left over than to have to cancel the tinkering if the worst comes to the worst.
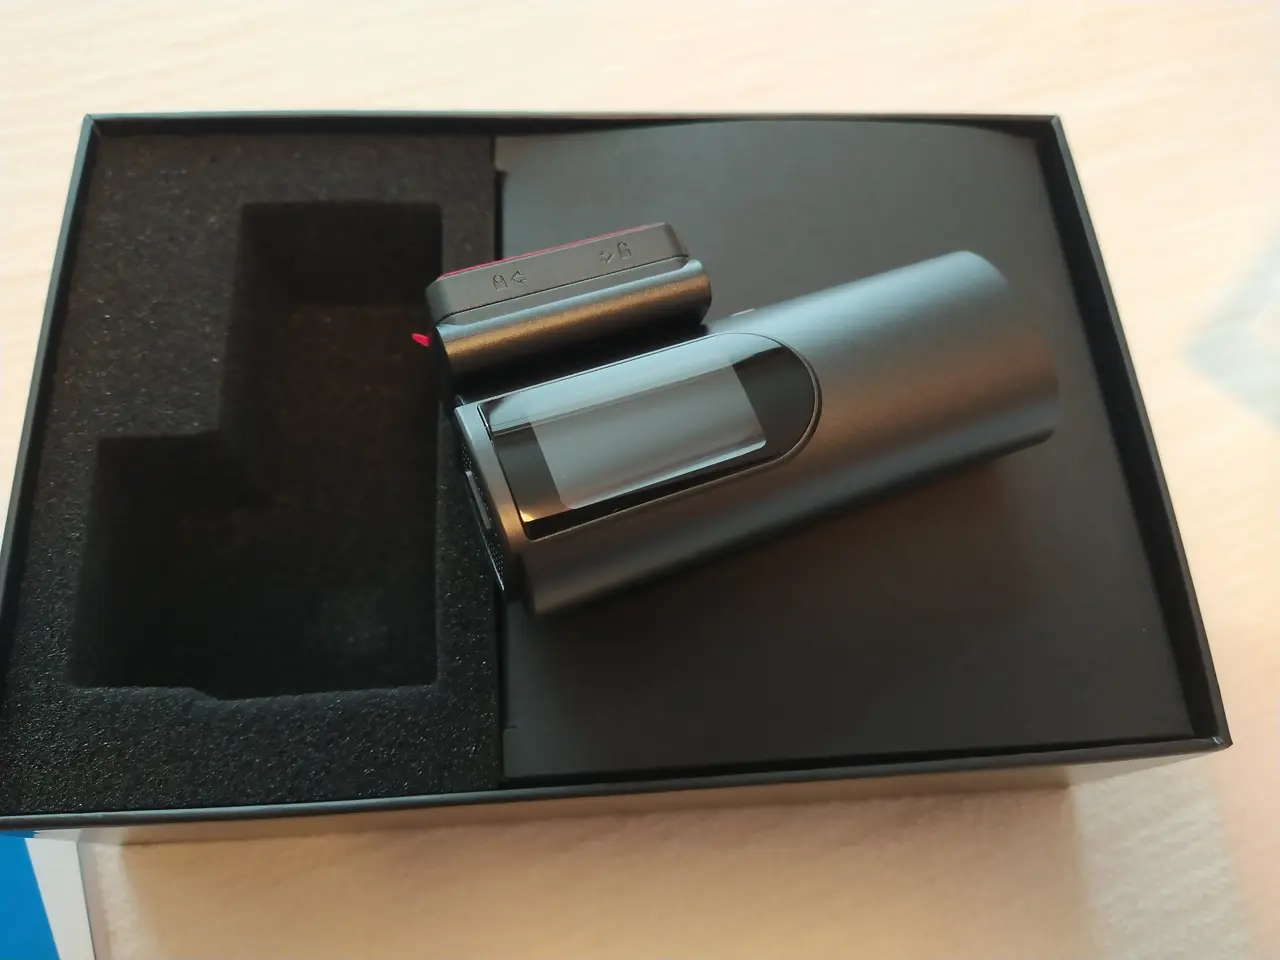
The main players
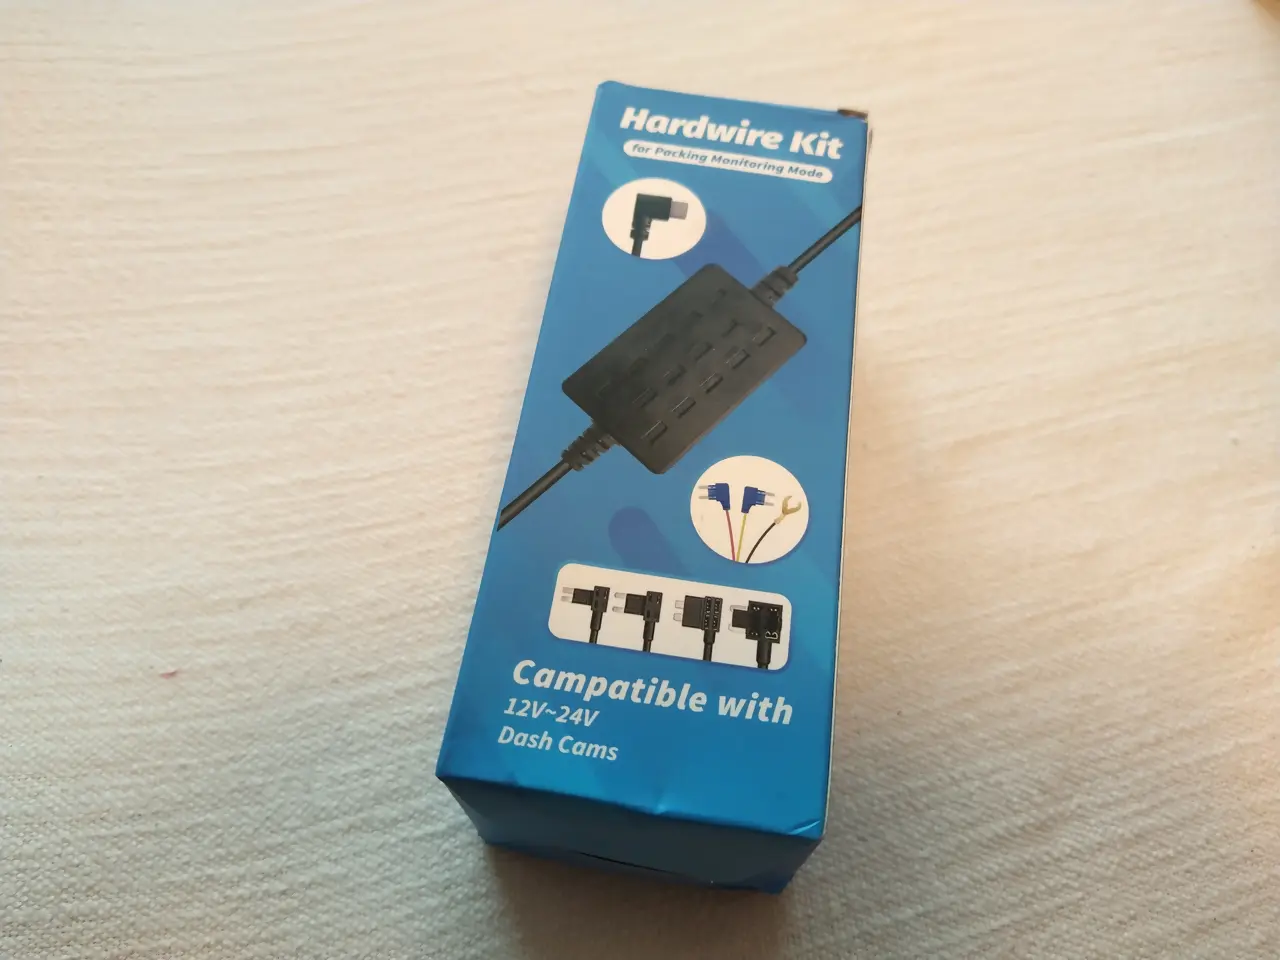
Regardless of which specific dashcam or hardwire kit you choose, the general installation procedure is usually very similar. The hardwire kit is an essential accessory if you want to use the dashcam’s car park monitoring function. It enables the camera to be supplied with power even when the car is parked and switched off.
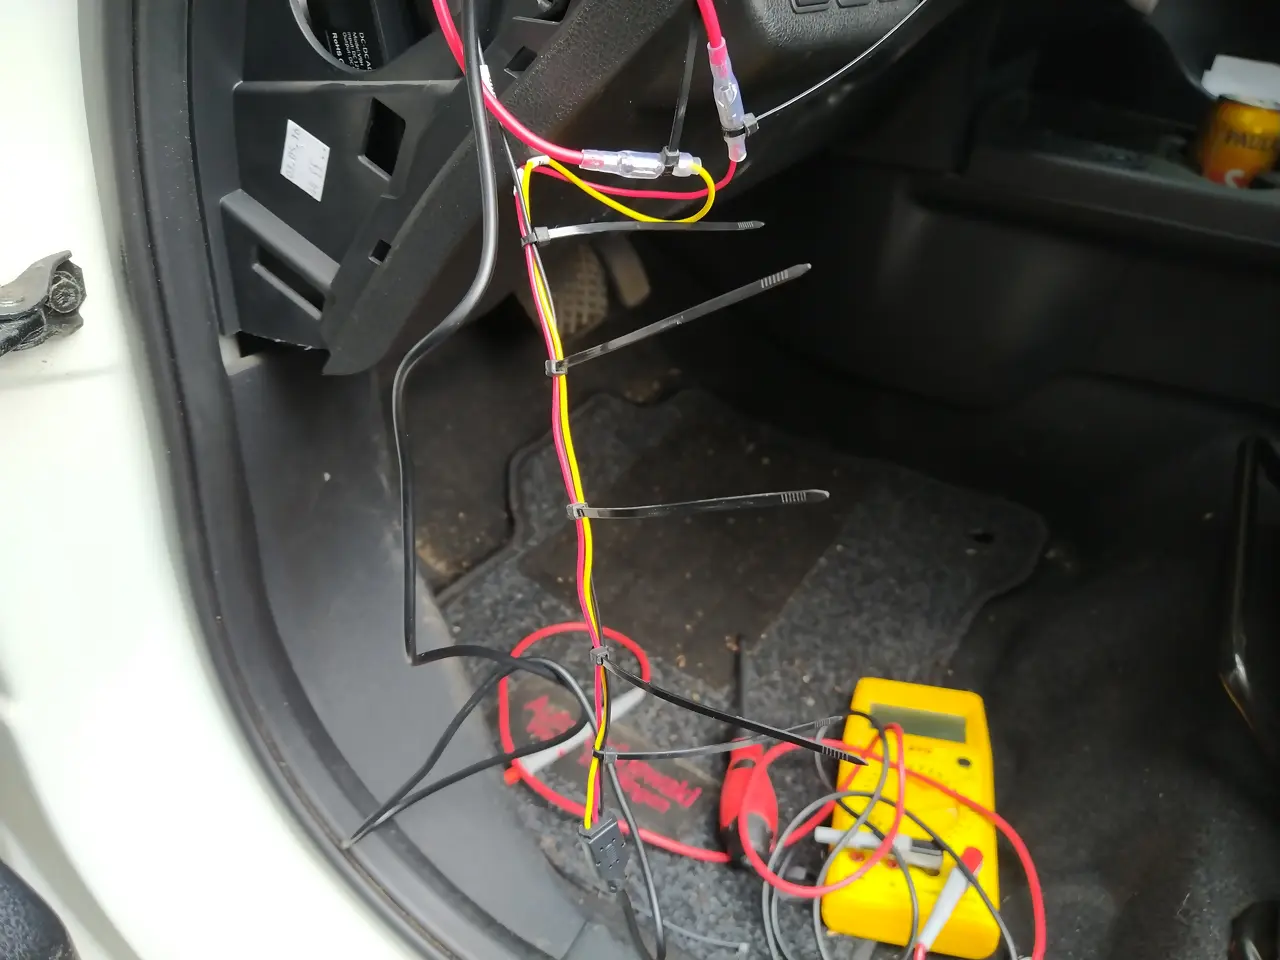
Cable ties and some padded adhesive tape can also be very helpful, depending on the installation conditions in the car. Essential: a simple multimeter or a vehicle voltage tester!
Attention, important!
But now comes an important point:
Do not touch anything without the aforementioned multimeter or a voltage tester (e.g. Duspol)! You absolutely must find the positive pole of the slot in the fuse box. If the fuse holder is installed incorrectly, the dashcam is not fused and, in the worst case, this can lead to a cable fire!
A particularly important point emphasised in the article is safety during installation. Under no circumstances should you come into contact with the vehicle electrics without a multimeter or a voltage tester (such as a Duspol). It is absolutely essential to correctly identify the positive terminal of the fuse slot in the fuse box. An incorrect connection can result in the dashcam not being properly fused, which in the worst case could cause a cable fire.
Explanation
- One side of the fuse slot is the input, which is always live.
- The other side is the output that leads to the device.
If the adapter is plugged in the wrong way round, continuous voltage is applied directly to the output of the adapter – without passing through the plugged-in fuse!
„That’s not good!“
Installation – step by step
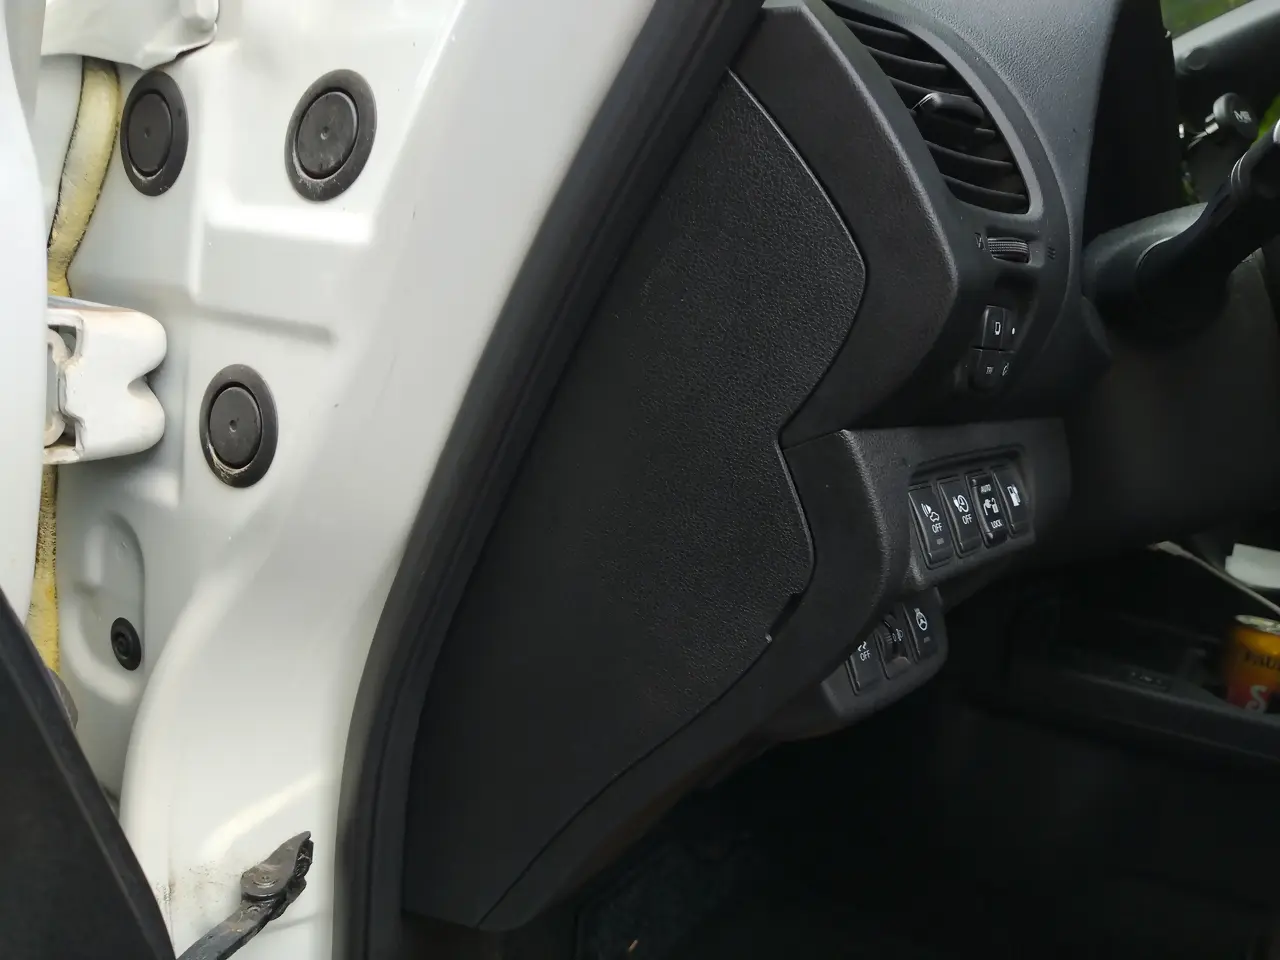
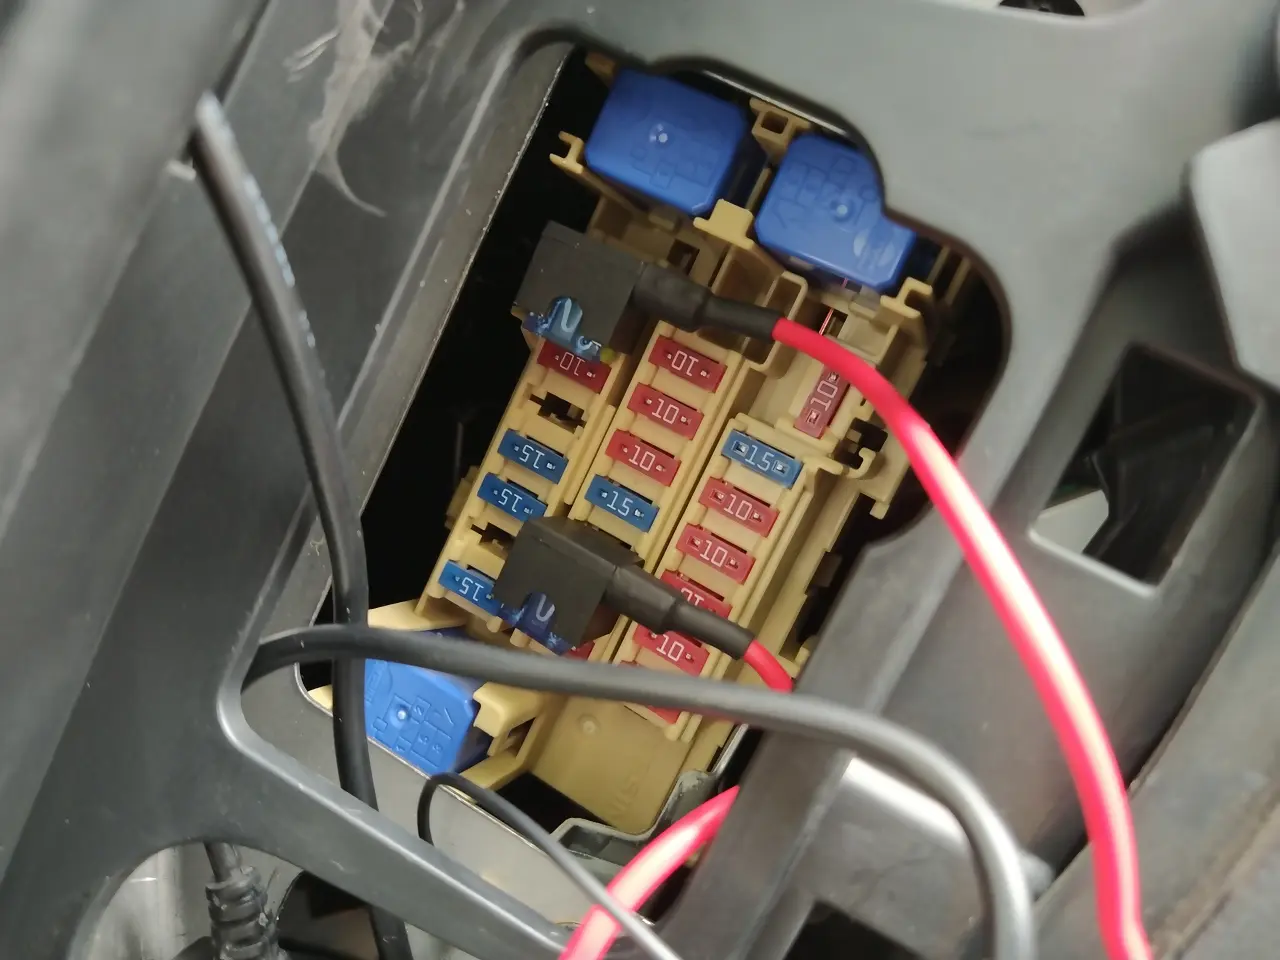
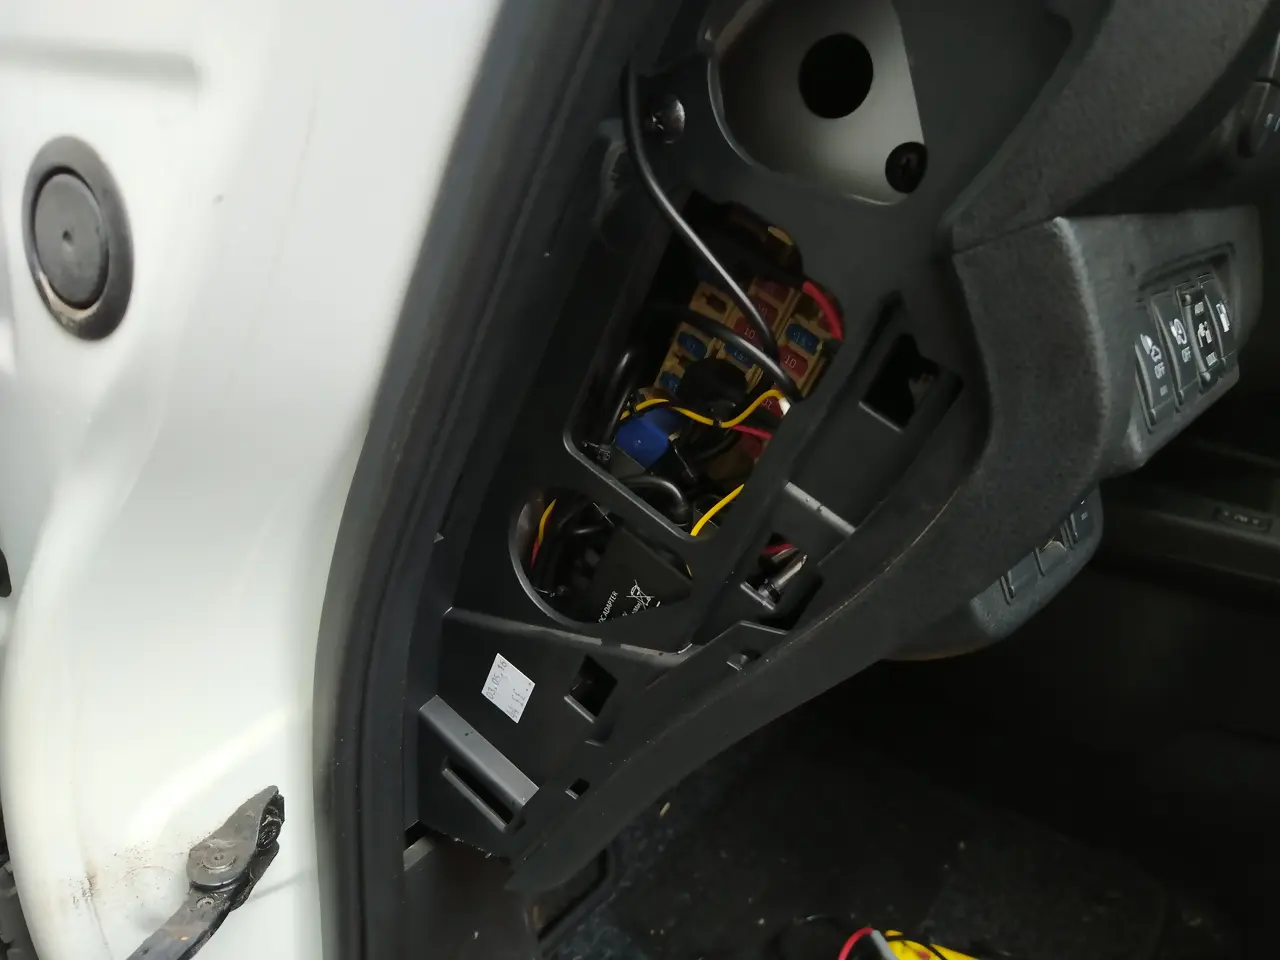
First we check whether we can install the hardwire kit without any problems. In the Nissan Leaf, the fuse box is located on the left-hand side of the dashboard, as you can see when you open the door.
Installing the hardwire kit
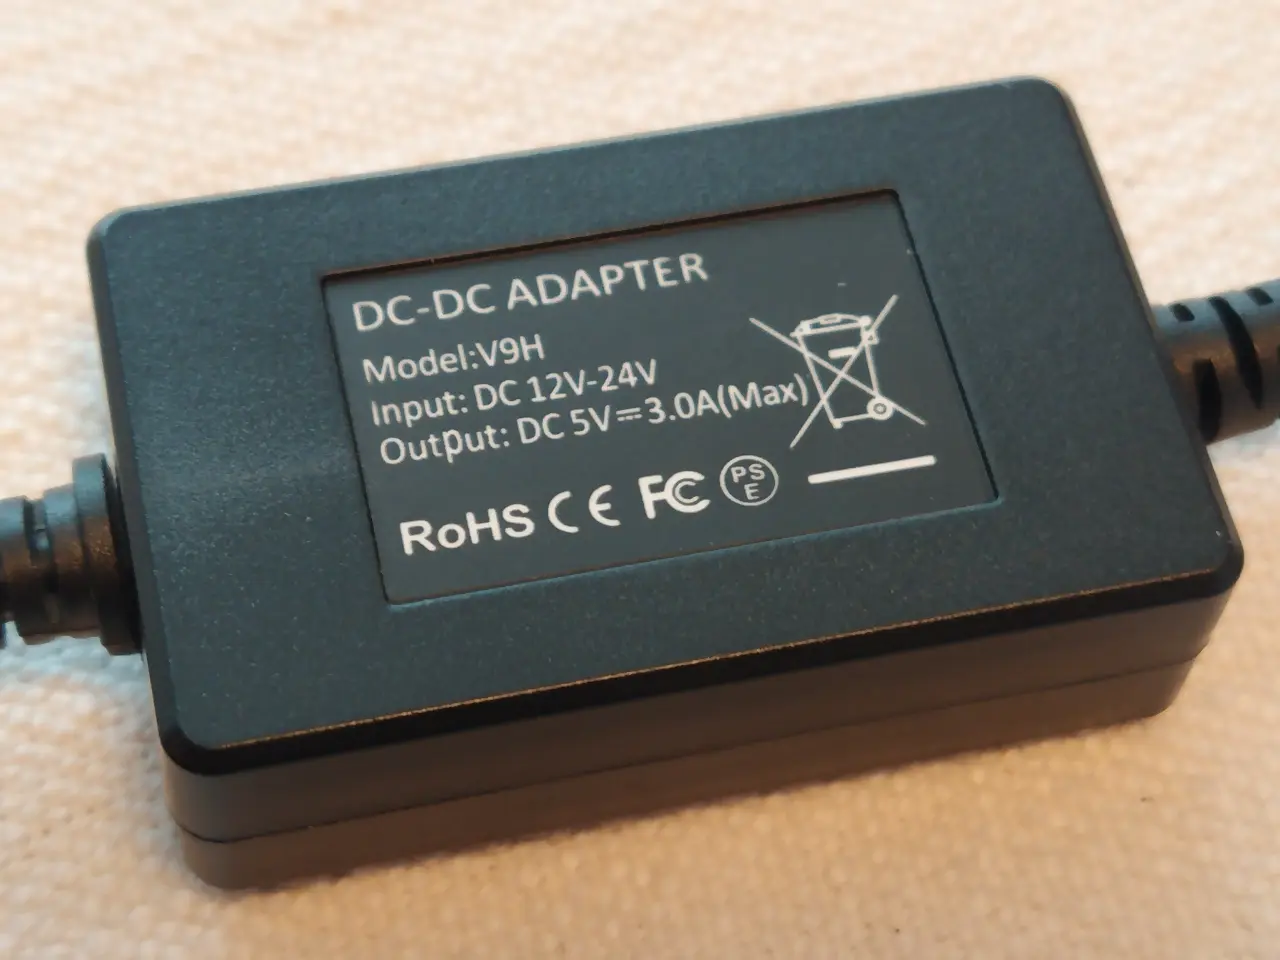
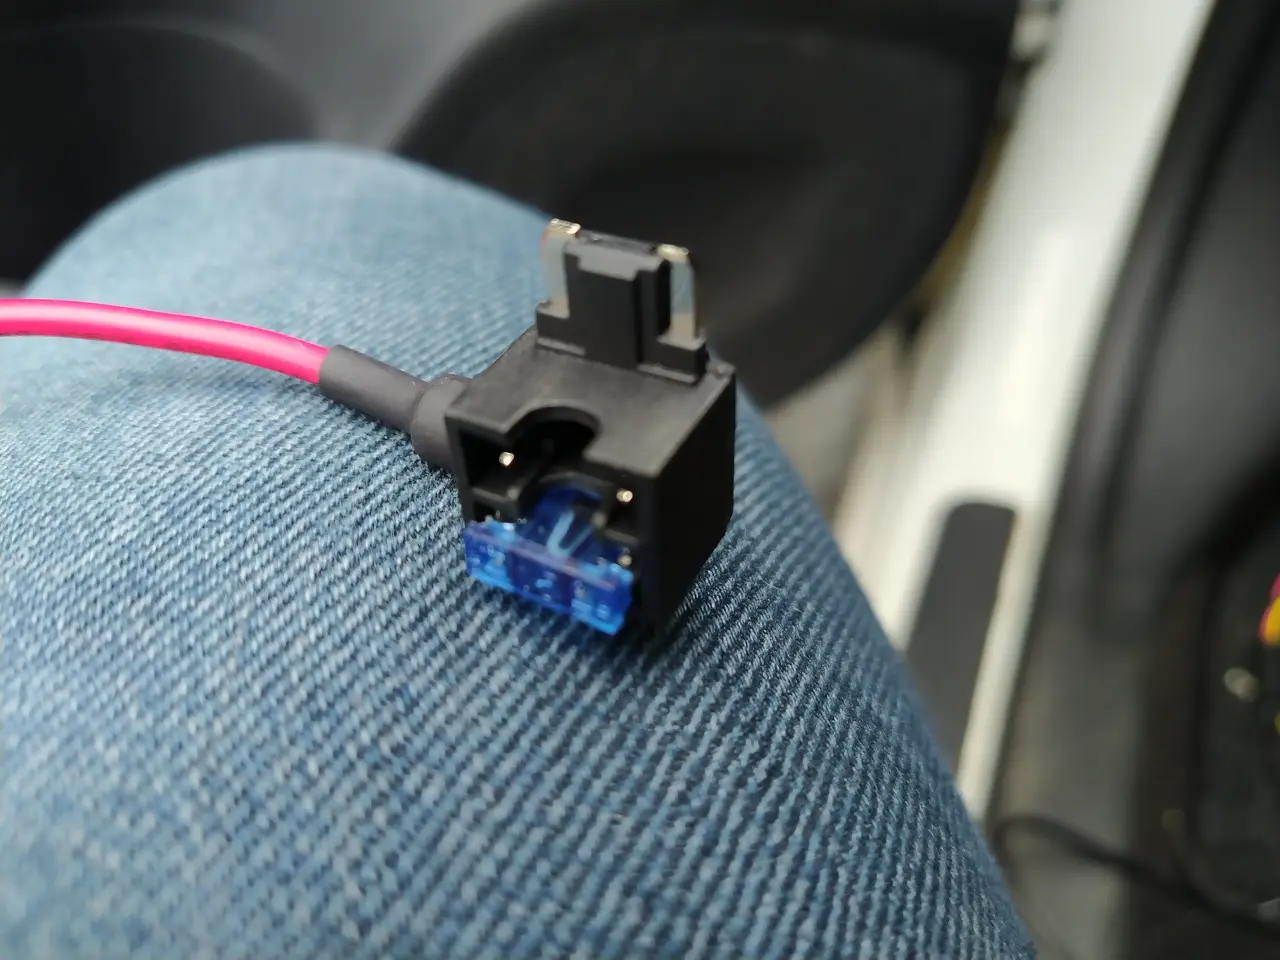
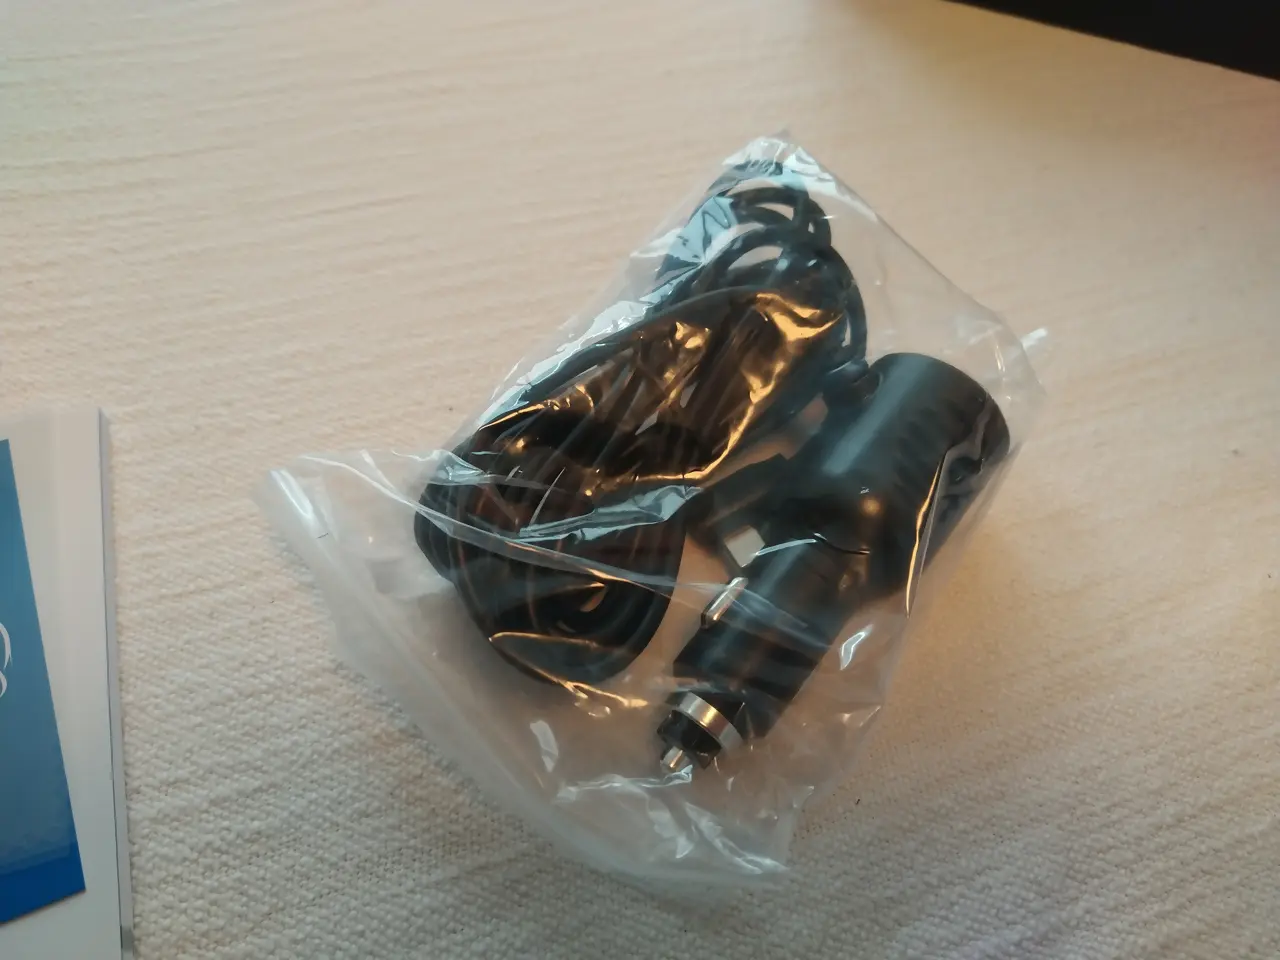
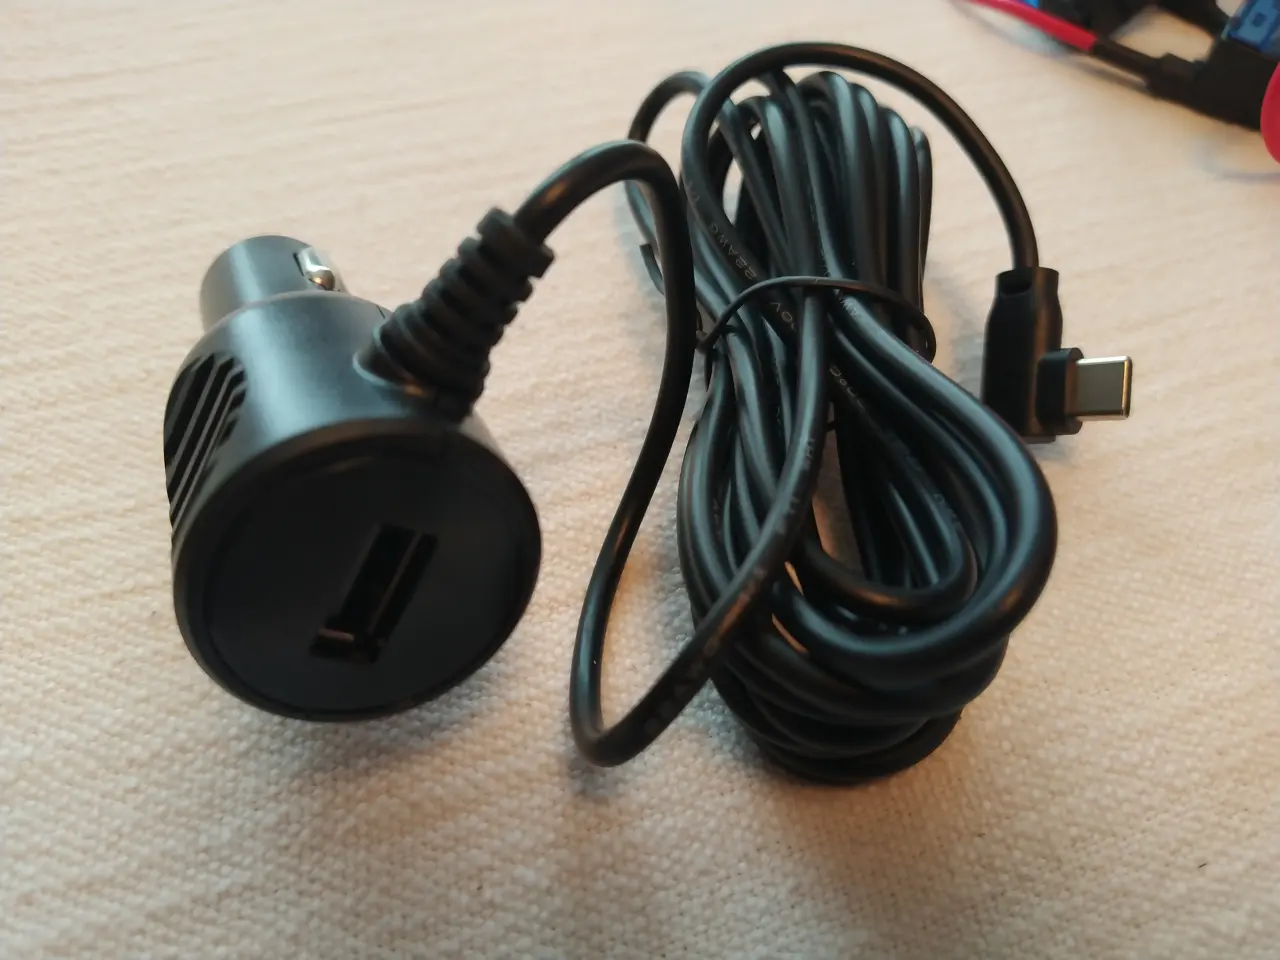
The kit consists of several fuse holders and a voltage converter (power supply unit). The voltage converter is used to reduce the voltage of the car battery (usually 12 volts) to the voltage required by the dashcam (often 5 volts). The fuse holders are there to supply the hardwire kit with power from the car’s fuse box without damaging the fuse slots or cables.
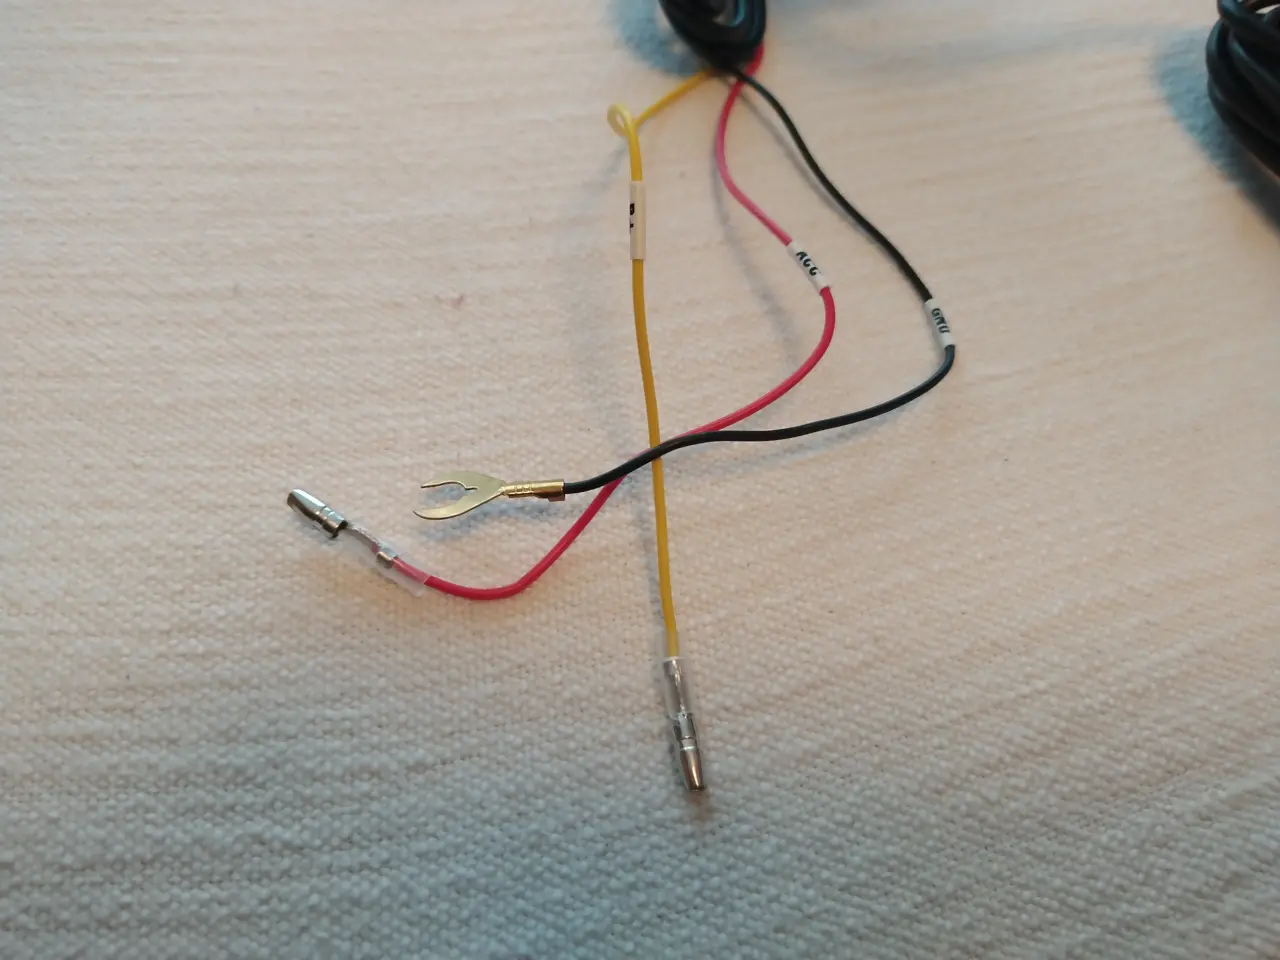
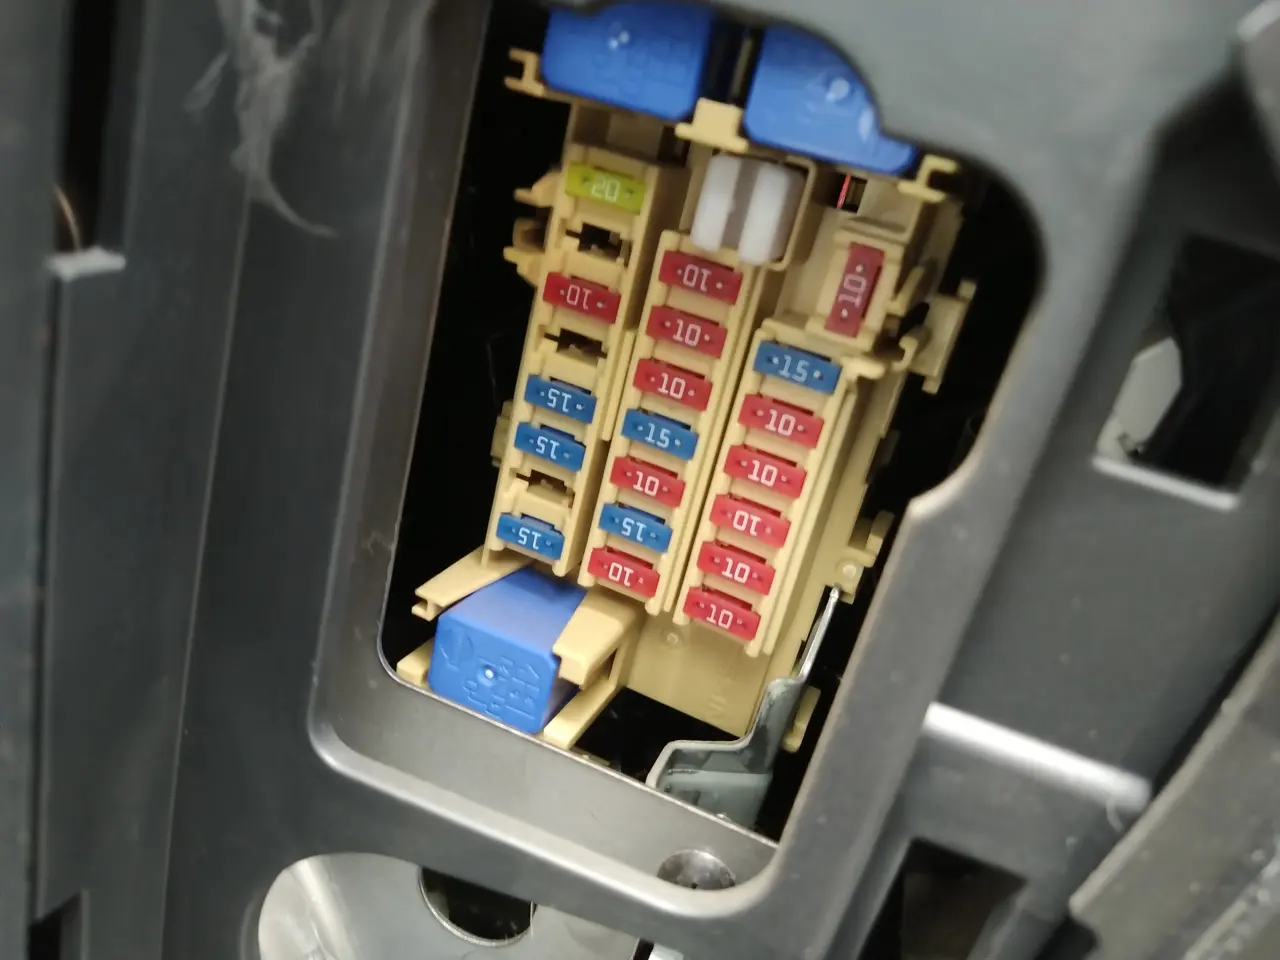
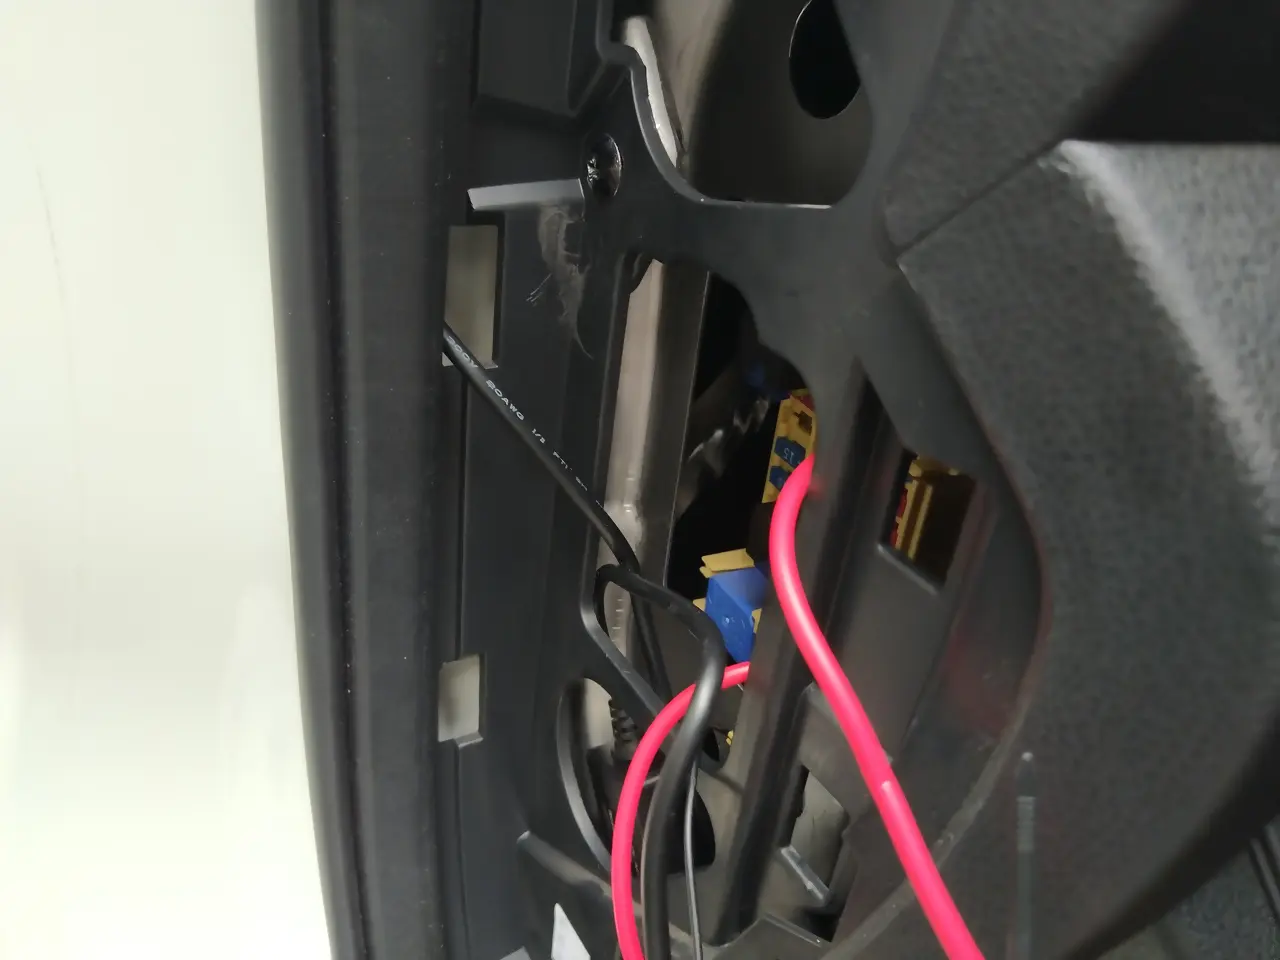
I plugged the fuse adapter for the ignition voltage into the 12V socket („power socket“, „cigarette lighter“). This switches on the dashcam as soon as the car is running. The yellow cable from the power supply unit goes in here.
I plugged the cable for the permanent plus into the fuse holder for the interior lighting („room lamp“). This connection is for the car park monitoring system and is where the red cable from the power supply unit goes.
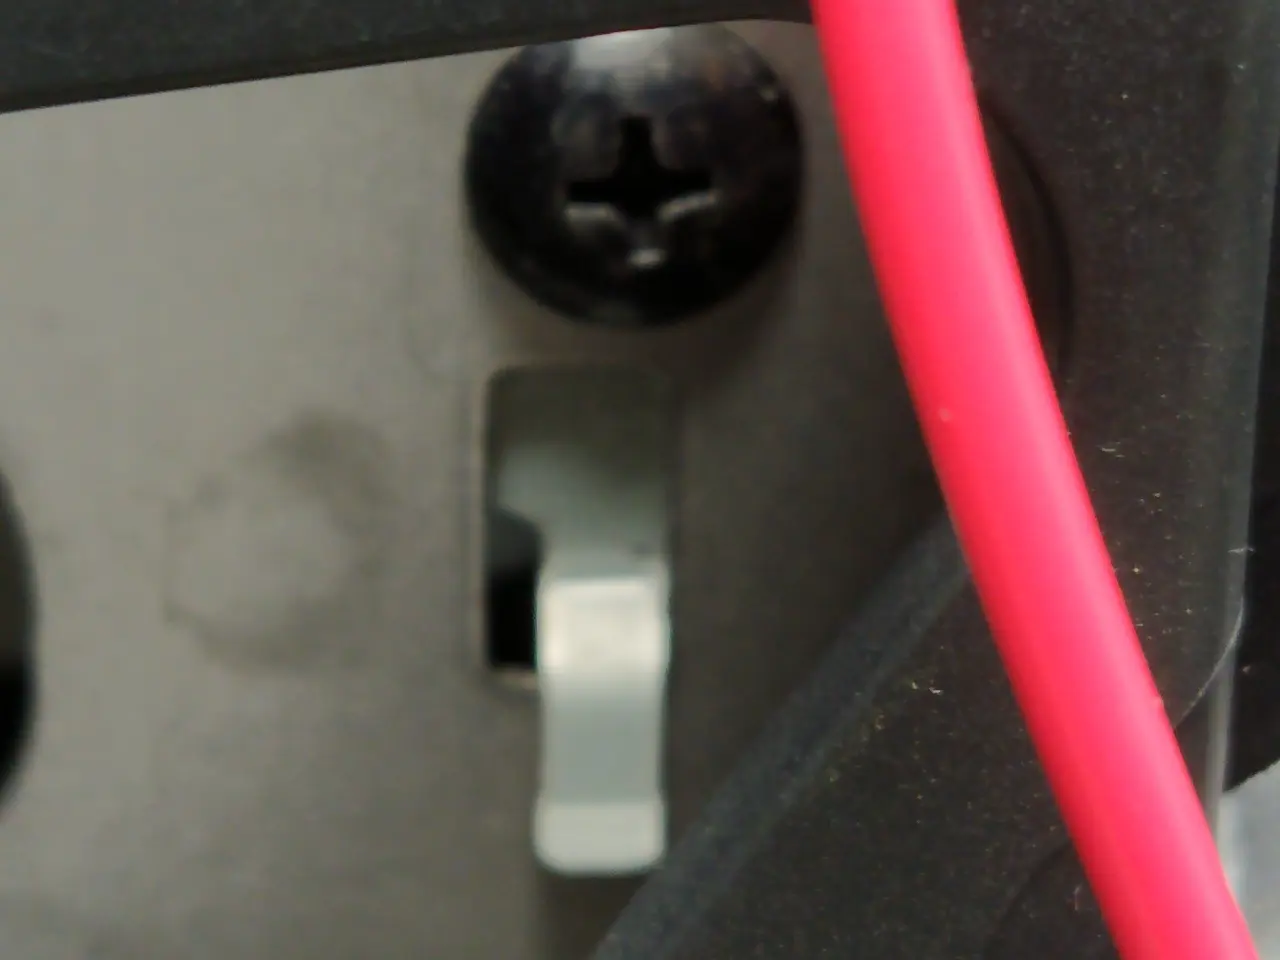
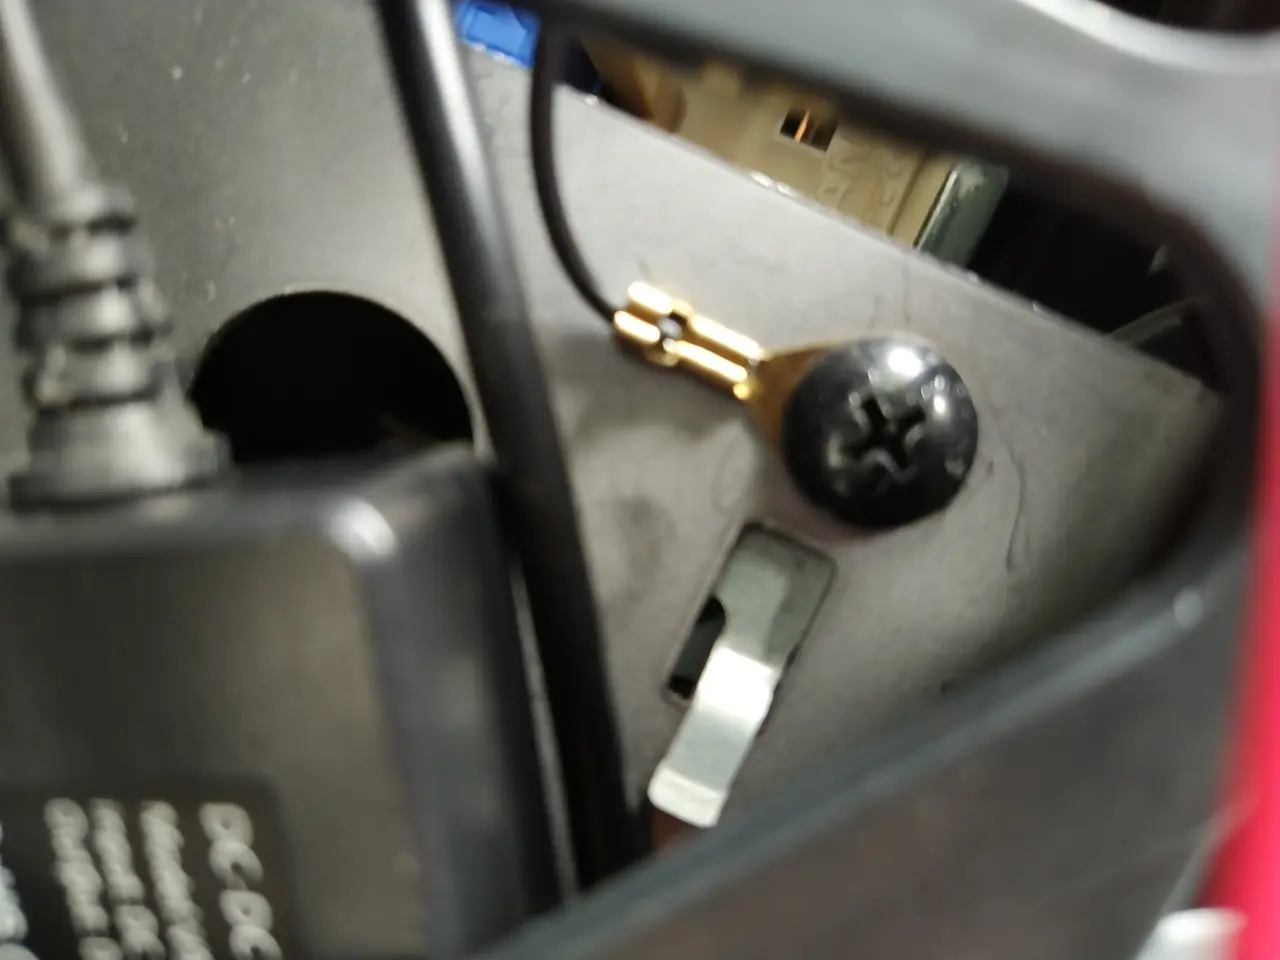
I attached the black cable with the eyelet for the earth to a bare metal point in the fuse box using a screw. Good contact is important, so remove any paint!
The original fuse, which must be removed beforehand, is then inserted into the free slot of the respective fuse adapter and protects the original consumer again. The dashcam is supplied via the pre-installed fuse in the fuse adapter. This ensures that both the original circuit and the dashcam are protected separately.
I secured the banana plugs of the yellow and red cables with a cable tie to ensure that the connection holds.
I neatly bundled the whole thing with cable ties so that everything is reasonably tidy in the fuse box.
The power supply unit fitted neatly into a free space under the fuse box without rattling while driving.
Fitting the dashcam
Before we started with the cable routing, we first had to answer the tricky question: Where exactly should the good piece actually go?
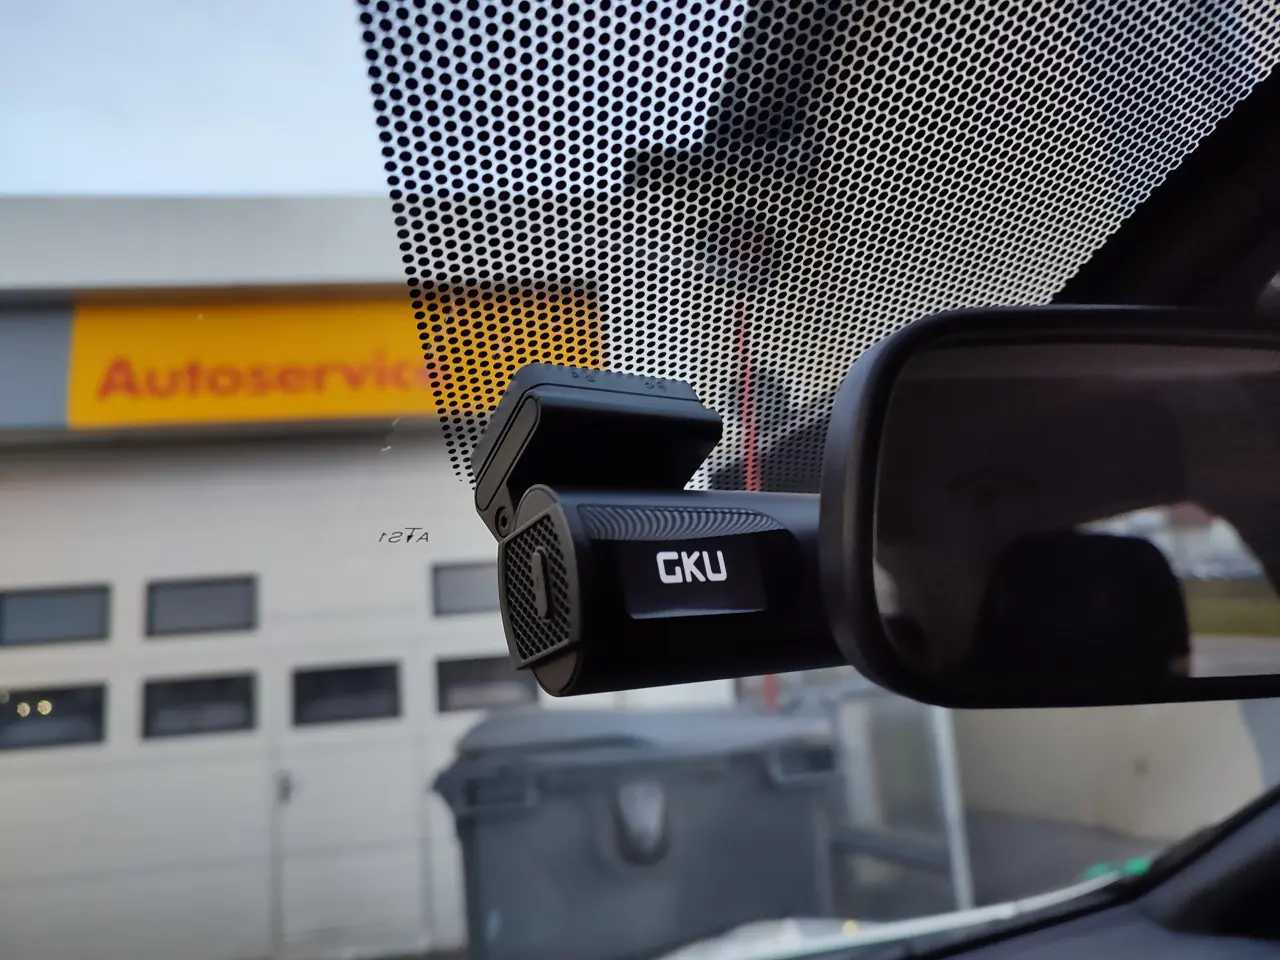
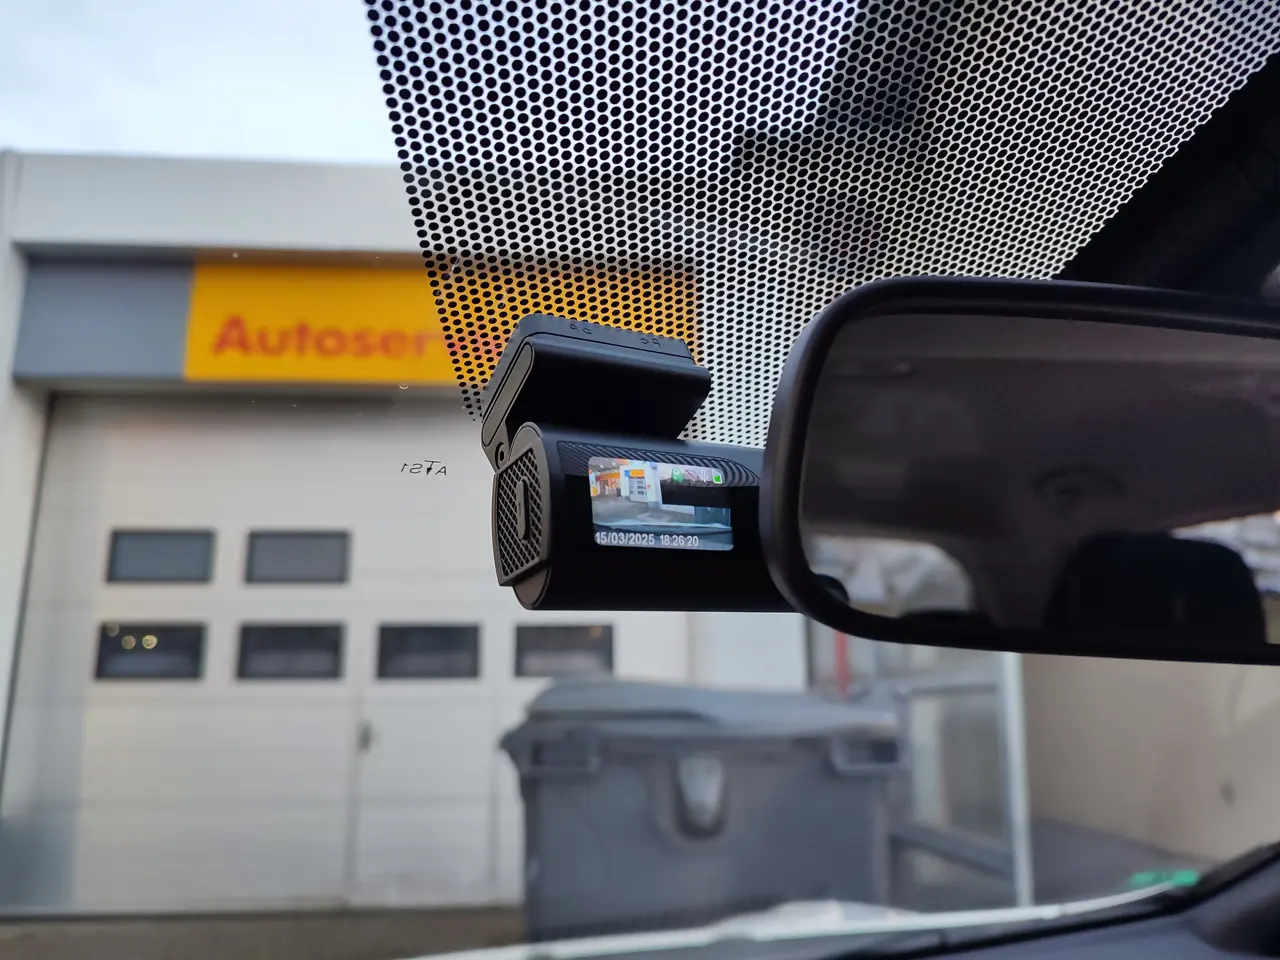
Of course, the dashcam should have as much of the road (and less of the sky!) in view as possible and still be mounted as high up as possible to ensure visibility. At the same time, however, it should not obstruct the field of vision. And ideally, you should still be able to see the display, as well as the emergency release button to lock the video.
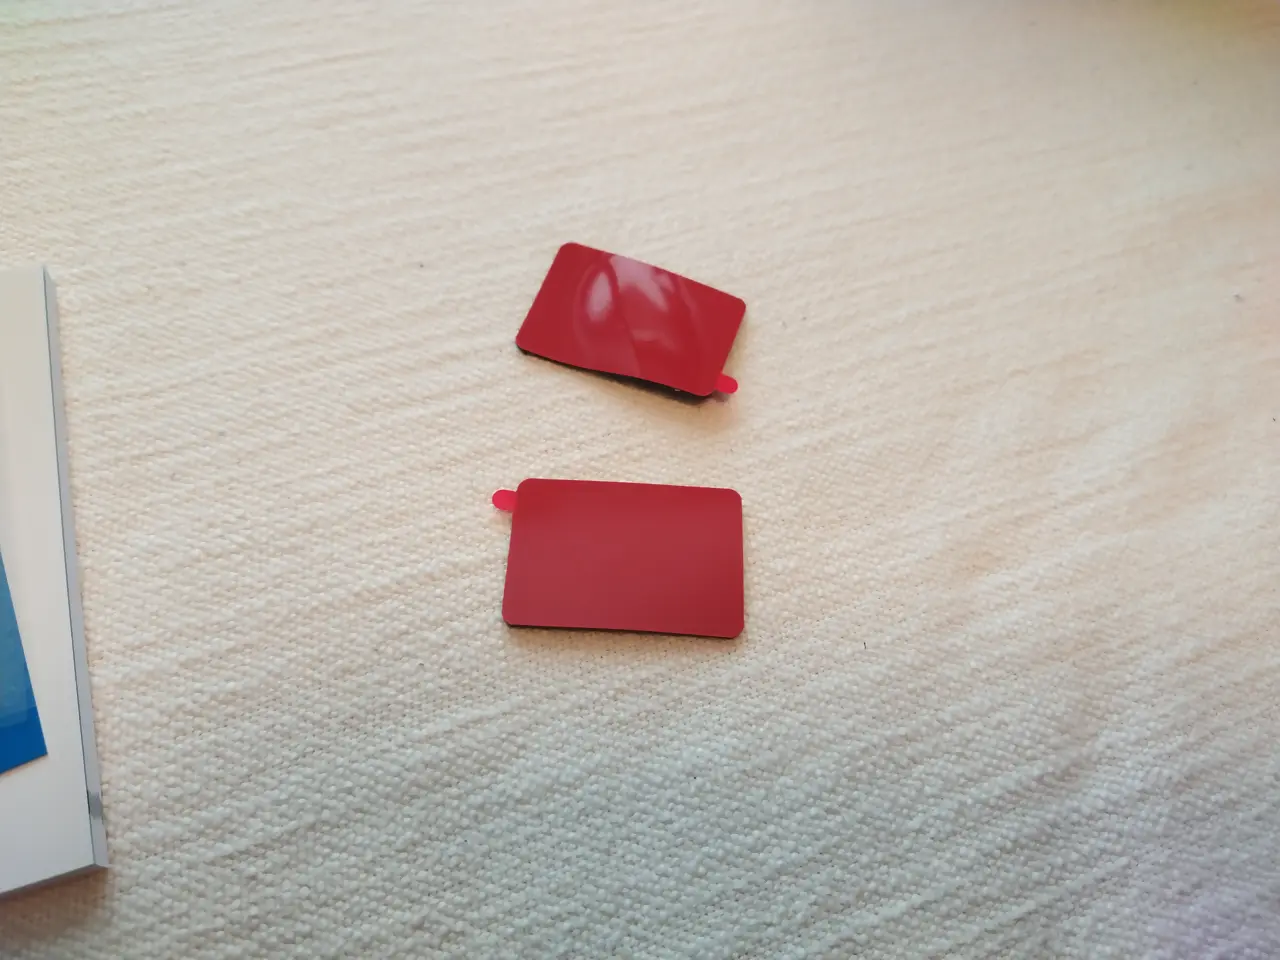
Many dashcams are attached with an adhesive pad or suction cup. This is mounted on a removable base on the windscreen using an adhesive pad. But remember, the windscreen must be thoroughly cleaned before attaching to ensure that they stick securely.
Oh yes, and to change the memory card, the device must of course also be accessible – fortunately, with the GKU this can be done by pulling the entire dashcam out to the right. This area must therefore be kept clear.
In our case, the dashcam fitted perfectly on the left-hand side behind the interior mirror.
It came with a 64 GB memory card, which worked perfectly for a few weeks. However, I then replaced it with a 128 GB SanDisk.
The cable routing
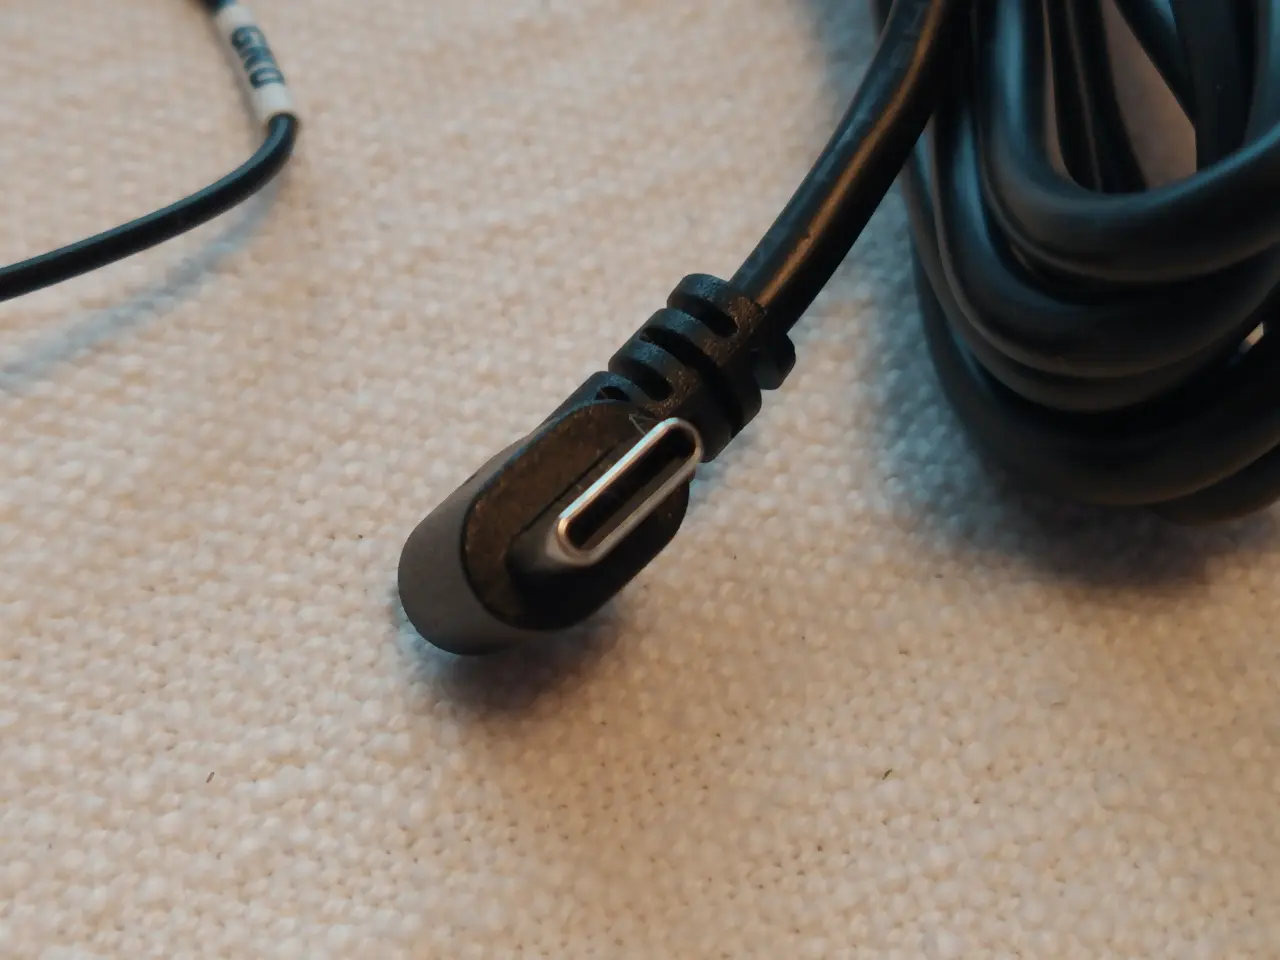
I routed the USB-C cable of the dashcam under the trim of the sensors along the interior mirror and then in the gap between the windscreen and the roof lining to the A-pillar to finally reach the fuse box under the door seal.
The USB-C cable was actually a bit too long for our Nissan Leaf. It could have been shortened and fitted with new plugs, but as it had to be done quickly and there was enough space in the fuse box, I left it as it was.

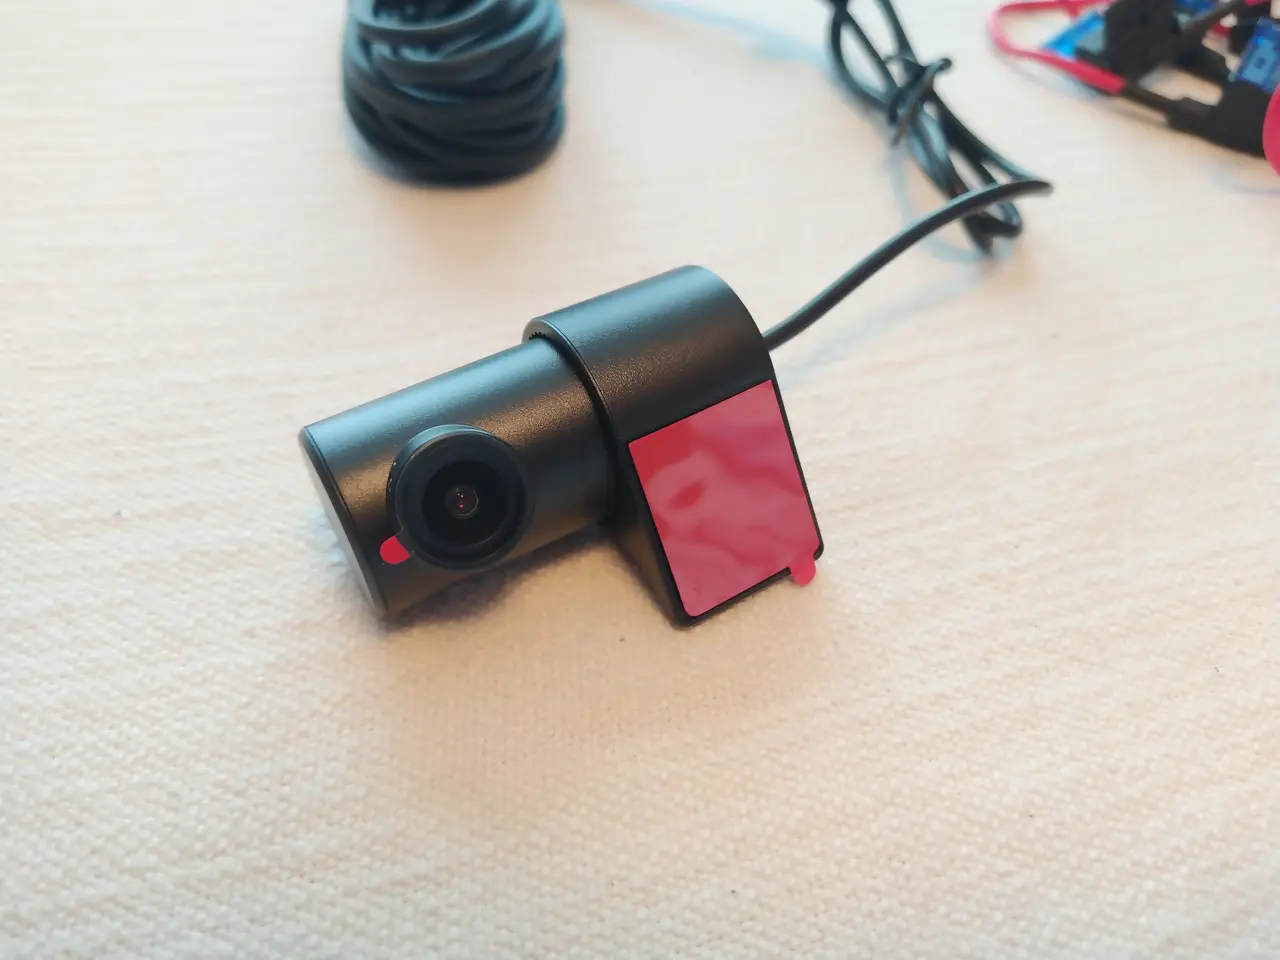
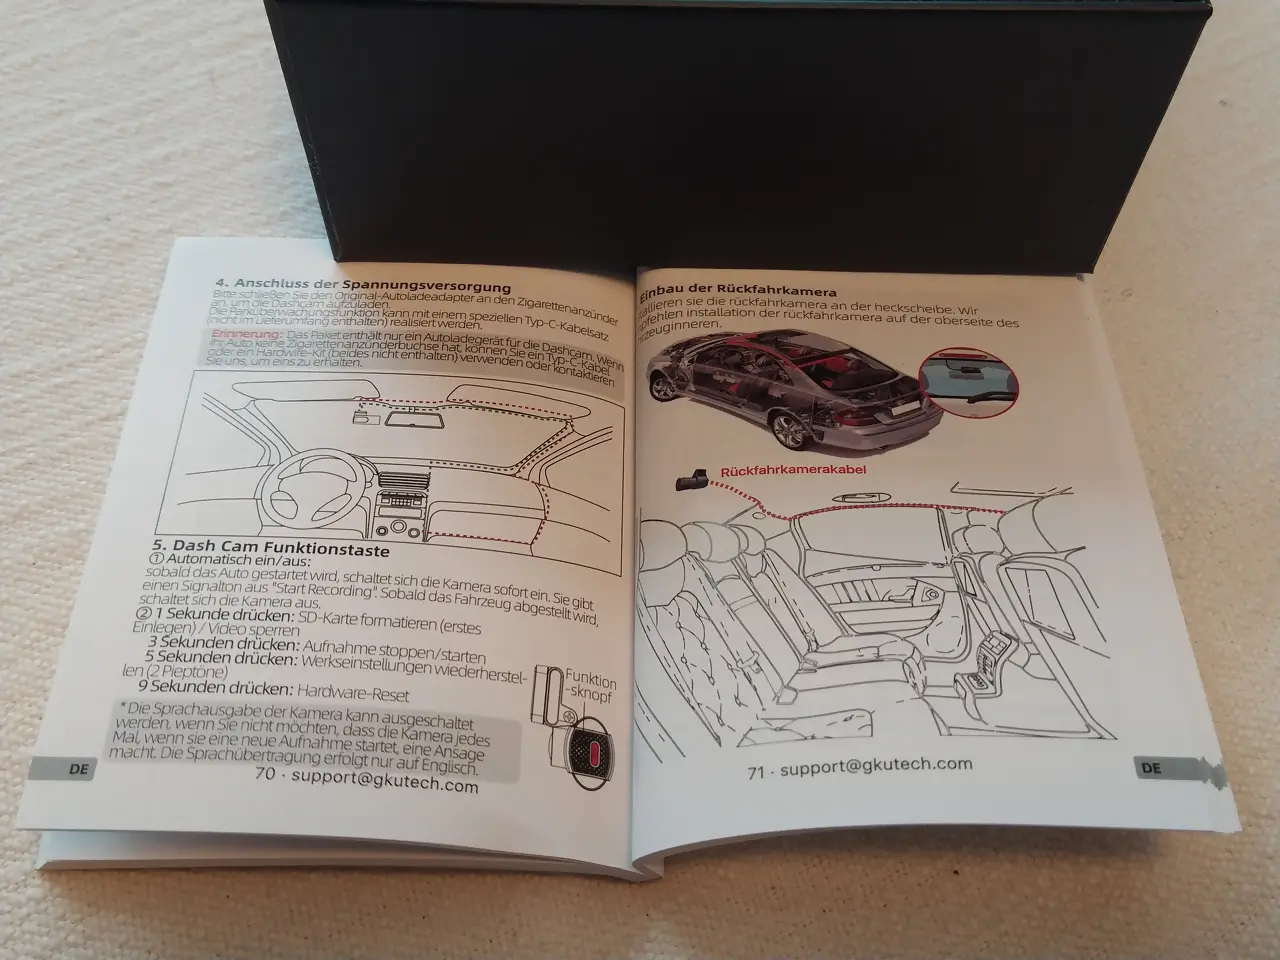
Fitting the rear dashcam
Okay, let’s get to work on the rear camera wiring! The cable for the rear camera has to go to the very back somehow. If you opt for a dual dashcam that records both the front and rear of the vehicle, the cable for the rear camera has to be routed to the rear somehow. Depending on the vehicle model, this can be a somewhat tricky task. You often have to remove interior panelling to route the cable along the roof lining or floor to make it as invisible as possible. I have solved this problem in all our cars so far:
It’s best to hide the cable above the door frame, between the panelling and the roof lining, up to the boot lid.
There you should lead the cable out of the centre of the trim where the dashcam will later be glued directly to the trim of the tailgate or the interior trim – depending on what fits better in your car.
if the cable is too long, you can carefully push it into the panelling of the C-pillar. But be careful: leave the cable long enough! It must still be possible to open the tailgate without tearing off the dashcam. Of course, the cable should not hang loose in your field of vision.
And very important: the rear camera should also not film the sky, but the traffic behind you. Also make sure that the camera can see in the wiping area of the rear wiper and in the area of the rear window heater. The heating wires are usually less of a nuisance than you might think. The closer the lens is to the windscreen, the fewer problems the autofocus will have focusing on the heating wires by mistake.
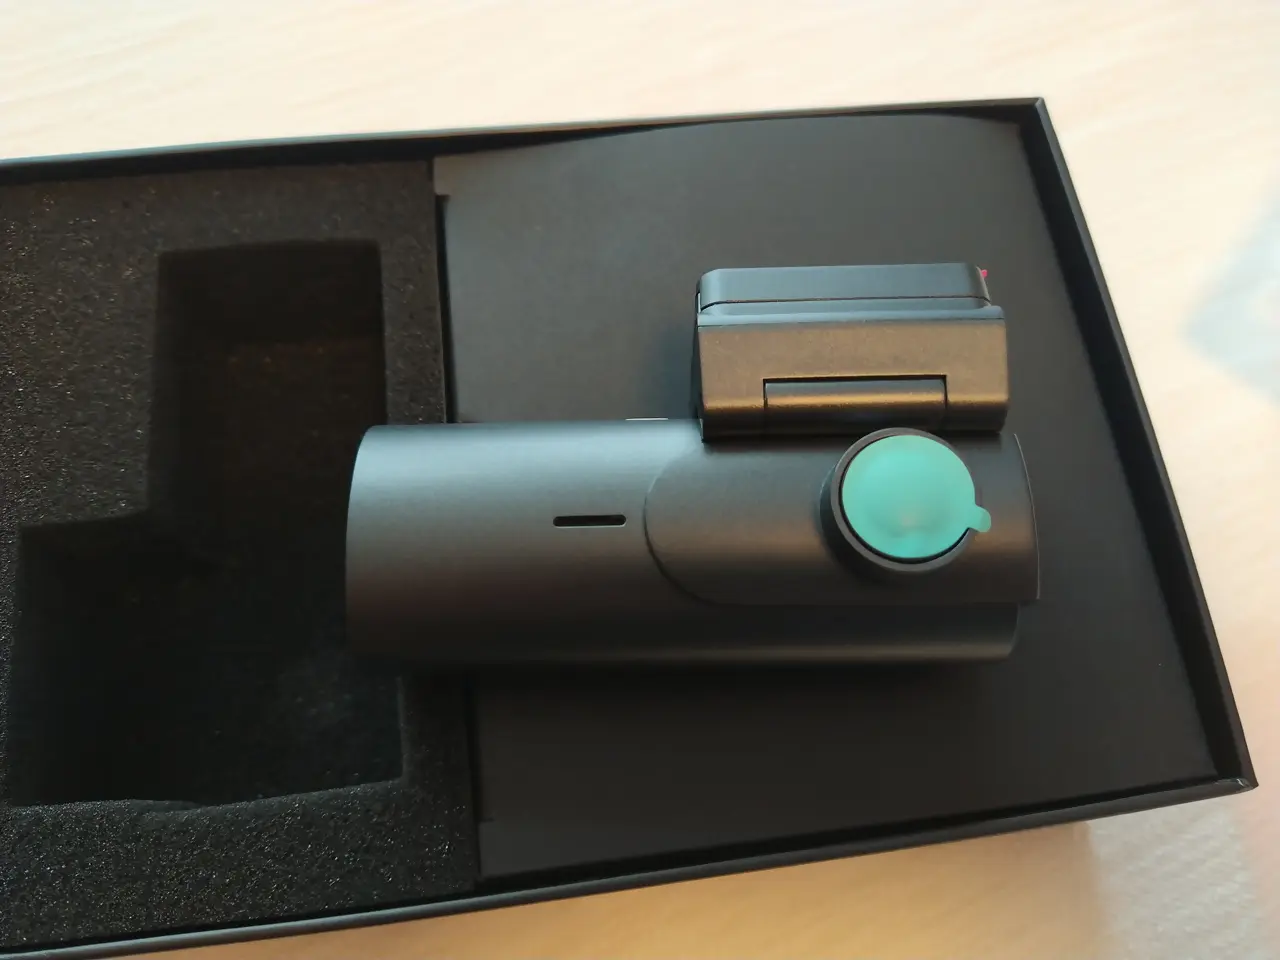
The built-in dashcam
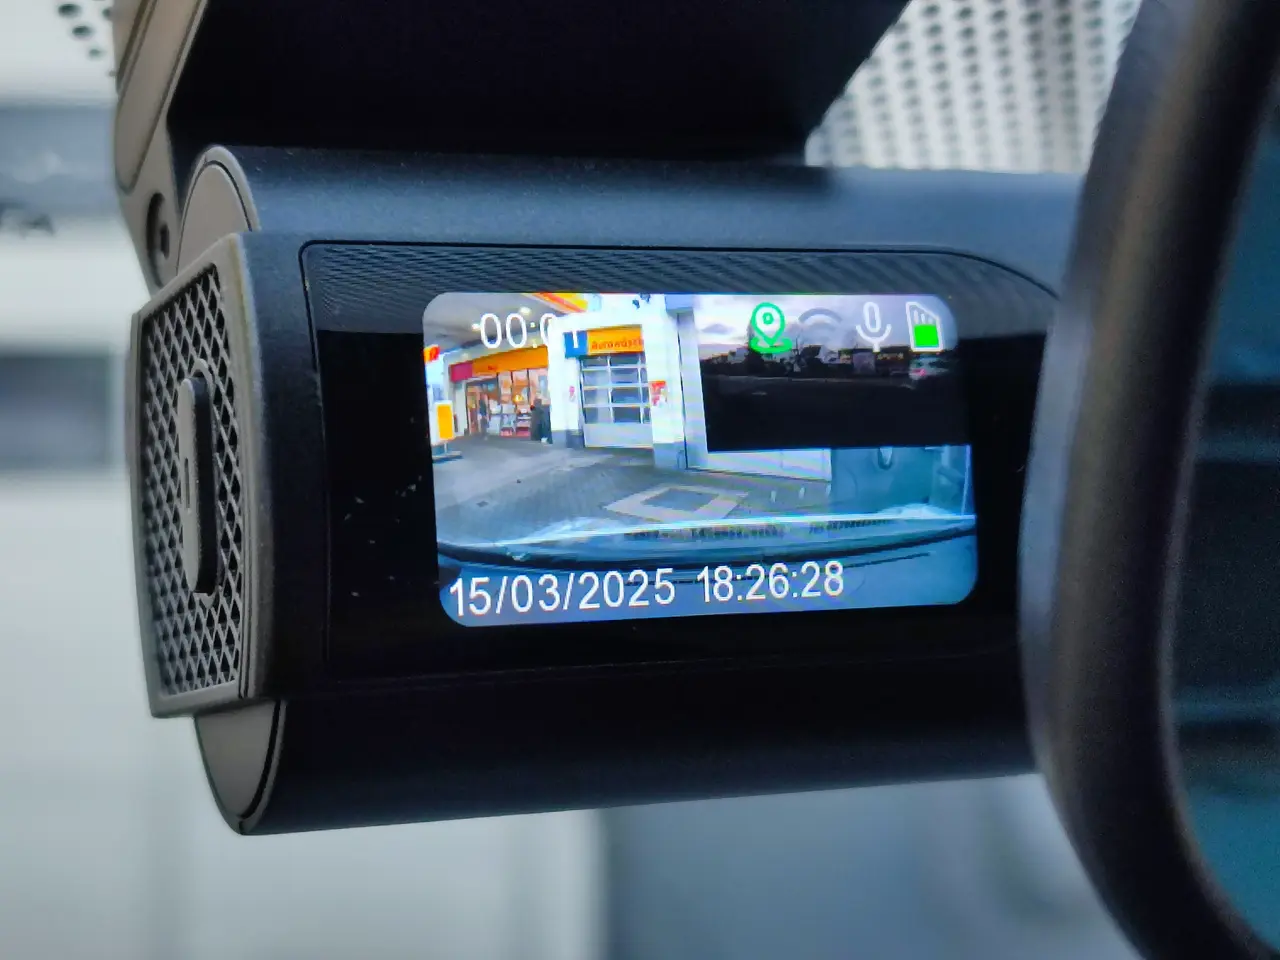
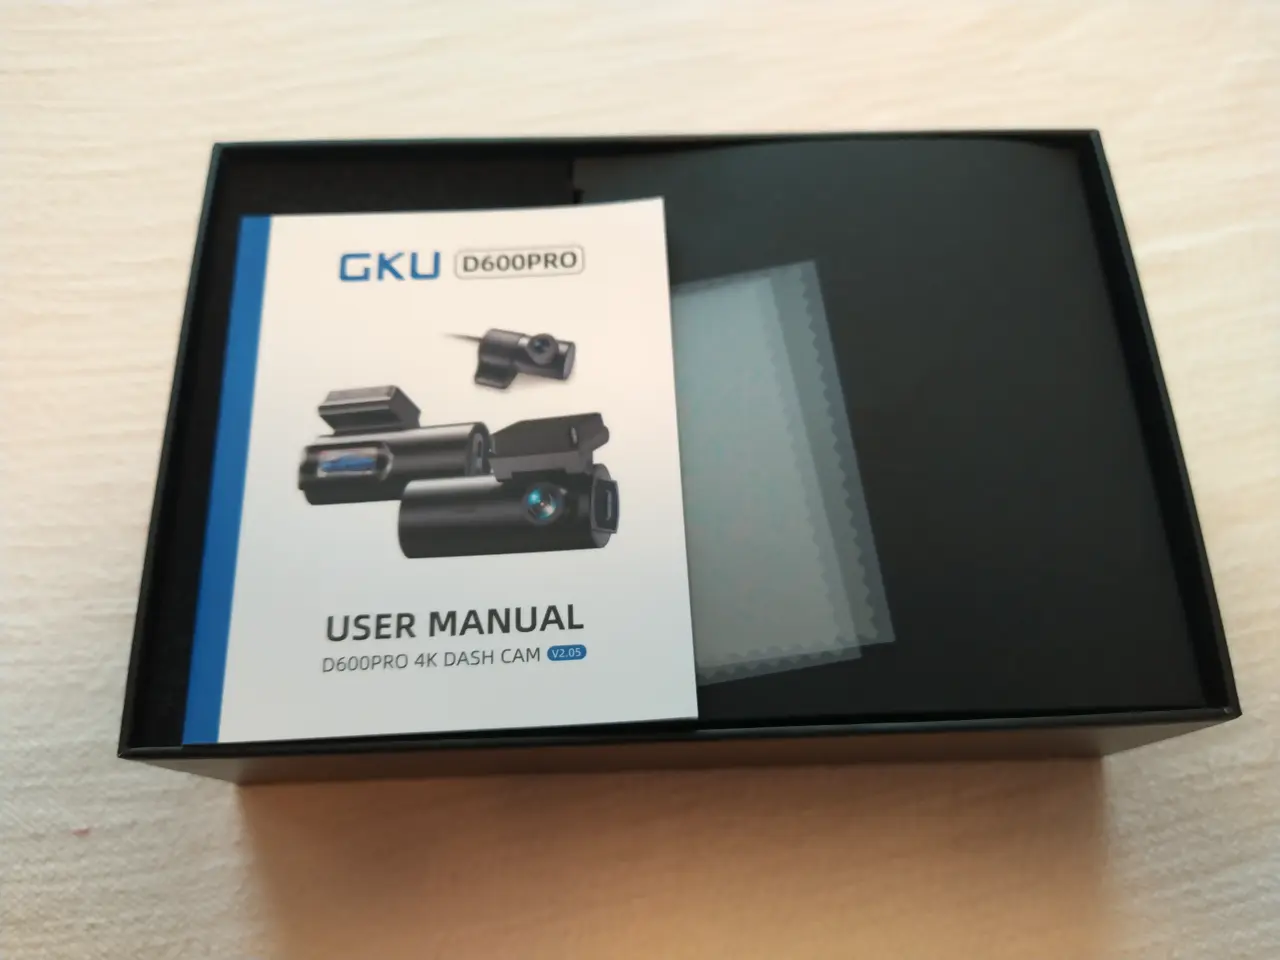
Now that the GKU D600Pro dashcam has found its place in the Leaf, I have to say: in terms of quality, it is in a similar league to my previous models from 70mai (which, as you know, belong to Xiaomi). The cool feature is of course the dual camera, which records at 4K to the front and 2.5K to the rear.
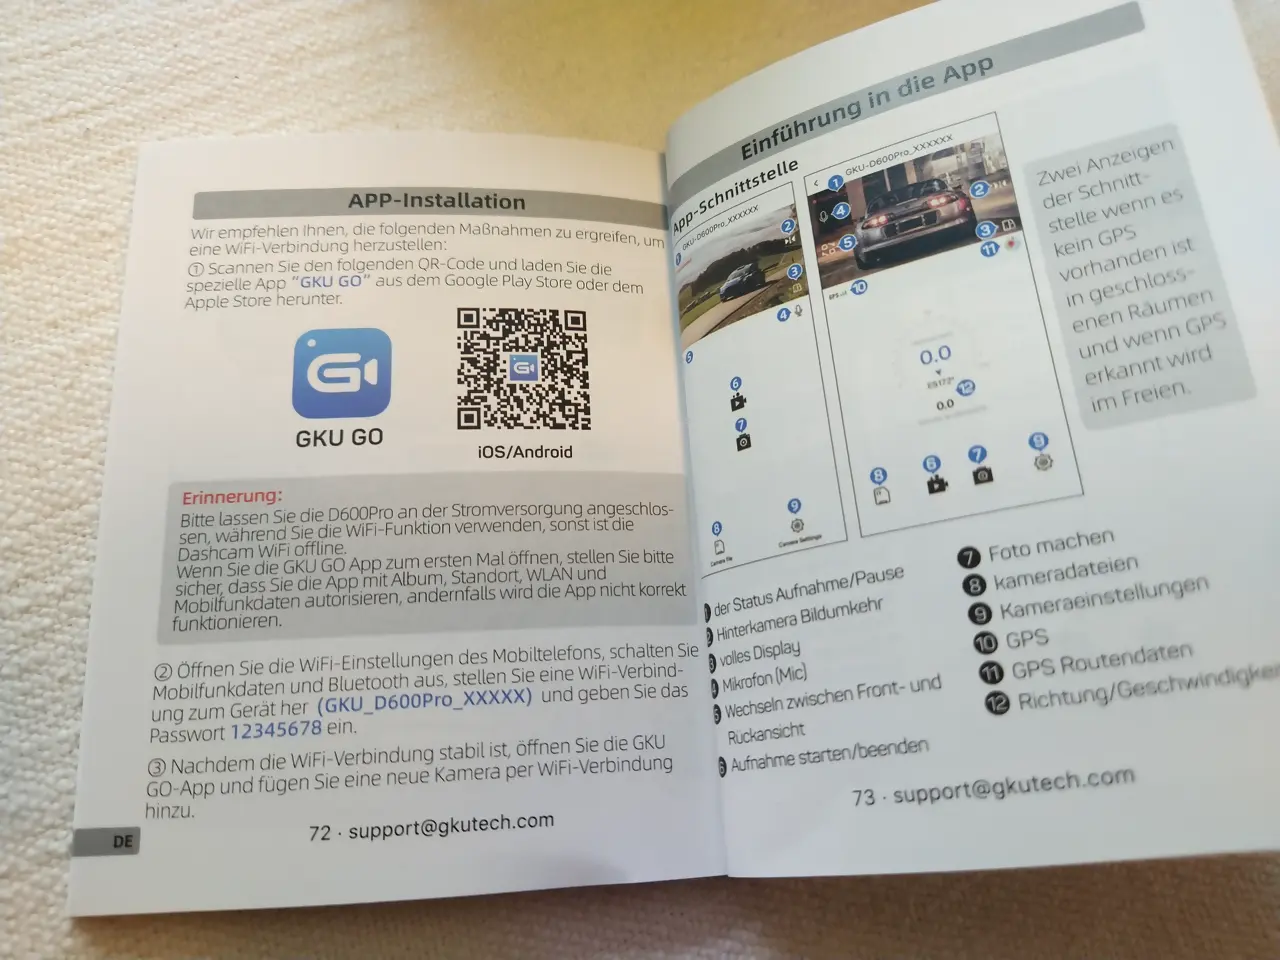
The accompanying app called „JarvisCam“ is easy to use and the (non-permanent) data overlays in the video actually look a bit like Iron Man – pretty funny! The only small downer: unfortunately there is no desktop app for the PC.
The image quality of the GKU D600Pro is really usable even at night, although the rear camera is slightly less bright in direct comparison. Overall, this dashcam is not a high-end solution, but offers excellent value for money.
I bought it because it is always on offer for an unbeatable EUR 75. In my opinion, the performance on offer is excellent for this price, so I couldn’t resist!
Why a dashcam?
Quite simply: for your own protection! Take a look at the relevant dashcam channels. It’s really frightening how often the other party in an accident denies blame – whether when changing lanes, turning or reversing. And especially when there are several people in the other car and you are travelling alone, the dashcam becomes your incorruptible witness.
A dashcam is cheaper than any insurance and offers you protection in many situations: from clarifying the question of fault in the event of an unclear accident, to identifying fugitives and documenting vandalism, to reconstructing accidents involving personal injury or wildlife accidents.
Especially when it comes to insurance fraud, which often affects people who drive alone, novice drivers or older people, a dashcam can provide you with really valuable evidence. And quite honestly, you can also help others with your recordings if you witness accidents or hit-and-run parking offences.
Very briefly on the legal aspects: The Federal Court of Justice (BGH) has ruled that dashcam recordings can be admissible as evidence in accident liability proceedings in individual cases, as road users expose themselves to observation and there is often a lack of evidence.
More information? „Why a dashcam?“
Why a dual dashcam?
you not only have a view of what’s happening in front of your car, but also everything that’s happening behind you. This is particularly useful, as many accidents don’t just happen from the front. After all, you never know what can happen in road traffic.
What do you think?
Do you fancy equipping your car with a dashcam? Or have you already had experience with the GKU D600Pro or other models? Feel free to share your opinions and tips in the comments!