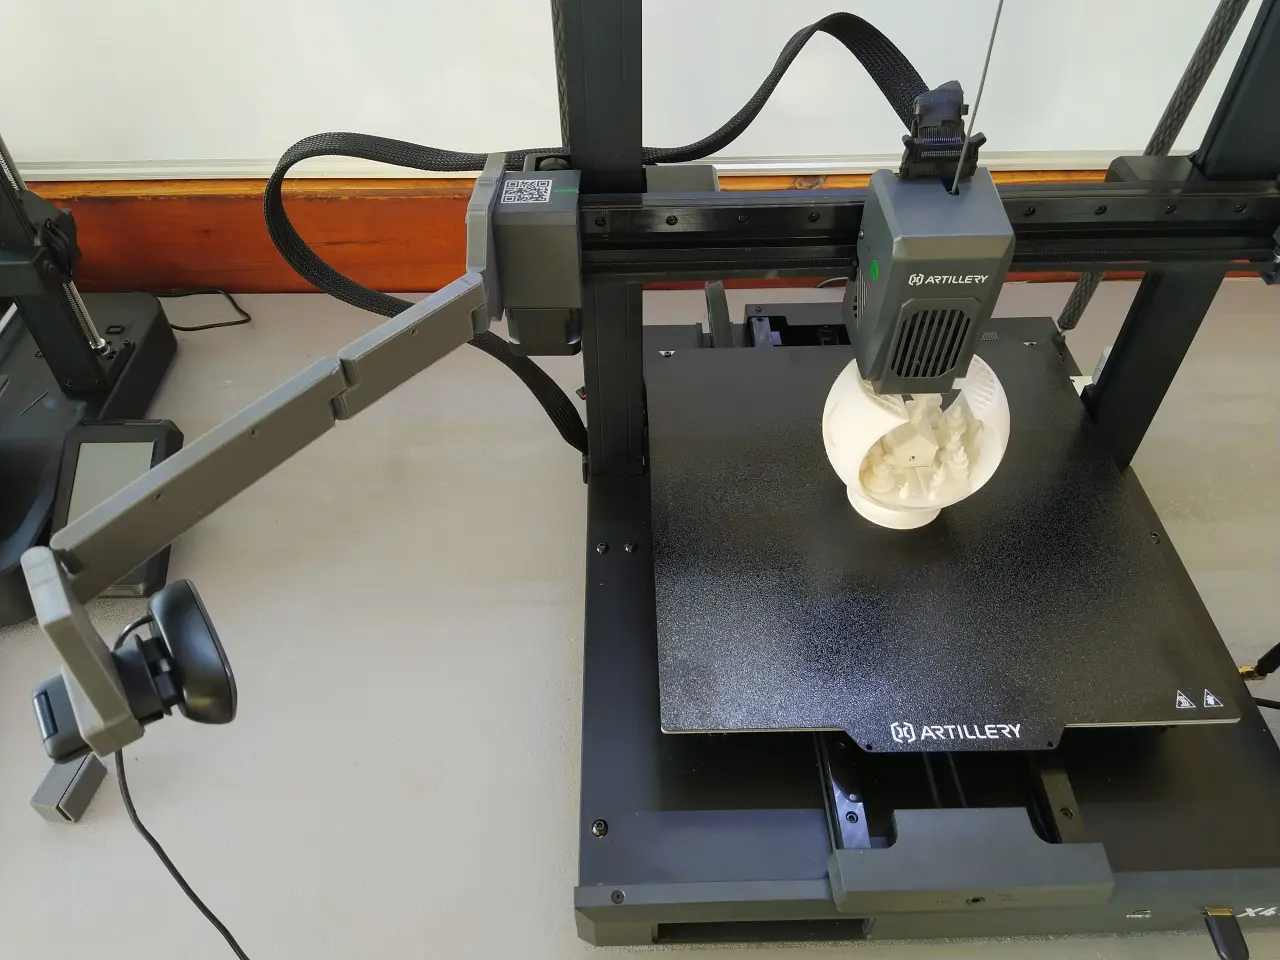
Here I explain how to connect a webcam to an Artillery Sidewinder X3 Pro and X3 Plus or X4 Pro, and X4 Plus. Timelapse included!
Inhalt:
X3?
Of course, this only applies if you have Klipper running on your X3. If you use Octoprint with the X3, the camera works directly and even has a timelapse function. So you can jump directly here: Webcamarm. Print, clip, plug in, done. 🙂
Activate service
You do all this at your own risk.
Connect with SSH and activate the webcam daemon (service):
Open the terminal (or Putty) and enter the following
ssh root@IP-DEINES-DRUCKERS
Password is: makerbase
Now enter the following:
systemctl start webcamd
Now activate the webcam service automatically at every start:
sudo systemctl enable webcamd
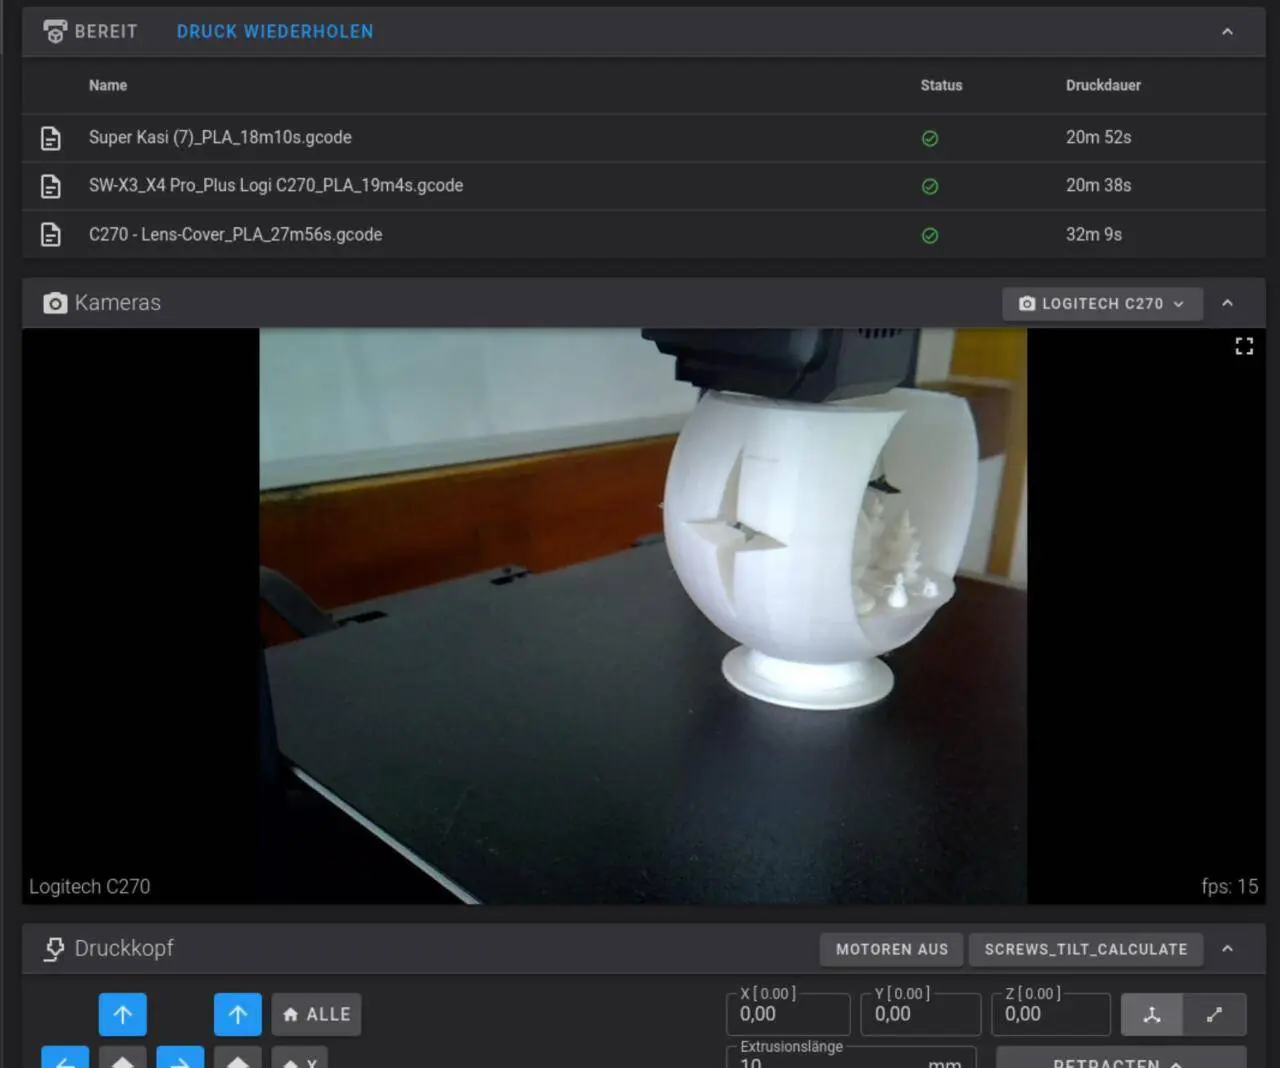
After a restart, the webcam should already provide an image in the fluidd dashboard.
More webcams?
Additional webcams – and also a USB stick – can be connected via a USB-A hub and configured in fluidd. If I wanted to do this, I would probably use an angle adapter so that the hub plug doesn’t stick out too far at the front and the USB cable can be routed under the printer.
Unfortunately, I have not been able to connect anything via the USB-C port. This does not carry any voltage and therefore only seems to serve as an external power supply for the mainboard.
Buy a webcam
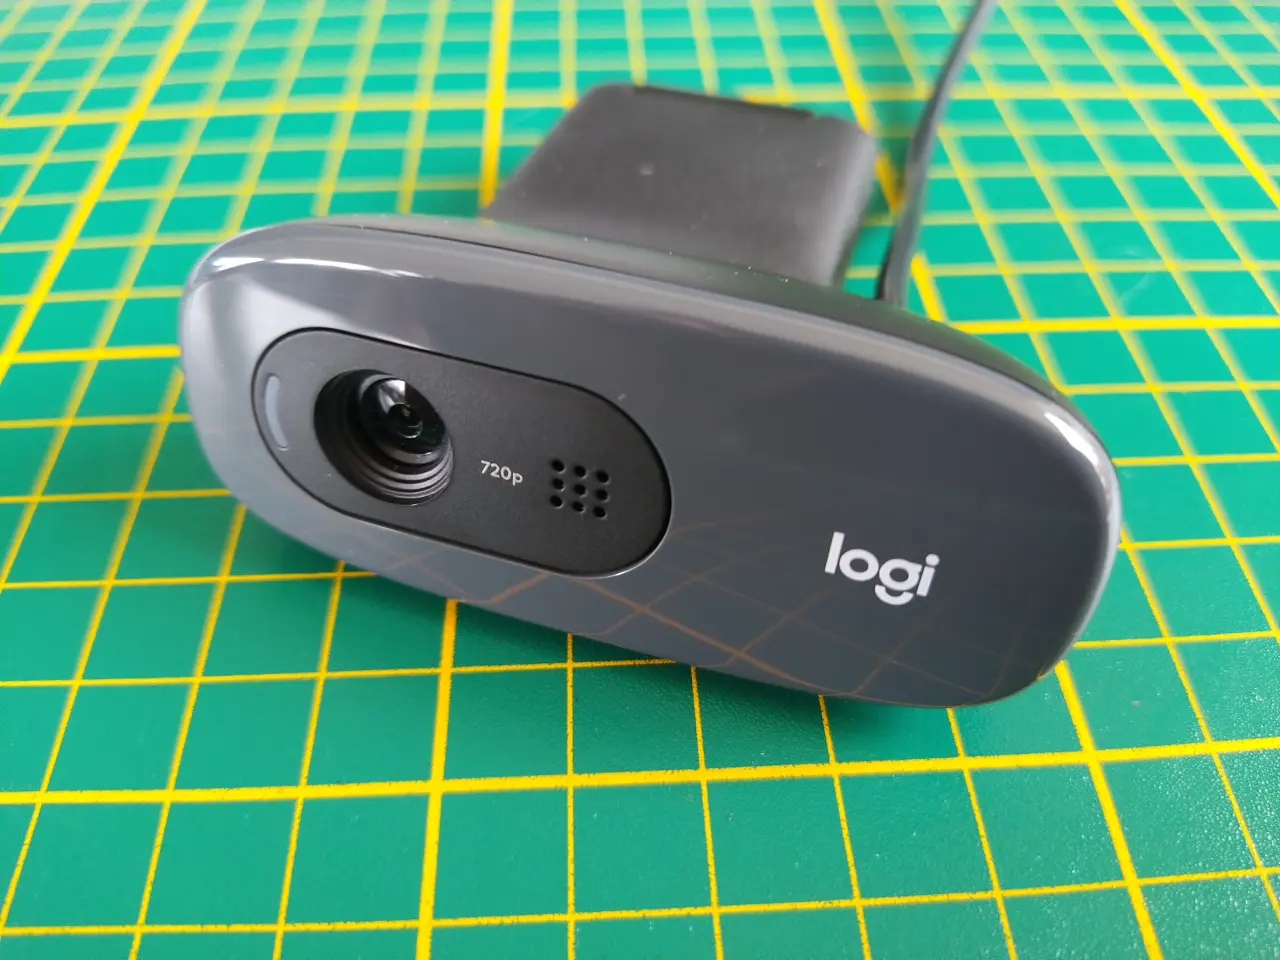
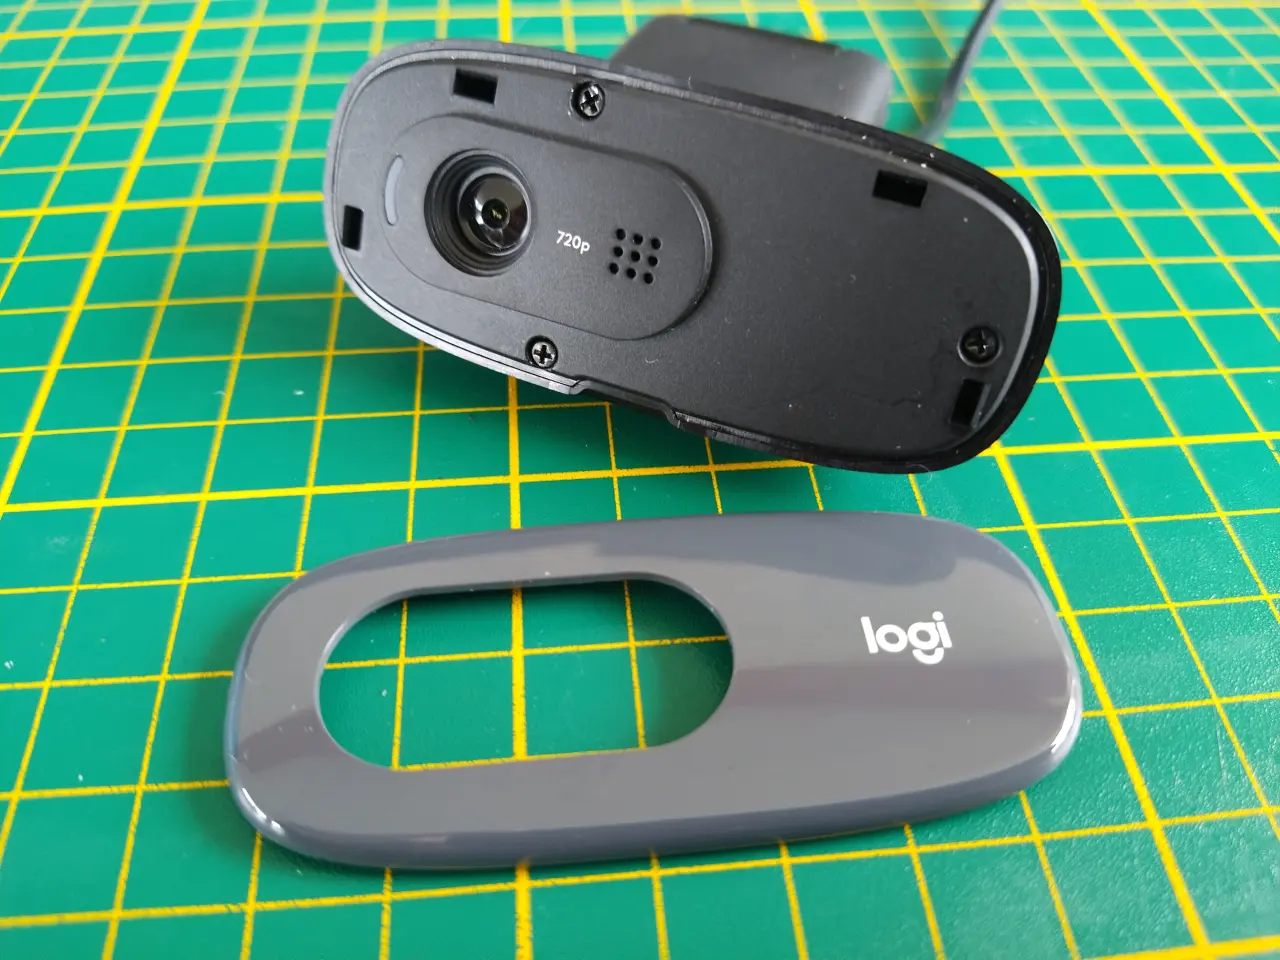
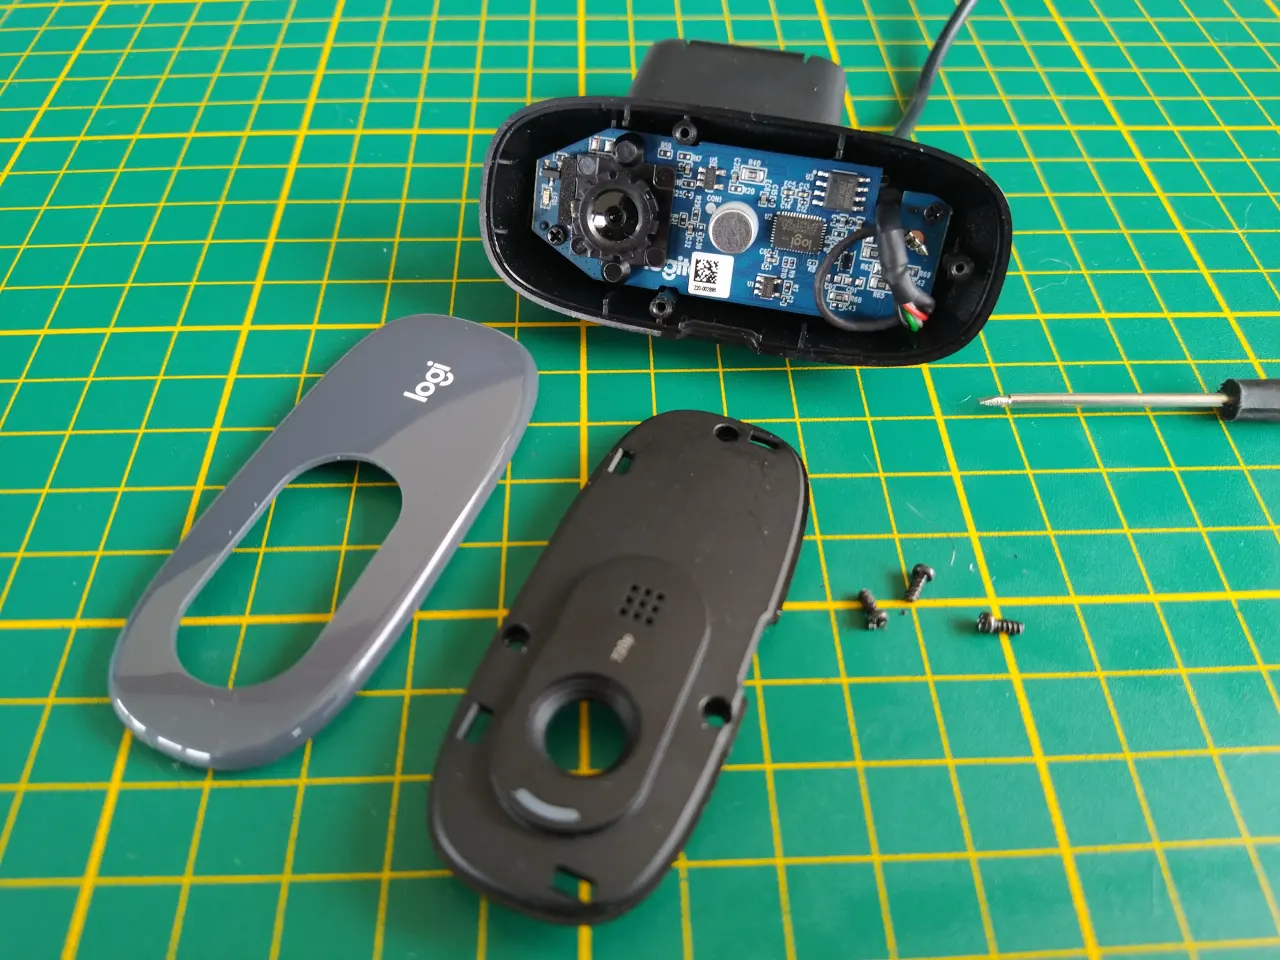
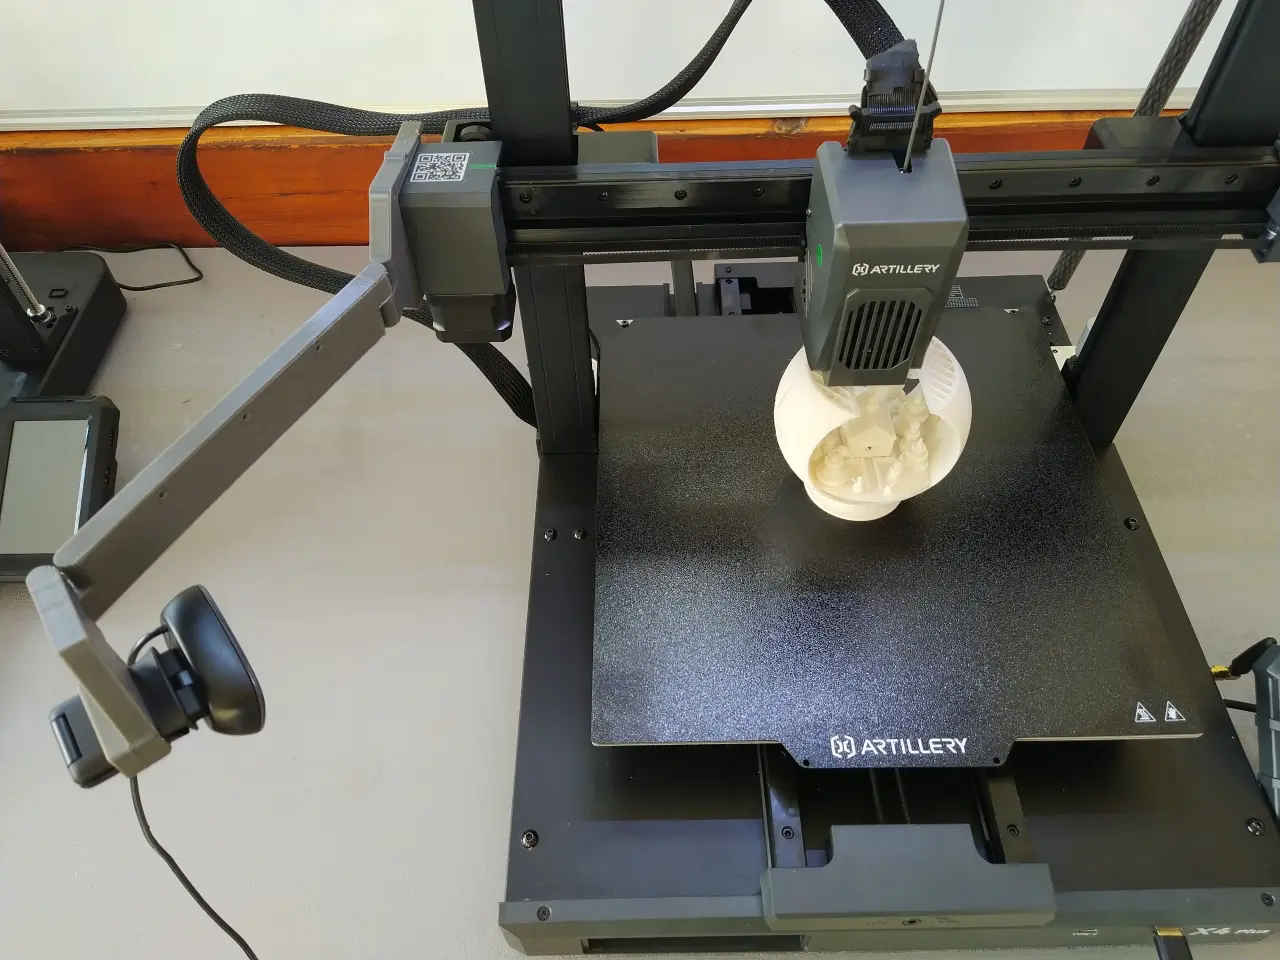
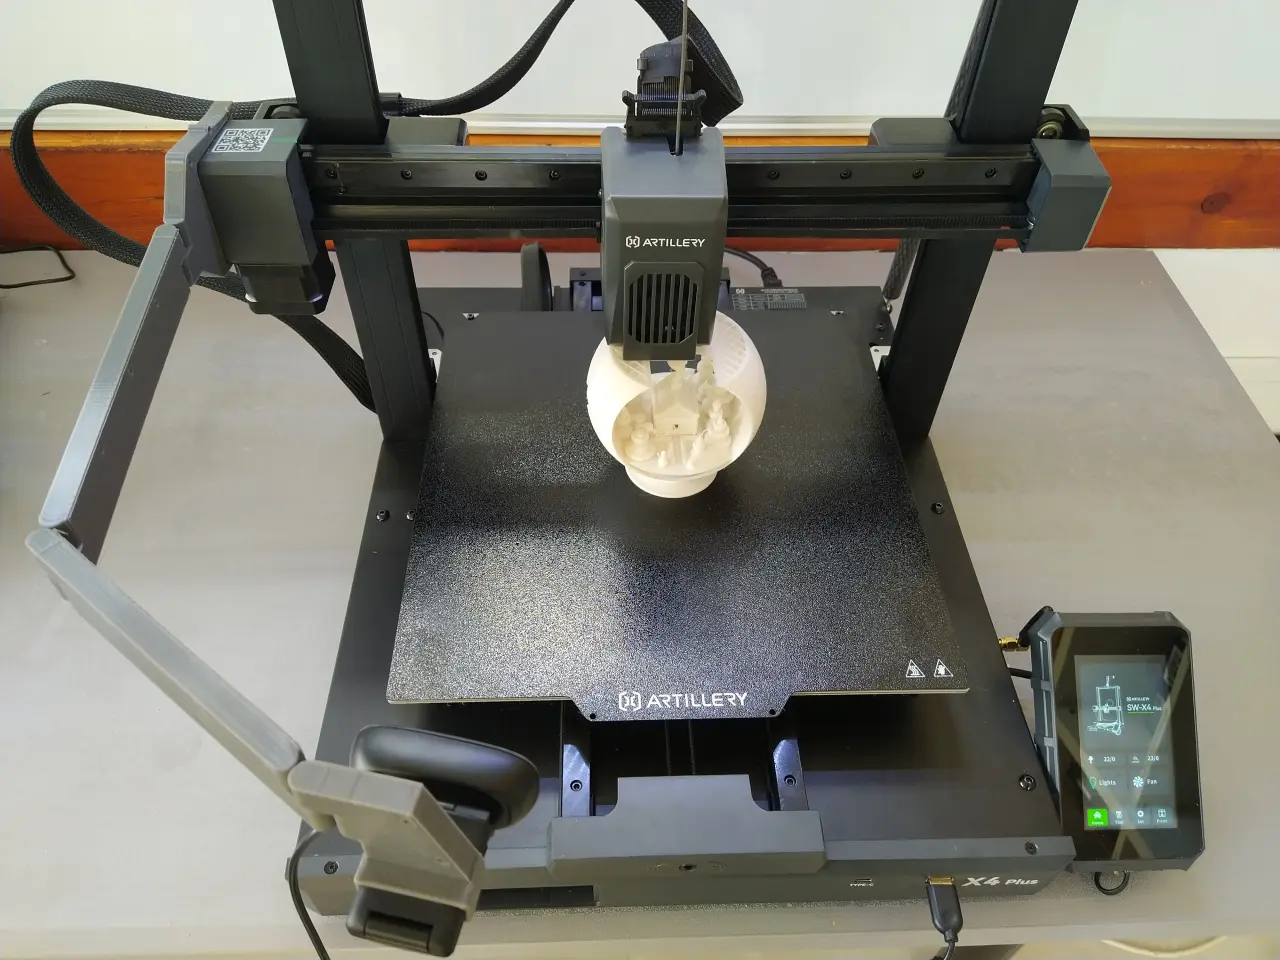
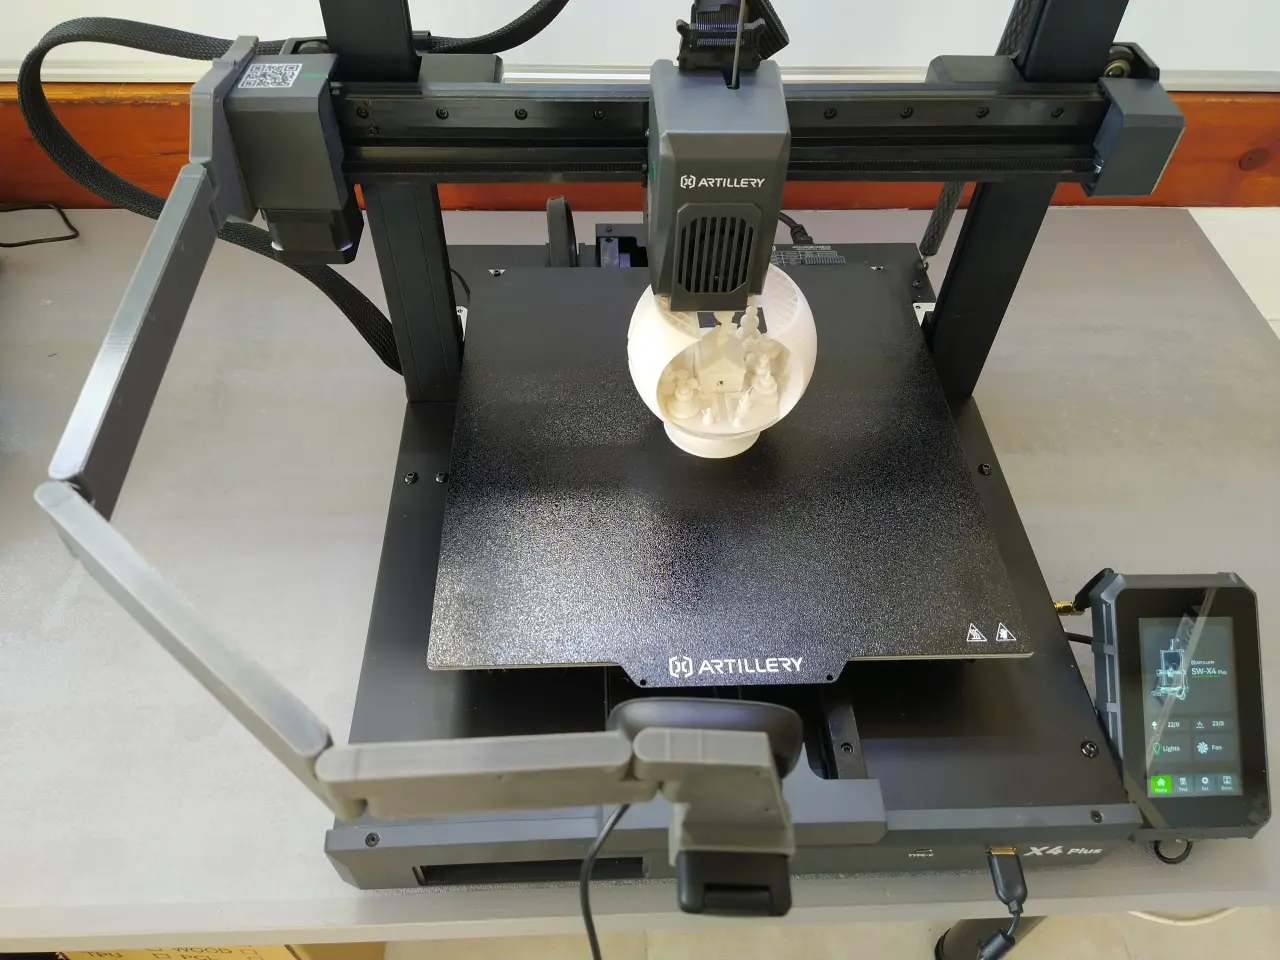
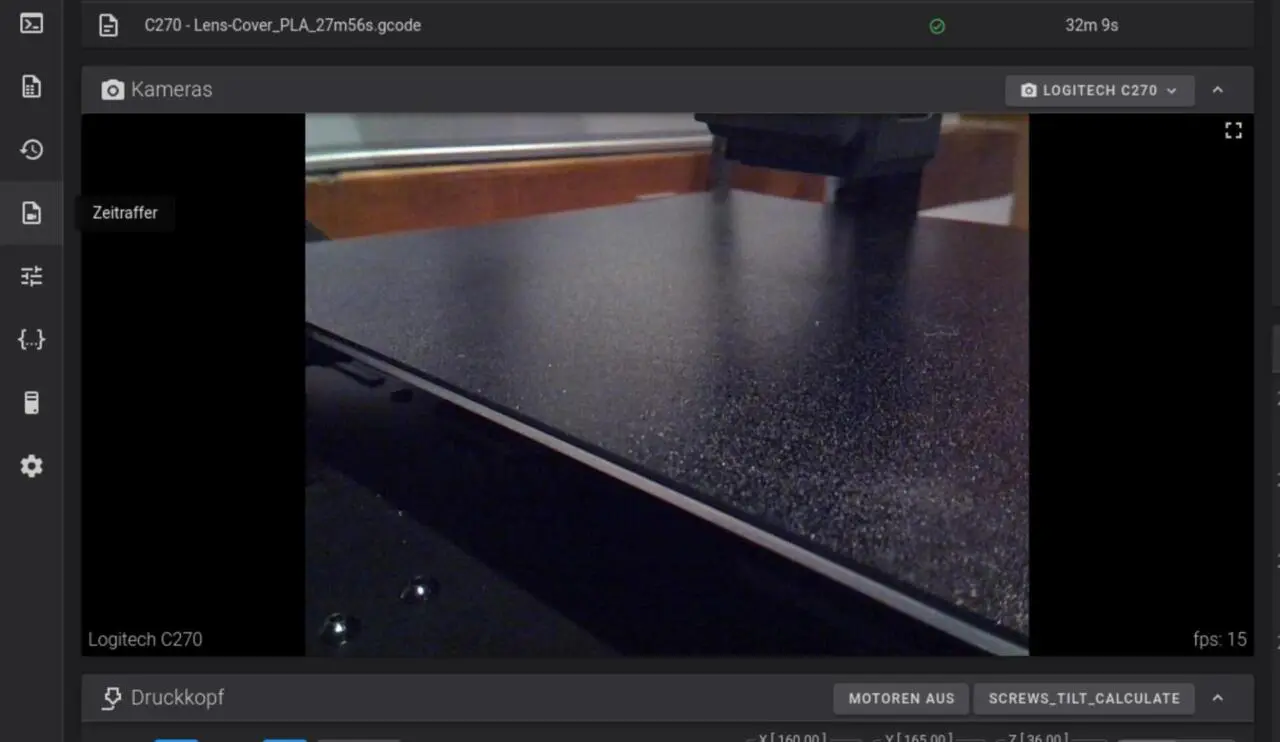
I connected the absolute 3D printer webcam classic, a Logitech C270, to my X4 Plus. This has the advantage that you can open it and manually adjust the focus ring precisely to the print bed.
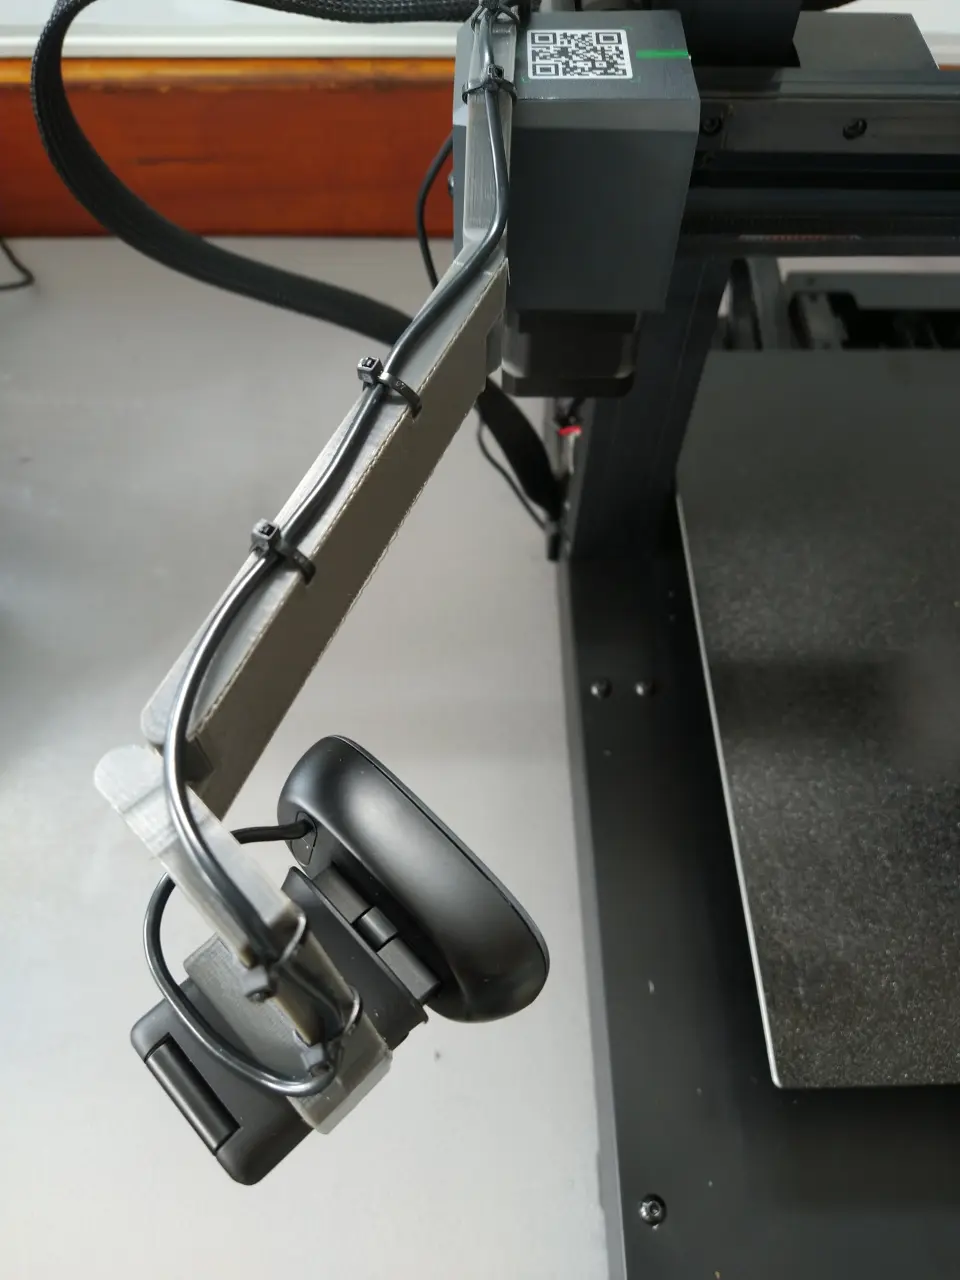
Webcam arm
Suitability
The webcam arm is suitable for the following printers:
Artillery Sidewinder series:
Features
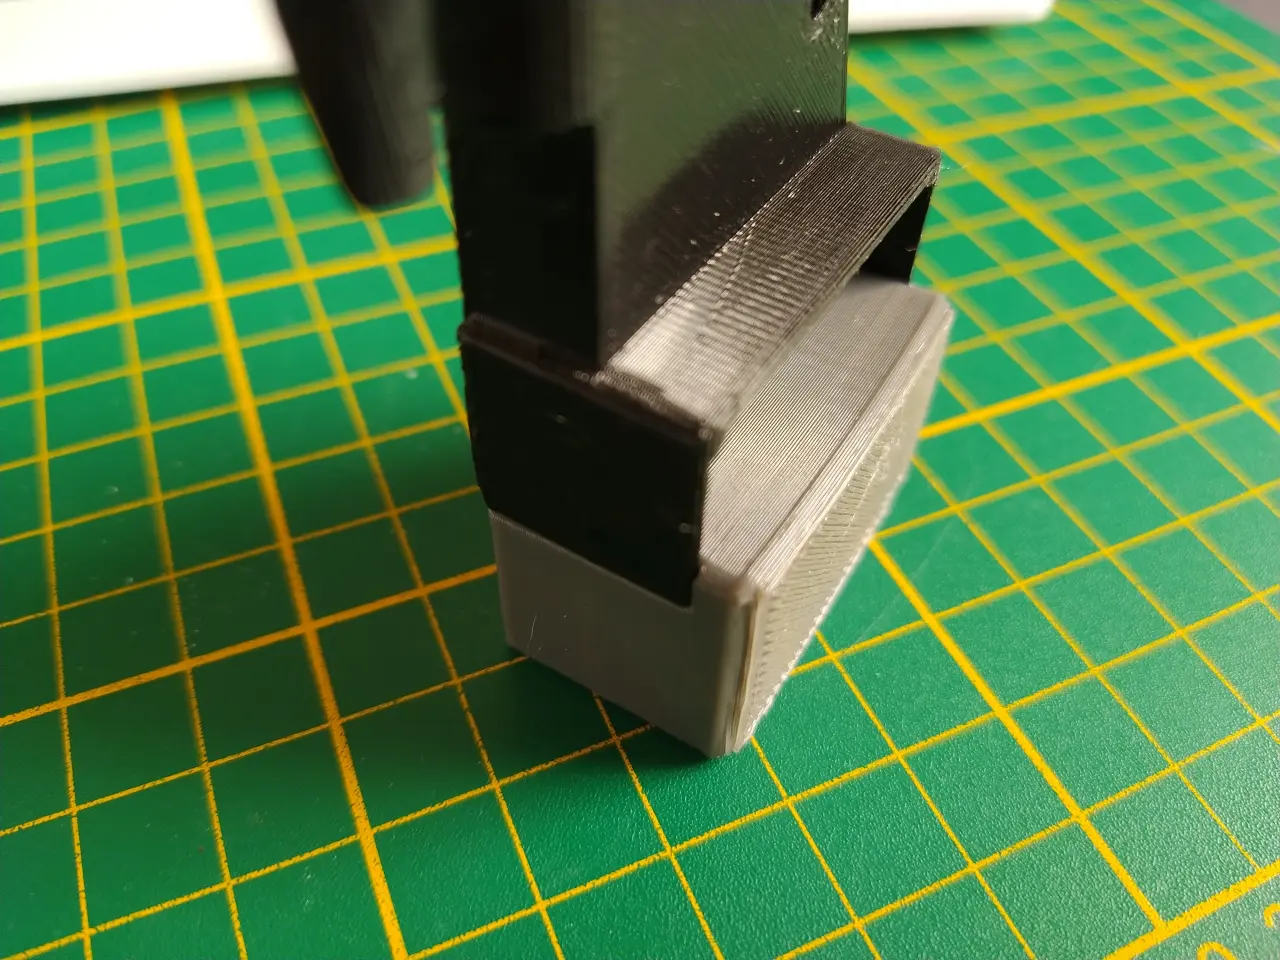
- no screws
- no glue
- no tools
- modular
- very many viewing angles
- universal fit
- Holes for cable ties
- foldable
Use
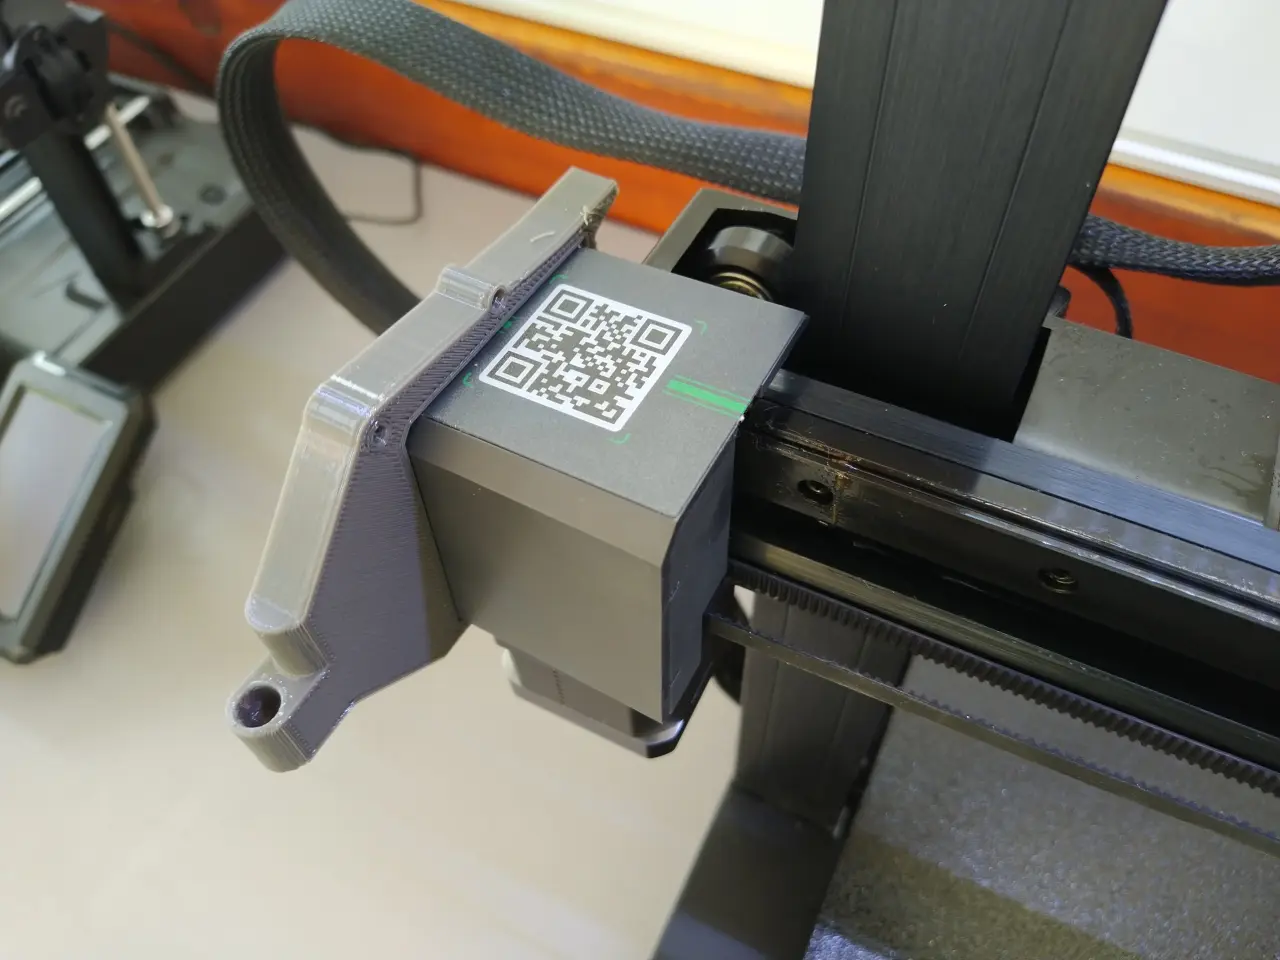
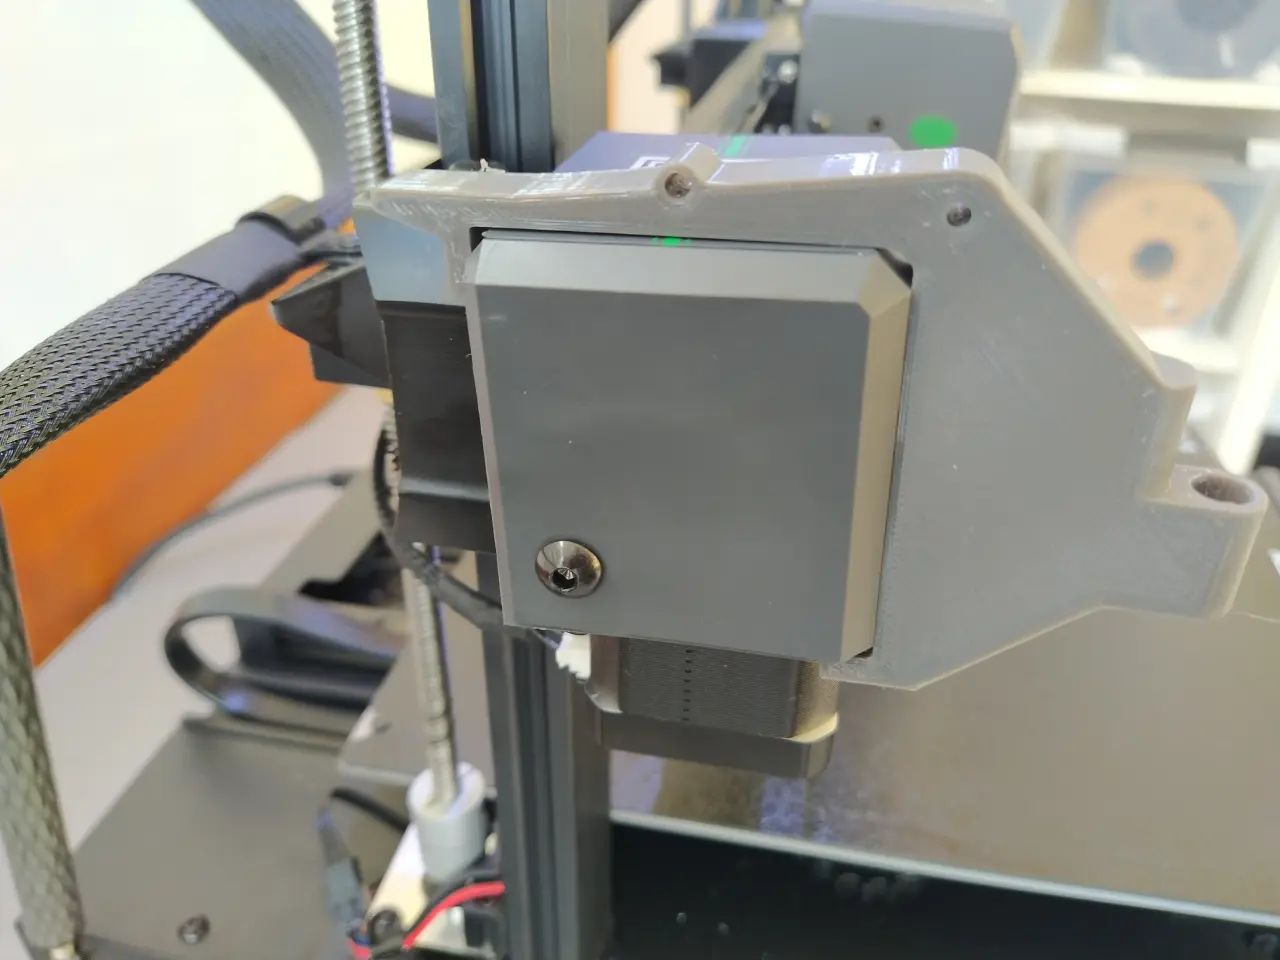
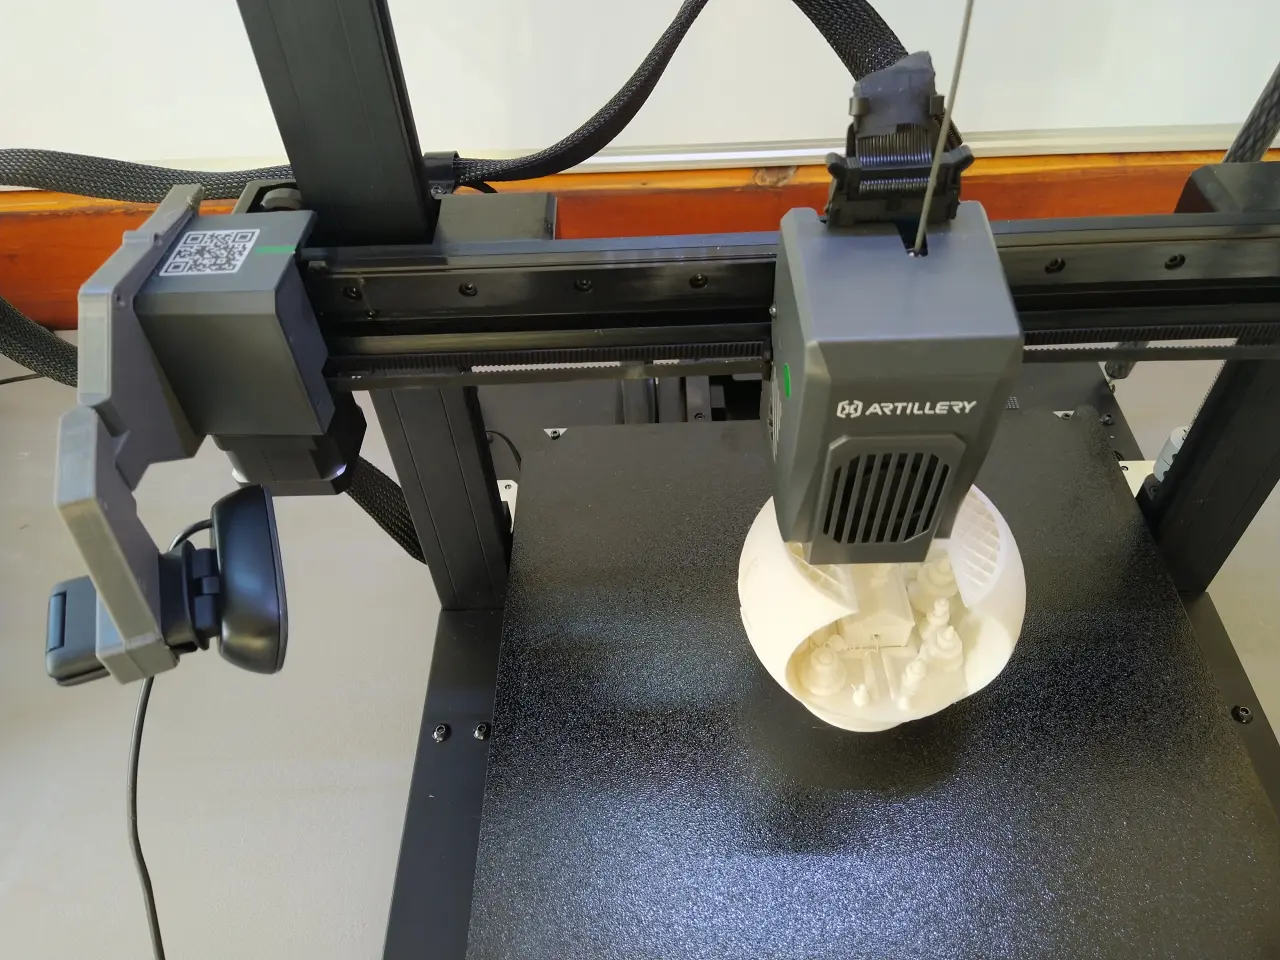
Print out of PETG, clip on and push together loosely. Once the desired angle has been reached, press the hinges together as far as they will go. Done!
Variants
The long extensions can also be printed with the smaller Pro versions, nothing is longer than 20 cm.
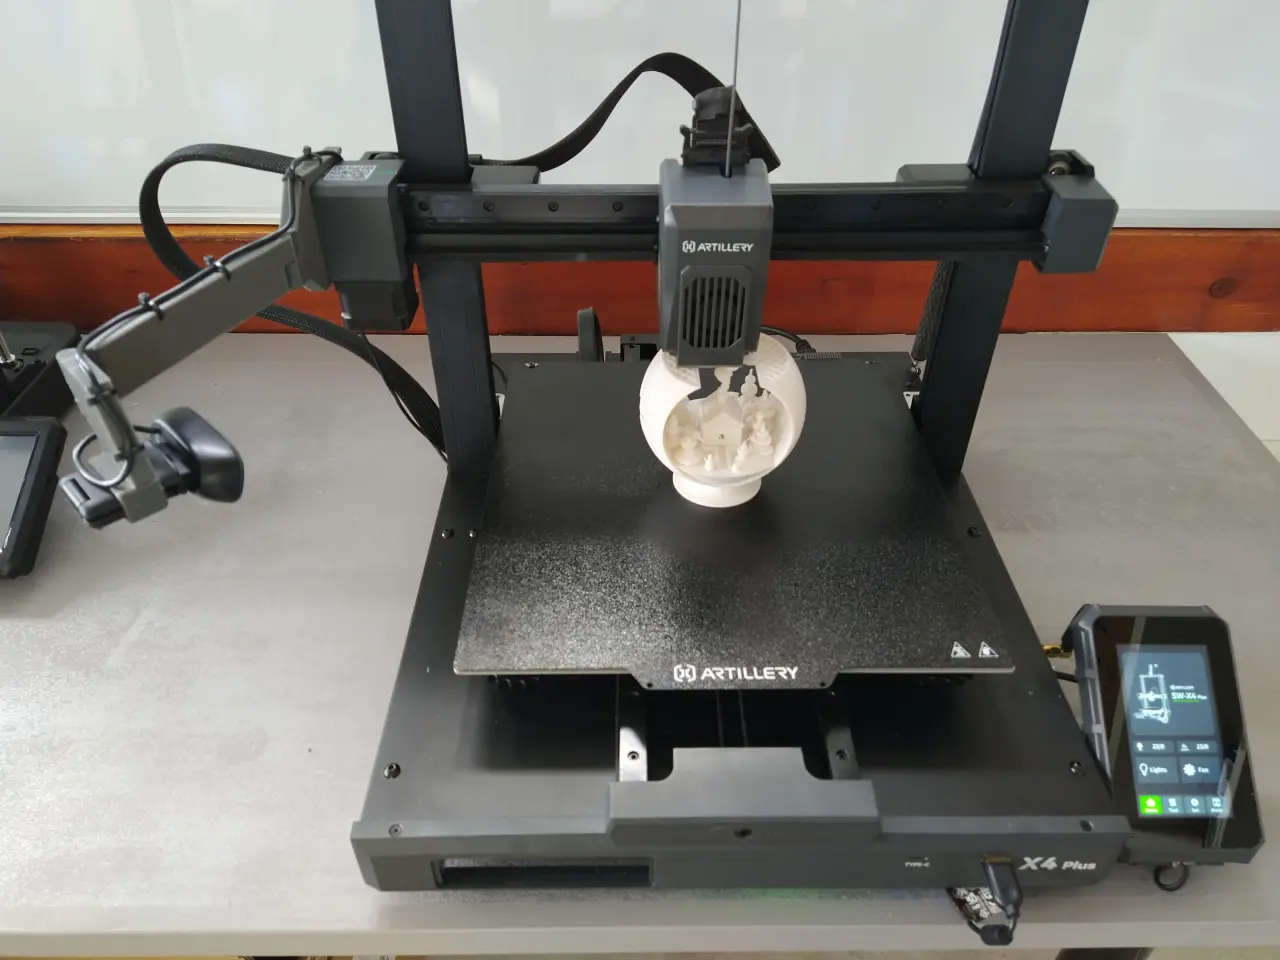
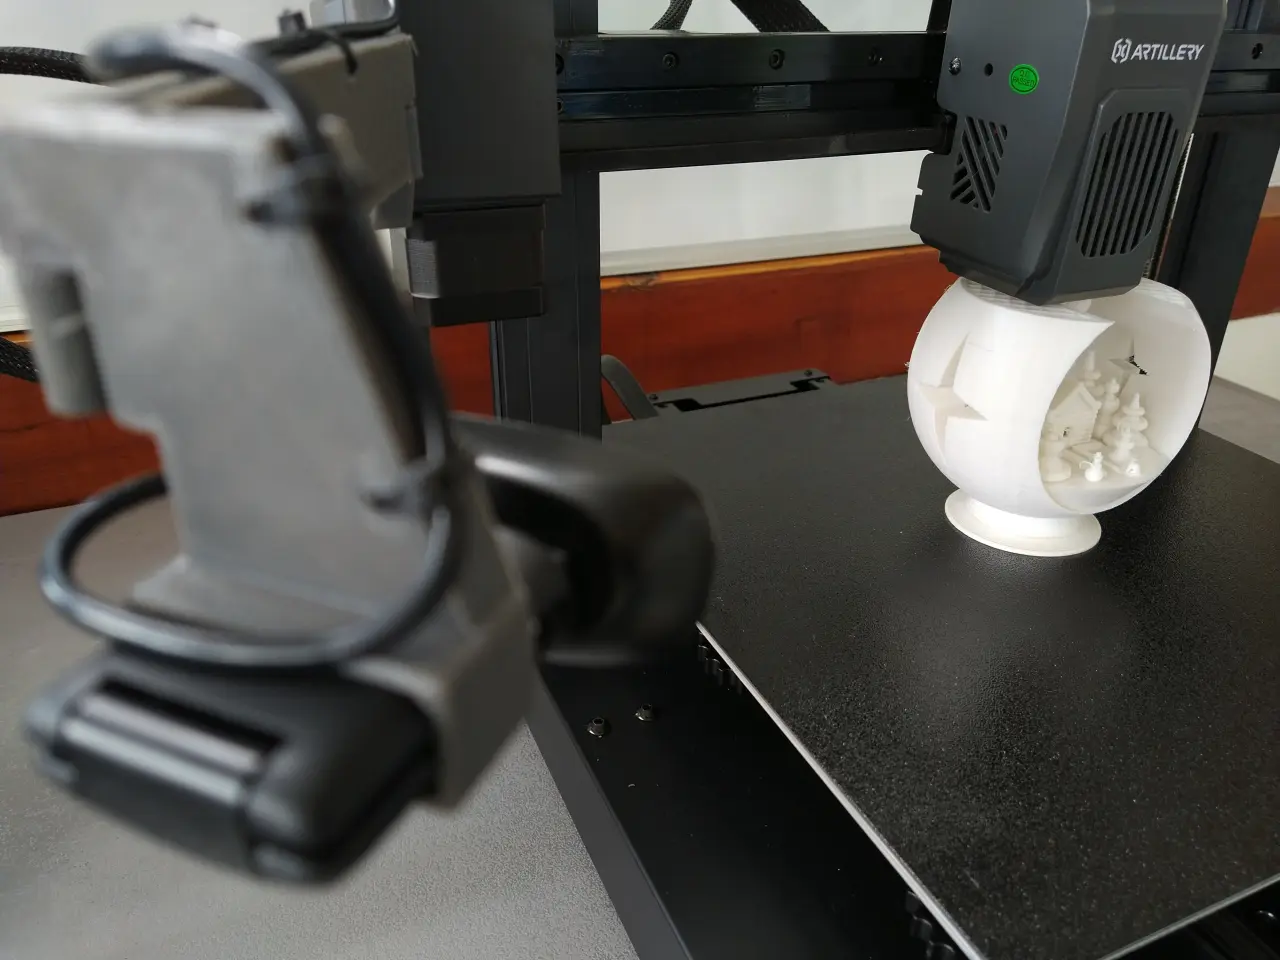
If you want a front view, this arm is also a good choice, although the image naturally wobbles when the bed is moved quickly.
If you prefer, you can also use the folding hinges to fold the arm flat.
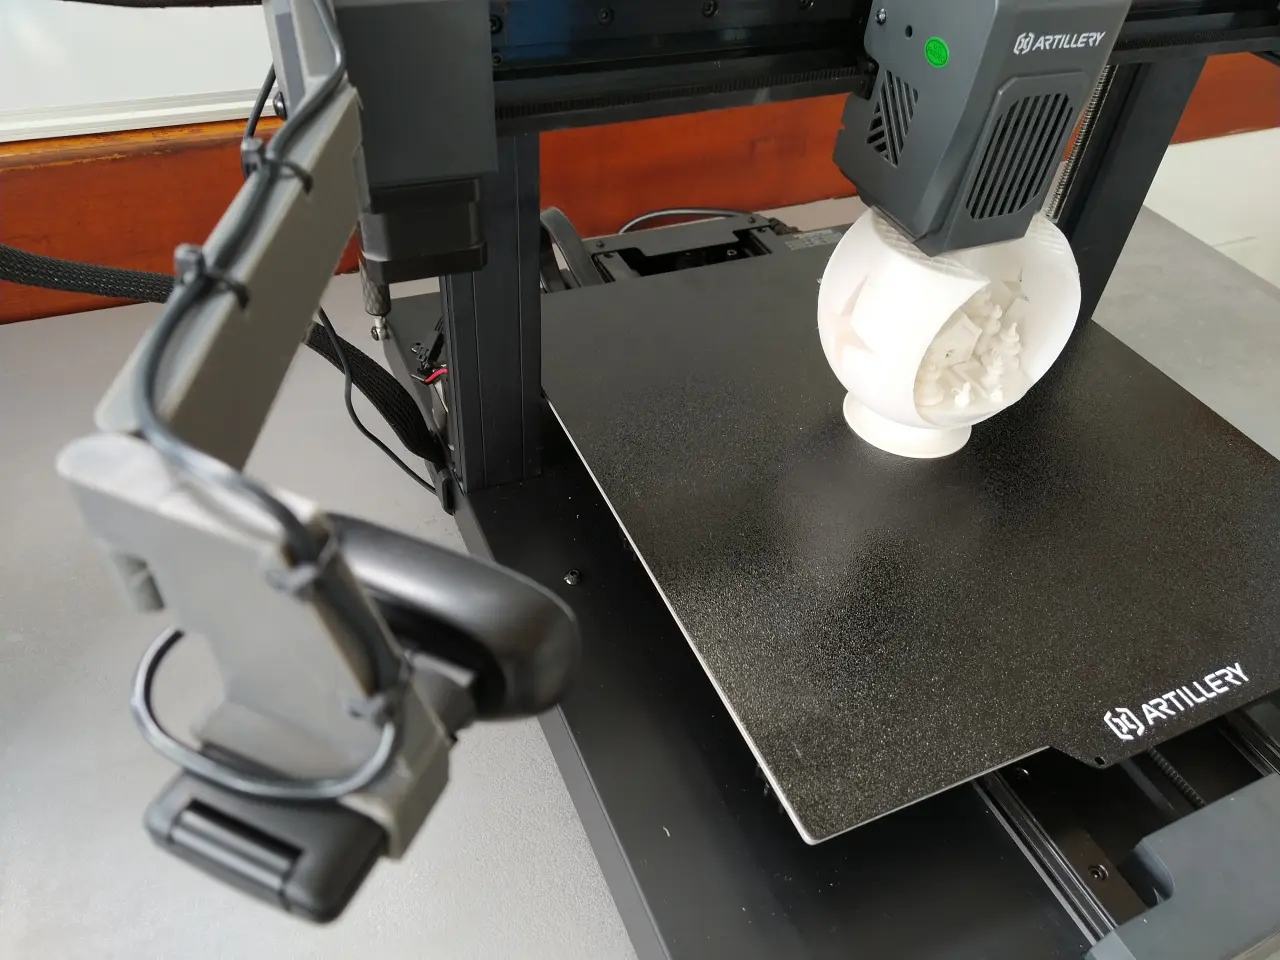
The pictures show a Logitech C270, which I like to use because it has a focus adjustment ring after opening.
Using the supplied adapter, which imitates the top of a monitor, you can attach any other webcam without tools, provided the mount is no wider than 36 millimetres and no higher than 10 millimetres, which should be the case for most webcams.
I have experimented with fisheye lenses, but I like a sharp image and that is not possible with the cheap lenses. However, the arm extensions are long enough to capture a complete image of the bed even with normal webcams.
I’ve also included various print-in-place arms as well as the clips and hinges as individual STLs in the package in case anyone wants to create their own design but doesn’t want to start from scratch.
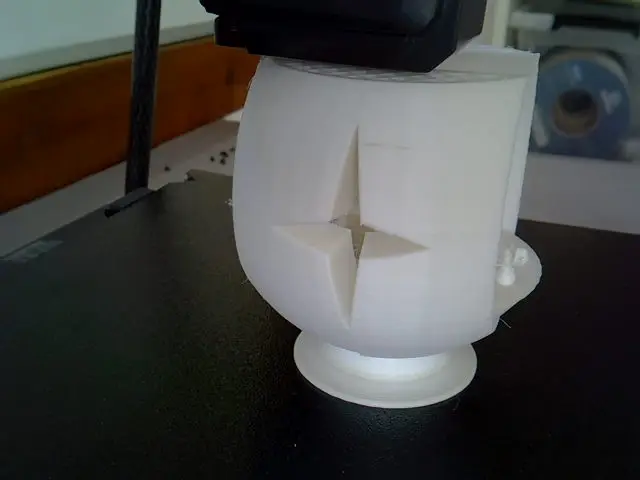
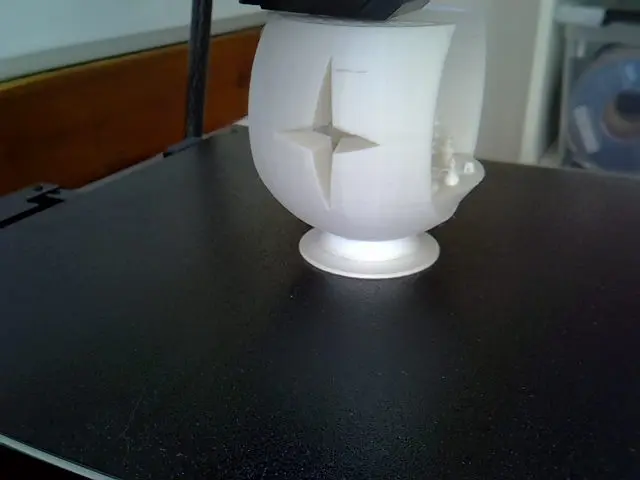
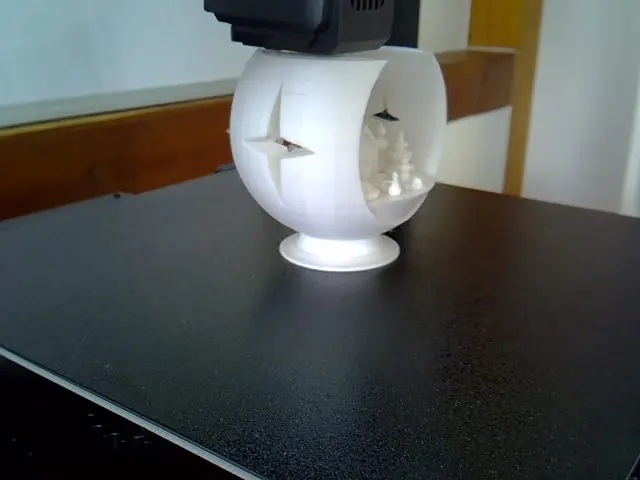
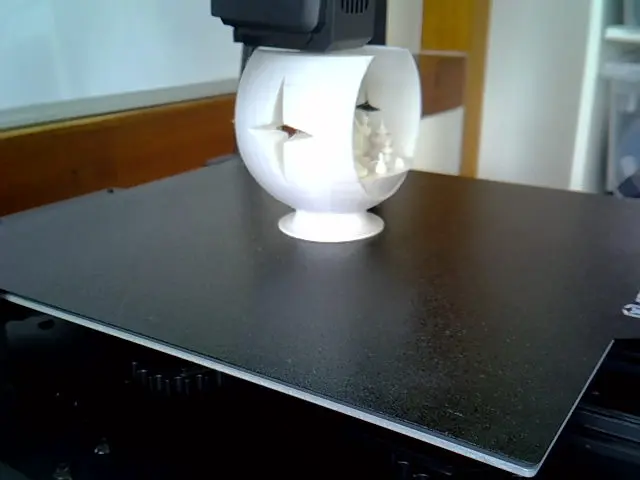
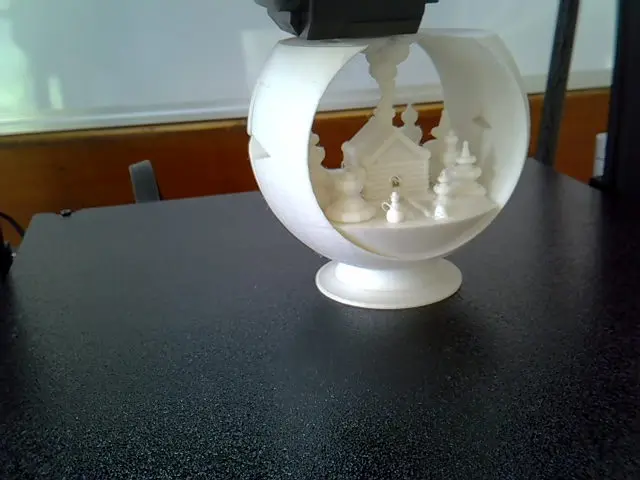
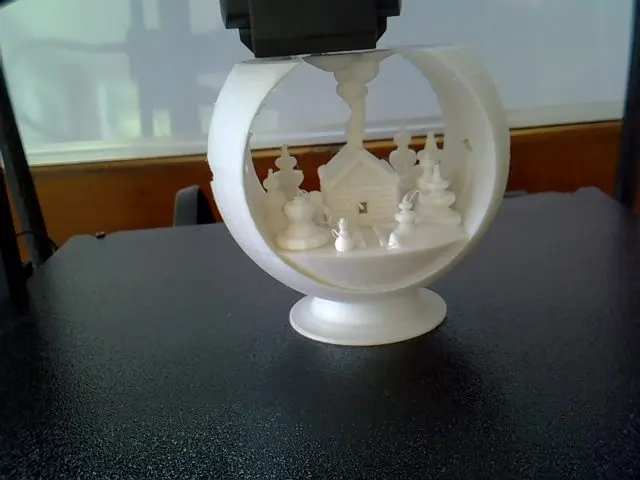
Note: The print in the pictures (Christmas bauble) was not printed with the X4 Plus, but with the predecessor model SW-X2, which had problems with print adhesion. Half of the model is only used for these pictures.
STL? STL!
You can get the STL here: Modular, screwless webcam arm for Artillery SW X3 and X4
Examples for mounting
For me, the medium-length arm and the second-lowest camera mount are perfectly adequate.
Time-lapse shots
To be able to make time-lapse recordings, you need the following extension: moonraker-timelapse.
Log on to the printer with SSH as the user mks(not root!):
ssh mks@IP-DEINES-DRUCKERS
The password is makerbase.
Now enter the following commands:
cd ~/
git clone https://github.com/mainsail-crew/moonraker-timelapse.git
cd ~/moonraker-timelapse
make install
Enter macro
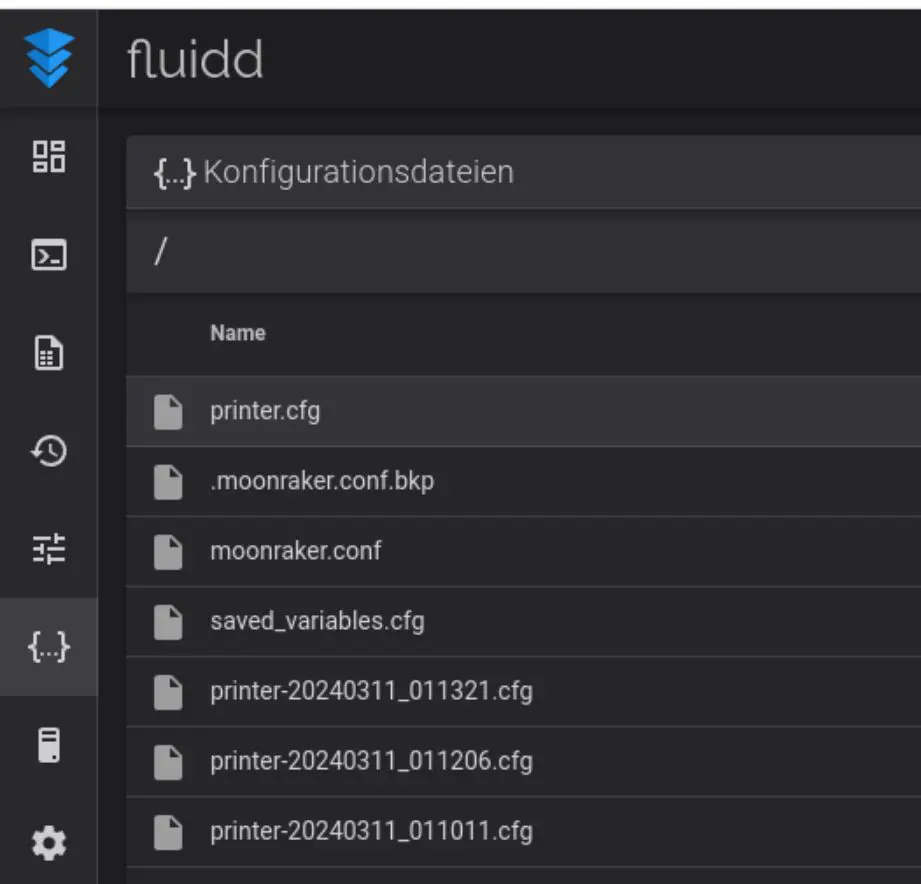
So that we also have a button that we can click, we open the printer in the browser (fluidd).
—>
Configuration ({..} symbol) —>
open printer.cfg
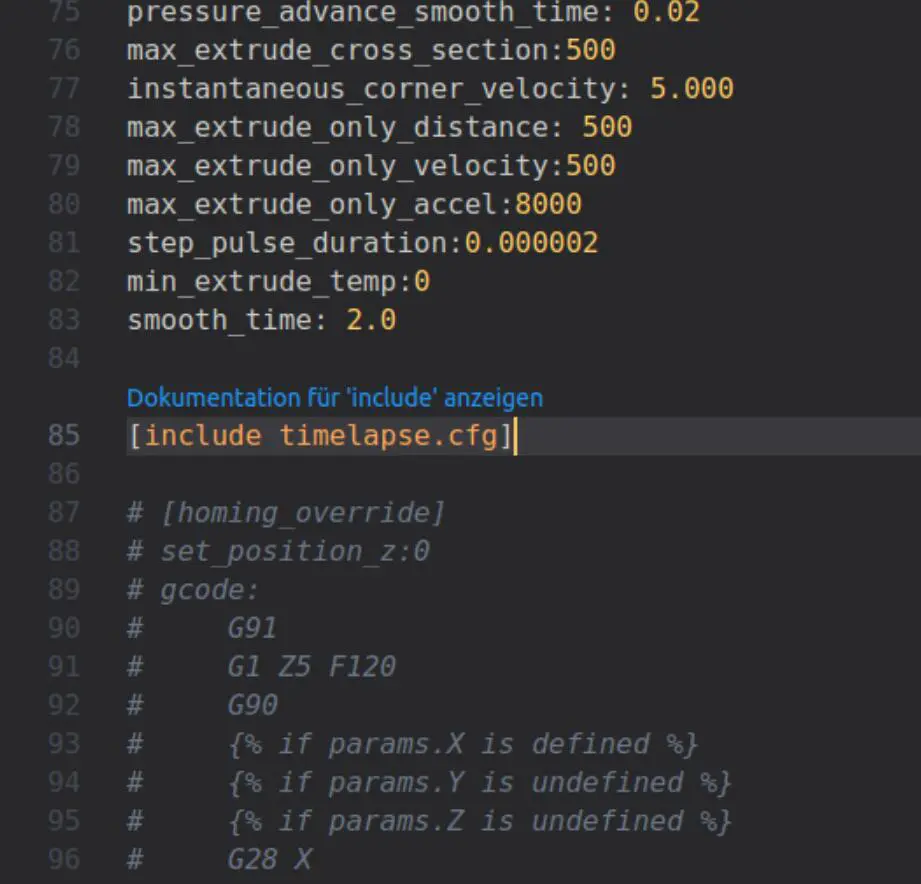
And insert the following text at the end of the script, before the grey area:
[include timelapse.cfg]
Save and restart!
Activate and updates
In order for the plugin to be activated and updated, we need to enter the following in moonraker.conf:
Open the printer in the browser (fluidd).
—>
Configuration, {..} symbol—>
open moonraker.conf
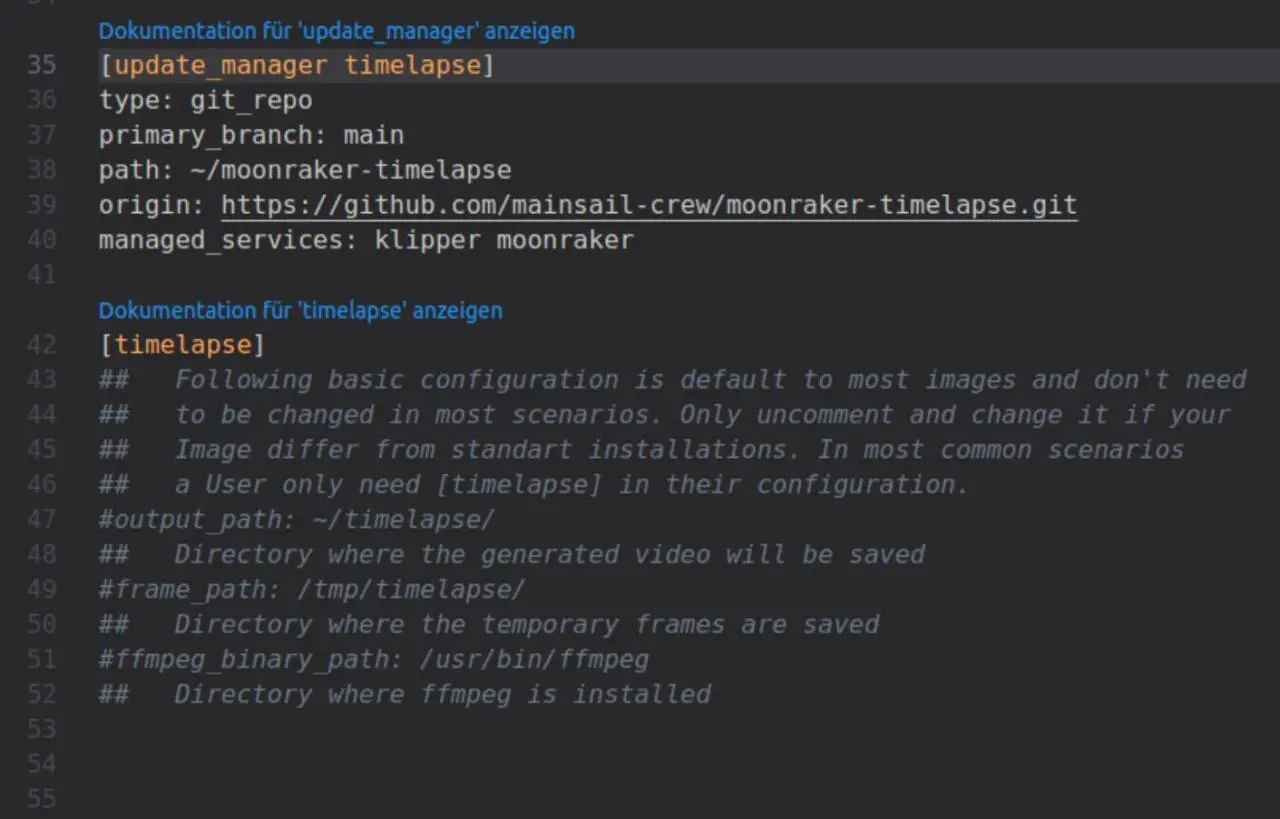
Insert the code at the end:
[timelapse]

output_path: ~/timelapse/
frame_path: /tmp/timelapse/
ffmpeg_binary_path: /usr/bin/ffmpeg

[update_manager timelapse]
type: git_repo
primary_branch: main
path: ~/moonraker-timelapse
origin: https://github.com/mainsail-crew/moonraker-timelapse.git
managed_services: klipper moonraker
Save and restart!
Operation
And how can I operate it now?
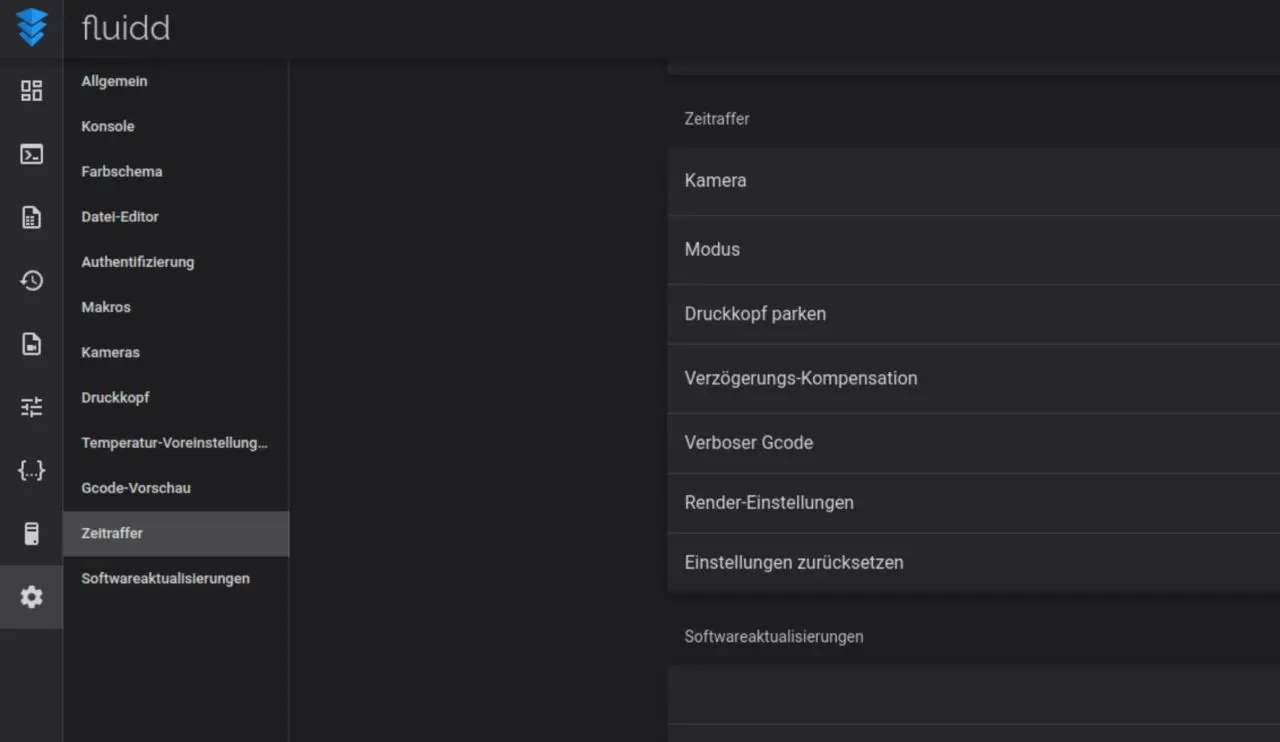
There are two new points under fluidd:
- Time-lapse in the main menu
Here you start the time-lapse recording - Settings –>
Time-lapse
Here you can find all settings
Error message?
Armbian Buster is still running on the X4. Unfortunately, a few days ago the Armbian team took the source for it off the net. We’ll have to do something about it and add new ones.
The developers Mainsail-Crew will certainly have adapted the installation script by the time you read these lines, but in the meantime the following error messages may appear during installation:
Err:6 http://fi.mirror.armbian.de/apt buster Release
404 Not Found [IP: 65.21.120.247 80]
and
E: The repository 'http://apt.armbian.com buster Release' no longer has a Release file.
and
make: *** [Makefile:20: install] Error 100
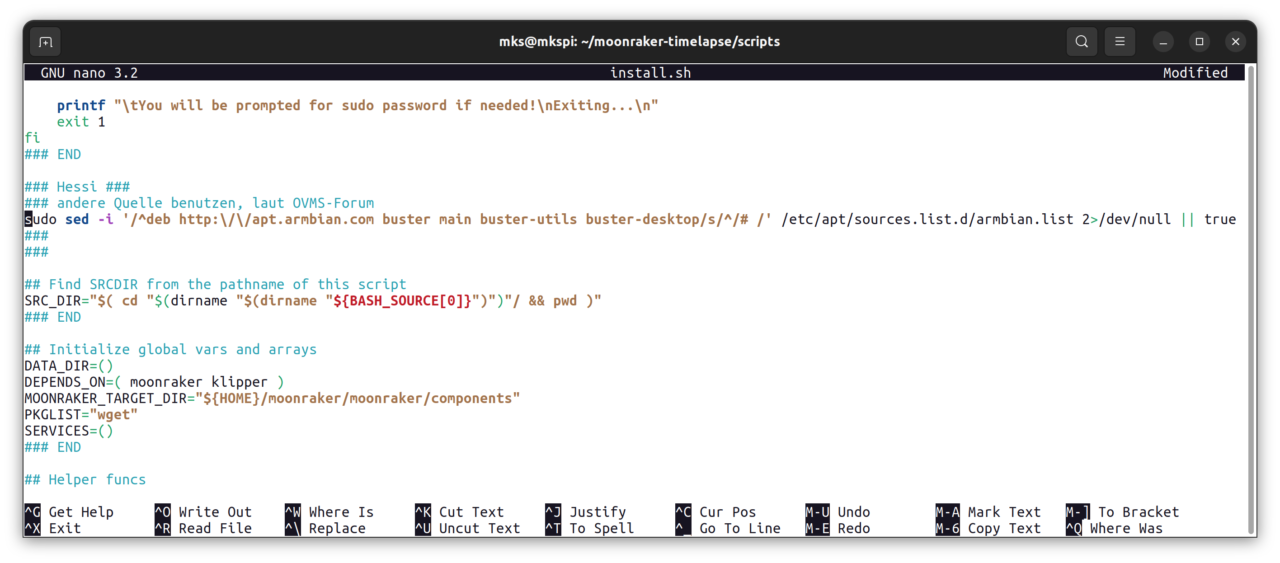
We edit the install script:
sudo nano /scripts/install.sh
and insert the following line between the sections „Check Non Root“ and „Find SRCDIR …“:
sudo sed -i '/^deb http:\/\/apt.armbian.com buster main buster-utils buster-desktop/s/^/# /' /etc/apt/sources.list.d/armbian.list 2>/dev/null || true
It should look like this:
Save: „Ctrl-S“ and exit: „Ctrl-X“
Now we run make install again.
make install
Result:
moonraker-timelapse successfully installed ...
click on„Save and restart“ in fluidd!
Done!