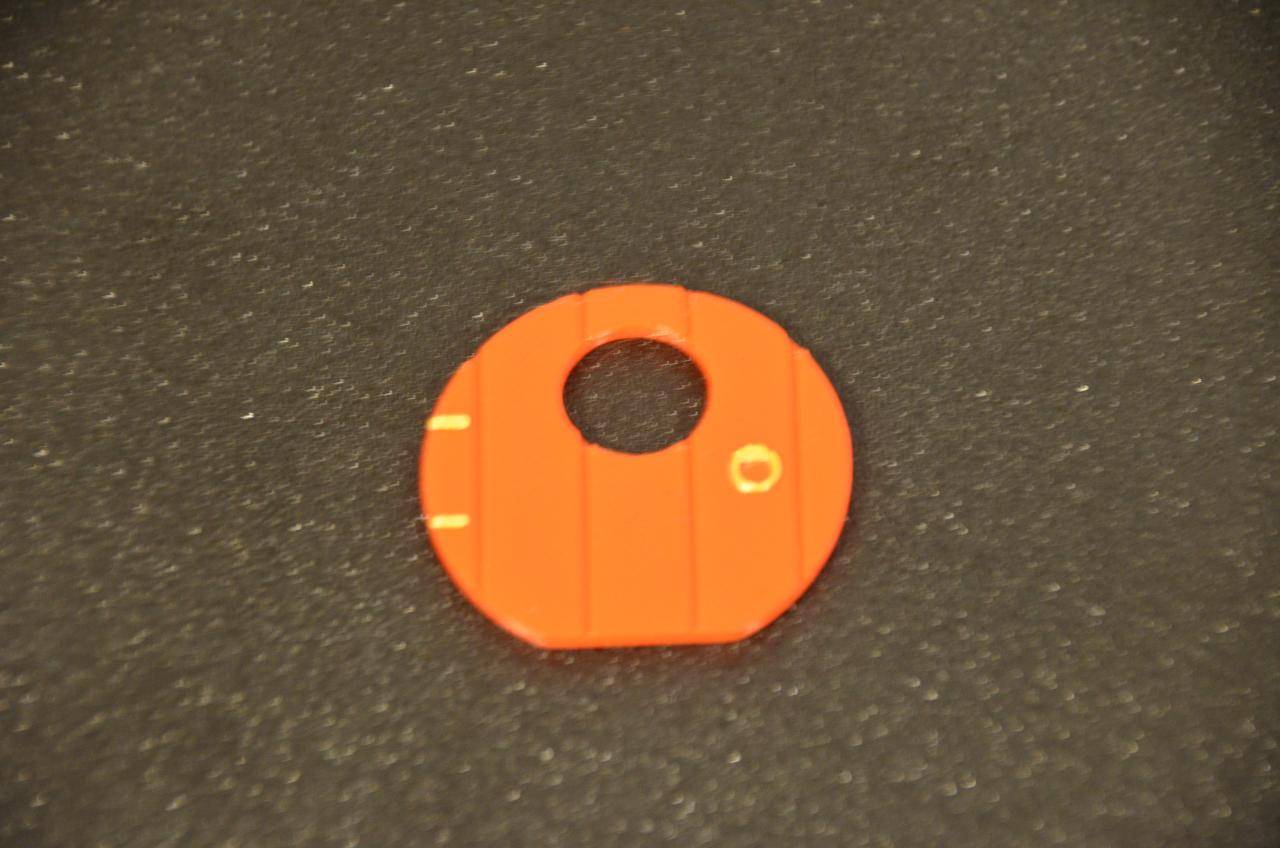
How can I change filaments during printing in Cura and Orcaslicer using standard tools?
–> Extensions
–> Post-processing
–> Change Gcode
–> Add a script
–> Pause at height
–> Enter pause layer
See? No nonsense, no filler words, nothing.
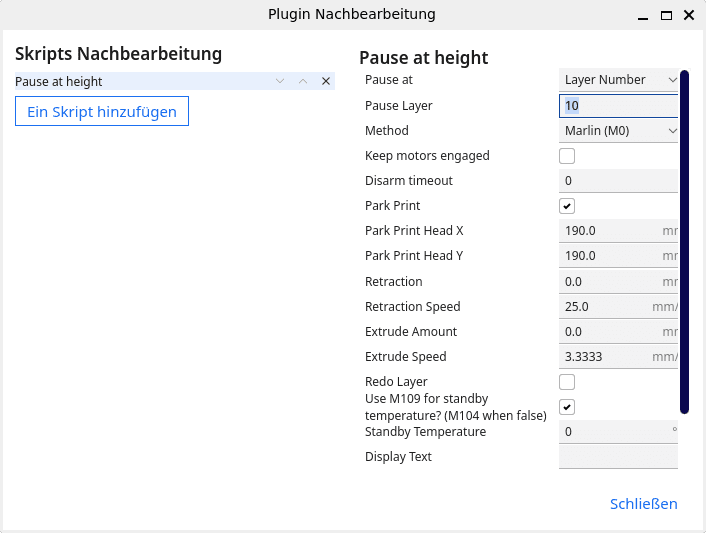
Here, select the firmware or method that your printer supports (if it supports it). Most modern printers should be able to handle Marlin.

And in the Orca slicer?
It’s completely simple! 🙂 It’s embarrassing to even have to explain it, isn’t it?
Above the point
–> Filament
–> Click on „+“
–> Select the other filament.
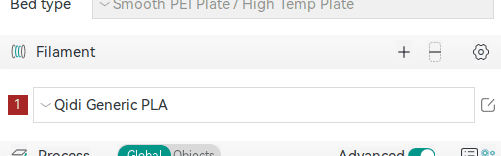
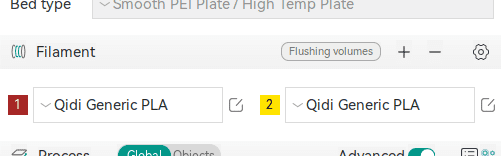
–> Slice the plate.
–> In the preview, move the slider for the layers to the desired layer.
–> Right-click on the slider and click „Change Filament“.
–> Select the desired filament.
–> Reslice the plate! Done!
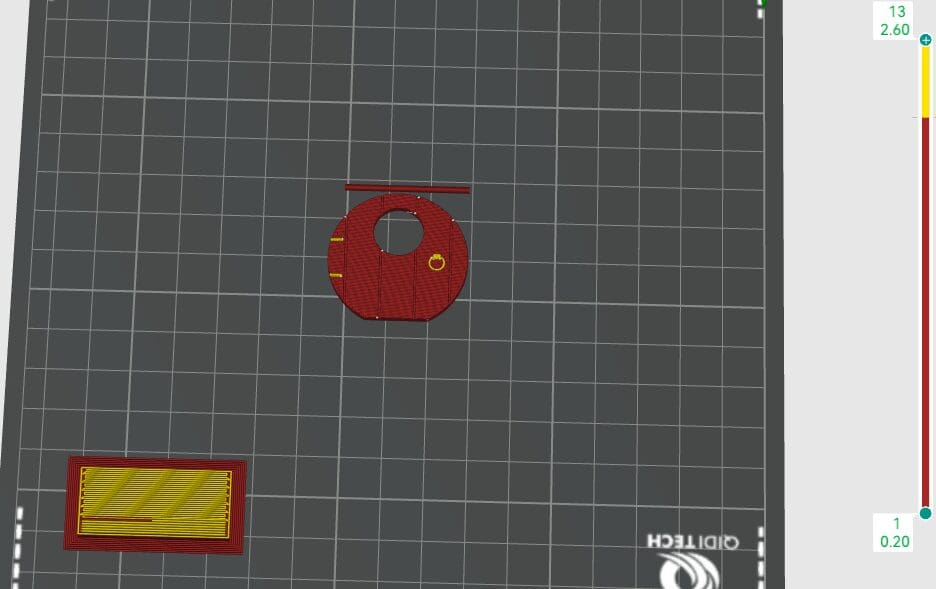
The square thing in the corner is the waste block, where the nozzle is cleaned of the old filament. This means that the nozzle is flushed with the new filament.
UPDATE
If this does not work with your printer, please insert a „Custom G-Code“ instead of a layer change. The code is simply „M600“, which forces a manual filament change.
It is also important that the manual filament change (–>
Printer Settings, Multimaterial, Manual Filament Change) is checked.
Error
Select the appropriate layer, otherwise it will look like this:
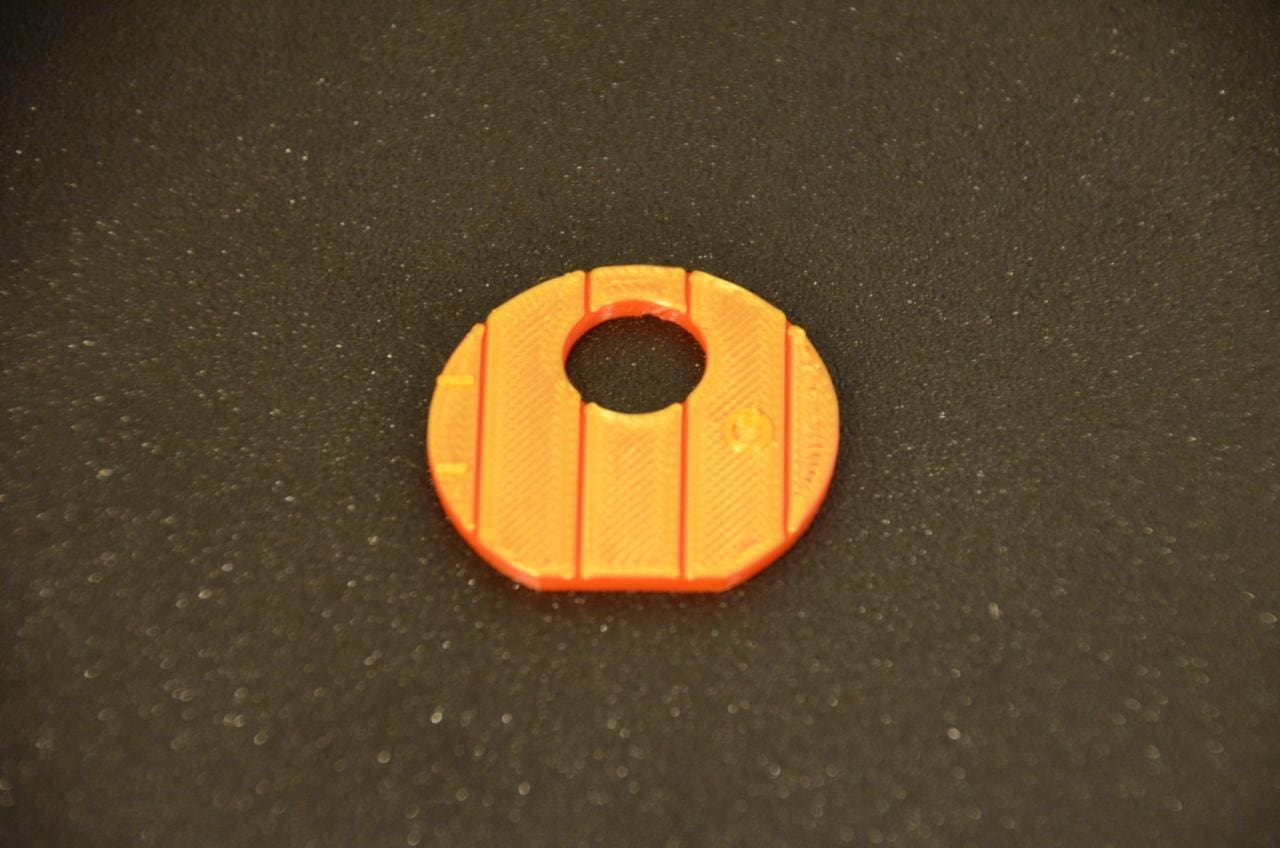
Result